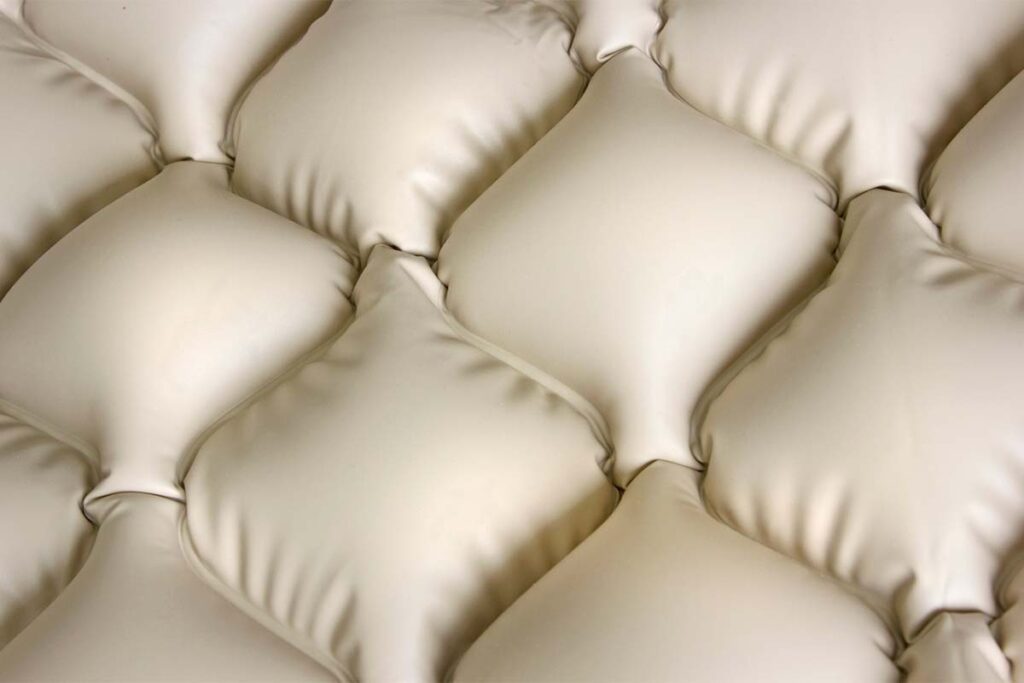
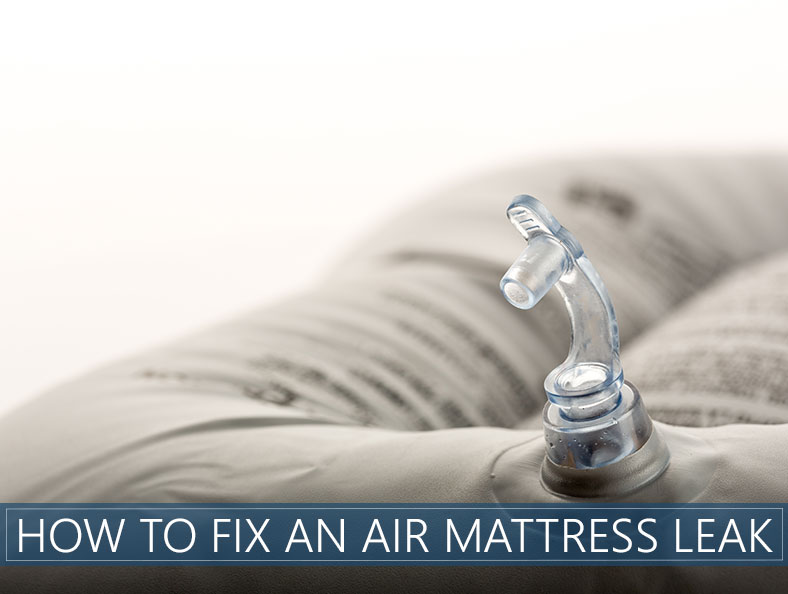
How to Fix a Seam in an Air Mattress
Air mattresses are convenient and comfortable, but they are not invincible. Over time, the seams of an air mattress can weaken and develop leaks. This can be frustrating, especially if you are in the middle of a camping trip or have guests staying over. But fear not, with the right tools and techniques, you can easily fix a seam in your air mattress and get back to enjoying a good night's sleep. Here are 10 ways to fix a seam in an air mattress.

How to Fix a Seam in an Air Mattress


How to Repair a Seam in an Air Mattress
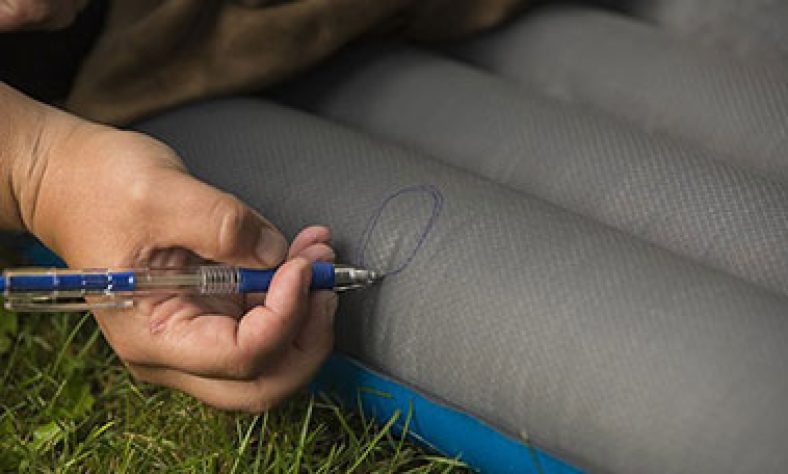
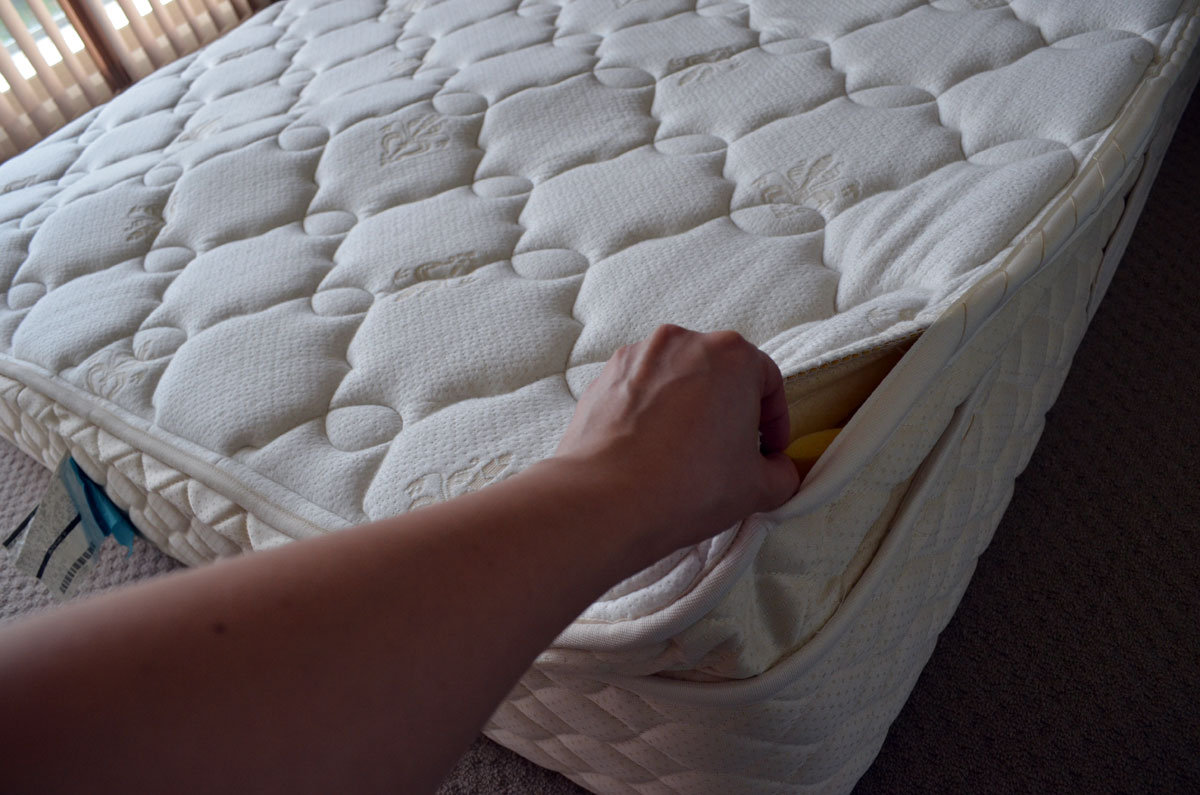
Before attempting to fix the seam of your air mattress, it's important to locate the leak. The easiest way to do this is by filling the mattress with air and submerging it in water. Look for bubbles to pinpoint the location of the leak. Once you have located the leak, you can try one of these methods to repair the seam.

How to Repair a Seam in an Air Mattress


DIY Air Mattress Seam Repair
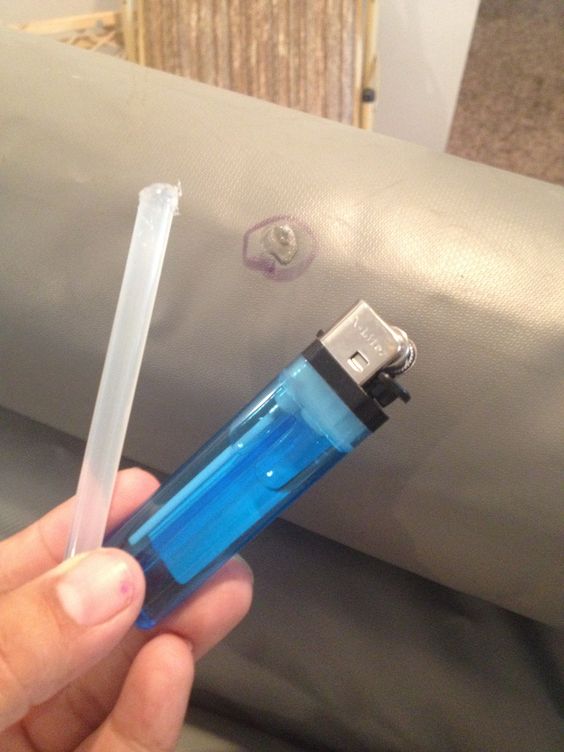
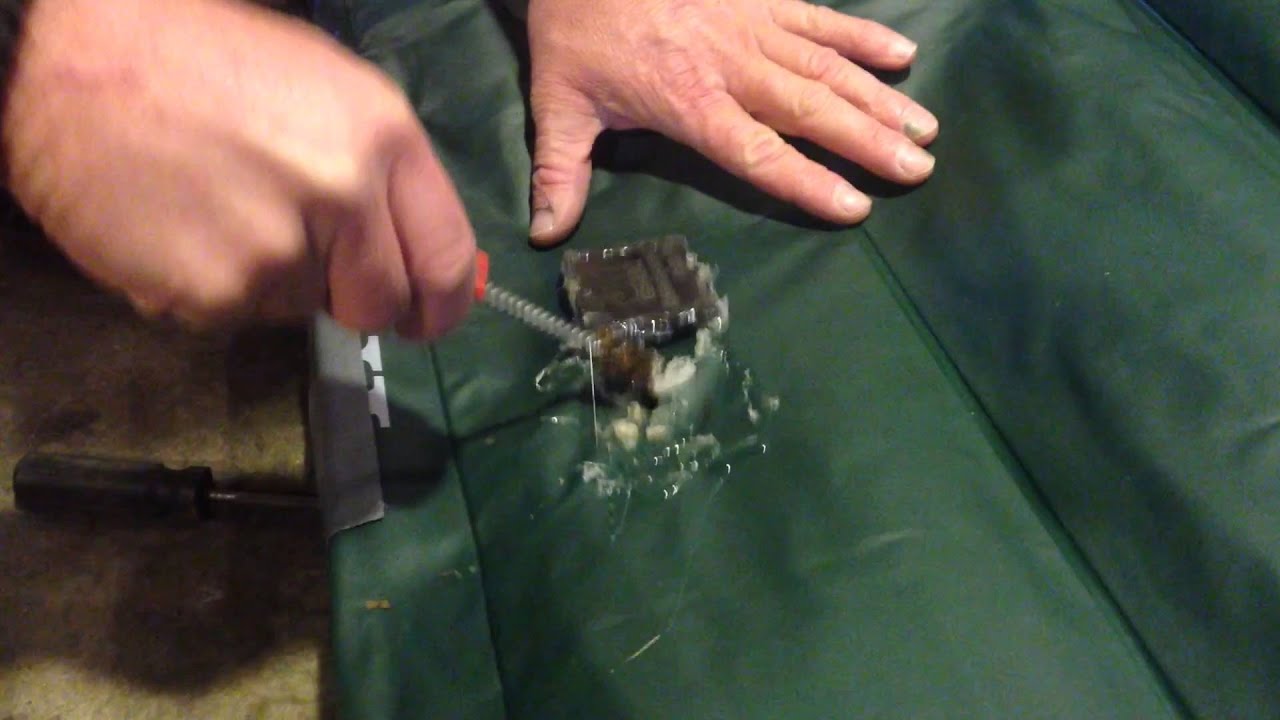
If you are on a budget or don't have access to specialized repair products, you can try a DIY approach to fixing your air mattress seam. One simple method is to use duct tape to cover the leak. Make sure to clean and dry the area before applying the tape. You can also try using a hot glue gun or a strong adhesive to seal the seam. Just be careful not to use too much product, as it can create a hard spot on the mattress.


DIY Air Mattress Seam Repair


Quick and Easy Air Mattress Seam Fix
If you need a quick fix that doesn't require any special tools or supplies, you can try using a hair straightener to seal the seam of your air mattress. Simply heat up the straightener and run it over the seam, pressing down firmly to seal it. This method is best for small leaks and can provide a temporary solution until you can properly repair the seam.


Quick and Easy Air Mattress Seam Fix


Seam Repair for Air Mattresses
If you want a more permanent solution for your air mattress seam, you can use specialized seam repair products. These products come in various forms such as tape, glue, and sealant. They are designed specifically for repairing air mattresses and can provide a long-lasting fix. Make sure to follow the instructions carefully and allow the product to dry completely before using the mattress.


Seam Repair for Air Mattresses


Fixing a Seam Leak in an Air Mattress
If you have a small seam leak in your air mattress, you can try using a bicycle inner tube patch to fix it. These patches are made to seal holes in rubber, making them perfect for fixing air mattress seams. Clean and dry the area around the leak and apply the patch according to the instructions. This method can also be used for larger leaks, but it may not provide a permanent fix.


Fixing a Seam Leak in an Air Mattress


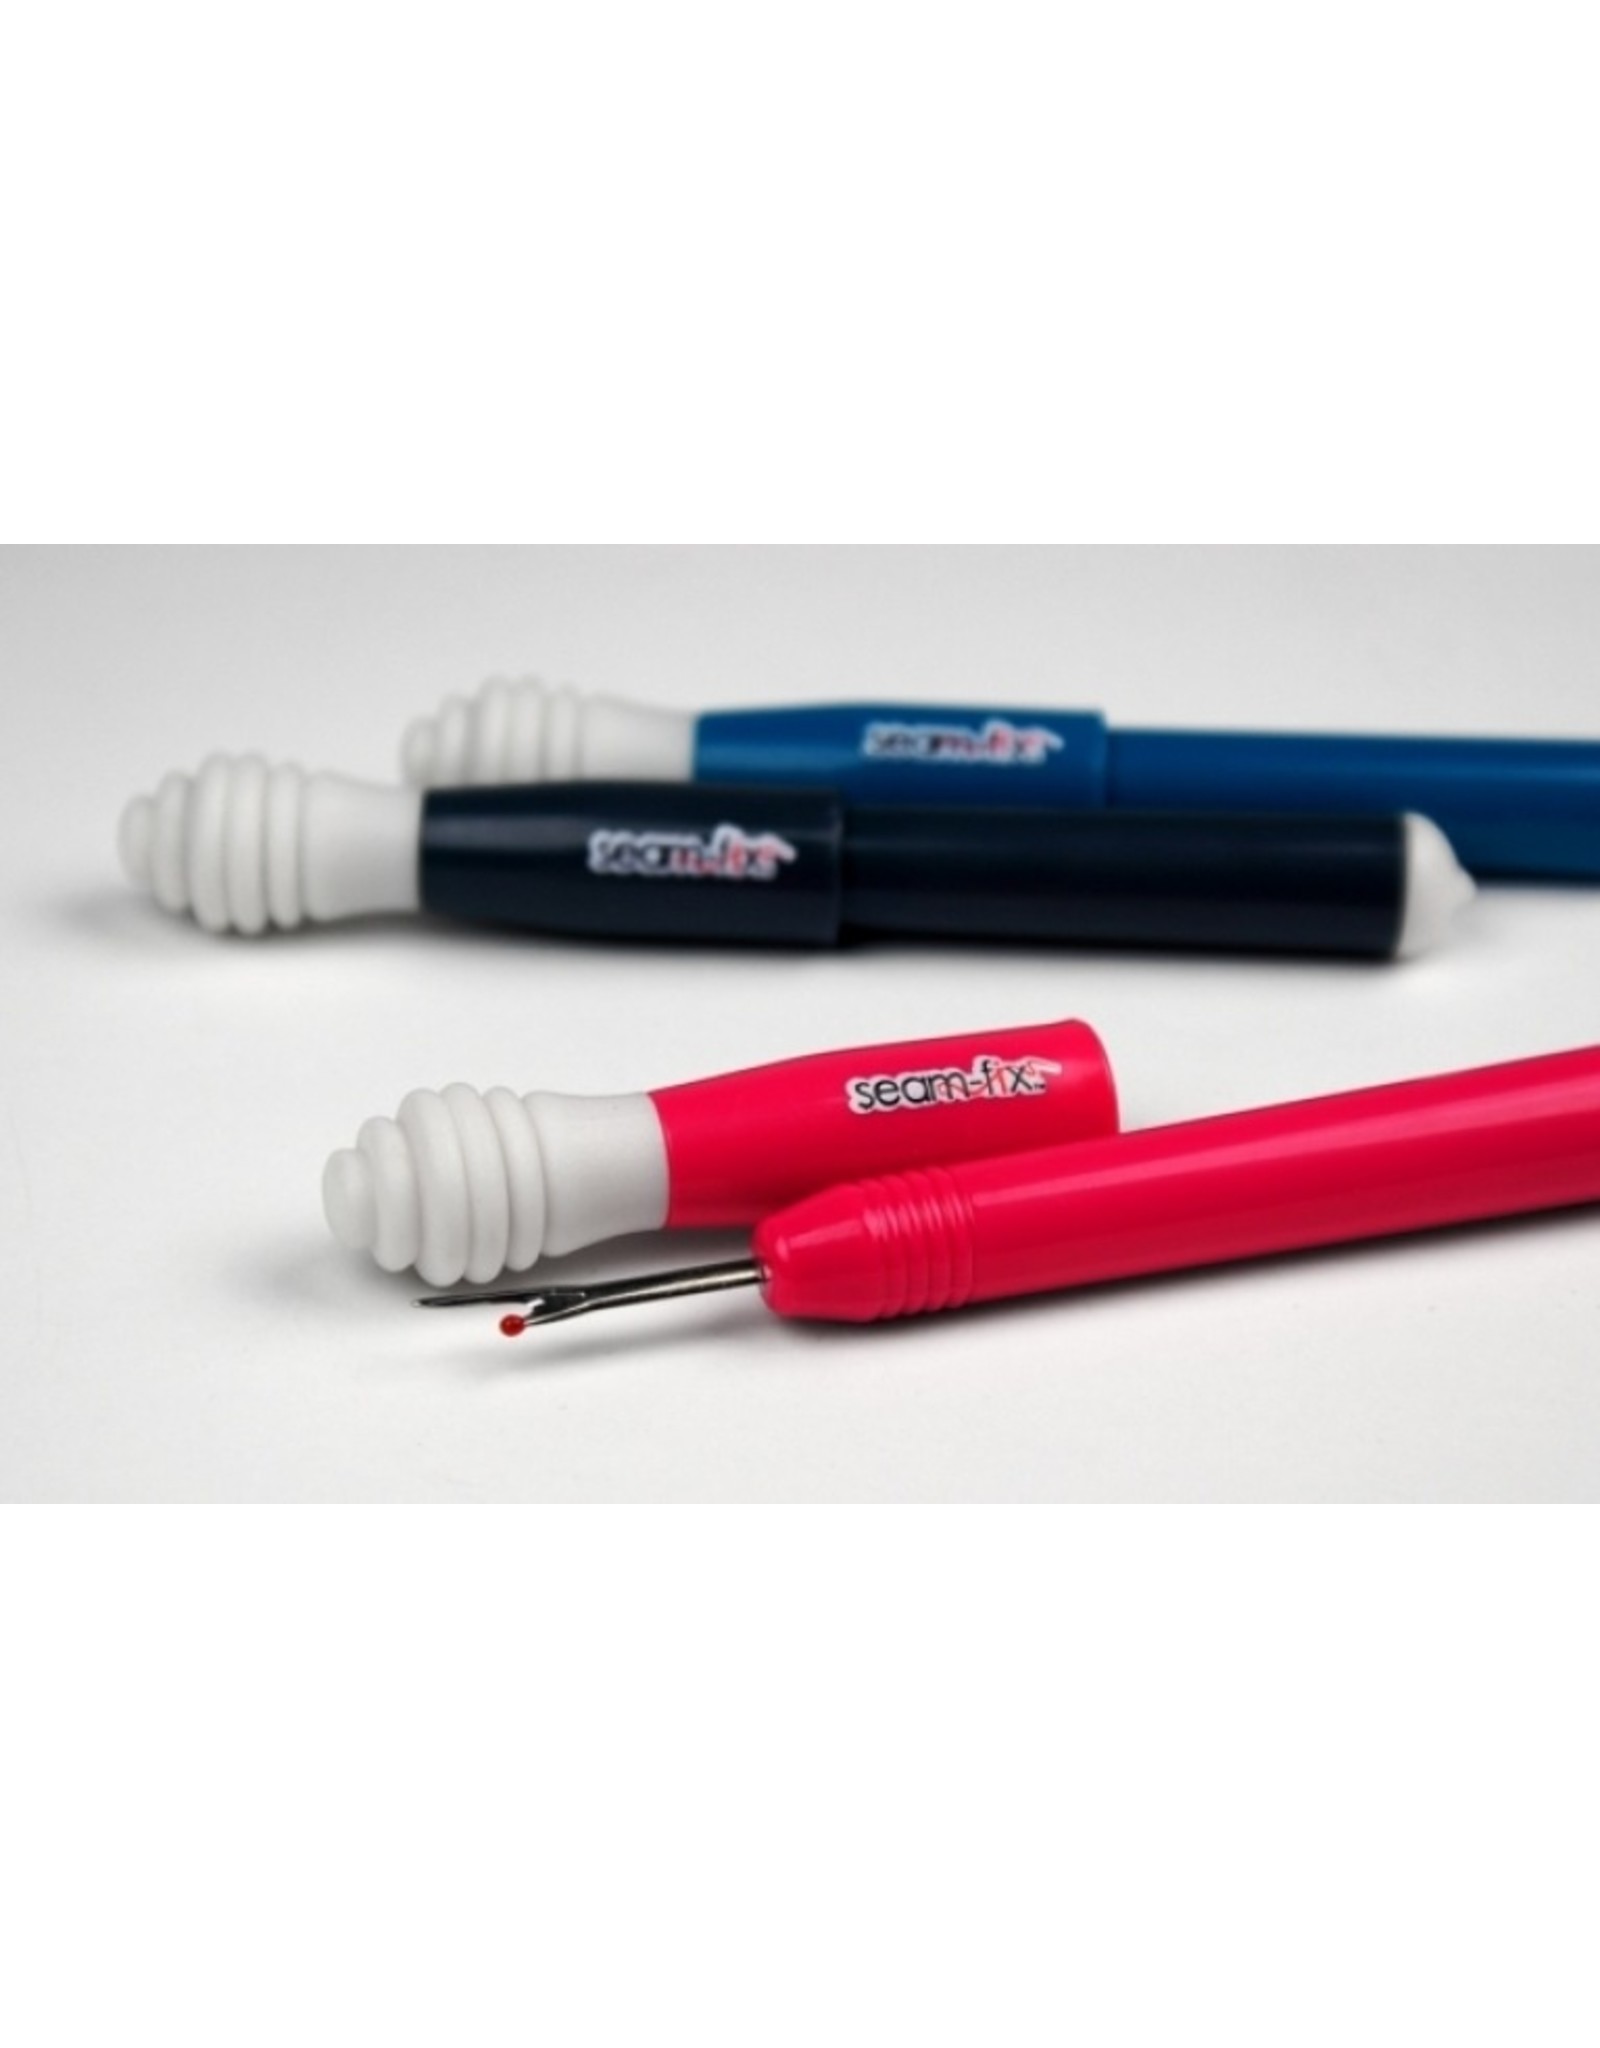
Seam Tape for Air Mattress Repair
Seam tape is a popular option for fixing air mattress seams. It is a type of adhesive tape that is specifically designed for sealing leaks in air mattresses. To use seam tape, clean and dry the area around the leak and cut a piece of tape slightly larger than the leak. Apply the tape over the leak, pressing down firmly to ensure it sticks. This method is quick, easy, and can provide a long-lasting fix.


Seam Tape for Air Mattress Repair


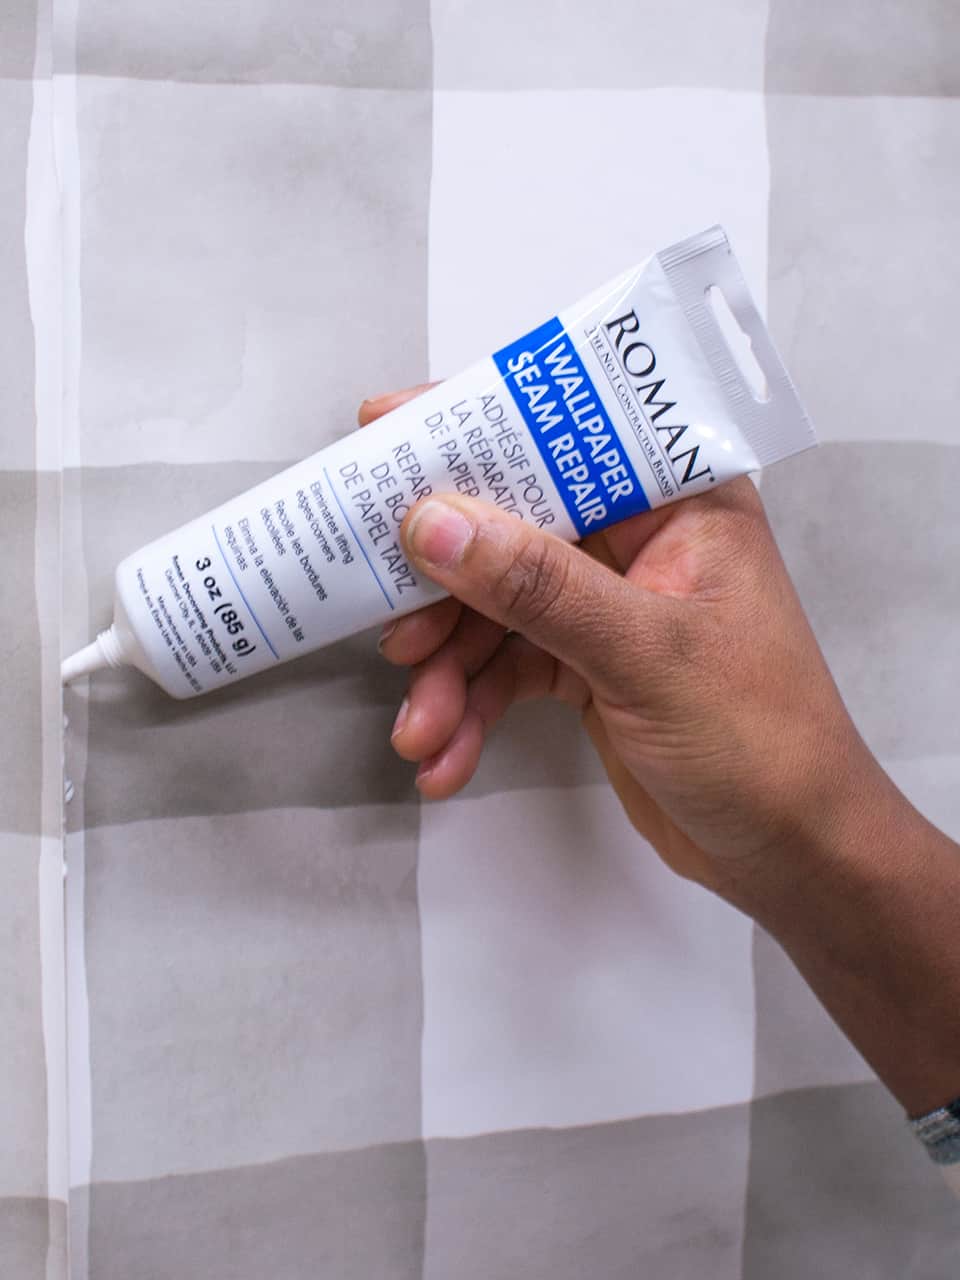
Seam Glue for Air Mattress Repair
Another option for repairing a seam in an air mattress is using seam glue. This type of glue is specially formulated to bond with the material of an air mattress and create a strong seal. Clean and dry the area around the leak and apply a small amount of glue to the seam. Press down firmly and allow it to dry completely before using the mattress.


Seam Glue for Air Mattress Repair


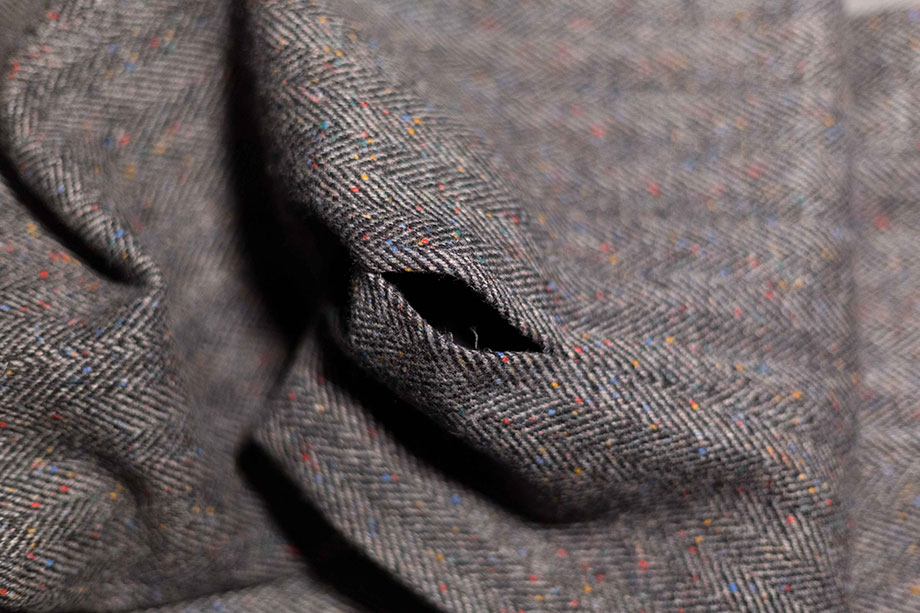
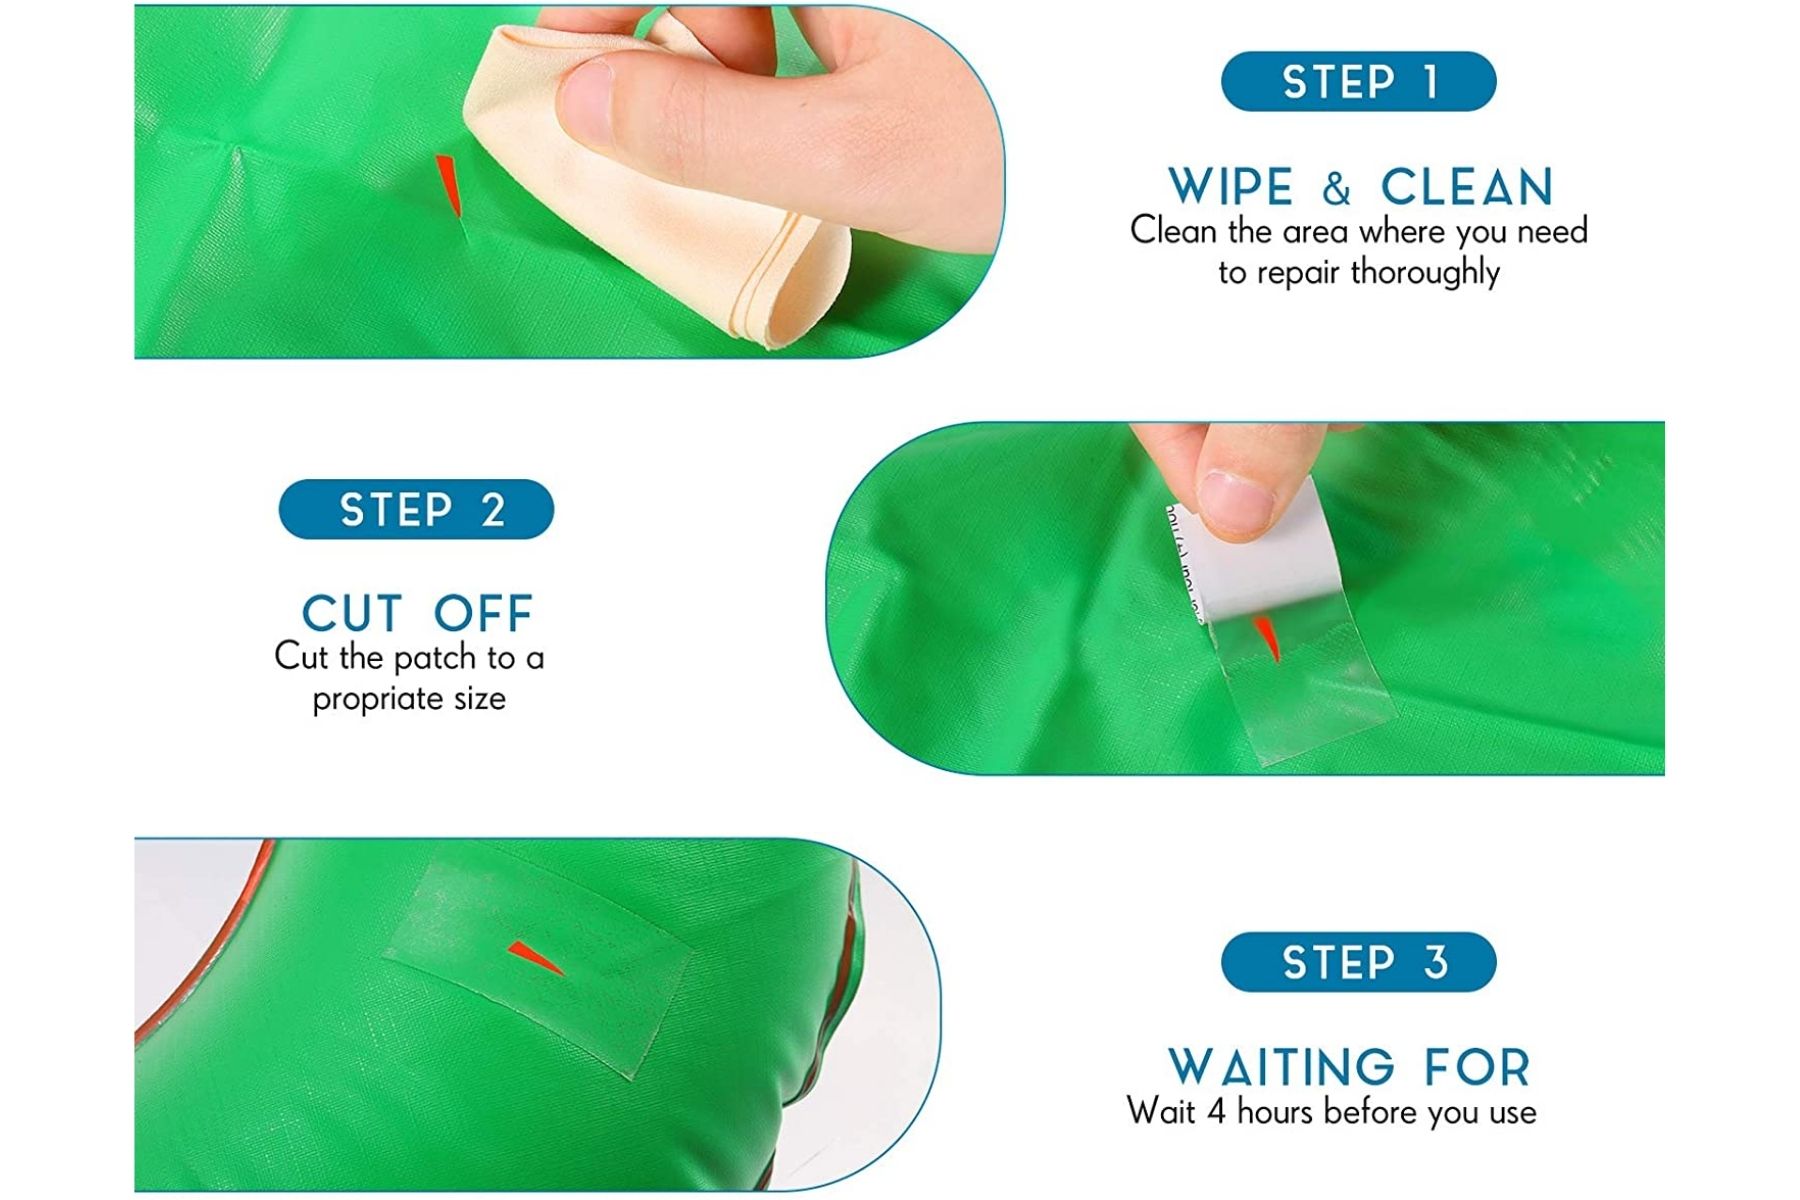
How to Patch a Seam in an Air Mattress
If you have a tear or a larger leak along the seam of your air mattress, you can use a patch to repair it. You can purchase specialized air mattress patch kits or use any type of patch that is designed for repairing rubber. Clean and dry the area around the leak and apply the patch according to the instructions. Make sure to press down firmly and allow it to dry completely before using the mattress.


How to Patch a Seam in an Air Mattress

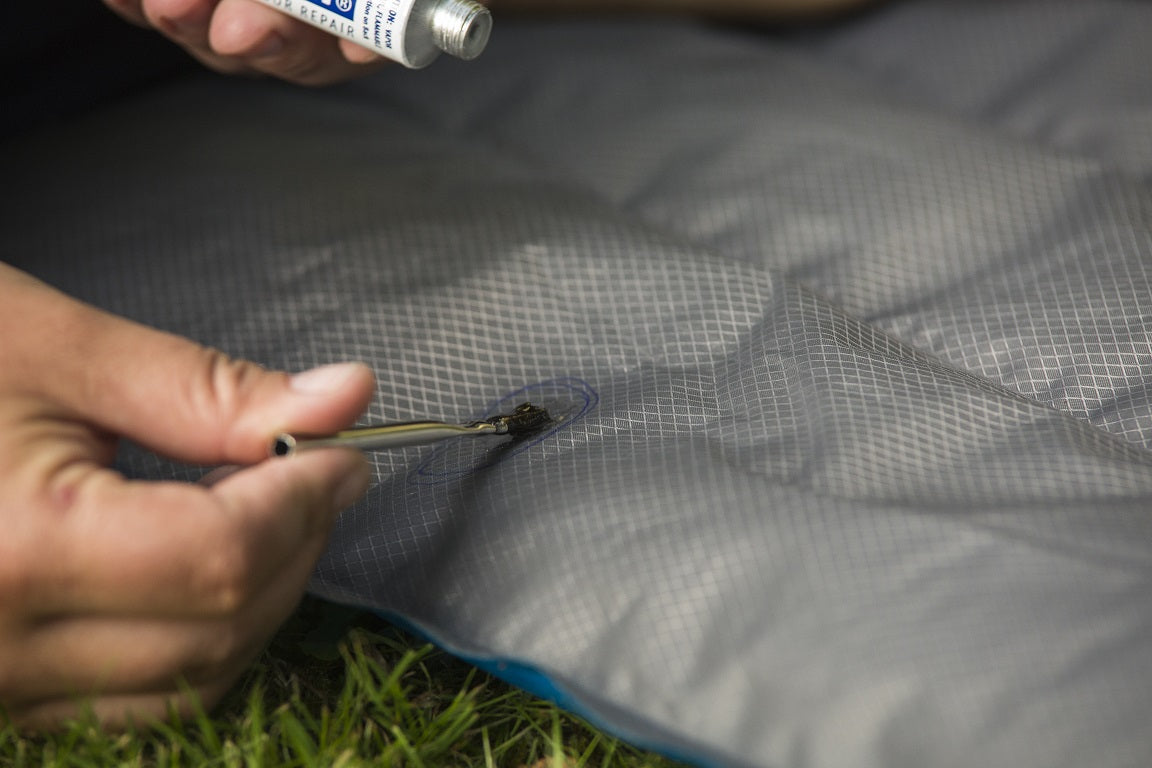


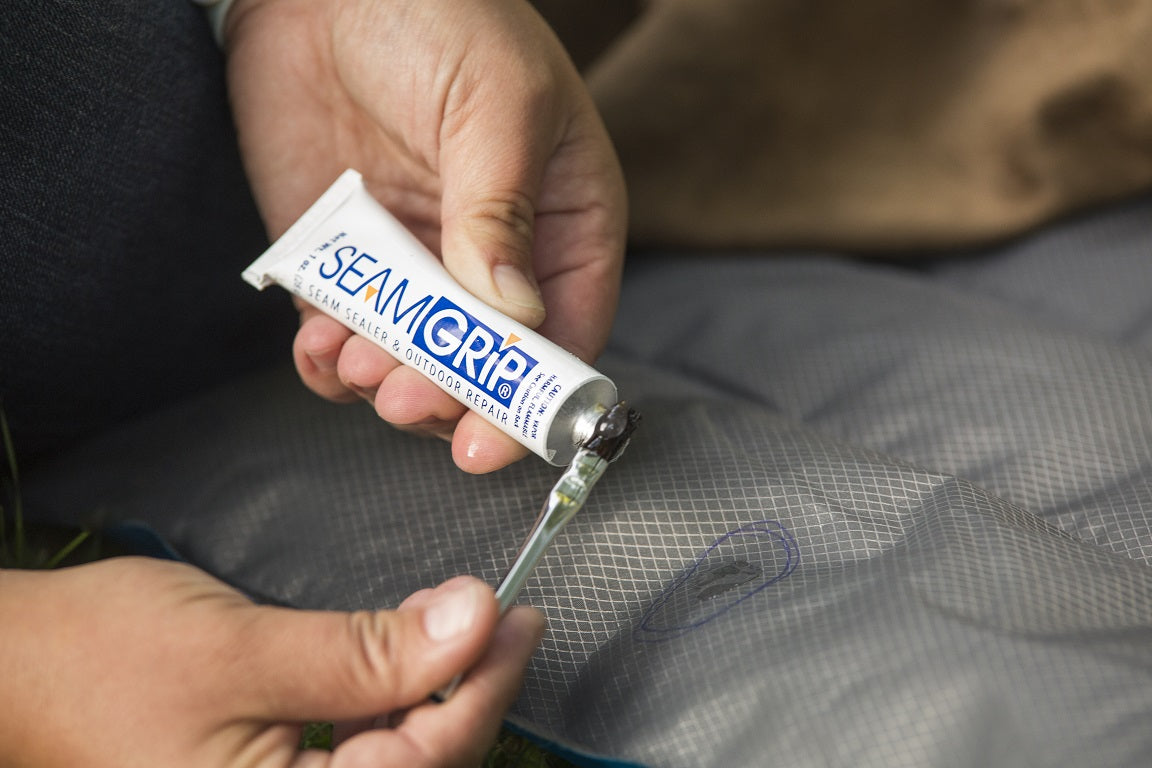
Seam Sealer for Air Mattress Repair
Seam sealer is a liquid adhesive that is specifically designed to repair seams in air mattresses. It works by filling in the gaps in the seam and creating a strong bond. To use seam sealer, clean and dry the area around the leak and apply a small amount of the product. Use a brush or your finger to spread the sealer evenly and allow it to dry completely before using the mattress.
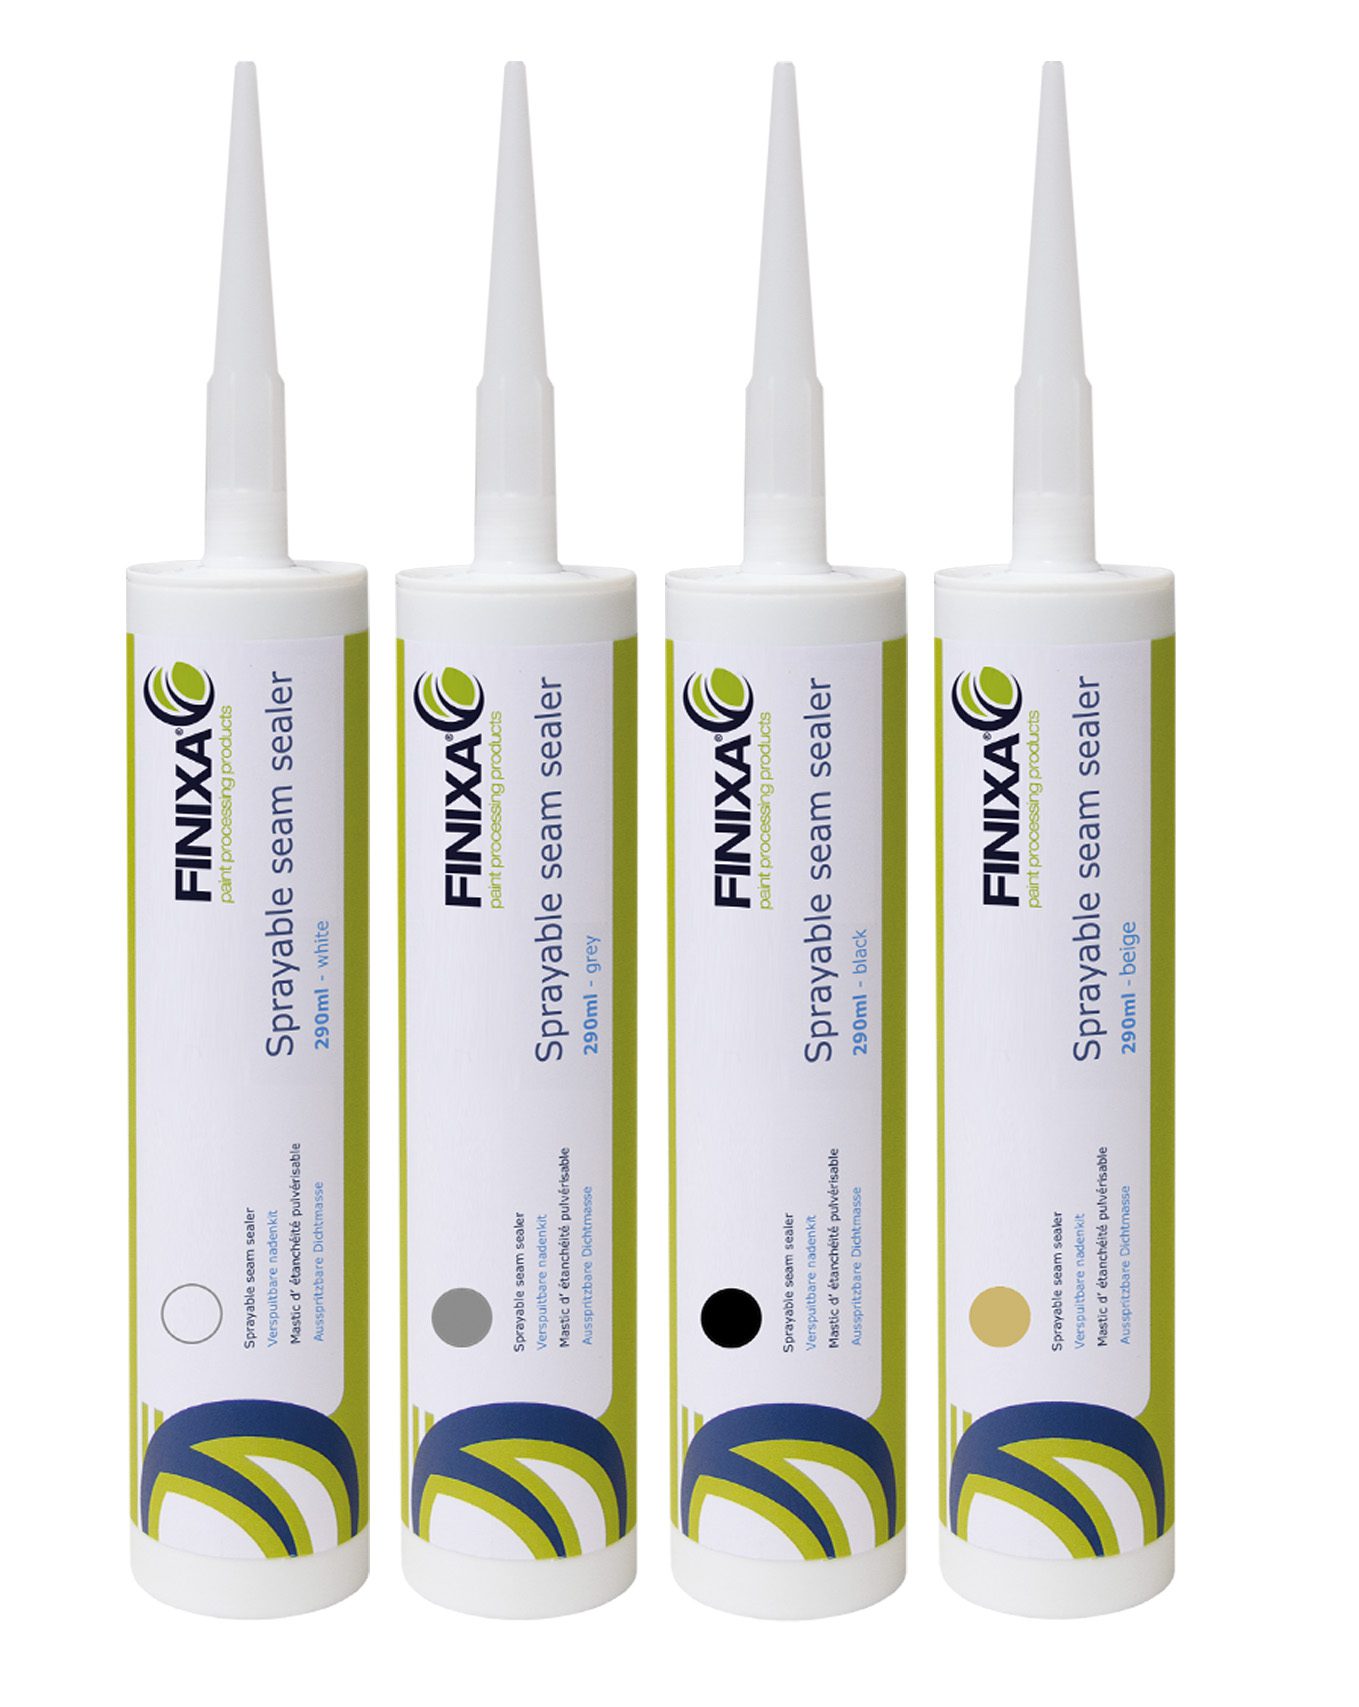
Seam Sealer for Air Mattress Repair


How to Fix a Seam in Your Air Mattress
Introduction
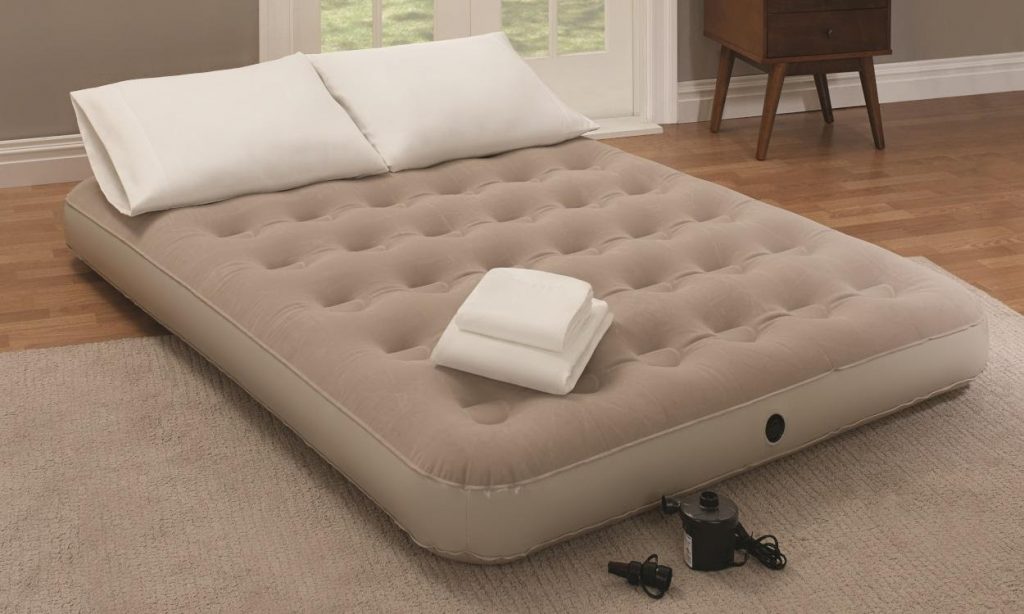
 Air mattresses are a convenient and versatile solution for hosting guests, camping trips, and even everyday use. However, just like any other piece of furniture, air mattresses are not immune to wear and tear. One common issue that many people face with air mattresses is a seam coming apart. This can be frustrating and may cause the mattress to lose air and become unusable. But don't worry, in this article, we will guide you on how to fix a seam in your air mattress and get it back to its fully functional state.
The Importance of Fixing a Seam
 Before we dive into the steps of fixing a seam in your air mattress, it's essential to understand why it's crucial to address this issue promptly. A seam that has come apart can lead to air leaks, resulting in an uneven sleeping surface, discomfort, and even potential back pain. Additionally, if left unfixed, the damage can worsen, making it more challenging to repair and ultimately rendering your air mattress unusable.
The Tools You Will Need
 To fix a seam in your air mattress, you will need the following tools:
Scissors, patch kit, rubbing alcohol, sandpaper, and a hairdryer.
These items can be found in most households, making it a cost-effective solution to repairing your air mattress.
To fix a seam in your air mattress, you will need the following tools:
Scissors, patch kit, rubbing alcohol, sandpaper, and a hairdryer.
These items can be found in most households, making it a cost-effective solution to repairing your air mattress.
The Step-by-Step Process
 Step 1: Locate the Leak
The first step in fixing a seam in your air mattress is to locate the leak. Carefully inspect the mattress and listen for any hissing sounds to determine the exact location of the leak. Once you have identified the area, mark it with a piece of tape or a marker.
Step 2: Clean and Dry the Area
Before proceeding with the repair, it's crucial to clean and dry the area around the leak. Use rubbing alcohol to clean the area and remove any dirt or debris. Then, use a hairdryer on low heat to dry the area thoroughly.
Step 3: Roughen the Surface
Take the sandpaper and gently roughen the area around the leak. This will help the patch adhere better and create a stronger bond.
Step 4: Apply the Patch
Using the patch kit, cut a piece of patch slightly larger than the leak. Then, apply a thin layer of the adhesive included in the kit to the back of the patch and the area around the leak. Press the patch firmly onto the mattress, ensuring there are no air bubbles.
Step 5: Let it Dry
Allow the patch to dry completely before inflating the air mattress. This may take several hours, so it's best to do this repair before going to bed.
Step 1: Locate the Leak
The first step in fixing a seam in your air mattress is to locate the leak. Carefully inspect the mattress and listen for any hissing sounds to determine the exact location of the leak. Once you have identified the area, mark it with a piece of tape or a marker.
Step 2: Clean and Dry the Area
Before proceeding with the repair, it's crucial to clean and dry the area around the leak. Use rubbing alcohol to clean the area and remove any dirt or debris. Then, use a hairdryer on low heat to dry the area thoroughly.
Step 3: Roughen the Surface
Take the sandpaper and gently roughen the area around the leak. This will help the patch adhere better and create a stronger bond.
Step 4: Apply the Patch
Using the patch kit, cut a piece of patch slightly larger than the leak. Then, apply a thin layer of the adhesive included in the kit to the back of the patch and the area around the leak. Press the patch firmly onto the mattress, ensuring there are no air bubbles.
Step 5: Let it Dry
Allow the patch to dry completely before inflating the air mattress. This may take several hours, so it's best to do this repair before going to bed.
Conclusion
 Fixing a seam in your air mattress is a simple and cost-effective solution that can save you from having to purchase a new one. By following these steps, you can have your air mattress back to its fully functional state in no time. Remember to regularly check your air mattress for any leaks and address them promptly to ensure its longevity.