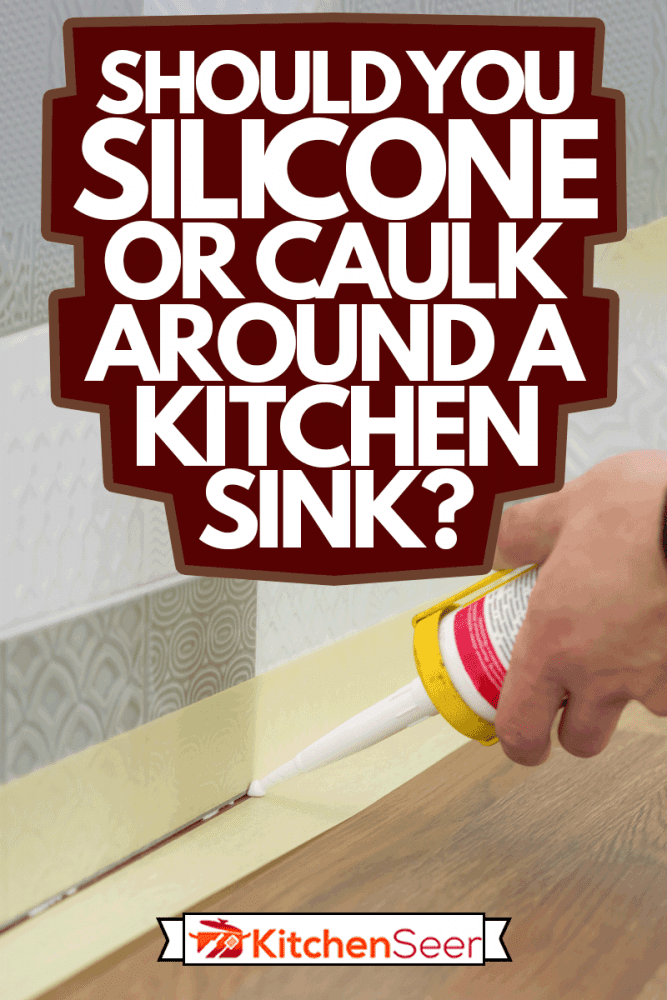
How to Caulk Around a Kitchen Sink
Caulking around a kitchen sink is an important step in keeping your sink and countertop area clean and free from water damage. Over time, caulk can deteriorate and crack, allowing water to seep in and cause damage. Regularly inspecting and maintaining the caulk around your kitchen sink is essential to prevent any potential issues. In this article, we will discuss the top 10 tips for clear or white caulk around your kitchen sink.


How to Caulk Around a Kitchen Sink


How to Remove and Replace Caulk Around a Kitchen Sink
If you notice that the caulk around your kitchen sink is cracked or peeling, it is time to remove and replace it. Start by using a utility knife to cut away the old caulk. Then, use a caulk remover or a solution of equal parts water and white vinegar to soften and loosen the remaining caulk. Once the caulk is softened, scrape it away with a putty knife. Once all the old caulk is removed, thoroughly clean and dry the area before applying the new caulk.
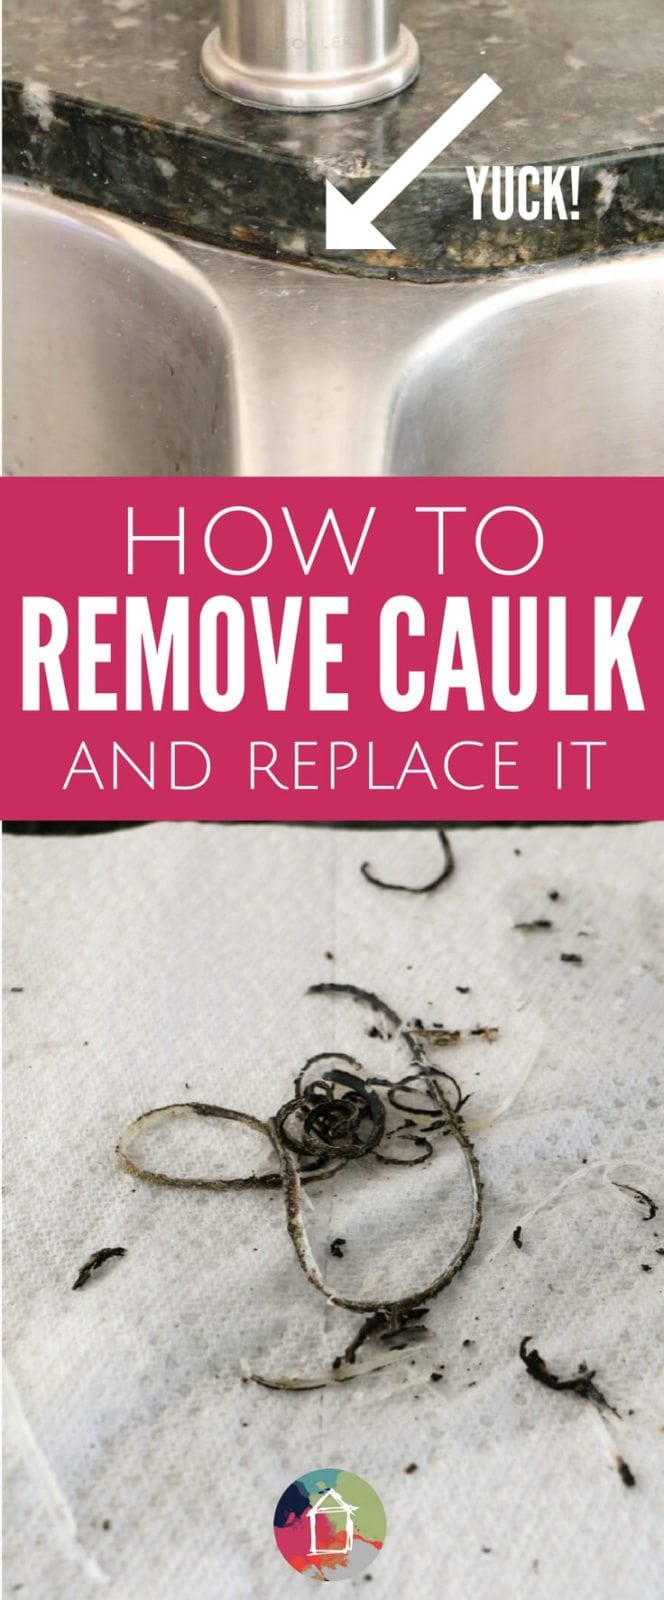

How to Remove and Replace Caulk Around a Kitchen Sink


Best Caulk for Kitchen Sink
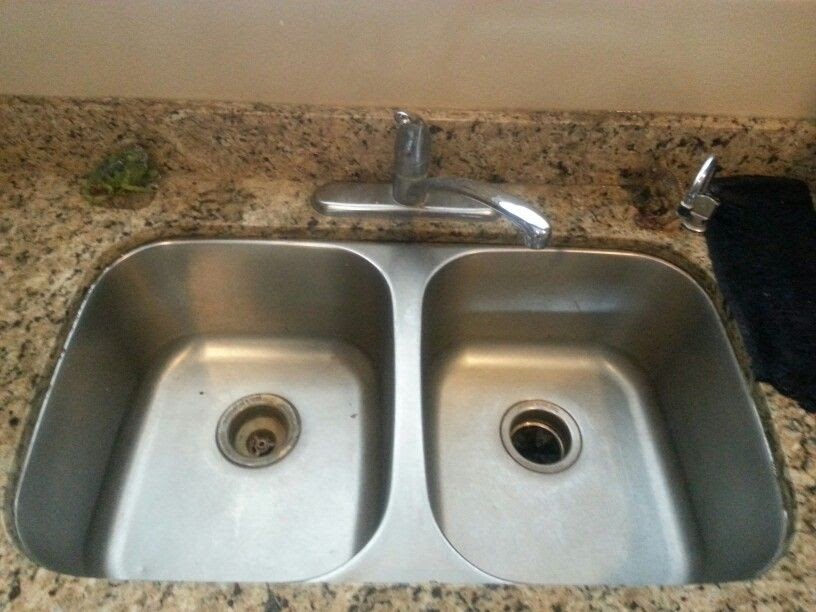
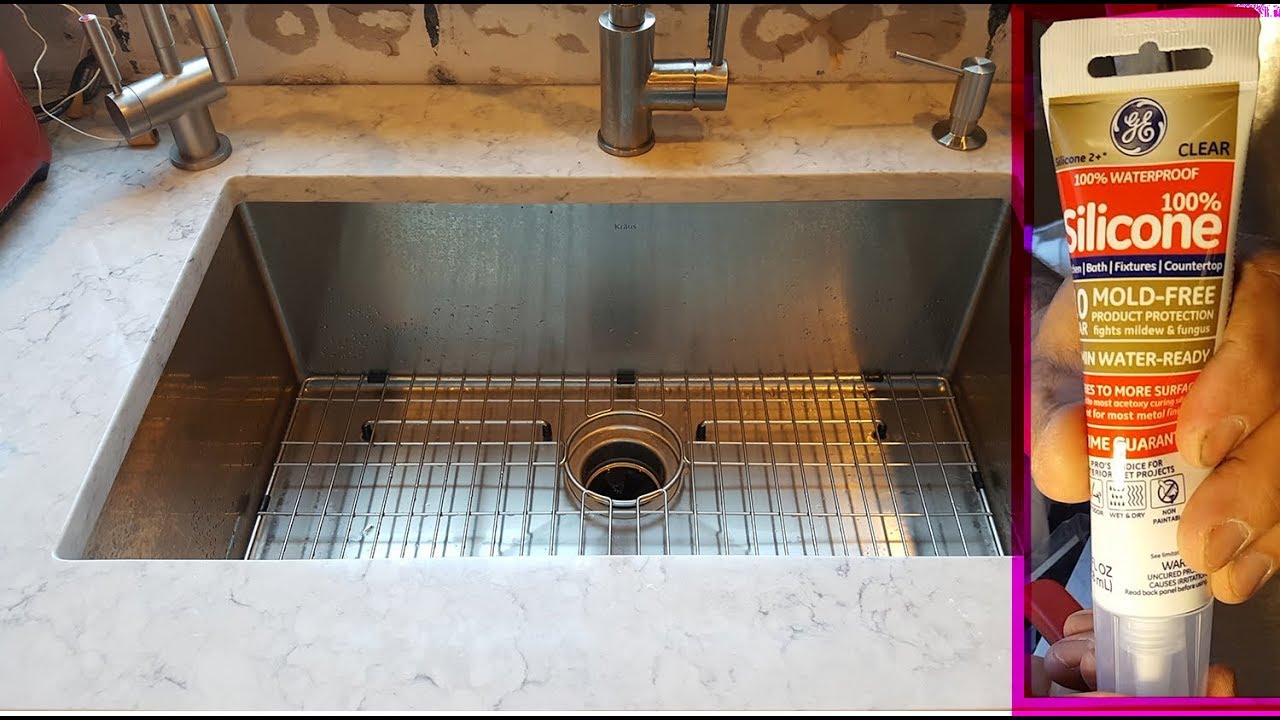
When choosing the best caulk for your kitchen sink, it is important to consider the type of material your sink and countertop are made of. For a porcelain or enamel sink, silicone caulk is the best choice as it is flexible and waterproof. For a stainless steel sink, a silicone or latex caulk will work well. For a granite or quartz countertop, use a silicone caulk specifically designed for stone surfaces. Always choose a caulk that is mildew resistant and can withstand water exposure.


Best Caulk for Kitchen Sink


How to Choose Between Clear and White Caulk for Kitchen Sink
The decision between using clear or white caulk around your kitchen sink can depend on personal preference and the color of your sink and countertop. Clear caulk is a great choice if you want a seamless and invisible finish. It is also ideal for sinks and countertops with lighter colors. White caulk, on the other hand, is better for sinks and countertops with darker colors as it can blend in and provide a clean finish.


How to Choose Between Clear and White Caulk for Kitchen Sink


Tips for Applying Clear or White Caulk Around Kitchen Sink
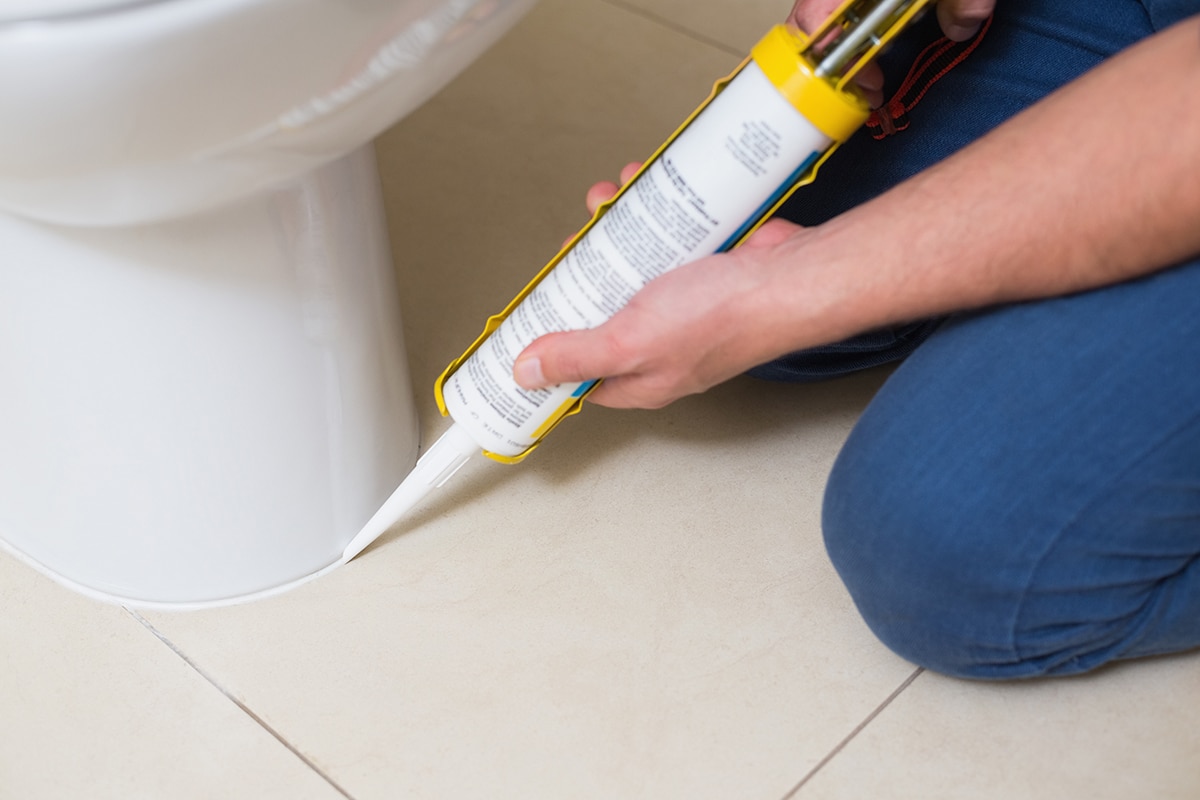
Before applying the caulk, make sure the area is clean and dry. Use a caulk gun to apply a thin and even line of caulk around the sink. Smooth the caulk with a caulk tool or your finger, making sure it is pressed firmly into the gap. Wipe away any excess caulk with a damp cloth. Allow the caulk to dry for at least 24 hours before using the sink or exposing it to water.


Tips for Applying Clear or White Caulk Around Kitchen Sink


How to Clean and Maintain Caulk Around Kitchen Sink
To keep the caulk around your kitchen sink in good condition, regularly clean and maintain it. Use a mild cleaner and a soft-bristled brush to scrub away any dirt or grime. Rinse the area thoroughly and dry it with a clean cloth. Inspect the caulk for any cracks or gaps and repair them as needed. It is also a good idea to re-caulk your sink every 1-2 years to prevent any potential issues.


How to Clean and Maintain Caulk Around Kitchen Sink


Common Mistakes When Caulking Around Kitchen Sink
One of the most common mistakes when caulking around a kitchen sink is not properly cleaning and preparing the area before applying the caulk. If there is any debris or moisture present, the caulk will not adhere properly. Another mistake is using too much caulk, which can result in a messy and uneven finish. It is also important to choose the right type of caulk for your sink and countertop material to ensure its effectiveness.


Common Mistakes When Caulking Around Kitchen Sink
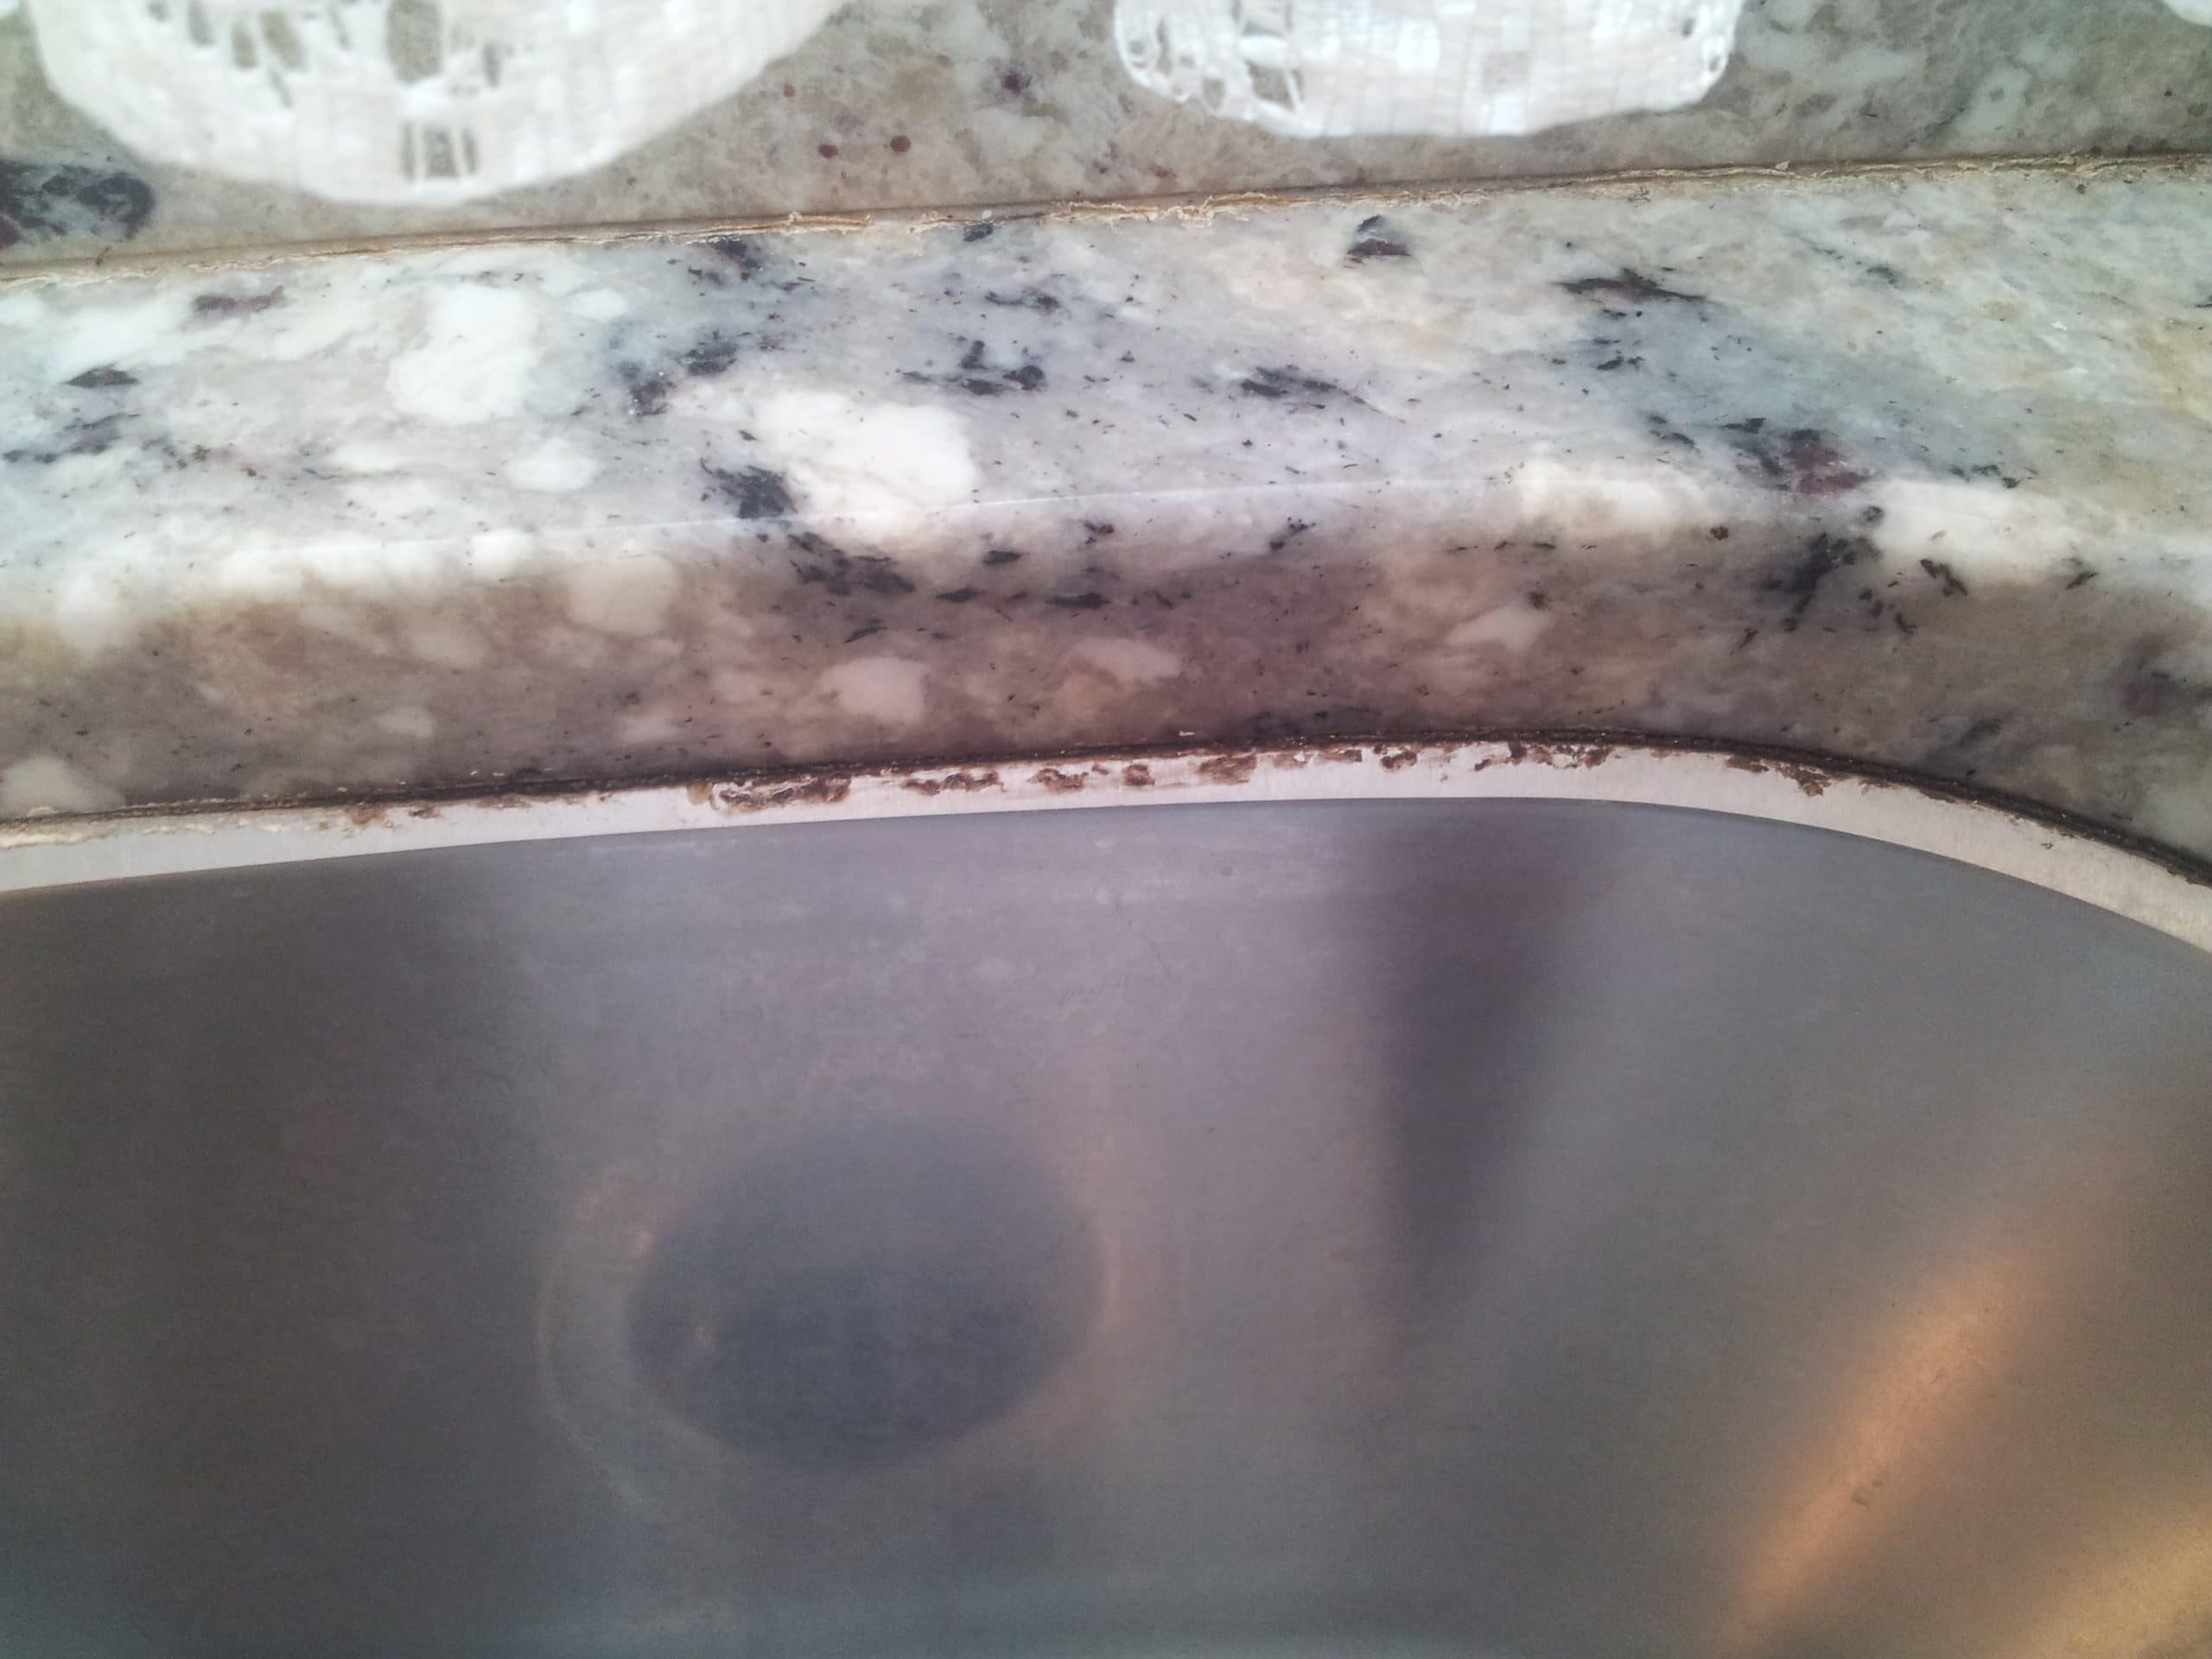
How to Repair Cracked or Peeling Caulk Around Kitchen Sink
If your caulk is cracked or peeling, it is important to repair it as soon as possible to prevent any water damage. Start by removing the old caulk following the steps mentioned earlier. Then, clean and dry the area before applying a new layer of caulk. Use a caulk specifically designed for repairing cracks, and make sure to smooth it out evenly. Allow it to dry completely before using the sink.


How to Repair Cracked or Peeling Caulk Around Kitchen Sink


Using Caulk Tape for a Neater Finish Around Kitchen Sink
If you struggle with getting a clean and even line of caulk, consider using caulk tape. This self-adhesive tape is placed around the edges of the sink, and then caulk is applied to fill in the gap. Once the caulk is smoothed out, simply remove the tape for a perfect finish. This will also prevent any excess caulk from getting on your sink or countertop, making the cleanup process much easier.


Using Caulk Tape for a Neater Finish Around Kitchen Sink


:max_bytes(150000):strip_icc()/caulk-removal-tool-56ec7f1b3df78ce5f83535fe.jpg)


How to Remove Excess Caulk Around Kitchen Sink
After applying caulk, it is common to have some excess that needs to be removed. To do this, use a damp cloth or sponge to wipe away the excess caulk before it dries. You can also use a caulk remover or a solution of equal parts water and white vinegar to soften and remove the excess caulk. Make sure to clean and dry the area thoroughly before using the sink.
How to Remove Excess Caulk Around Kitchen Sink
Why Choose Clear or White Caulk Around Your Kitchen Sink?

Seamless Aesthetic
 When it comes to designing your dream kitchen, every little detail matters. Choosing the right caulk for your kitchen sink may seem like a small decision, but it can make a big impact on the overall look and feel of your space. Clear or white caulk is a popular choice for many homeowners because it provides a seamless and clean aesthetic. By blending in with the sink and counter, it creates a cohesive and polished look.
Caulk
is used to fill in the gaps and spaces between your sink and countertop, preventing water and dirt from getting trapped and causing damage. By choosing a clear or white caulk, you are avoiding the harsh lines and contrast that can occur with colored caulk. This creates a more visually appealing and modern look for your kitchen.
When it comes to designing your dream kitchen, every little detail matters. Choosing the right caulk for your kitchen sink may seem like a small decision, but it can make a big impact on the overall look and feel of your space. Clear or white caulk is a popular choice for many homeowners because it provides a seamless and clean aesthetic. By blending in with the sink and counter, it creates a cohesive and polished look.
Caulk
is used to fill in the gaps and spaces between your sink and countertop, preventing water and dirt from getting trapped and causing damage. By choosing a clear or white caulk, you are avoiding the harsh lines and contrast that can occur with colored caulk. This creates a more visually appealing and modern look for your kitchen.
Easy Maintenance
 In addition to its visual appeal, clear or white caulk is also a practical choice for the kitchen. As it blends in with the sink and counter, any dirt or grime that may accumulate is less noticeable. This makes cleaning and maintenance a breeze, as you won't have to constantly scrub at colored caulk to keep it looking clean.
Furthermore, clear or white caulk is less likely to discolor over time, unlike colored caulk which can fade or yellow. This means your kitchen will maintain its fresh and clean look for longer, without the need for frequent recaulking.
In addition to its visual appeal, clear or white caulk is also a practical choice for the kitchen. As it blends in with the sink and counter, any dirt or grime that may accumulate is less noticeable. This makes cleaning and maintenance a breeze, as you won't have to constantly scrub at colored caulk to keep it looking clean.
Furthermore, clear or white caulk is less likely to discolor over time, unlike colored caulk which can fade or yellow. This means your kitchen will maintain its fresh and clean look for longer, without the need for frequent recaulking.
Versatility
 Another advantage of clear or white caulk is its versatility. It can be used with a variety of sink and countertop materials, from stainless steel to granite to porcelain. This means you can easily switch out your sink or countertops in the future without having to worry about matching the caulk. It also allows for more design flexibility, as you are not limited to certain colors or finishes.
Clear or white caulk
is also a great option for those who like to change up their kitchen decor frequently. With a neutral caulk color, you can easily switch out accessories and accents without clashing with the caulk color.
Another advantage of clear or white caulk is its versatility. It can be used with a variety of sink and countertop materials, from stainless steel to granite to porcelain. This means you can easily switch out your sink or countertops in the future without having to worry about matching the caulk. It also allows for more design flexibility, as you are not limited to certain colors or finishes.
Clear or white caulk
is also a great option for those who like to change up their kitchen decor frequently. With a neutral caulk color, you can easily switch out accessories and accents without clashing with the caulk color.
Conclusion
 Choosing clear or white caulk for your kitchen sink is not only a practical and versatile choice, but it also adds a touch of elegance and modernity to your space. Its seamless aesthetic, easy maintenance, and versatility make it a popular option among homeowners. So when it comes to your kitchen sink, don't overlook the importance of choosing the right caulk to tie your design together.