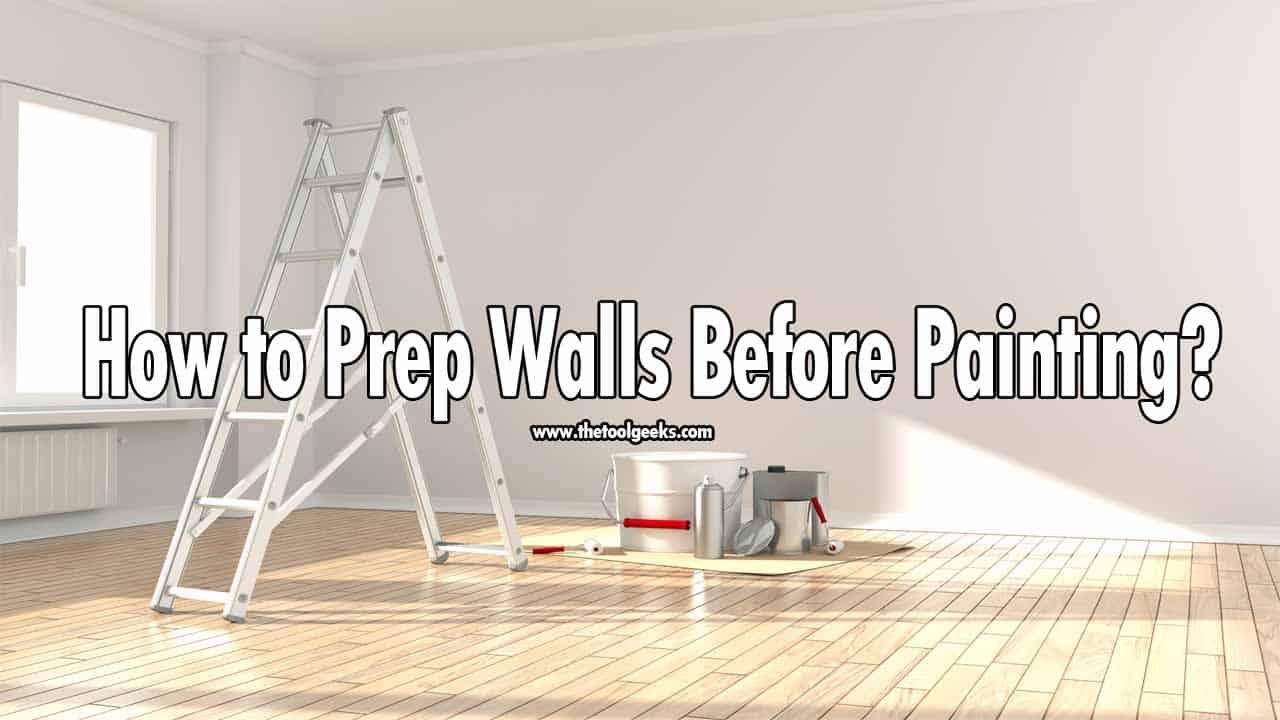
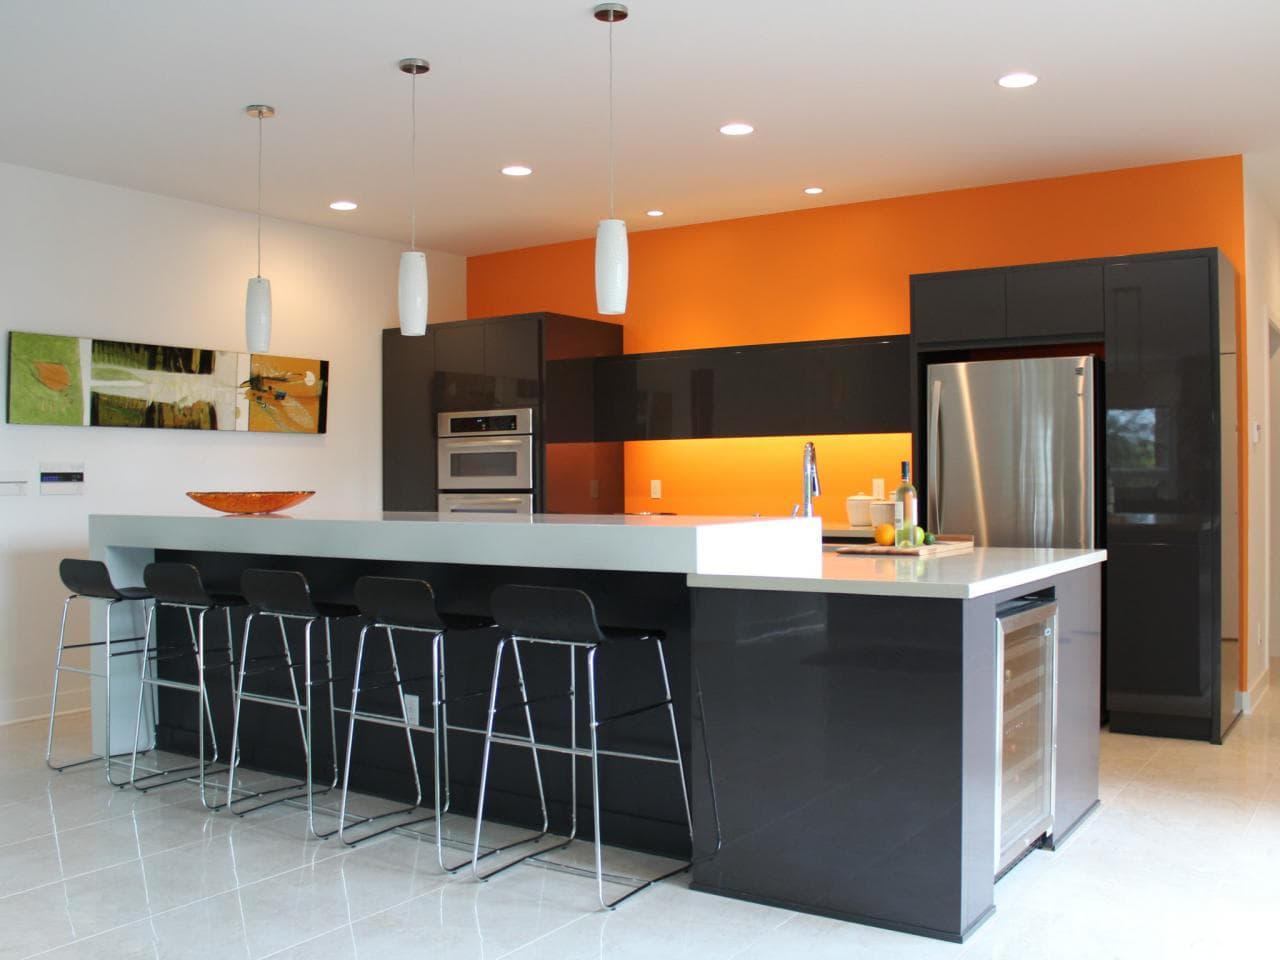
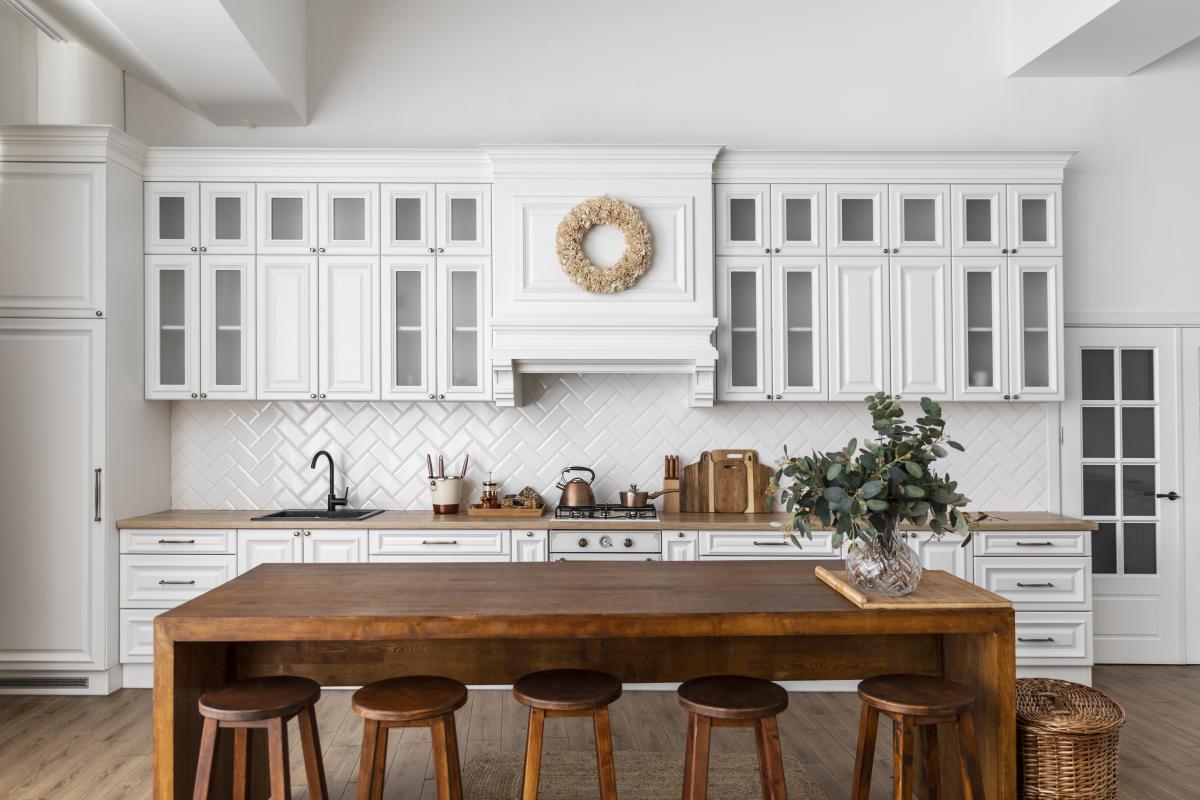
If you're planning on giving your kitchen a fresh coat of paint, it's important to properly clean and prep your walls beforehand. This will ensure that your paint goes on smoothly and looks professional. Follow these steps to get your kitchen walls ready for a beautiful new color.How to Clean and Prep Your Kitchen Walls for Painting


How to Clean and Prep Your Kitchen Walls for Painting
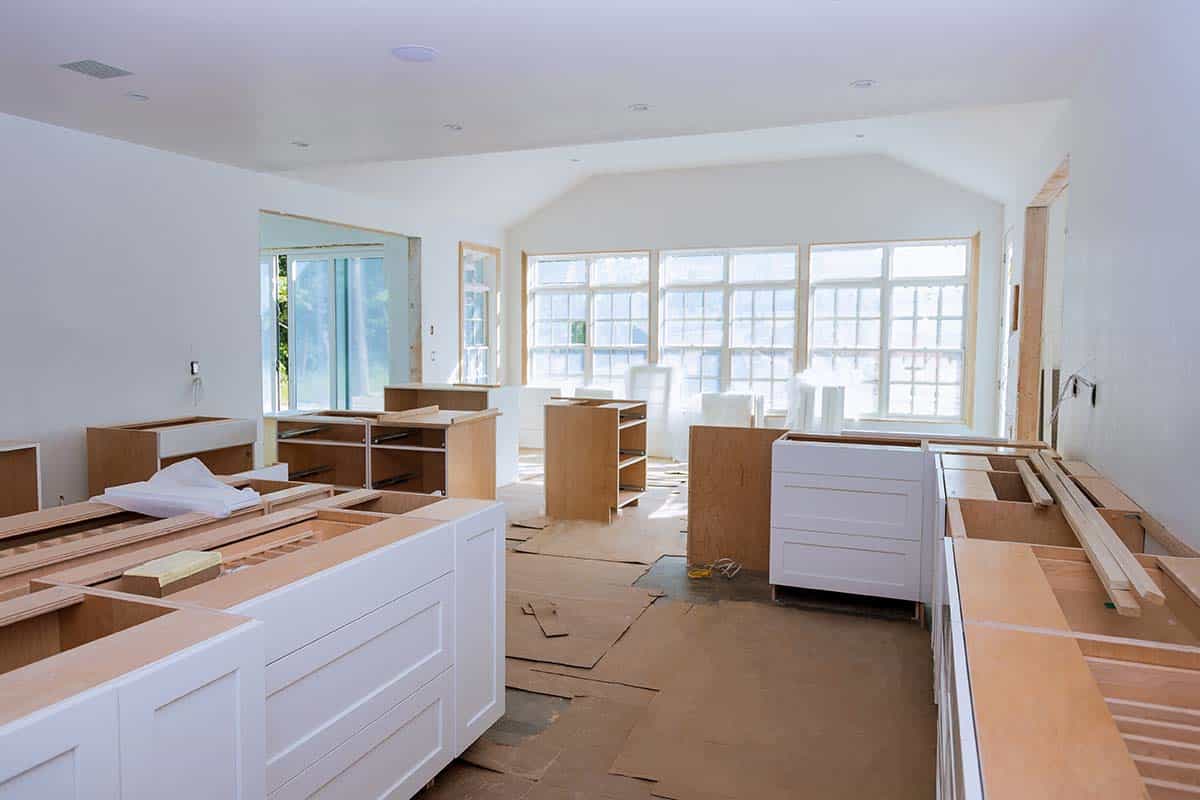


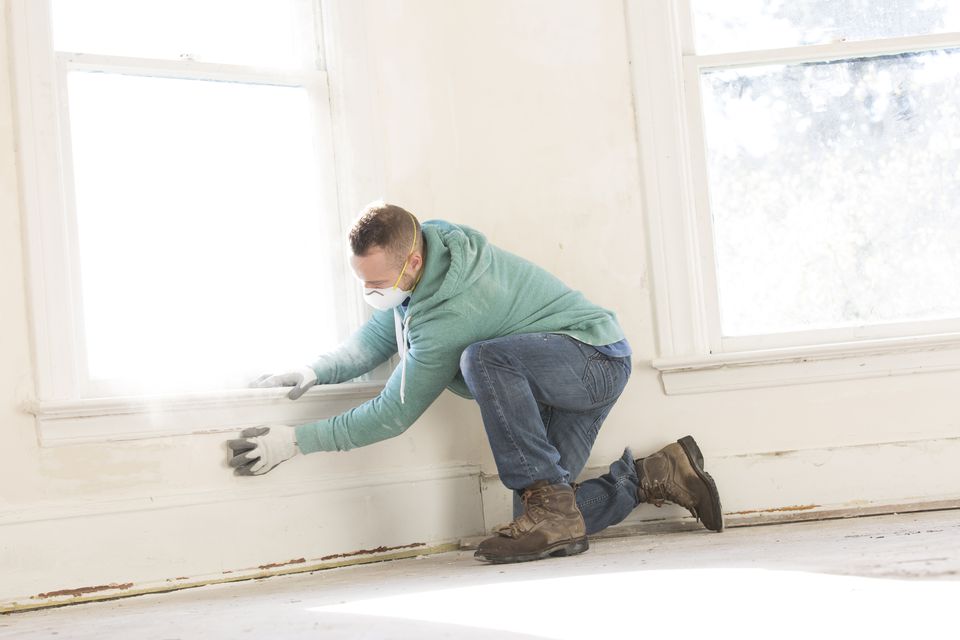
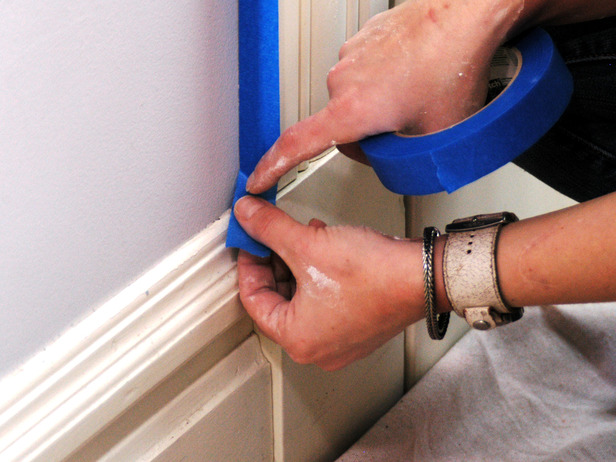
The first step to prepping your kitchen walls for painting is to move all furniture and appliances away from the walls. This will give you room to work and prevent any damage to your belongings. Next, protect your floors and countertops by covering them with drop cloths or plastic sheets.How to Prepare Your Kitchen Walls for Painting


How to Prepare Your Kitchen Walls for Painting


Start by using a mild cleaner and warm water to remove any dust, dirt, or grease from your walls. You can also use a degreaser for tougher stains. Be sure to wipe down the walls thoroughly and let them dry completely before moving on to the next step.Steps for Cleaning and Prepping Kitchen Walls for Painting


Steps for Cleaning and Prepping Kitchen Walls for Painting


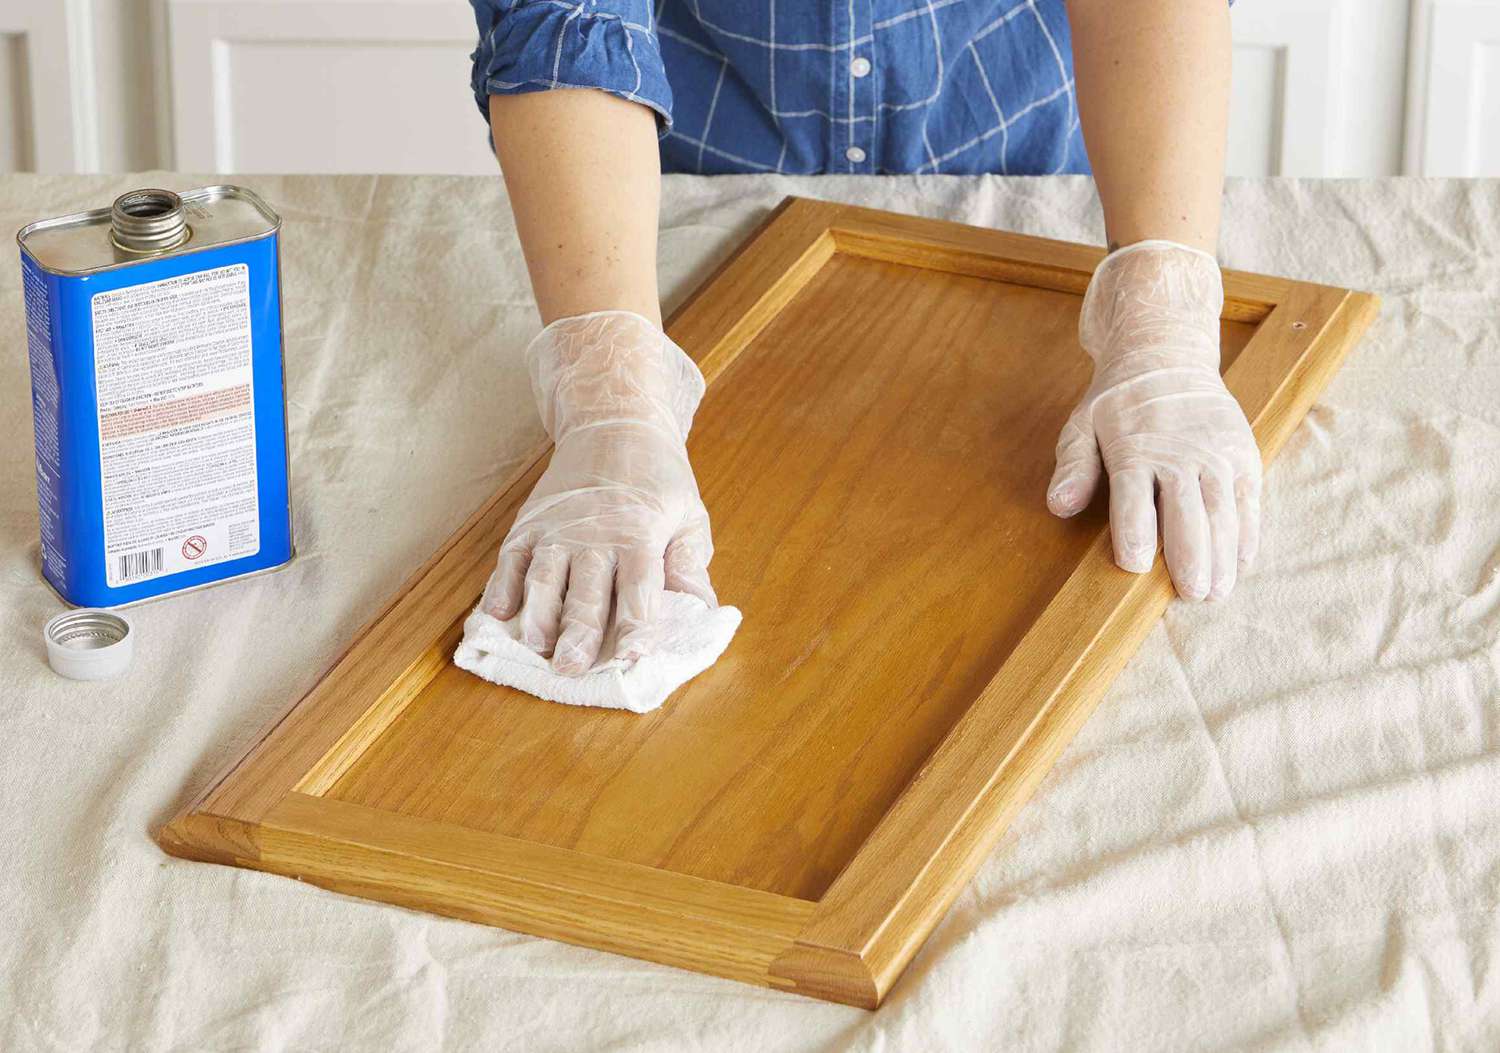
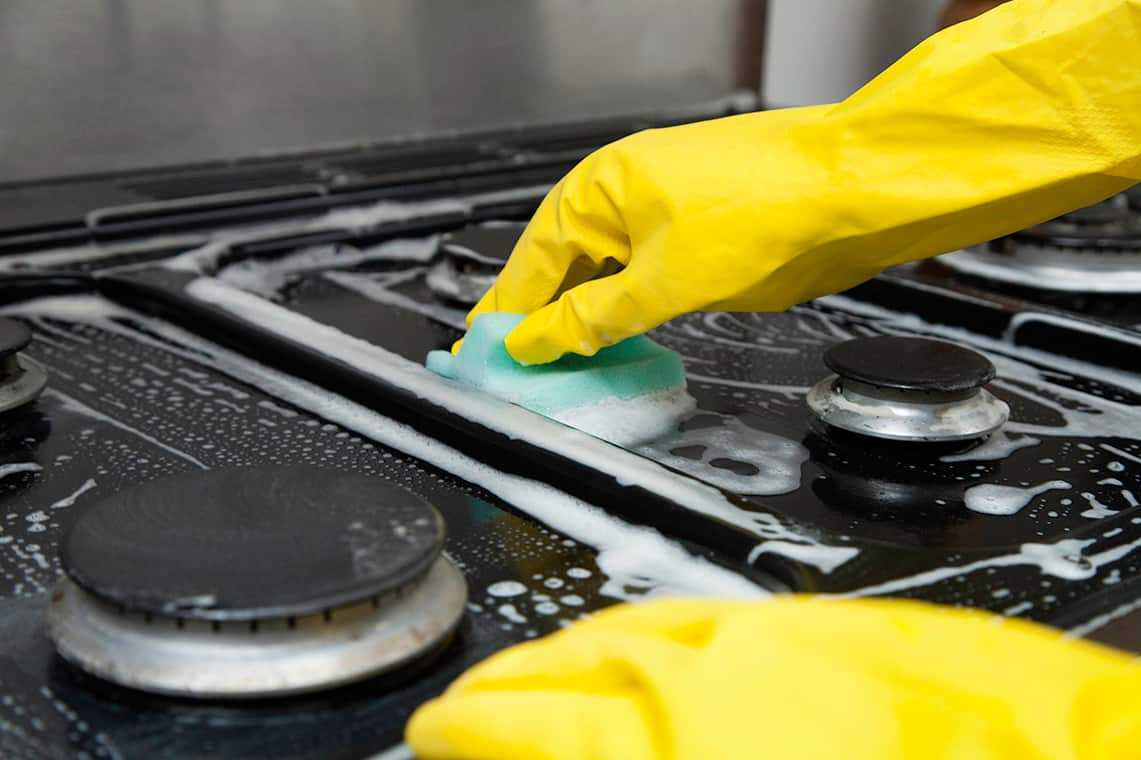
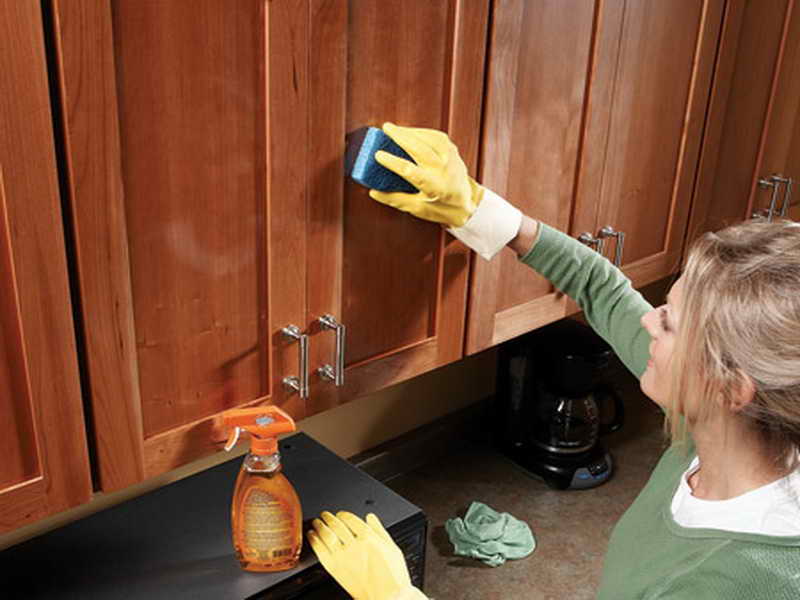
For best results, use a soft cloth or sponge and work in a circular motion when cleaning your walls. This will help to prevent streaks and ensure an even surface for painting. Also, be sure to wear gloves to protect your hands from any harsh cleaning chemicals.Best Practices for Cleaning and Prepping Kitchen Walls for Painting

Best Practices for Cleaning and Prepping Kitchen Walls for Painting


/PrimingDrywall-172343086-56ec1ec03df78cb4b98108f0.jpg)


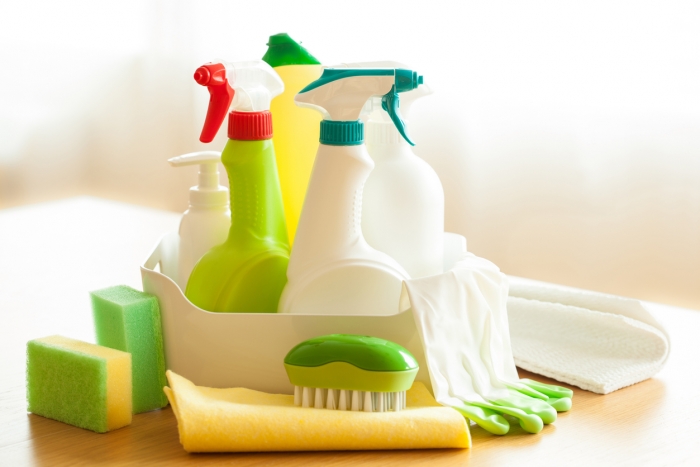
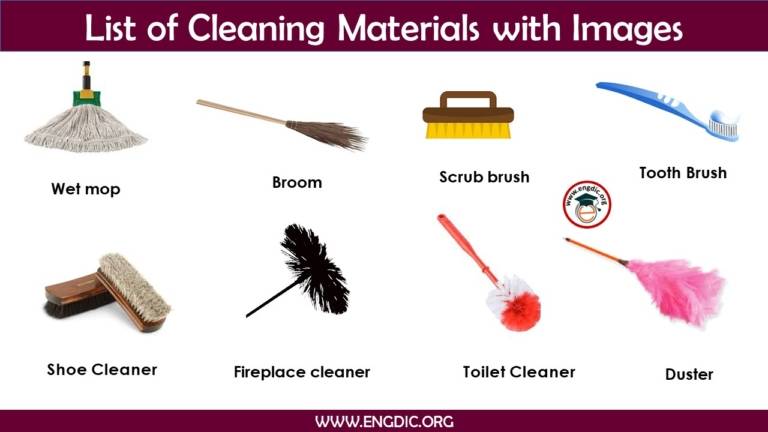
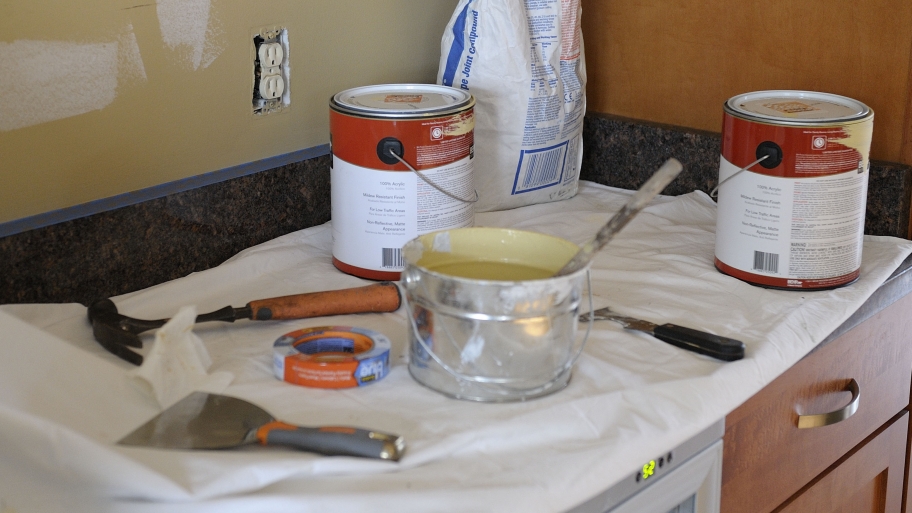
In addition to a mild cleaner and degreaser, you'll also need some basic tools to properly prep your kitchen walls. These include a bucket, sponge, soft cloth, and gloves. You may also need a ladder if you have high walls or hard-to-reach areas.Tools and Supplies Needed for Cleaning and Prepping Kitchen Walls for Painting

Tools and Supplies Needed for Cleaning and Prepping Kitchen Walls for Painting

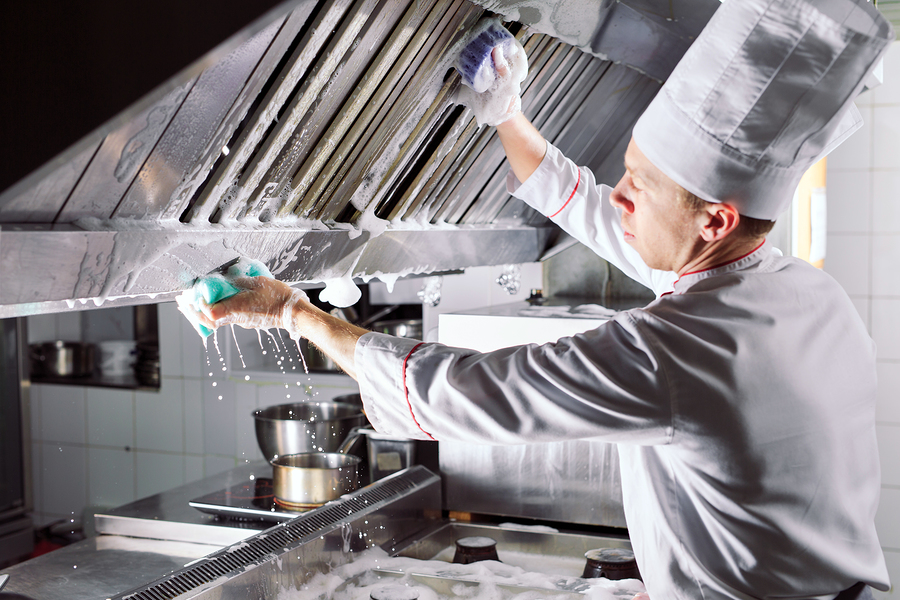
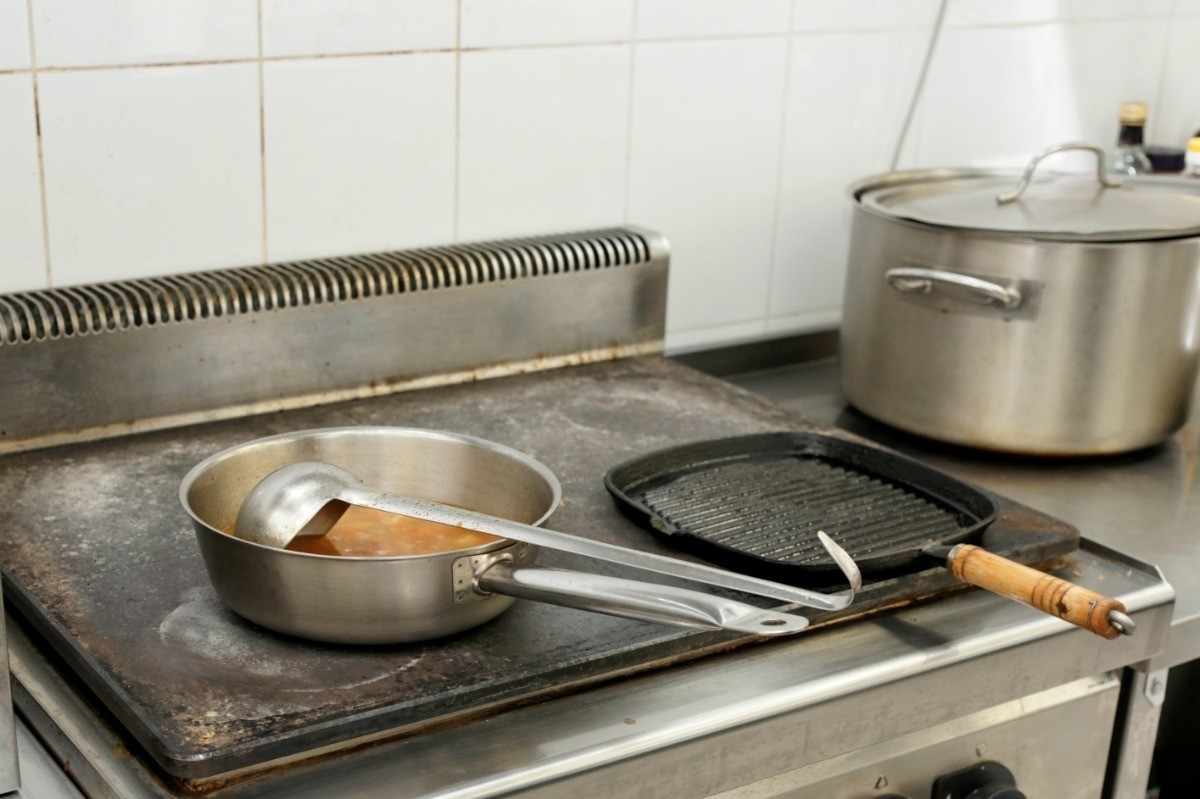
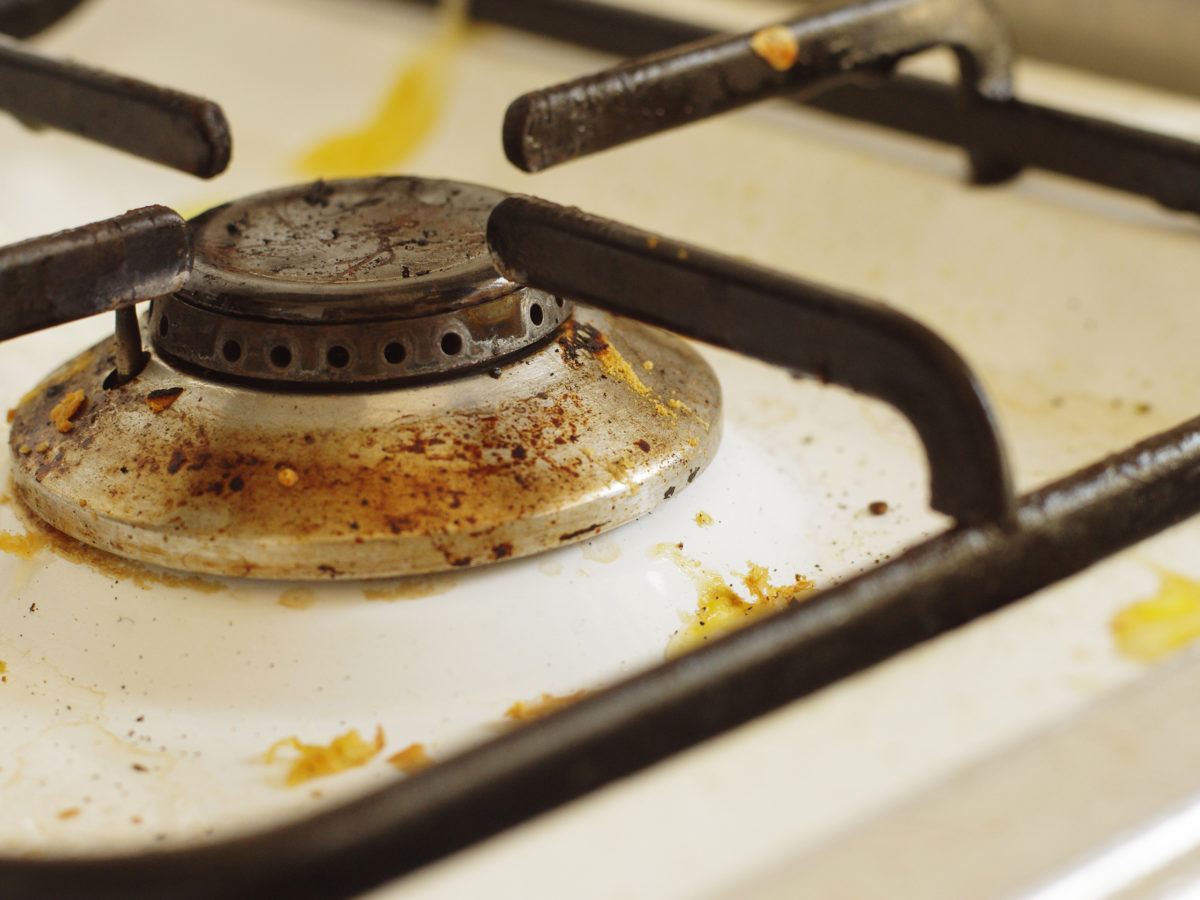
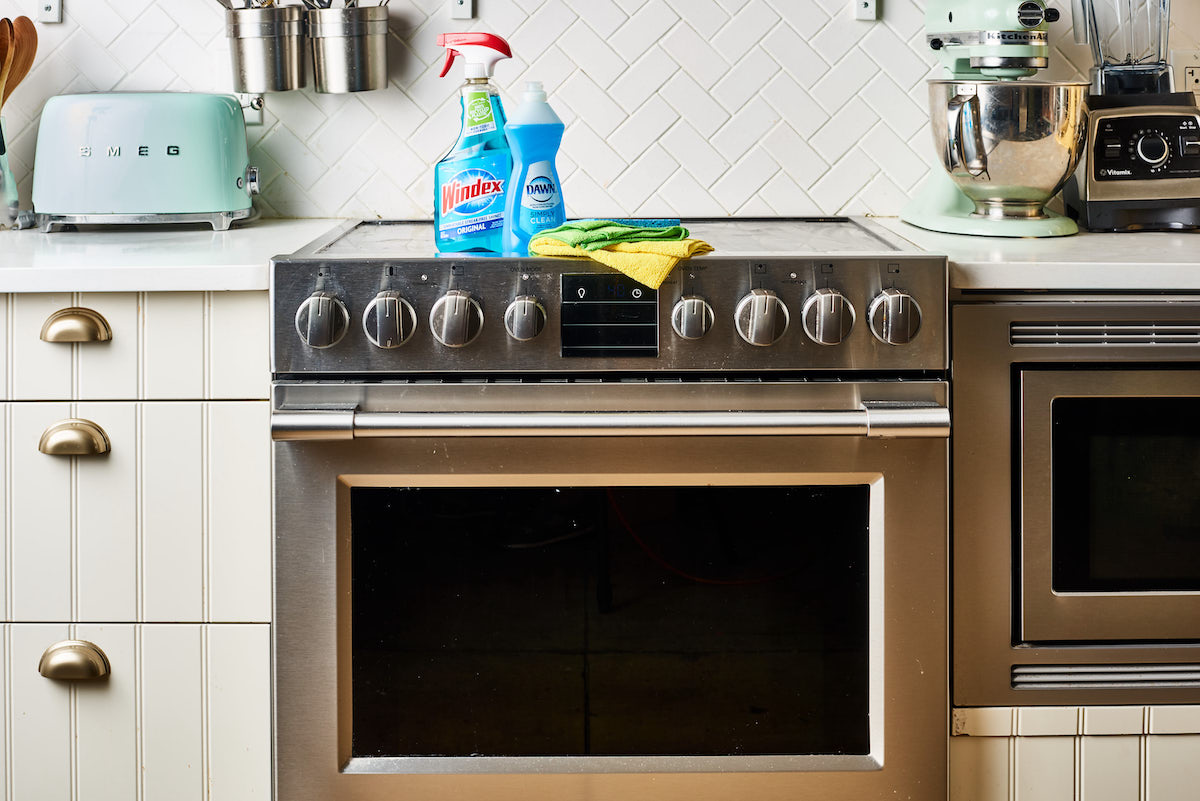
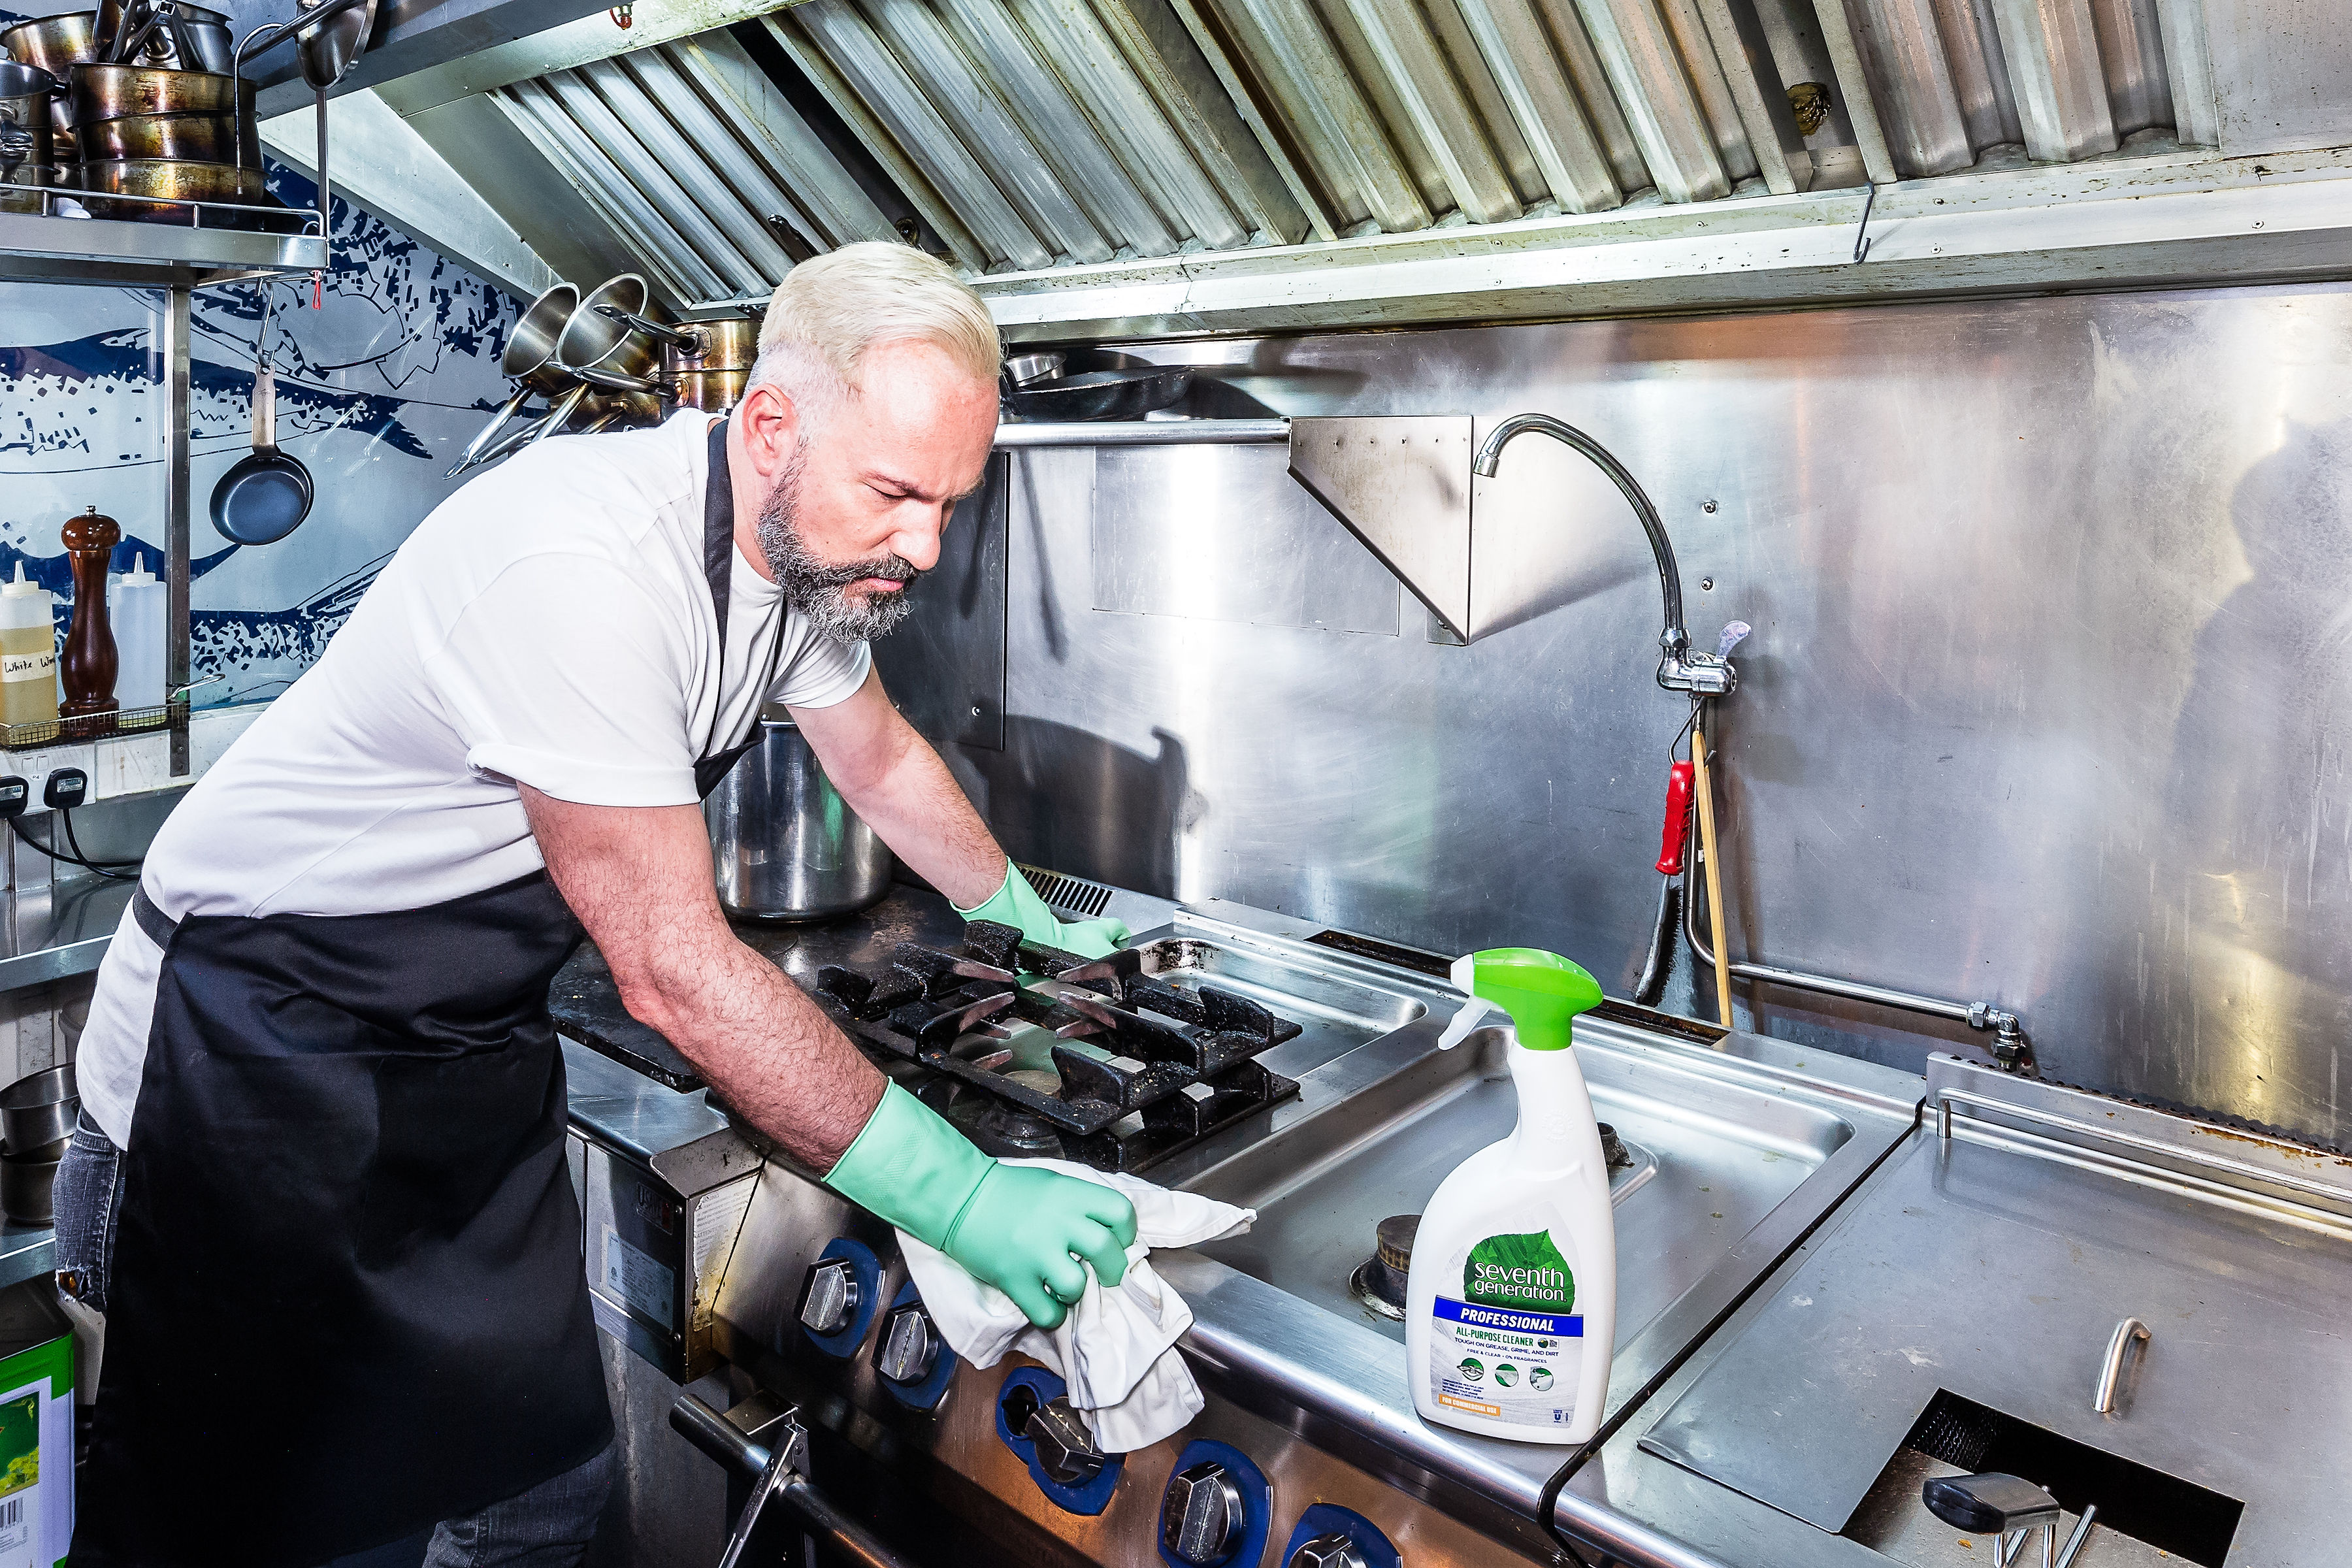
Kitchen walls are often subject to grease and grime buildup, especially near cooking areas. To remove this buildup, mix a solution of warm water and grease-cutting dish soap. Apply the solution to the walls and let it sit for a few minutes before wiping it off with a clean cloth or sponge.Tips for Removing Grease and Grime from Kitchen Walls


Tips for Removing Grease and Grime from Kitchen Walls


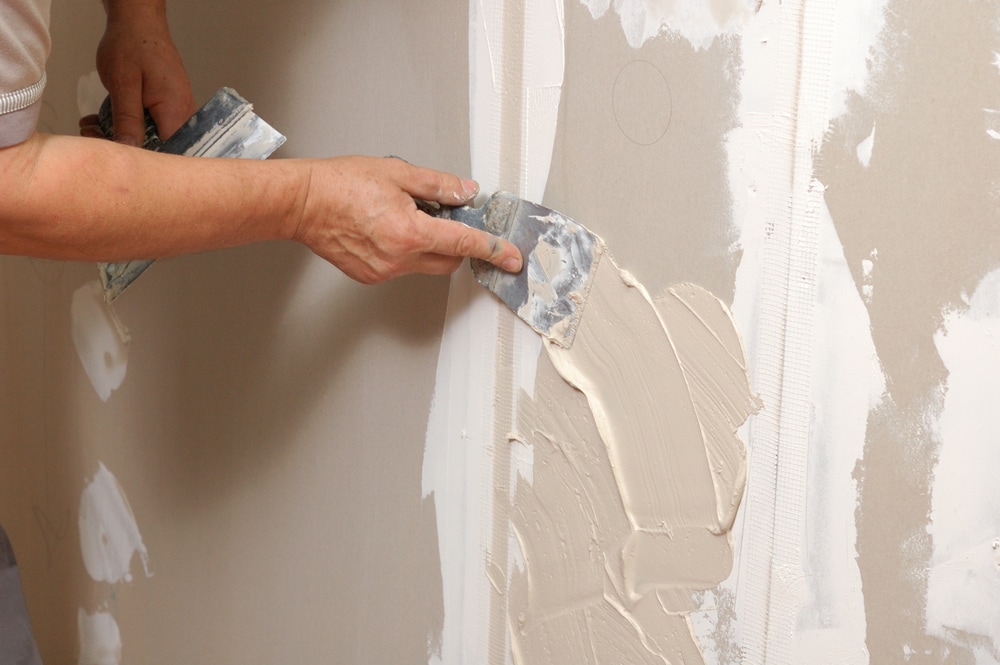
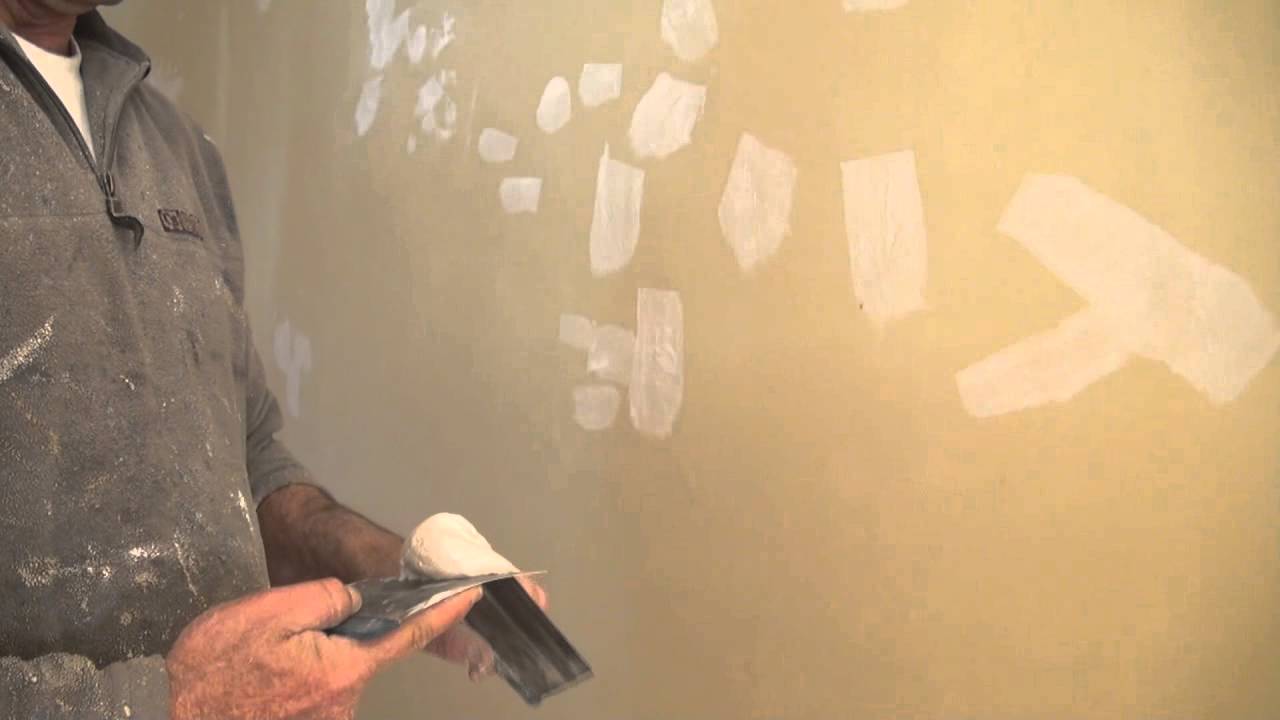
If your kitchen walls have any cracks, holes, or other damage, it's important to repair them before painting. Use spackling compound to fill in any holes and sand down any rough spots. Once the compound is dry, sand it down again and wipe away any dust before painting.How to Repair Any Damage on Kitchen Walls Before Painting
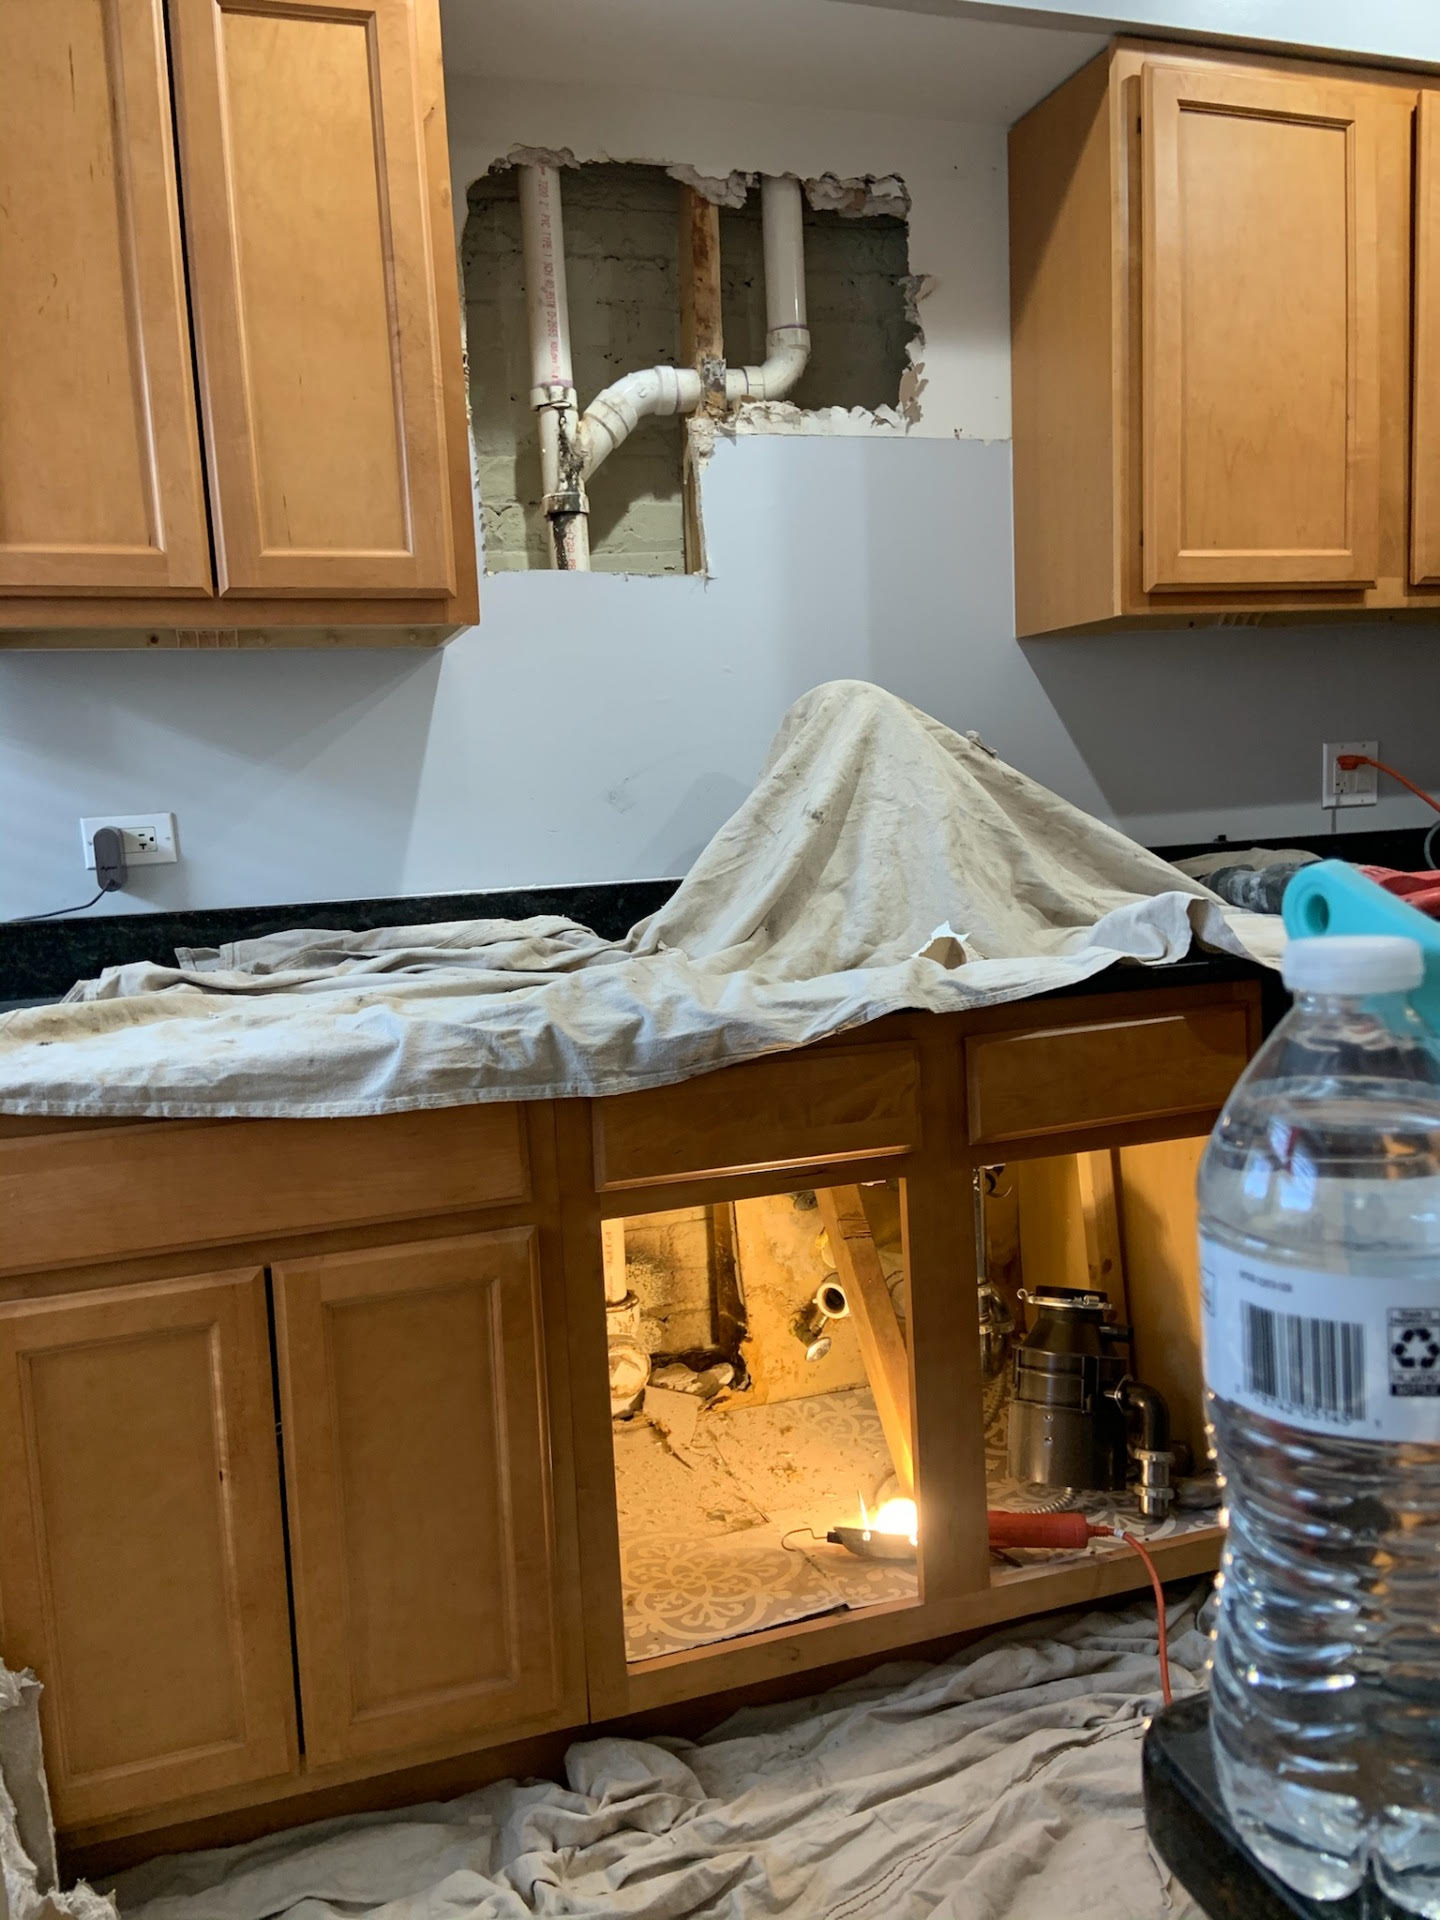


How to Repair Any Damage on Kitchen Walls Before Painting


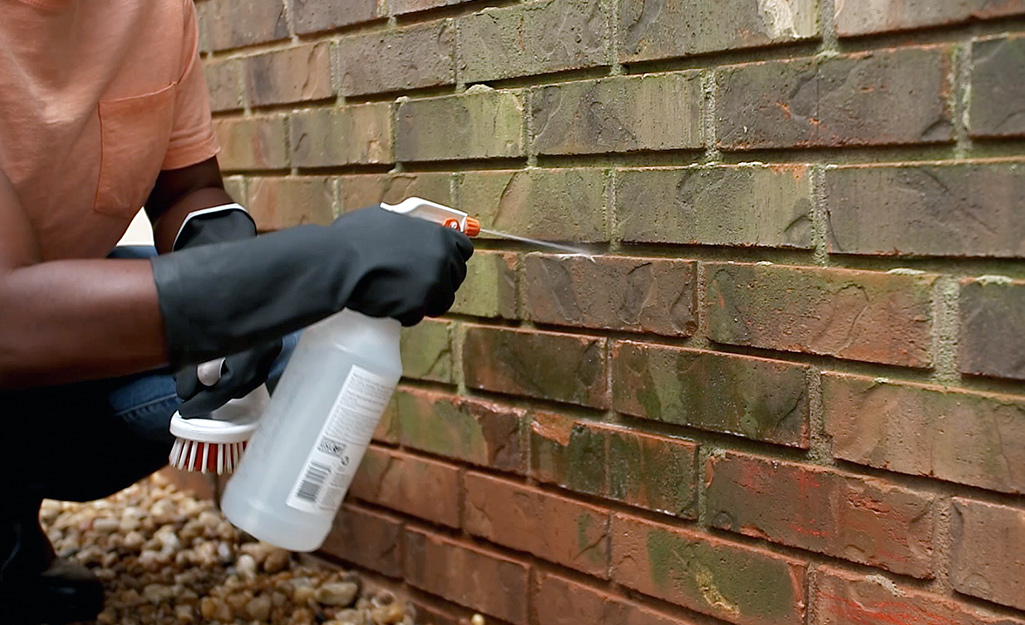
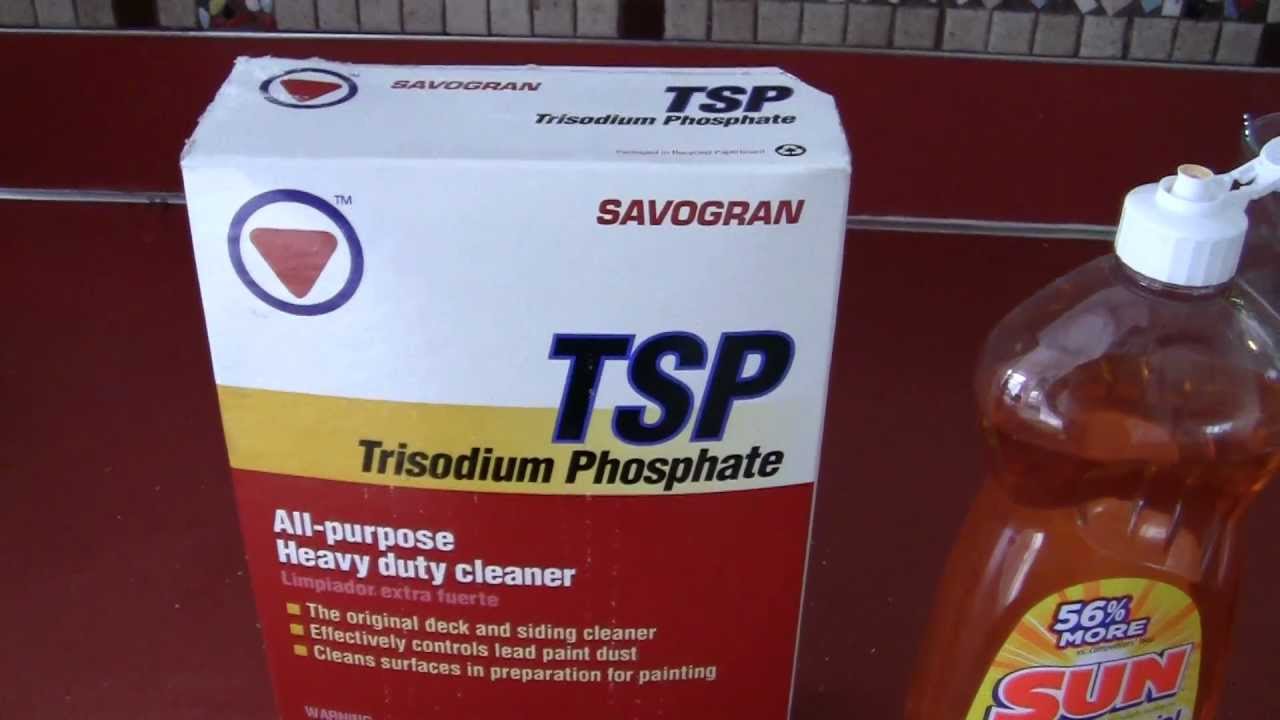
TSP, or trisodium phosphate, is a powerful cleaner that is often used for heavy-duty cleaning tasks. It is especially effective for removing grease and grime from kitchen walls. Be sure to follow the instructions carefully and wear gloves when using TSP.Using TSP to Clean and Degrease Kitchen Walls


Using TSP to Clean and Degrease Kitchen Walls


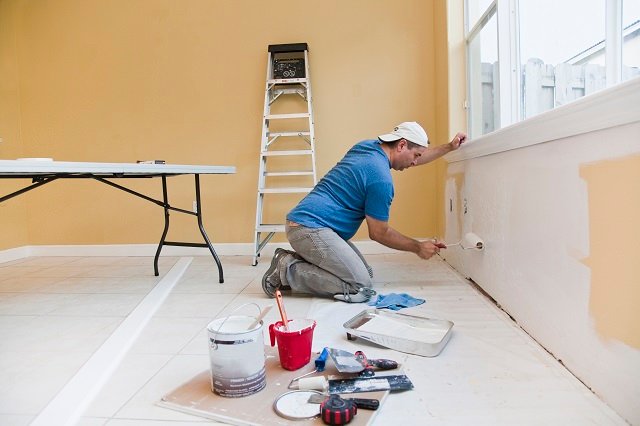
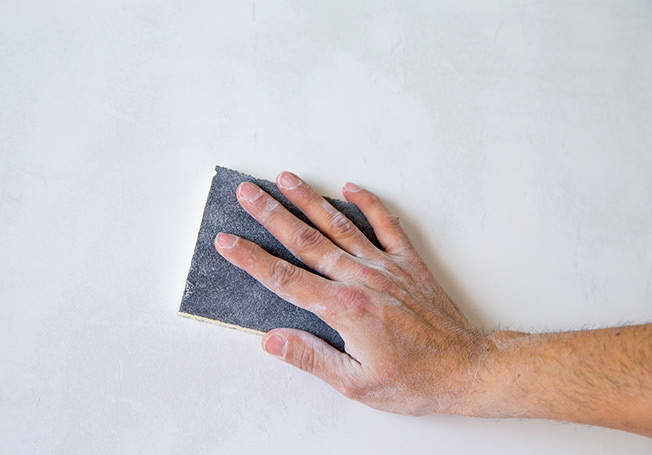
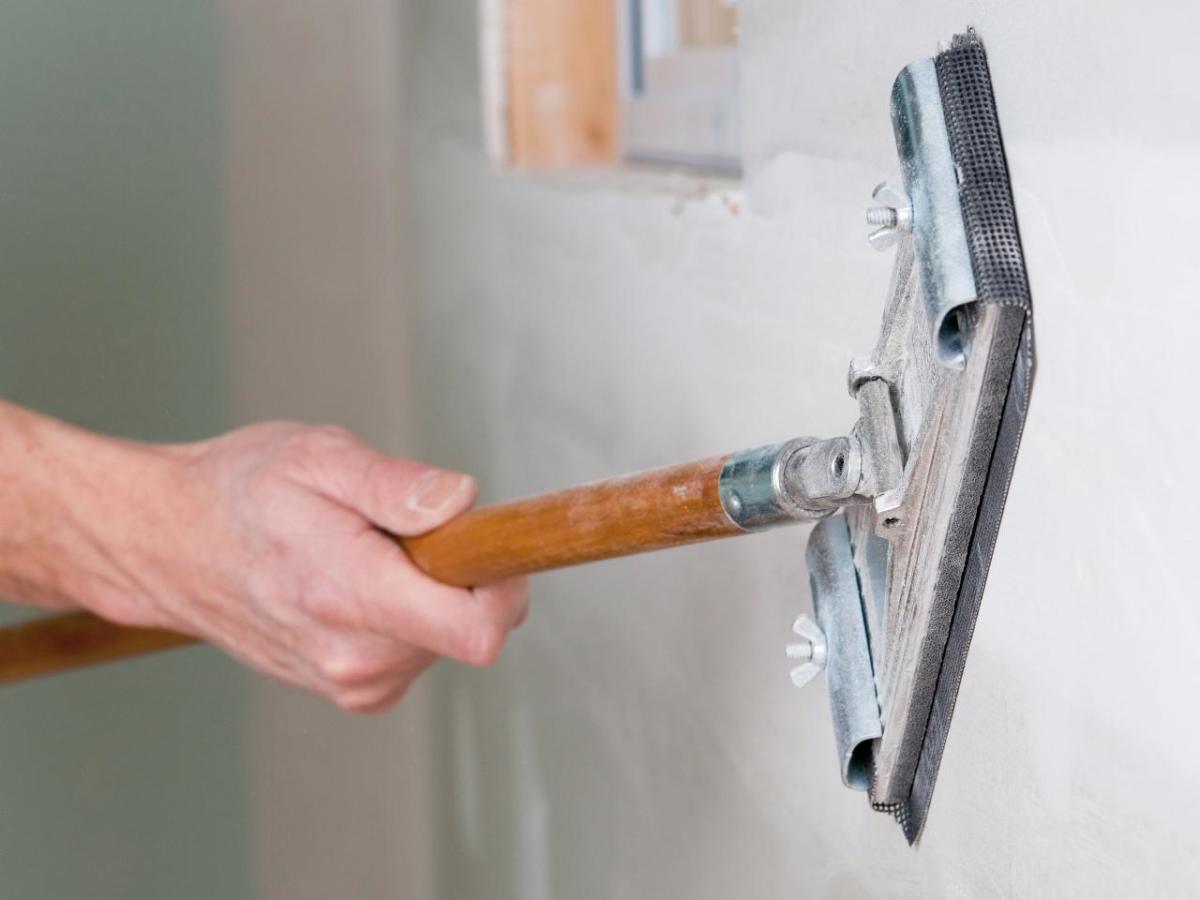
Before painting, it's important to sand your walls to create a smooth surface for the paint to adhere to. Use a fine-grit sandpaper and lightly sand the walls in a circular motion. After sanding, wipe away any dust and apply a coat of primer to help the paint adhere and create a more even finish.Sanding and Priming Kitchen Walls for a Smooth Paint Finish

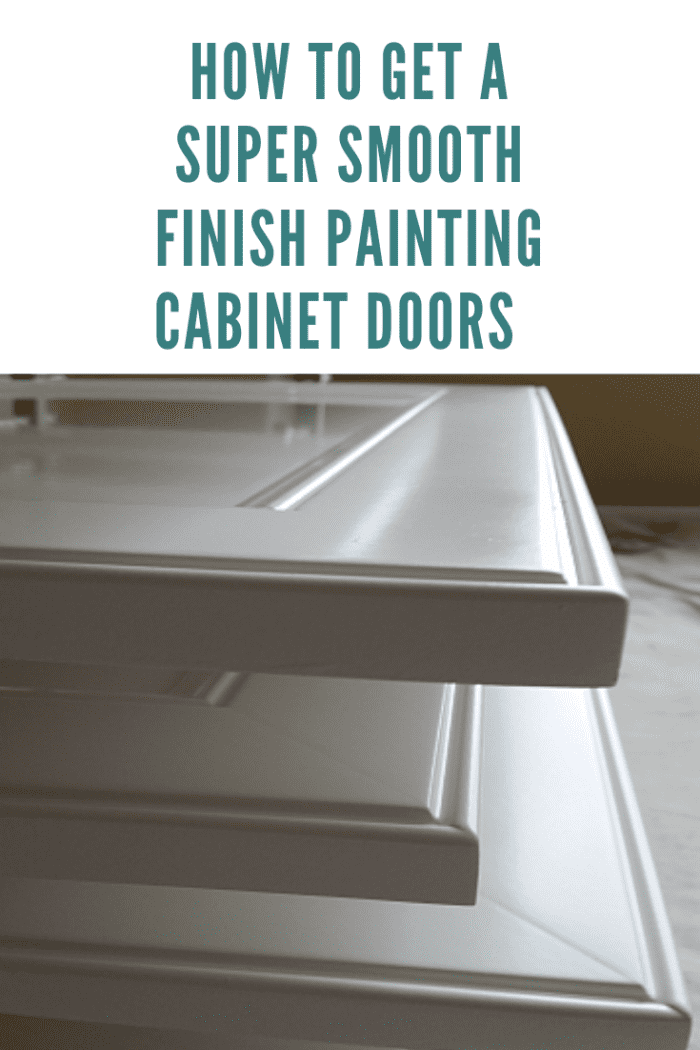

Sanding and Priming Kitchen Walls for a Smooth Paint Finish


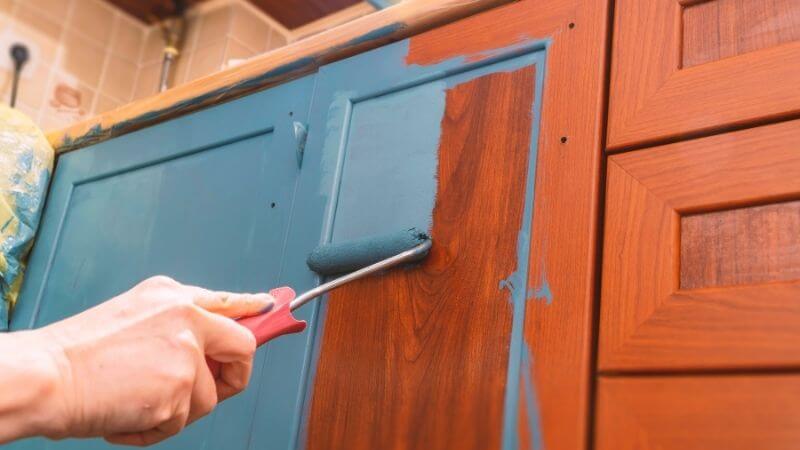


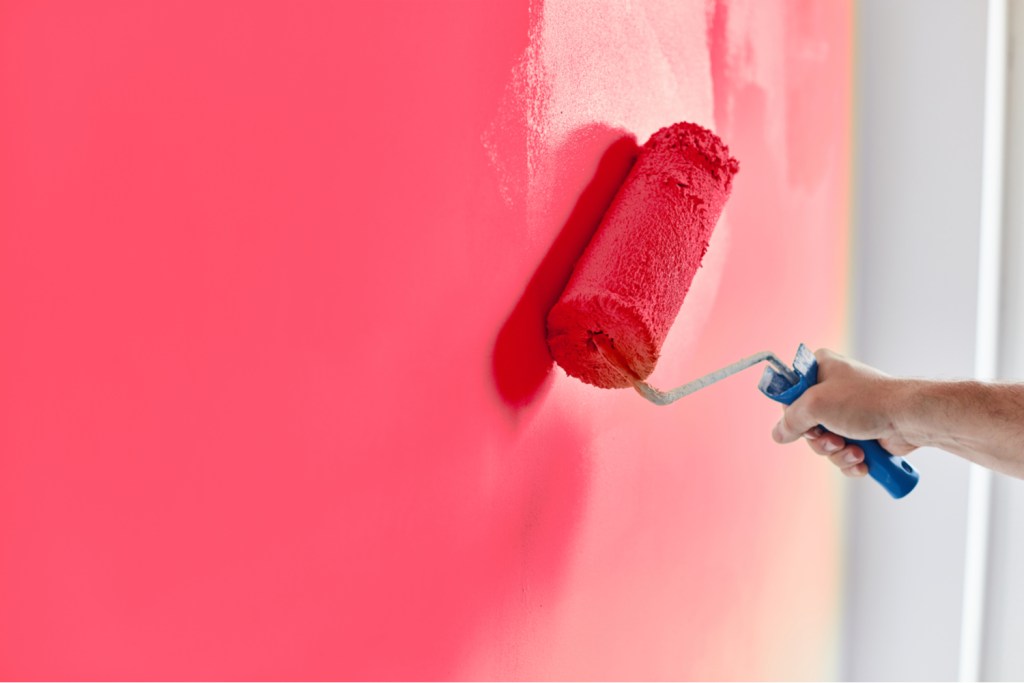
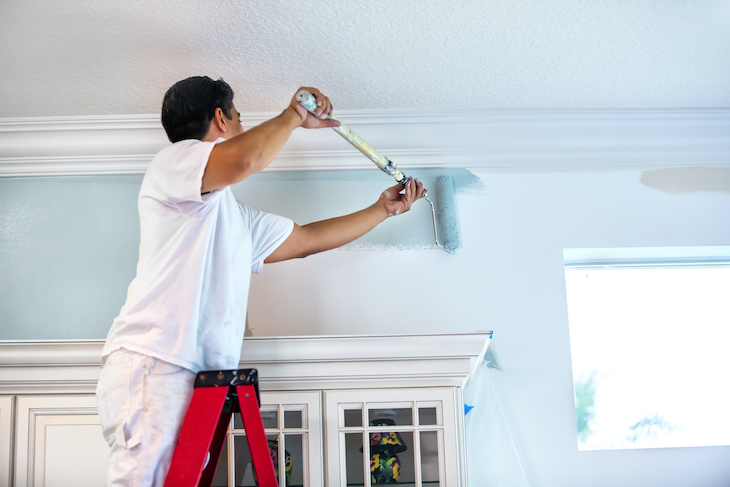
Once your walls are clean, dry, and repaired, you're ready to start painting! Use a high-quality paint and apply it with a roller or brush, depending on the size of the area. Be sure to follow the instructions on the paint can for best results. After painting, remove any drop cloths and let the paint dry completely before moving your furniture and appliances back into place. In just a few simple steps, you can have clean, prepped walls ready for a fresh coat of paint in your kitchen. By taking the time to properly clean and prep your walls, you'll ensure a professional-looking finish that will make your kitchen feel like new again.Final Steps for Cleaning and Prepping Kitchen Walls for Painting


Final Steps for Cleaning and Prepping Kitchen Walls for Painting


Cleaning Prep Kitchen Wall for Painting: A Necessary Step in House Design

The Importance of a Clean Prep Kitchen Wall
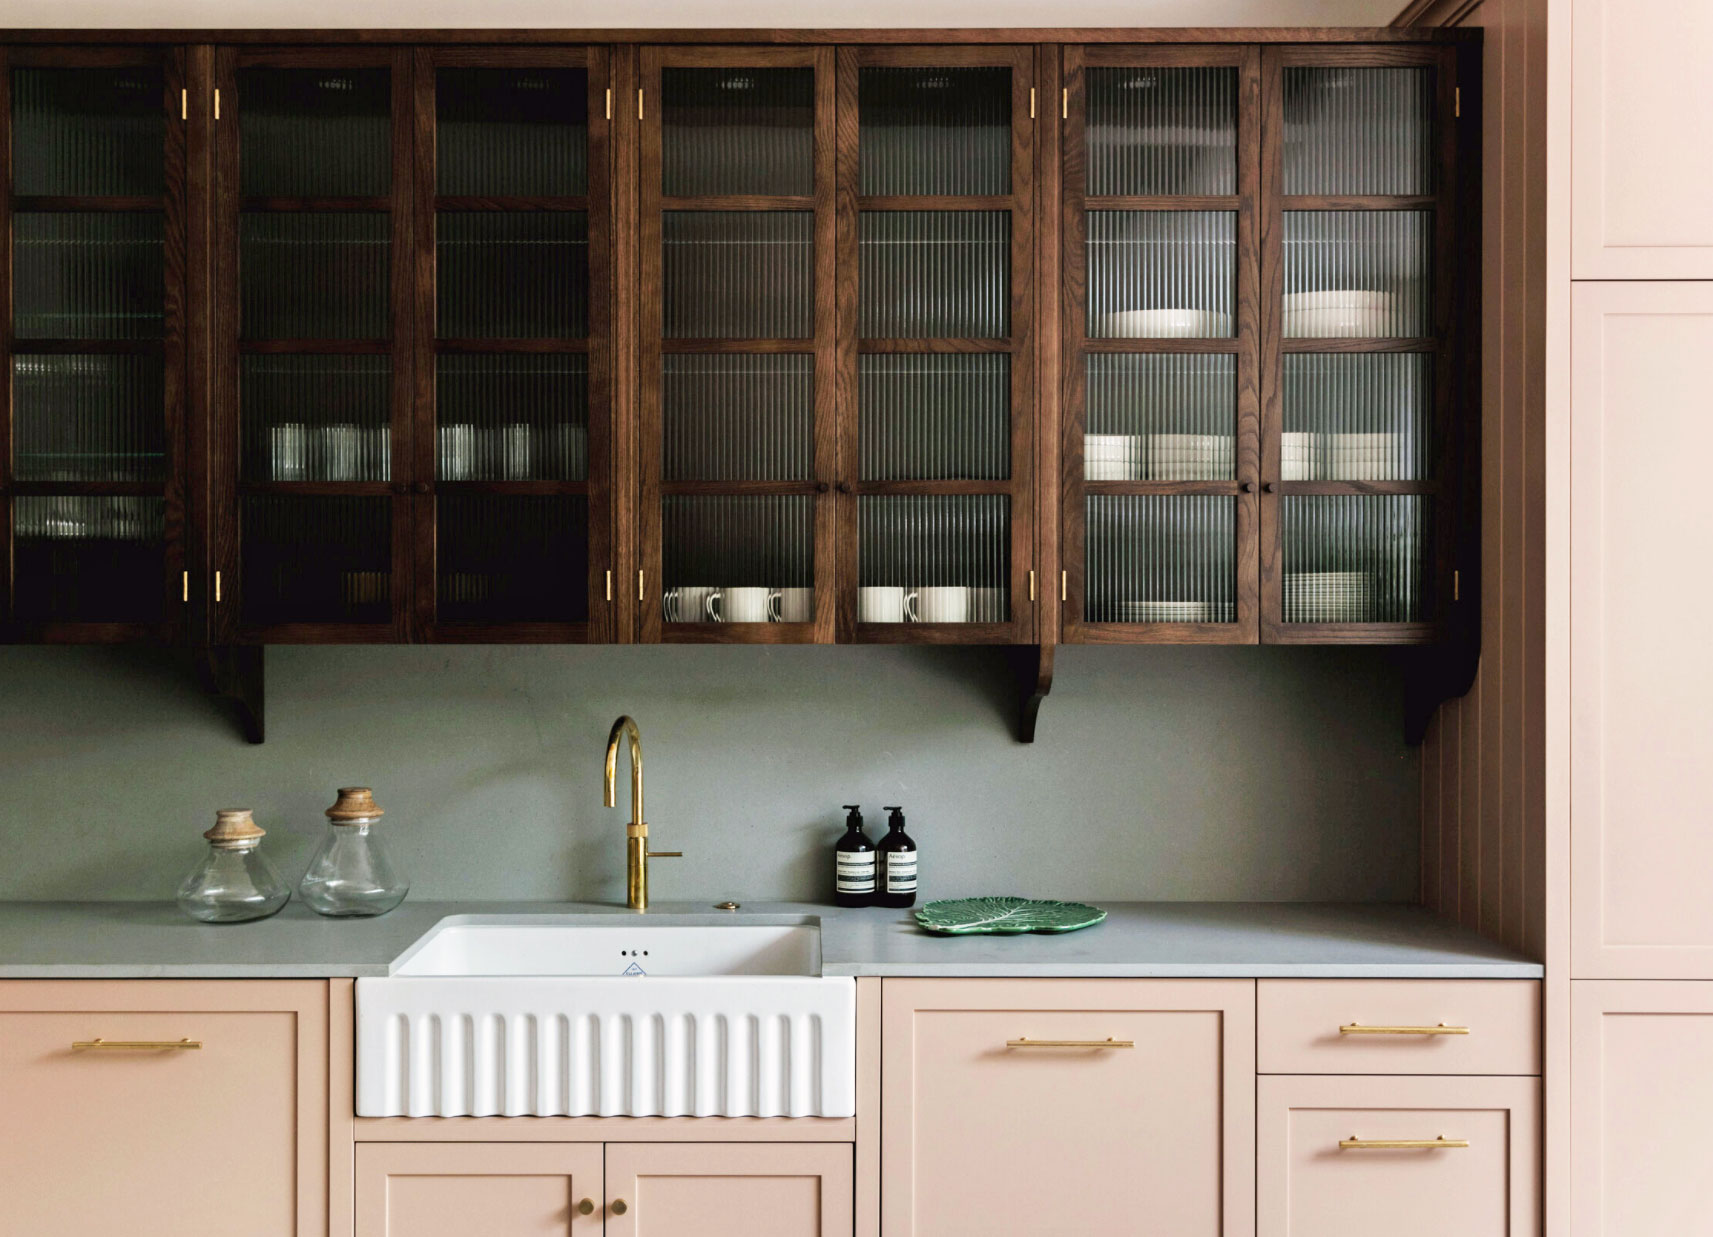
 When it comes to painting your kitchen, preparing the walls is a crucial step that should not be overlooked. A clean and smooth surface is essential for ensuring that the paint adheres properly and results in a professional-looking finish. The prep kitchen wall, in particular, is an area that is prone to accumulating grease, oil, and food splatters, making it a challenging surface to paint. However, with the right techniques and cleaning products, you can easily get your prep kitchen wall ready for painting and achieve the desired results.
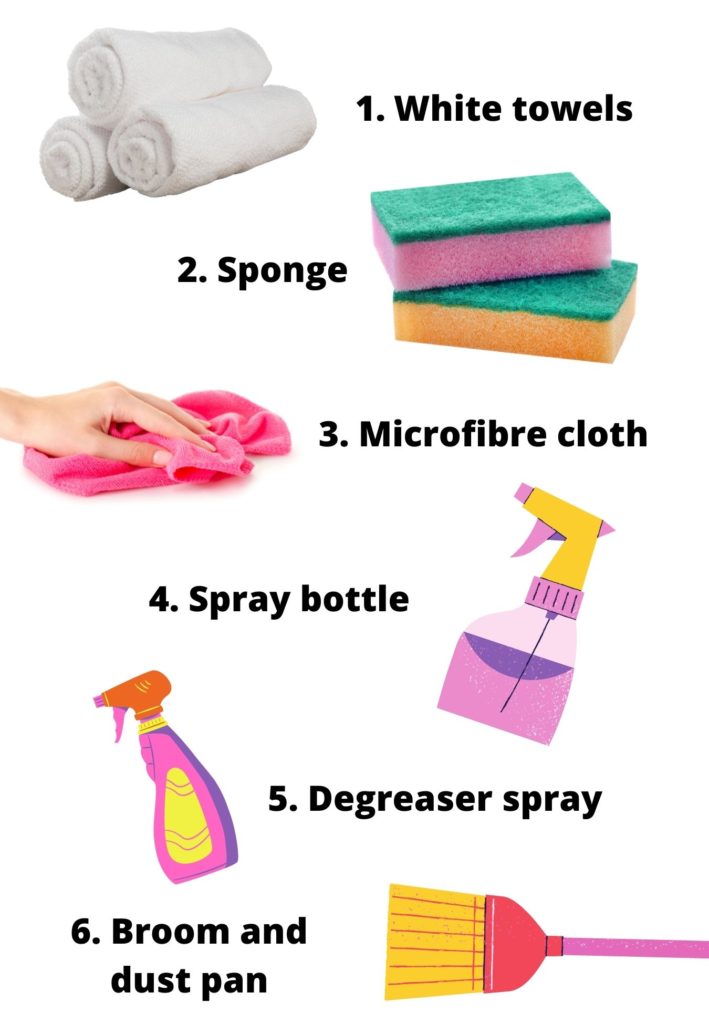
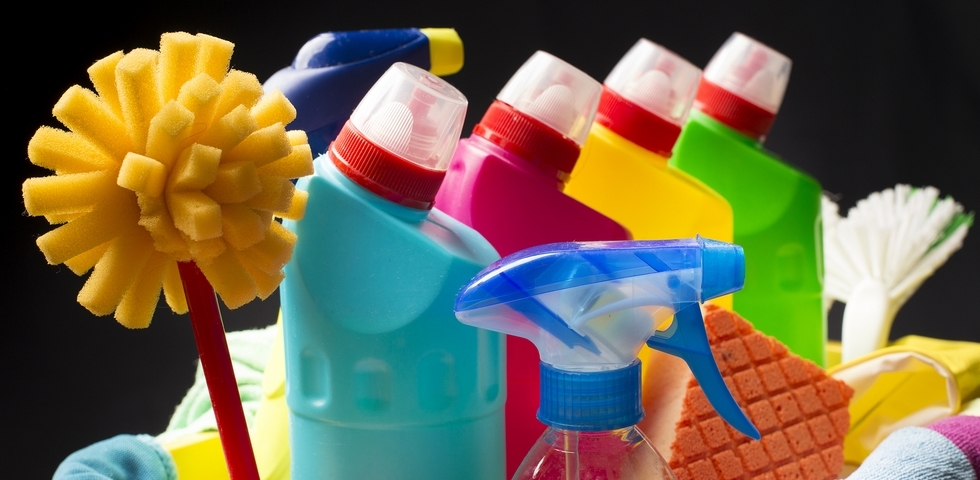
Step 1: Gather Your Supplies
 Before you begin cleaning your prep kitchen wall, it's essential to gather all the necessary supplies. This includes a bucket, warm water, dish soap, a sponge or microfiber cloth, and a scrub brush. You may also want to have some protective gloves and goggles on hand to protect your skin and eyes from any harsh chemicals.
Step 2: Remove Grease and Grime
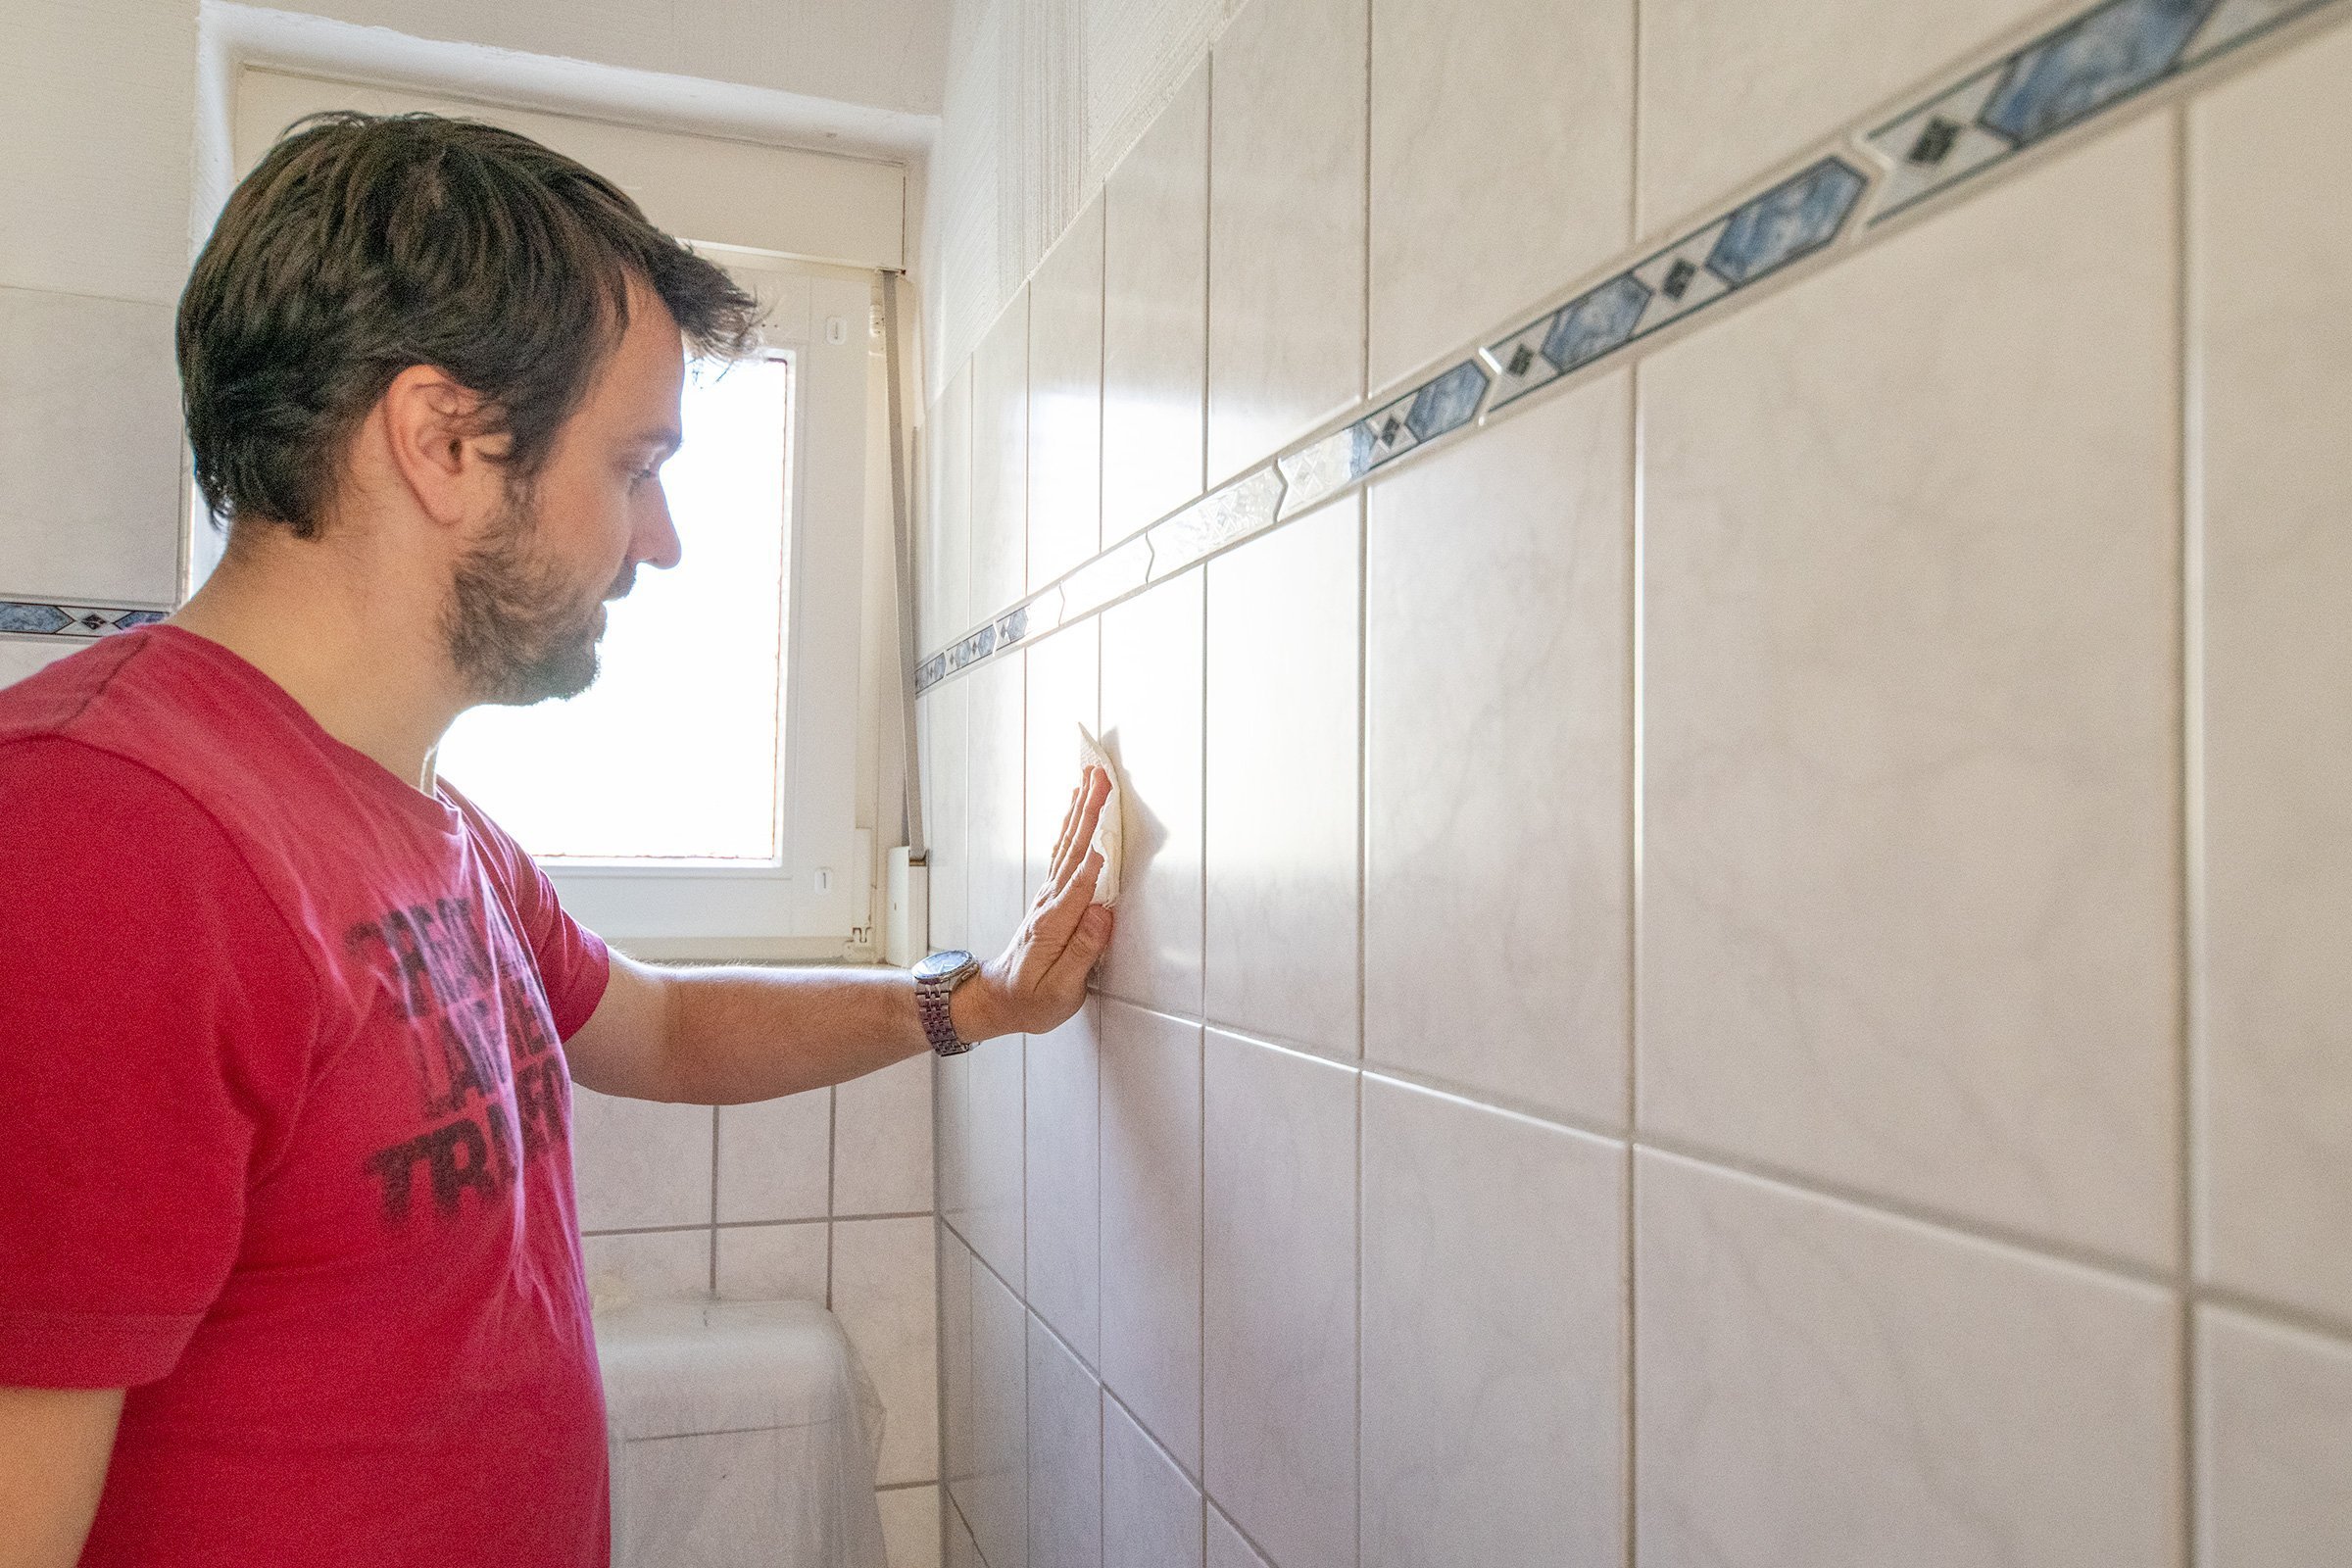
 The first step in cleaning your prep kitchen wall is to remove any visible grease and grime. Use a sponge or cloth dipped in warm, soapy water to wipe down the wall, paying extra attention to areas around the stove and sink. For tougher grease spots, you may need to use a scrub brush and a degreaser. Be sure to rinse the wall thoroughly with clean water after scrubbing.
Step 3: Tackle Stubborn Stains
 If you notice any stubborn stains on your prep kitchen wall, such as food splatters or crayon marks, you can use a mild abrasive cleaner to remove them. Be sure to test the cleaner on a small, inconspicuous area first to ensure it doesn't damage the paint.
Step 4: Remove Lingering Residue
 After cleaning the wall, there may still be some residue left behind. To remove this, mix equal parts of water and white vinegar in a spray bottle and spritz it onto the wall. Let it sit for a few minutes before wiping it away with a clean, damp cloth.
Step 5: Rinse and Dry
 Once you have thoroughly cleaned your prep kitchen wall, be sure to rinse it with clean water and dry it with a towel. You want to ensure that the wall is completely dry before you start painting to avoid any issues with the paint sticking.
In Conclusion
 Cleaning your prep kitchen wall before painting is an essential step in achieving a professional-looking finish. By following these simple steps and using the right cleaning products, you can easily remove grease, grime, and stains from your wall and create a smooth surface for your paint to adhere to. Remember to always wear protective gear and test any cleaners on a small area first. With a clean and prepped kitchen wall, you can now move on to the fun part of choosing your paint color and giving your kitchen a fresh, new look.