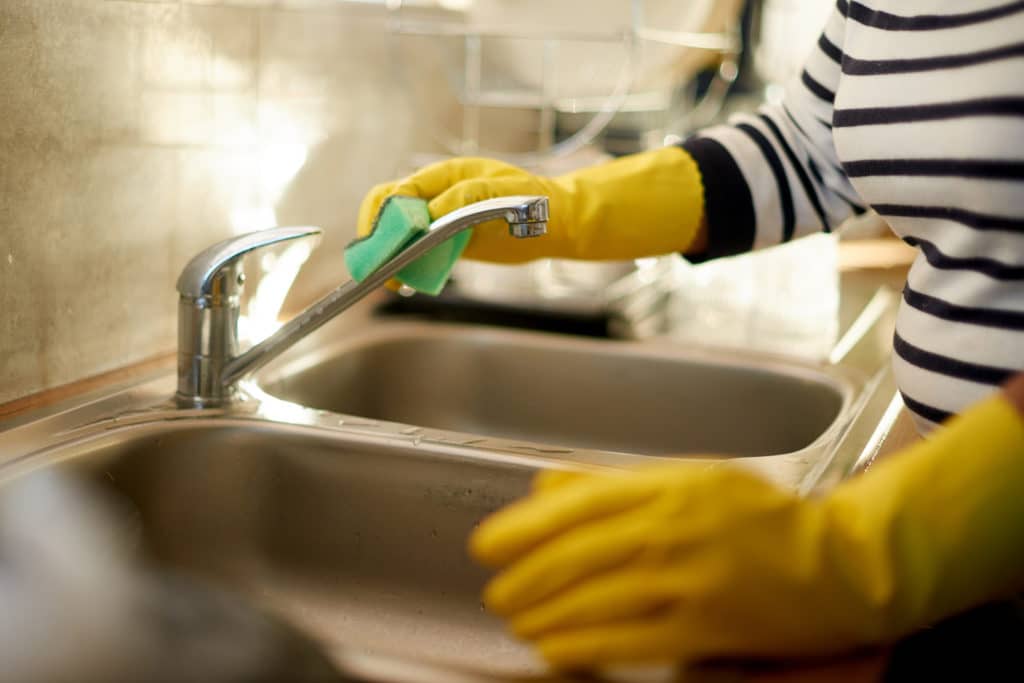
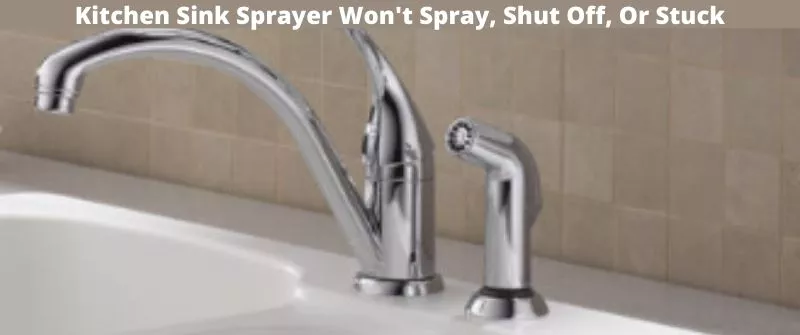
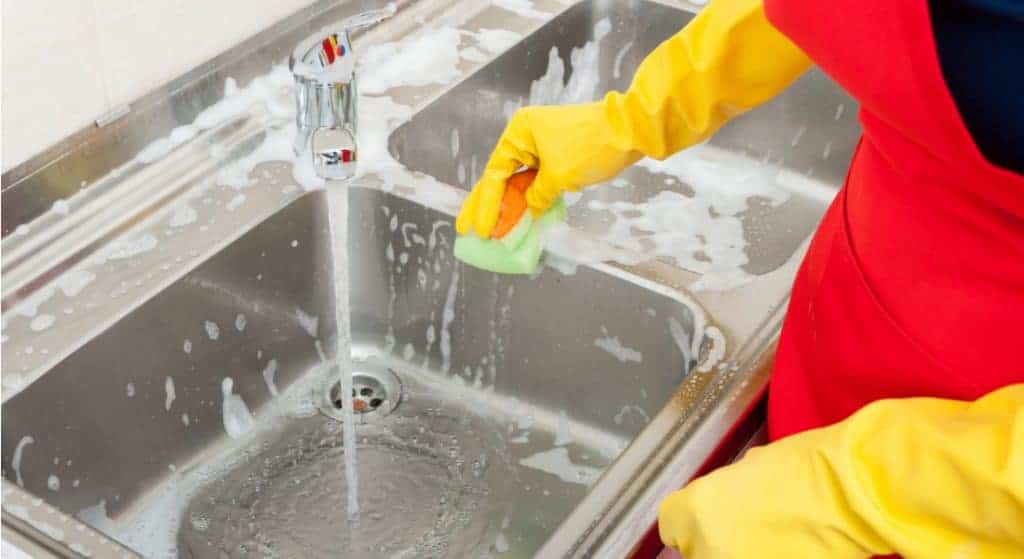
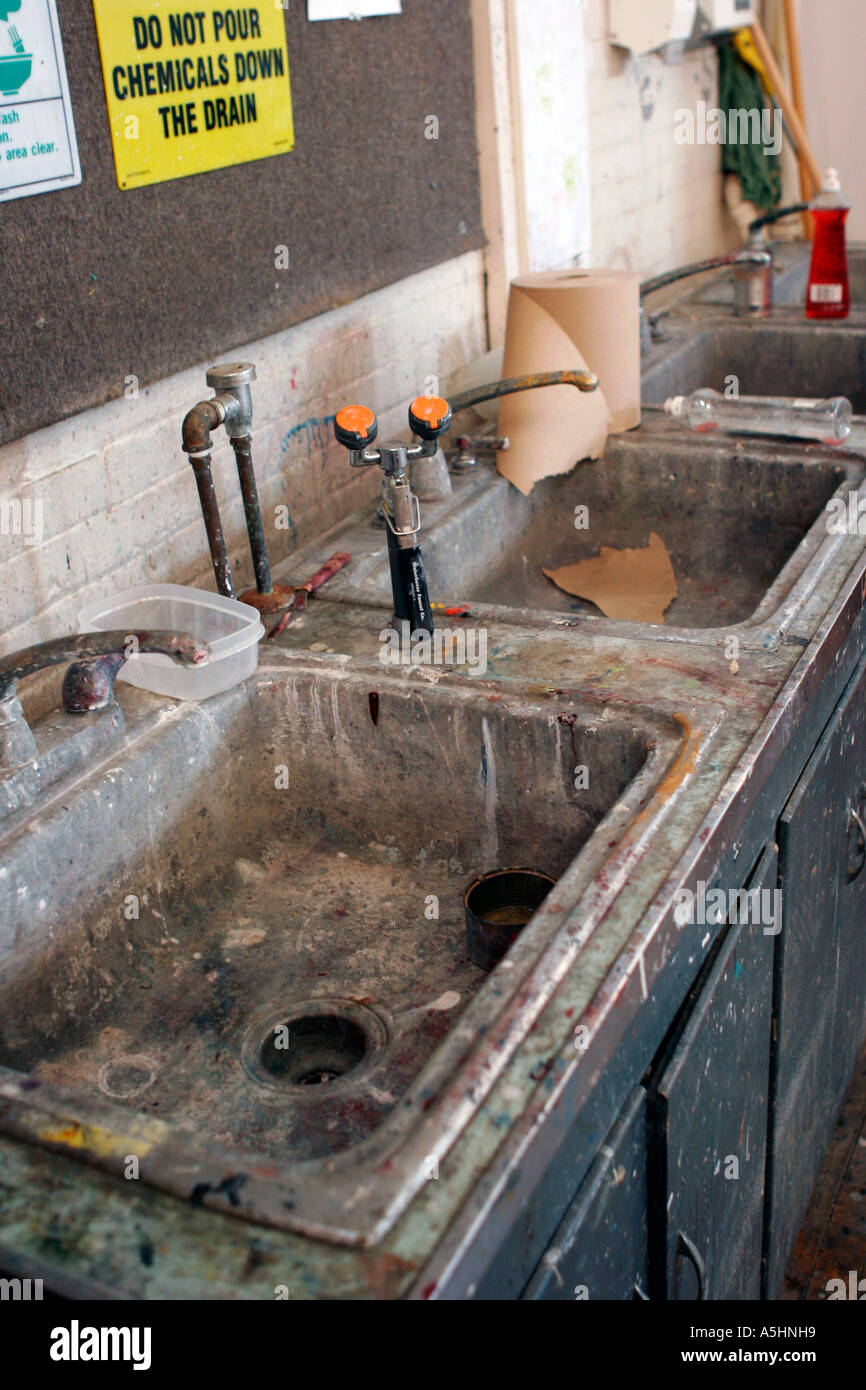
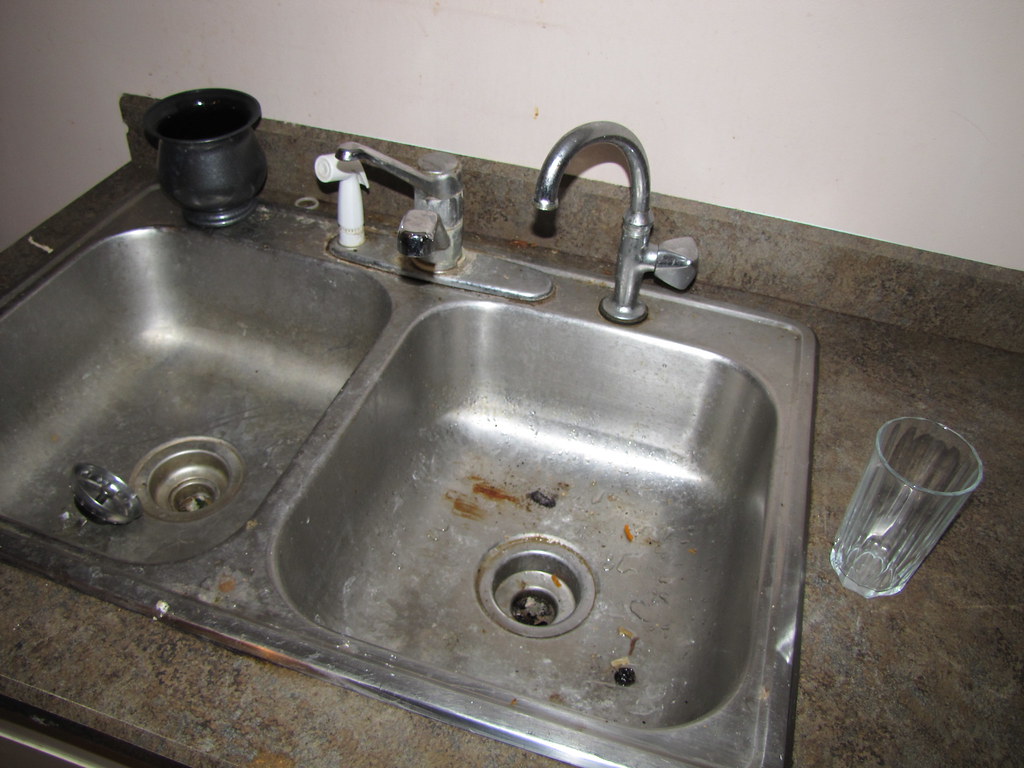
Cleaning your kitchen sink sprayer is an essential part of maintaining a clean and hygienic kitchen. Over time, food particles and grime can build up in the sprayer, causing it to become clogged and less effective. Luckily, cleaning your kitchen sink sprayer is a simple and easy task that can be done with a few household items. The first step in cleaning your kitchen sink sprayer is to remove any excess food particles or debris from the sprayer head. You can do this by using a toothbrush or small brush to gently scrub the sprayer head and remove any buildup. Be sure to also clean around the base of the sprayer to ensure all areas are free of debris. Next, mix together a solution of equal parts white vinegar and water in a spray bottle. White vinegar is a natural cleaning agent that is safe to use in kitchen areas and is effective at breaking down grime and buildup. Spray the solution onto the sprayer head and let it sit for a few minutes to allow the vinegar to work its magic. After the solution has had time to sit, use a clean cloth or sponge to wipe away any remaining grime or buildup. You may need to use a toothbrush or small brush again to get into any hard-to-reach areas. Once the sprayer head is clean, rinse it thoroughly with warm water to remove any remaining residue.1. How to Clean a Kitchen Sink Sprayer


1. How to Clean a Kitchen Sink Sprayer


There are a few different methods for cleaning a kitchen sink sprayer, but one of the most effective and natural ways is to use a combination of lemon juice and baking soda. Lemon juice is a natural disinfectant and will help to remove any bacteria or germs from the sprayer, while baking soda is a gentle abrasive that will help to scrub away any buildup. To use this method, mix together 1/4 cup of lemon juice and 1/4 cup of baking soda to form a paste. Apply the paste to the sprayer head and let it sit for 10-15 minutes. The lemon juice and baking soda will work together to break down any grime and buildup, making it easier to clean. After the paste has had time to sit, use a clean cloth or sponge to scrub the sprayer head and remove any remaining residue. Rinse the sprayer head with warm water and dry it with a clean towel. Your kitchen sink sprayer should now be clean and free of any buildup or grime.2. Best Way to Clean a Kitchen Sink Sprayer


2. Best Way to Clean a Kitchen Sink Sprayer


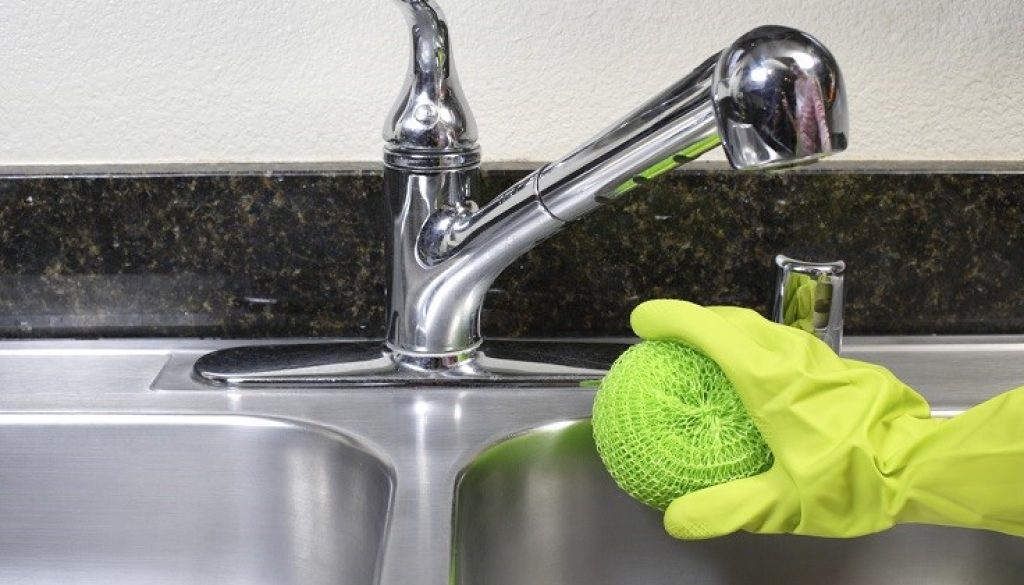
When it comes to cleaning your kitchen sink sprayer, there are a few helpful tips that can make the process easier and more effective. One tip is to use a toothpick or small brush to clean out any small holes or crevices in the sprayer head. These areas can often collect debris and can be difficult to clean with just a cloth or sponge. You can also use a small amount of dish soap or castile soap to help break down grime and buildup on the sprayer head. Apply a small amount of soap to the sprayer head and let it sit for a few minutes before wiping it away with a cloth or sponge. It's also important to regularly clean your kitchen sink sprayer to prevent buildup and keep it working effectively. Aim to clean your sprayer once a week or as needed, depending on how often you use it.3. Tips for Cleaning a Kitchen Sink Sprayer


3. Tips for Cleaning a Kitchen Sink Sprayer

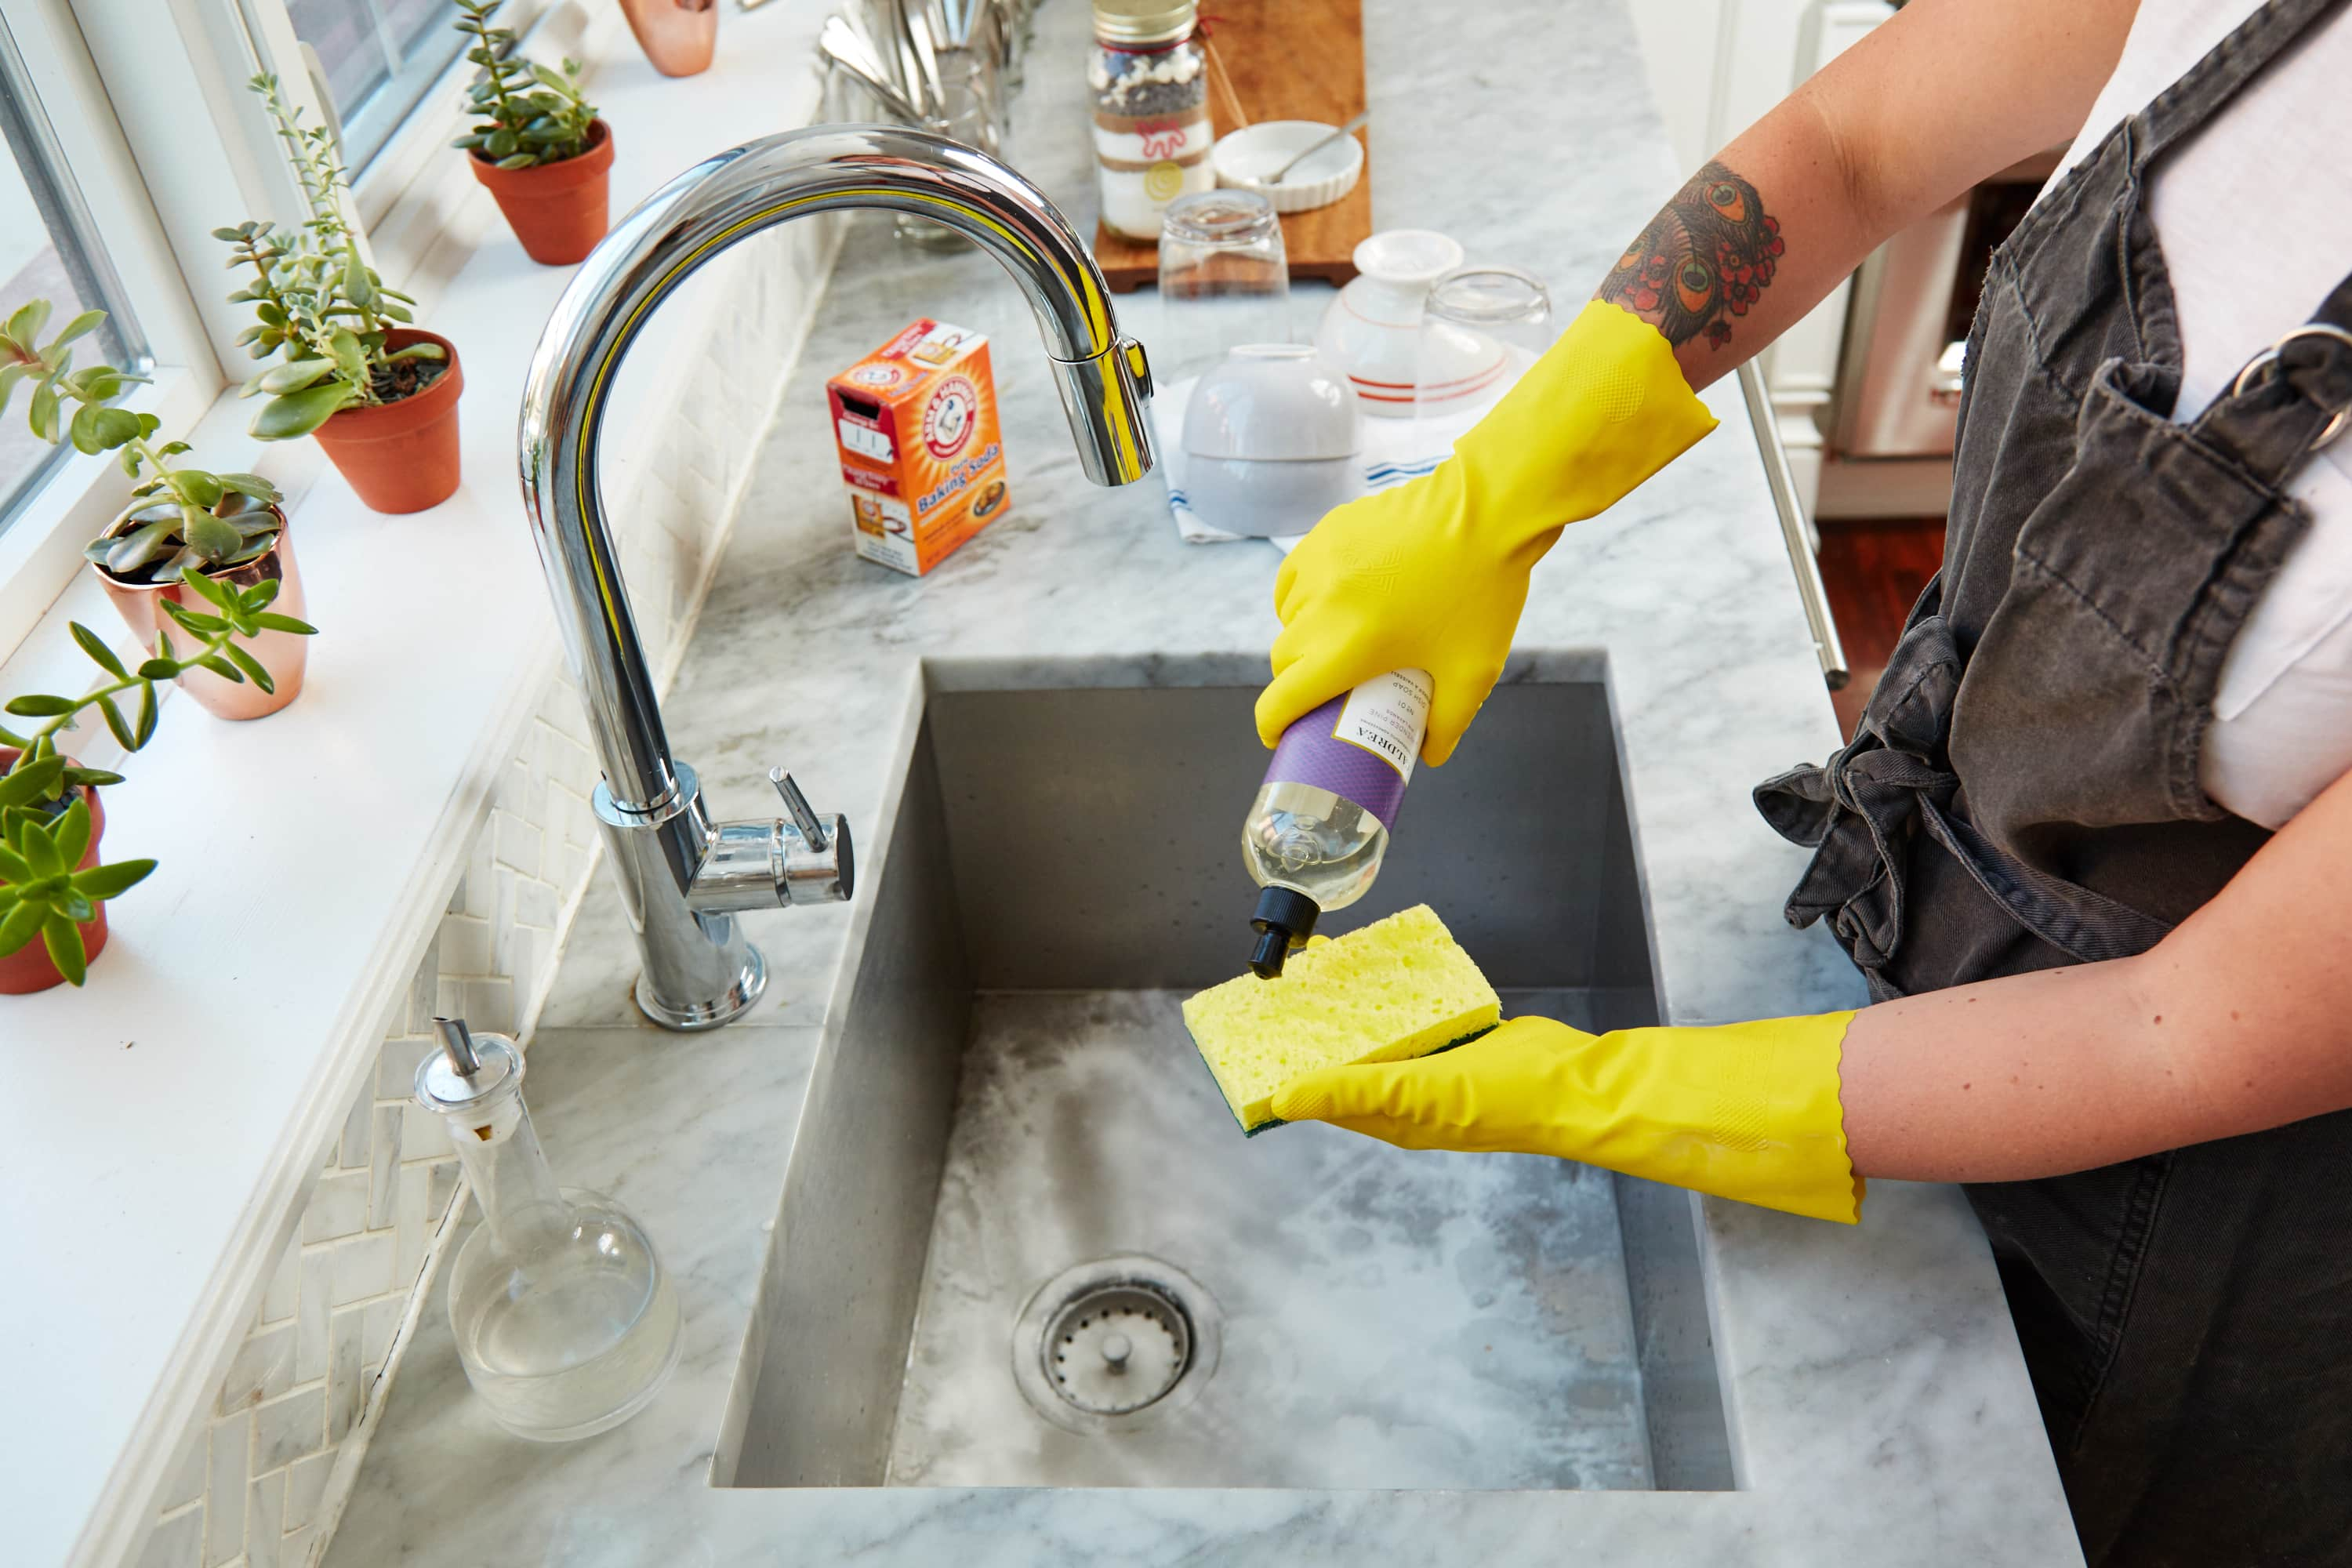


If you prefer to use natural and homemade cleaning solutions, there are plenty of DIY options for cleaning your kitchen sink sprayer. One simple and effective DIY cleaner is a mixture of water, white vinegar, and a few drops of dish soap. This solution is safe to use in your kitchen and can help to break down grime and buildup on your sprayer head. Another DIY option is to use a mixture of water, baking soda, and a few drops of essential oil. The baking soda will act as a gentle abrasive while the essential oil will leave your sprayer smelling fresh and clean. No matter which DIY cleaner you choose to use, be sure to thoroughly rinse the sprayer head with warm water after cleaning to remove any residue and avoid any lingering smells.4. DIY Kitchen Sink Sprayer Cleaning


4. DIY Kitchen Sink Sprayer Cleaning


If you're looking for natural and eco-friendly options for cleaning your kitchen sink sprayer, there are several ingredients that you likely already have in your pantry that can get the job done. In addition to the previously mentioned white vinegar, baking soda, and lemon juice, you can also use salt and lemon peel to create a powerful cleaning solution. To use this method, mix together equal parts salt and finely grated lemon peel to form a paste. Apply the paste to the sprayer head and let it sit for a few minutes before scrubbing with a clean cloth or sponge. Rinse the sprayer head with warm water and dry it with a clean towel. Other natural options for cleaning your kitchen sink sprayer include hydrogen peroxide, olive oil, and citrus essential oils. These ingredients can be used alone or in combination with other natural cleaners to effectively remove grime and buildup from your sprayer head.5. Natural Cleaners for Kitchen Sink Sprayer


5. Natural Cleaners for Kitchen Sink Sprayer


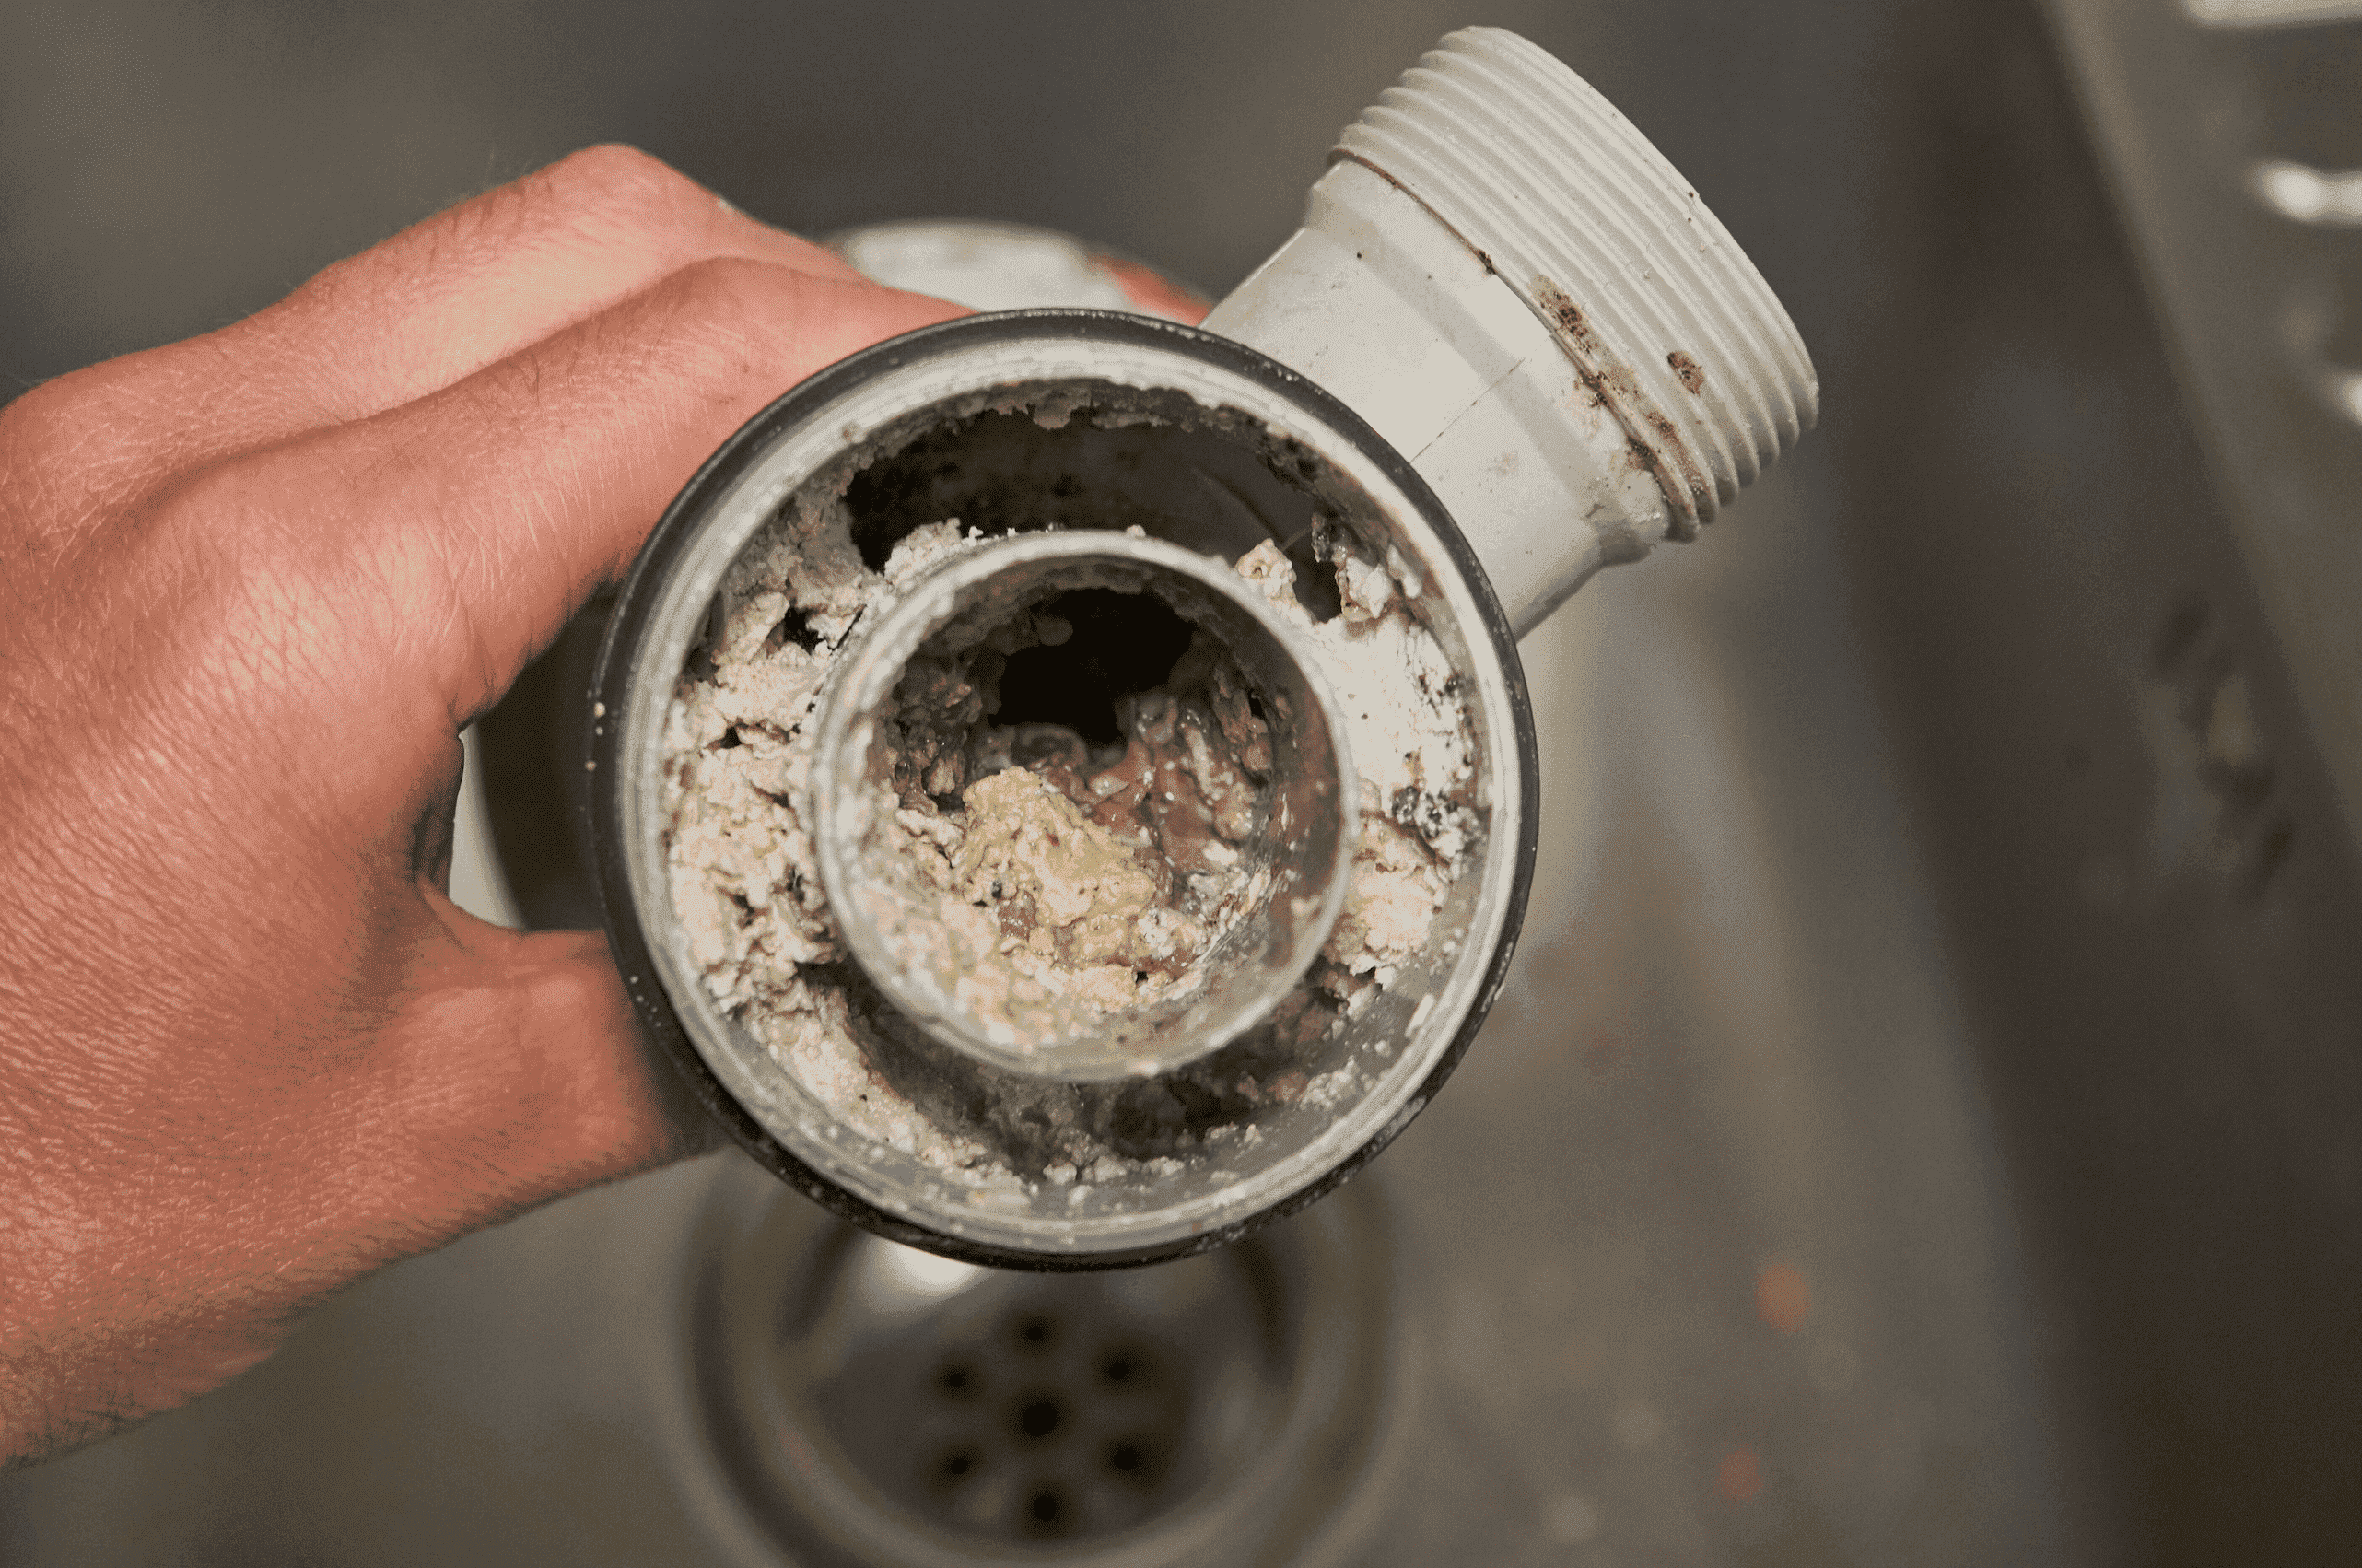
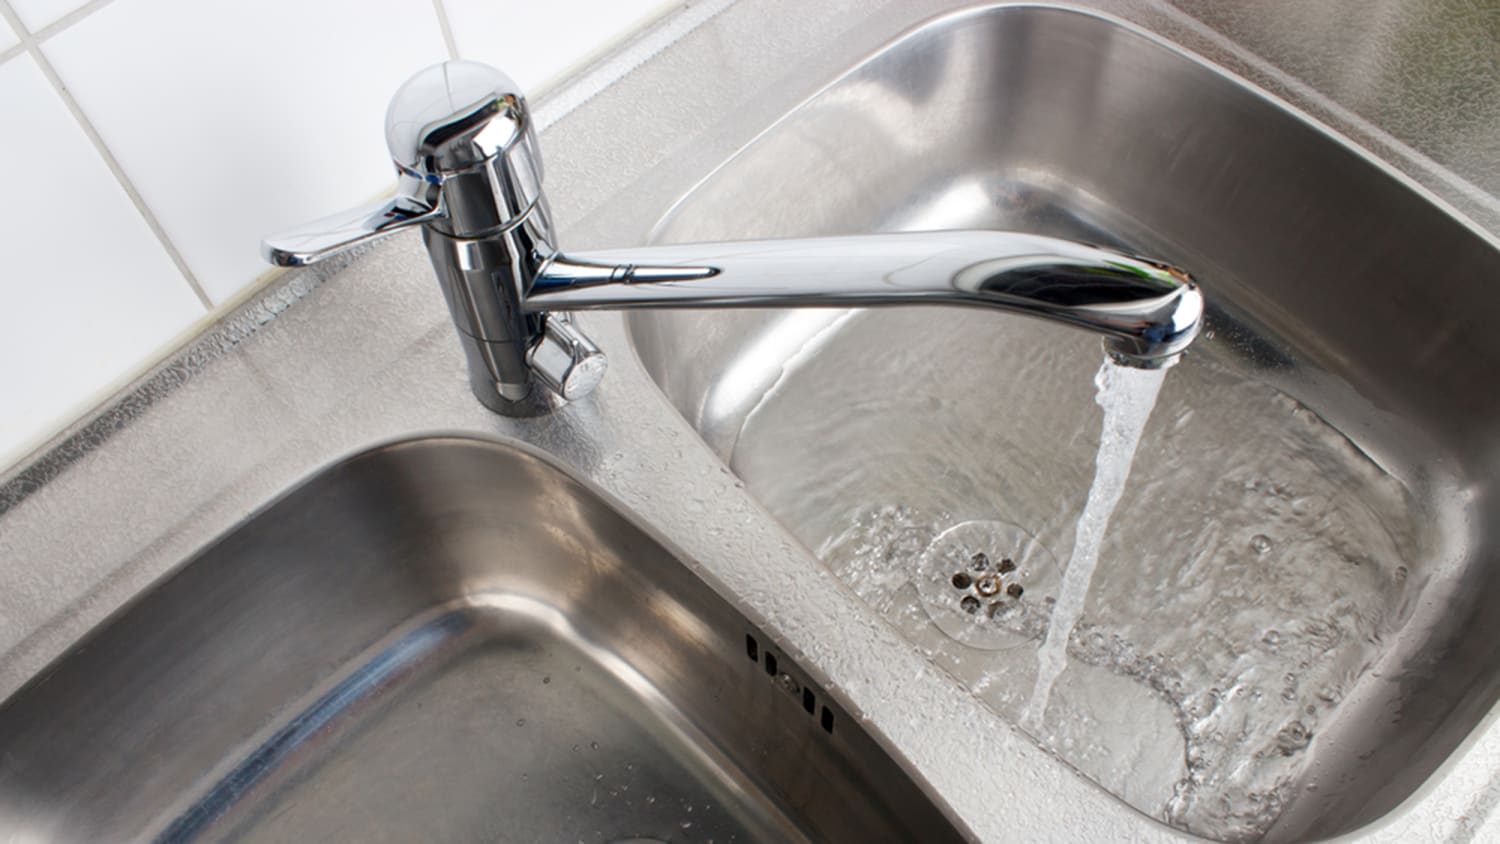
If your kitchen sink sprayer is particularly dirty or has not been cleaned in a while, a deep cleaning may be necessary. To deep clean your sprayer, you will need to remove the sprayer head from the hose. This can usually be done by twisting the sprayer head counterclockwise. Once the sprayer head is removed, soak it in a mixture of white vinegar and warm water for 30 minutes to an hour. This will help to break down any stubborn grime and buildup. After soaking, scrub the sprayer head with a brush or sponge and rinse thoroughly with warm water. You can also soak the hose in the same mixture to remove any buildup or debris. After soaking, run warm water through the hose to flush out any remaining residue. Once both the sprayer head and hose are clean, reattach the sprayer head and run water through it to ensure it is working properly.6. Deep Cleaning a Kitchen Sink Sprayer


6. Deep Cleaning a Kitchen Sink Sprayer


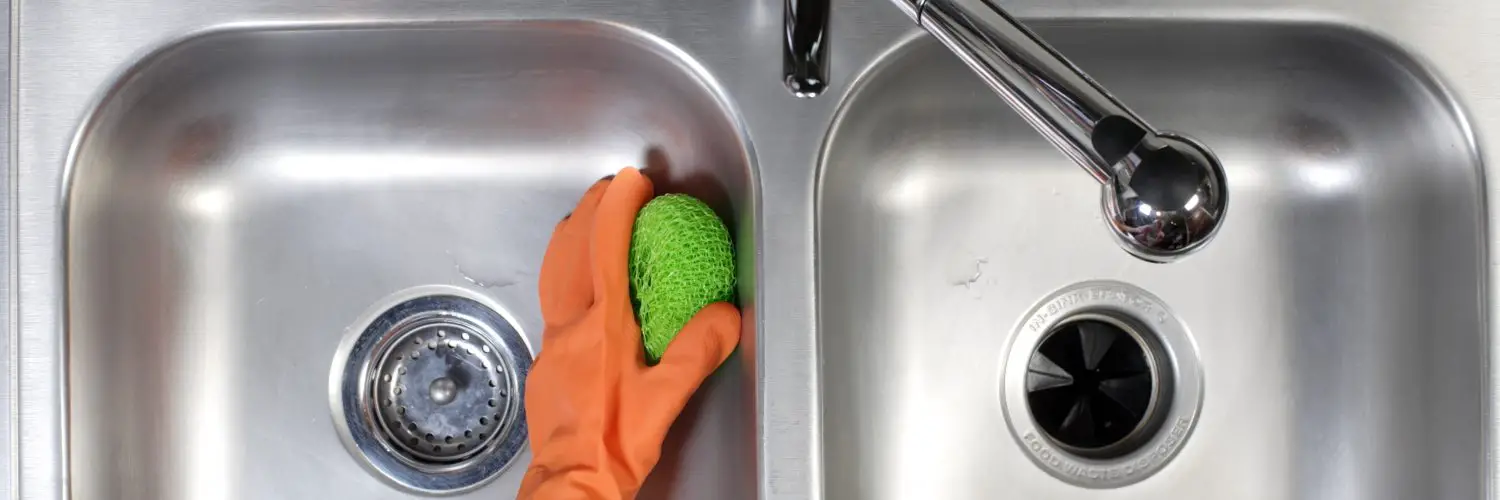
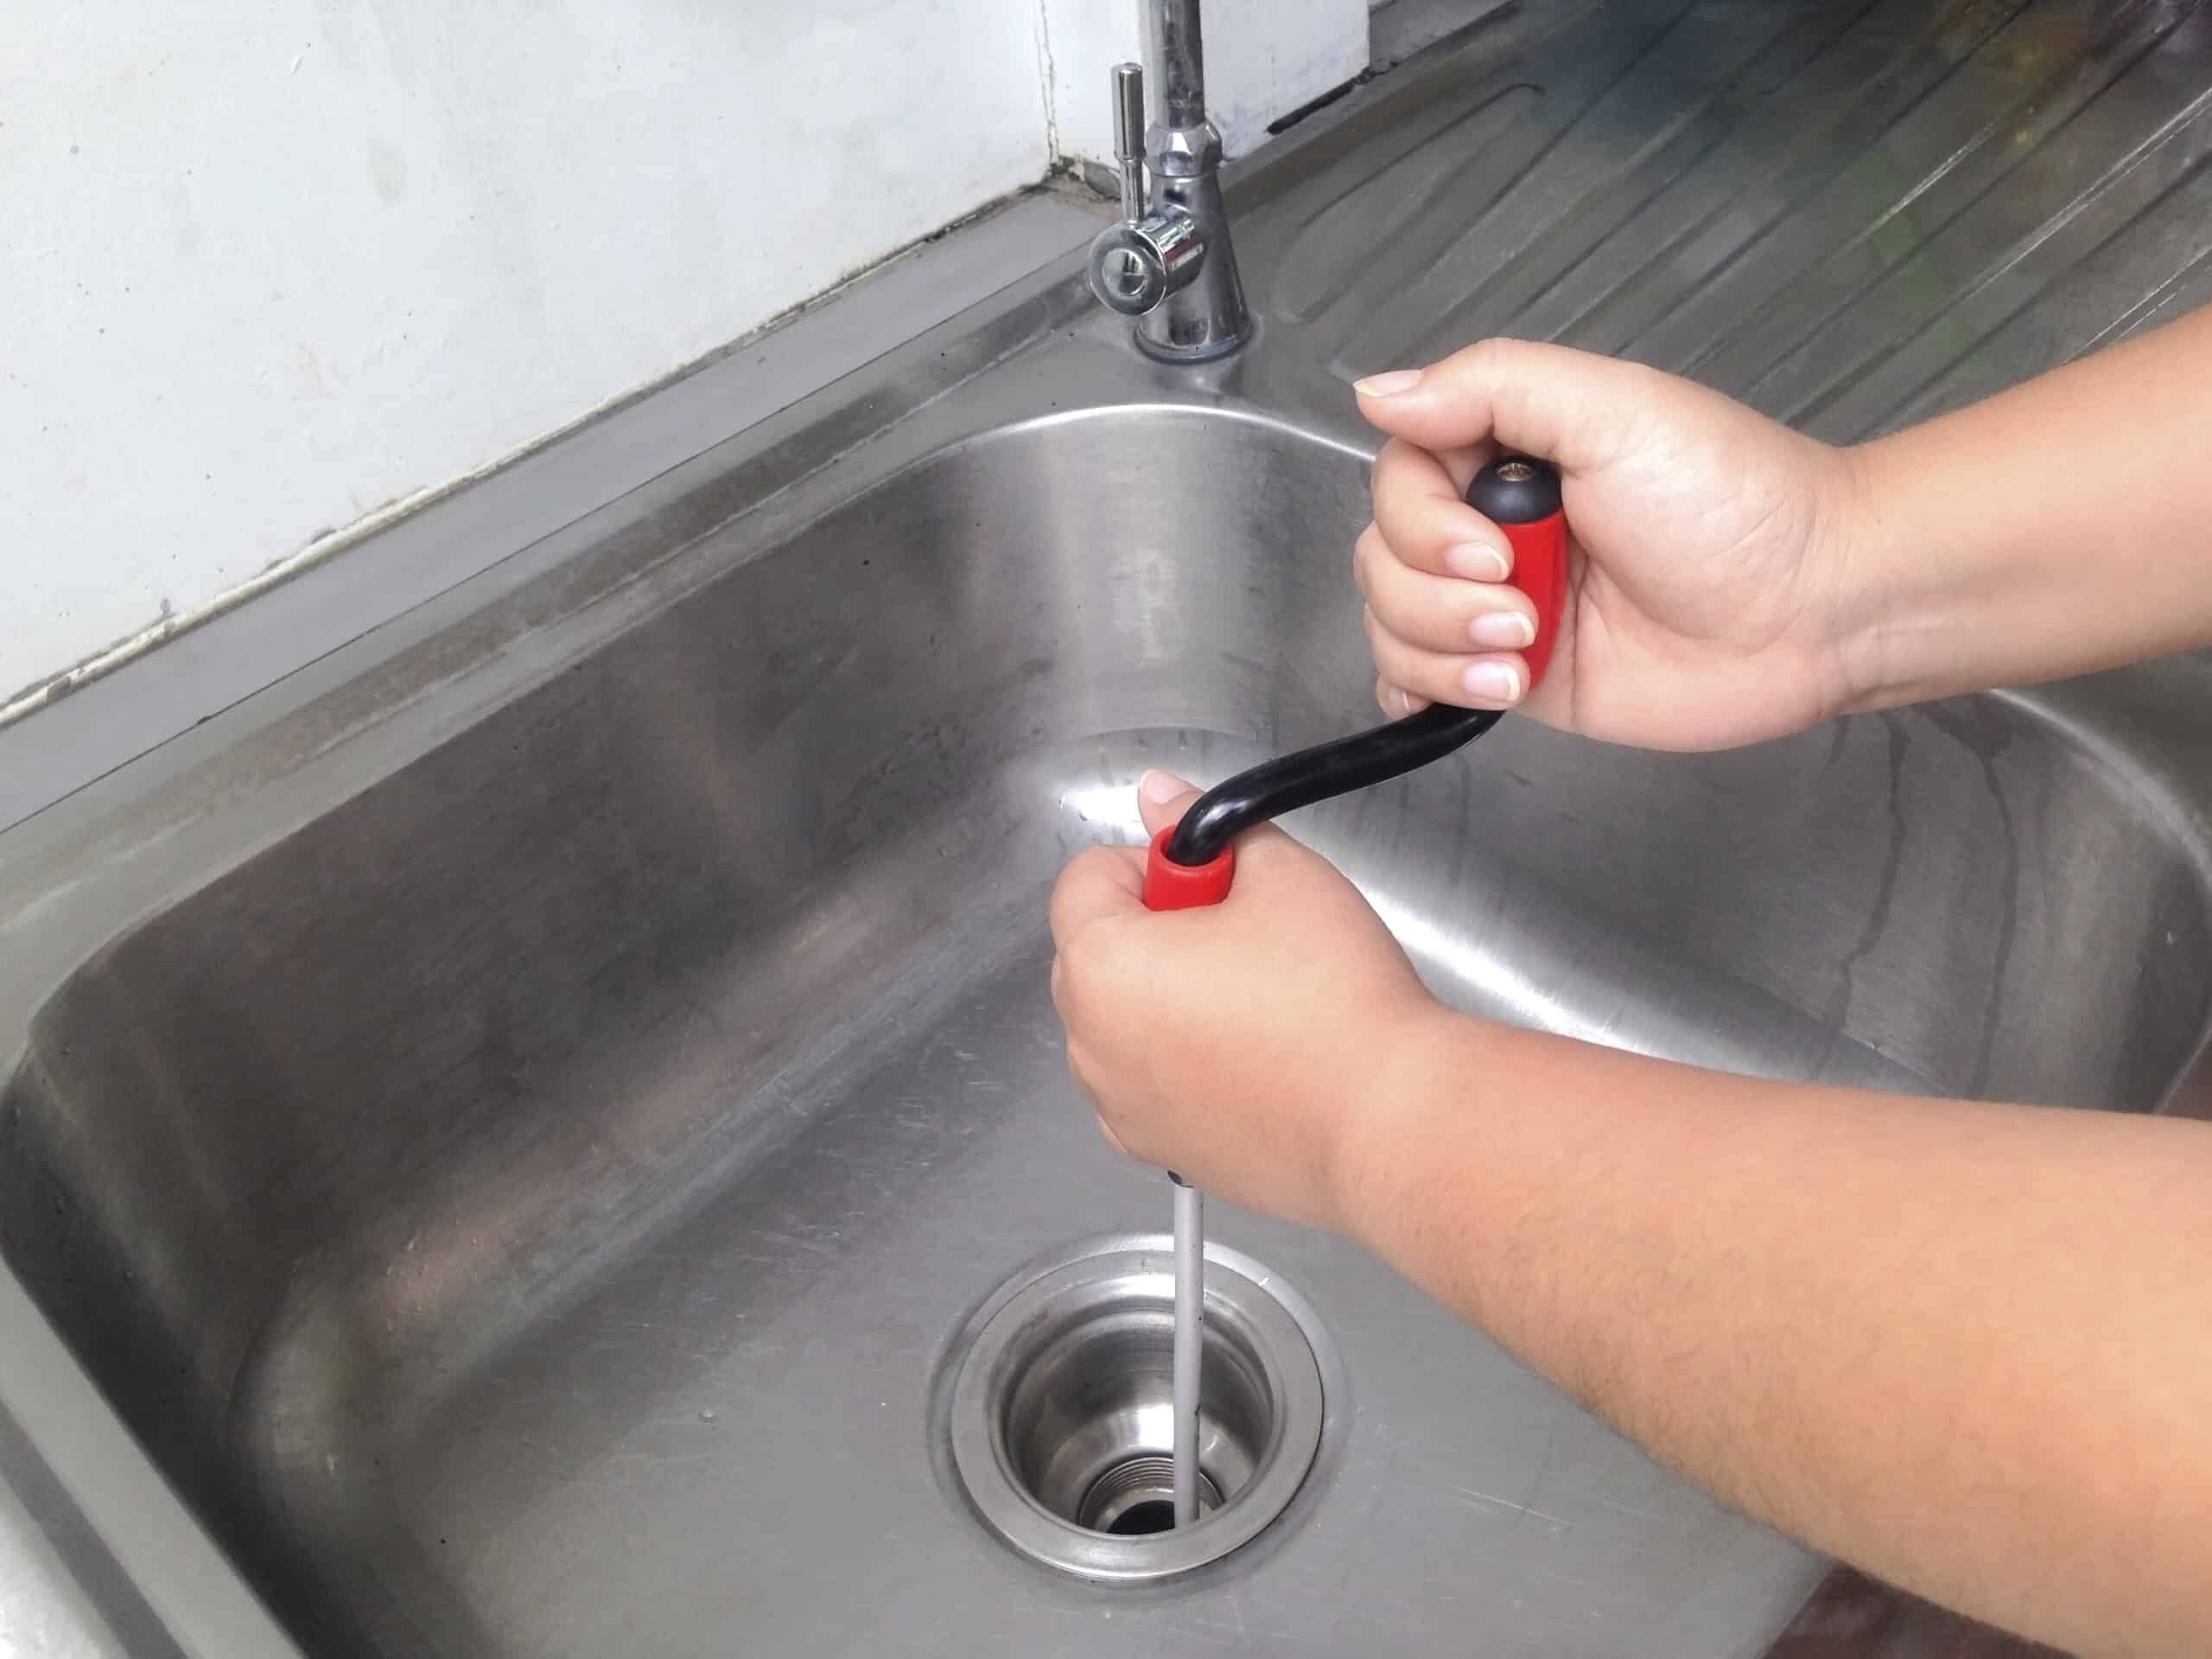
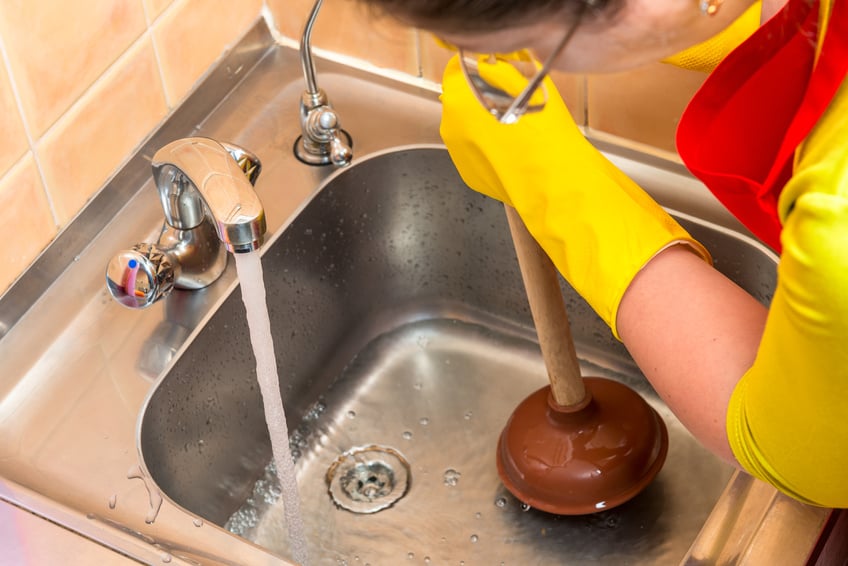
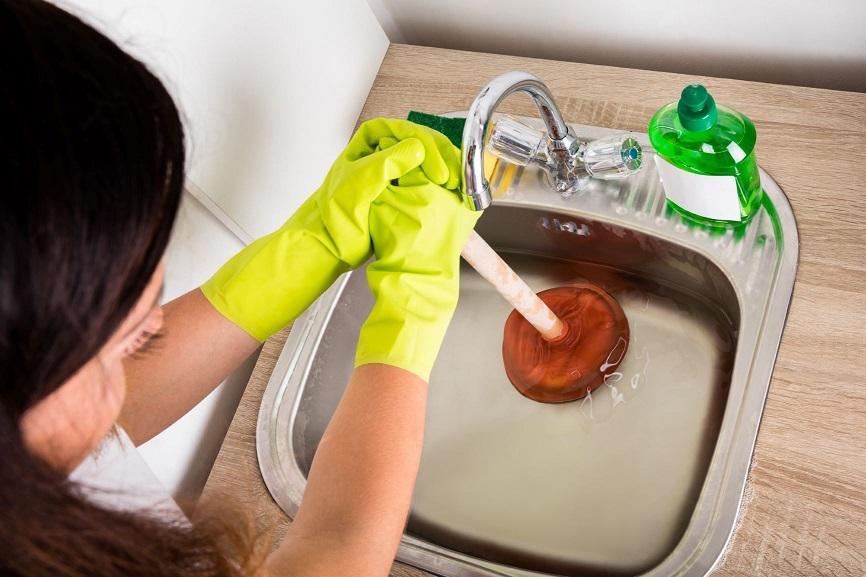
If your kitchen sink sprayer is not working as well as it used to, it may be clogged with debris or buildup. Before attempting to clean the sprayer, be sure to turn off the water supply to the sink to avoid any spills or messes. To unclog a kitchen sink sprayer, start by removing the sprayer head from the hose. Use a thin, pointed object such as a toothpick or needle to gently dislodge any debris from the small holes in the sprayer head. You can also use a toothbrush or small brush to scrub away any buildup on the sprayer head. For a more thorough cleaning, you can also remove the hose from the base of the sink and flush it with water to remove any buildup or debris. Once both the sprayer head and hose are clean, reattach them and turn the water supply back on to test the sprayer.7. Cleaning a Clogged Kitchen Sink Sprayer


7. Cleaning a Clogged Kitchen Sink Sprayer


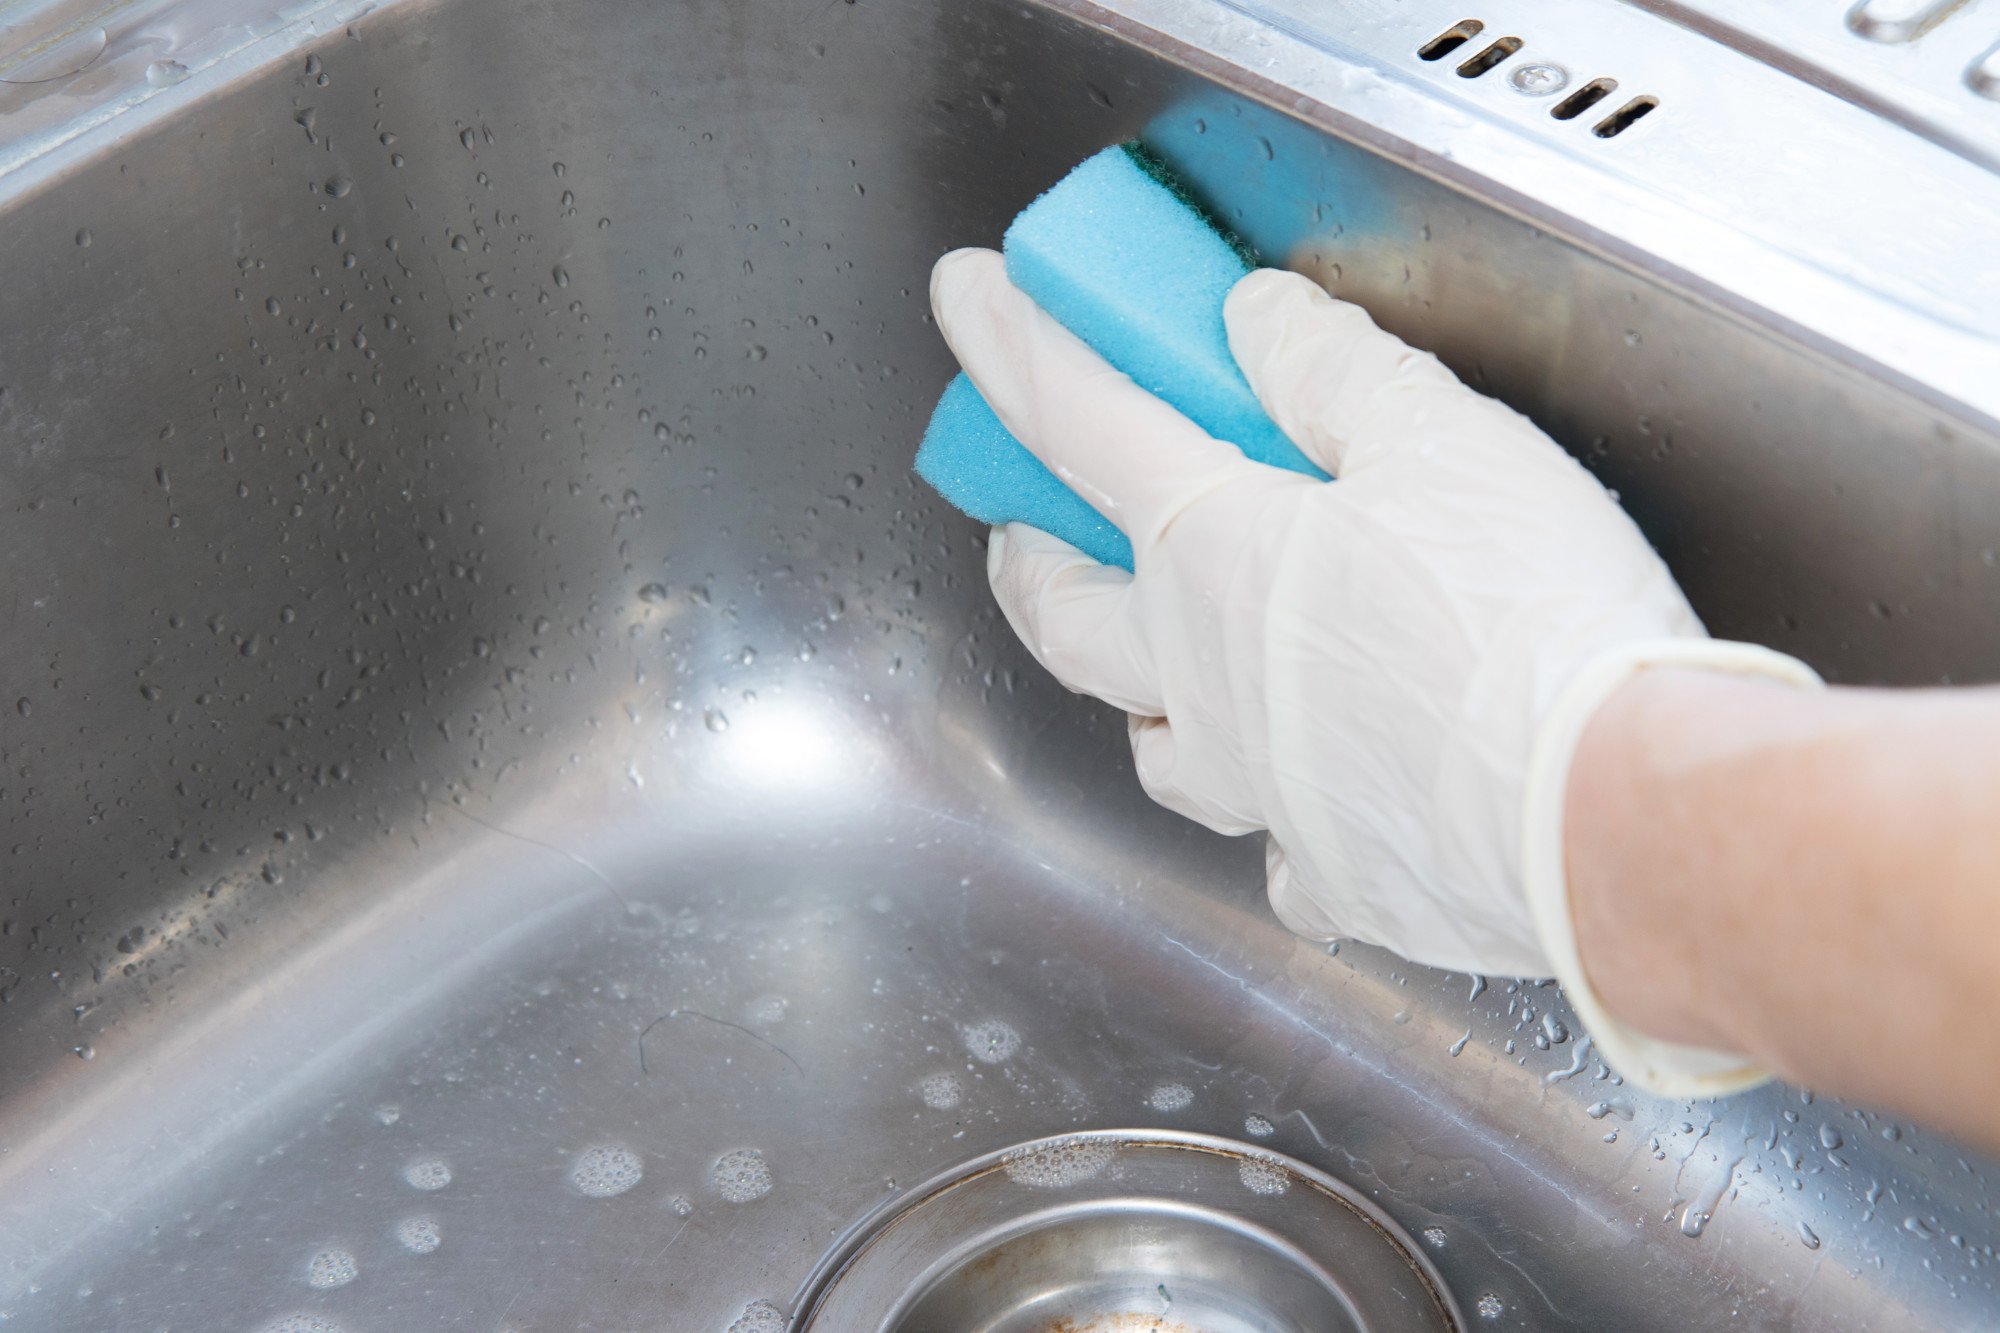
Regular maintenance is key to keeping your kitchen sink sprayer clean and functioning properly. In addition to regularly cleaning the sprayer as needed, it's also important to clean the base of the sprayer where it attaches to the sink. This area can collect grime and buildup and should be wiped down regularly to prevent any clogs. Another way to maintain a clean kitchen sink sprayer is to avoid leaving food scraps or debris in the sink. Be sure to scrape plates and dishes into the trash or compost before rinsing them in the sink to prevent any buildup in the sprayer. It's also a good idea to periodically check the sprayer hose for any leaks or damage. If you notice any issues, it's important to address them as soon as possible to prevent further damage or potential water damage to your kitchen.8. Maintaining a Clean Kitchen Sink Sprayer


8. Maintaining a Clean Kitchen Sink Sprayer


The frequency of cleaning your kitchen sink sprayer will depend on how often you use it and how quickly it becomes dirty. As a general rule, it's a good idea to clean your sprayer at least once a week to prevent any buildup or clogs. However, if you notice your sprayer becoming dirty or less effective, it's important to clean it as needed. Regularly maintaining and cleaning your kitchen sink sprayer will not only keep it looking clean and shiny, but it will also ensure that it continues to work effectively and efficiently.9. How Often to Clean a Kitchen Sink Sprayer


9. How Often to Clean a Kitchen Sink Sprayer

If you've tried cleaning your kitchen sink sprayer and it still seems dirty or clogged, there may be other underlying issues that need to be addressed. One common problem is a worn or damaged sprayer hose. Over time, the hose can become cracked or damaged, leading to leaks and a less effective sprayer. If you suspect that your sprayer hose may be the issue, it's important to replace it as soon as possible to prevent any further damage or potential water damage to your kitchen. You can also contact a professional plumber to assess the situation and make any necessary repairs. In conclusion, keeping your kitchen sink sprayer clean and well-maintained is essential for a hygienic and functional kitchen. With these tips and tricks, you can easily clean and maintain your sprayer for a sparkling and efficient kitchen sink.10. Troubleshooting a Dirty Kitchen Sink Sprayer


10. Troubleshooting a Dirty Kitchen Sink Sprayer


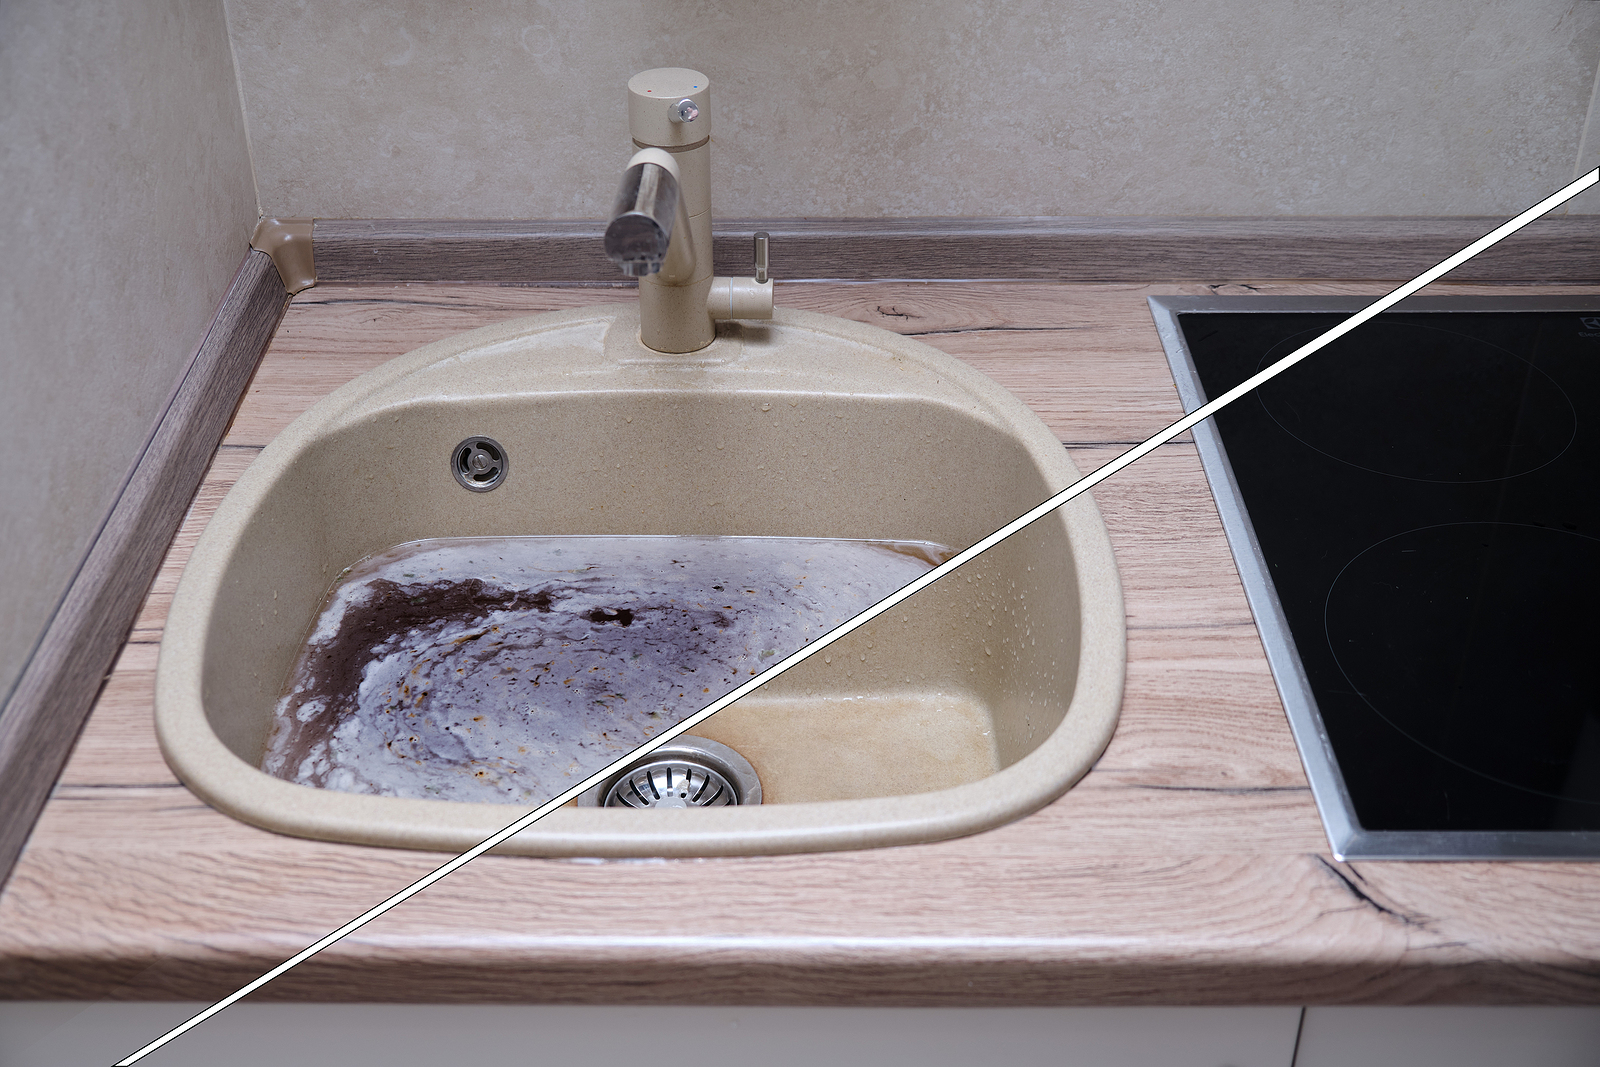
Benefits of a Clean Side Sprayer Kitchen Sink

Improved Hygiene
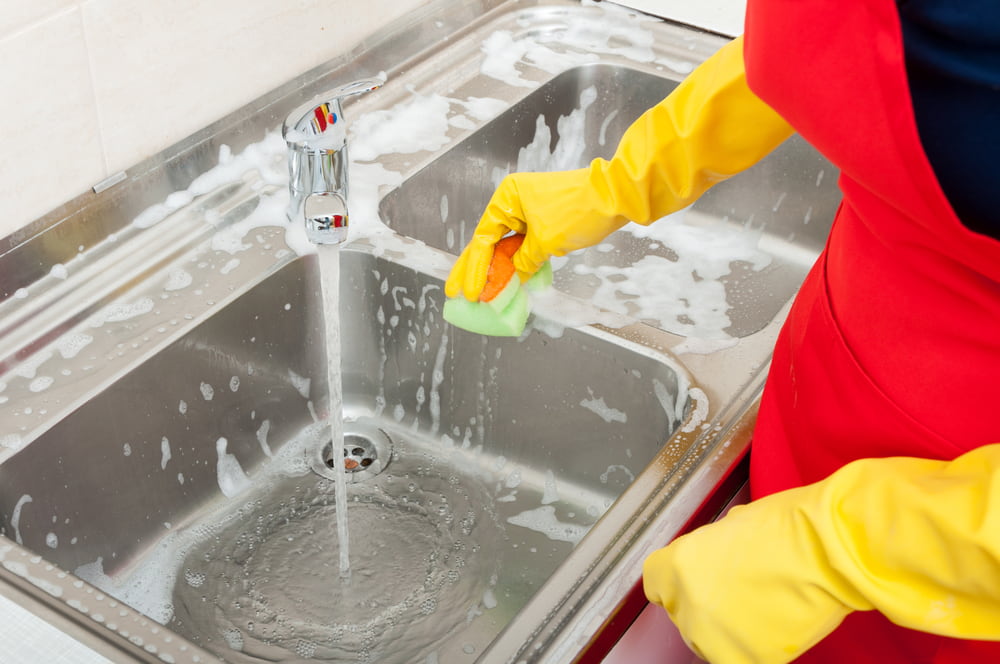
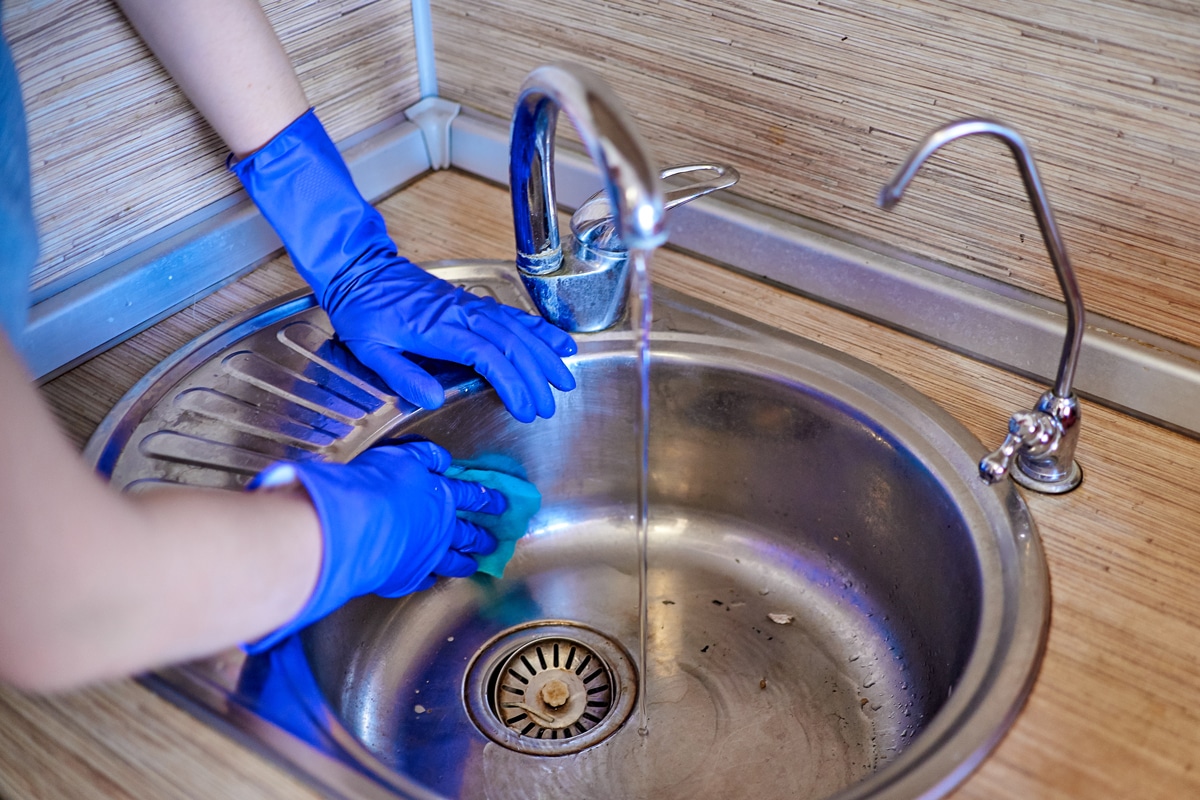
One of the main benefits of having a clean side sprayer kitchen sink is improved hygiene. The kitchen sink is one of the most frequently used areas in a home and can easily become a breeding ground for bacteria and germs if not properly maintained. Regularly cleaning your side sprayer kitchen sink can help prevent the spread of harmful bacteria and keep your family safe from illnesses.
Enhanced Aesthetics
In addition to promoting a healthy environment, a clean side sprayer kitchen sink can also enhance the overall aesthetics of your kitchen. A clutter-free and sparkling sink can make your kitchen look more inviting and visually appealing. It can also give the illusion of a larger and more organized space.
Increased Lifespan

Regular cleaning and maintenance of your side sprayer kitchen sink can also extend its lifespan . Build-up of dirt, grime, and other substances can cause damage to the sink over time, resulting in the need for repairs or even replacement. By keeping your sink clean, you can ensure that it remains in good condition for a longer period of time.
Saves Time and Effort

Keeping a clean side sprayer kitchen sink can also save you time and effort in the long run. Regular, quick cleaning can prevent the accumulation of dirt and grime, making it easier to maintain on a daily basis. This means you won't have to spend hours scrubbing and disinfecting a heavily soiled sink.
In conclusion, a clean side sprayer kitchen sink offers a range of benefits, from improved hygiene to enhanced aesthetics and increased lifespan. Make it a part of your regular cleaning routine to reap these benefits and enjoy a clean and healthy kitchen environment.