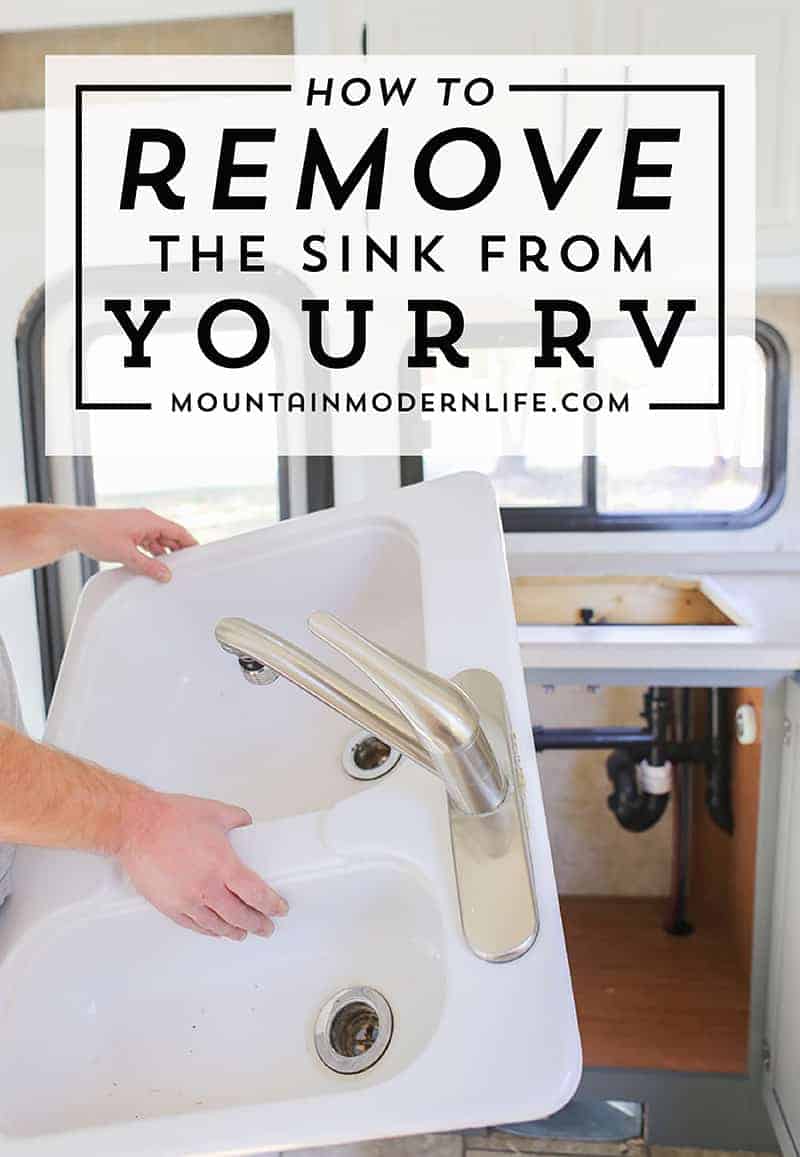
How to Change the Water Filter in Your RV Kitchen Sink
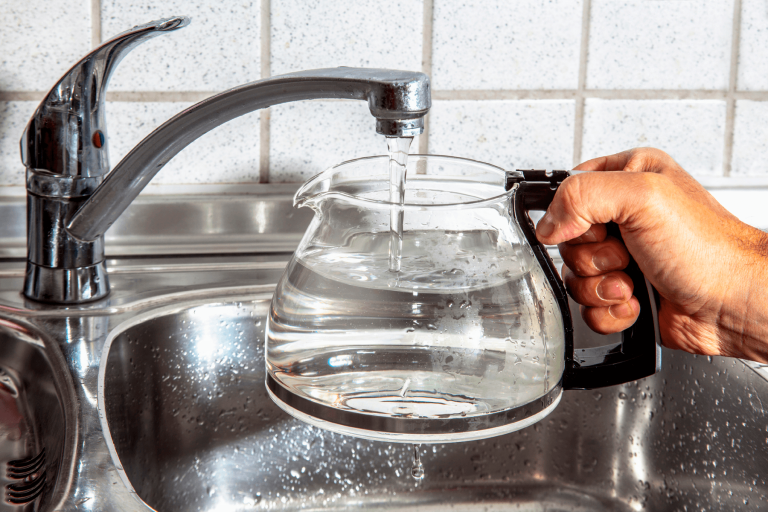
Keeping your RV kitchen sink's water filter clean and up-to-date is crucial for maintaining clean and safe water on your travels. Regularly changing your water filter ensures that harmful chemicals and contaminants are removed from your drinking water, providing you with peace of mind and a healthy supply of water. Here's a step-by-step guide on how to change the water filter in your RV kitchen sink.

How to Change the Water Filter in Your RV Kitchen Sink


RV Kitchen Sink Water Filter Replacement Guide
Replacing your RV kitchen sink water filter may seem like a daunting task, but it's actually quite simple. With the right tools and a little bit of know-how, you can easily replace your water filter and keep your water supply fresh and clean. Follow these instructions for a quick and easy replacement process.


RV Kitchen Sink Water Filter Replacement Guide


Step-by-Step Instructions for Replacing Your RV Kitchen Sink Water Filter
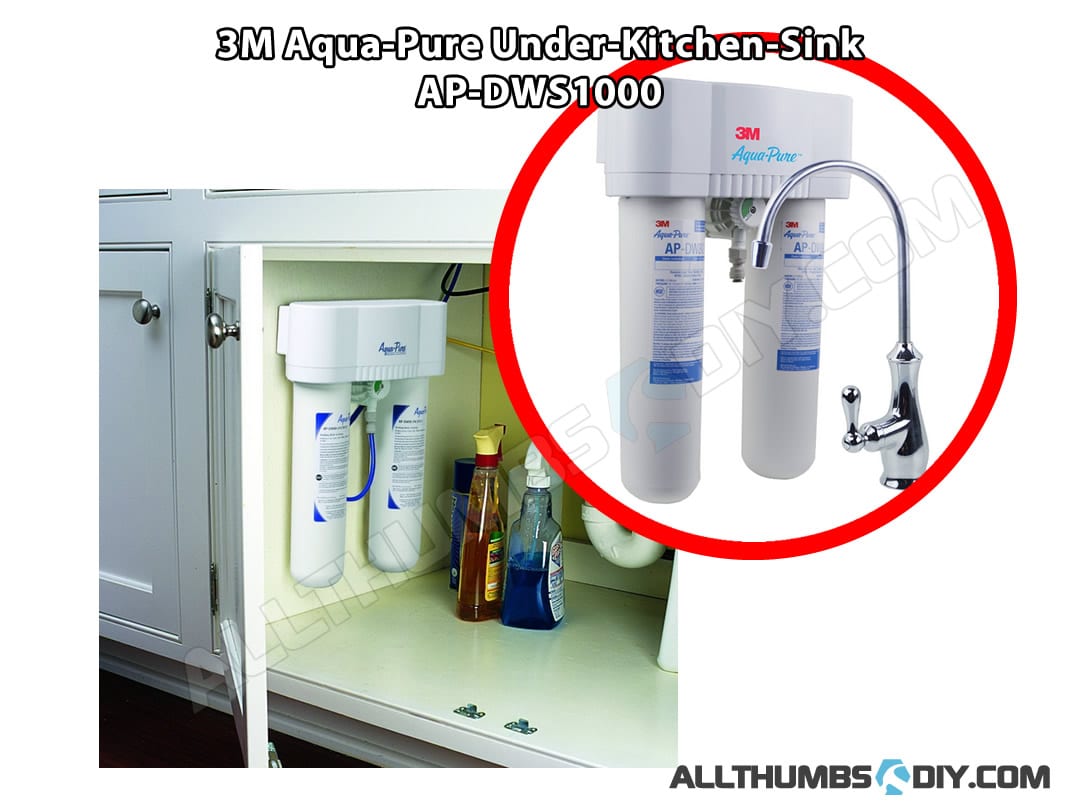
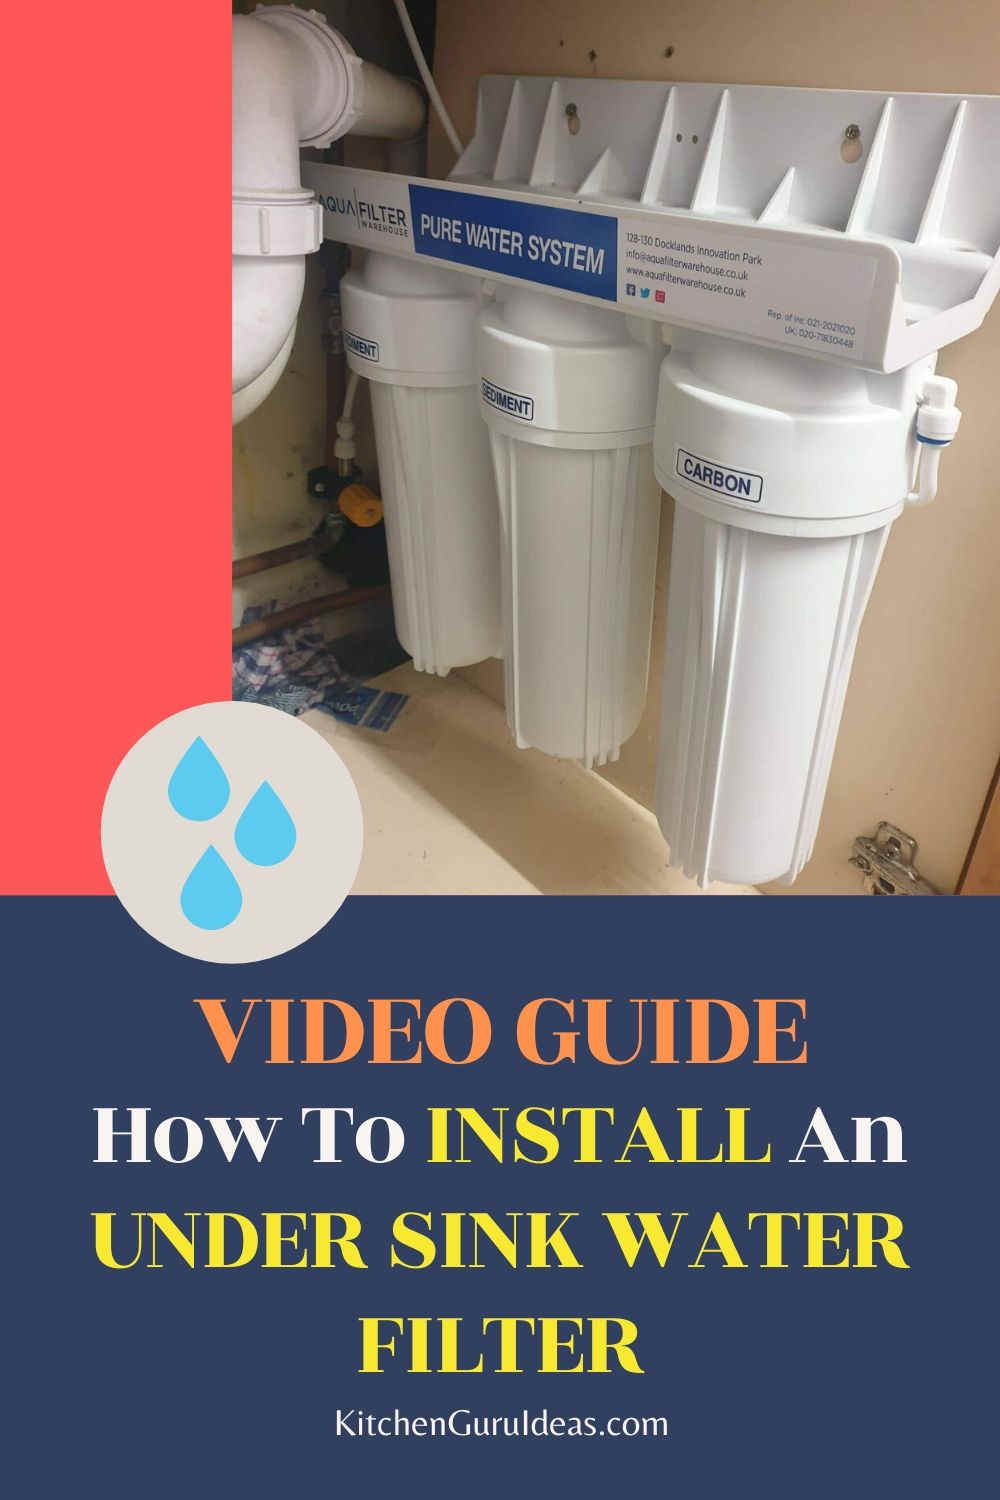
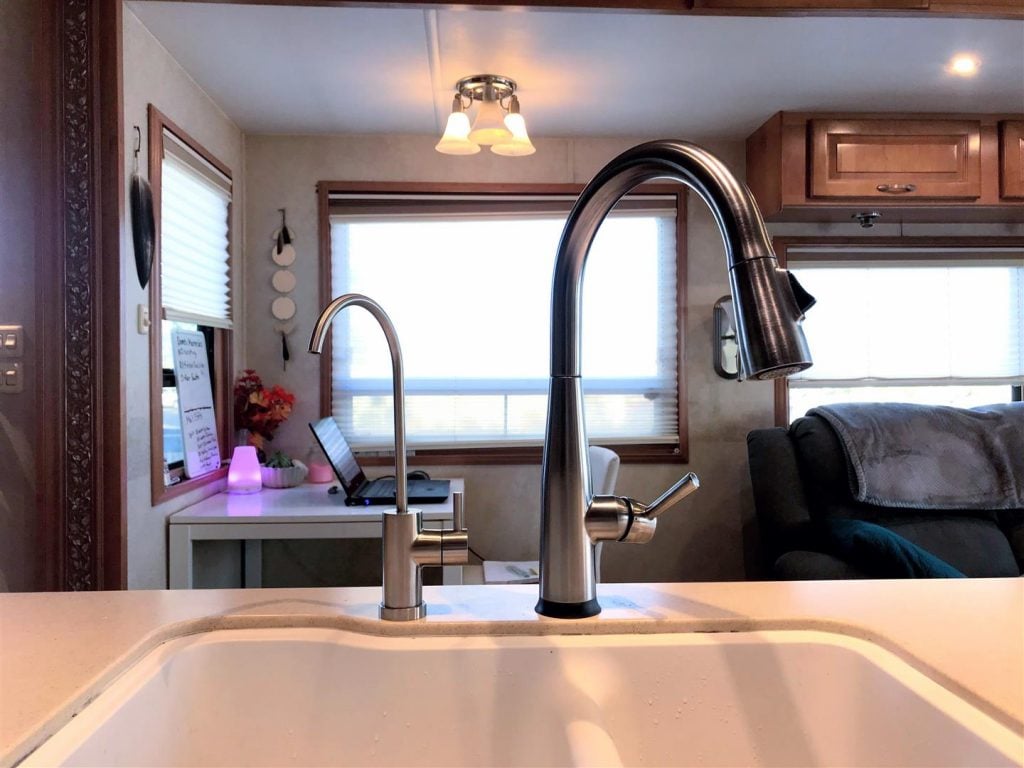
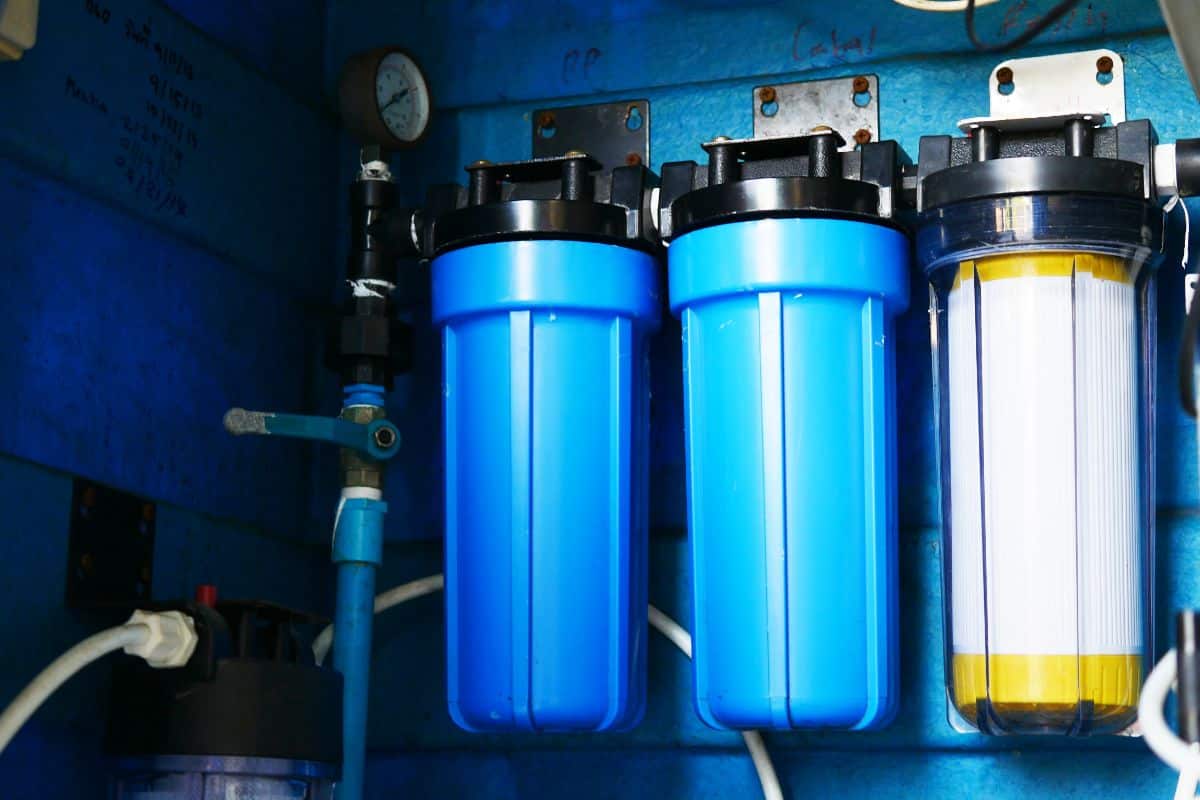
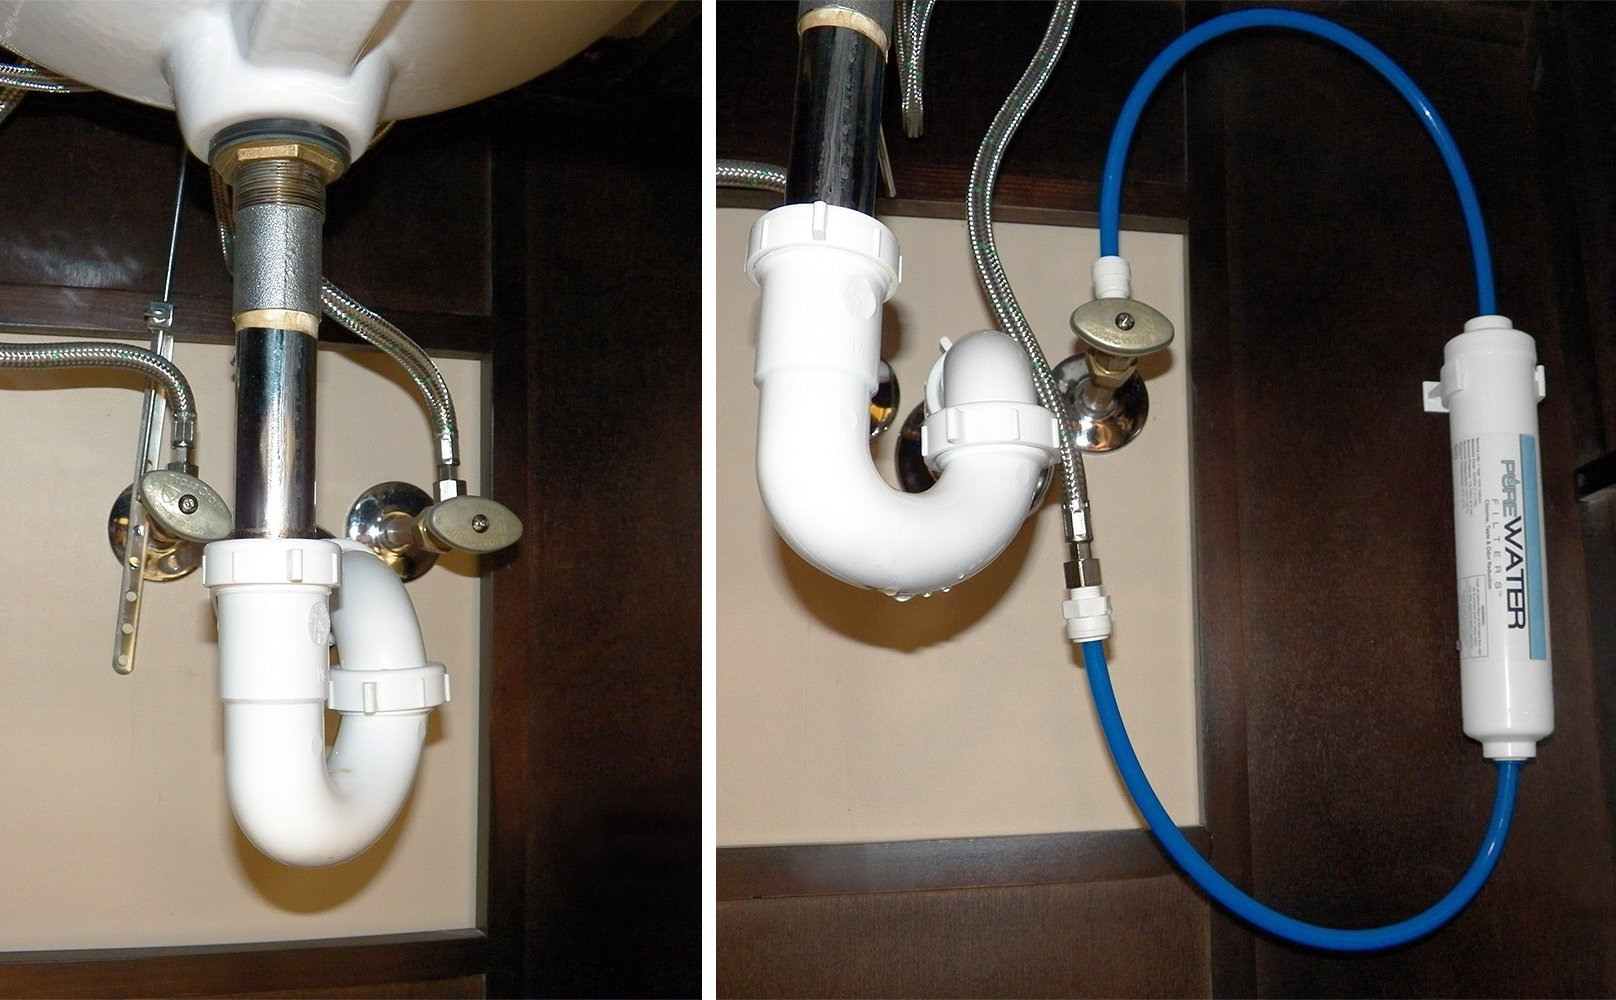
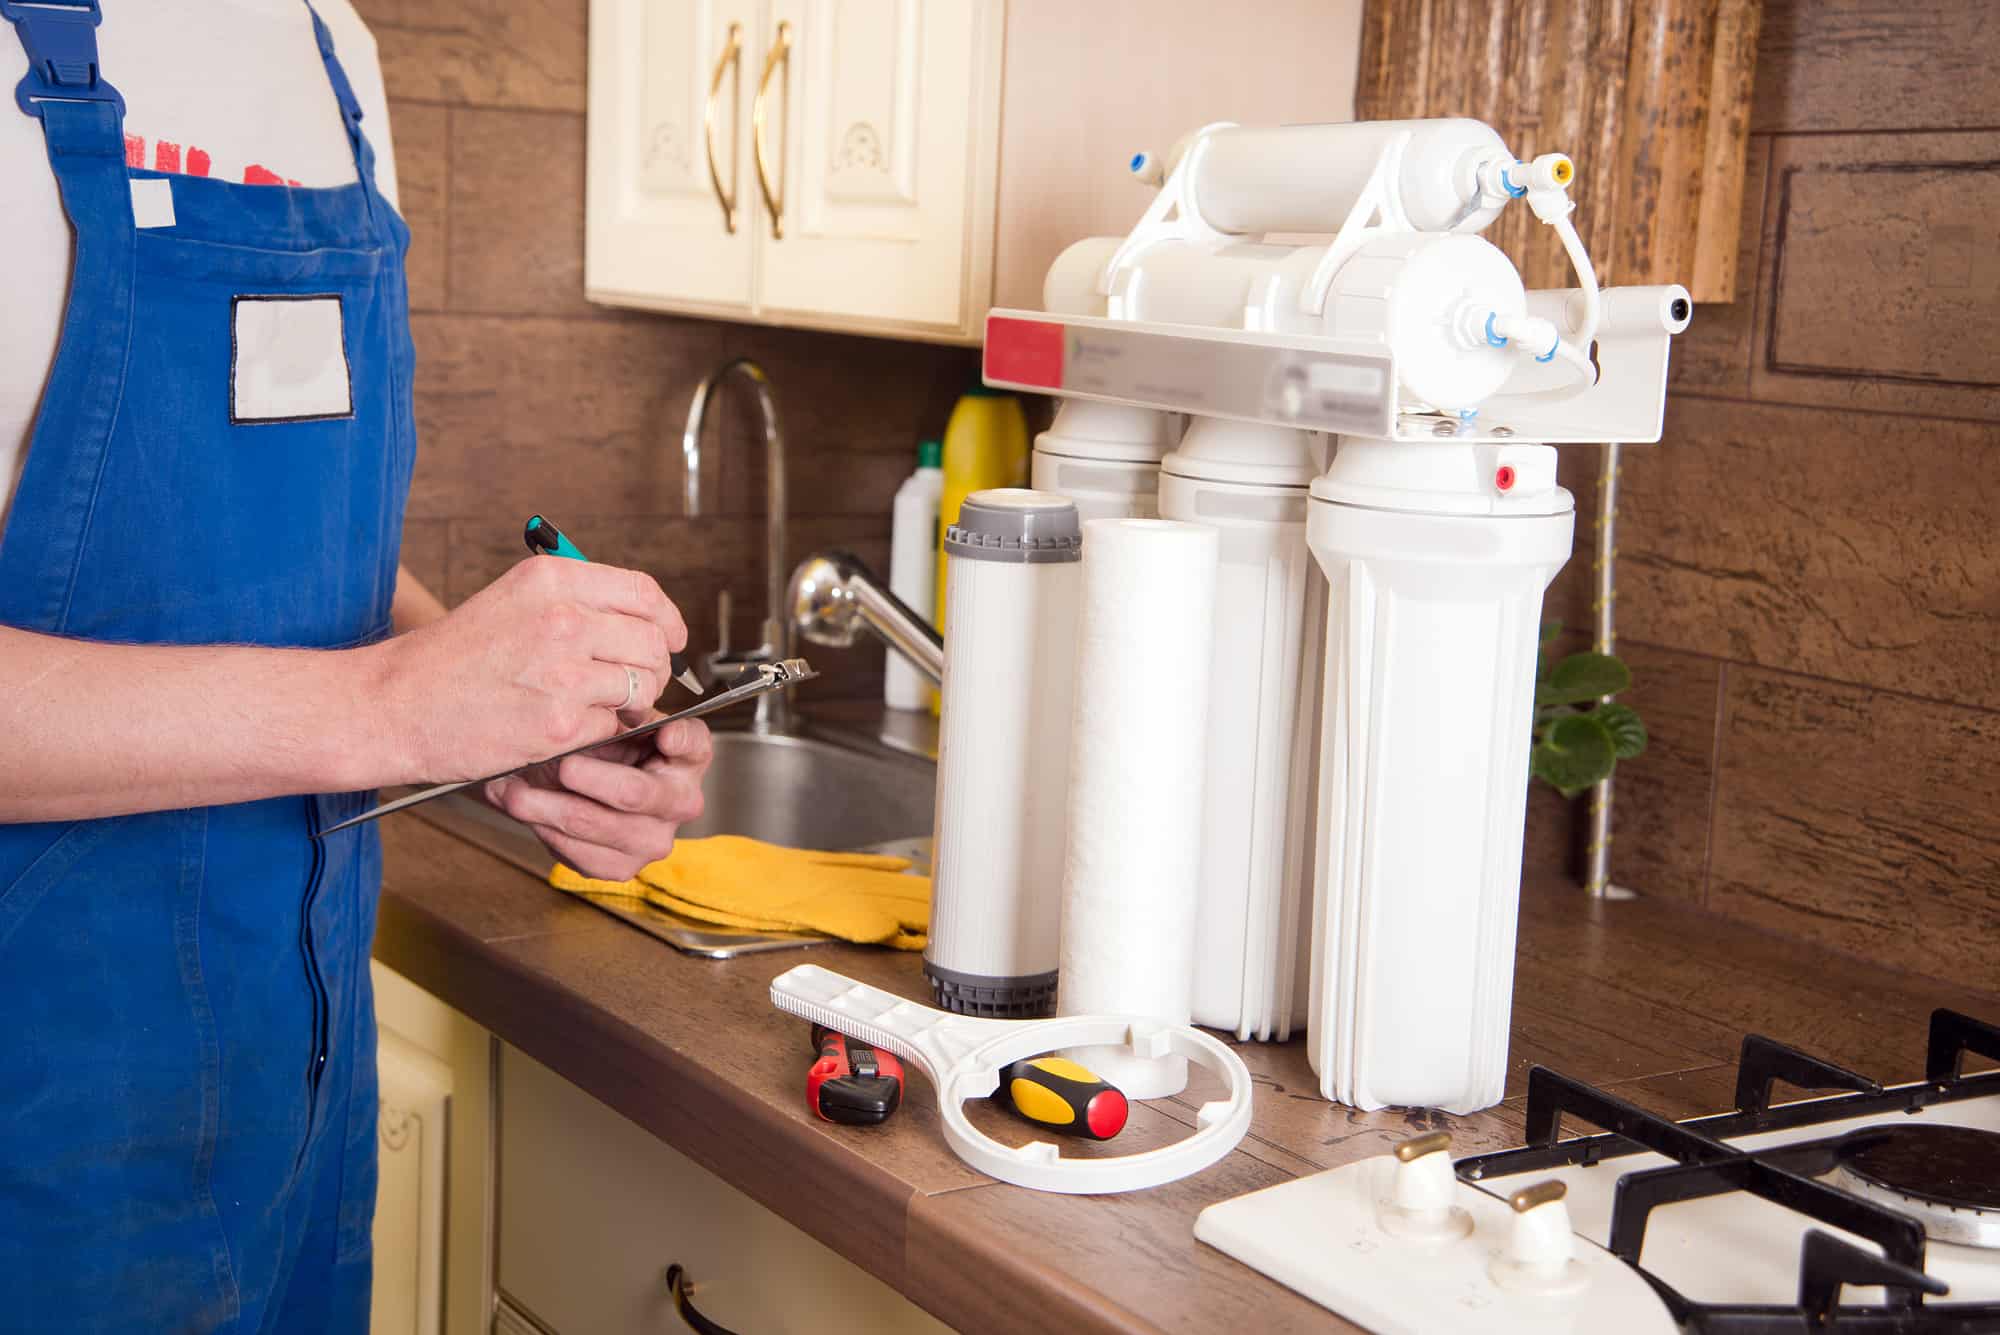
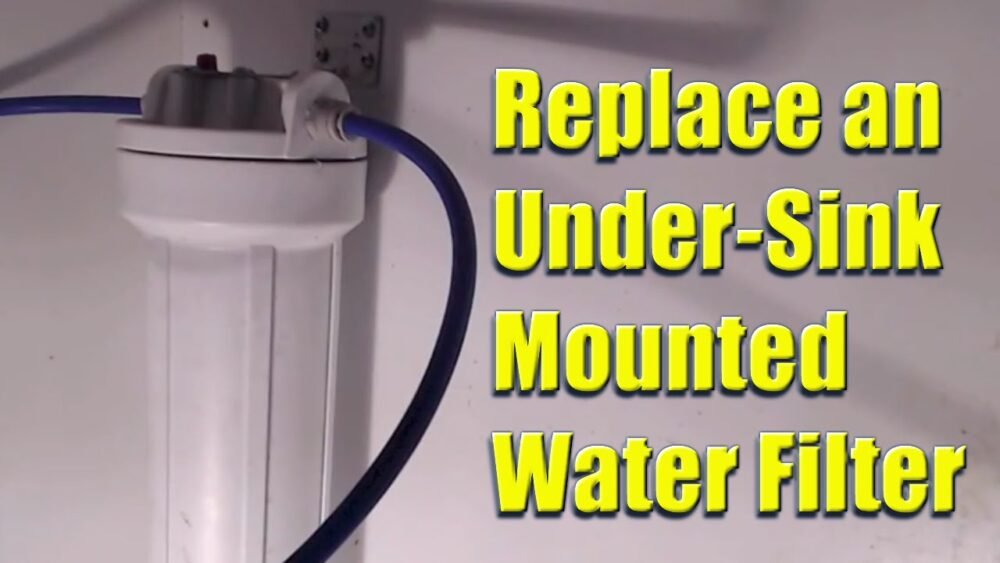
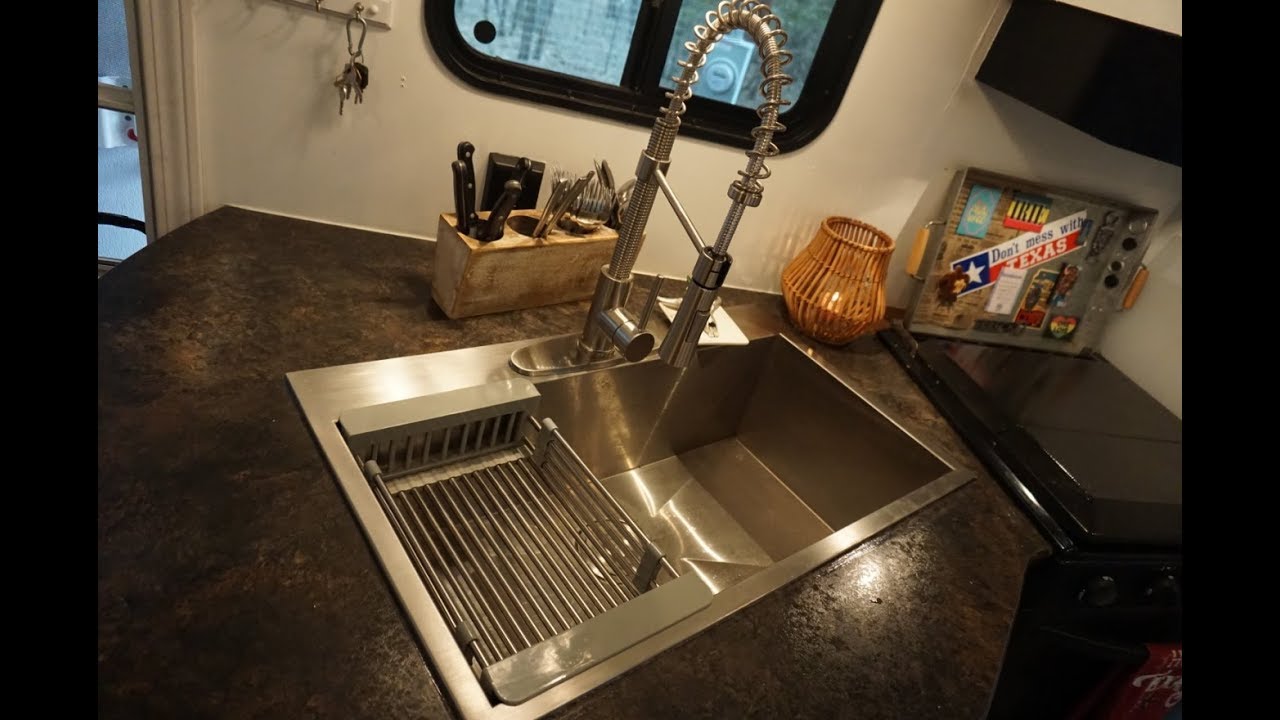
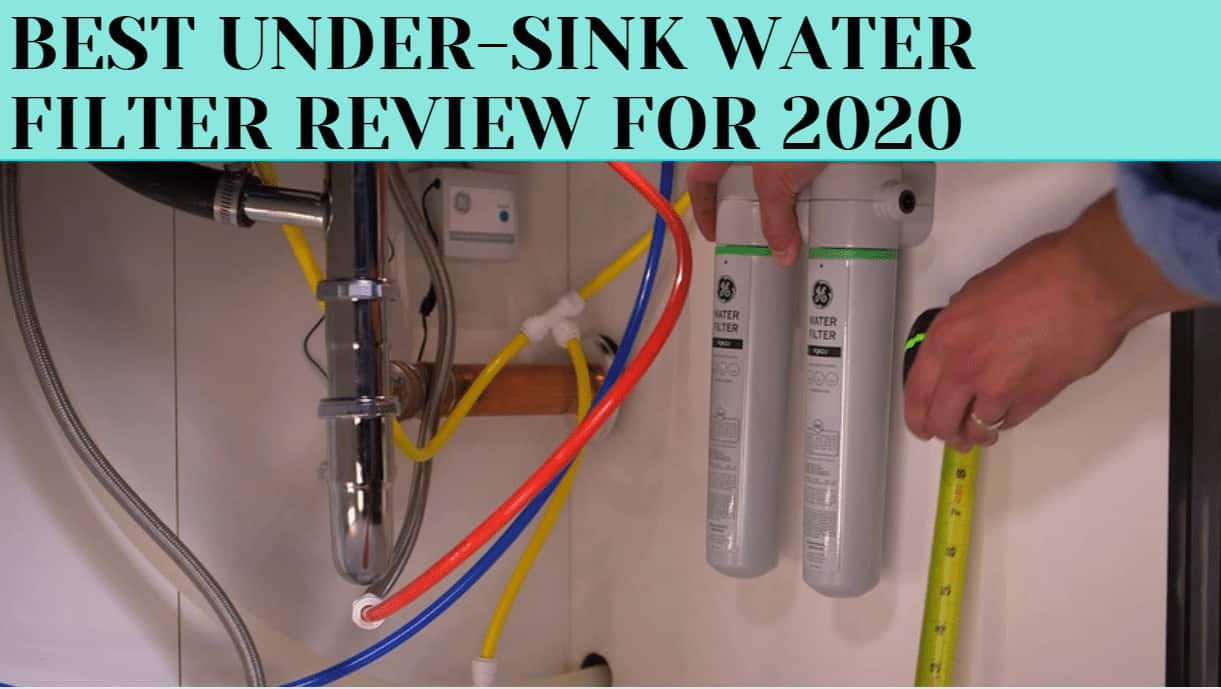
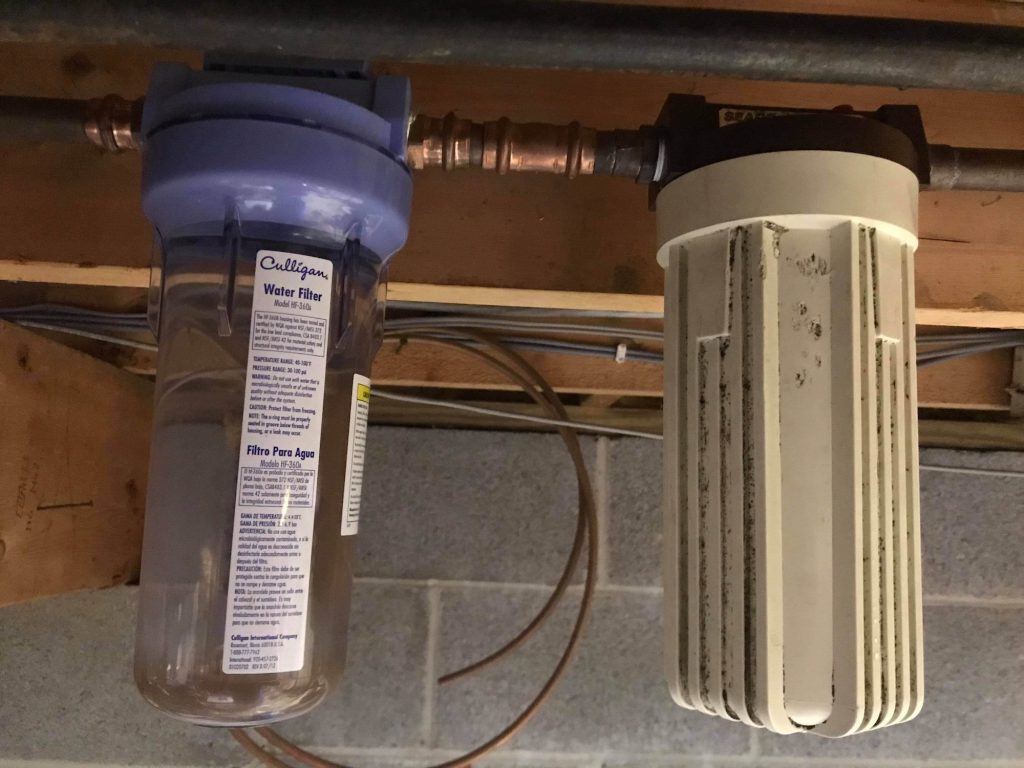
Step 1: First, locate the water filter in your RV kitchen sink. This is typically located under the sink, near the water lines.
Step 2: Turn off the water supply to your RV kitchen sink. You may need to turn off the main water supply to your RV if the kitchen sink doesn't have its own shut-off valve.
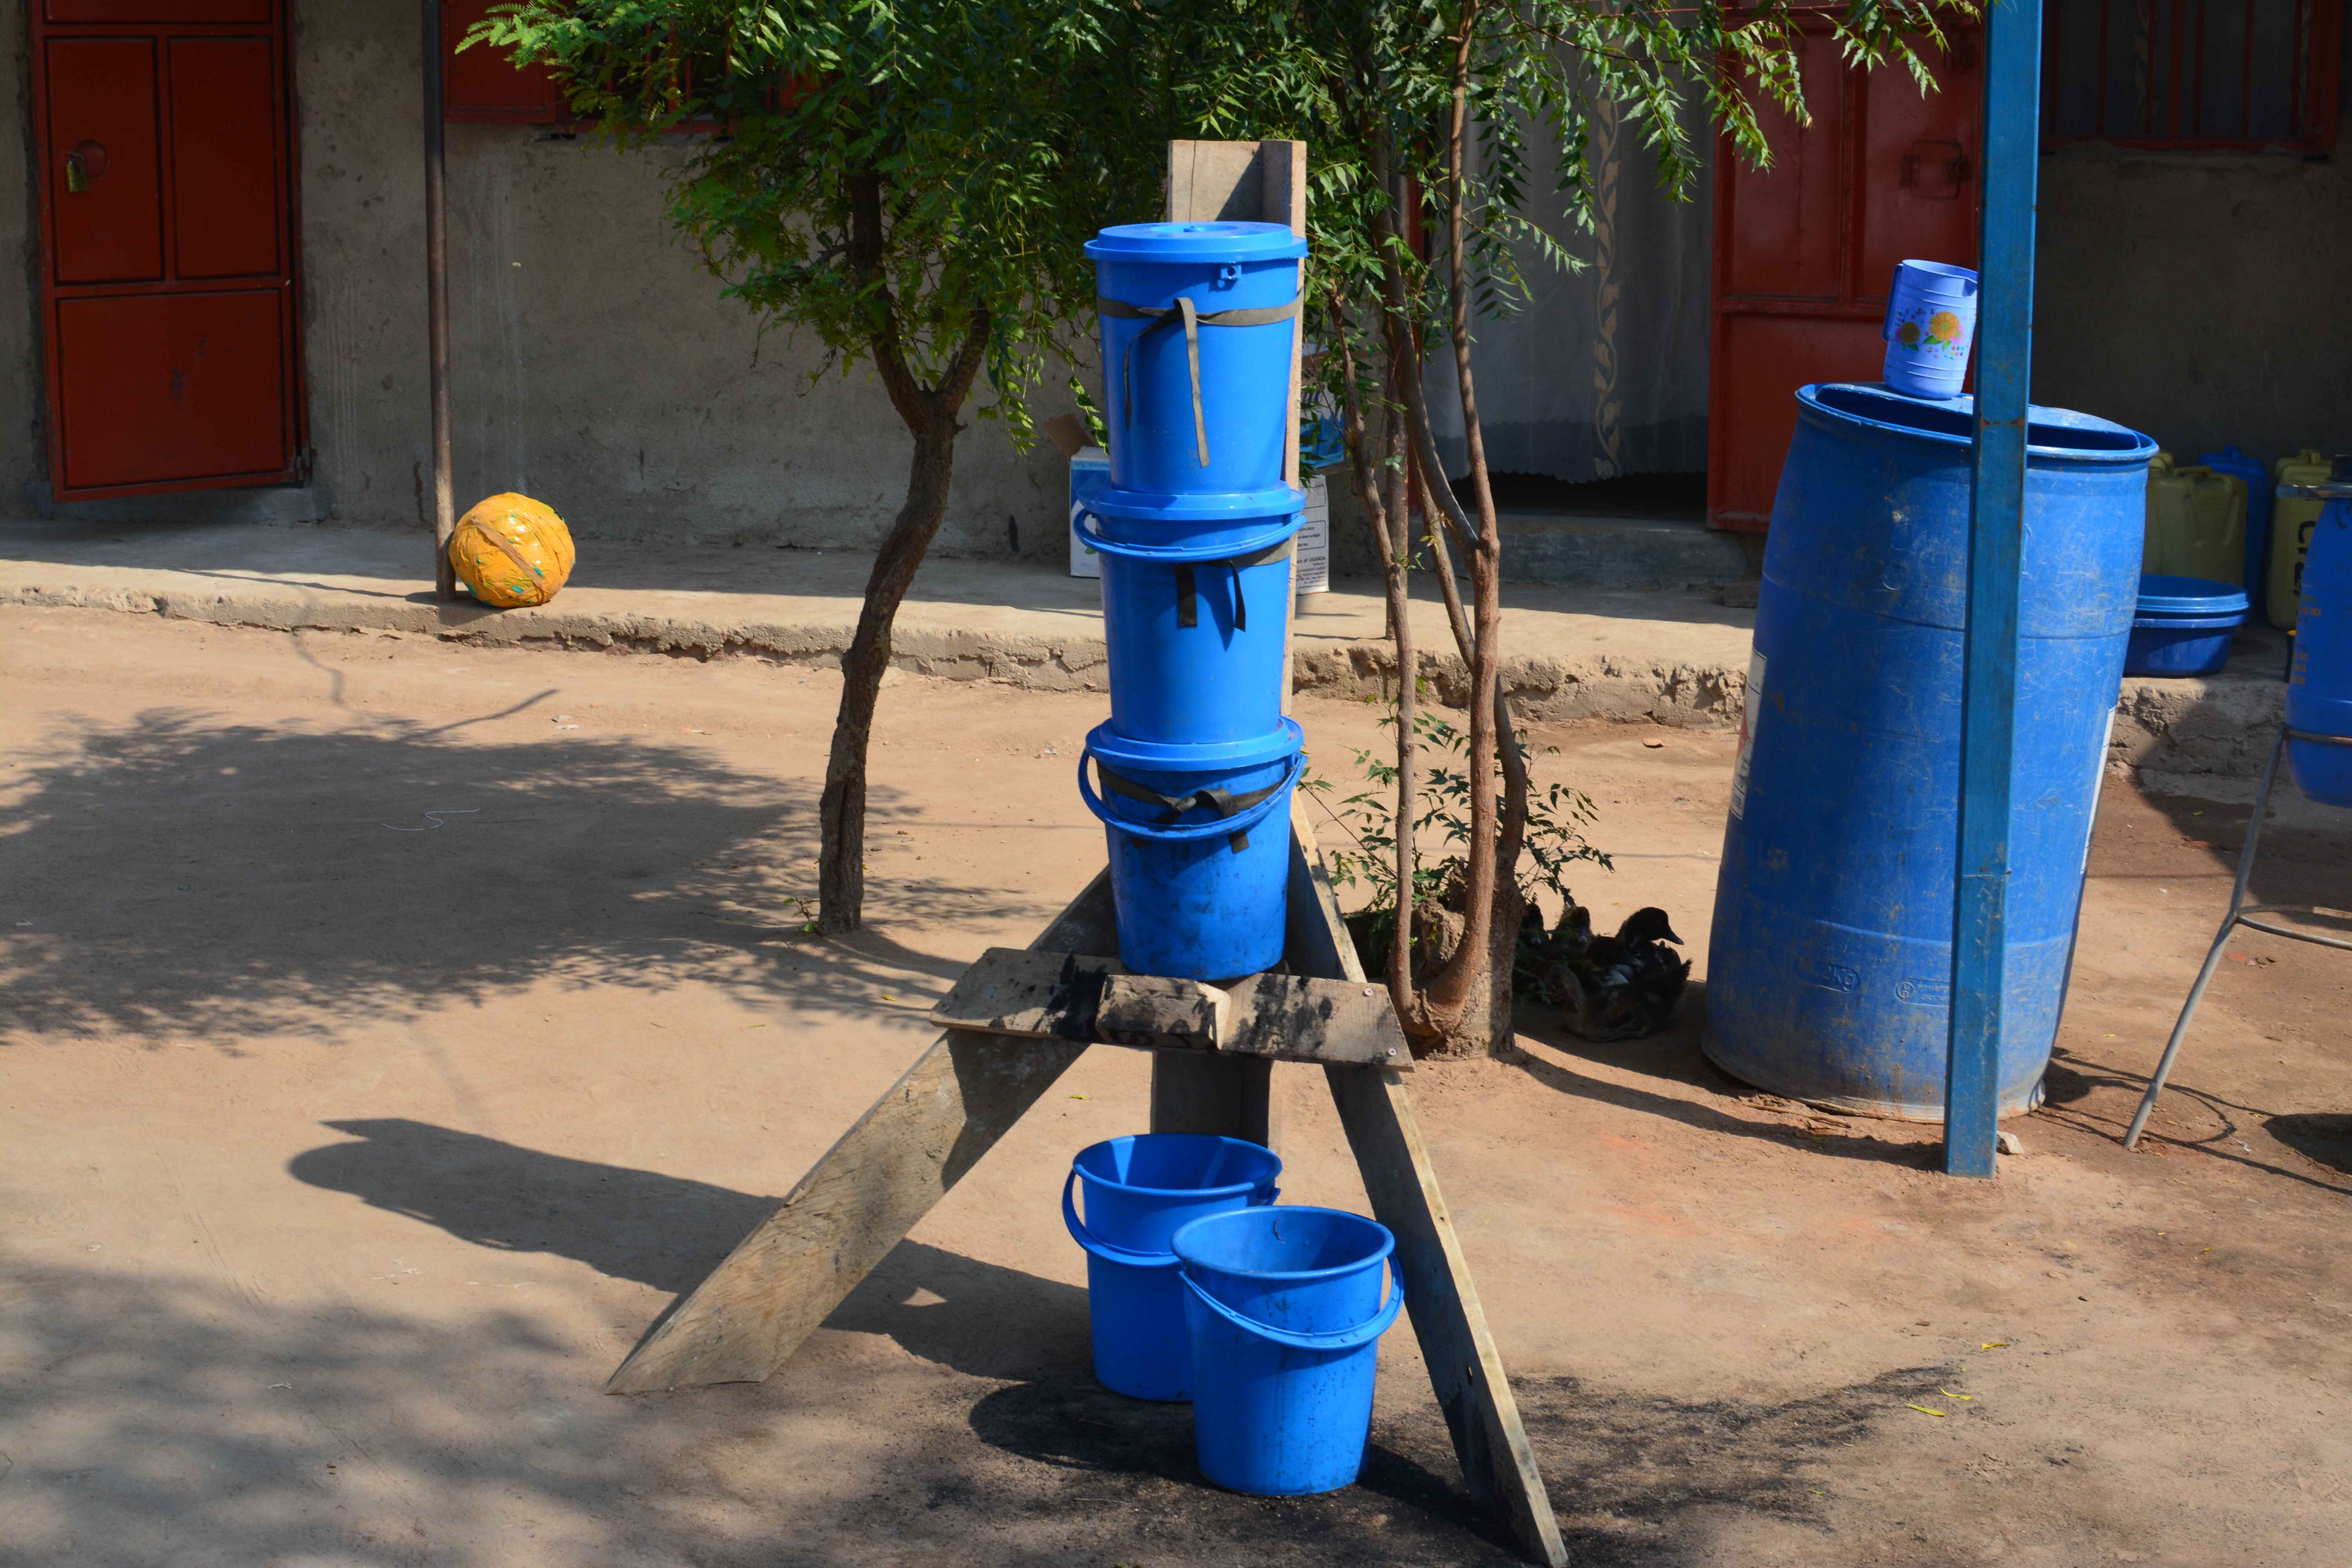
Step 3: Once the water is shut off, place a bucket or container under the water filter to catch any excess water that may spill out.
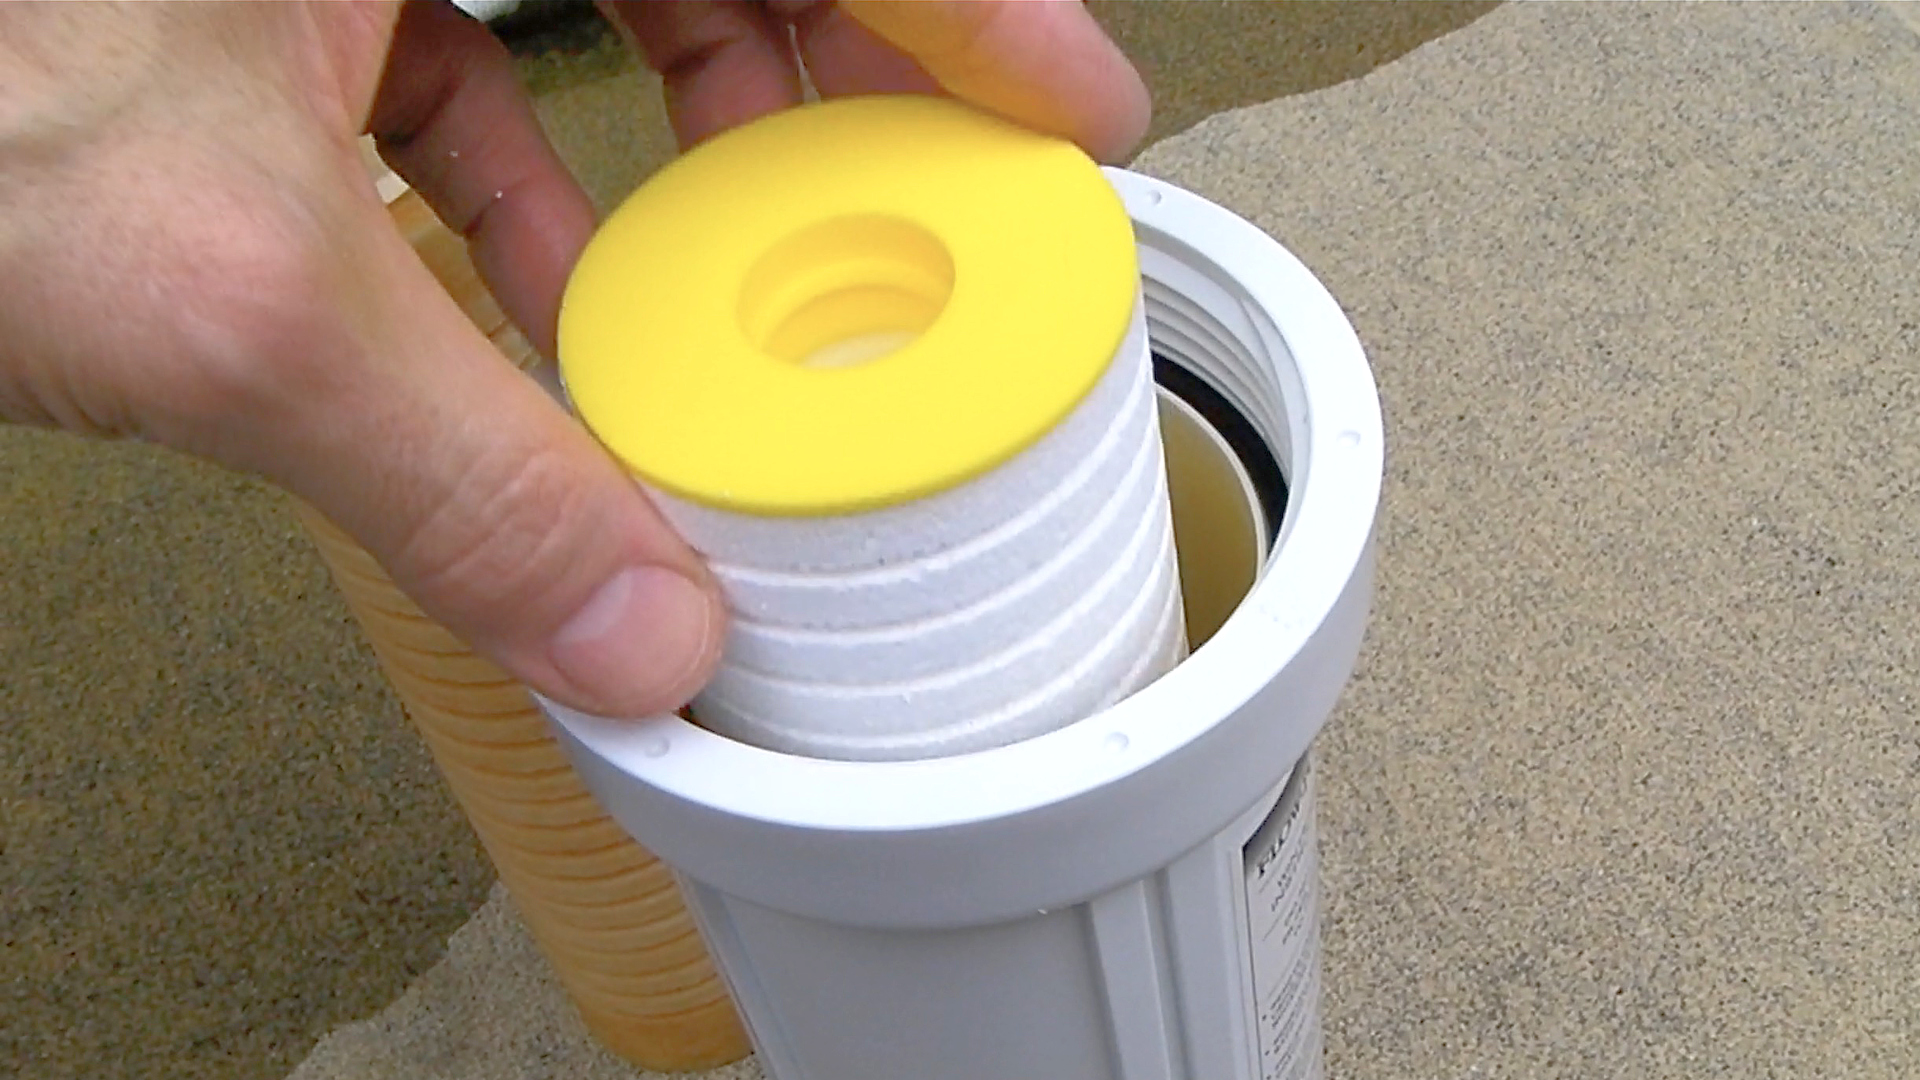
Step 4: Using a filter wrench, unscrew the old water filter from its housing. Be sure to follow the manufacturer's instructions for the correct direction to turn the filter.
Step 5: Once the old filter is removed, clean the housing area and remove any debris or buildup.
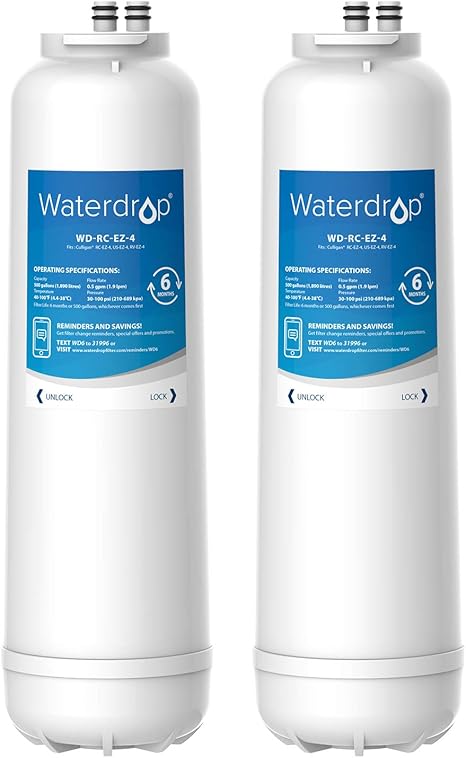
Step 6: Now it's time to insert the new water filter. Make sure the filter is facing the right way and screw it into place using the filter wrench.
Step 7: Turn the water supply back on and check for any leaks. If everything looks good, run the water for a few minutes to flush out any air pockets or loose debris.
Step 8: Once the water is running clear, your new water filter is installed and ready to use.

Step-by-Step Instructions for Replacing Your RV Kitchen Sink Water Filter


DIY: Changing the Water Filter in Your RV Kitchen Sink
Changing your RV kitchen sink water filter is a simple task that you can easily do yourself. Not only will this save you money in the long run, but it also ensures that the job is done correctly and your water supply is safe and clean. Follow the steps above and you'll have a new filter installed in no time.


DIY: Changing the Water Filter in Your RV Kitchen Sink


Quick and Easy Guide to Replacing Your RV Kitchen Sink Water Filter
If you're short on time or just need a quick refresher on how to replace your water filter, here's a brief summary of the steps:
1. Locate the water filter.
2. Turn off the water supply.
3. Place a bucket or container under the filter.
4. Unscrew the old filter.
5. Clean the housing area.
6. Insert the new filter.
7. Turn the water supply back on and check for leaks.
8. Run water to flush out any debris.
And that's it! With a little bit of time and effort, you'll have a new water filter installed and ready to keep your water clean and safe.

Quick and Easy Guide to Replacing Your RV Kitchen Sink Water Filter


RV Kitchen Sink Water Filter Replacement: Tips and Tricks
Here are a few additional tips and tricks to keep in mind when replacing your RV kitchen sink water filter:
Tip 1: Make sure to use a filter wrench when removing and installing the filter to avoid any damage.
Tip 2: Keep a spare water filter on hand in case of emergencies or unexpected replacements.
Tip 3: Mark the date of installation on your new filter so you know when it's time for the next replacement.


RV Kitchen Sink Water Filter Replacement: Tips and Tricks


The Importance of Changing Your RV Kitchen Sink Water Filter
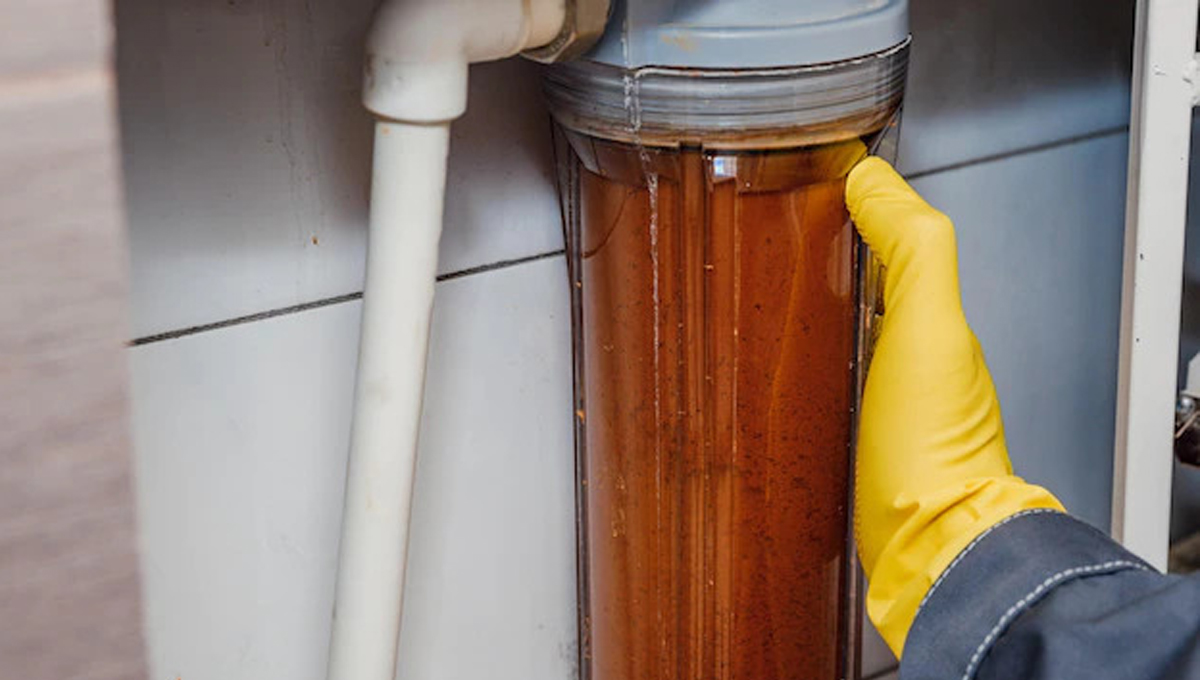
Changing your RV kitchen sink water filter is crucial for maintaining clean and safe drinking water. Over time, filters can become clogged with debris and lose their effectiveness, which can lead to contaminated water. By regularly replacing your water filter, you can ensure that your water supply remains healthy and safe for you and your family.


The Importance of Changing Your RV Kitchen Sink Water Filter


Best Practices for Replacing Your RV Kitchen Sink Water Filter
To ensure a smooth and successful water filter replacement, here are a few best practices to keep in mind:
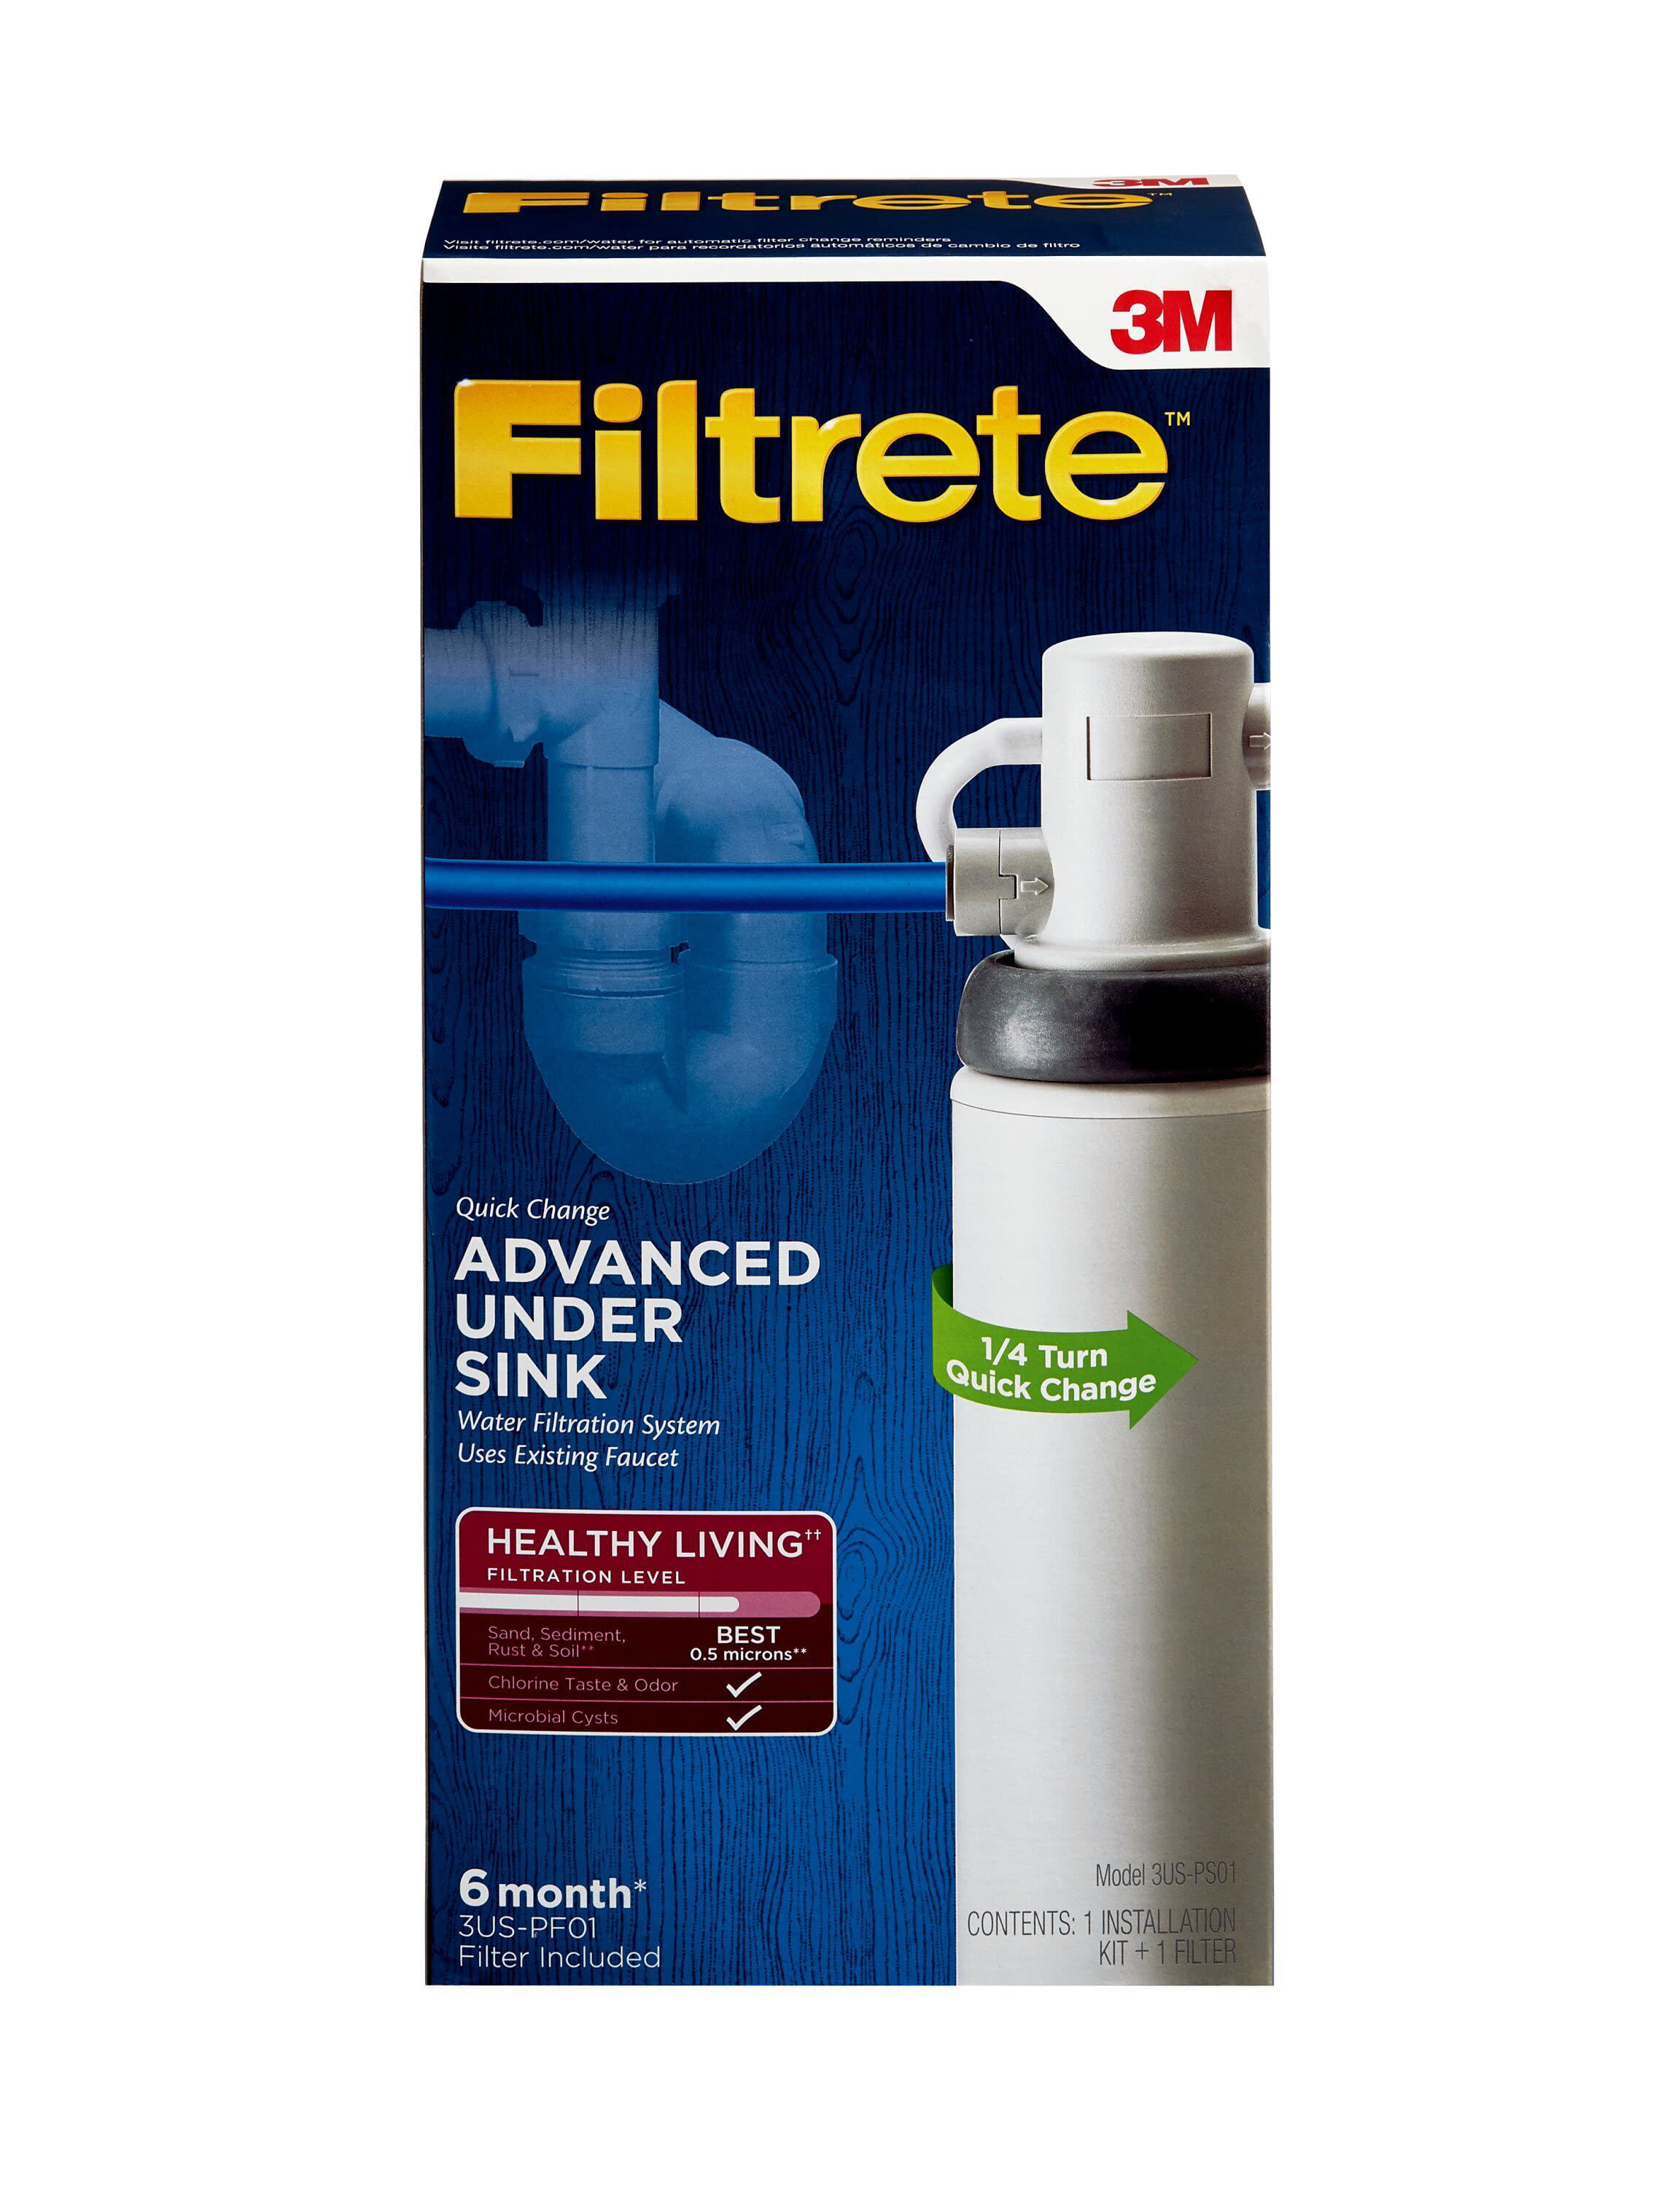
Practice 1: Always follow the manufacturer's instructions for your specific water filter.
Practice 2: Keep your RV kitchen sink area clean and free of debris to prevent any contamination.
Practice 3: Regularly check your water filter for any signs of wear or damage and replace it if necessary.
.png?format=1000w)
Best Practices for Replacing Your RV Kitchen Sink Water Filter


Common Mistakes to Avoid When Changing Your RV Kitchen Sink Water Filter
While replacing your water filter is a simple task, there are a few common mistakes that can cause issues if not avoided:
Mistake 1: Not turning off the water supply before removing the filter, which can result in a messy and potentially damaging leak.
Mistake 2: Forgetting to flush the new filter before using it, which can lead to a foul taste or odor in your water.
Mistake 3: Using the wrong type of filter for your RV kitchen sink, which can result in poor filtration and contaminated water.


Common Mistakes to Avoid When Changing Your RV Kitchen Sink Water Filter

Expert Tips for Changing Your RV Kitchen Sink Water Filter
For some additional expert advice, here are a few tips from experienced RVers on replacing your water filter:
Expert Tip 1: Keep a dedicated filter wrench in your RV tool kit for easy access and quick replacements.
Expert Tip 2: Use a water filter with a higher micron rating for better filtration and longer-lasting performance.
Expert Tip 3: Consider investing in a water filtration system for your entire RV to ensure clean and safe water throughout.
Now that you know the importance of changing your RV kitchen sink water filter and how to do it correctly, you can confidently hit the road knowing you have a clean and safe water supply. Remember to regularly check and replace your water filter to keep your RV adventures worry-free and your water supply healthy. Happy travels!
Expert Tips for Changing Your RV Kitchen Sink Water Filter


Why Changing Your Water Filter in Your RV Kitchen Sink is Essential for a Healthy Home

The Importance of Clean Water in Your RV
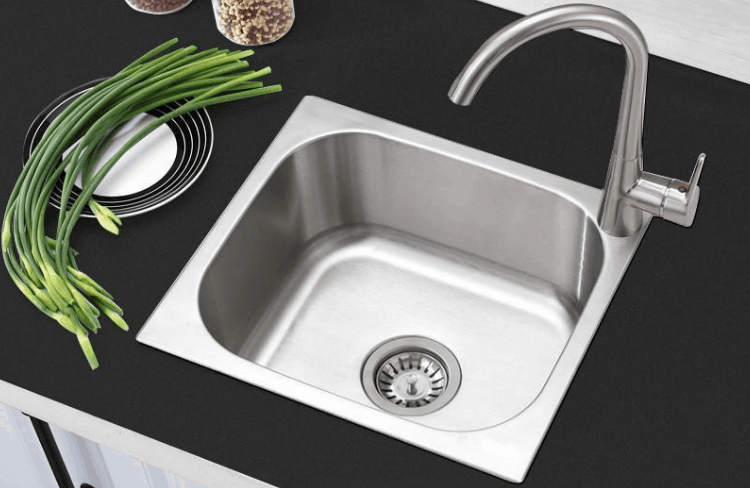
 When traveling in your RV, it's important to have access to clean and safe drinking water. This not only ensures your health and well-being but also helps maintain the longevity of your RV's plumbing system. One of the easiest and most effective ways to achieve this is by regularly changing your water filter in the kitchen sink.
How Water Filters Work
 Water filters are designed to remove impurities and contaminants from your water, such as sediment, bacteria, and chemicals. These impurities can affect the taste and smell of your water, as well as potentially harm your health. By using a water filter, you can enjoy clean and pure drinking water, right from your RV kitchen sink.
The Importance of Regularly Changing Your Water Filter
 Over time, water filters can become clogged with the impurities they have removed from your water. This can decrease the effectiveness of the filter and even allow contaminants to pass through. Therefore, it's important to regularly change your water filter to ensure it is working at its best.
Step-by-Step Guide to Changing Your Water Filter
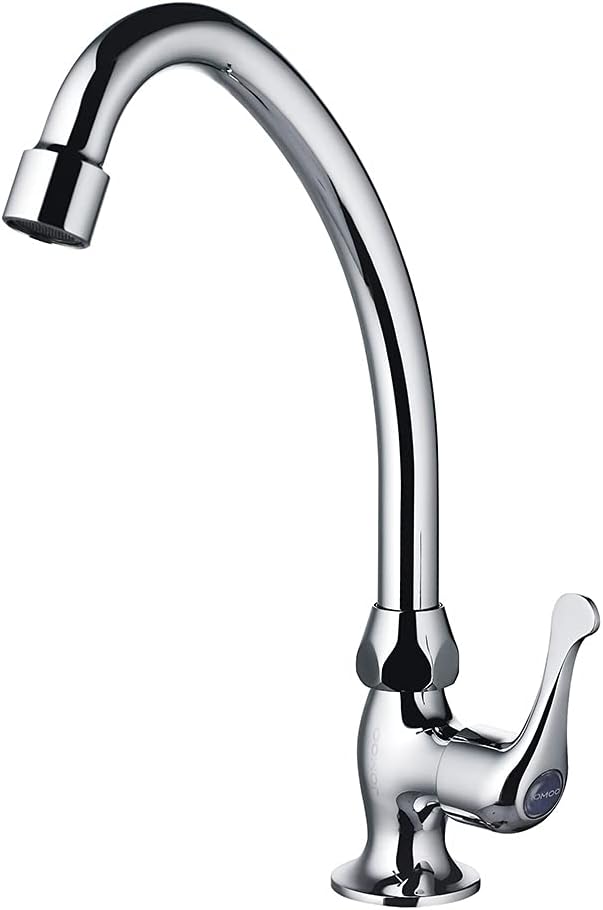
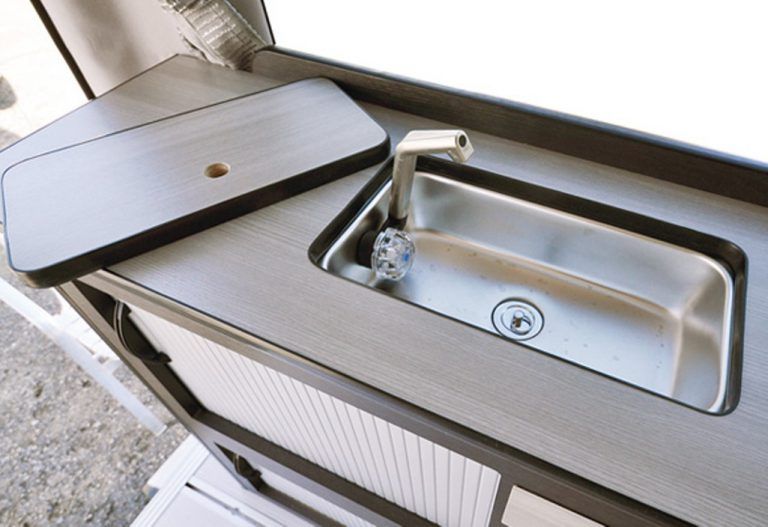
 1. First, locate your water filter in your RV kitchen sink. It may be under the sink or attached to the faucet.
2. Turn off the water supply to your RV.
3. Use a wrench or pliers to loosen the filter housing and remove the old filter.
4. Clean the filter housing with warm water and soap.
5. Insert the new filter into the housing and tighten it with a wrench.
6. Turn the water supply back on and run the water for a few minutes to flush out any air or loose particles.
7. Check for any leaks and tighten the filter housing if necessary.
1. First, locate your water filter in your RV kitchen sink. It may be under the sink or attached to the faucet.
2. Turn off the water supply to your RV.
3. Use a wrench or pliers to loosen the filter housing and remove the old filter.
4. Clean the filter housing with warm water and soap.
5. Insert the new filter into the housing and tighten it with a wrench.
6. Turn the water supply back on and run the water for a few minutes to flush out any air or loose particles.
7. Check for any leaks and tighten the filter housing if necessary.
When to Change Your Water Filter
 The frequency of changing your water filter will depend on the type of filter you have and how much water you use. It's important to follow the manufacturer's guidelines for your specific filter, but a general rule of thumb is to change it every 3-6 months.
Conclusion
 Regularly changing your water filter in your RV kitchen sink is essential for maintaining clean and safe drinking water. By following these simple steps, you can ensure your water filter is working at its best and providing you with pure, refreshing water while on the road. Don't forget to stock up on replacement filters for your next trip!