Fluorescent lights are a popular choice for kitchen lighting due to their energy efficiency and bright, even light. However, like any light fixture, they will need to be changed eventually. Whether you're looking to upgrade the look of your kitchen or your light is simply burnt out, changing a fluorescent light in the kitchen is a simple and straightforward process. In this guide, we'll walk you through the steps to successfully change a fluorescent light in your kitchen.How to Change a Fluorescent Light in the Kitchen
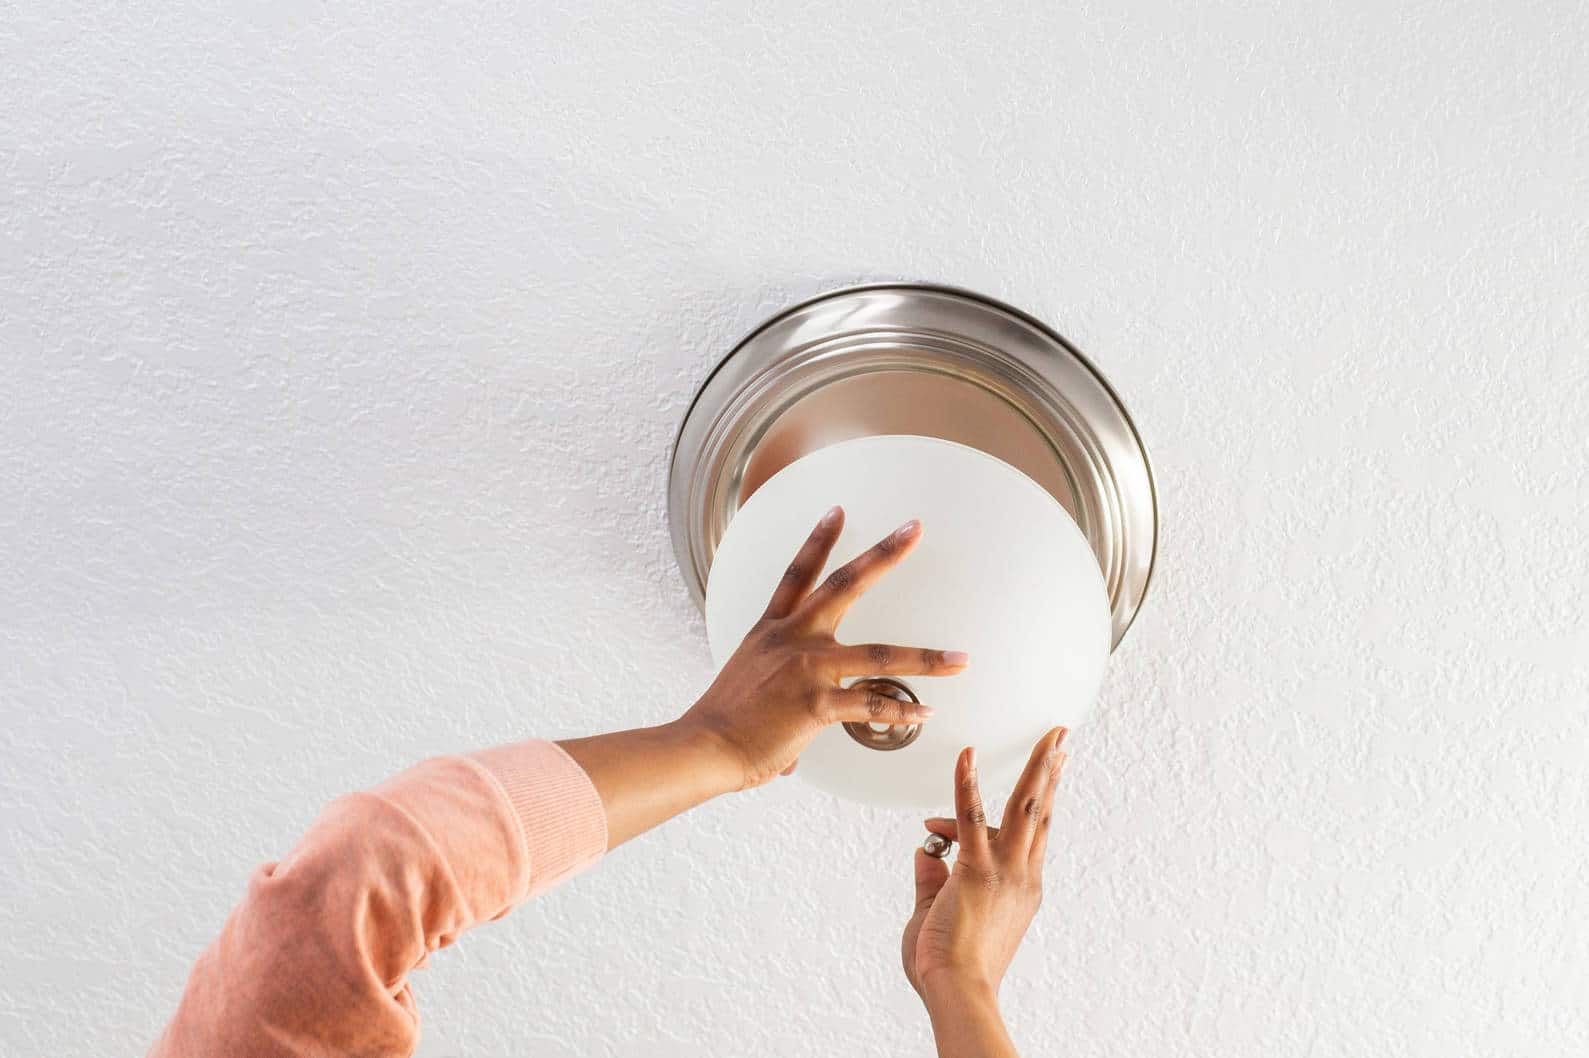
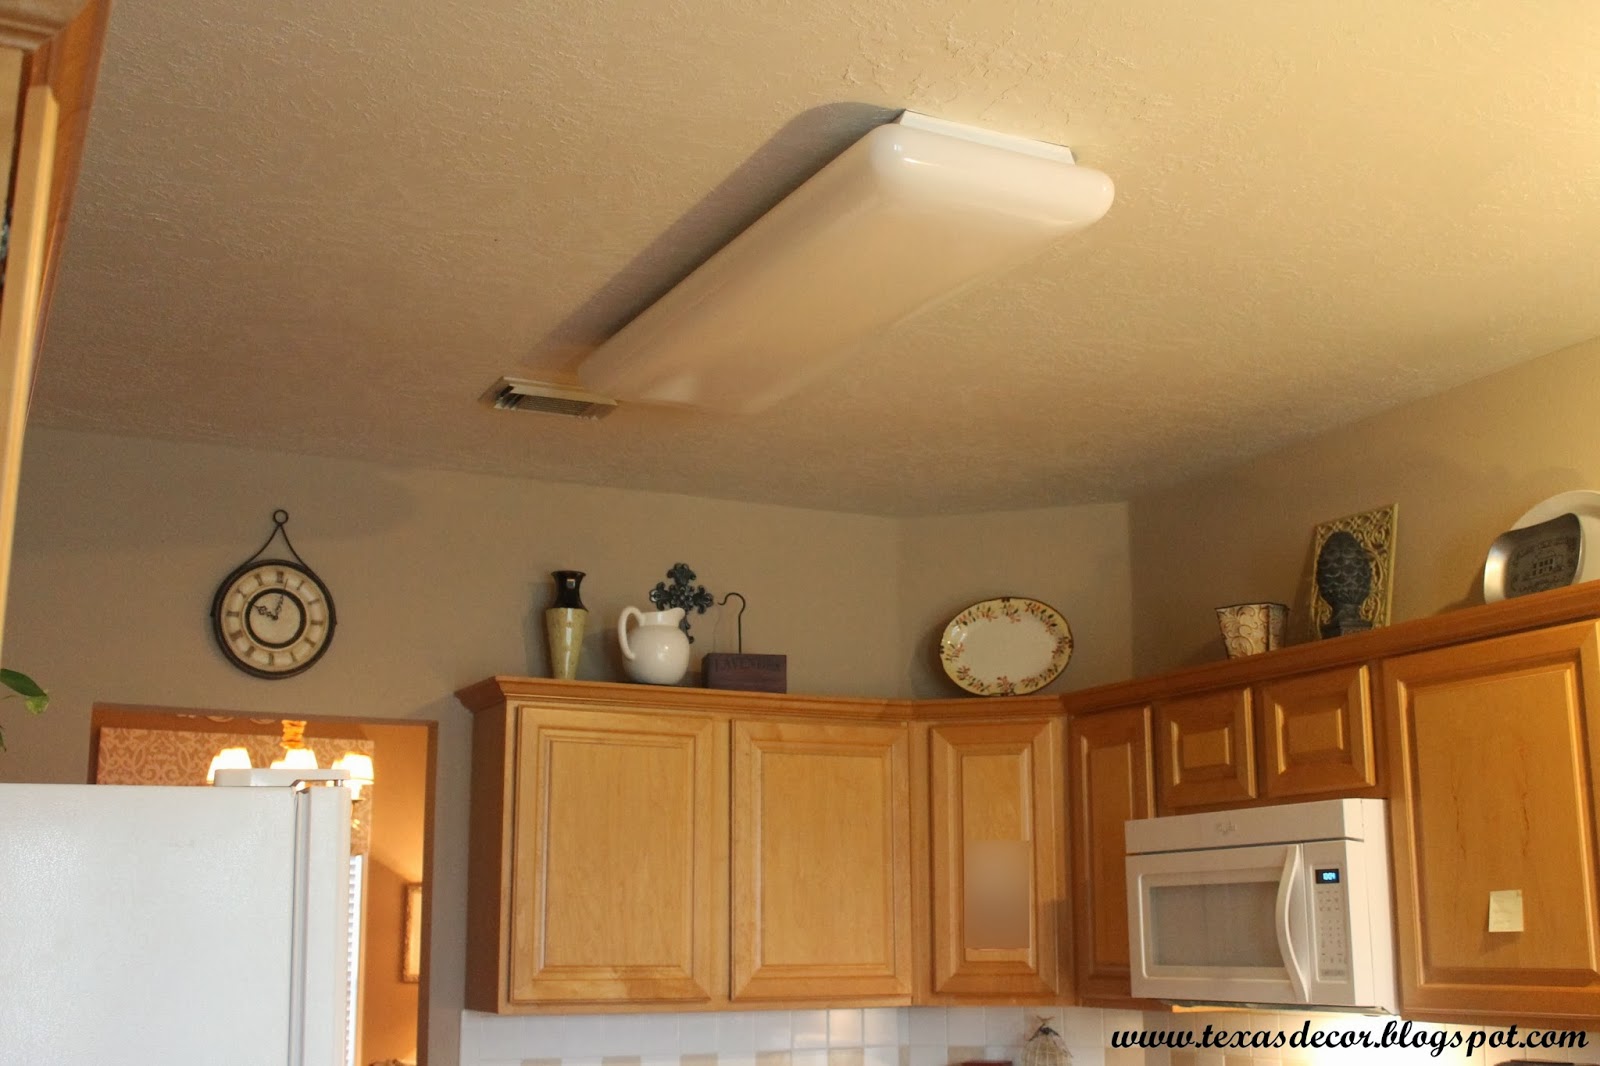
Before you begin, make sure you have all the necessary tools and materials. You will need a ladder, screwdriver, wire cutters/strippers, replacement fluorescent light, and safety glasses. Step 1: Turn off the power to the light at the circuit breaker. This will ensure your safety while working with electricity. Step 2: Remove the cover of the light fixture. This may involve unscrewing or pushing in clips, depending on the type of fixture you have. Step 3: Carefully remove the fluorescent light bulbs and dispose of them properly. If the light is still working, you can save the bulbs for future use. Step 4: Using the screwdriver, remove the screws that hold the fixture in place. Once the screws are removed, gently pull the fixture away from the ceiling. Step 5: Disconnect the wiring. There will be a white wire connected to the neutral wire and a black wire connected to the hot wire. Use the wire cutters/strippers to cut the wires and separate them from the fixture. Step 6: Remove the old ballast from the fixture. The ballast is a small box that controls the flow of electricity to the light bulbs. It is usually located in the center of the fixture. Step 7: Install the new ballast. Make sure to follow the manufacturer's instructions for your specific model. Step 8: Connect the new ballast to the wiring. Use wire nuts to secure the connections and ensure they are tight. Step 9: Attach the fixture back to the ceiling and secure it with the screws. Step 10: Install the new fluorescent light bulbs. Make sure they are properly aligned and secure in the sockets. Step 11: Replace the cover of the fixture and turn the power back on at the circuit breaker.Step-by-Step Guide to Replacing a Fluorescent Light in the Kitchen
If you're feeling handy, you can easily replace a fluorescent light in your kitchen on your own. Just make sure to follow the steps outlined above and take proper safety precautions such as turning off the power and wearing safety glasses.DIY: Replacing a Fluorescent Light in the Kitchen
Here are a few tips and tricks to keep in mind when changing a fluorescent light in your kitchen: TIP: It's always a good idea to have a helper when changing a light fixture, especially if it's a larger fixture or if you're not comfortable working on a ladder alone. TIP: When disposing of old fluorescent light bulbs, make sure to follow proper recycling guidelines. These bulbs contain small amounts of mercury and should not be thrown in the trash. TIP: If you're looking to upgrade your kitchen lighting, consider switching to LED lights. They are energy-efficient, long-lasting, and come in a variety of styles.Replacing a Fluorescent Light in the Kitchen: Tips and Tricks
The best way to change a fluorescent light in the kitchen is to follow the steps outlined in this guide. By turning off the power, safely removing the old fixture, and properly installing the new one, you can ensure a successful and safe light replacement.The Best Way to Change a Fluorescent Light in the Kitchen
If you're short on time, here's a quick and easy guide to changing a fluorescent light in your kitchen: Step 1: Turn off the power at the circuit breaker. Step 2: Remove the cover and old light bulbs. Step 3: Disconnect and remove the old fixture. Step 4: Install the new ballast and connect the wiring. Step 5: Attach the new fixture and install the new light bulbs. Step 6: Replace the cover and turn the power back on.Quick and Easy Guide to Replacing a Fluorescent Light in the Kitchen
When replacing a fluorescent light in your kitchen, it's important to know the type and size of your current fixture. This will ensure you purchase the correct replacement and avoid any issues during installation.Fluorescent Light Replacement in the Kitchen: What You Need to Know
For a more detailed guide, here are the step-by-step instructions for changing a fluorescent light in your kitchen: Step 1: Gather all necessary tools and materials. Step 2: Turn off the power at the circuit breaker. Step 3: Remove the cover and old light bulbs. Step 4: Disconnect and remove the old fixture. Step 5: Install the new ballast and connect the wiring. Step 6: Attach the new fixture and install the new light bulbs. Step 7: Replace the cover and turn the power back on.Step-by-Step Instructions for Changing a Fluorescent Light in the Kitchen
If you're looking to upgrade the lighting in your kitchen, replacing a fluorescent light is a great place to start. By switching to a more energy-efficient and modern option, you can improve the look and functionality of your kitchen.How to Upgrade Your Kitchen Lighting: Replacing a Fluorescent Light
When changing a fluorescent light in your kitchen, there are a few common mistakes to avoid: MISTAKE: Not turning off the power at the circuit breaker before starting the replacement process. MISTAKE: Not properly disposing of old fluorescent light bulbs. MISTAKE: Not following manufacturer's instructions for ballast installation. By following this guide and avoiding these mistakes, you can successfully change a fluorescent light in your kitchen and enjoy a bright, updated space. Replacing a Fluorescent Light in the Kitchen: Common Mistakes to Avoid
Upgrading Your Kitchen Lighting: How Changing Fluorescent Lights Can Transform Your Space
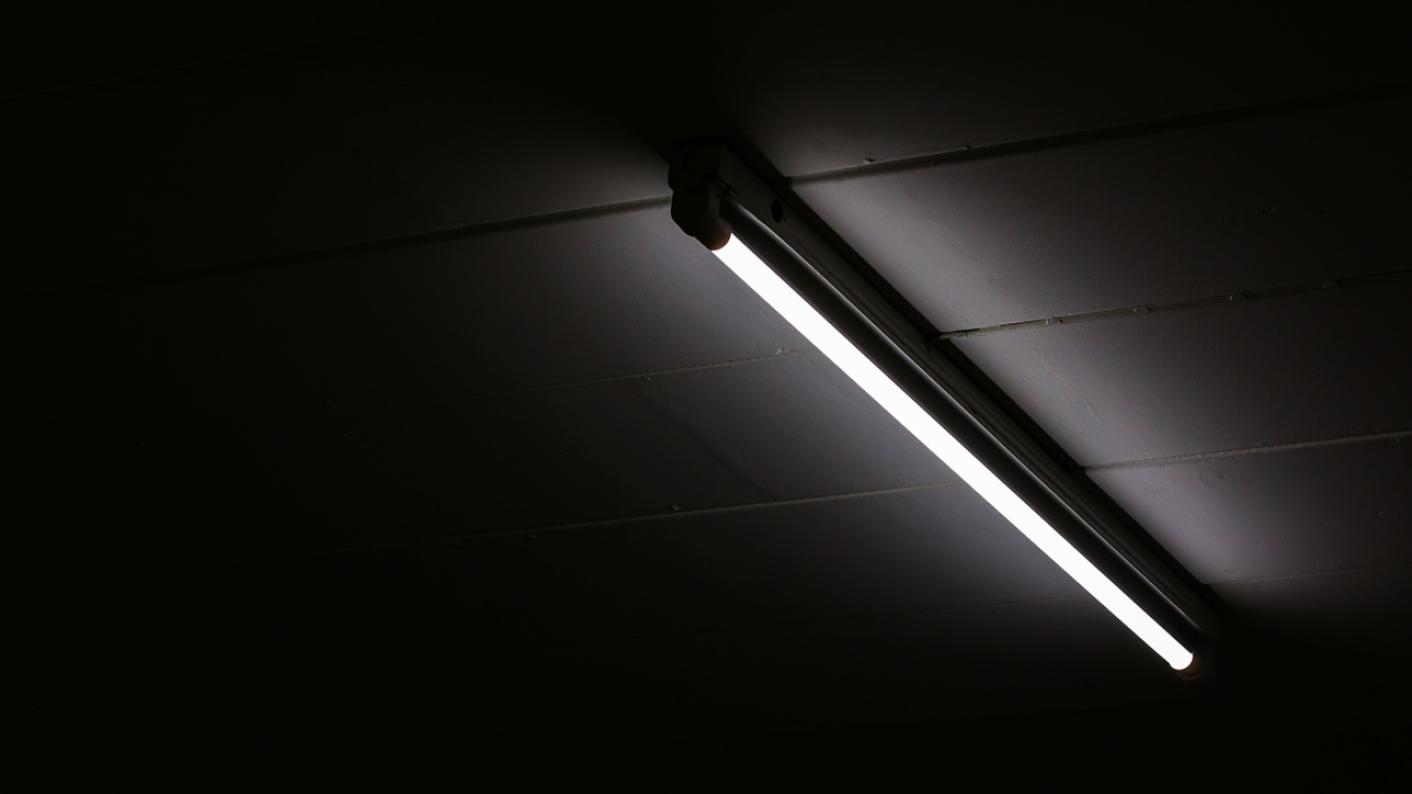
The Power of Lighting in House Design
 When it comes to designing a house, lighting is often overlooked or seen as an afterthought. However, the right lighting can greatly impact the overall look and feel of a space. It can make a room appear larger, create a certain ambiance, and even affect one's mood. That's why it's important to carefully consider the lighting in each room, especially in high-traffic areas like the kitchen.
Kitchen lighting plays a crucial role in both aesthetics and functionality.
It's where we prepare our meals, entertain guests, and spend time with family. Therefore, it's essential to have proper lighting that not only illuminates the space but also enhances its design.
The Downside of Fluorescent Lights
 Many homes have fluorescent lights in the kitchen, which were once considered the go-to choice for lighting due to their energy efficiency and cost-effectiveness. However, these lights have a few drawbacks that can hinder the overall look and feel of your kitchen.
Firstly,
fluorescent lights can give off a harsh and unflattering light
, making the space feel cold and uninviting. This is especially true for older fluorescent lights, which can have a yellow or greenish tint. Additionally, these lights tend to flicker and buzz, which can be not only annoying but also a trigger for headaches and migraines.
Furthermore,
fluorescent lights have a shorter lifespan compared to other lighting options
, meaning they need to be replaced more frequently. This can become a hassle and an added expense in the long run.
The Benefits of Switching to LED Lights
 One of the best alternatives to fluorescent lights is LED lights.
LED lights are energy-efficient, long-lasting, and come in a variety of color temperatures
, allowing you to choose the perfect lighting for your kitchen. They also emit a natural and bright light that can make a space feel more inviting and spacious.
Another advantage of LED lights is that they are
easily customizable and can be installed in various ways to enhance the design of your kitchen
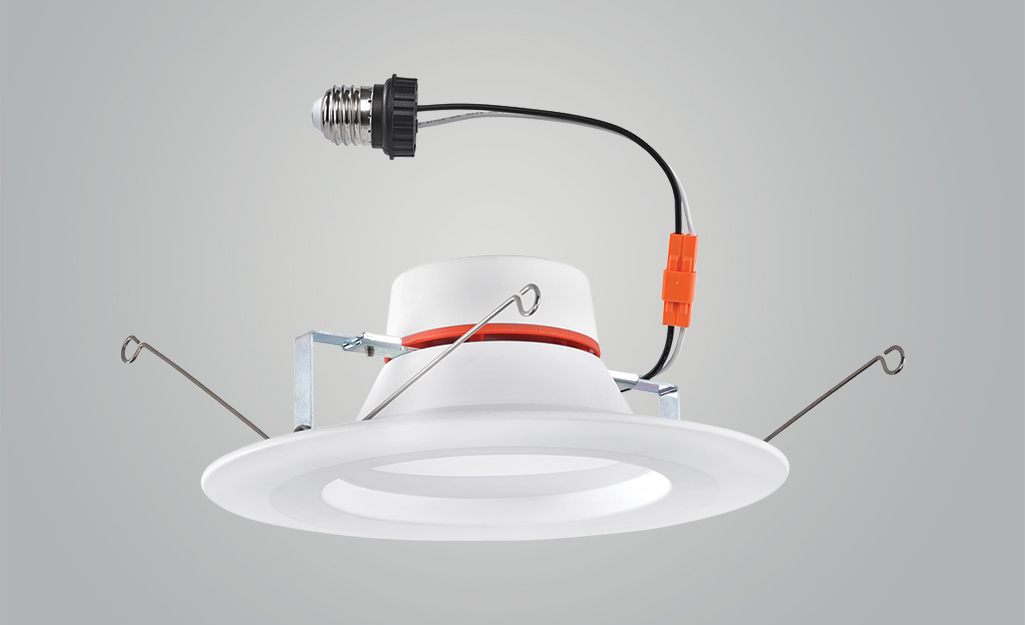
. You can opt for recessed lighting, under-cabinet lighting, or even pendant lights to add a touch of style and functionality to your space.
The Transformation Process
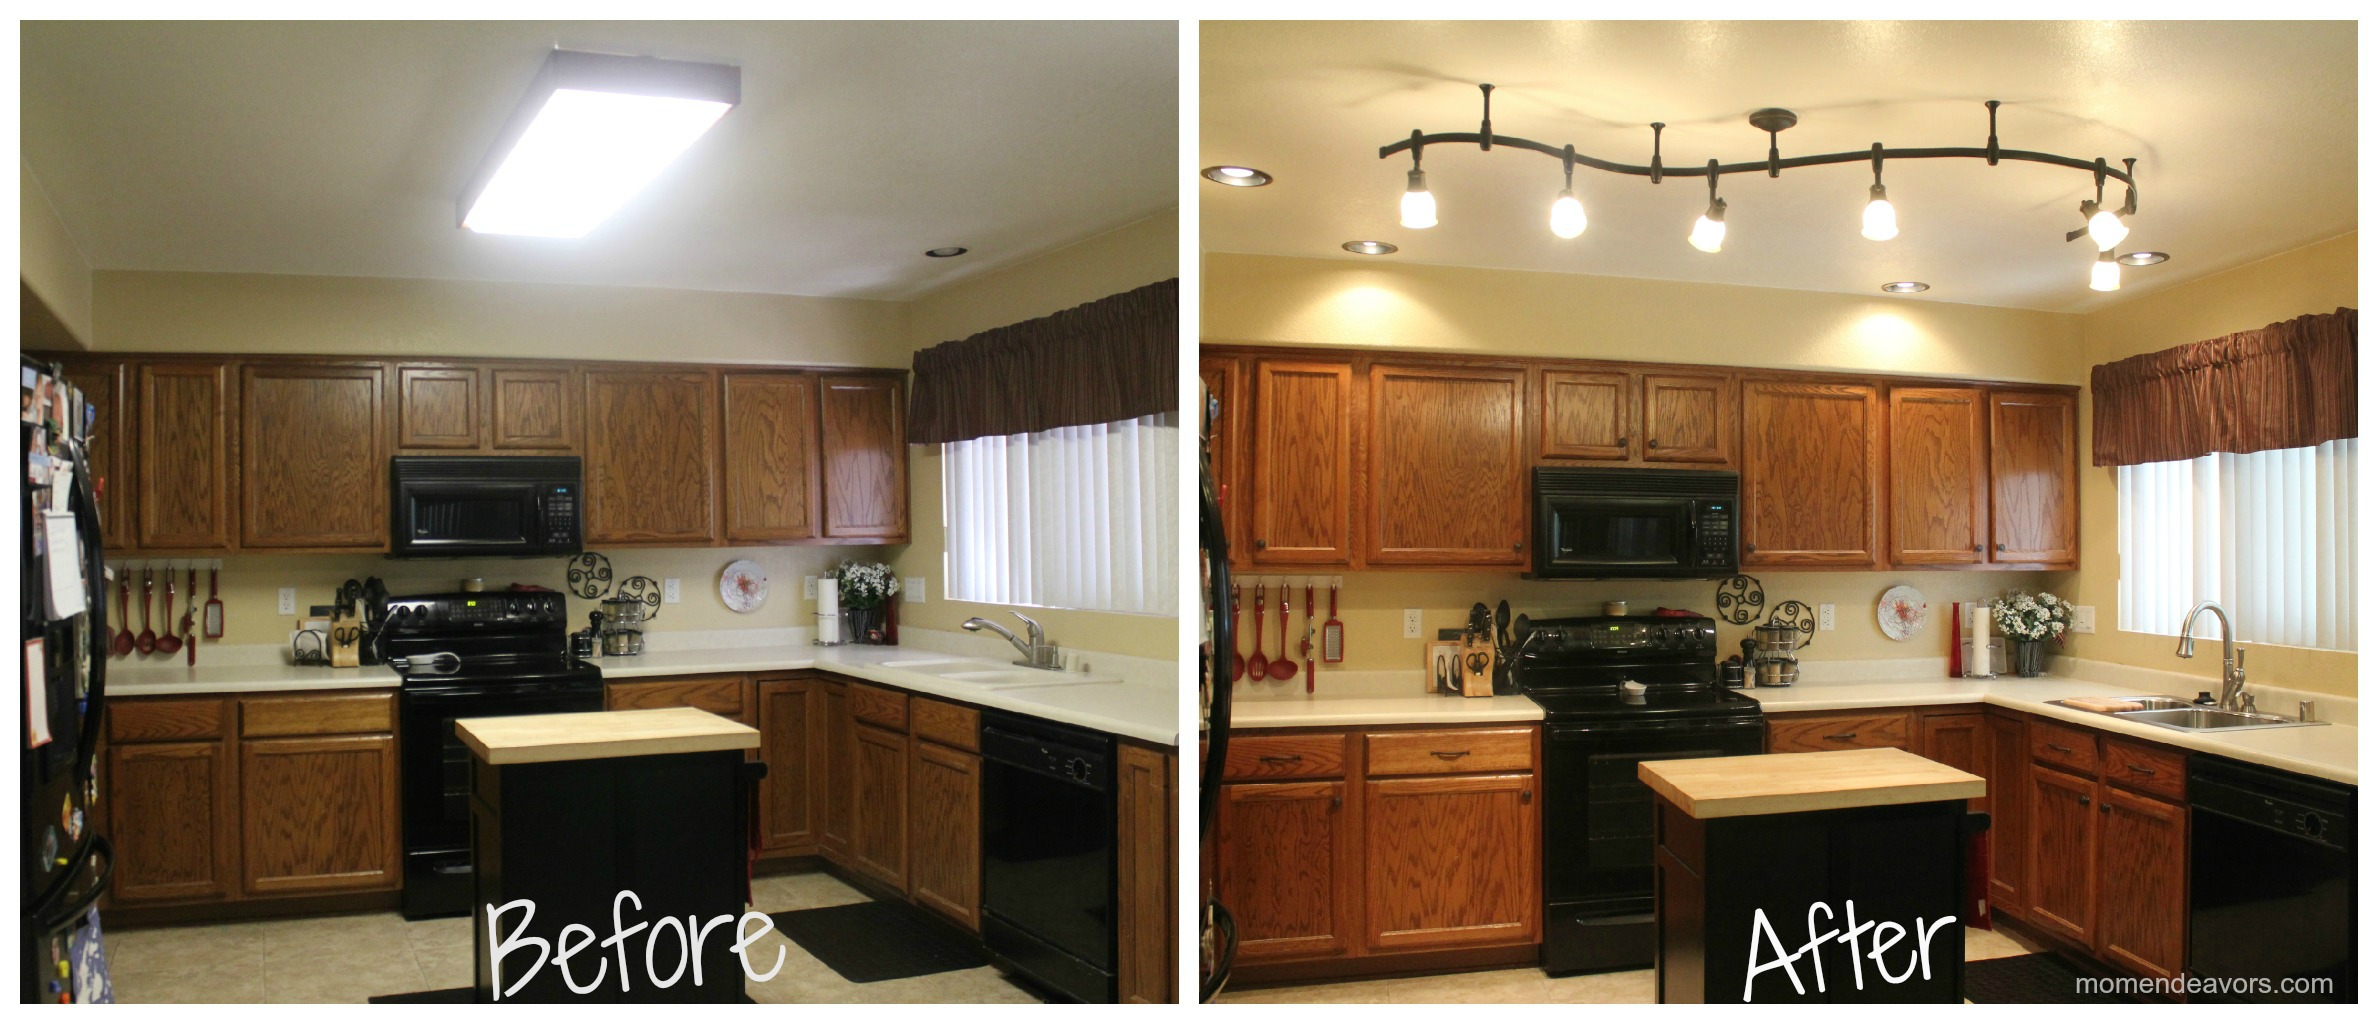
 Changing fluorescent lights to LED lights is a simple process that can have a significant impact on your kitchen. You can either hire a professional electrician or do it yourself. The first step is to remove the existing fluorescent lights and replace them with LED light fixtures. You can also opt to replace the entire fixture, which can give your kitchen a more modern and updated look.
With LED lights, you'll notice a significant difference in the overall look and feel of your kitchen
. The space will feel brighter, more inviting, and more functional. You can also play around with different color temperatures to achieve the perfect ambiance for your kitchen.
In Conclusion
 In conclusion,
changing fluorescent lights to LED lights is a simple and effective way to transform your kitchen
. It not only improves the aesthetics of the space but also enhances its functionality. So, if you're looking to upgrade your kitchen, consider making the switch to LED lights for a brighter and more inviting space.


