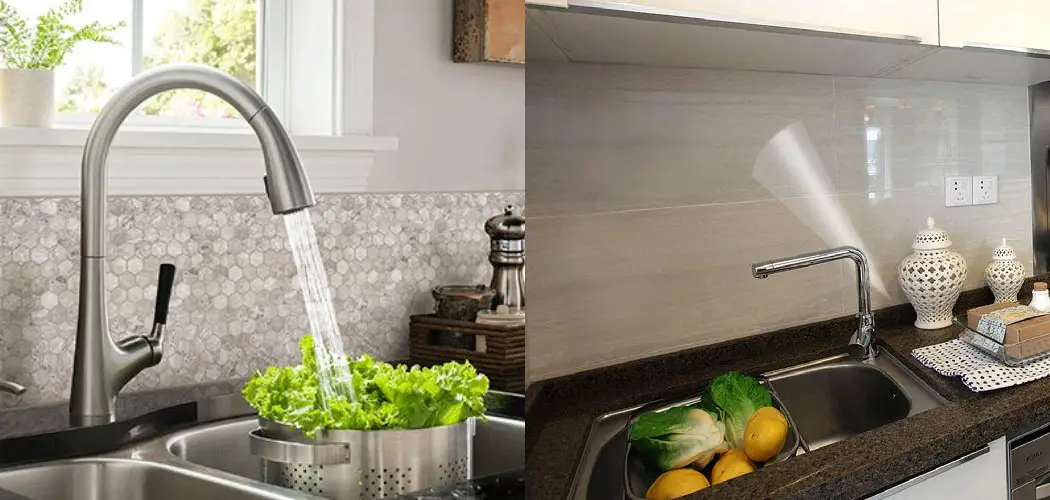
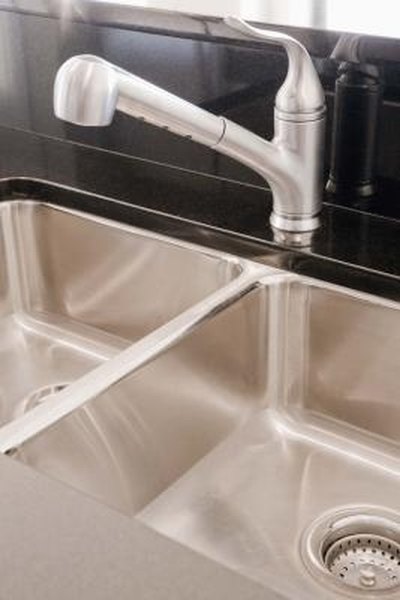
Caulking behind a kitchen sink may seem like a simple task, but it is actually an important step in maintaining the cleanliness and functionality of your kitchen. Over time, gaps and cracks may form between the sink and the countertop, allowing water to seep through and cause damage to your cabinets and floors. Caulking behind the sink helps to seal these gaps and prevent any potential water damage. In this article, we will guide you through the process of caulking behind a kitchen sink.How to Caulk Behind a Kitchen Sink


How to Caulk Behind a Kitchen Sink


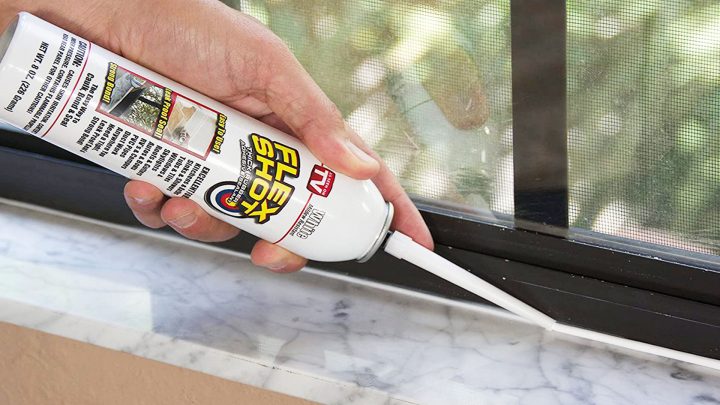
When it comes to choosing the best caulk for your kitchen sink, there are a few factors to consider. First, make sure to choose a waterproof caulk to ensure maximum protection against water damage. Additionally, look for a caulk that is mold and mildew resistant, as the kitchen is a high-moisture area. Some popular options for kitchen sink caulking include silicone, polyurethane, and acrylic caulk. Our top pick for the best caulk for kitchen sink is the GE Silicone II Kitchen and Bath Caulk, as it is waterproof, mold and mildew resistant, and has a low odor.Best Caulk for Kitchen Sink


Best Caulk for Kitchen Sink


.jpg)


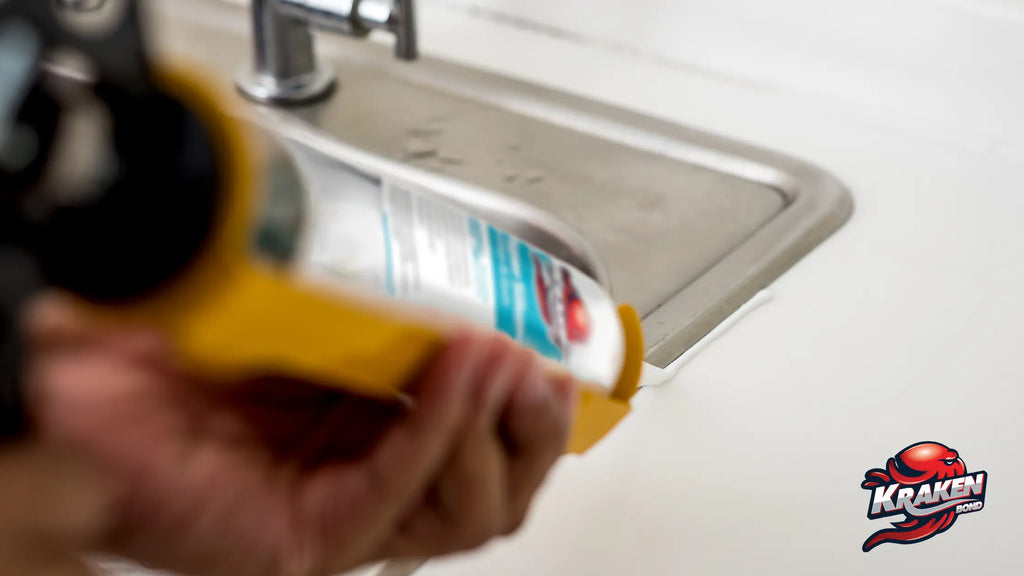
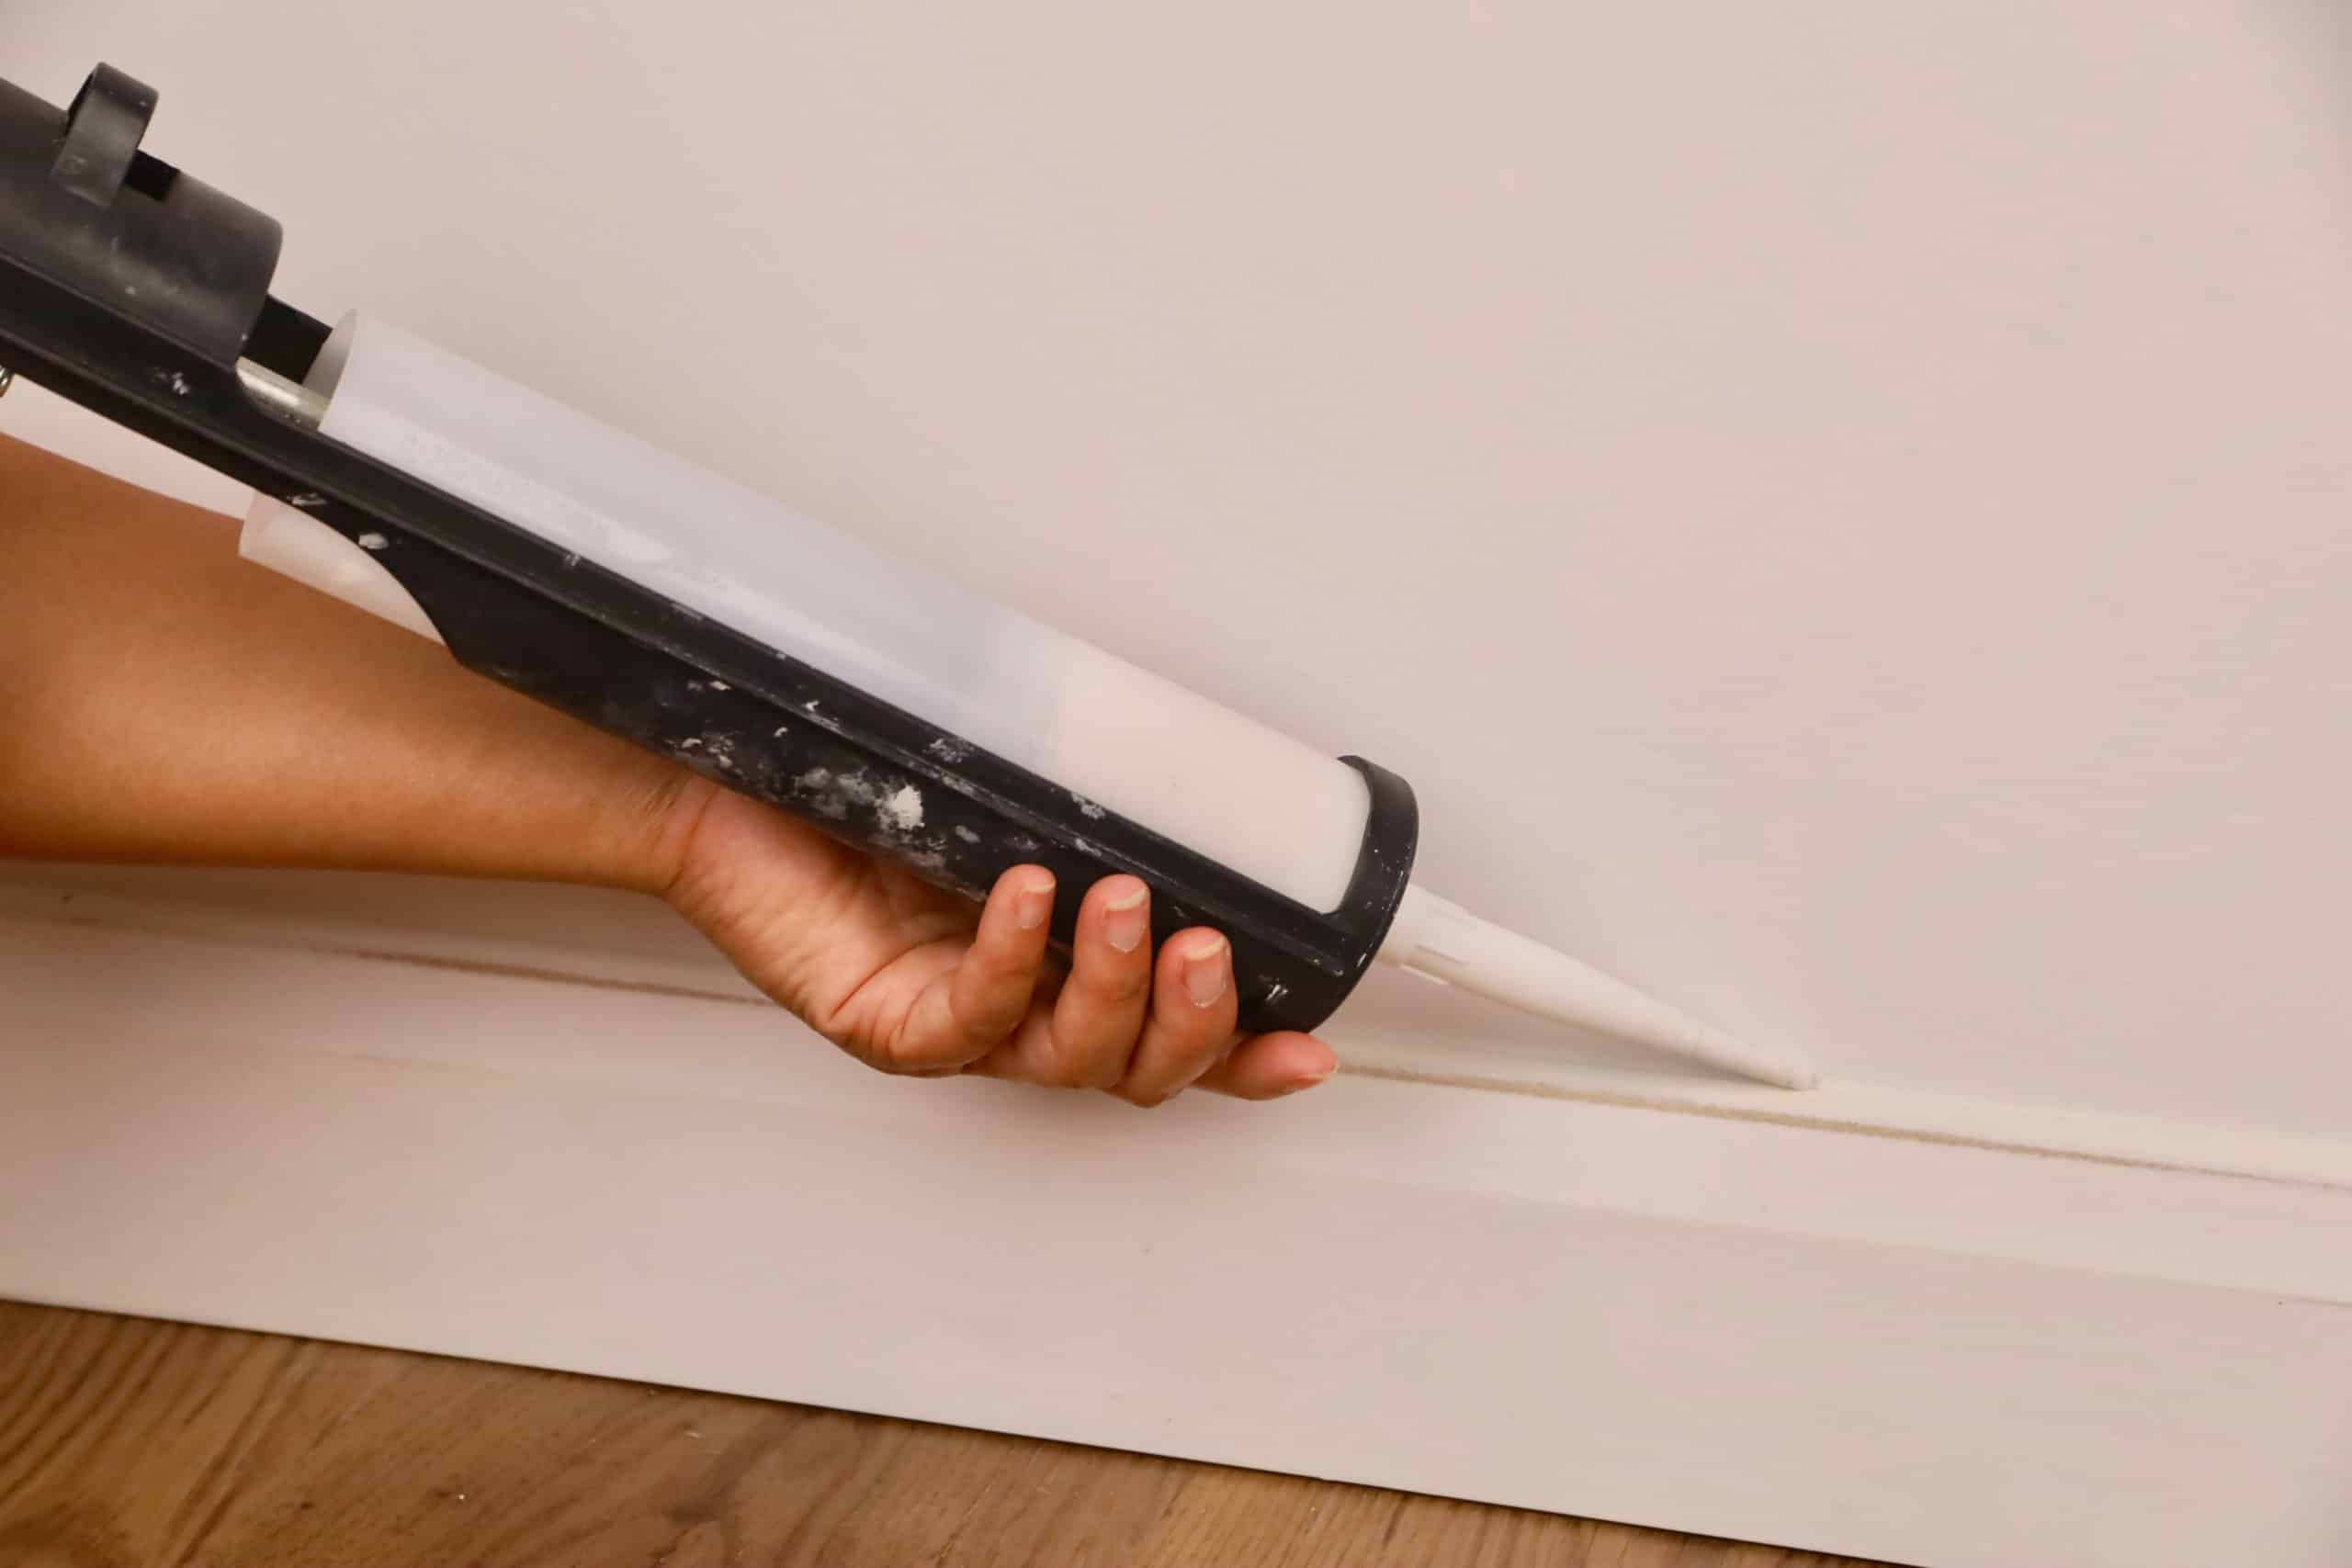
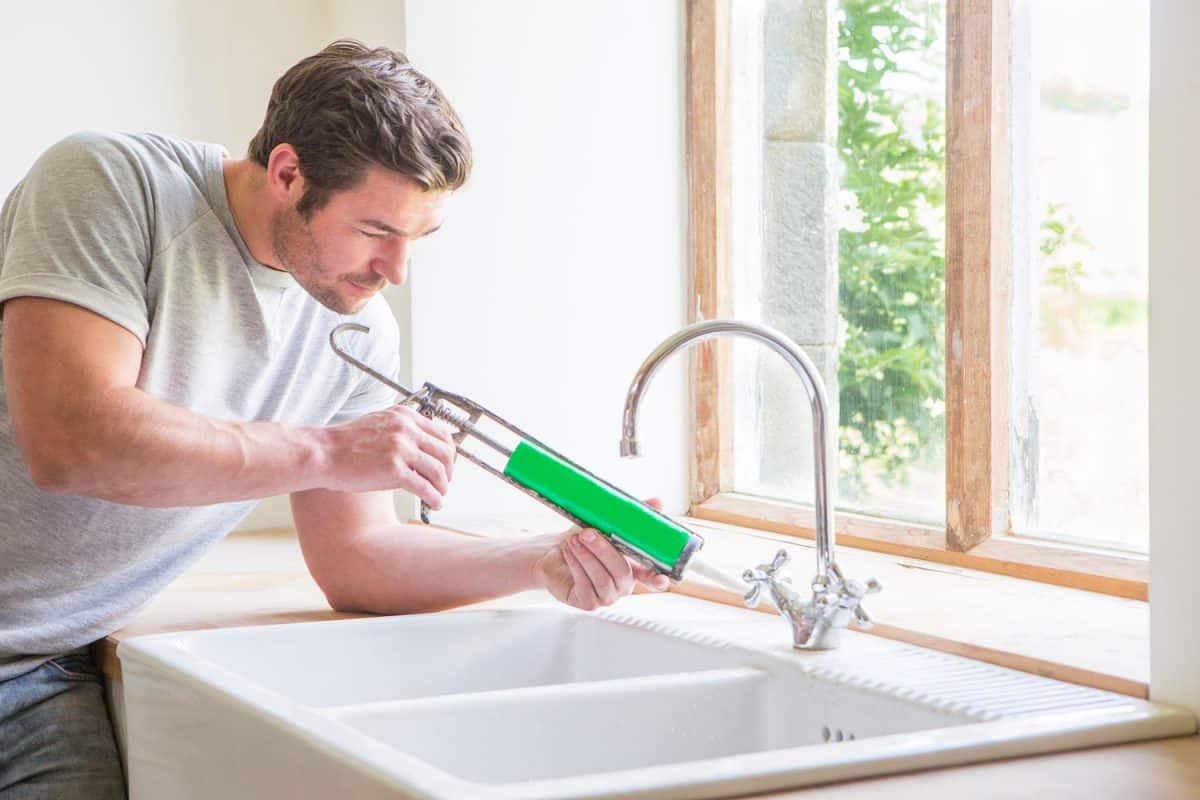
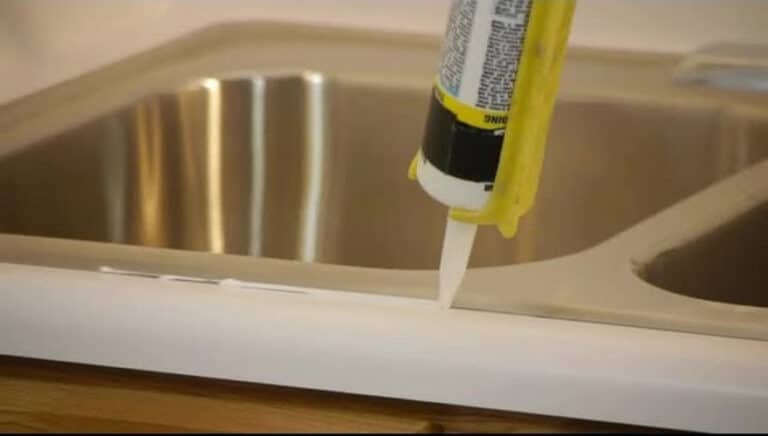
Follow these simple steps to properly caulk behind your kitchen sink: 1. Prepare the area: Before you start caulking, make sure the area is clean and dry. Remove any old caulk or debris using a scraper or putty knife. Wipe down the area with a damp cloth and let it dry completely. 2. Choose the right caulk: As mentioned earlier, make sure to choose a waterproof and mold and mildew resistant caulk. If your kitchen sink is made of porous material such as stone or granite, make sure to use a caulk that is safe for those surfaces. 3. Load the caulk gun: Cut the tip of the caulk tube at a 45-degree angle and load it into the caulk gun. Squeeze the trigger a few times until the caulk starts to come out of the nozzle. 4. Apply the caulk: Hold the caulk gun at a 45-degree angle and apply a thin and consistent bead of caulk along the seam between the sink and the countertop. 5. Smooth out the caulk: Dip your finger in a bowl of water and run it along the caulk line to smooth it out and create a neat finish. 6. Clean up: Wipe away any excess caulk with a damp cloth. Let the caulk dry for the recommended time on the packaging before using the sink.Step-by-Step Guide for Caulking Behind a Kitchen Sink


Step-by-Step Guide for Caulking Behind a Kitchen Sink


To ensure a successful caulking job, keep these tips in mind: - Use painter's tape: If you are not confident in your caulking skills, use painter's tape along the edges of the seam to create a straight line and prevent any mess. - Work in small sections: Apply caulk in small sections, about 1-2 feet at a time, to prevent the caulk from drying out before you can smooth it out. - Use a caulk smoothing tool: If you don't want to use your finger to smooth out the caulk, you can purchase a caulk smoothing tool for a professional-looking finish.Tips for Caulking Behind a Kitchen Sink


Tips for Caulking Behind a Kitchen Sink


Here are some common mistakes to avoid when caulking behind a kitchen sink: - Not cleaning the area properly: Skipping the cleaning step can lead to an uneven or messy caulk line. - Using too much caulk: Applying too much caulk can result in a bulky and unattractive finish. - Not smoothing out the caulk: Skipping the step of smoothing out the caulk can result in an uneven and messy finish.Common Mistakes When Caulking Behind a Kitchen Sink


Common Mistakes When Caulking Behind a Kitchen Sink


It is recommended to check the caulking behind your kitchen sink once a year and re-caulk as needed. If you notice any cracks or gaps forming, re-caulking immediately can prevent any potential water damage.How Often Should You Caulk Behind a Kitchen Sink?

How Often Should You Caulk Behind a Kitchen Sink?


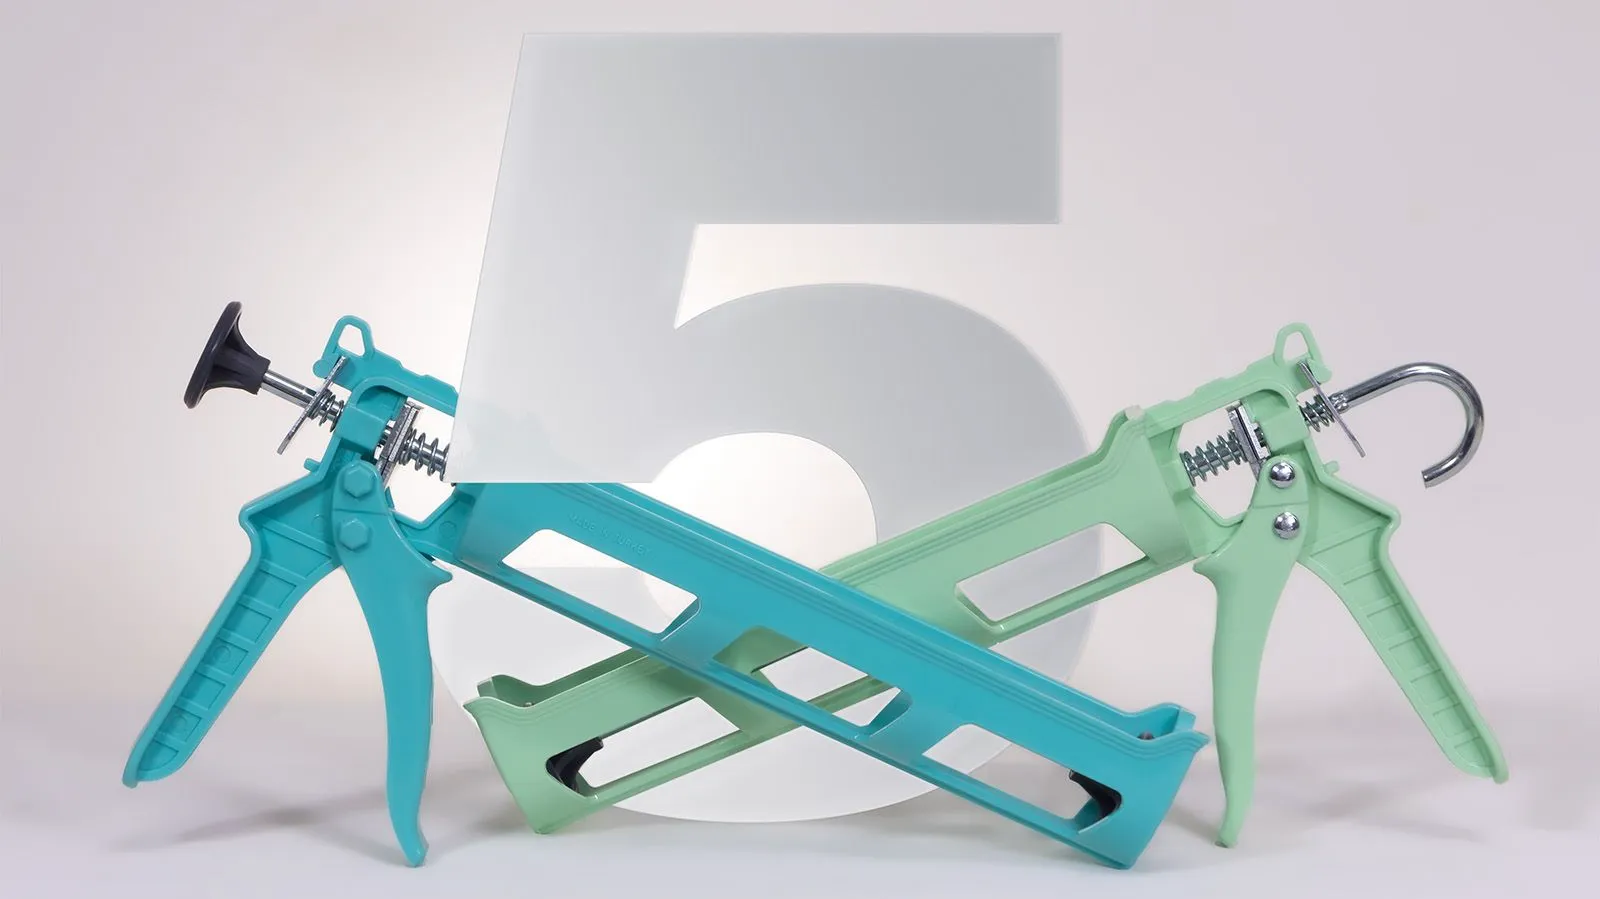
To properly caulk behind your kitchen sink, you will need the following tools: - Caulk gun - Caulk - Scraper or putty knife - Damp cloth - Bowl of waterTools Needed for Caulking Behind a Kitchen Sink


Tools Needed for Caulking Behind a Kitchen Sink


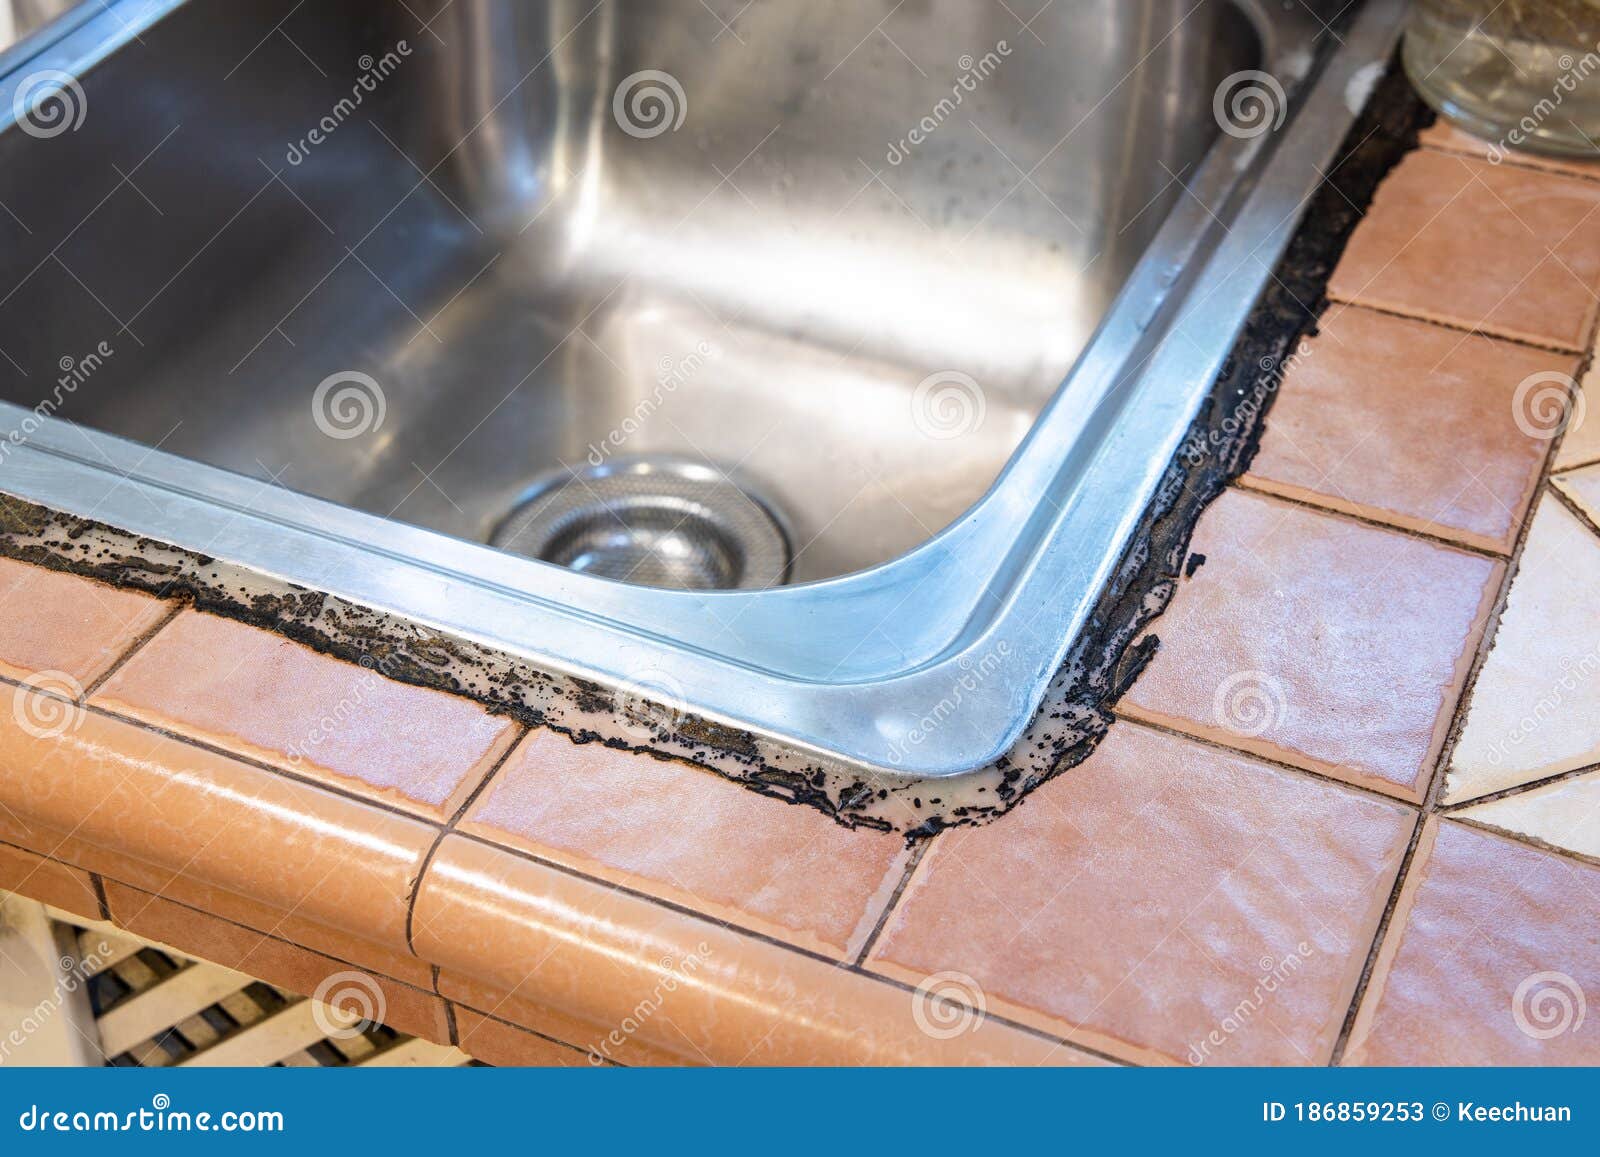
If you are re-caulking behind your kitchen sink, you will need to remove the old caulk first. Here's how: 1. Loosen the caulk: Use a scraper or putty knife to loosen the caulk from the seam between the sink and the countertop. 2. Remove the caulk: Use the scraper or putty knife to scrape away the old caulk. You can also use a caulk remover tool for stubborn caulk. 3. Clean the area: Wipe down the area with a damp cloth to remove any residue from the old caulk. 4. Let it dry: Let the area dry completely before applying new caulk.How to Remove Old Caulk Behind a Kitchen Sink

How to Remove Old Caulk Behind a Kitchen Sink

:max_bytes(150000):strip_icc()/how-to-remove-old-caulk-1824827-01-3d0370c59e124dbbaa6560c68bab111c.jpg)


:max_bytes(150000):strip_icc()/how-to-remove-old-caulk-1824827-04-c71b38e1f79142e3b7b6656a81cdcdbb.jpg)

As mentioned earlier, silicone, polyurethane, and acrylic caulk are all waterproof options for caulking behind a kitchen sink. You can also choose a caulk specifically made for kitchen and bath use, as they are designed to withstand high moisture levels.Waterproof Caulking Options for Behind a Kitchen Sink

Waterproof Caulking Options for Behind a Kitchen Sink


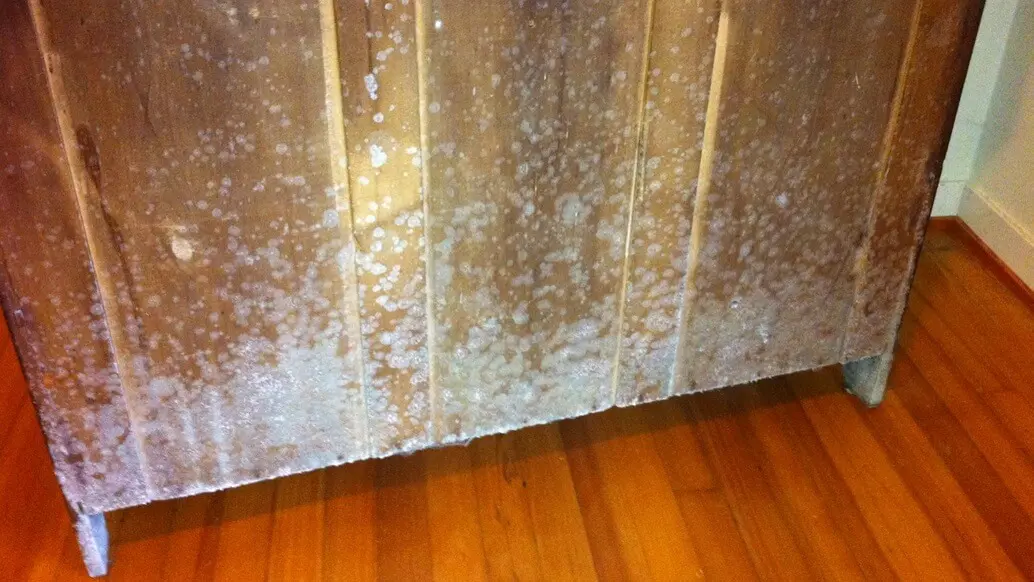
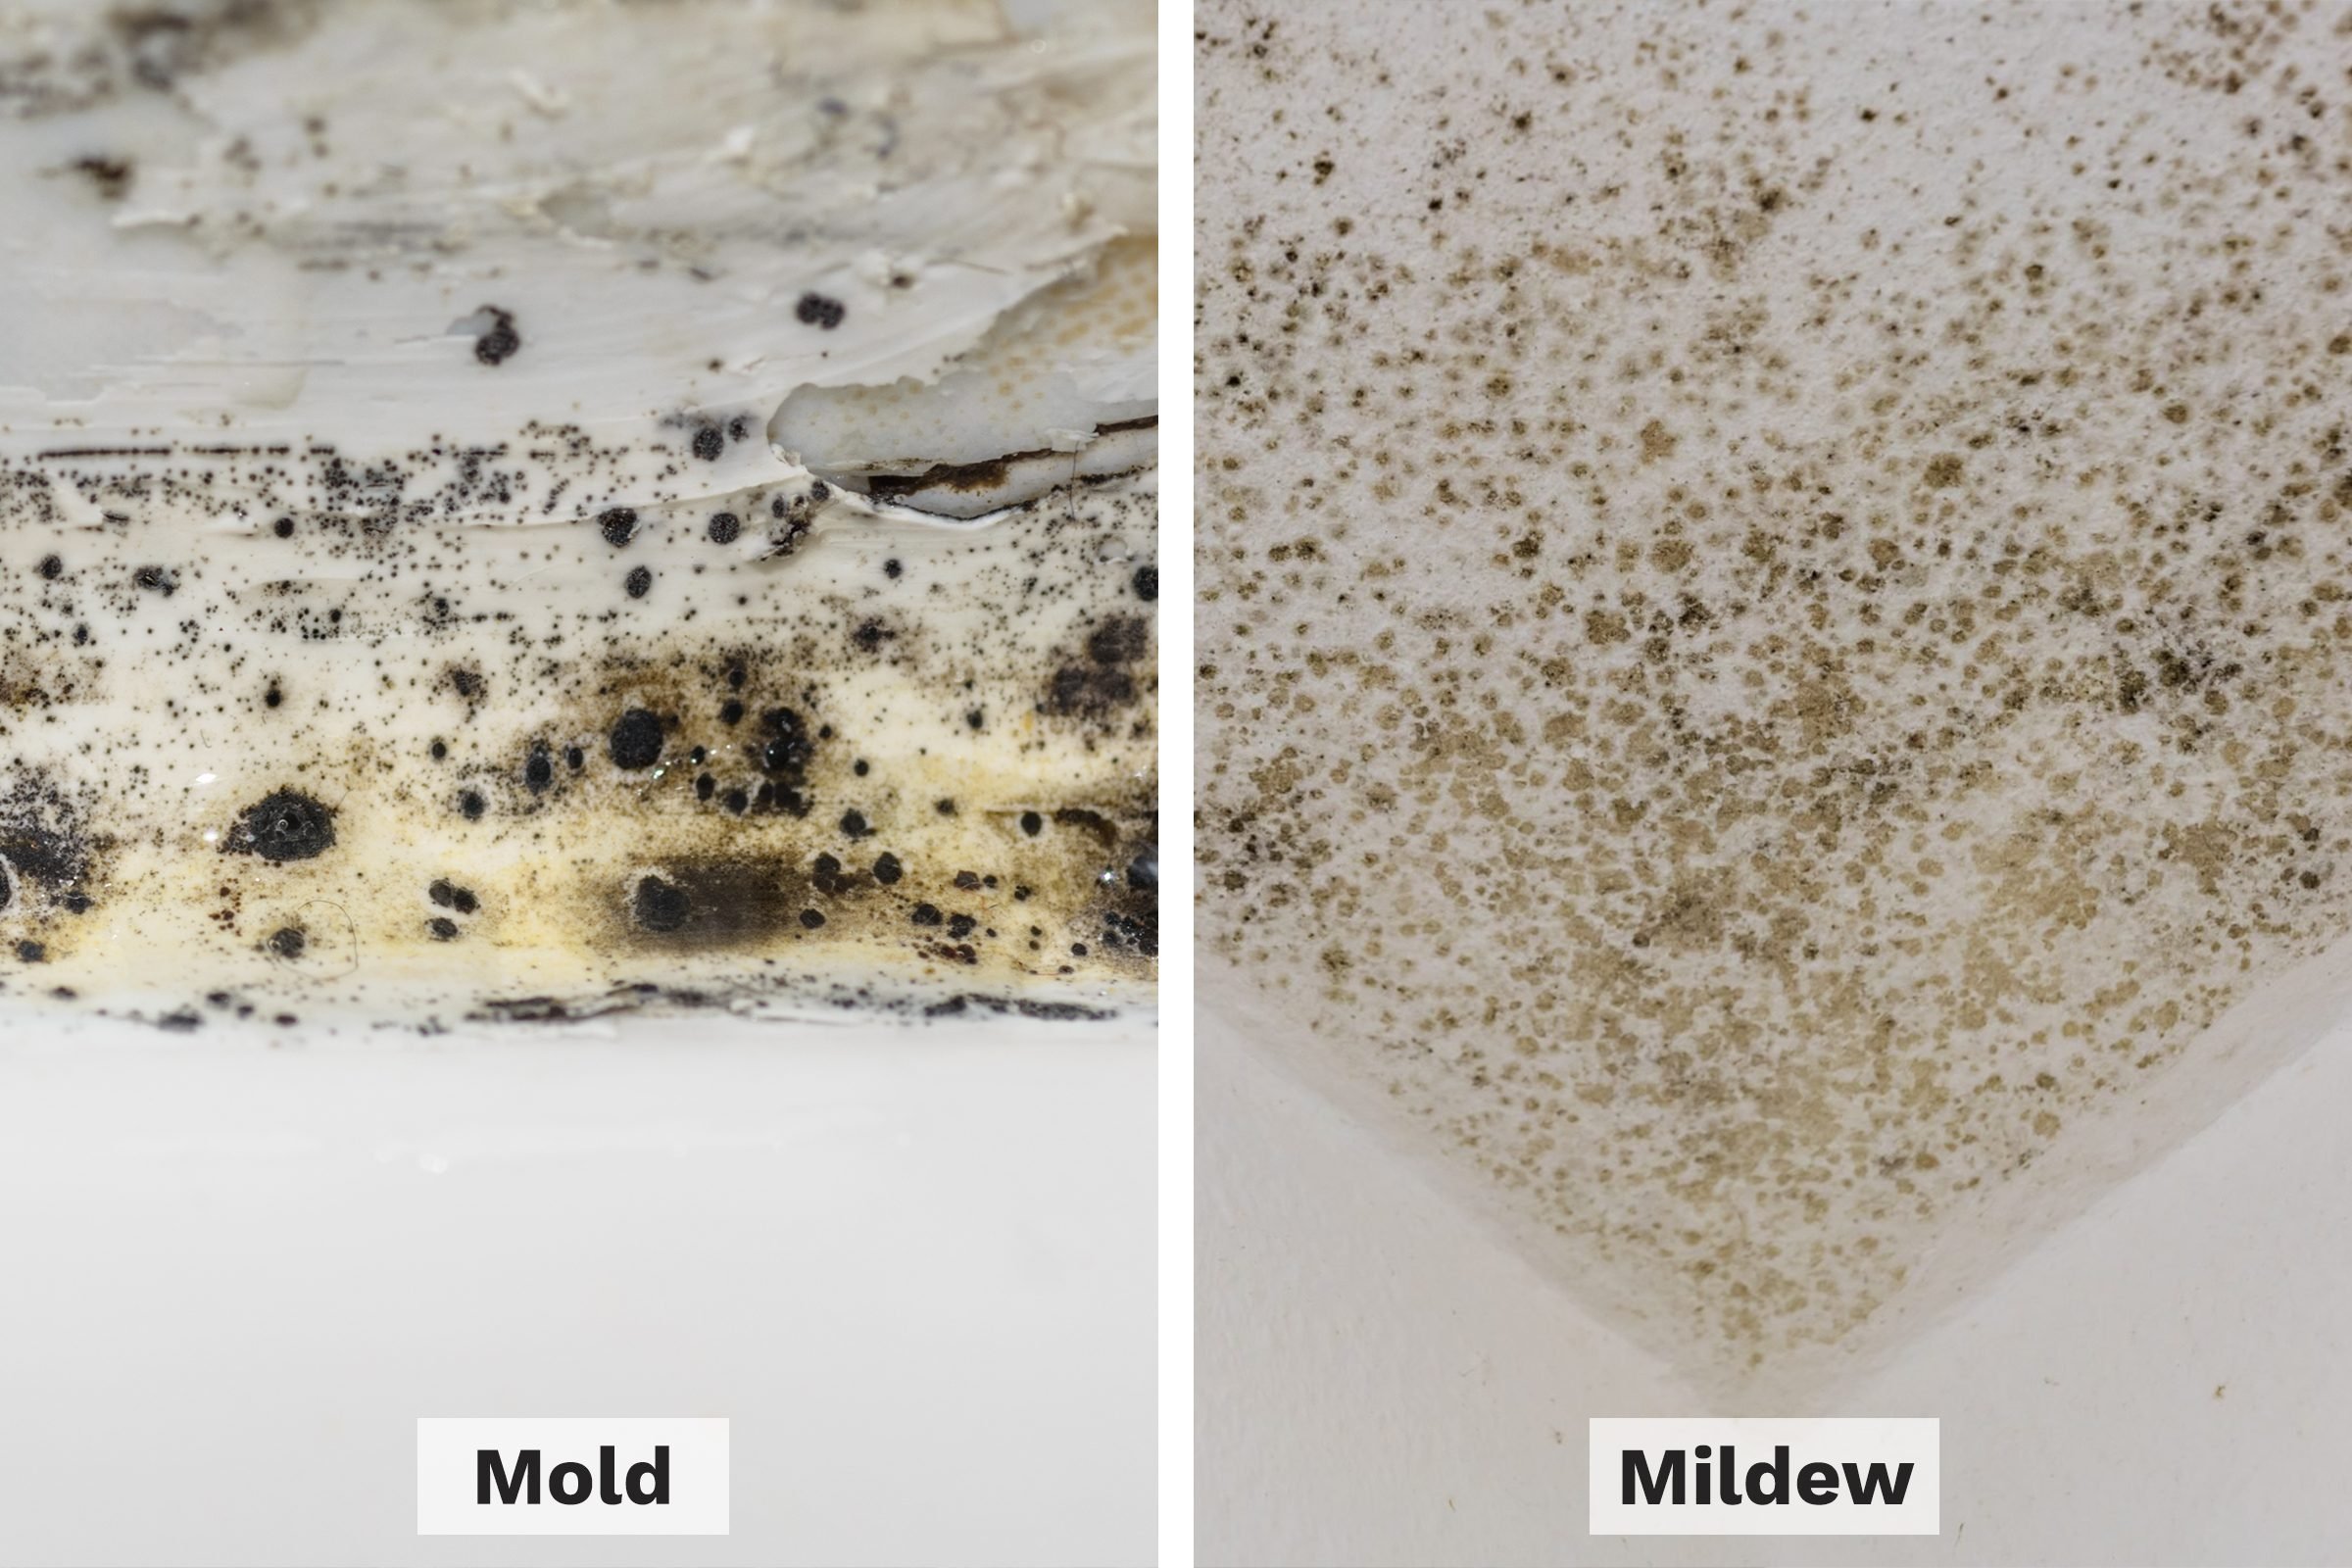
To prevent mold and mildew from forming behind your kitchen sink, follow these tips: - Fix leaks immediately: Any leaks or drips from the faucet or sink should be fixed right away to prevent water from seeping behind the sink and causing mold and mildew growth. - Clean regularly: Wipe down the area behind your sink regularly to prevent any buildup of moisture and dirt. - Use a mold and mildew resistant caulk: Choosing a caulk that is specifically designed to resist mold and mildew growth will help prevent any issues in the first place. With these tips and steps, you can easily and effectively caulk behind your kitchen sink, ensuring a clean and functional space for all your cooking and cleaning needs.How to Prevent Mold and Mildew Behind a Kitchen Sink


How to Prevent Mold and Mildew Behind a Kitchen Sink


The Importance of Proper Caulking Behind Your Kitchen Sink

Why Caulking Behind Your Kitchen Sink is Necessary
 When it comes to designing your dream kitchen, every detail matters. While choosing the perfect countertops and cabinets may be at the top of your list, it's important not to overlook the small but crucial details, such as caulking behind your kitchen sink.
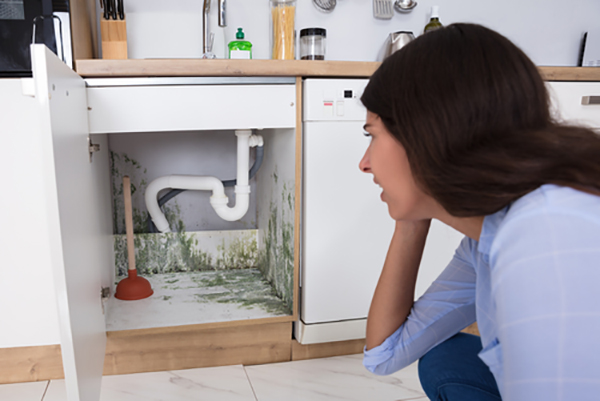
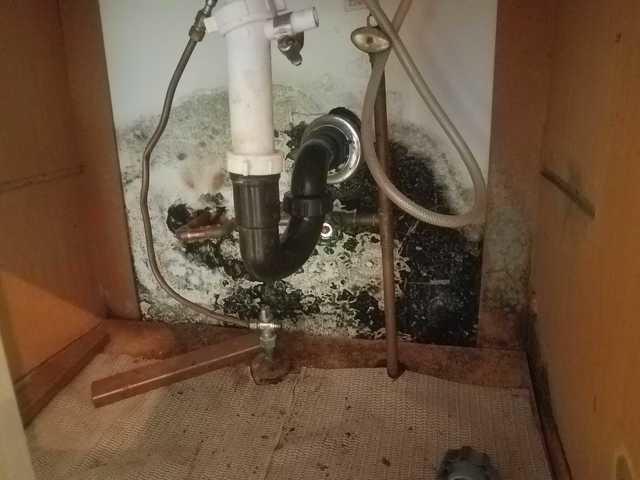
Caulking is the process of sealing gaps and joints to prevent water, air, and other substances from seeping through. In the case of your kitchen sink, caulking is essential for protecting your cabinets and countertops from potential water damage. Without proper caulking, water can seep into the cracks and crevices behind your sink, causing mold, mildew, and rot.
When it comes to designing your dream kitchen, every detail matters. While choosing the perfect countertops and cabinets may be at the top of your list, it's important not to overlook the small but crucial details, such as caulking behind your kitchen sink.
Caulking is the process of sealing gaps and joints to prevent water, air, and other substances from seeping through. In the case of your kitchen sink, caulking is essential for protecting your cabinets and countertops from potential water damage. Without proper caulking, water can seep into the cracks and crevices behind your sink, causing mold, mildew, and rot.
The Benefits of Proper Caulking
 Properly caulking behind your kitchen sink not only protects your kitchen from water damage, but it also has other benefits. It creates a tight seal that prevents pests, such as ants and roaches, from entering your home through the gaps. It also helps to maintain the cleanliness of your kitchen by preventing food particles and debris from getting lodged in the crevices.
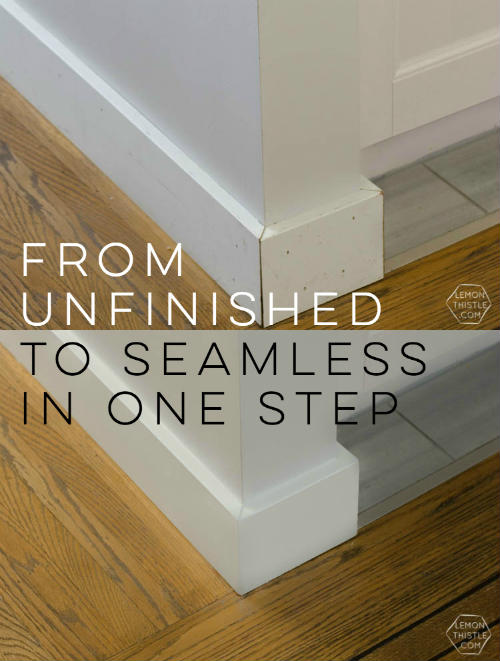
In addition to practical benefits, proper caulking also adds to the overall aesthetic of your kitchen. It creates a seamless and polished look, making your kitchen appear more professional and well-designed.
Properly caulking behind your kitchen sink not only protects your kitchen from water damage, but it also has other benefits. It creates a tight seal that prevents pests, such as ants and roaches, from entering your home through the gaps. It also helps to maintain the cleanliness of your kitchen by preventing food particles and debris from getting lodged in the crevices.
In addition to practical benefits, proper caulking also adds to the overall aesthetic of your kitchen. It creates a seamless and polished look, making your kitchen appear more professional and well-designed.
How to Properly Caulk Behind Your Kitchen Sink
 Now that you understand the importance of caulking behind your kitchen sink, it's crucial to know how to do it properly. First, make sure to clean and dry the area thoroughly before applying the caulk. You can use a mild detergent or vinegar solution to remove any dirt or grime.
Next, choose a high-quality caulk that is specifically designed for use in kitchens and bathrooms.
Featured keywords
such as "kitchen caulk" or "waterproof caulk" are important to look for when selecting the right product. Apply the caulk in a continuous bead along the joint between the sink and the countertop, smoothing it out with your finger or a caulk smoothing tool.
Finally, allow the caulk to dry completely before using your sink again. This may take a few hours to a day, depending on the type of caulk you use.
Now that you understand the importance of caulking behind your kitchen sink, it's crucial to know how to do it properly. First, make sure to clean and dry the area thoroughly before applying the caulk. You can use a mild detergent or vinegar solution to remove any dirt or grime.
Next, choose a high-quality caulk that is specifically designed for use in kitchens and bathrooms.
Featured keywords
such as "kitchen caulk" or "waterproof caulk" are important to look for when selecting the right product. Apply the caulk in a continuous bead along the joint between the sink and the countertop, smoothing it out with your finger or a caulk smoothing tool.
Finally, allow the caulk to dry completely before using your sink again. This may take a few hours to a day, depending on the type of caulk you use.
In Conclusion
 While it may seem like a small detail, proper caulking behind your kitchen sink is an essential part of a well-designed kitchen. It not only protects your home from potential water damage, but it also adds to the overall cleanliness and aesthetic of your space. By following these simple steps, you can ensure that your kitchen sink is properly sealed and ready to withstand the daily wear and tear of a busy kitchen.