If you're looking to add more storage space to your kitchen, building a deep storage nook in your kitchen wall is a great option. Not only does it maximize unused space, but it also adds a unique and customizable element to your kitchen. Follow this step-by-step guide to create your own deep storage nook. Start by choosing the perfect location for your deep storage nook. Ideally, you want to find a wall that is unused or has minimal obstructions such as electrical outlets or plumbing. Measure the width, height, and depth of the space to determine the size of your nook. Next, gather your materials. You will need a stud finder, level, measuring tape, circular saw, drill, screws, and drywall anchors. Using the stud finder, locate the studs on the wall where you will be building your nook. Mark the edges of the studs with a pencil. This will help you determine where to cut and where to secure your nook to the wall. Using a circular saw, carefully cut out the opening for your nook. Make sure to follow the measurements you took earlier and use a level to ensure your cuts are straight. Once the opening is cut, use the drill to secure the bottom and sides of the nook to the wall studs. Make sure to use screws long enough to reach the studs for a secure hold. Next, add shelves to your nook by measuring and cutting pieces of wood to fit inside the space. Use drywall anchors to secure the shelves to the sides of the nook. For added style and functionality, consider adding a door to your nook. This can be a simple hinged door or a sliding barn door. Measure and cut the door to fit the opening of your nook, and attach it using hinges or a sliding door kit. Finally, paint or stain your nook to match the style of your kitchen. You can also add decorative elements such as trim or wallpaper to make your nook stand out. With these steps, you now have a deep storage nook in your kitchen wall that is both functional and visually appealing. Store items such as spices, cookbooks, or small appliances in your nook to free up counter or cabinet space.1. Building a Deep Storage Nook in Kitchen Wall: A Step-by-Step Guide


1. Building a Deep Storage Nook in Kitchen Wall: A Step-by-Step Guide


Building a deep storage nook in your kitchen wall is a great way to add more storage space without sacrificing any floor space. This DIY project is relatively simple and can be completed over a weekend. Follow these steps to create your own deep storage nook. Start by choosing the location for your nook. Look for a wall that is not heavily used and has minimal obstructions. Measure the width, height, and depth of the space to determine the size of your nook. Next, gather your materials. You will need a stud finder, level, measuring tape, circular saw, drill, screws, and drywall anchors. Using the stud finder, locate the studs on the wall where you will be building your nook. Mark the edges of the studs with a pencil. This will help you determine where to cut and where to secure your nook to the wall. Using a circular saw, carefully cut out the opening for your nook. Make sure to follow the measurements you took earlier and use a level to ensure your cuts are straight. Once the opening is cut, use the drill to secure the bottom and sides of the nook to the wall studs. Make sure to use screws long enough to reach the studs for a secure hold. Next, add shelves to your nook by measuring and cutting pieces of wood to fit inside the space. Use drywall anchors to secure the shelves to the sides of the nook. For a stylish touch, consider adding a door to your nook. This can be a hinged door or a sliding barn door. Measure and cut the door to fit the opening of your nook, and attach it using hinges or a sliding door kit. Finally, give your nook a finishing touch by painting or staining it to match the style of your kitchen. You can also add decorative elements such as trim or wallpaper to make your nook stand out. Your deep storage nook is now complete and ready to be used. Use it to store items such as pots and pans, kitchen gadgets, or even wine bottles. This simple DIY project will not only add more storage space to your kitchen but also add a unique and customizable element to your home.2. How to Create a Deep Storage Nook in Your Kitchen Wall


2. How to Create a Deep Storage Nook in Your Kitchen Wall


If you're looking to add more storage space to your kitchen, consider building a deep storage nook in your kitchen wall. This DIY project is a great way to utilize unused space and add a unique element to your kitchen. Follow these steps to create your own kitchen wall nook. Start by finding the perfect location for your nook. Look for a wall that is not heavily used and has minimal obstructions. Measure the width, height, and depth of the space to determine the size of your nook. Next, gather your materials. You will need a stud finder, level, measuring tape, circular saw, drill, screws, and drywall anchors. Using the stud finder, locate the studs on the wall where you will be building your nook. Mark the edges of the studs with a pencil. This will help you determine where to cut and where to secure your nook to the wall. Carefully cut out the opening for your nook using a circular saw. Use a level to ensure your cuts are straight and follow the measurements you took earlier. Once the opening is cut, use the drill to secure the bottom and sides of the nook to the wall studs. Make sure to use screws long enough to reach the studs for a secure hold. Add shelves to your nook by measuring and cutting pieces of wood to fit inside the space. Secure them to the sides of the nook using drywall anchors. For a stylish touch, consider adding a door to your nook. This can be a simple hinged door or a sliding barn door. Measure and cut the door to fit the opening of your nook, and attach it using hinges or a sliding door kit. Finally, give your nook a finishing touch by painting or staining it to match the style of your kitchen. You can also add decorative elements such as trim or wallpaper to make your nook stand out. With these steps, you now have a functional and visually appealing deep storage nook in your kitchen wall. Use it to store items such as baking sheets, cutting boards, or even small appliances to free up counter or cabinet space.3. DIY Kitchen Wall Nook: Maximizing Space and Storage


3. DIY Kitchen Wall Nook: Maximizing Space and Storage
:max_bytes(150000):strip_icc()/GettyImages-1398693405-ab1afd6b3c3b41bc990a812e5381d746.jpg)


Building a deep storage nook in your kitchen wall is a great way to add more storage space without sacrificing any floor space. This DIY project is relatively simple and can be customized to fit your specific needs and style. Follow these steps to create your own custom deep storage nook. Start by choosing the location for your nook. Look for a wall that is not heavily used and has minimal obstructions. Measure the width, height, and depth of the space to determine the size of your nook. Next, gather your materials. You will need a stud finder, level, measuring tape, circular saw, drill, screws, and drywall anchors. Using the stud finder, locate the studs on the wall where you will be building your nook. Mark the edges of the studs with a pencil. This will help you determine where to cut and where to secure your nook to the wall. Carefully cut out the opening for your nook using a circular saw. Use a level to ensure your cuts are straight and follow the measurements you took earlier. Once the opening is cut, use the drill to secure the bottom and sides of the nook to the wall studs. Make sure to use screws long enough to reach the studs for a secure hold. Add shelves to your nook by measuring and cutting pieces of wood to fit inside the space. You can also customize the spacing of the shelves to fit your specific storage needs. For a unique touch, consider adding a door to your nook. This can be a hinged door or a sliding barn door. Measure and cut the door to fit the opening of your nook, and attach it using hinges or a sliding door kit. Finally, give your nook a finishing touch by painting or staining it to match the style of your kitchen. You can also add decorative elements such as trim or wallpaper to make your nook stand out. Your custom deep storage nook is now complete and ready to be used. Use it to store items such as spices, cookbooks, or small appliances to free up counter or cabinet space. This DIY project is a great way to add more storage and personalize your kitchen.4. Creating a Custom Deep Storage Nook in Your Kitchen


4. Creating a Custom Deep Storage Nook in Your Kitchen


If you have unused space in your kitchen, consider building a deep storage nook in your kitchen wall. This DIY project is a great way to add more storage space without sacrificing any floor space. Follow these steps to create your own deep storage nook. Start by finding the perfect location for your nook. Look for a wall that is not heavily used and has minimal obstructions. Measure the width, height, and depth of the space to determine the size of your nook. Next, gather your materials. You will need a stud finder, level, measuring tape, circular saw, drill, screws, and drywall anchors. Using the stud finder, locate the studs on the wall where you will be building your nook. Mark the edges of the studs with a pencil. This will help you determine where to cut and where to secure your nook to the wall. Carefully cut out the opening for your nook using a circular saw. Use a level to ensure your cuts are straight and follow the measurements you took earlier. Once the opening is cut, use the drill to secure the bottom and sides of the nook to the wall studs. Make sure to use screws long enough to reach the studs for a secure hold. Add shelves to your nook by measuring and cutting pieces of wood to fit inside the space. Use drywall anchors to secure the shelves to the sides of the nook. For a stylish touch, consider adding a door to your nook. This can be a simple hinged door or a sliding barn door. Measure and cut the door to fit the opening of your nook, and attach it using hinges or a sliding door kit. Finally, give your nook a finishing touch by painting or staining it to match the style of your kitchen. You can also add decorative elements such as trim or wallpaper to make your nook stand out. With these steps, you now have a functional and visually appealing deep storage nook in your kitchen wall. Use it to store items such as pots and pans, kitchen gadgets, or even wine bottles to maximize your kitchen space.5. Utilizing Unused Space: Building a Deep Storage Nook in Your Kitchen Wall


5. Utilizing Unused Space: Building a Deep Storage Nook in Your Kitchen Wall


When it comes to kitchen storage, every inch counts. If you're looking to add more storage space, consider building a deep storage nook in your kitchen wall. This DIY project is a great way to utilize unused space and create a customizable storage solution. Follow these steps to create your own deep nook in your wall. Start by choosing the location for your nook. Look for a wall that is not heavily used and has minimal obstructions. Measure the width, height, and depth of the space to determine the size of your nook. Next, gather your materials. You will need a stud finder, level, measuring tape, circular saw, drill, screws, and drywall anchors. Using the stud finder, locate the studs on the wall where you will be building your nook. Mark the edges of the studs with a pencil. This will help you determine where to cut and where to secure your nook to the wall. Carefully cut out the opening for your nook using a circular saw. Use a level to ensure your cuts are straight and follow the measurements you took earlier. Once the opening is cut, use the drill to secure the bottom and sides of the nook to the wall studs. Make sure to use screws long enough to reach the studs for a secure hold. Add shelves to your nook by measuring and cutting pieces of wood to fit inside the space. You can also customize the spacing of the shelves to fit your specific storage needs. For a unique touch, consider adding a door to your nook. This can be a hinged door or a sliding barn door. Measure and cut the door to fit the opening of your nook, and attach it using hinges or a sliding door kit. Finally, give your nook a finishing touch by painting or staining it to match the style of your kitchen. You can also add decorative elements such as trim or wallpaper to make your nook stand out. Your deep storage nook is now complete and ready to be used. Store items such as baking sheets, cutting boards, or even small appliances to free up counter or cabinet space. This DIY project is a great way to add more storage and personalize your kitchen.6. Kitchen Storage Solutions: Building a Deep Nook in Your Wall


6. Kitchen Storage Solutions: Building a Deep Nook in Your Wall


7. Transforming Your Kitchen: Adding a Deep Storage Nook in the Wall

7. Transforming Your Kitchen: Adding a Deep Storage Nook in the Wall


:max_bytes(150000):strip_icc()/ScreenShot2022-10-14at10.07.49AM-b1d2e39f56af497cb94bad22743495c7.png)

Maximizing Space and Functionality: Building a Deep Storage Nook in Your Kitchen Wall

Transforming Your Kitchen into a Functional and Efficient Space
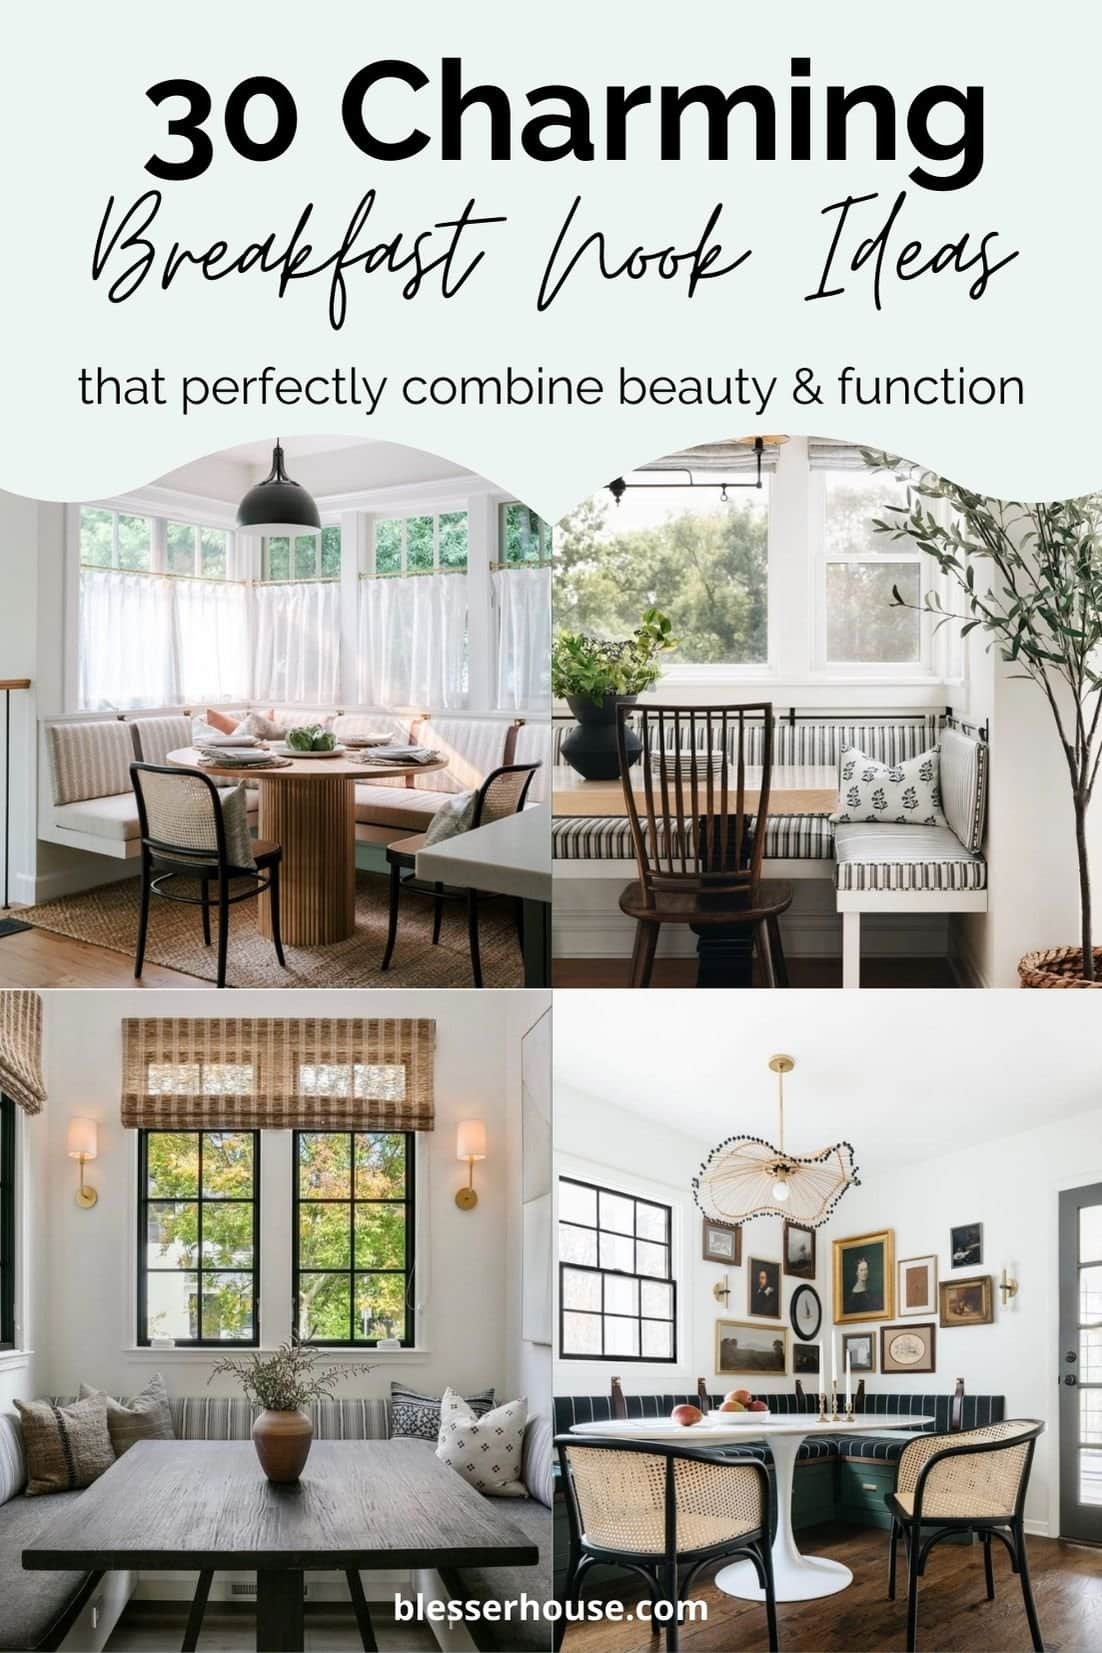
 The kitchen is often referred to as the heart of the home, and for good reason. It is where meals are prepared, family and friends gather, and memories are made. However, with the hustle and bustle of everyday life, it can quickly become cluttered and disorganized. This is especially true for smaller kitchens, where every inch of space counts. That's why it's important to think creatively and utilize all available space, including the walls. Building a deep storage nook in your kitchen wall is a clever and practical solution that not only adds extra storage space but also enhances the overall design and functionality of your kitchen.
The Benefits of a Deep Storage Nook
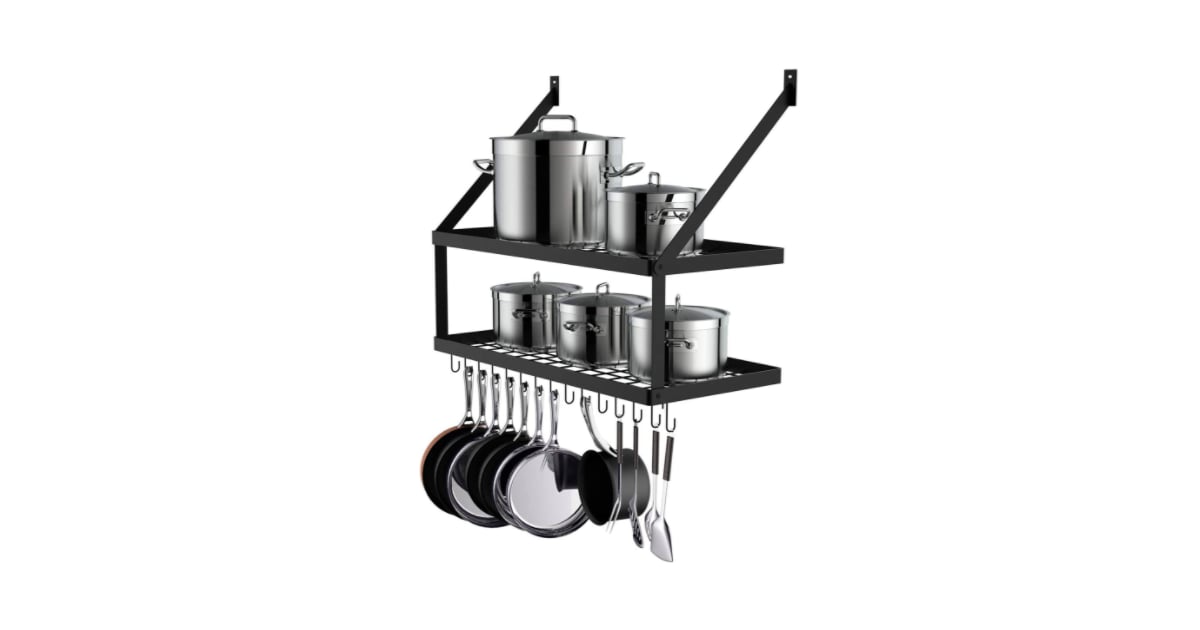
 A deep storage nook is essentially a recessed area in your kitchen wall that can be used to store various items such as spices, cookbooks, small appliances, and even pots and pans. It offers several benefits that make it a valuable addition to any kitchen:
1. Maximizes Storage Space:
By utilizing the depth of your kitchen wall, you can create a storage nook that can hold a significant amount of items, freeing up valuable counter and cabinet space.
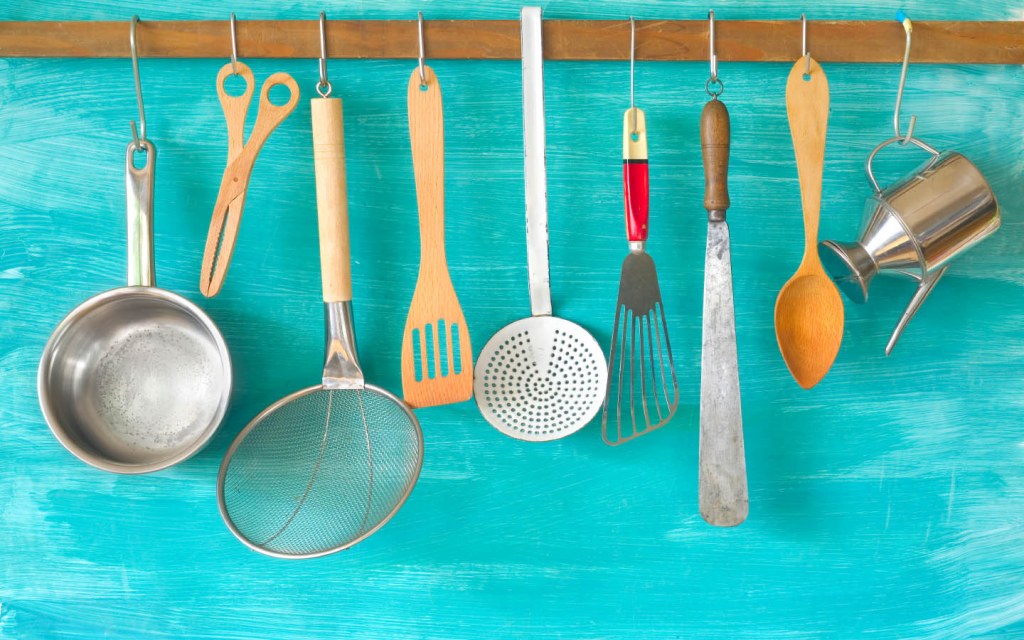
2. Adds Visual Interest:
A deep storage nook adds dimension and texture to your kitchen, making it more visually appealing. It also allows you to display decorative items or plants, adding a personal touch to the space.
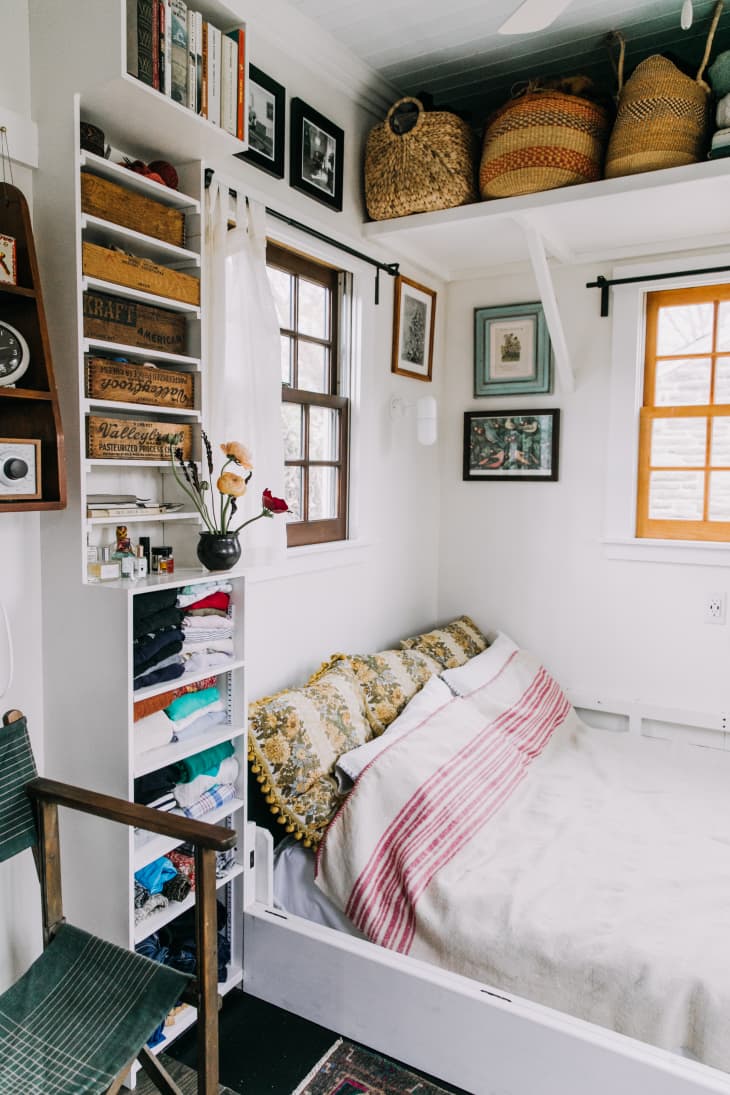
3. Increases Functionality:
With a deep storage nook, everything you need for cooking and entertaining is easily accessible, making meal preparation and hosting gatherings more efficient and enjoyable.
A deep storage nook is essentially a recessed area in your kitchen wall that can be used to store various items such as spices, cookbooks, small appliances, and even pots and pans. It offers several benefits that make it a valuable addition to any kitchen:
1. Maximizes Storage Space:
By utilizing the depth of your kitchen wall, you can create a storage nook that can hold a significant amount of items, freeing up valuable counter and cabinet space.
2. Adds Visual Interest:
A deep storage nook adds dimension and texture to your kitchen, making it more visually appealing. It also allows you to display decorative items or plants, adding a personal touch to the space.
3. Increases Functionality:
With a deep storage nook, everything you need for cooking and entertaining is easily accessible, making meal preparation and hosting gatherings more efficient and enjoyable.
Building Your Deep Storage Nook
 Building a deep storage nook is a relatively simple and cost-effective project that can be completed in a weekend. Here are the steps to follow:
1. Choose the Location:
The first step is to determine where you want to build your deep storage nook. It can be on any wall in your kitchen, but it's best to choose a spot that is easily accessible and won't interfere with existing cabinets or appliances.
2. Measure and Cut:
Measure the dimensions of the space you want to convert into a storage nook. Using those measurements, cut out the drywall using a utility knife, making sure to cut through any studs or electrical wires.
3. Build the Frame:
Using 2x4s, build a frame to fit the opening you just created. Make sure to secure the frame to the studs in the wall using screws.
4. Install Shelves:
Cut pieces of plywood to fit the frame and install them as shelves using wood screws. You can adjust the shelf spacing to accommodate different items.
5. Finish and Decorate:
Lastly, finish the edges of the opening with trim and paint or stain the shelves to match your kitchen's design. Add decorative items or storage bins to make the nook more visually appealing and functional.
Building a deep storage nook is a relatively simple and cost-effective project that can be completed in a weekend. Here are the steps to follow:
1. Choose the Location:
The first step is to determine where you want to build your deep storage nook. It can be on any wall in your kitchen, but it's best to choose a spot that is easily accessible and won't interfere with existing cabinets or appliances.
2. Measure and Cut:
Measure the dimensions of the space you want to convert into a storage nook. Using those measurements, cut out the drywall using a utility knife, making sure to cut through any studs or electrical wires.
3. Build the Frame:
Using 2x4s, build a frame to fit the opening you just created. Make sure to secure the frame to the studs in the wall using screws.
4. Install Shelves:
Cut pieces of plywood to fit the frame and install them as shelves using wood screws. You can adjust the shelf spacing to accommodate different items.
5. Finish and Decorate:
Lastly, finish the edges of the opening with trim and paint or stain the shelves to match your kitchen's design. Add decorative items or storage bins to make the nook more visually appealing and functional.
Final Thoughts
 A deep storage nook is a clever and practical way to maximize storage space and add character to your kitchen. It's a DIY project that can be customized to fit your specific needs and design preferences. So why not give it a try and transform your kitchen into a more functional and efficient space?