1. Introduction
Welcome to our guide on the top 10 Brita kitchen sink instructions. If you're tired of constantly buying plastic water bottles or dealing with the taste of tap water, a Brita sink filter is a great solution. Not only does it provide clean and great-tasting water, but it's also environmentally friendly. In this article, we'll walk you through the steps of installing, maintaining, and troubleshooting your Brita sink filter. Let's get started!


Brita Kitchen Sink Instructions

2. Brita Kitchen Sink Instructions
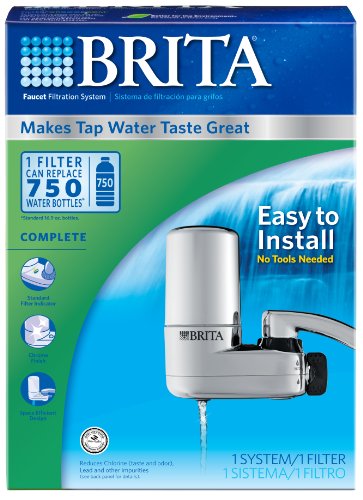
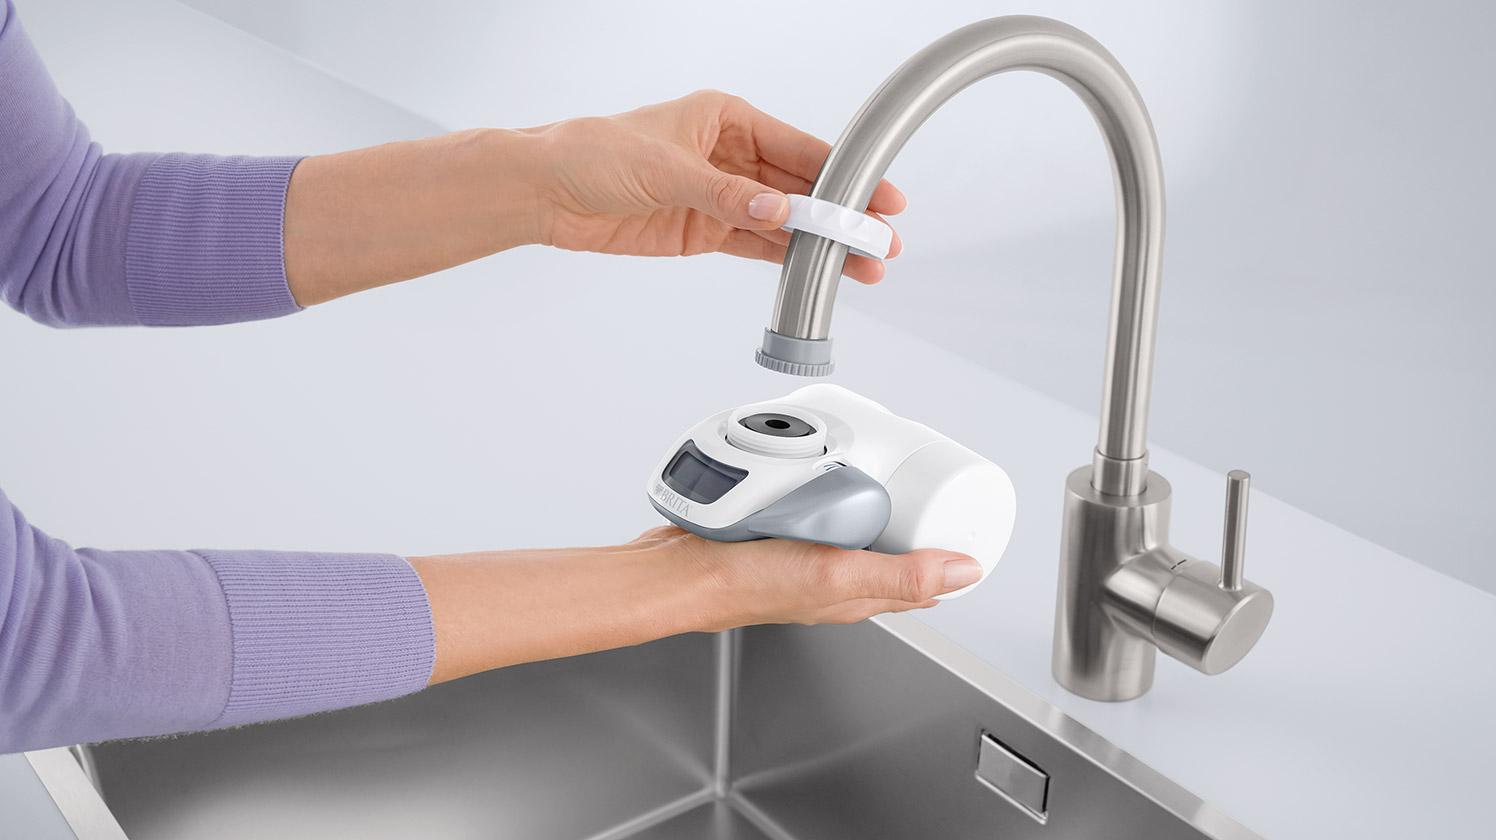
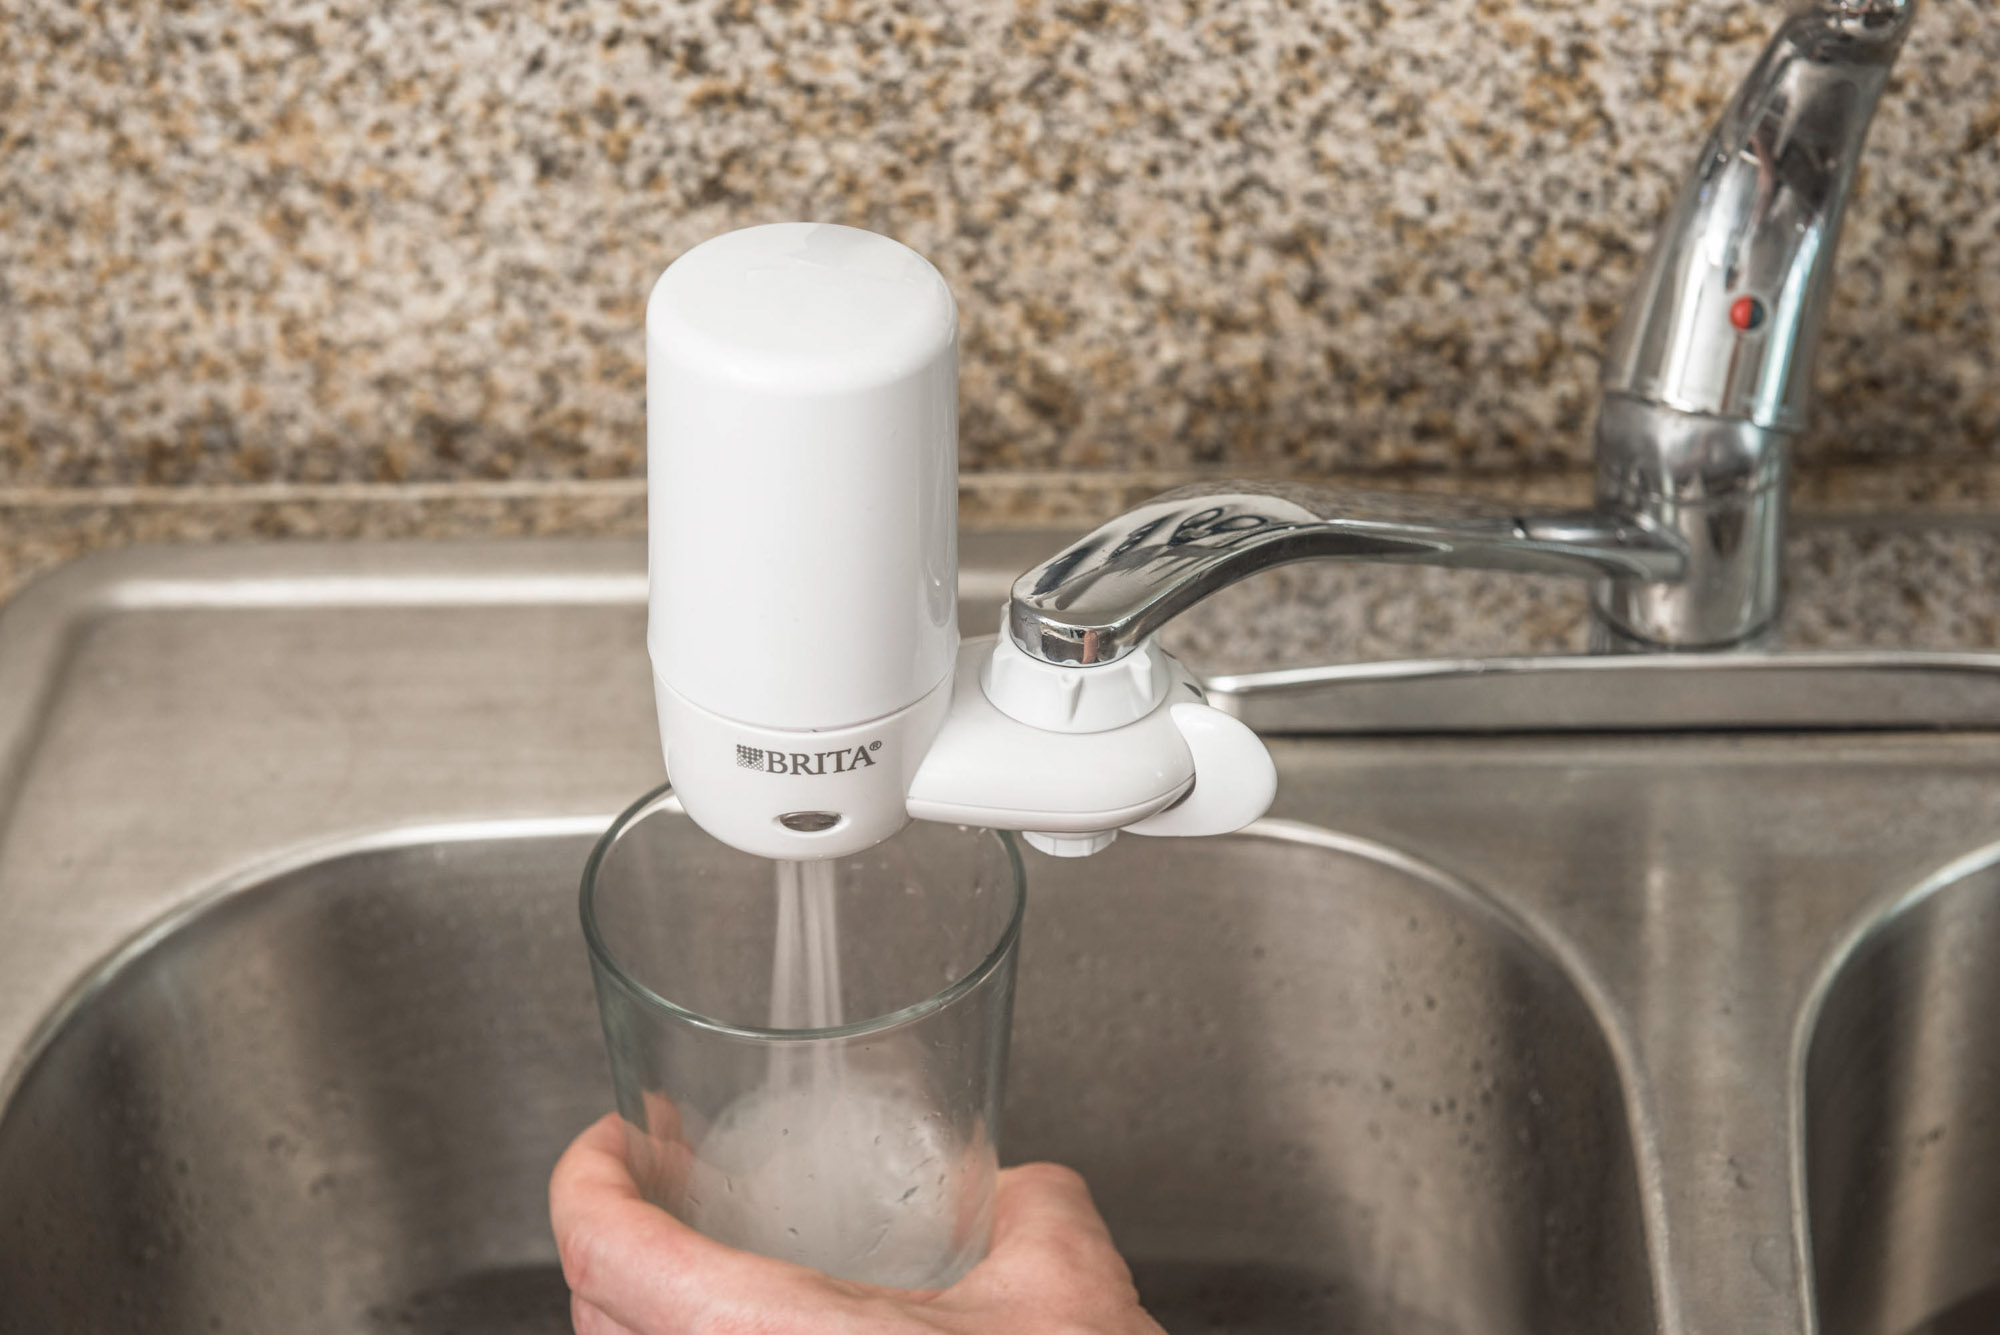
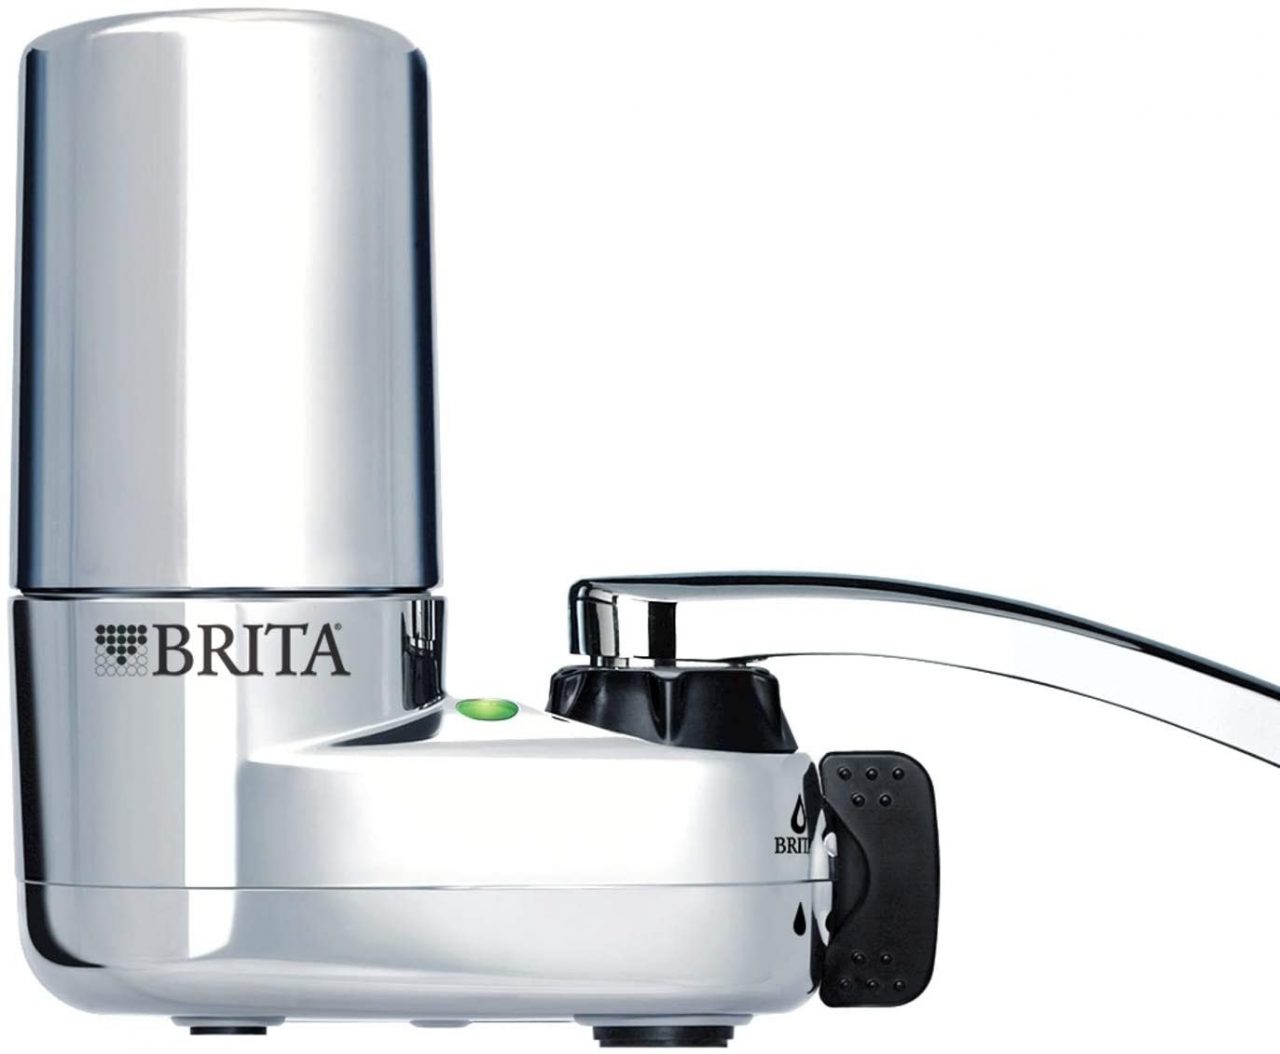
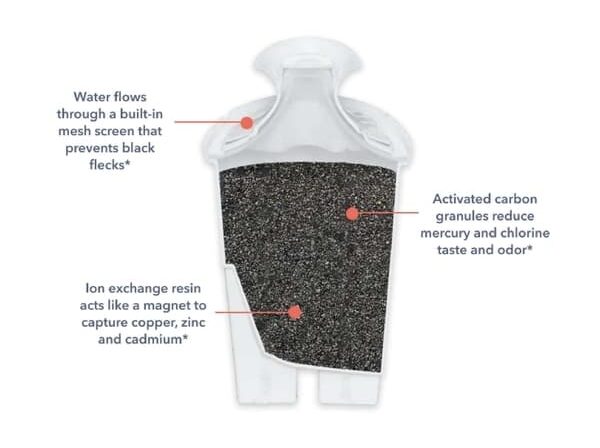
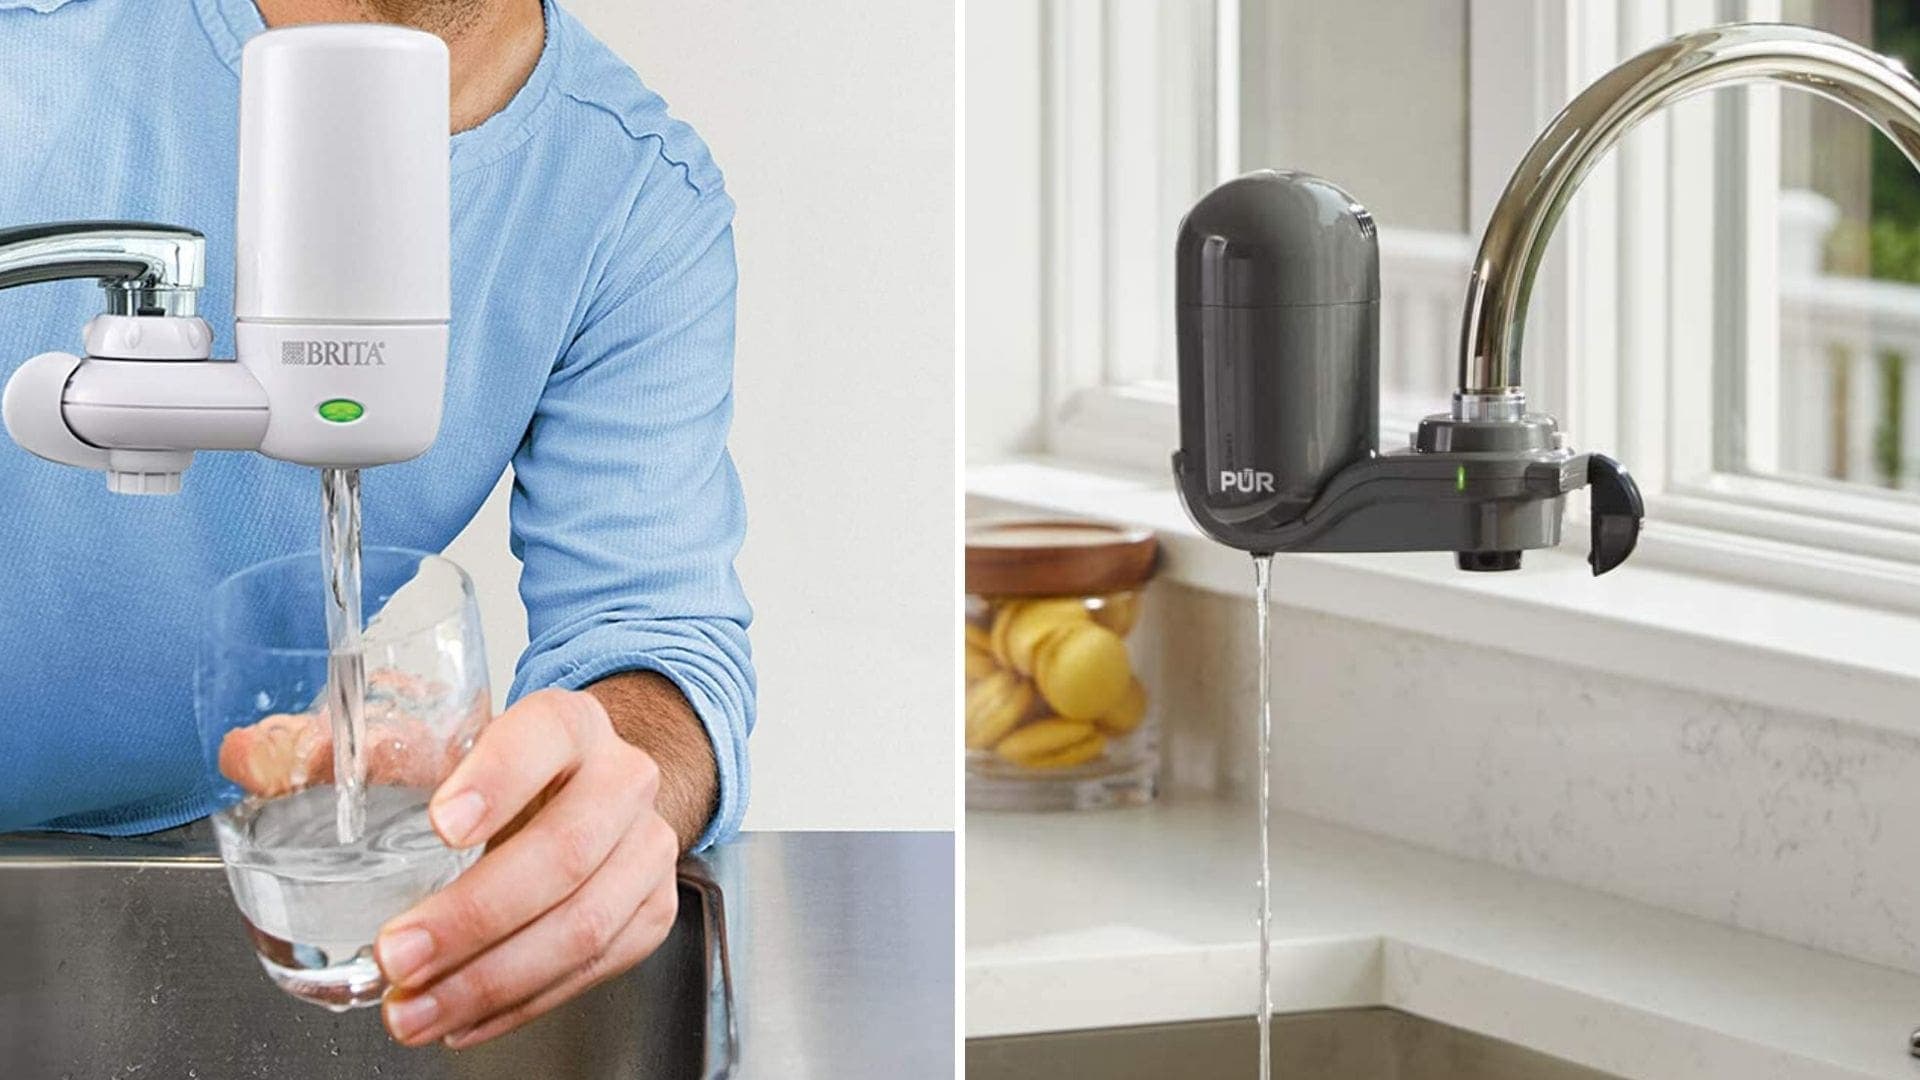
The Brita sink filter is a compact and easy-to-use filtration system that attaches directly to your faucet. Here's how to install it:
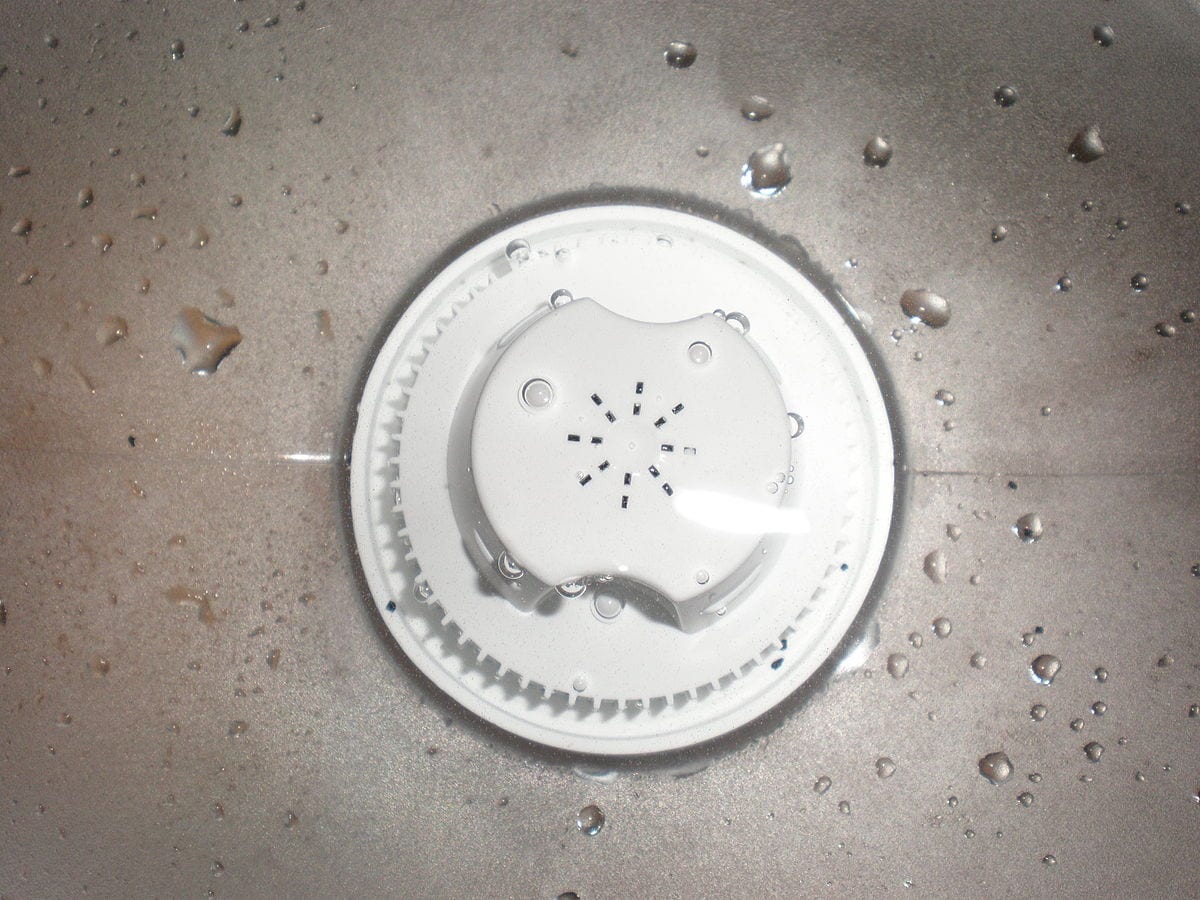
Step 1: Unscrew the aerator from your faucet and remove any debris or buildup.
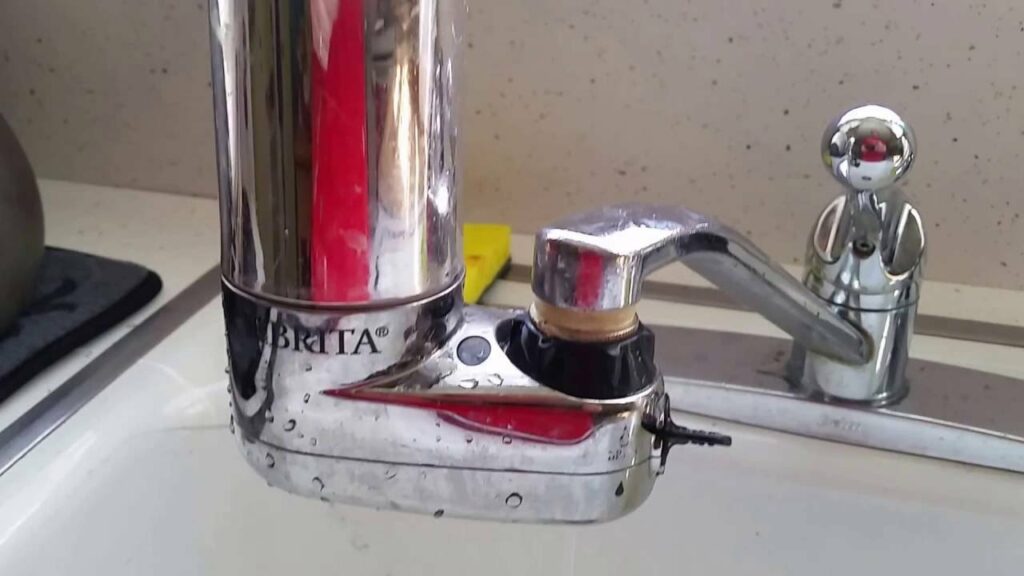
Step 2: Attach the Brita adapter to your faucet and secure it with the included washers.
Step 3: Insert the Brita filter into the filter cartridge holder and twist it to lock it in place.
Step 4: Turn on your faucet and let the water run for 5 minutes to flush out any carbon dust from the filter.


How to Install a Brita Faucet Filter

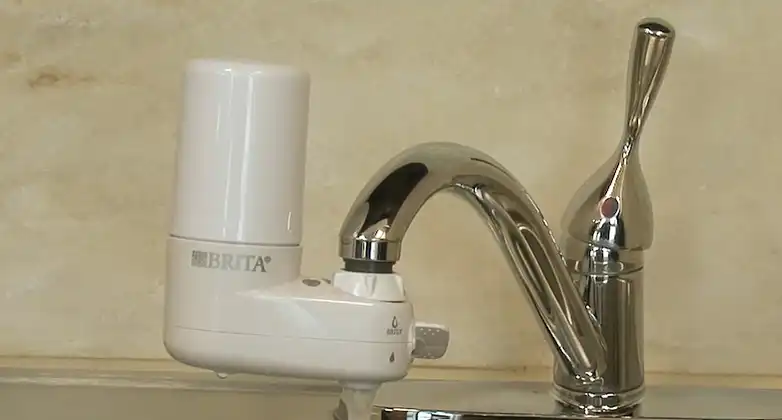

3. How to Install a Brita Faucet Filter
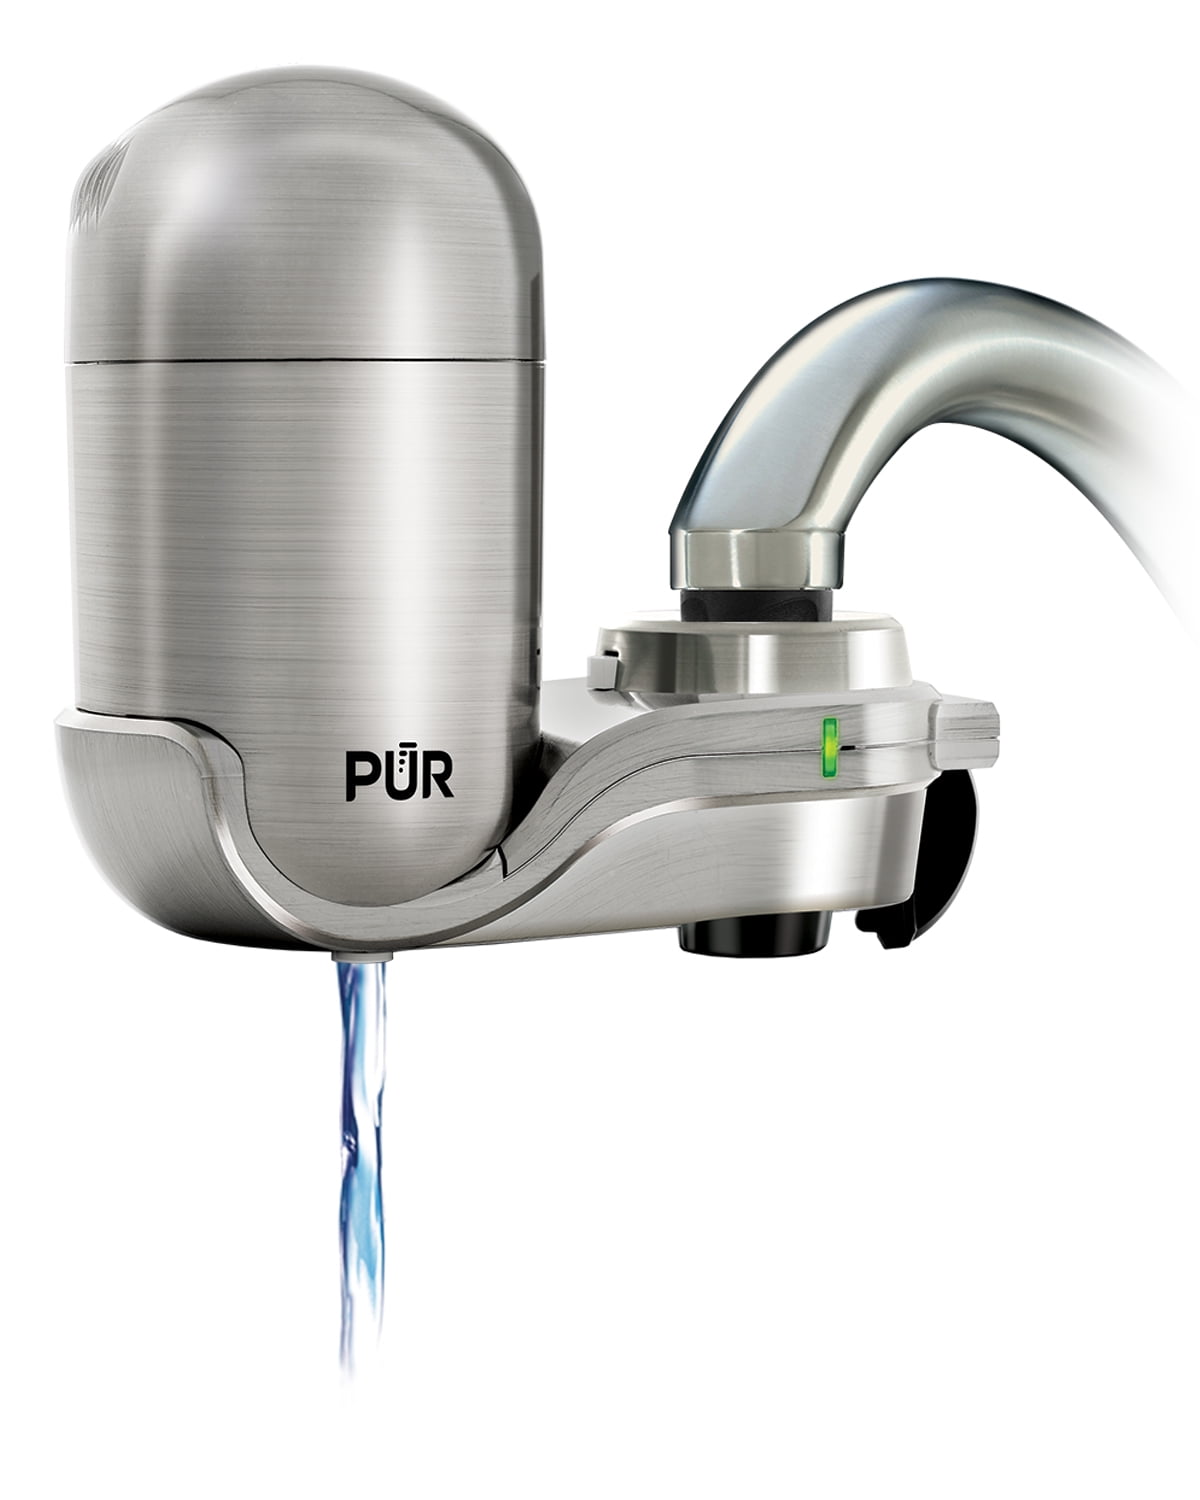
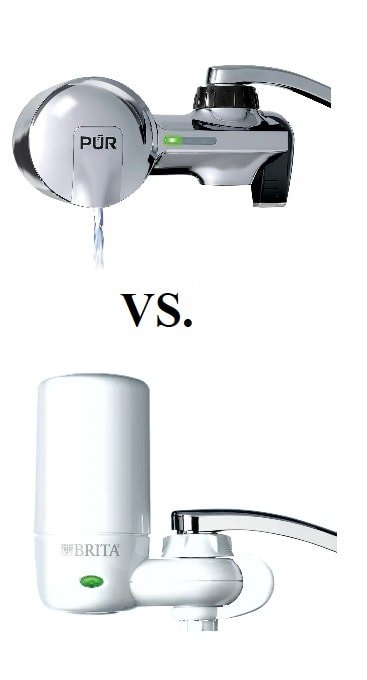
The Brita faucet filter is another option for those who don't want a bulky filtration system on their sink. Here's how to install it:
Step 1: Remove the aerator from your faucet and clean it thoroughly.
Step 2: Attach the Brita faucet filter to your faucet and secure it with the included washers.
Step 3: Turn on your faucet and let the water run for 5 minutes to flush out any carbon dust from the filter.


Brita Water Filter Installation Guide


4. Brita Water Filter Installation Guide
For those who prefer a more permanent solution, the Brita water filter can be installed under your sink. Here's how:
Step 1: Find a suitable location for the filter under your sink and mark where the mounting bracket will go.
Step 2: Mount the bracket using the included screws.
Step 3: Connect the inlet and outlet hoses to the filter and tighten the fittings.
Step 4: Connect the inlet hose to the cold water supply and the outlet hose to the faucet.
Step 5: Turn on your faucet and let the water run for 5 minutes to flush out any carbon dust from the filter.


Step-by-Step Brita Sink Filter Instructions


5. Step-by-Step Brita Sink Filter Instructions
No matter which Brita sink filter you choose, here are some general instructions for maintaining it:
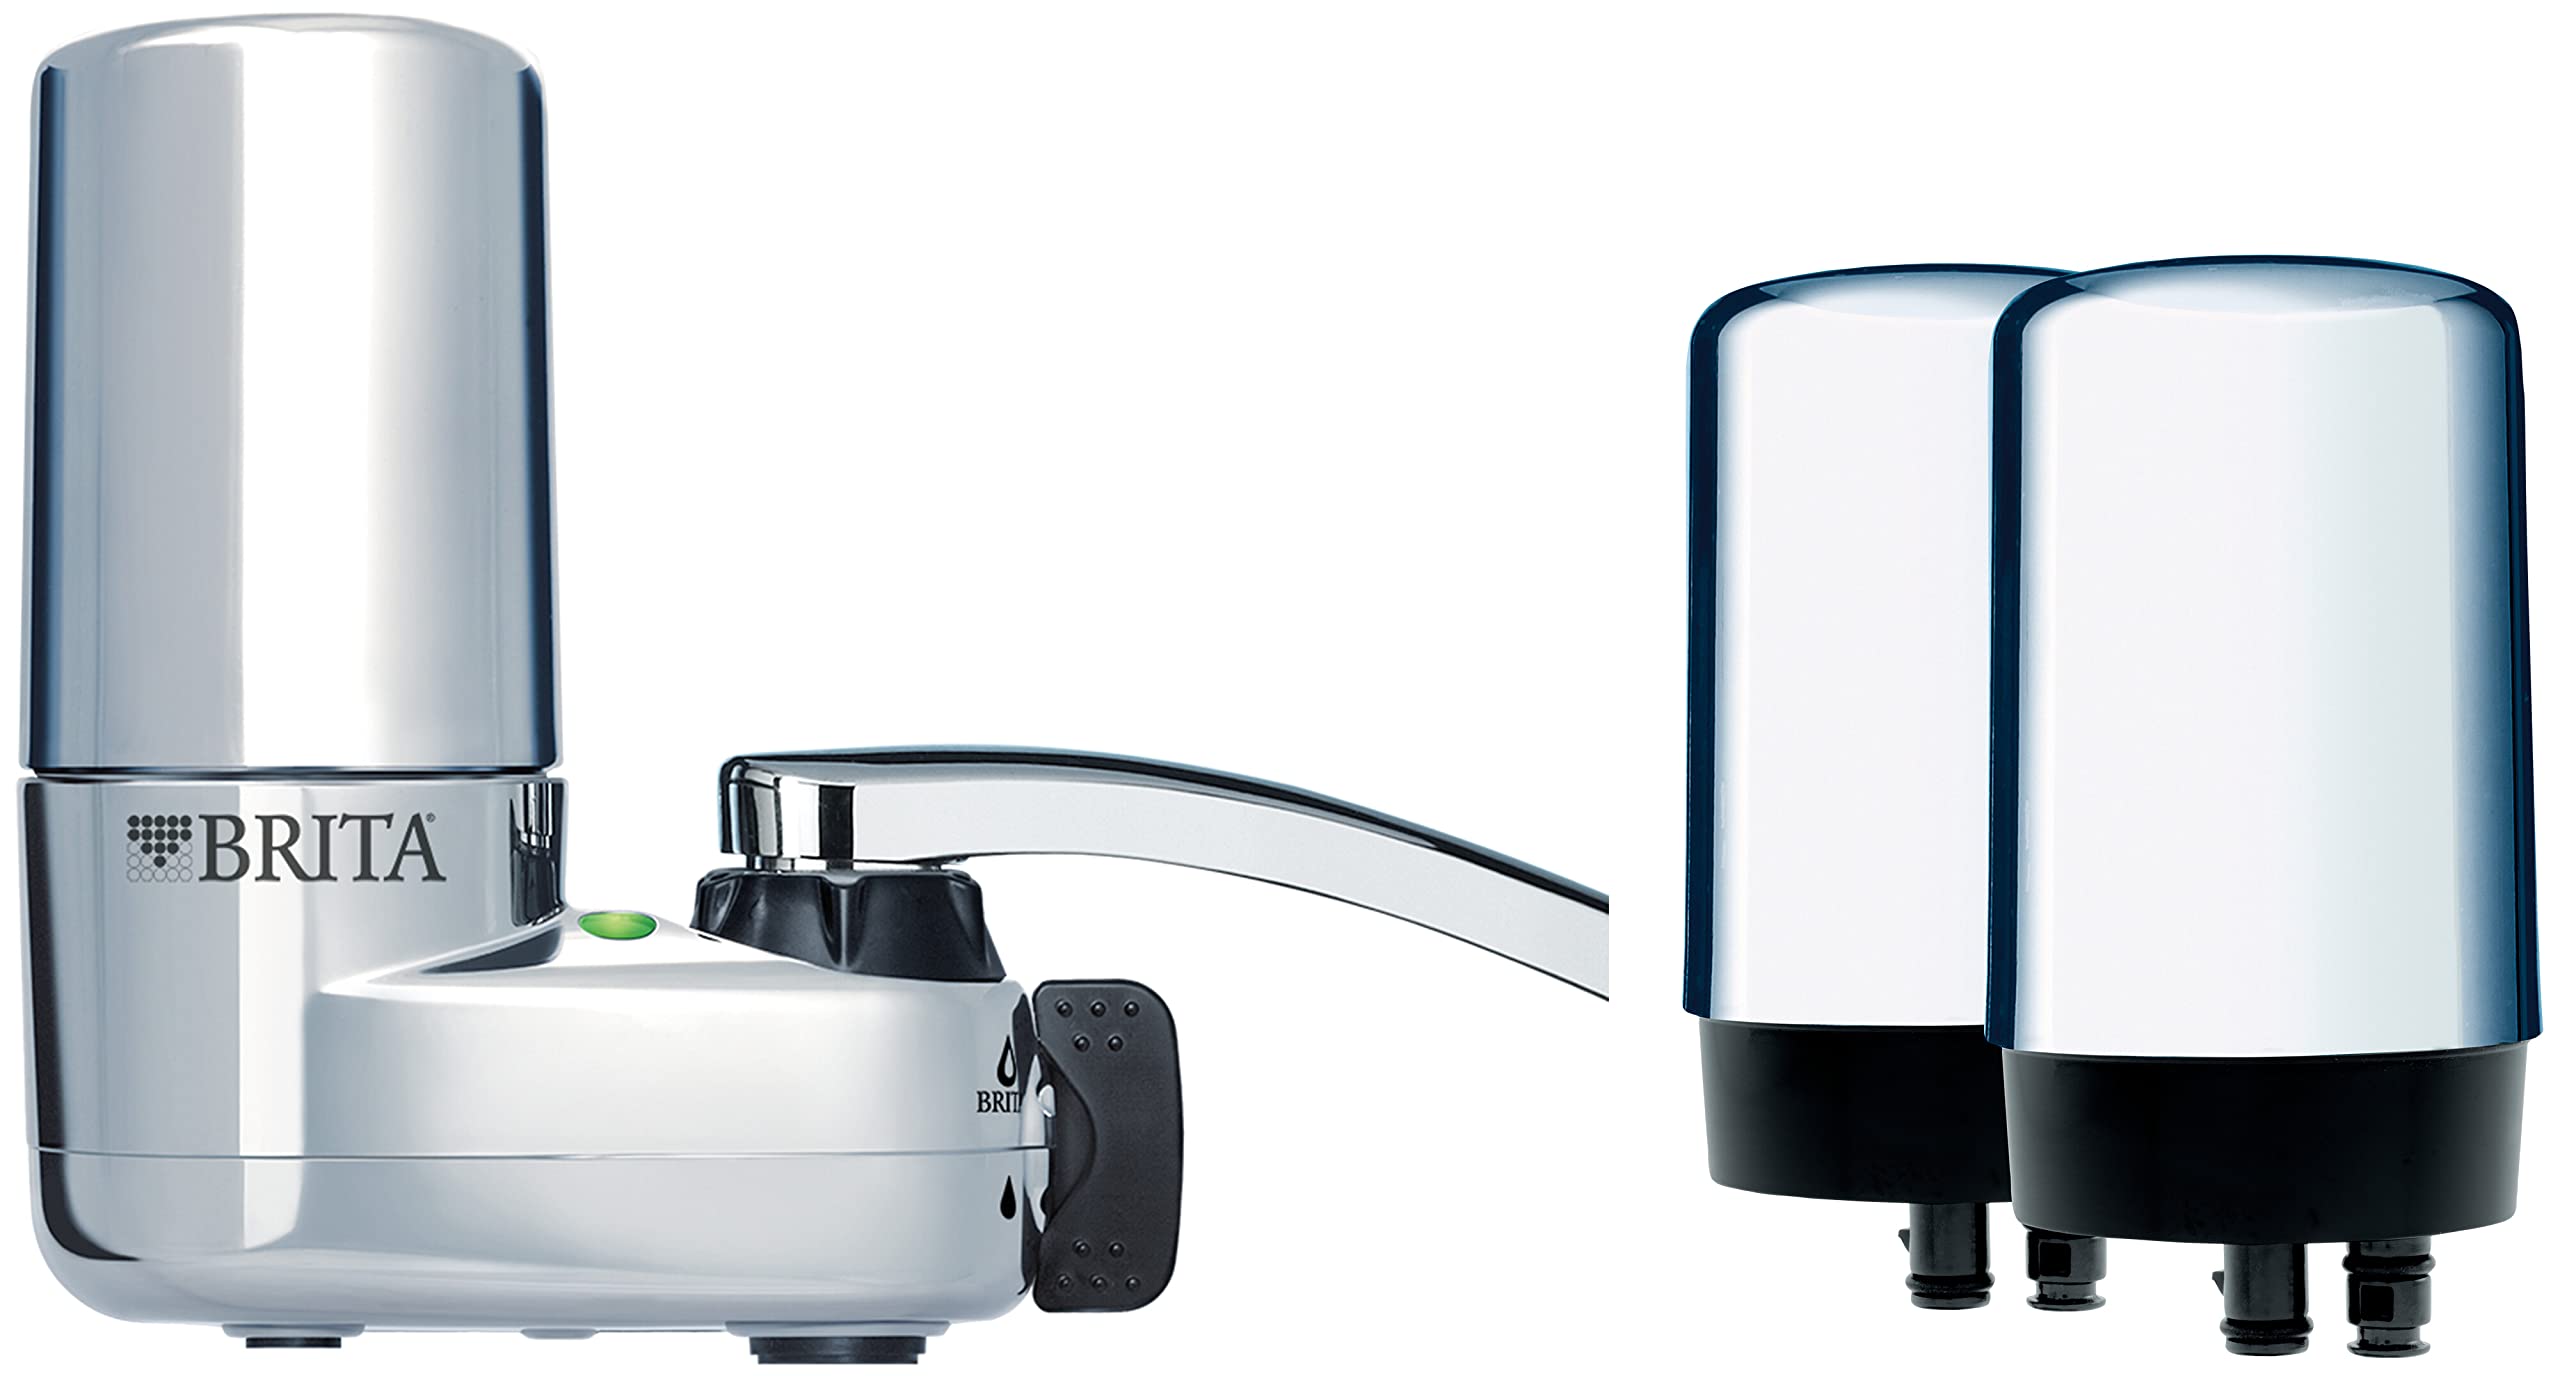
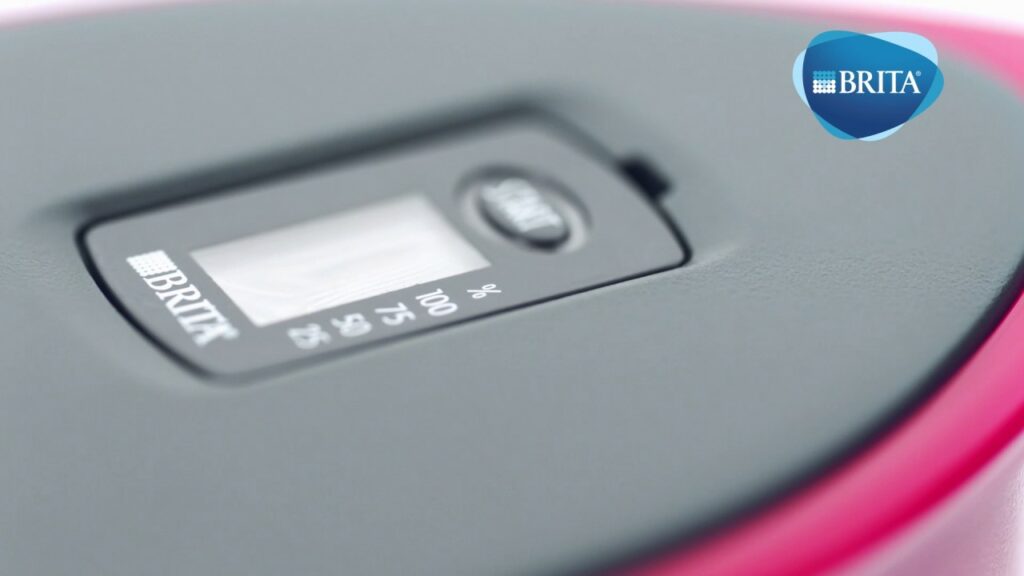
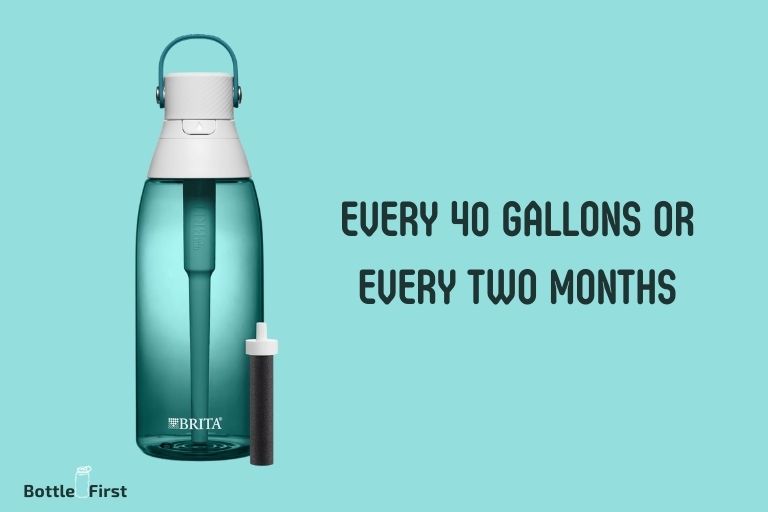
Step 1: Change the filter cartridge every 4 months or when the indicator light turns red.
Step 2: Clean the exterior of the filter regularly with a damp cloth.
Step 3: If using the faucet filter, remove it when not in use to prevent bacteria growth.
Brita Faucet Filter User Manual


6. Brita Faucet Filter User Manual
For more detailed instructions and information, be sure to consult your Brita faucet filter user manual. It will have specific guidelines for your model and troubleshooting tips.


Brita Sink Filter Maintenance Tips


7. Brita Sink Filter Maintenance Tips
To keep your Brita sink filter working efficiently, here are some maintenance tips:
Tip 1: Change the filter cartridge regularly to ensure clean and great-tasting water.
Tip 2: Clean the filter and adapter regularly to prevent clogging and bacteria growth.
Tip 3: If using the faucet filter, remove it when not in use to prevent bacteria growth.


Troubleshooting Brita Sink Filter Issues


8. Troubleshooting Brita Sink Filter Issues
If you encounter any issues with your Brita sink filter, here are some common problems and their solutions:
Issue: Slow water flow
Solution: Check for clogs in the filter or adapter and clean them if necessary. Also, make sure the filter cartridge is not expired.
Issue: Leaking
Solution: Make sure all connections are tight and the hoses are not damaged. If the problem persists, contact Brita customer service for assistance.
Issue: Strange taste or odor
Solution: Change the filter cartridge and let the water run for a few minutes to flush out any carbon dust. If the problem continues, contact Brita customer service.

How to Change Brita Sink Filter Cartridge


9. How to Change Brita Sink Filter Cartridge
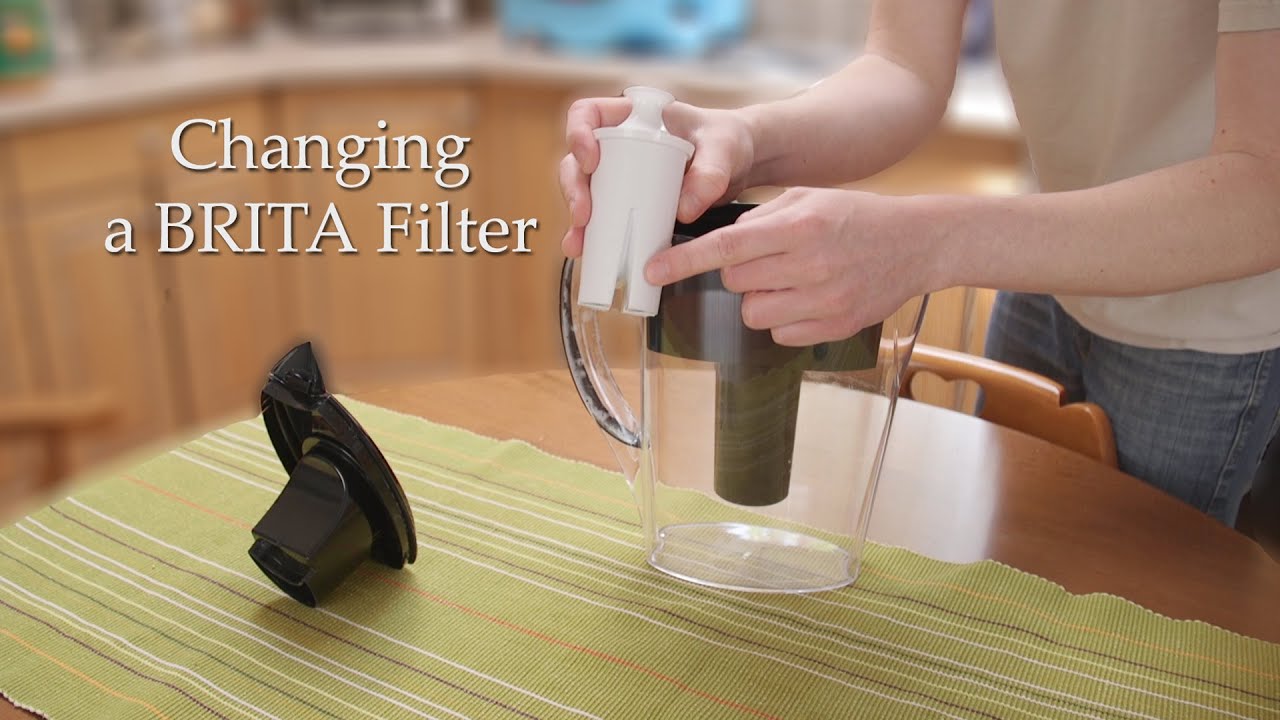
Changing the filter cartridge is a crucial step in maintaining your Brita sink filter. Here's how to do it:
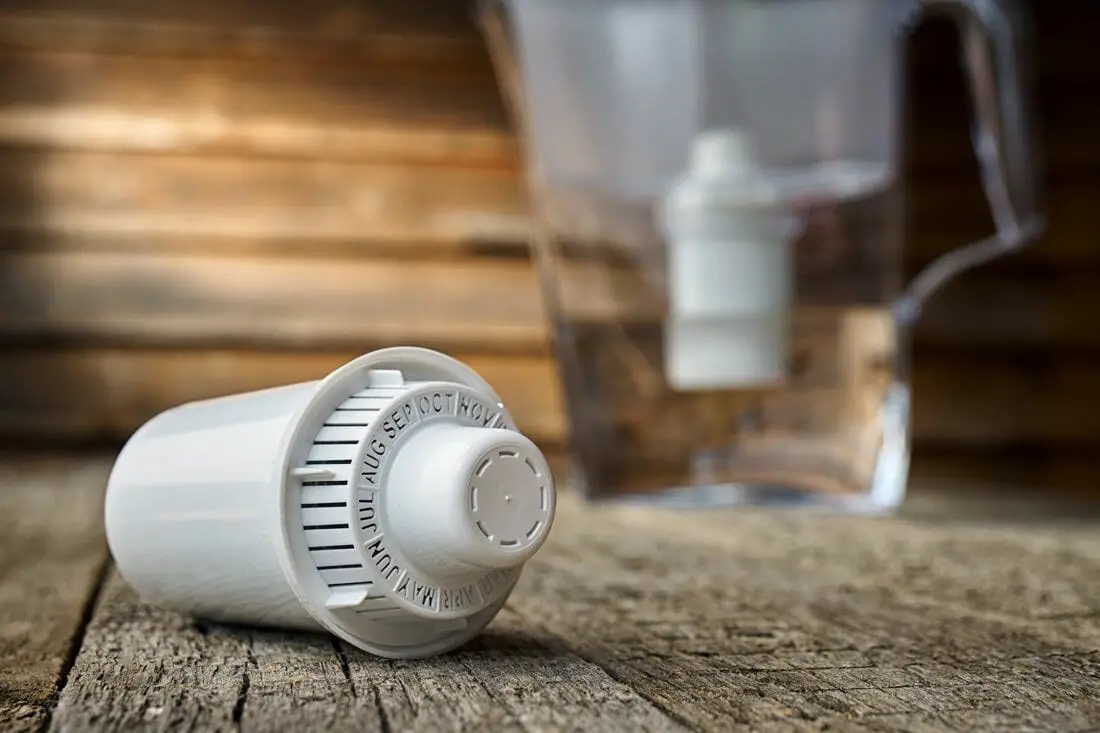
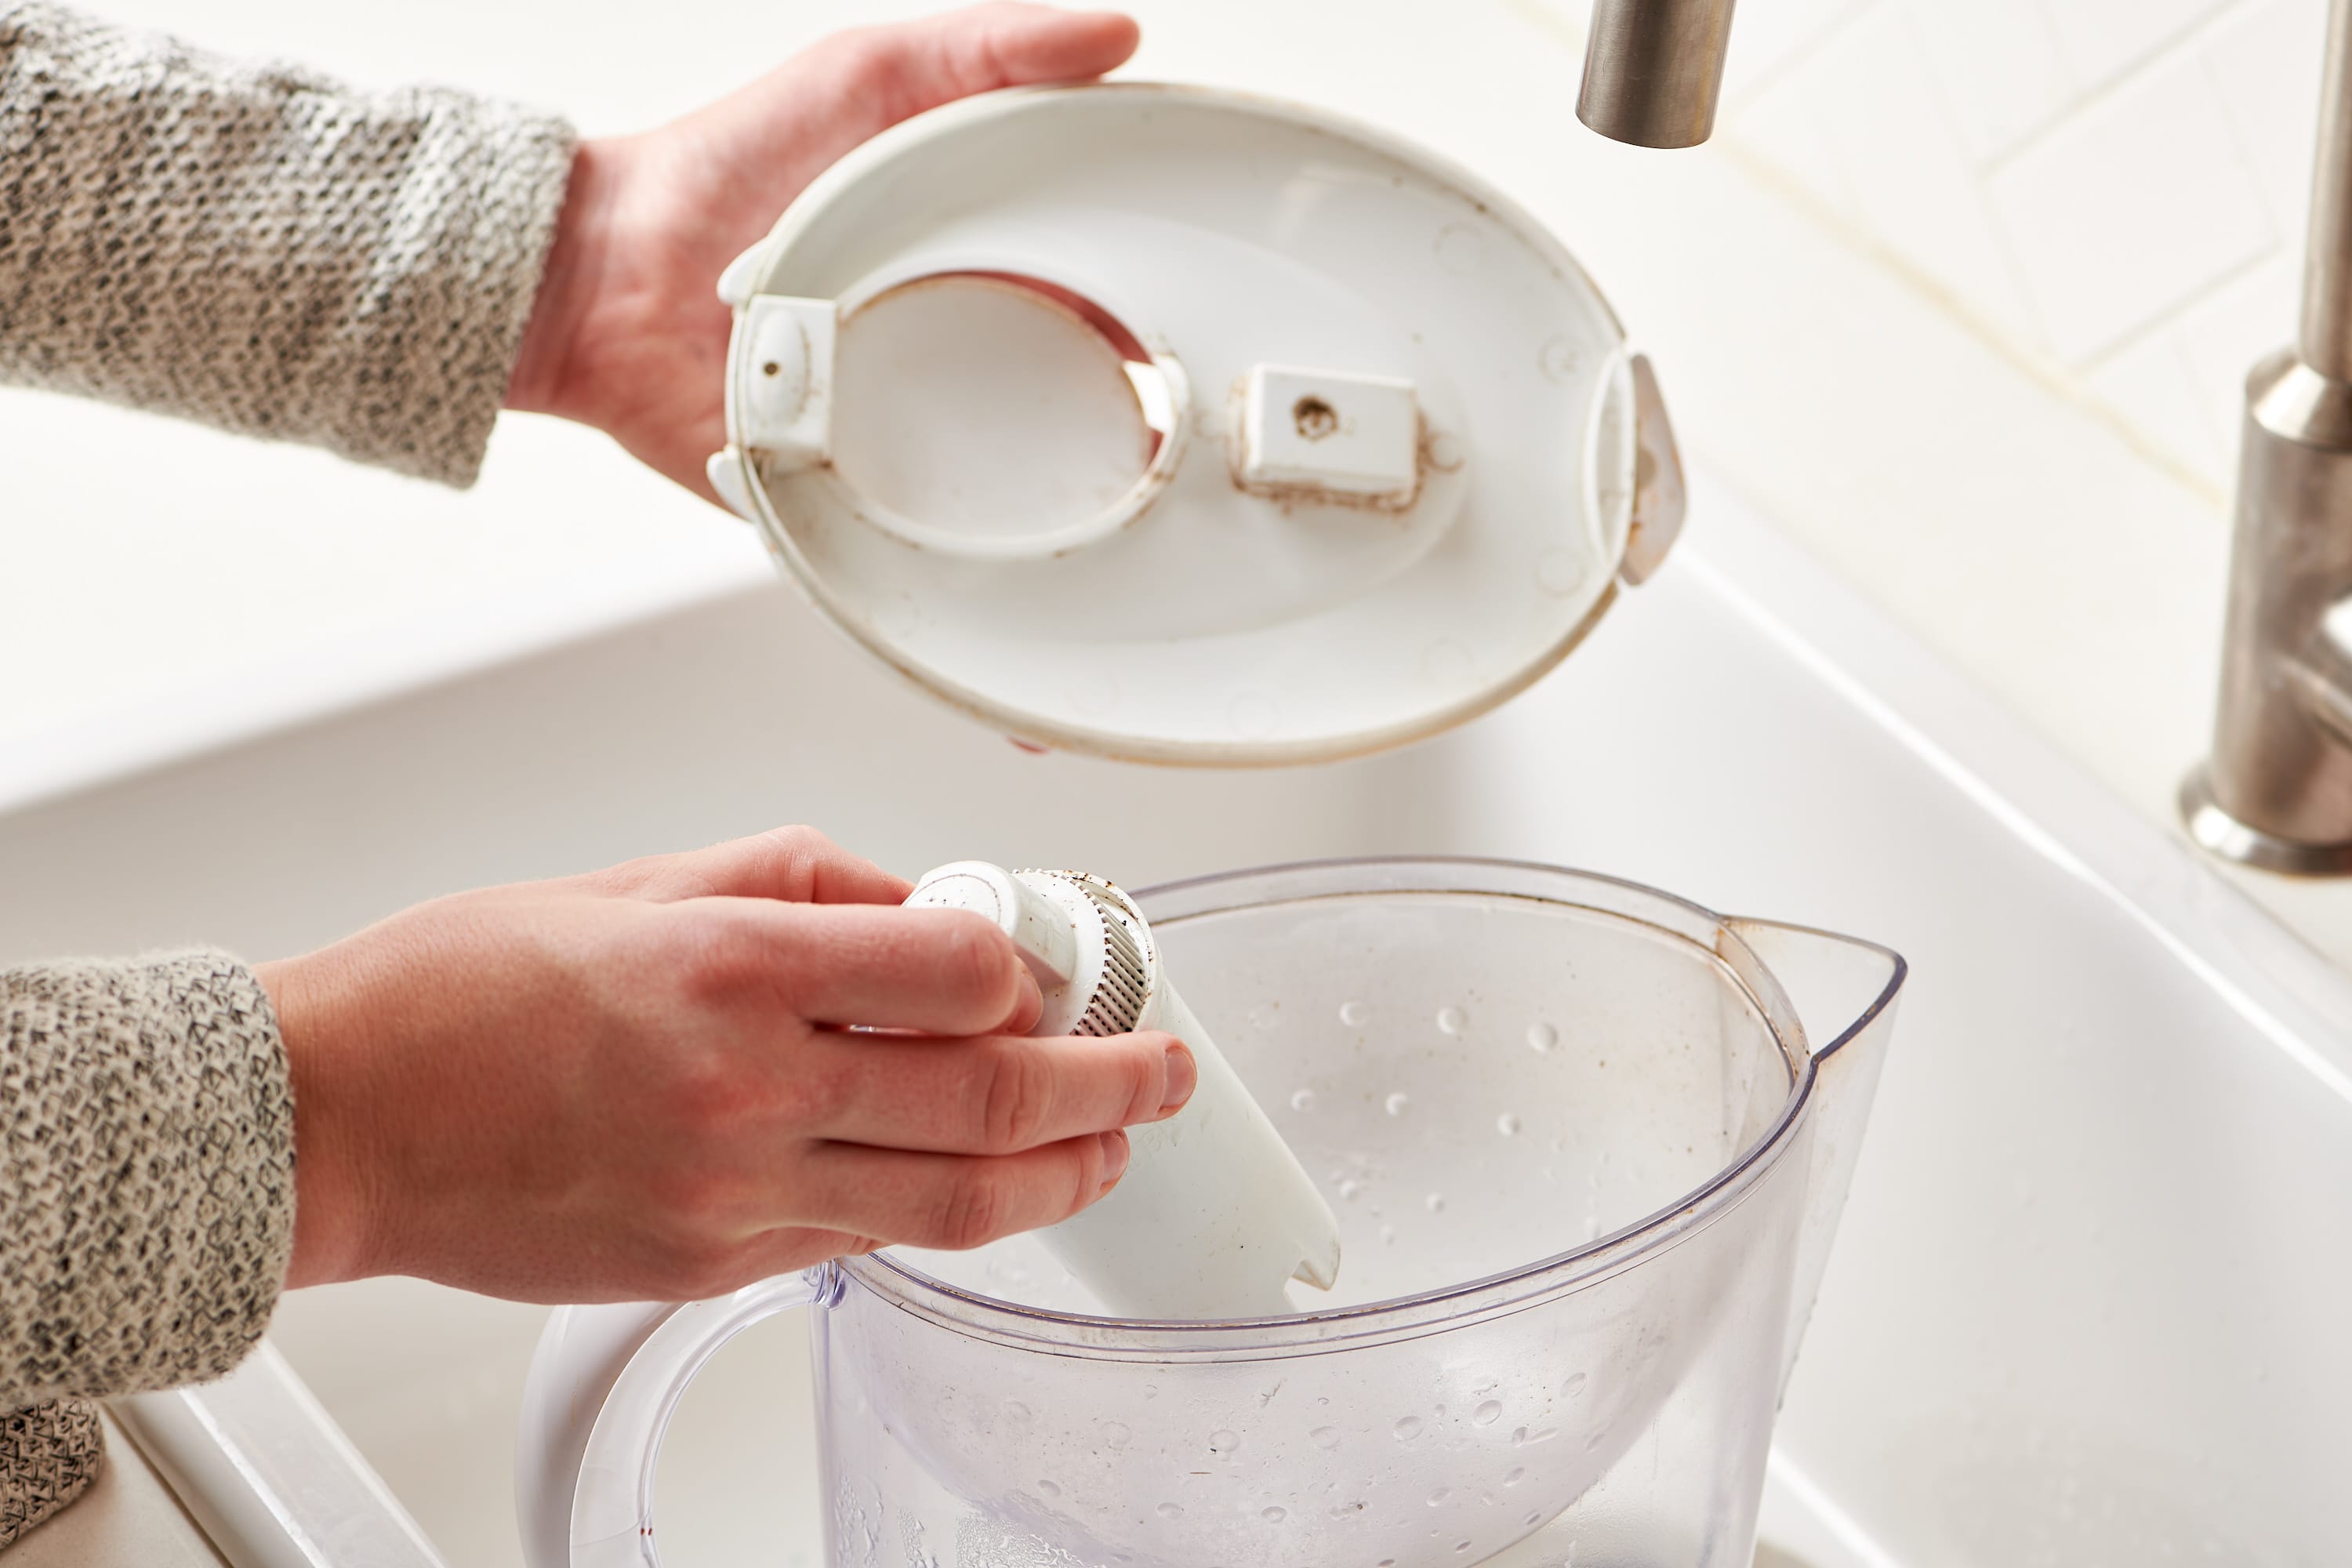
Step 1: Remove the filter cartridge from the filter or adapter.
Step 2: Discard the old cartridge and clean the filter or adapter with a damp cloth.
Step 3: Insert the new filter cartridge and twist it to lock it in place.
Step 4: Turn on your faucet and let the water run for 5 minutes to flush out any carbon dust from the filter.

Brita Sink Filter Cleaning Instructions


10. Brita Sink Filter Cleaning Instructions
To keep your Brita sink filter in top condition, here are some cleaning instructions:
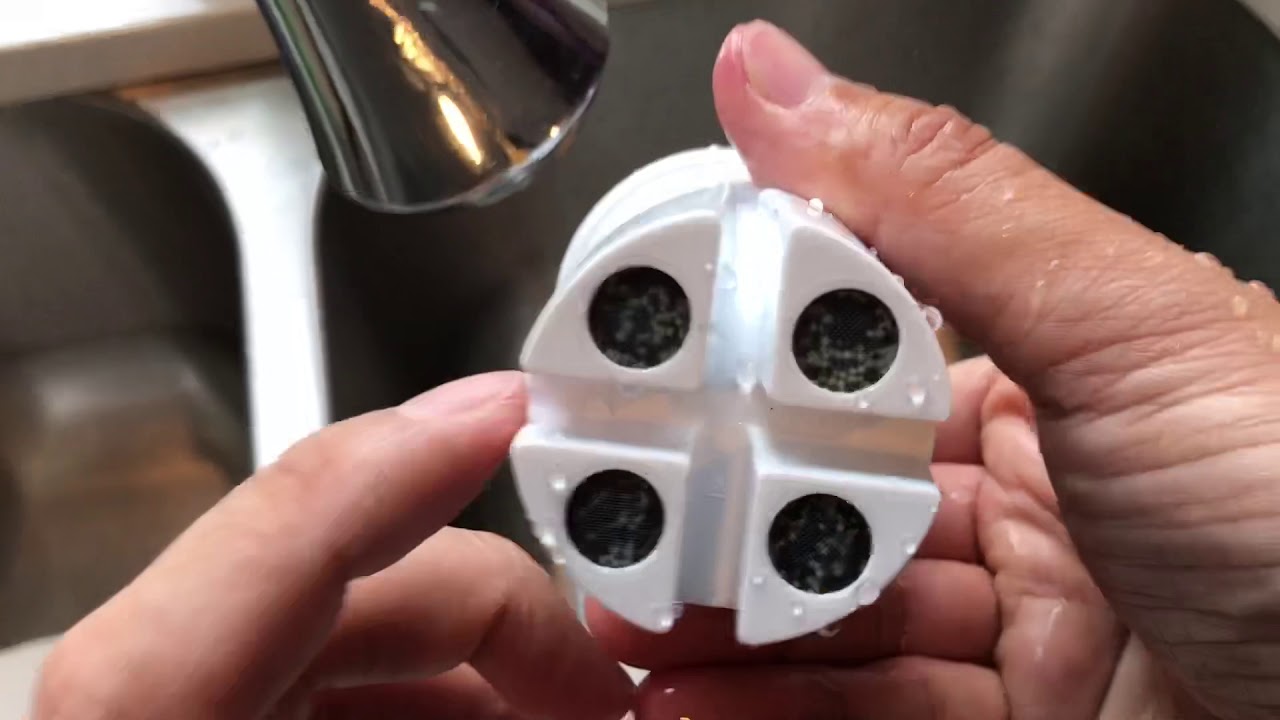
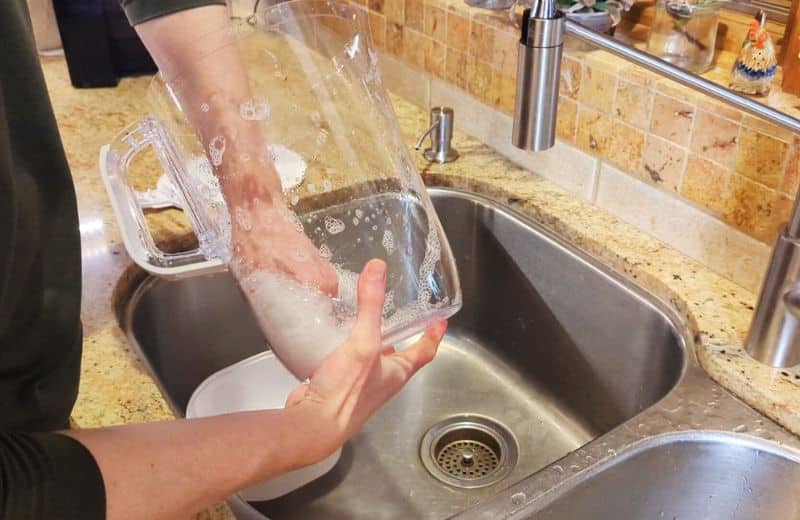
Step 1: Remove the filter cartridge and clean it with warm water and a mild detergent.
Step 2: Clean the filter or adapter with a damp cloth and mild detergent.
Step 3: Rinse all parts thoroughly and let them air dry before reassembling.

Brita Sink Filter Replacement Guide

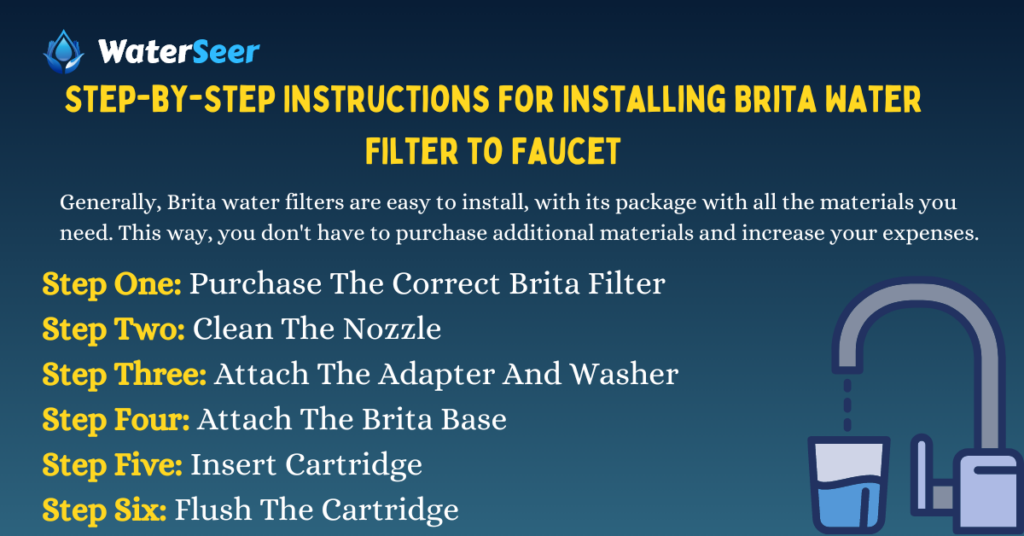
How to Install a Brita Kitchen Sink Filter: Step-by-Step Instructions
Creating a functional and stylish kitchen
 A well-designed kitchen is the heart of a home, where families come together to cook, eat, and spend quality time. A key component of a functional kitchen is a clean and reliable water source. This is where a Brita kitchen sink filter comes in. The Brita brand has been synonymous with clean and safe drinking water for over 50 years. Their kitchen sink filter is a popular choice for homeowners looking to upgrade their water supply. Installing a Brita kitchen sink filter is a simple and cost-effective solution for improving the quality of your water. Follow these step-by-step instructions to have your filter up and running in no time.
Gather your materials
 Before you begin the installation process, make sure you have all the necessary materials. You will need a Brita kitchen sink filter, a wrench, a screwdriver, plumber's tape, and a bucket to catch any excess water. It is also important to turn off your water supply before starting the installation process.
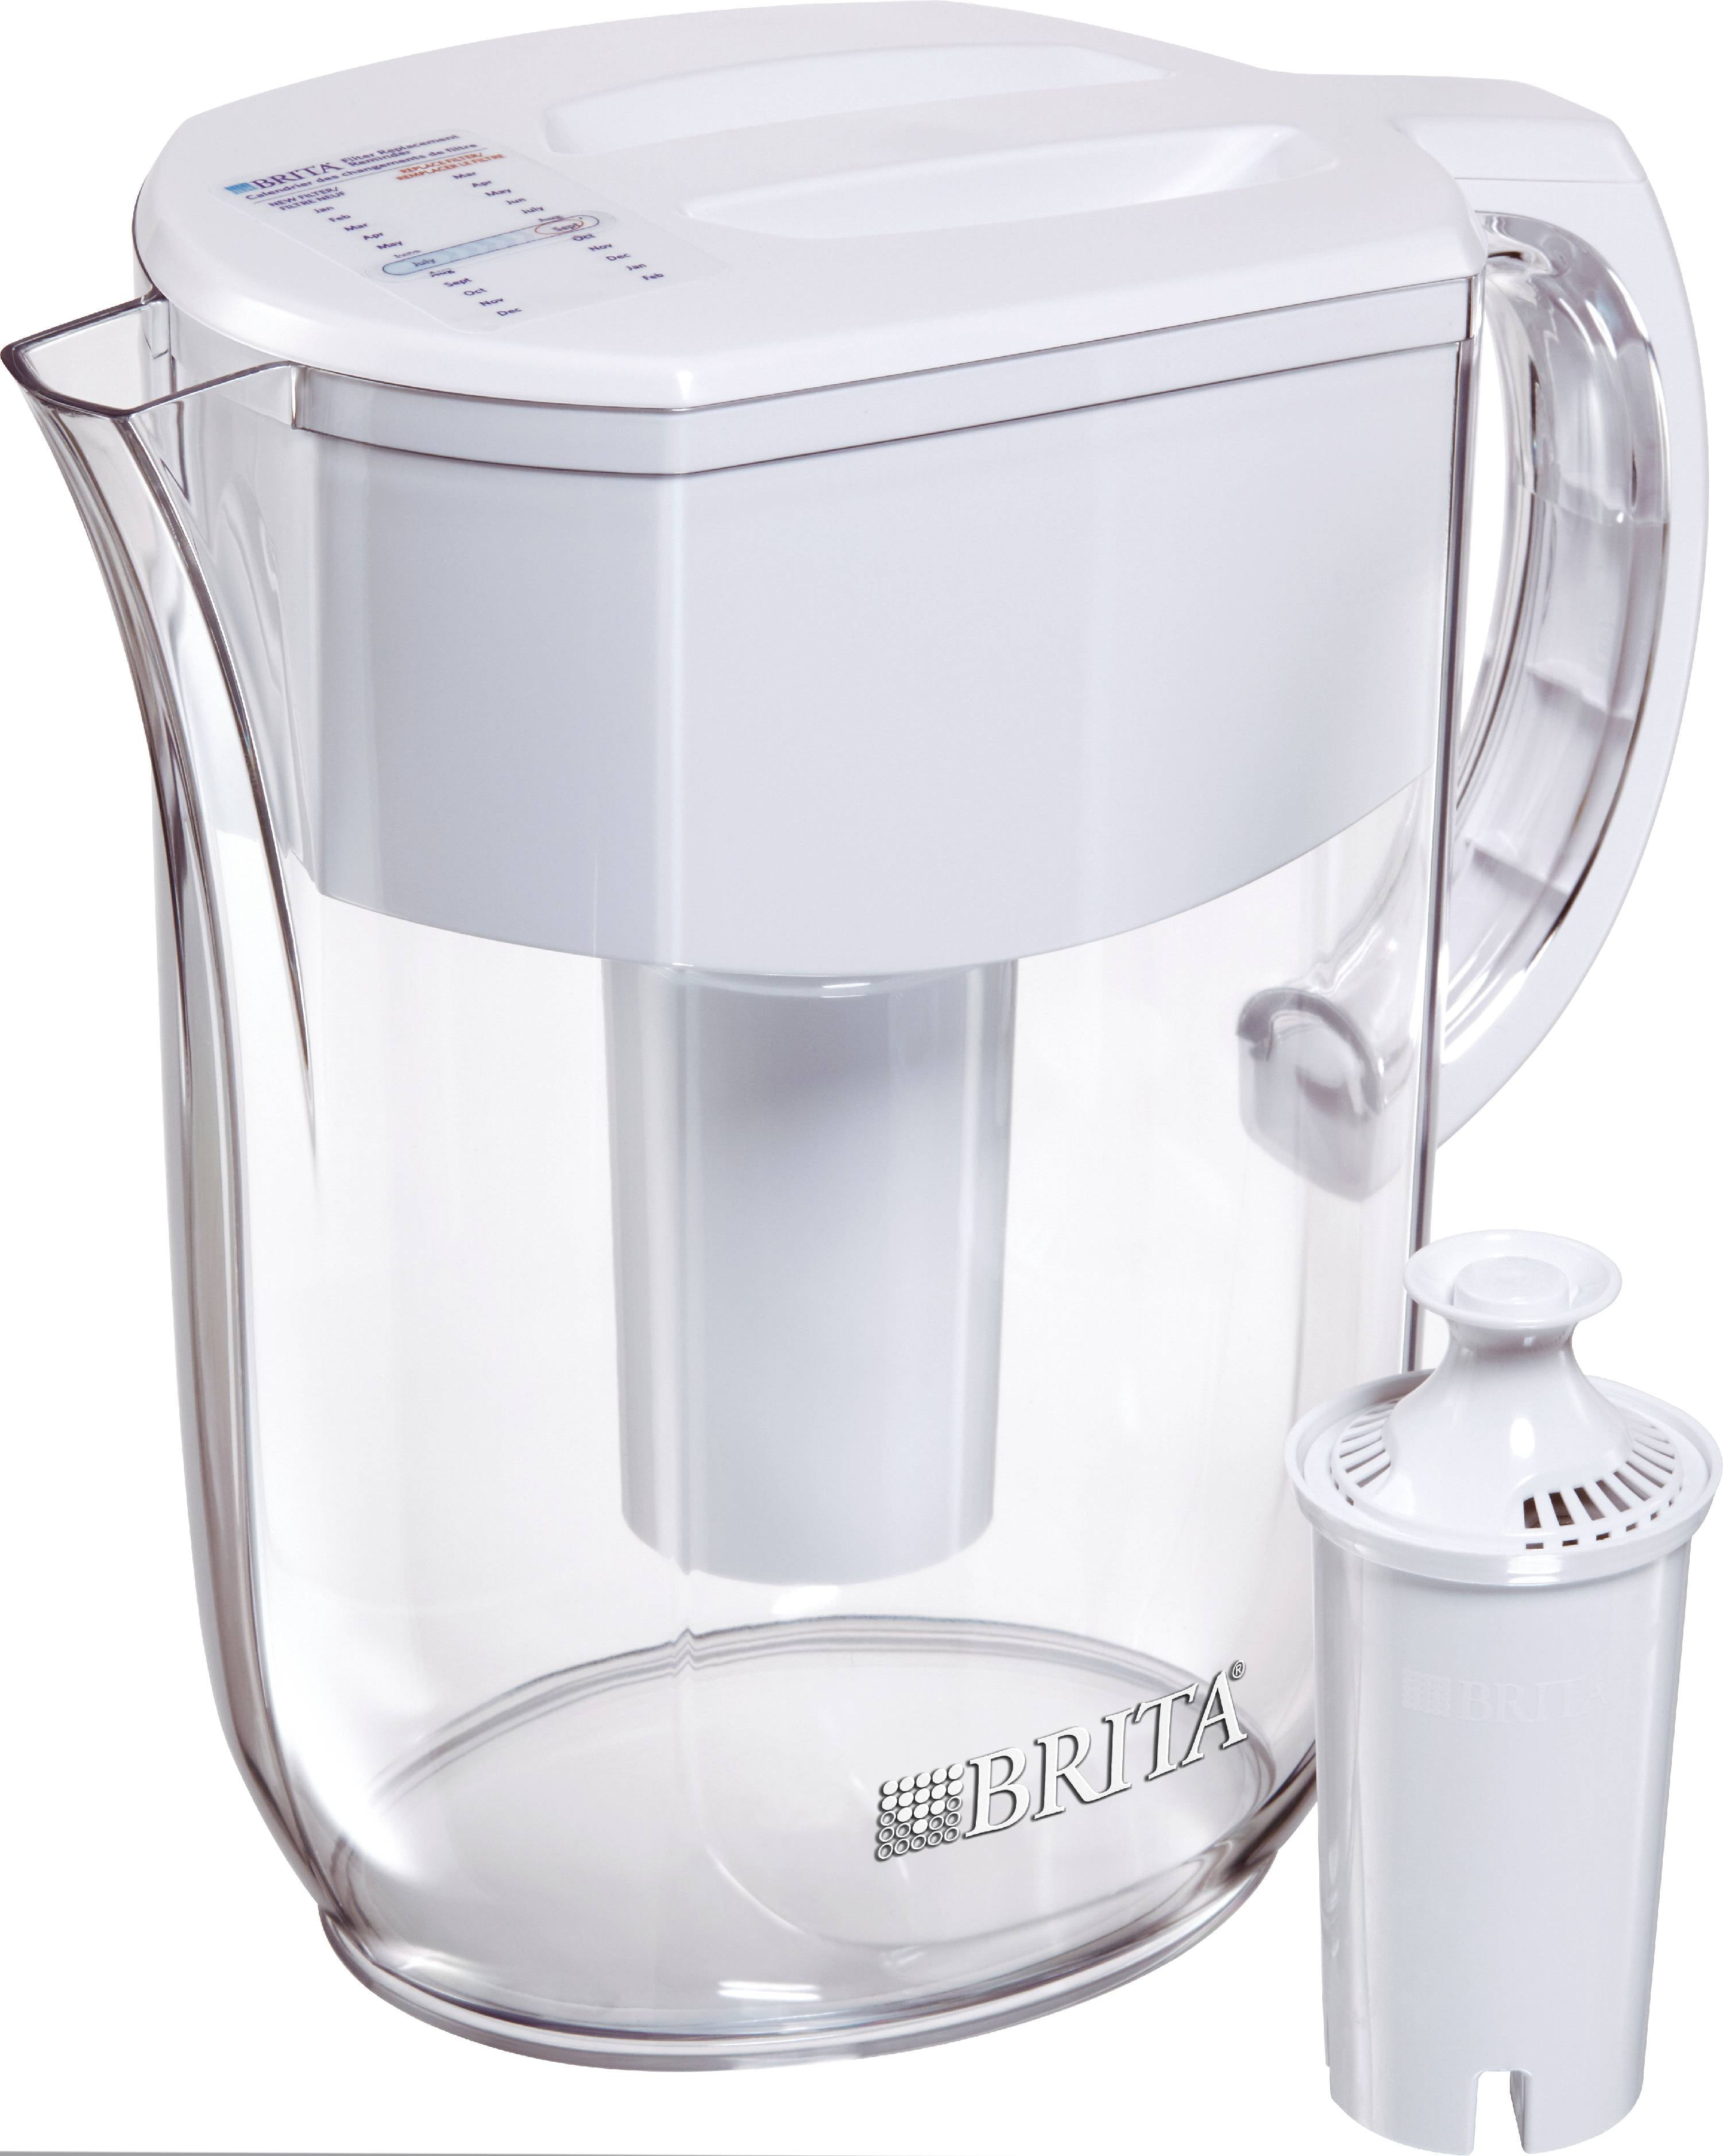
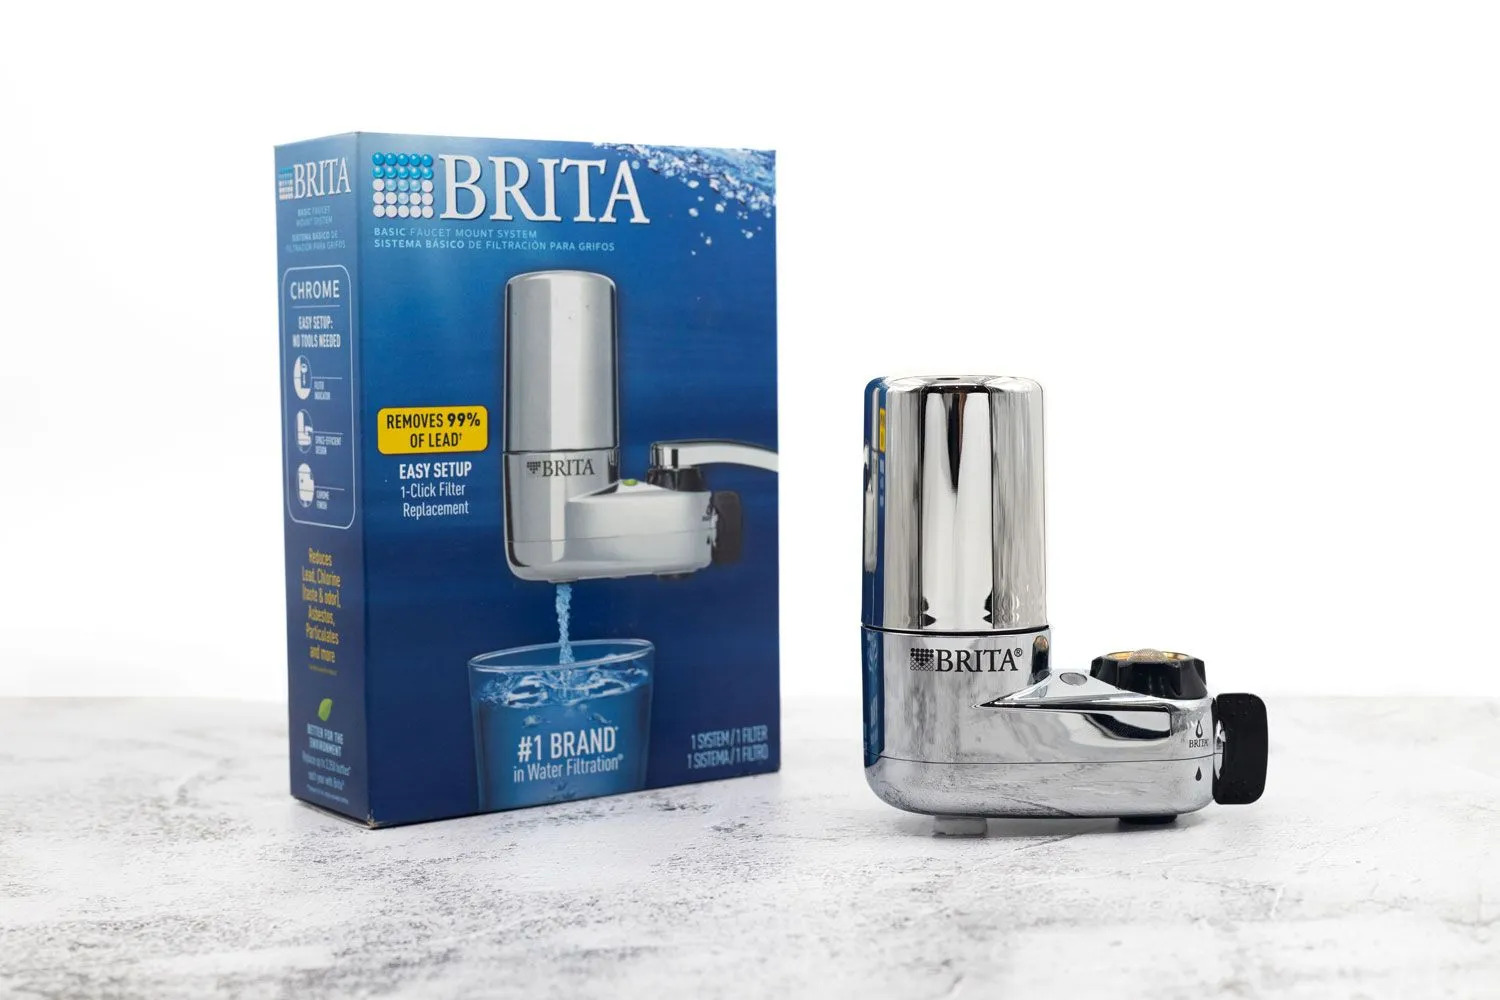
Step 1: Choose the right filter
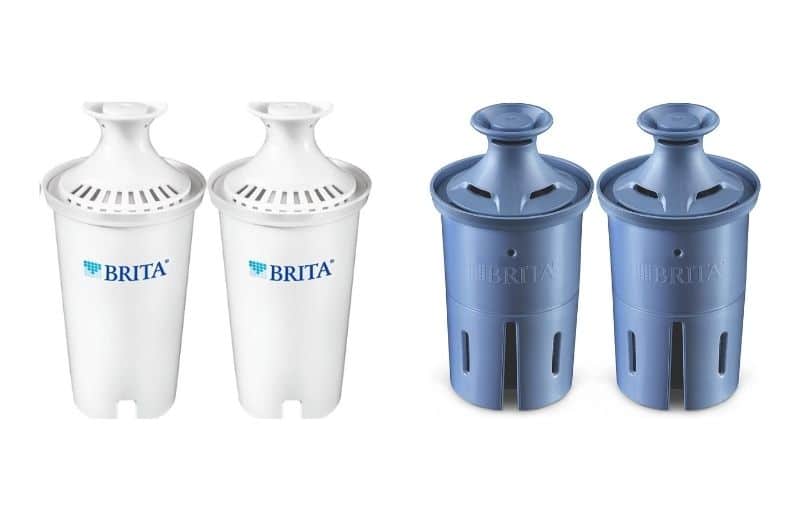
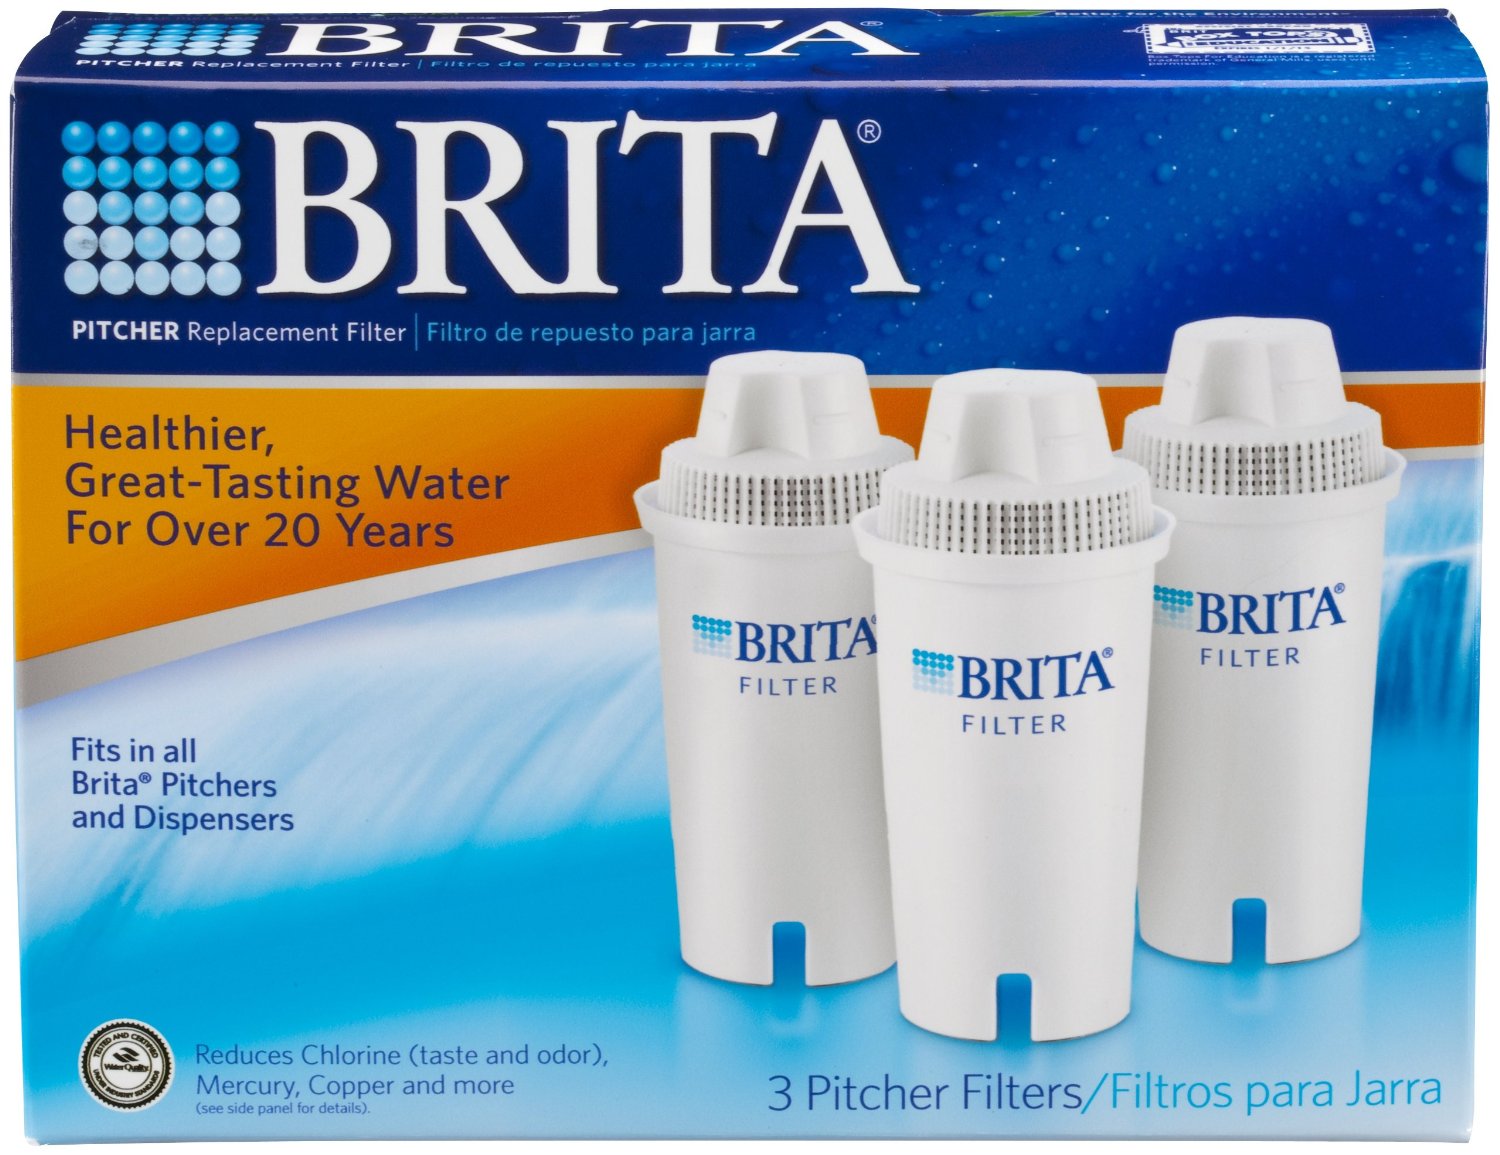
 The first step is to choose the right Brita kitchen sink filter for your specific needs. Brita offers a variety of filters, including basic, advanced, and specialty filters. Consider the size of your household and the level of impurities in your water when making your selection.
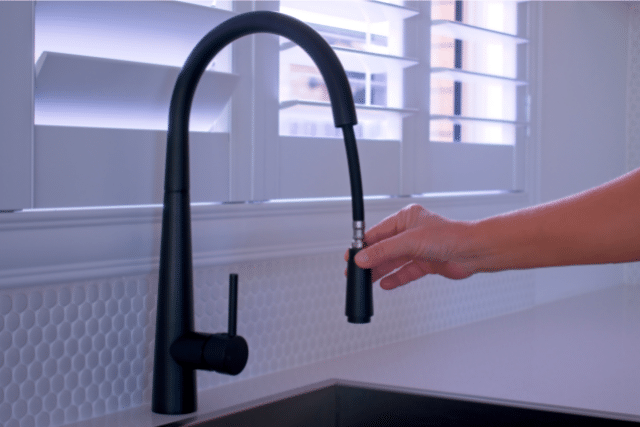
Step 2: Prepare your sink
 Next, you will need to prepare your sink for installation. Start by removing any attachments, such as the faucet aerator or sprayer. Then, clean the area around the faucet thoroughly to ensure a secure fit for the filter.
Step 3: Install the filter
 Now it's time to install the filter. Begin by attaching the Brita filter to the faucet using the included adapters and washers. Make sure to tighten all connections with a wrench to prevent any leaks. Then, connect the filter to the water supply using the provided tubing. Use plumber's tape to secure all connections.
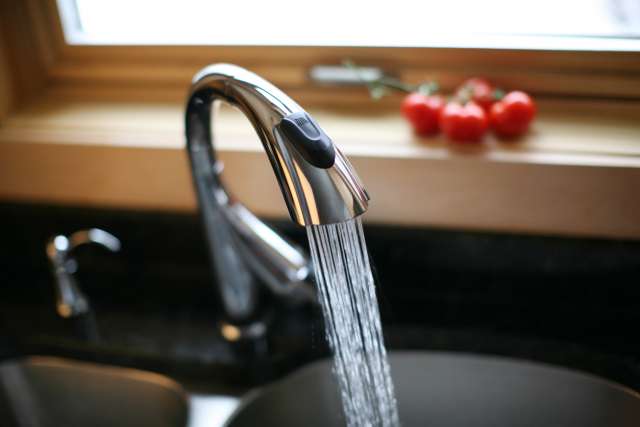
Step 4: Run the water
 Once the filter is securely attached, turn on the water supply and run the water through the filter for a few minutes. This will help flush out any excess carbon particles and ensure clean water flow.
Step 5: Enjoy clean and safe water
 Congratulations, you have successfully installed your Brita kitchen sink filter! You can now enjoy clean and safe drinking water straight from your tap. Remember to replace your filter every 3-4 months for optimal performance.
In conclusion, a Brita kitchen sink filter is a simple and effective way to improve the quality of your water and enhance your kitchen experience. Follow these step-by-step instructions for a hassle-free installation process and enjoy the benefits of clean and healthy water in your home.
Congratulations, you have successfully installed your Brita kitchen sink filter! You can now enjoy clean and safe drinking water straight from your tap. Remember to replace your filter every 3-4 months for optimal performance.
In conclusion, a Brita kitchen sink filter is a simple and effective way to improve the quality of your water and enhance your kitchen experience. Follow these step-by-step instructions for a hassle-free installation process and enjoy the benefits of clean and healthy water in your home.