Removing a kitchen sink strainer may seem like a daunting task, but with the right tools and techniques, it can be done easily. Whether you're replacing a damaged strainer or simply want to give your sink a fresh look, here are the top 10 best ways to remove a kitchen sink strainer.How to Remove a Kitchen Sink Strainer

How to Remove a Kitchen Sink Strainer


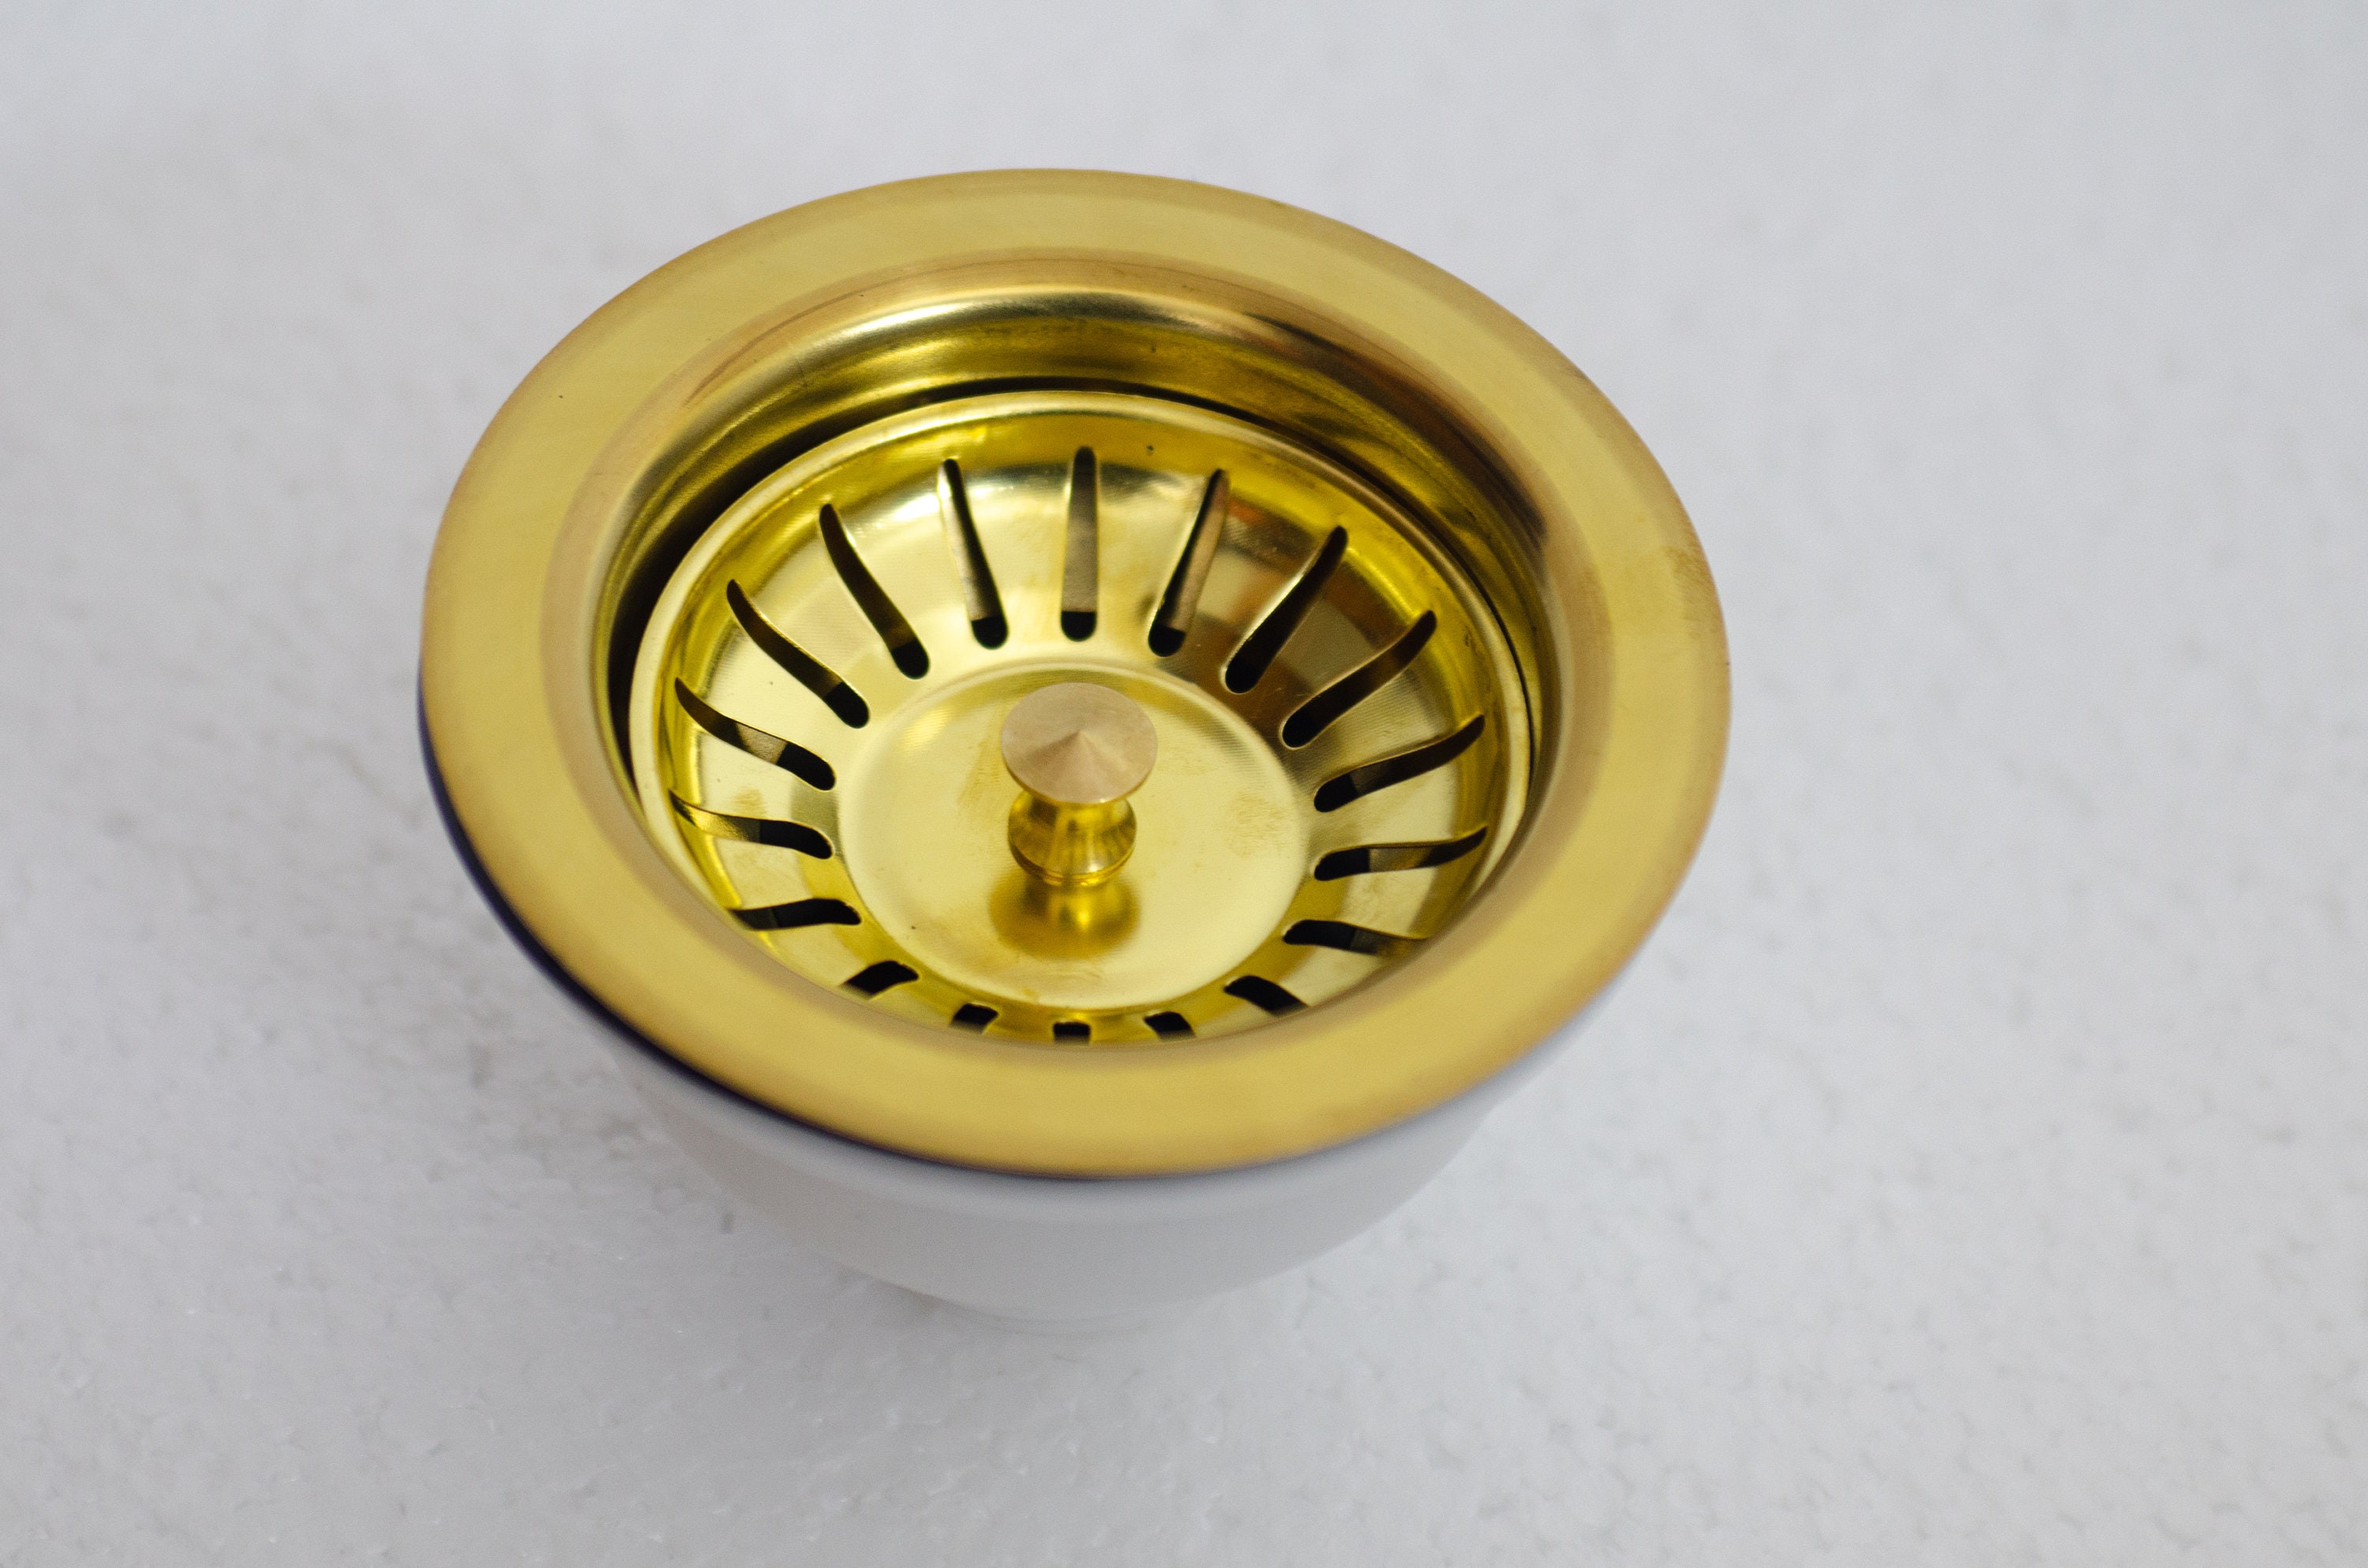
If you're looking to replace your kitchen sink strainer, the first step is to remove the old one. This can be done by following these simple steps:How to Replace a Kitchen Sink Strainer


How to Replace a Kitchen Sink Strainer


:max_bytes(150000):strip_icc()/how-to-install-a-sink-drain-2718789-04-5715d67f5b7d41429d42bf705bb70e2c.jpg)
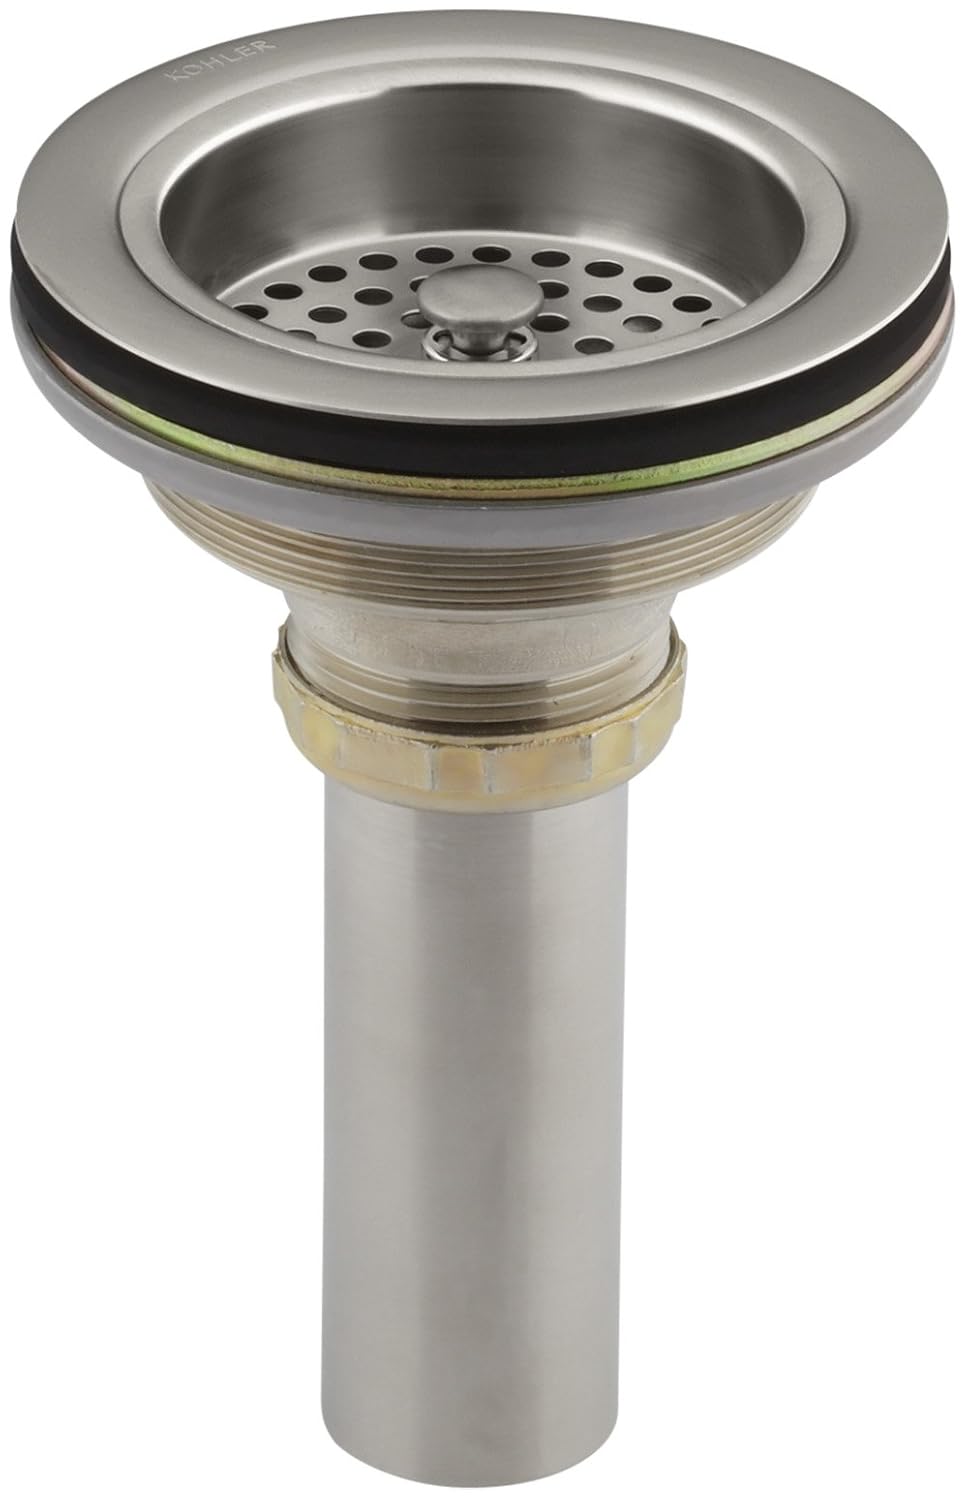
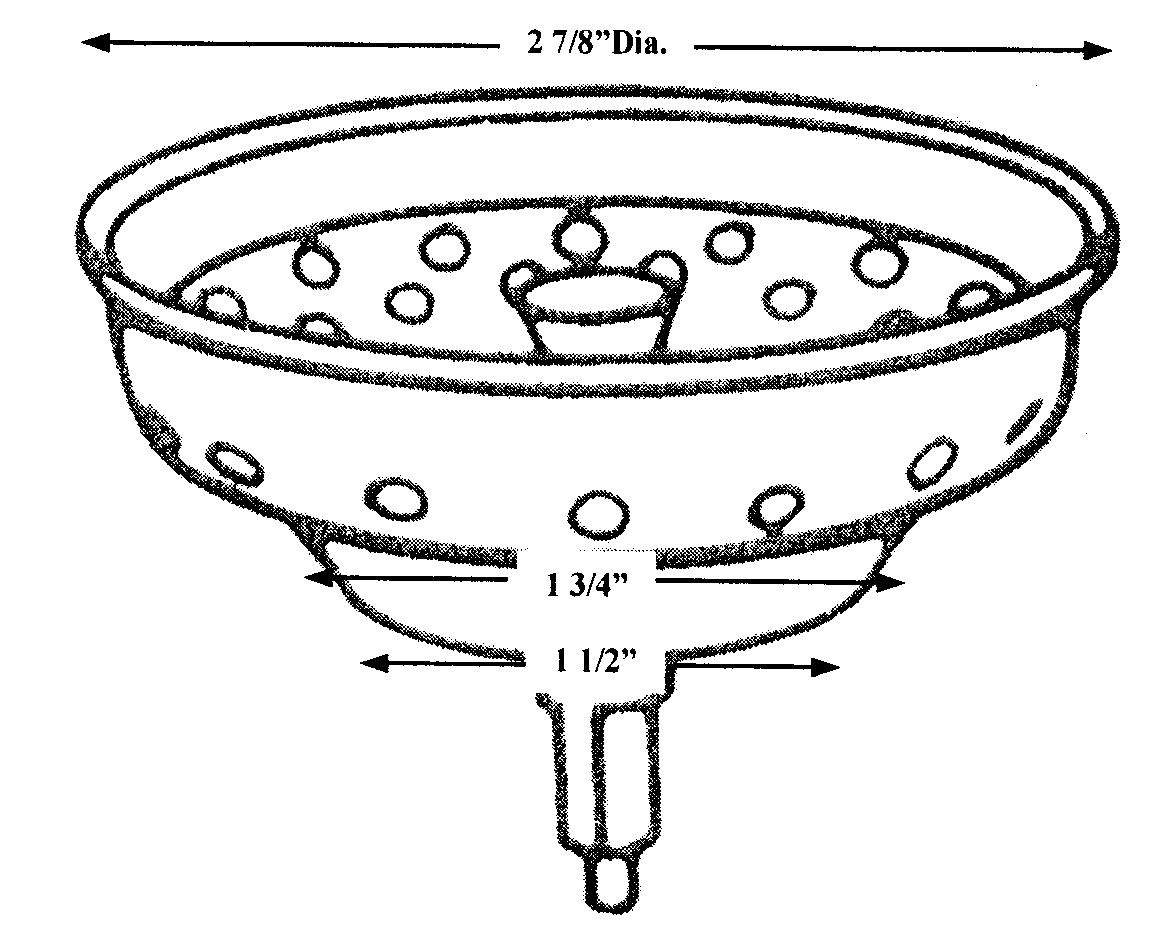
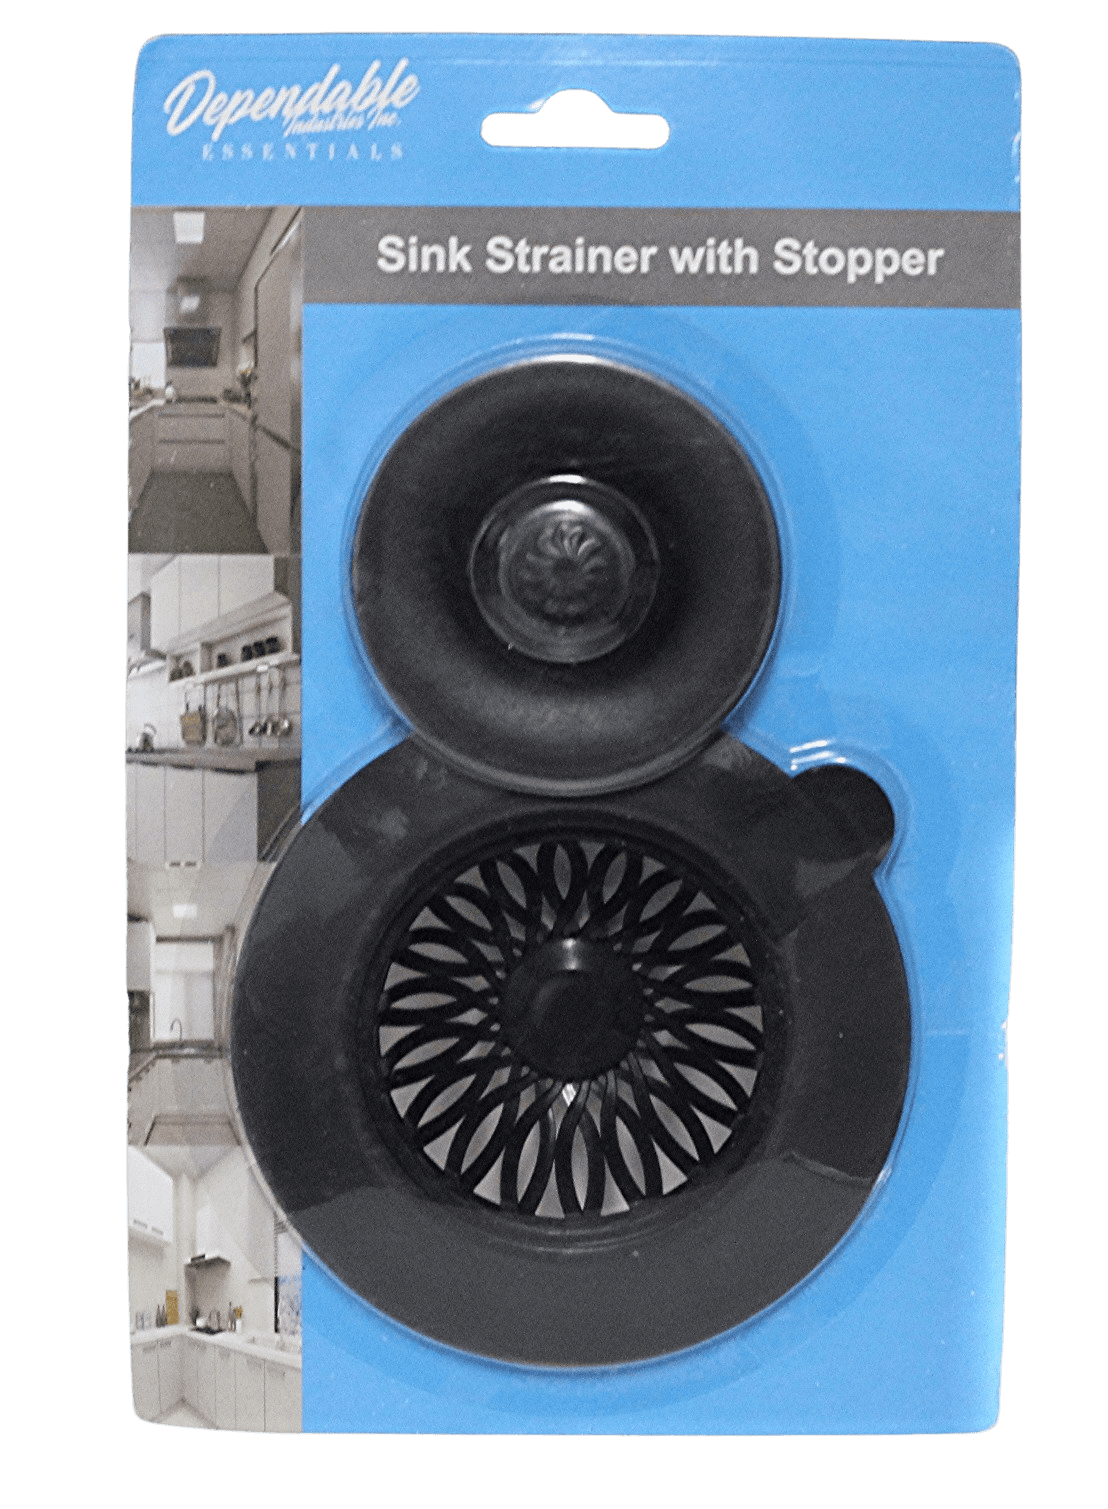
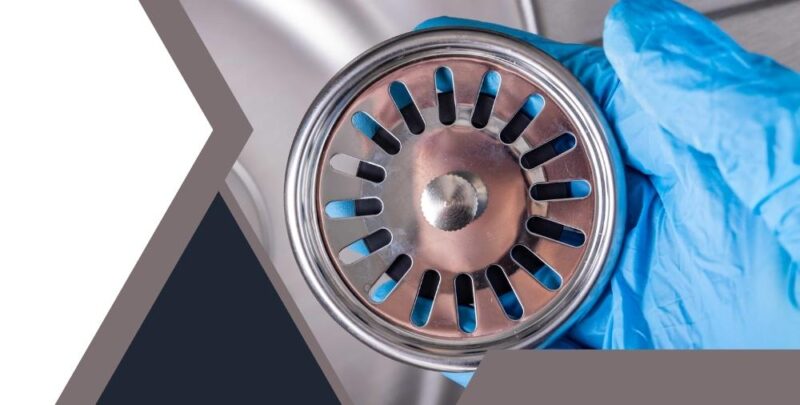
The strainer basket is the part of the strainer that sits inside the sink and catches food particles. If you need to remove this part, follow these steps:Removing a Kitchen Sink Strainer Basket


Removing a Kitchen Sink Strainer Basket


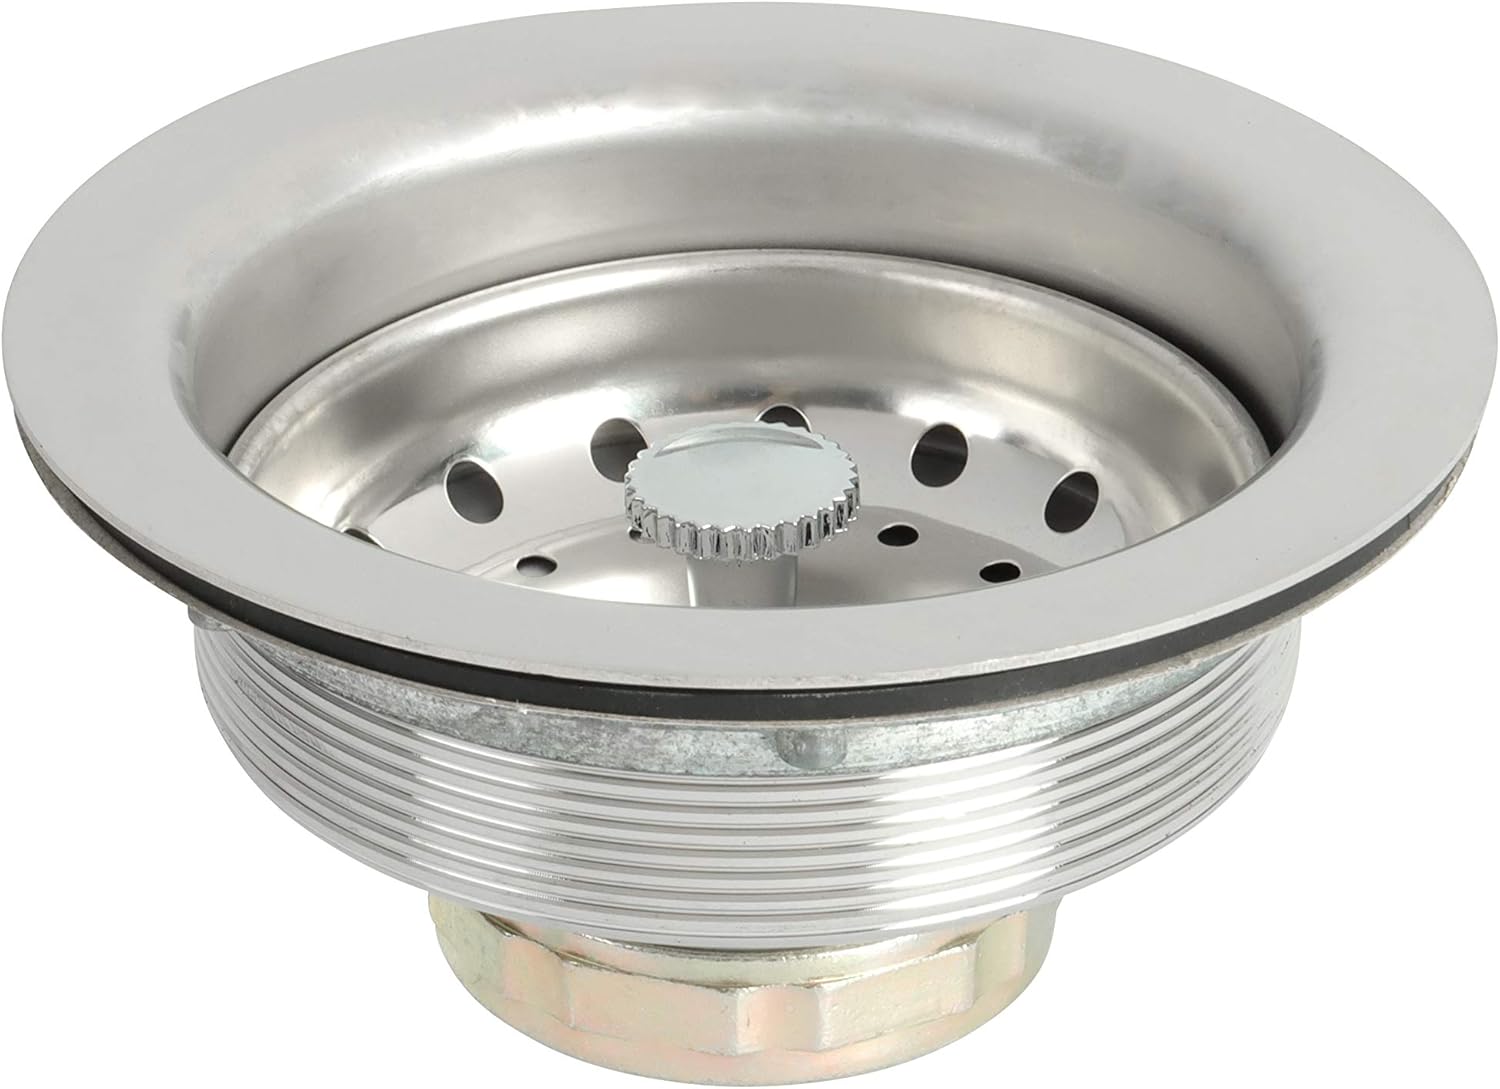
Once you have removed the old strainer basket, you can install a new one by following these steps:Replacing a Kitchen Sink Strainer Basket


Replacing a Kitchen Sink Strainer Basket


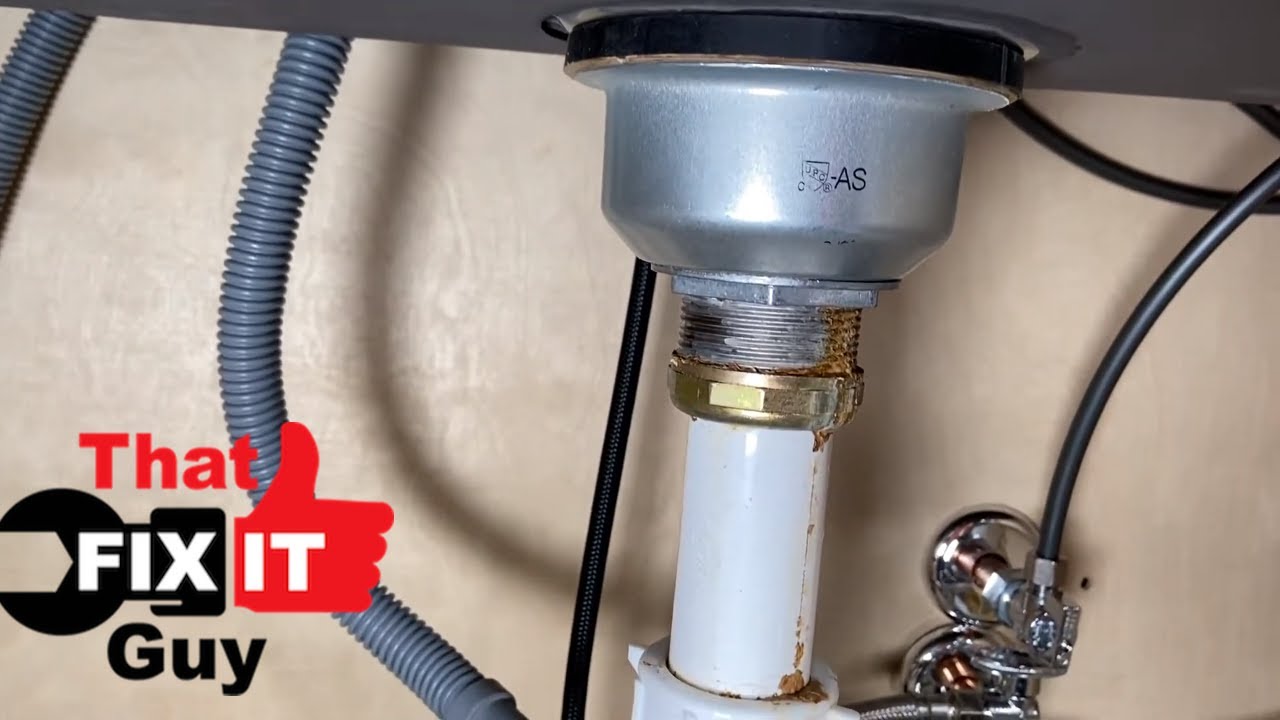
The locknut is the piece located under the sink that holds the strainer in place. If you need to remove this part, follow these steps:Removing a Kitchen Sink Strainer Locknut

Removing a Kitchen Sink Strainer Locknut


After removing the old locknut, you can easily replace it with a new one by following these steps:Replacing a Kitchen Sink Strainer Locknut

Replacing a Kitchen Sink Strainer Locknut


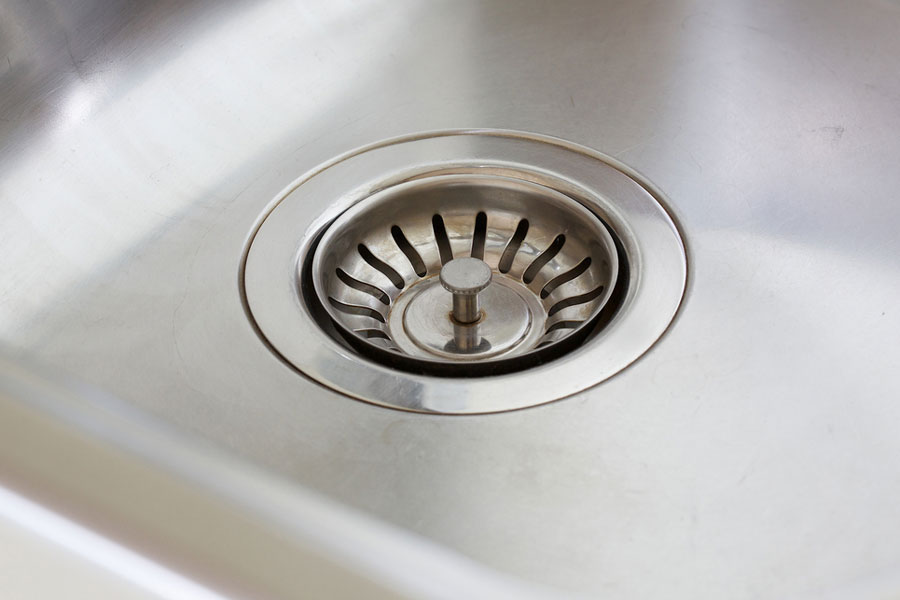
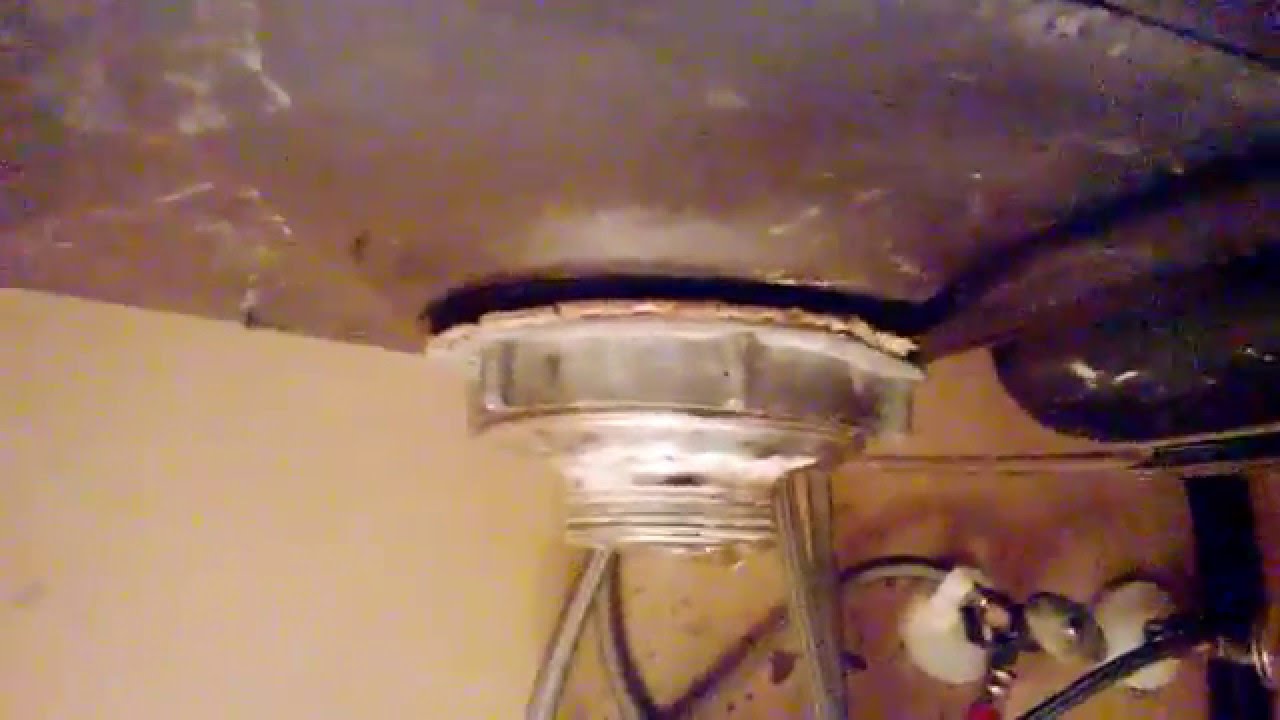
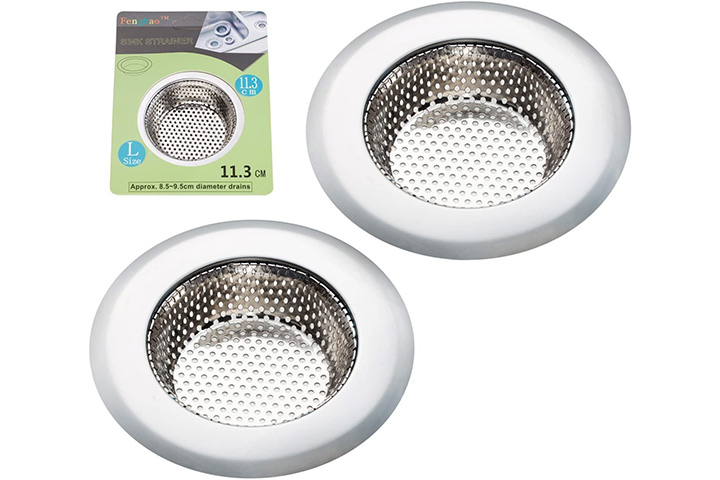
The flange is the part of the strainer that sits on top of the sink and holds the strainer in place. If you need to remove this part, follow these steps:Removing a Kitchen Sink Strainer Flange

Removing a Kitchen Sink Strainer Flange


If you need to replace the flange, follow these steps:Replacing a Kitchen Sink Strainer Flange

Replacing a Kitchen Sink Strainer Flange


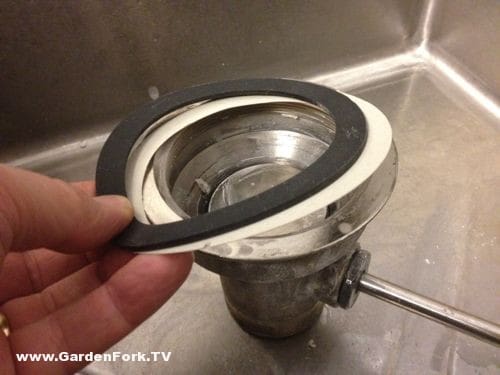
The gasket is the rubber seal that sits between the strainer and the sink. If you need to remove this part, follow these steps:Removing a Kitchen Sink Strainer Gasket


Removing a Kitchen Sink Strainer Gasket


To replace the gasket, follow these steps:Replacing a Kitchen Sink Strainer Gasket

Replacing a Kitchen Sink Strainer Gasket
The Importance of Removing Your Kitchen Sink Strainer

Why It's Necessary
 Removing your kitchen sink strainer
may seem like a mundane task, but it is actually an important step in maintaining a clean and functional kitchen. Over time, food debris and other particles can build up in the strainer, causing it to clog and potentially leading to unpleasant odors and even plumbing issues. Not only does removing the strainer help prevent these problems, but it also allows for a more thorough cleaning of your sink and surrounding area.
Removing your kitchen sink strainer
may seem like a mundane task, but it is actually an important step in maintaining a clean and functional kitchen. Over time, food debris and other particles can build up in the strainer, causing it to clog and potentially leading to unpleasant odors and even plumbing issues. Not only does removing the strainer help prevent these problems, but it also allows for a more thorough cleaning of your sink and surrounding area.
The Best Way to Remove Your Kitchen Sink Strainer
 Now that you understand the importance of removing your kitchen sink strainer, it's time to learn the best way to do it.
The most efficient and effective method is to use a strainer wrench
, which is a specialized tool designed specifically for this task. A strainer wrench has a long handle and two prongs that fit into the holes of the strainer, allowing you to easily unscrew and remove it from the sink.
Now that you understand the importance of removing your kitchen sink strainer, it's time to learn the best way to do it.
The most efficient and effective method is to use a strainer wrench
, which is a specialized tool designed specifically for this task. A strainer wrench has a long handle and two prongs that fit into the holes of the strainer, allowing you to easily unscrew and remove it from the sink.
Step-by-Step Guide
 To remove your kitchen sink strainer using a strainer wrench, follow these simple steps:
Step 1:
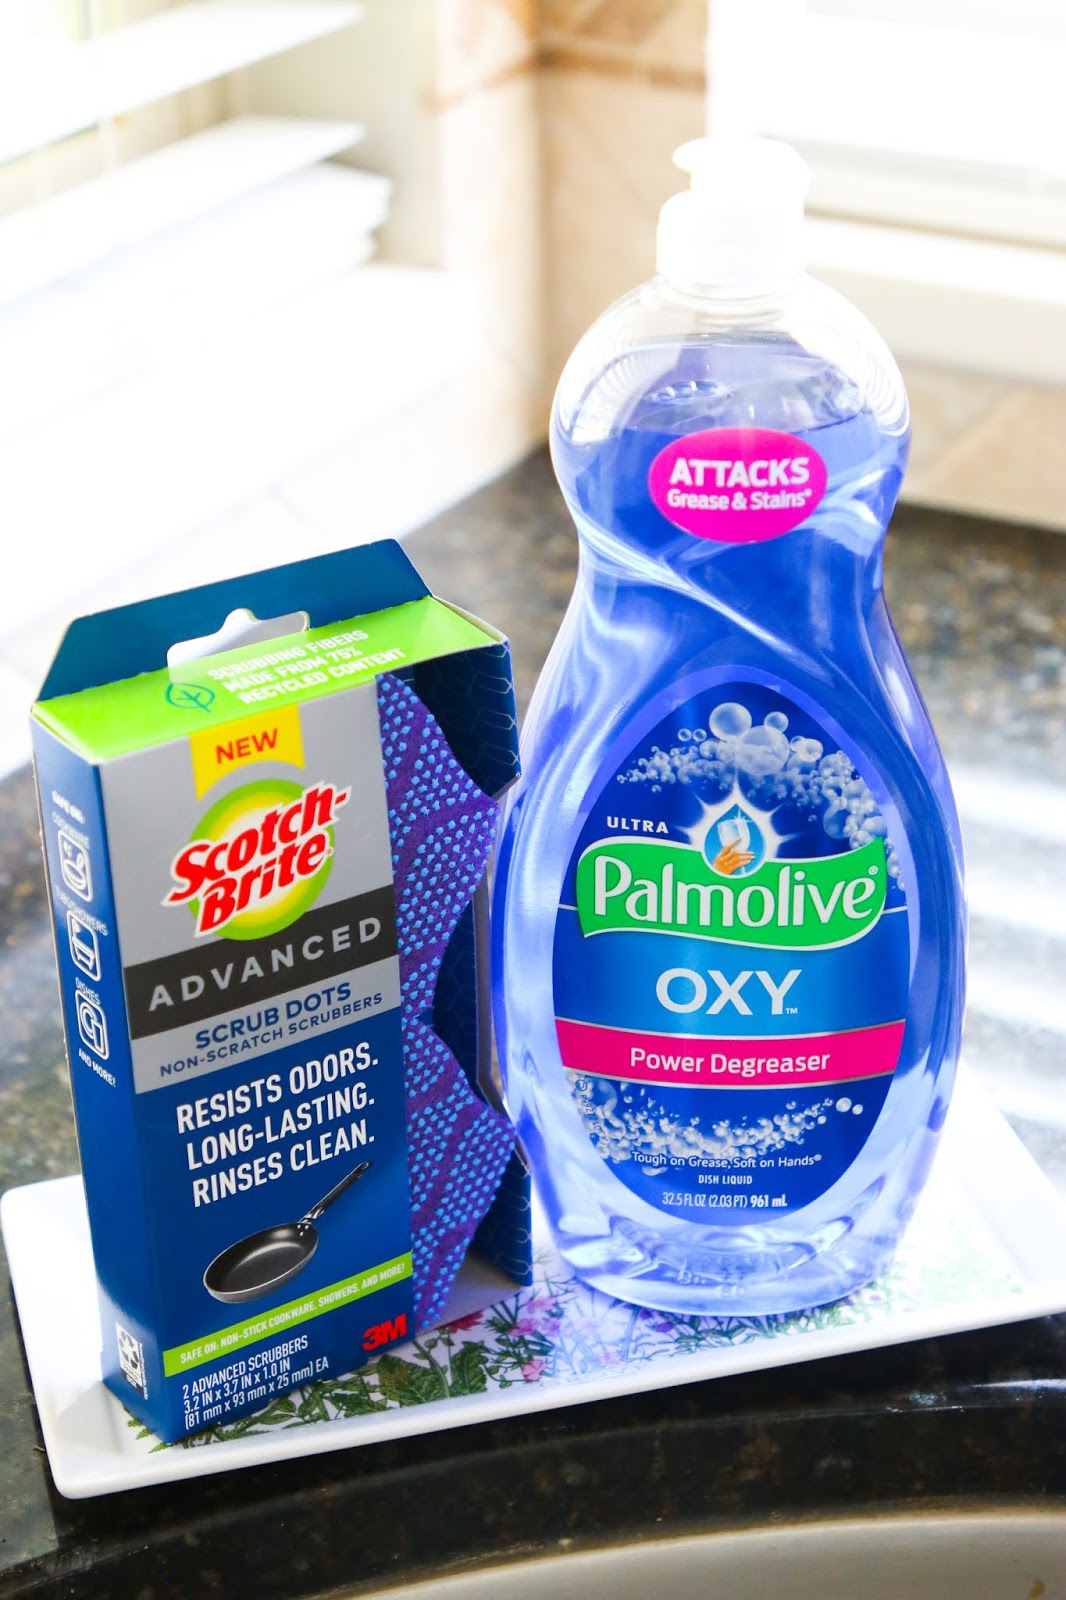
Gather your materials. In addition to the strainer wrench, you may also need a bucket or bowl to catch any debris that may fall out when removing the strainer.
Step 2:
Insert the prongs of the strainer wrench into the holes of the strainer.
Step 3:
Turn the wrench counterclockwise to loosen the strainer. If the strainer does not budge, you may need to apply some pressure or give the wrench a tap with a hammer to loosen it.
Step 4:
Once the strainer is loose, continue turning the wrench counterclockwise until it can be easily lifted out of the sink.
Step 5:
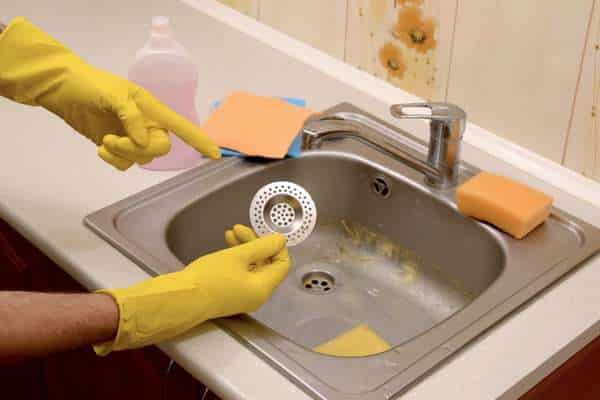
Place the strainer in the bucket or bowl and clean it thoroughly, removing any debris or buildup.
Step 6:
Use a brush or cloth to clean the sink and surrounding area where the strainer was located.
Step 7:
Once everything is clean and dry, reattach the strainer by screwing it back into place using the strainer wrench.
To remove your kitchen sink strainer using a strainer wrench, follow these simple steps:
Step 1:
Gather your materials. In addition to the strainer wrench, you may also need a bucket or bowl to catch any debris that may fall out when removing the strainer.
Step 2:
Insert the prongs of the strainer wrench into the holes of the strainer.
Step 3:
Turn the wrench counterclockwise to loosen the strainer. If the strainer does not budge, you may need to apply some pressure or give the wrench a tap with a hammer to loosen it.
Step 4:
Once the strainer is loose, continue turning the wrench counterclockwise until it can be easily lifted out of the sink.
Step 5:
Place the strainer in the bucket or bowl and clean it thoroughly, removing any debris or buildup.
Step 6:
Use a brush or cloth to clean the sink and surrounding area where the strainer was located.
Step 7:
Once everything is clean and dry, reattach the strainer by screwing it back into place using the strainer wrench.
Final Thoughts
 Removing your kitchen sink strainer
may not be the most exciting task, but it is an essential part of maintaining a clean and functional kitchen. By following the steps outlined above and using a strainer wrench, you can easily and effectively remove your strainer and keep your kitchen in top shape. Don't neglect this important step in your cleaning routine and your kitchen will thank you.
Removing your kitchen sink strainer
may not be the most exciting task, but it is an essential part of maintaining a clean and functional kitchen. By following the steps outlined above and using a strainer wrench, you can easily and effectively remove your strainer and keep your kitchen in top shape. Don't neglect this important step in your cleaning routine and your kitchen will thank you.