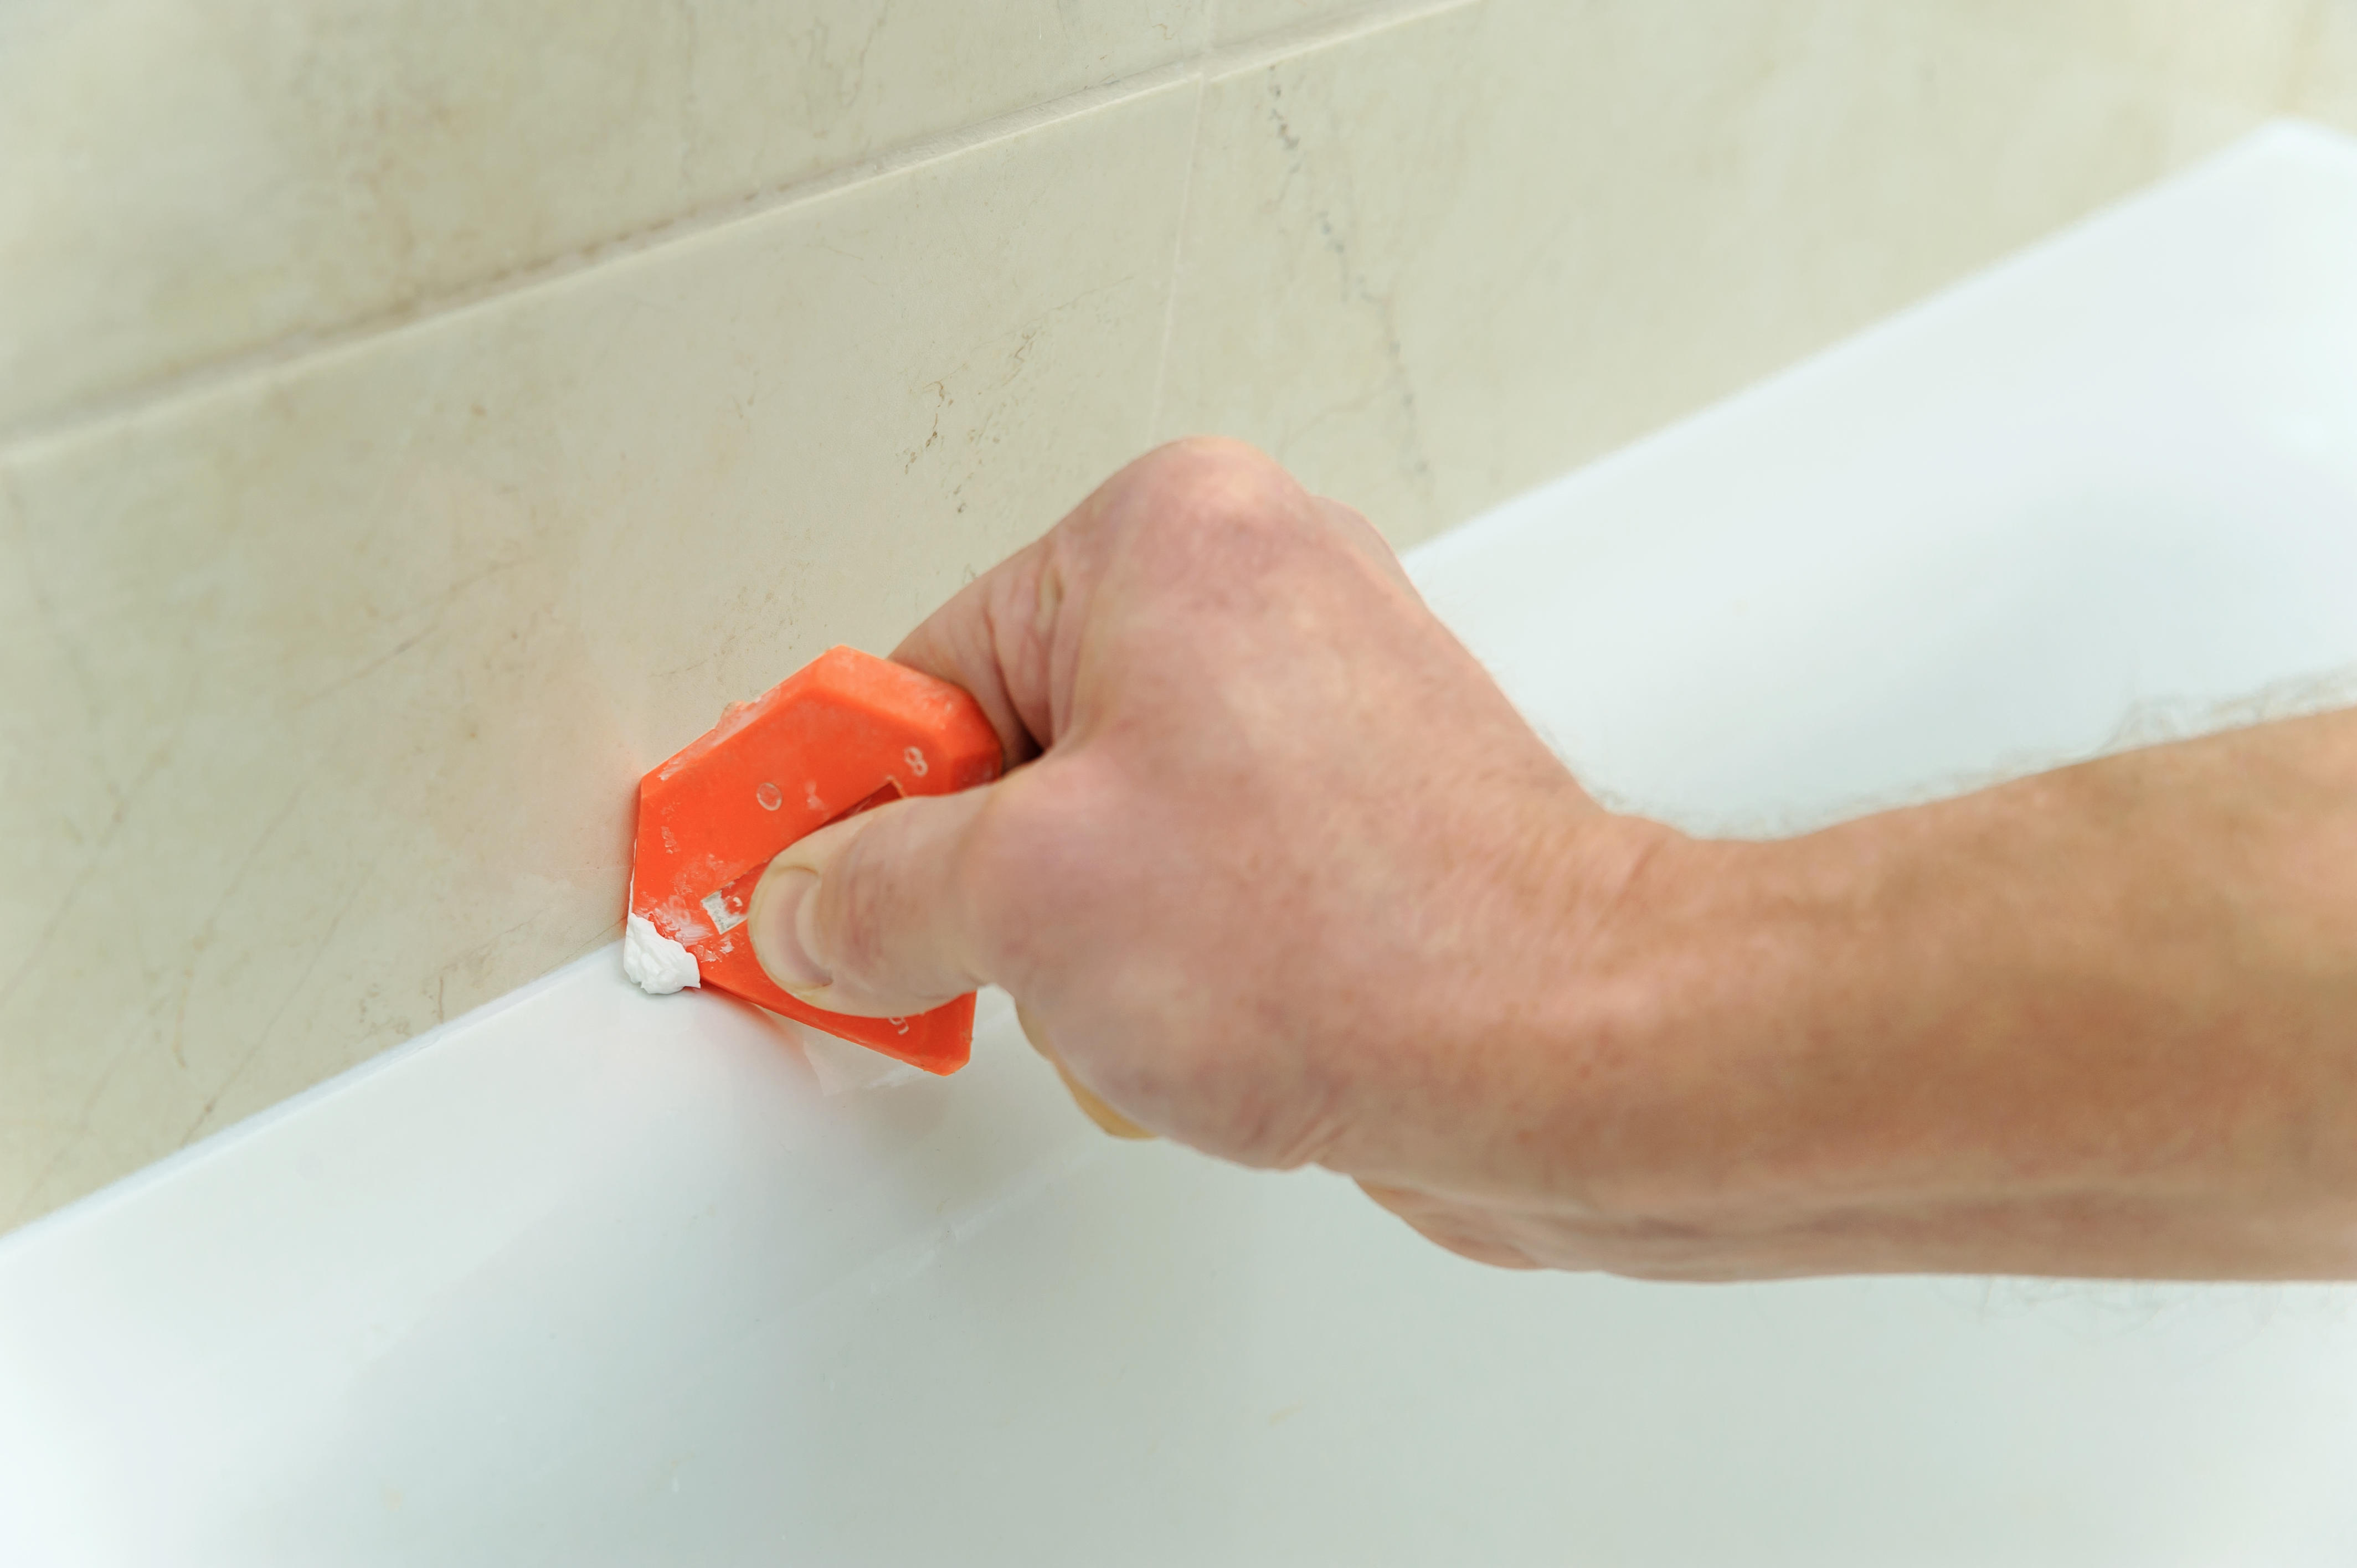
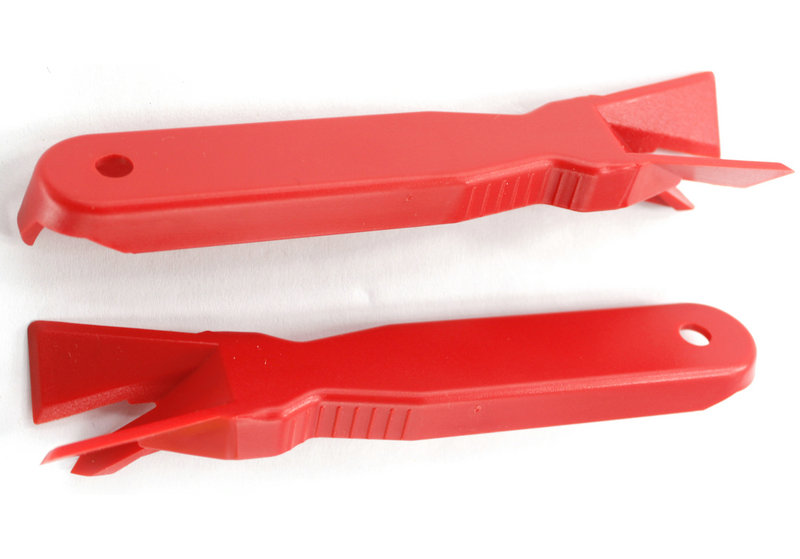
If you're looking for the most efficient and effective way to remove caulk from your kitchen sink, then using a caulk remover tool should be your top choice. These tools are specifically designed to help you remove caulk without damaging the surface of your sink. They come in various shapes and sizes, but all are equipped with sharp edges and gripping features that make caulk removal a breeze. Simply run the tool along the caulk line and watch as it cuts through the caulk, making it easy to peel off.Use a caulk remover tool
For tougher caulk that is harder to remove, using a caulk softener can make the process much easier. These products work by breaking down the bonds of the caulk, making it softer and easier to remove. You can find caulk softeners at your local hardware store or online. Make sure to carefully follow the instructions on the product for the best results. After applying the softener, you can use a caulk remover tool or putty knife to easily remove the softened caulk.Use a caulk softener
If you prefer a more hands-on approach, using a heat gun can be an effective way to remove caulk from your kitchen sink. The heat from the gun will soften the caulk, making it easier to scrape off with a putty knife or razor blade scraper. This method is particularly useful for removing stubborn caulk that has been on your sink for a long time. However, be cautious when using a heat gun as it can damage the surface of your sink if left in one spot for too long.Use a heat gun
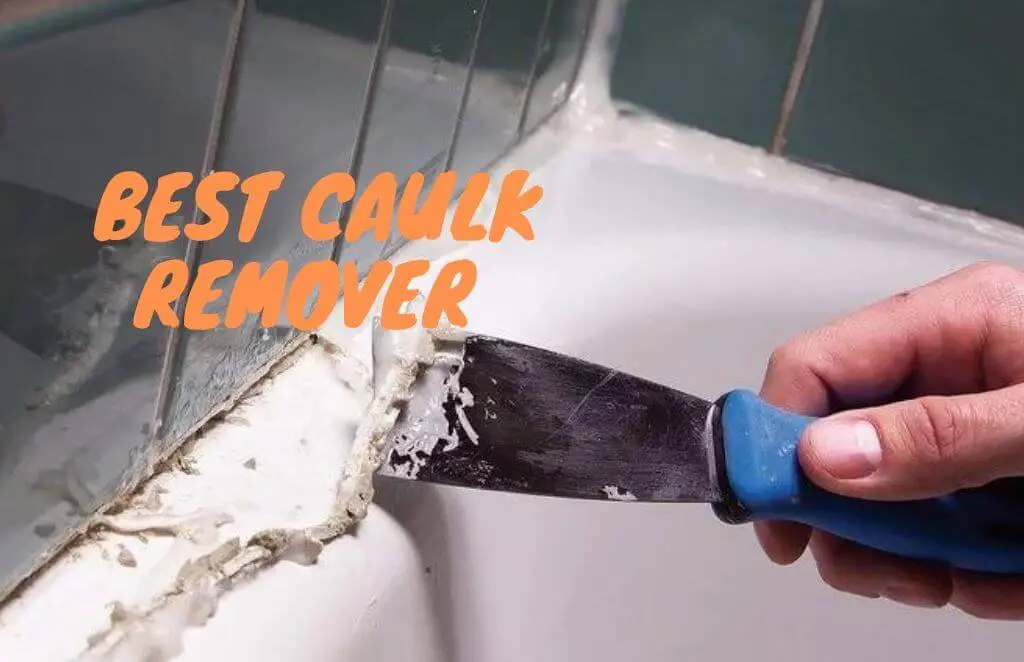
A putty knife is a versatile tool that can be used for a variety of tasks, including caulk removal. Its flat, thin blade allows you to easily scrape off caulk without causing damage to your sink. However, make sure to use a plastic putty knife if you have a delicate or easily scratched sink surface. Metal putty knives can cause scratches and damage.Use a putty knife
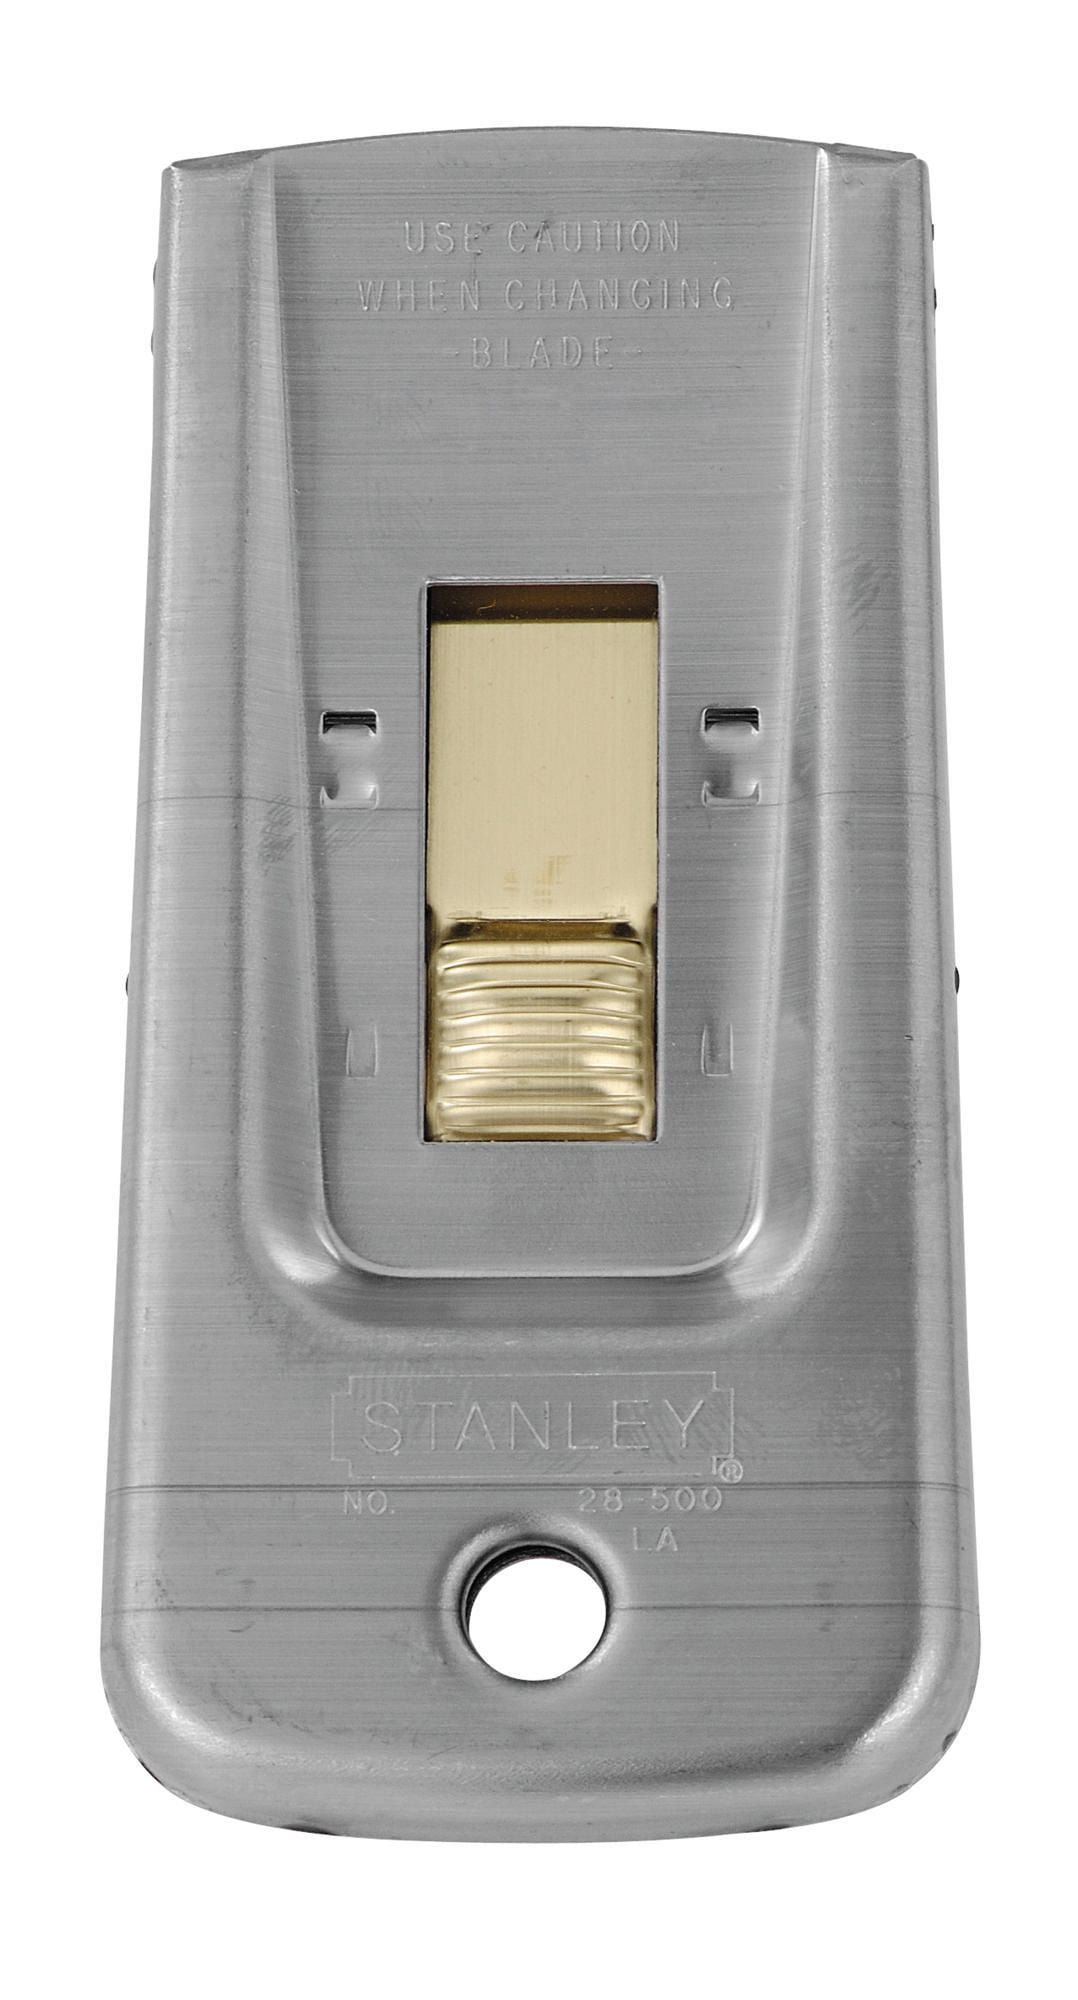
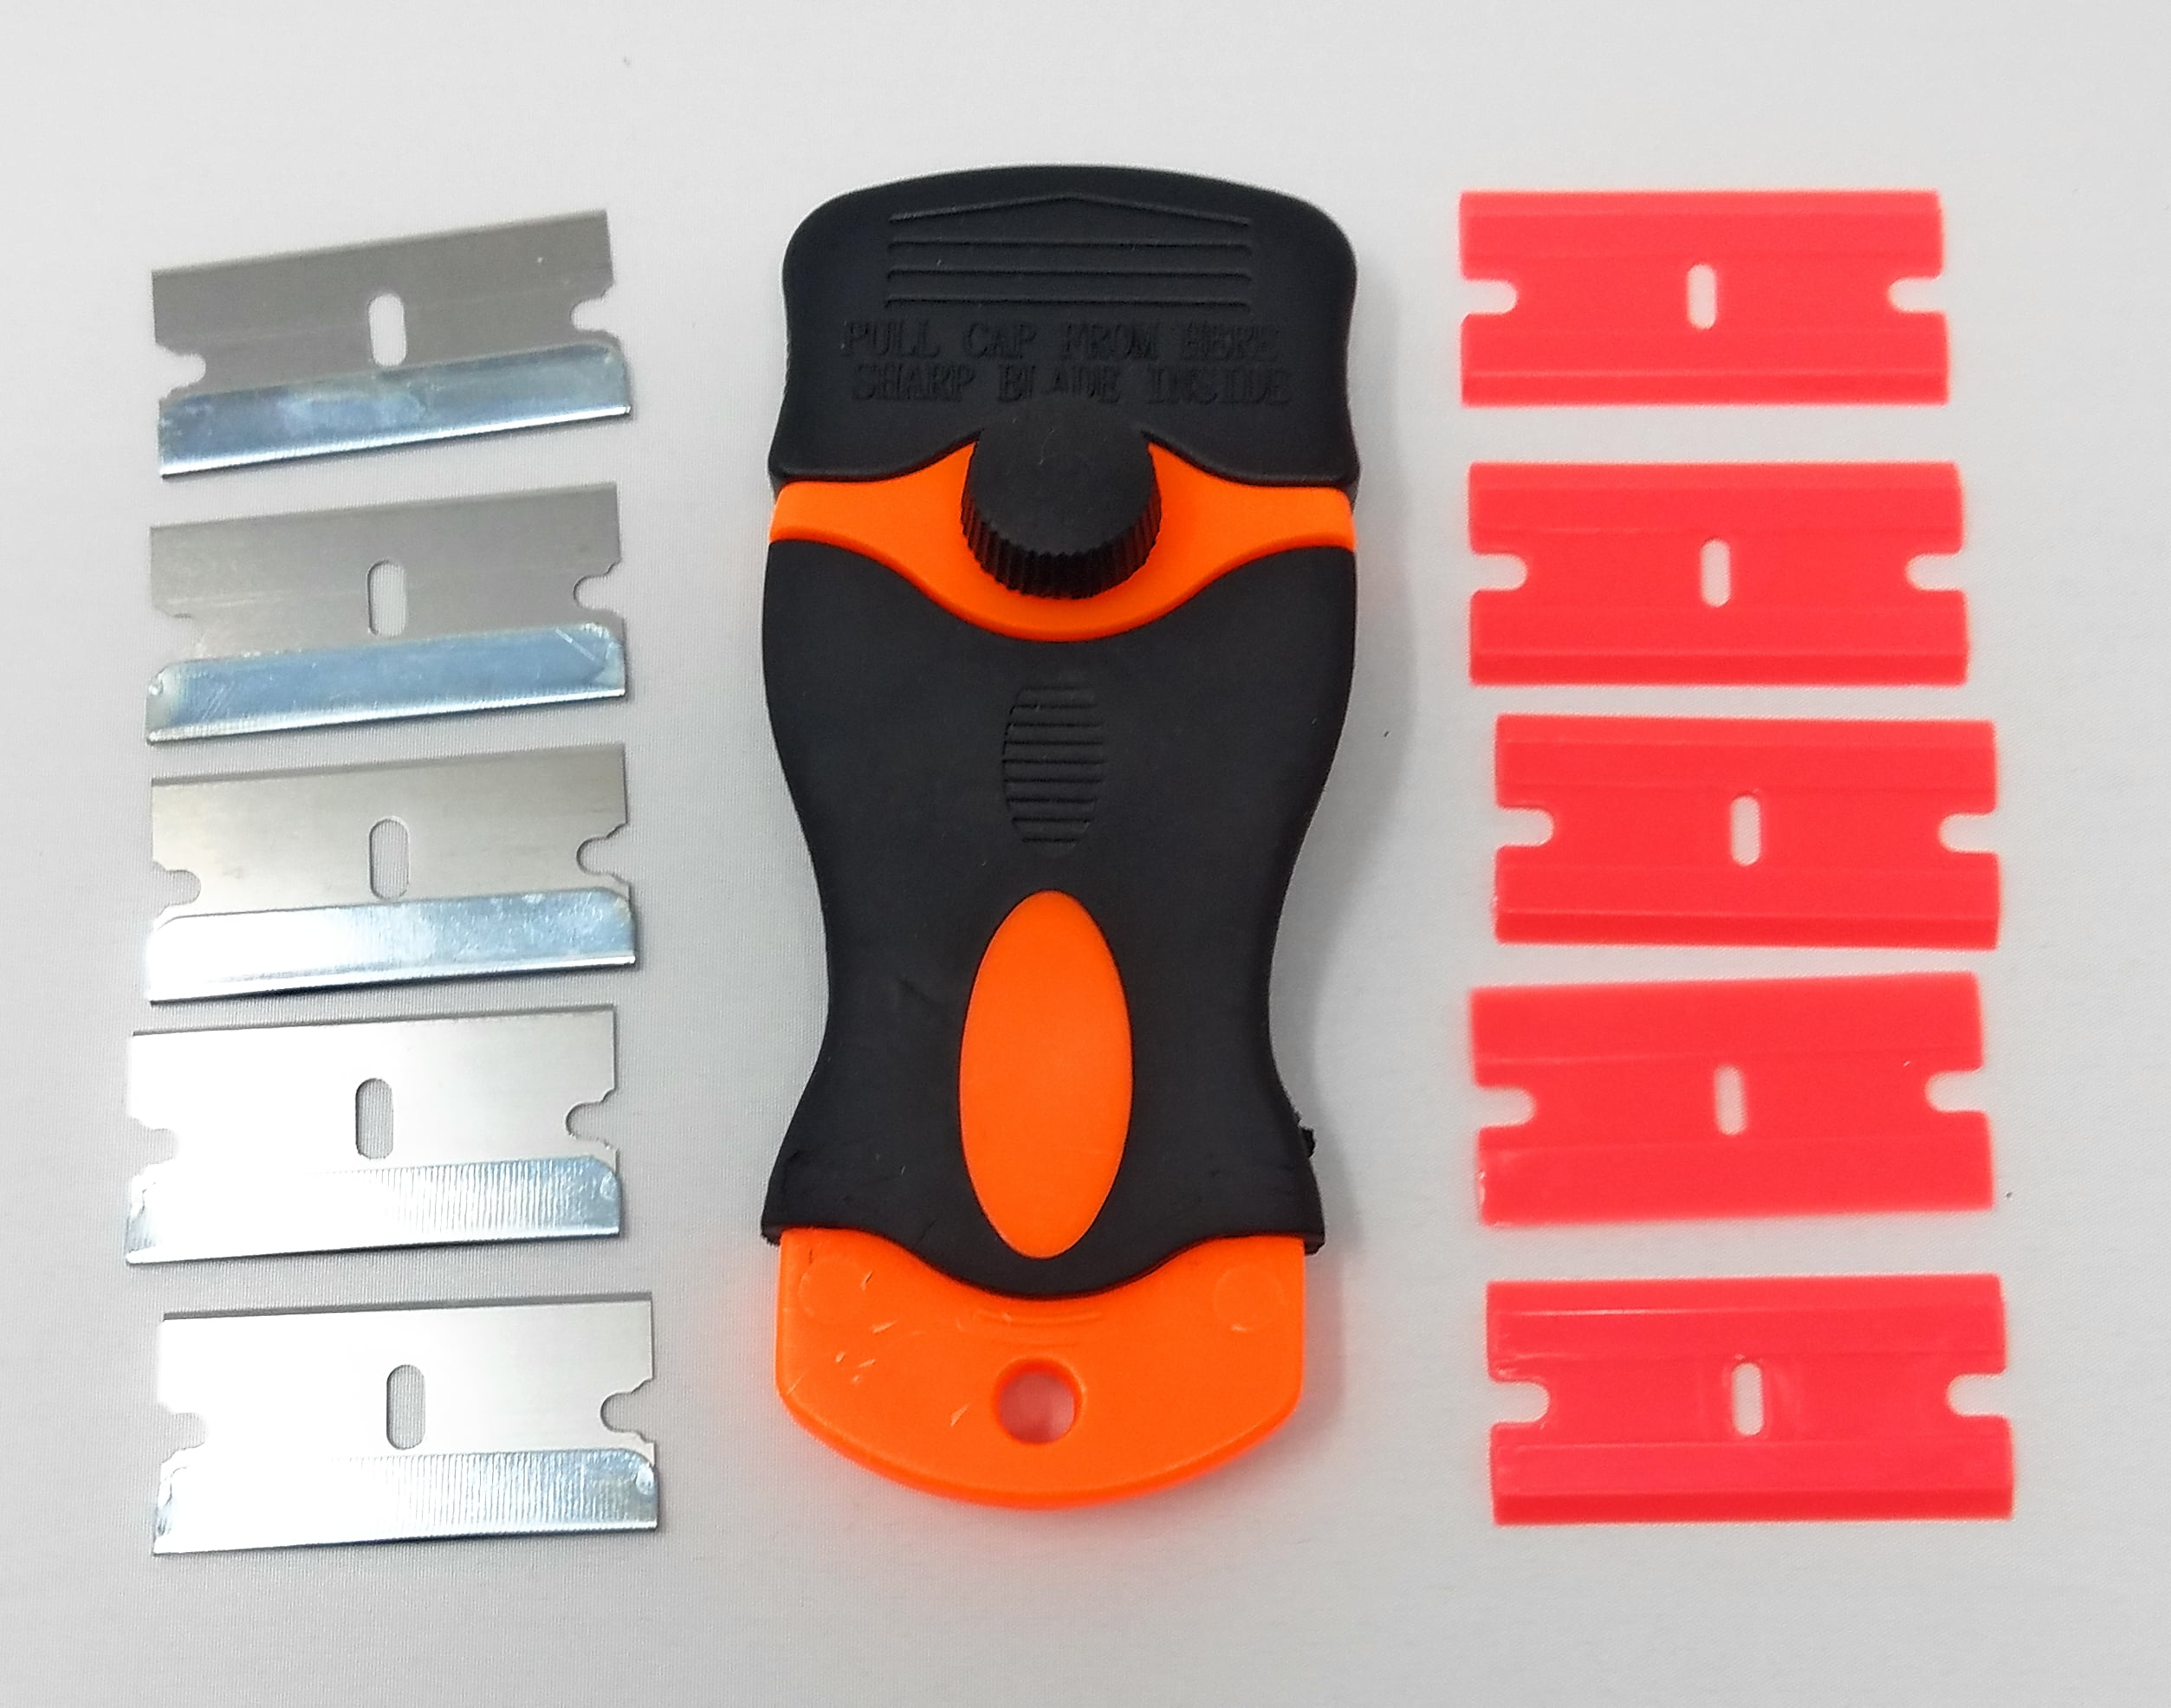
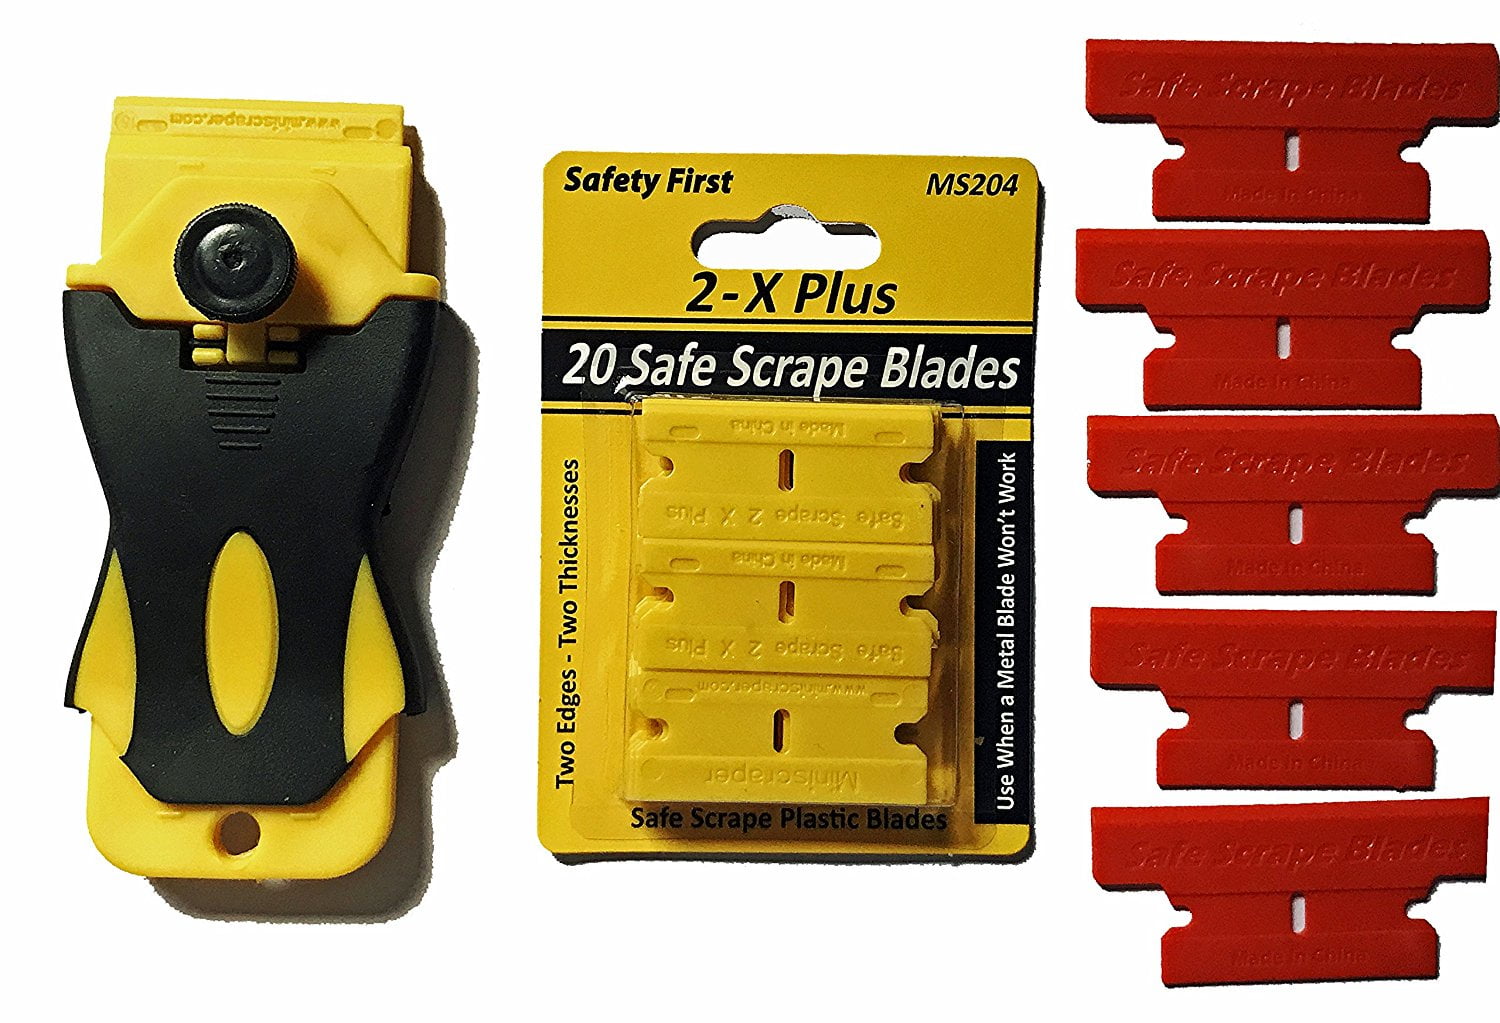
Similar to a putty knife, a razor blade scraper can also be used to remove caulk from your kitchen sink. These scrapers have a sharper and smaller blade, making it easier to get into tight corners and remove small, stubborn pieces of caulk. Make sure to use caution when using a razor blade scraper as it can easily scratch or damage your sink if not used carefully.Use a razor blade scraper
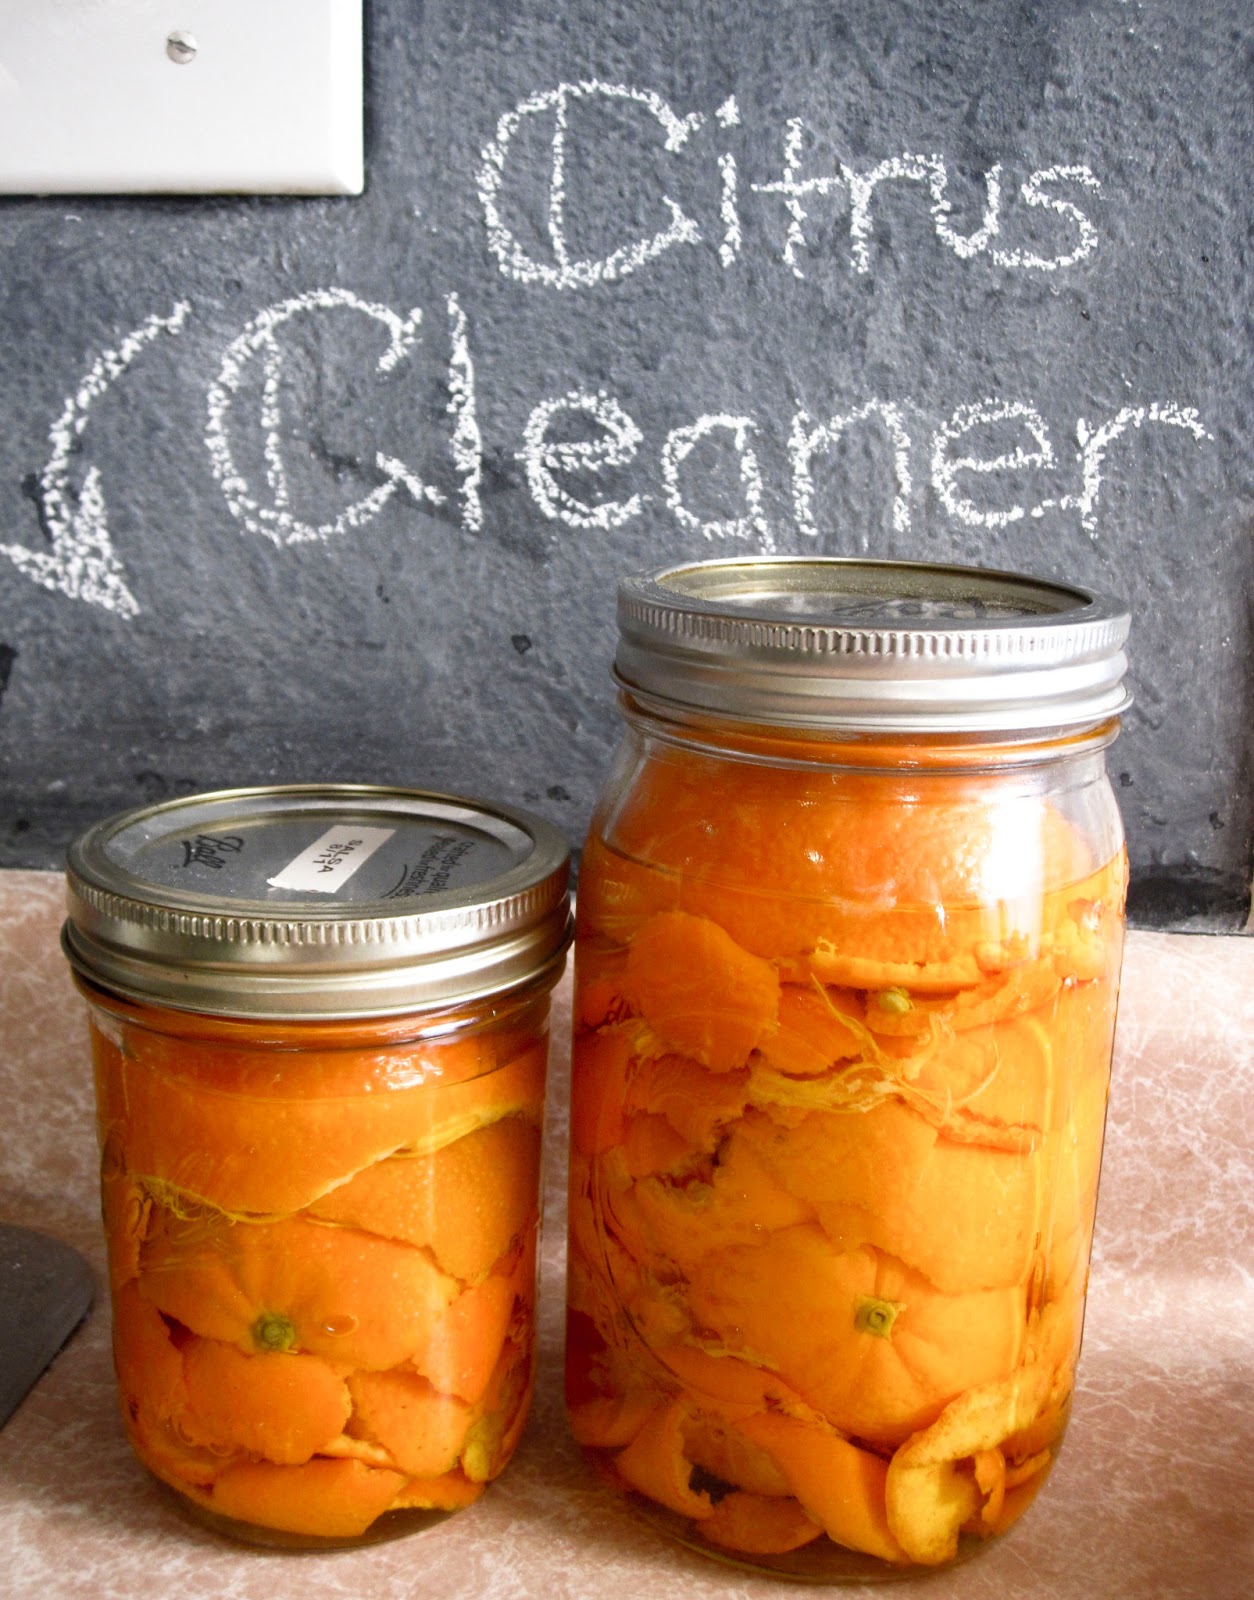
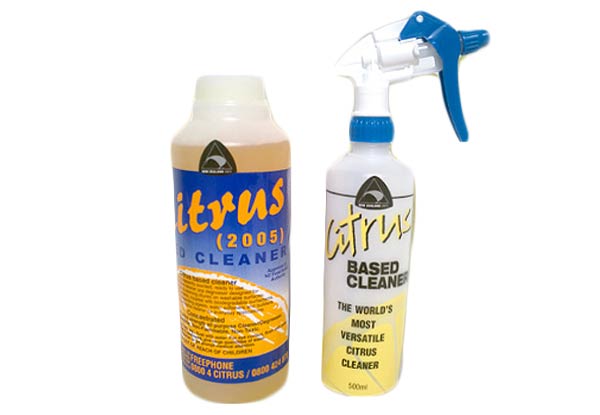
If you prefer to use more natural products, a citrus-based cleaner can be an effective way to remove caulk from your kitchen sink. These cleaners are made with citrus oils and extracts which can break down the caulk and make it easier to remove. Simply spray the cleaner onto the caulk and let it sit for a few minutes before using a caulk remover tool or putty knife to scrape off the caulk.Use a citrus-based cleaner
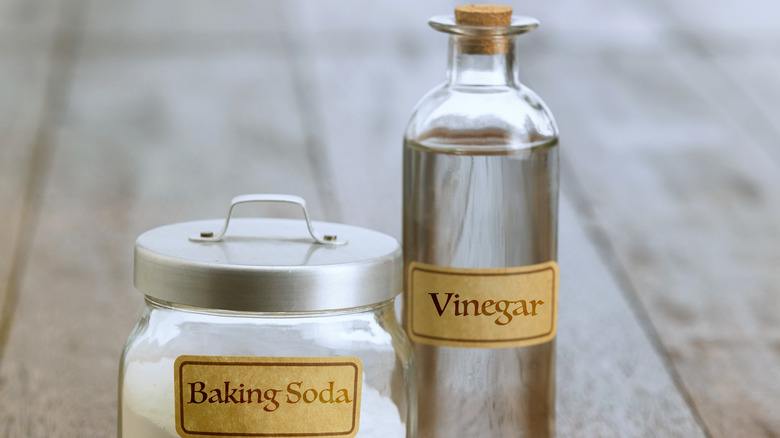
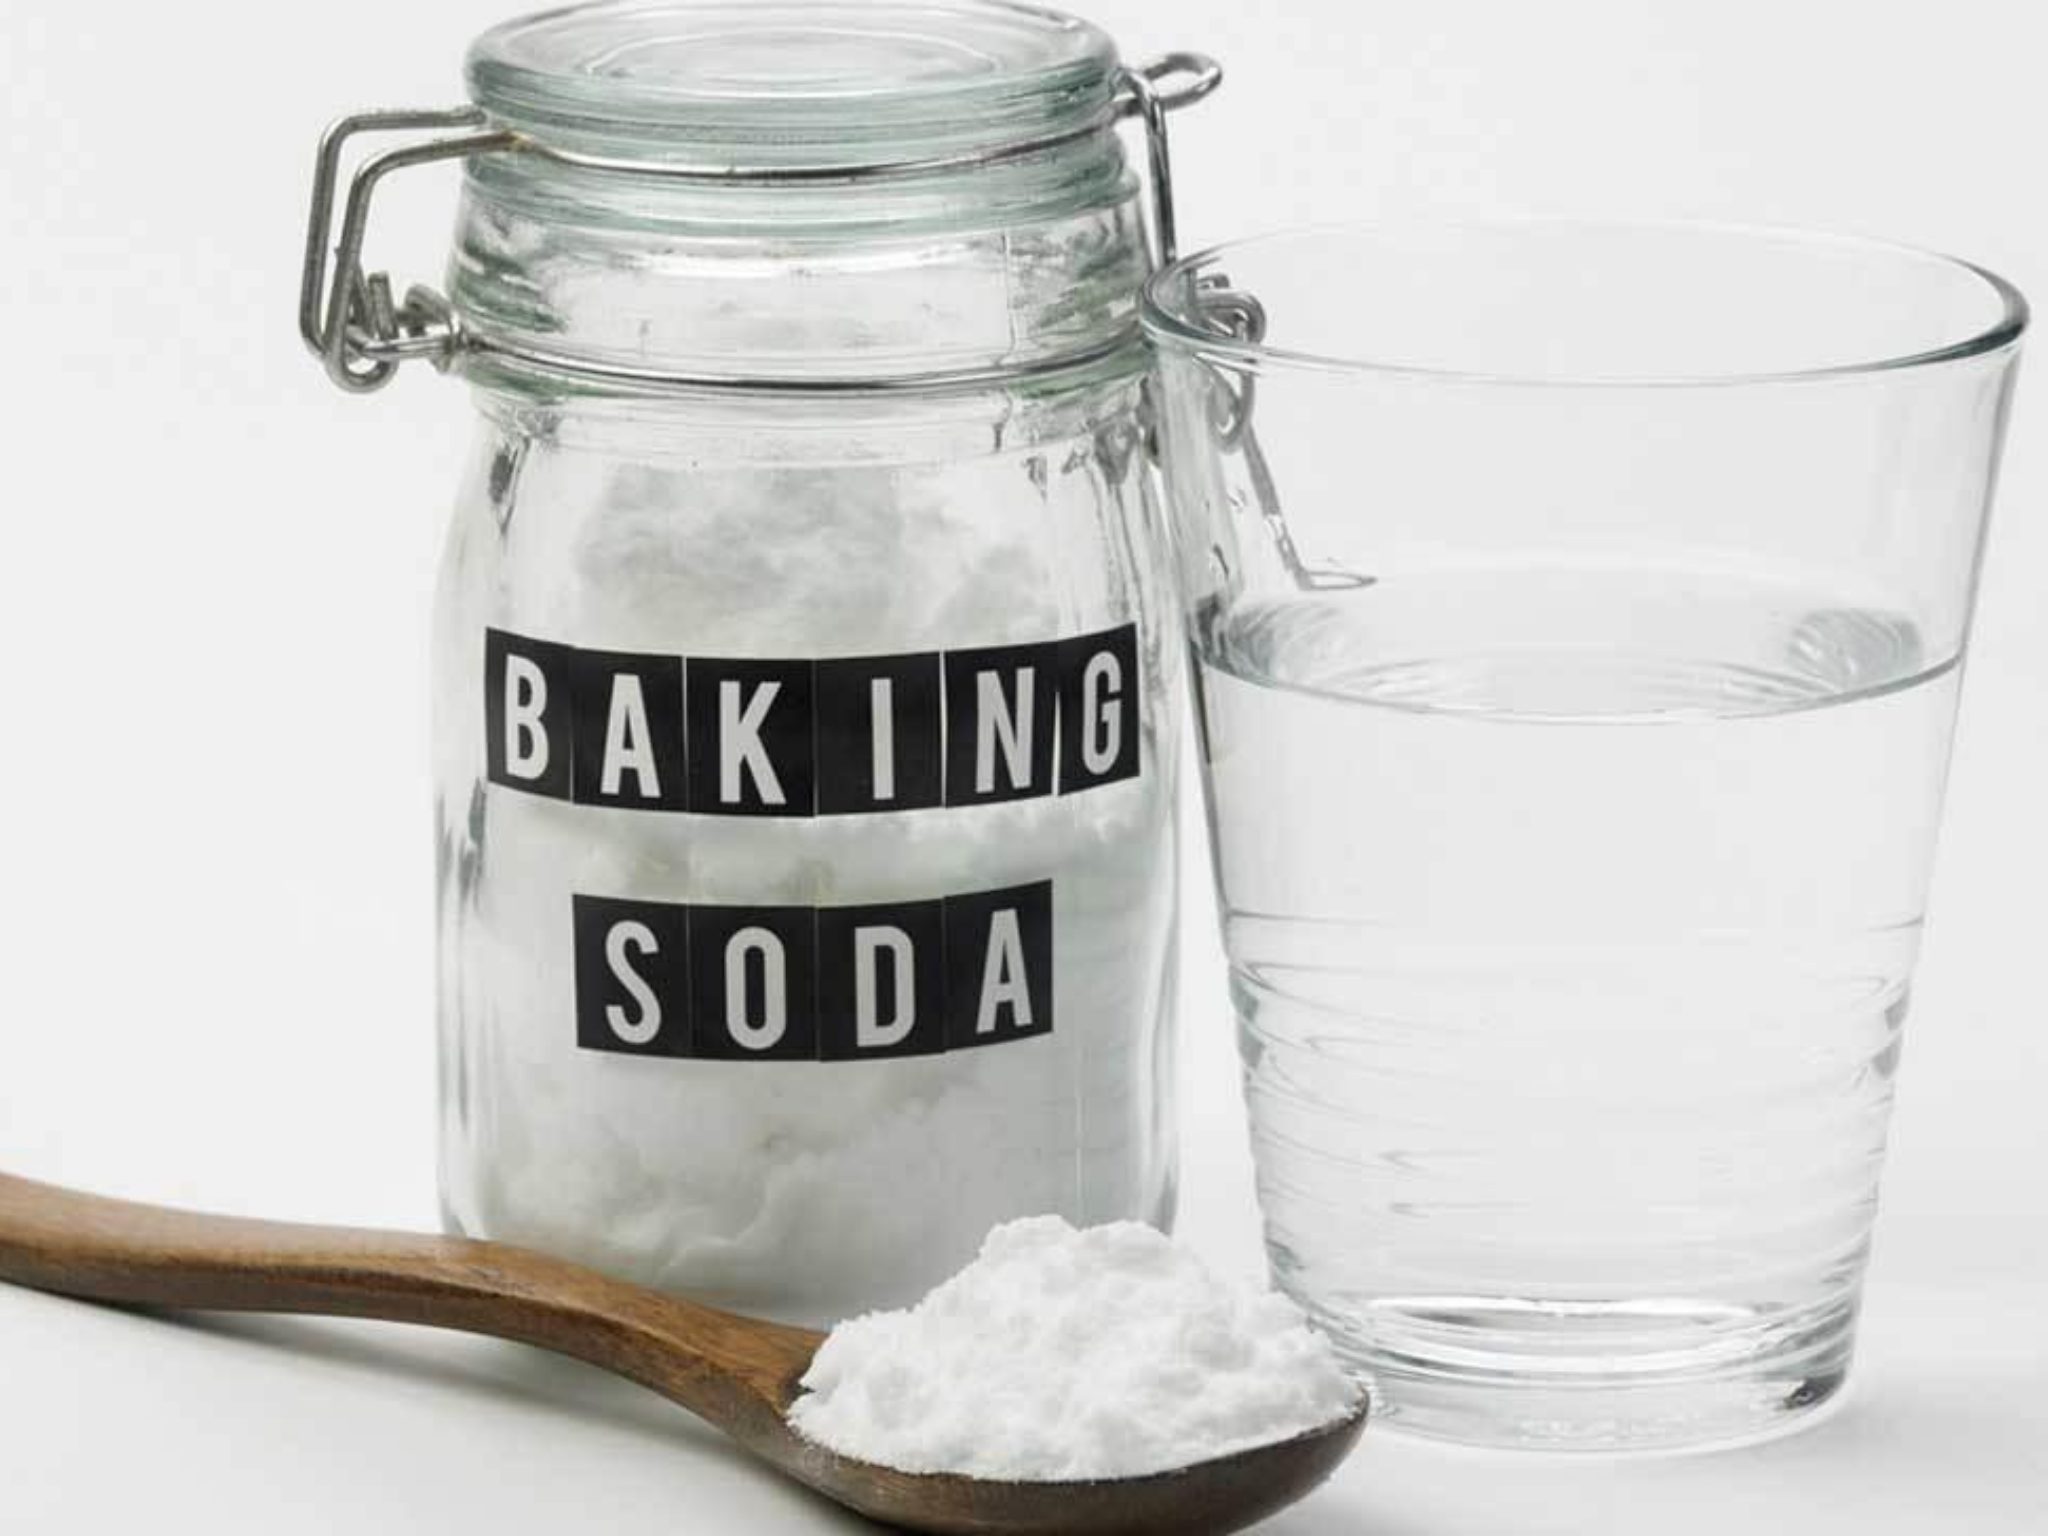
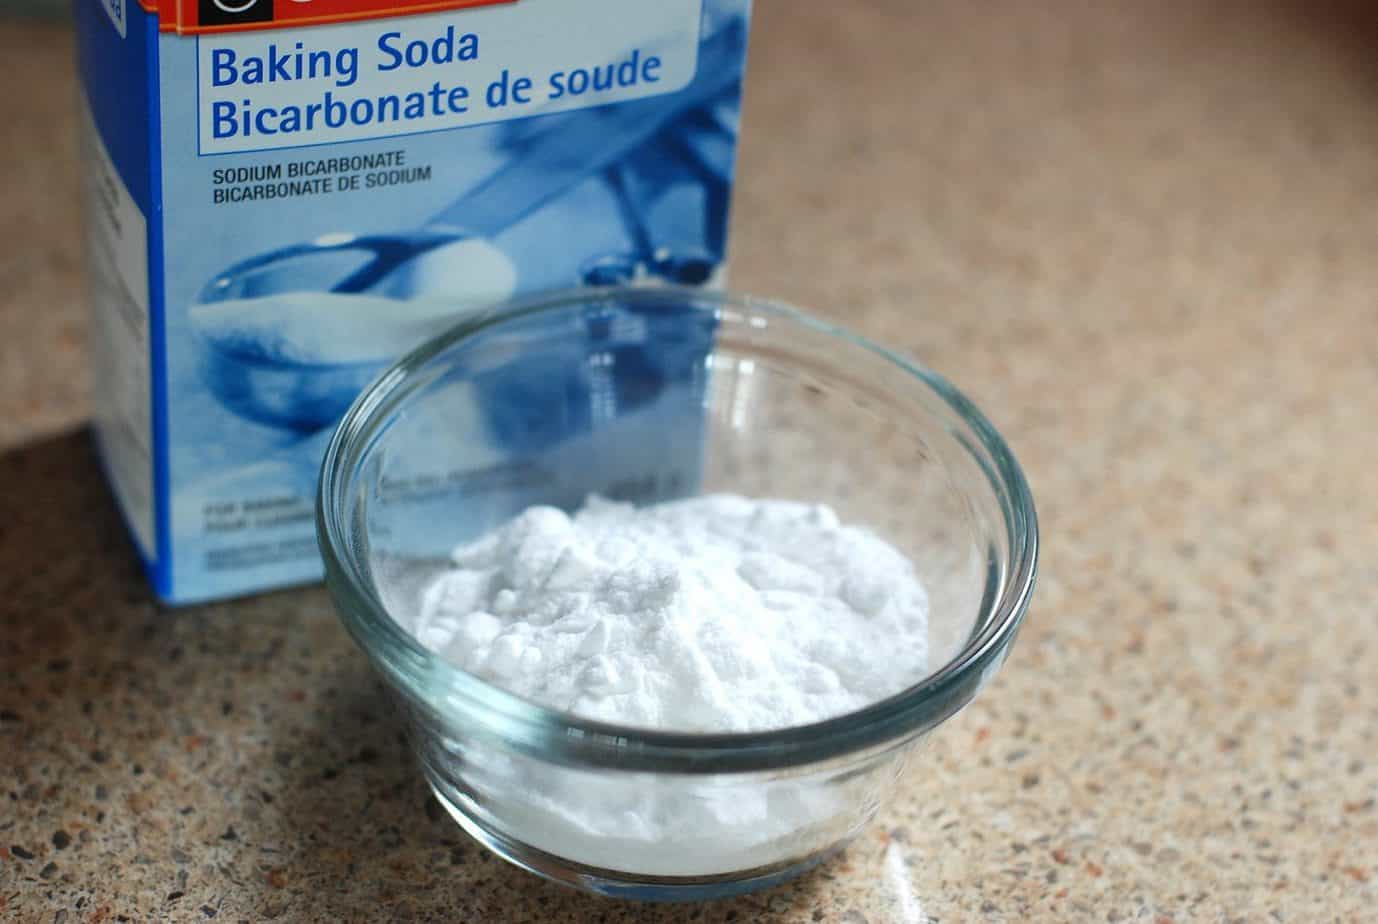
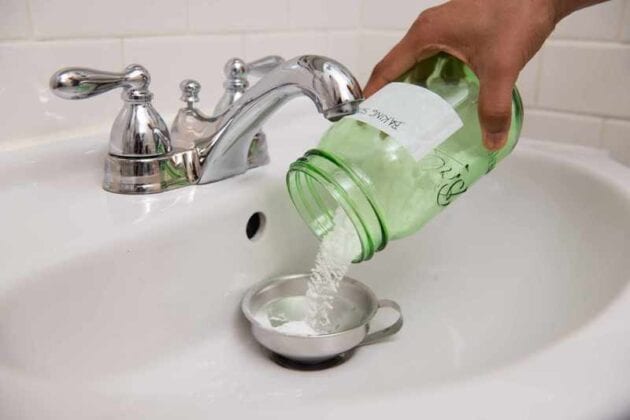
Another natural and effective method for removing caulk is by using a mixture of vinegar and baking soda. These two ingredients combined create a powerful solution that can break down the caulk. Simply mix equal parts vinegar and baking soda to create a paste and apply it to the caulk. Let it sit for a few hours before using a caulk remover tool or putty knife to scrape off the caulk.Use a vinegar and baking soda paste
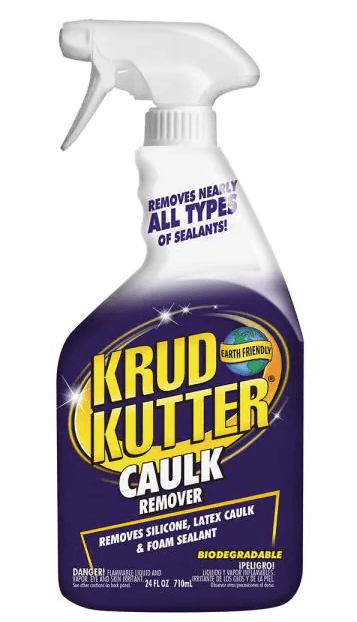
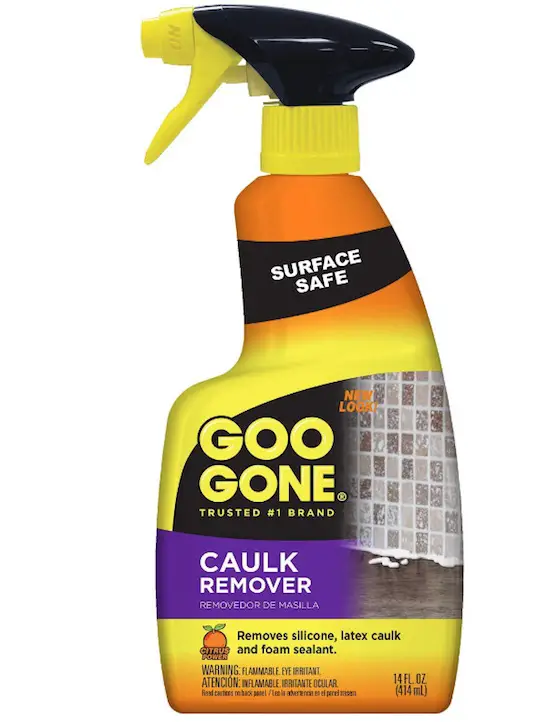
If you've tried all the DIY methods and still can't seem to remove the caulk from your kitchen sink, then it may be time to invest in a commercial caulk remover. These products are specifically designed to break down and remove caulk from surfaces without causing damage. They may be a bit more expensive than DIY methods, but they are highly effective and can save you time and effort in the long run.Use a commercial caulk remover
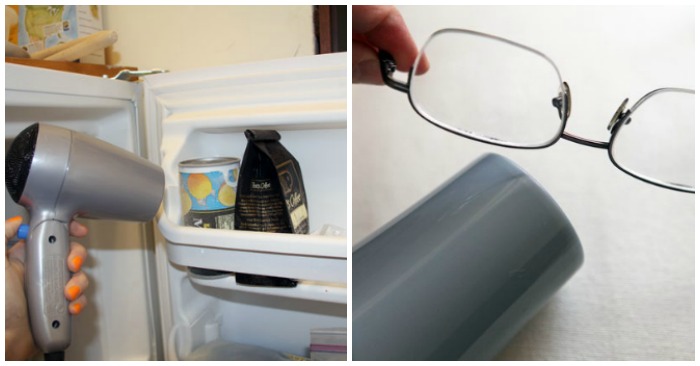
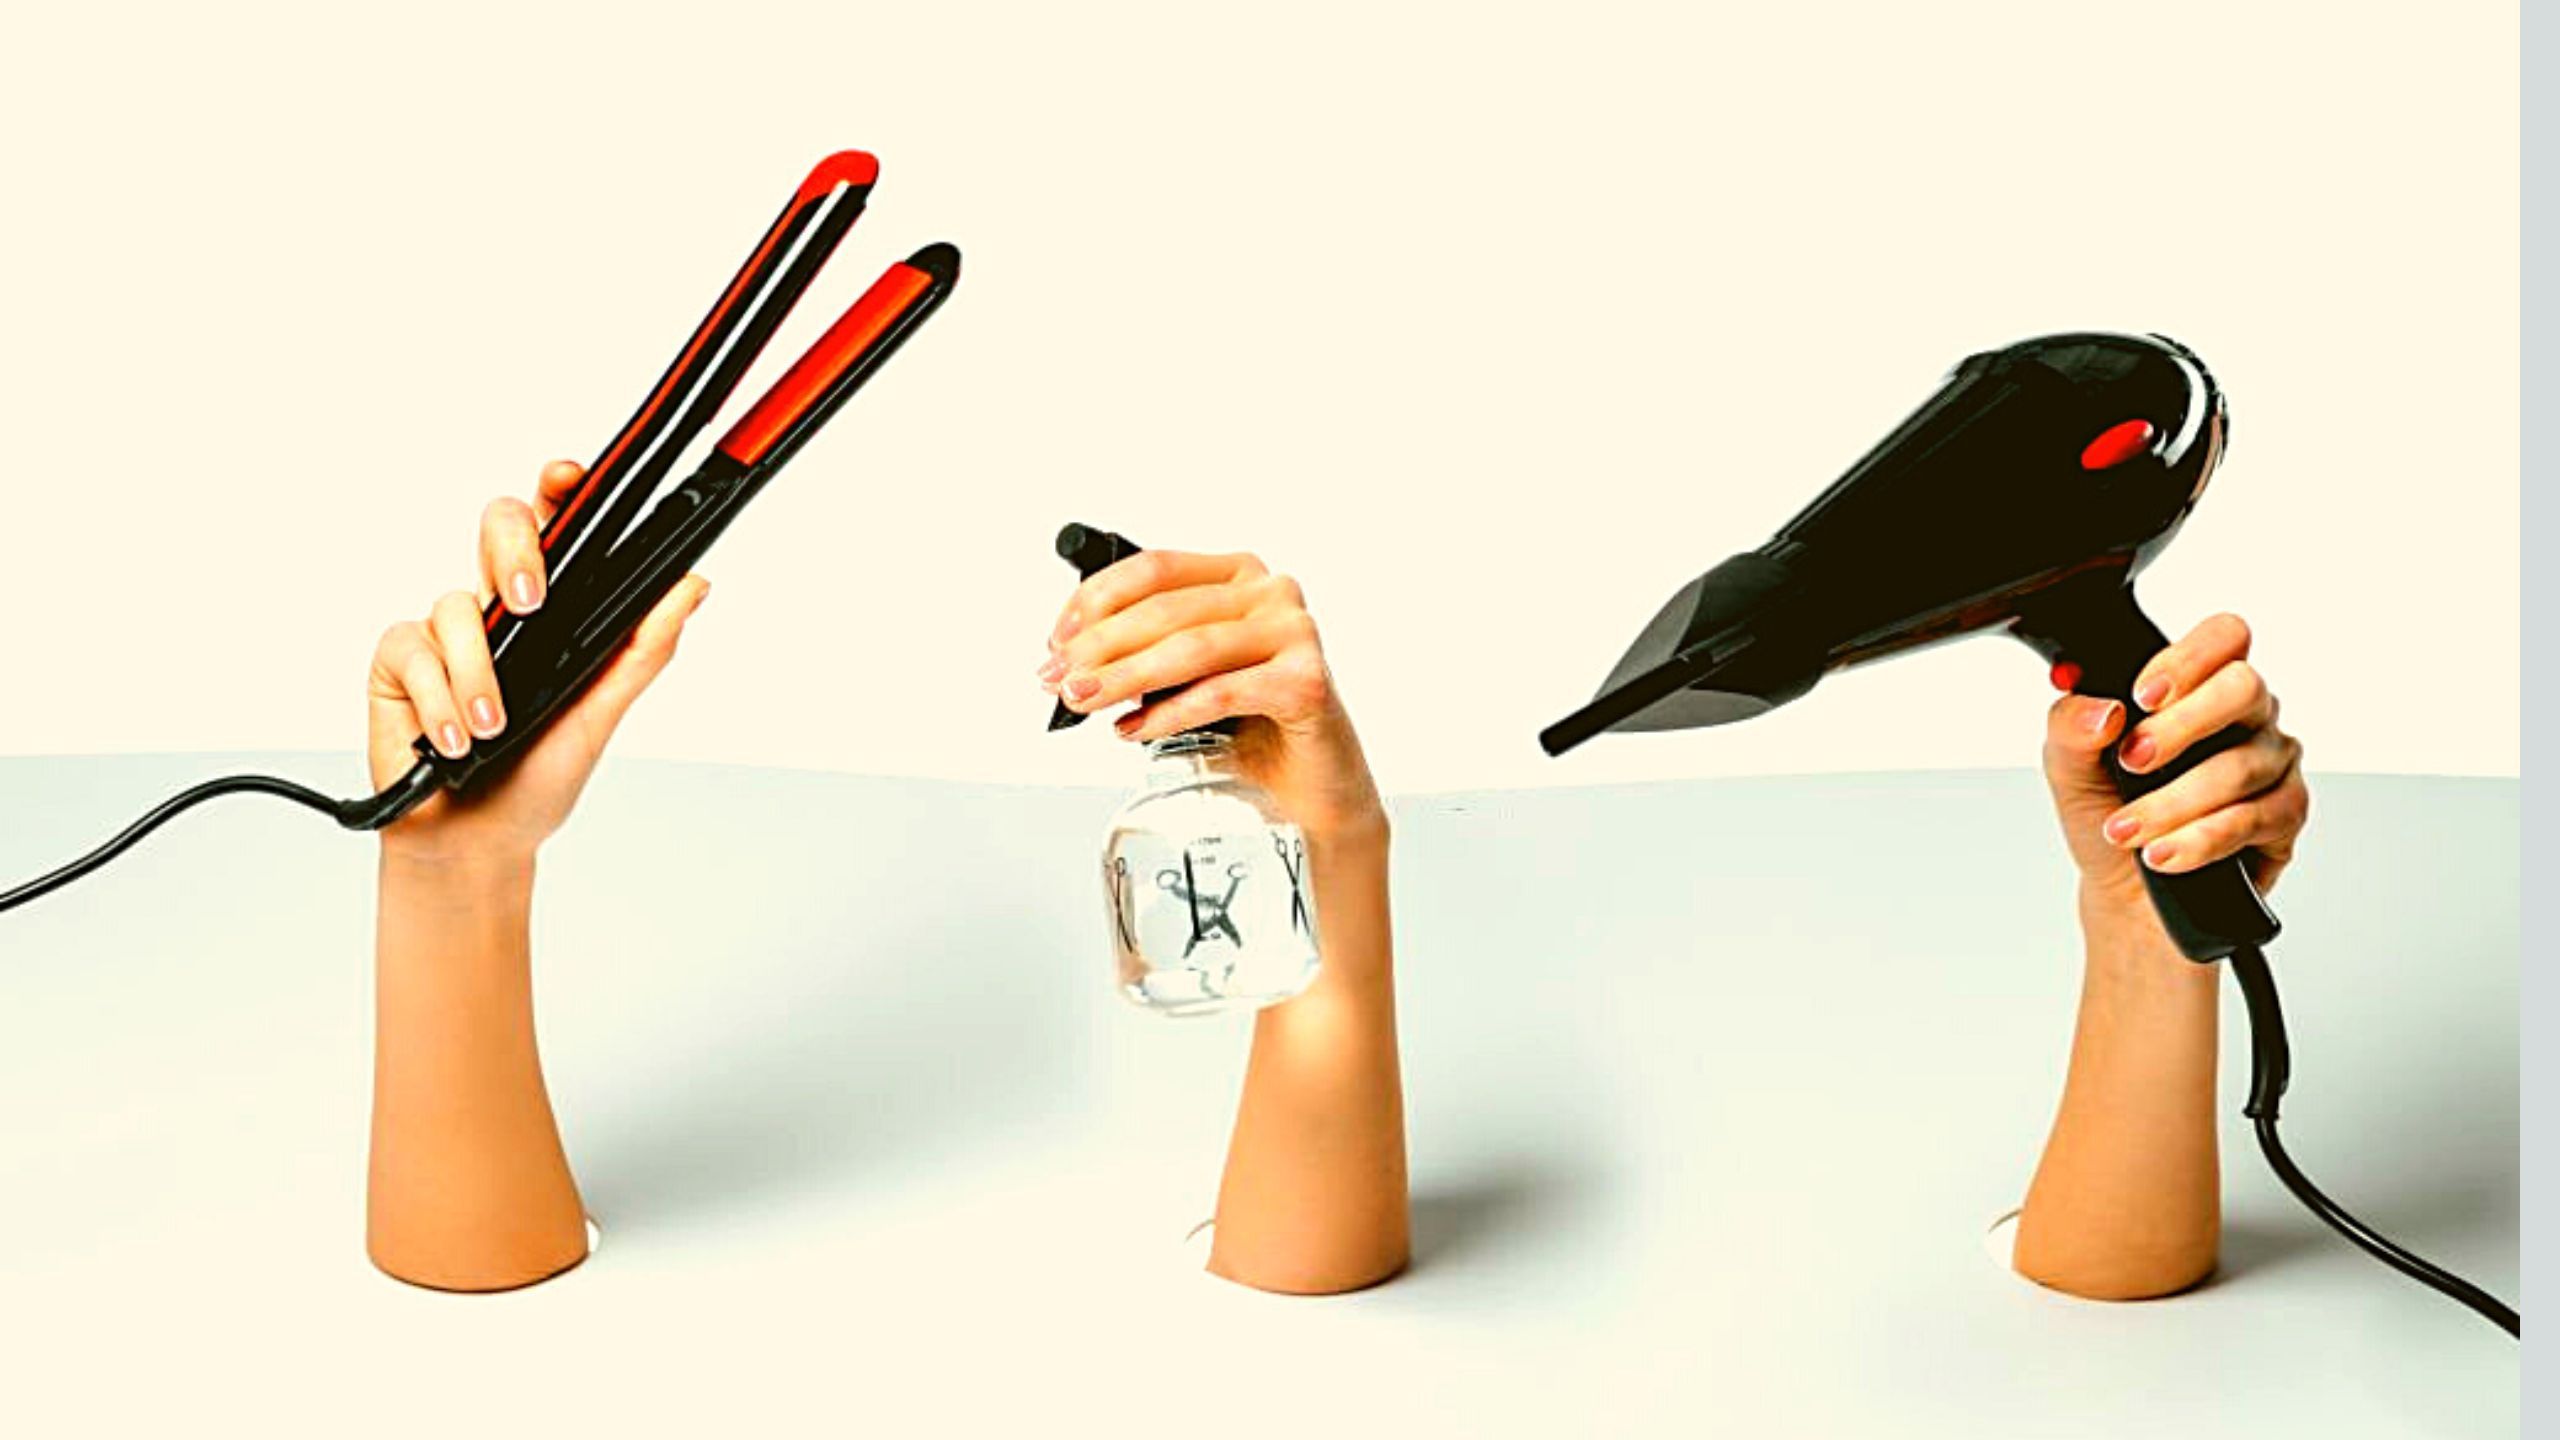
A hair dryer may seem like an unlikely tool for caulk removal, but it can actually be quite effective. Similar to a heat gun, the heat from a hair dryer can soften the caulk, making it easier to remove. This method is best used for smaller amounts of caulk and can be particularly useful for removing caulk from tight corners and edges.Use a hair dryer
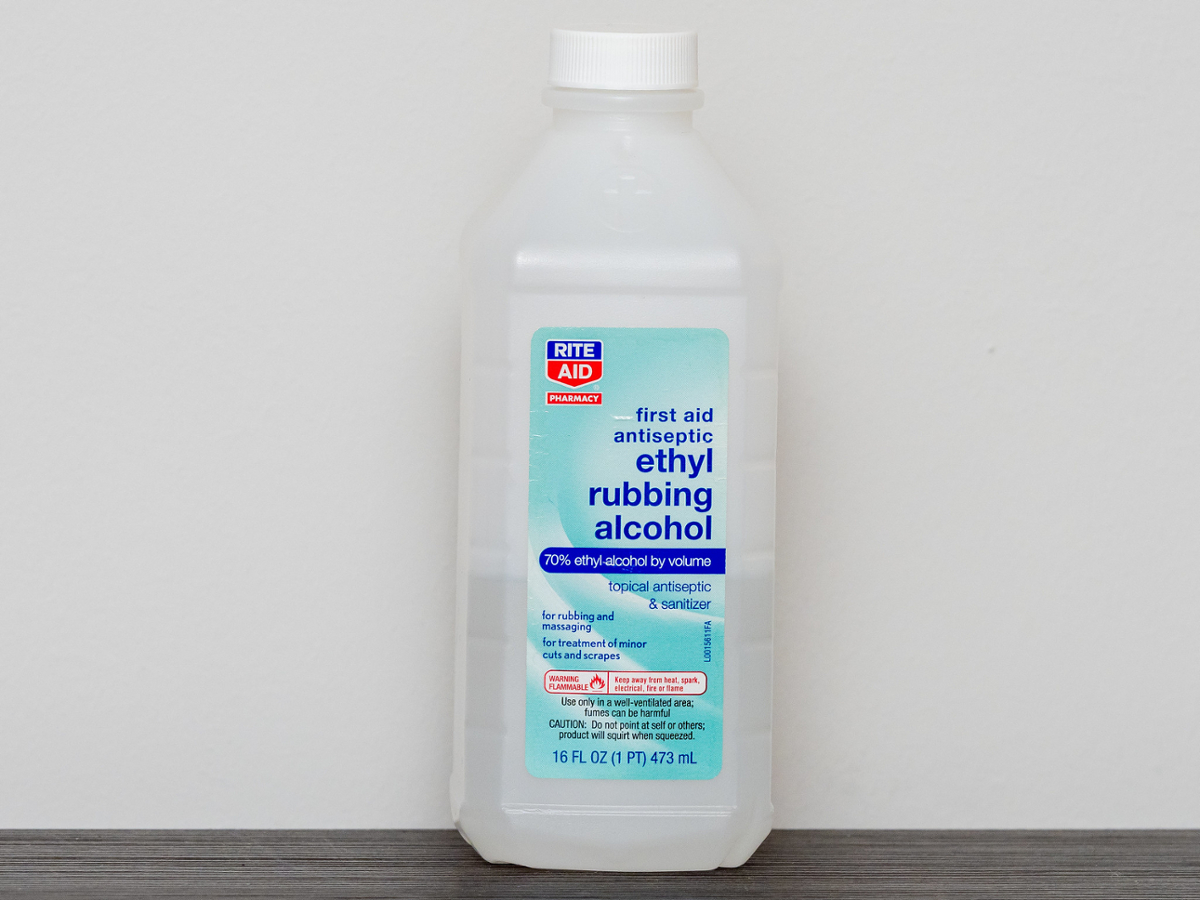
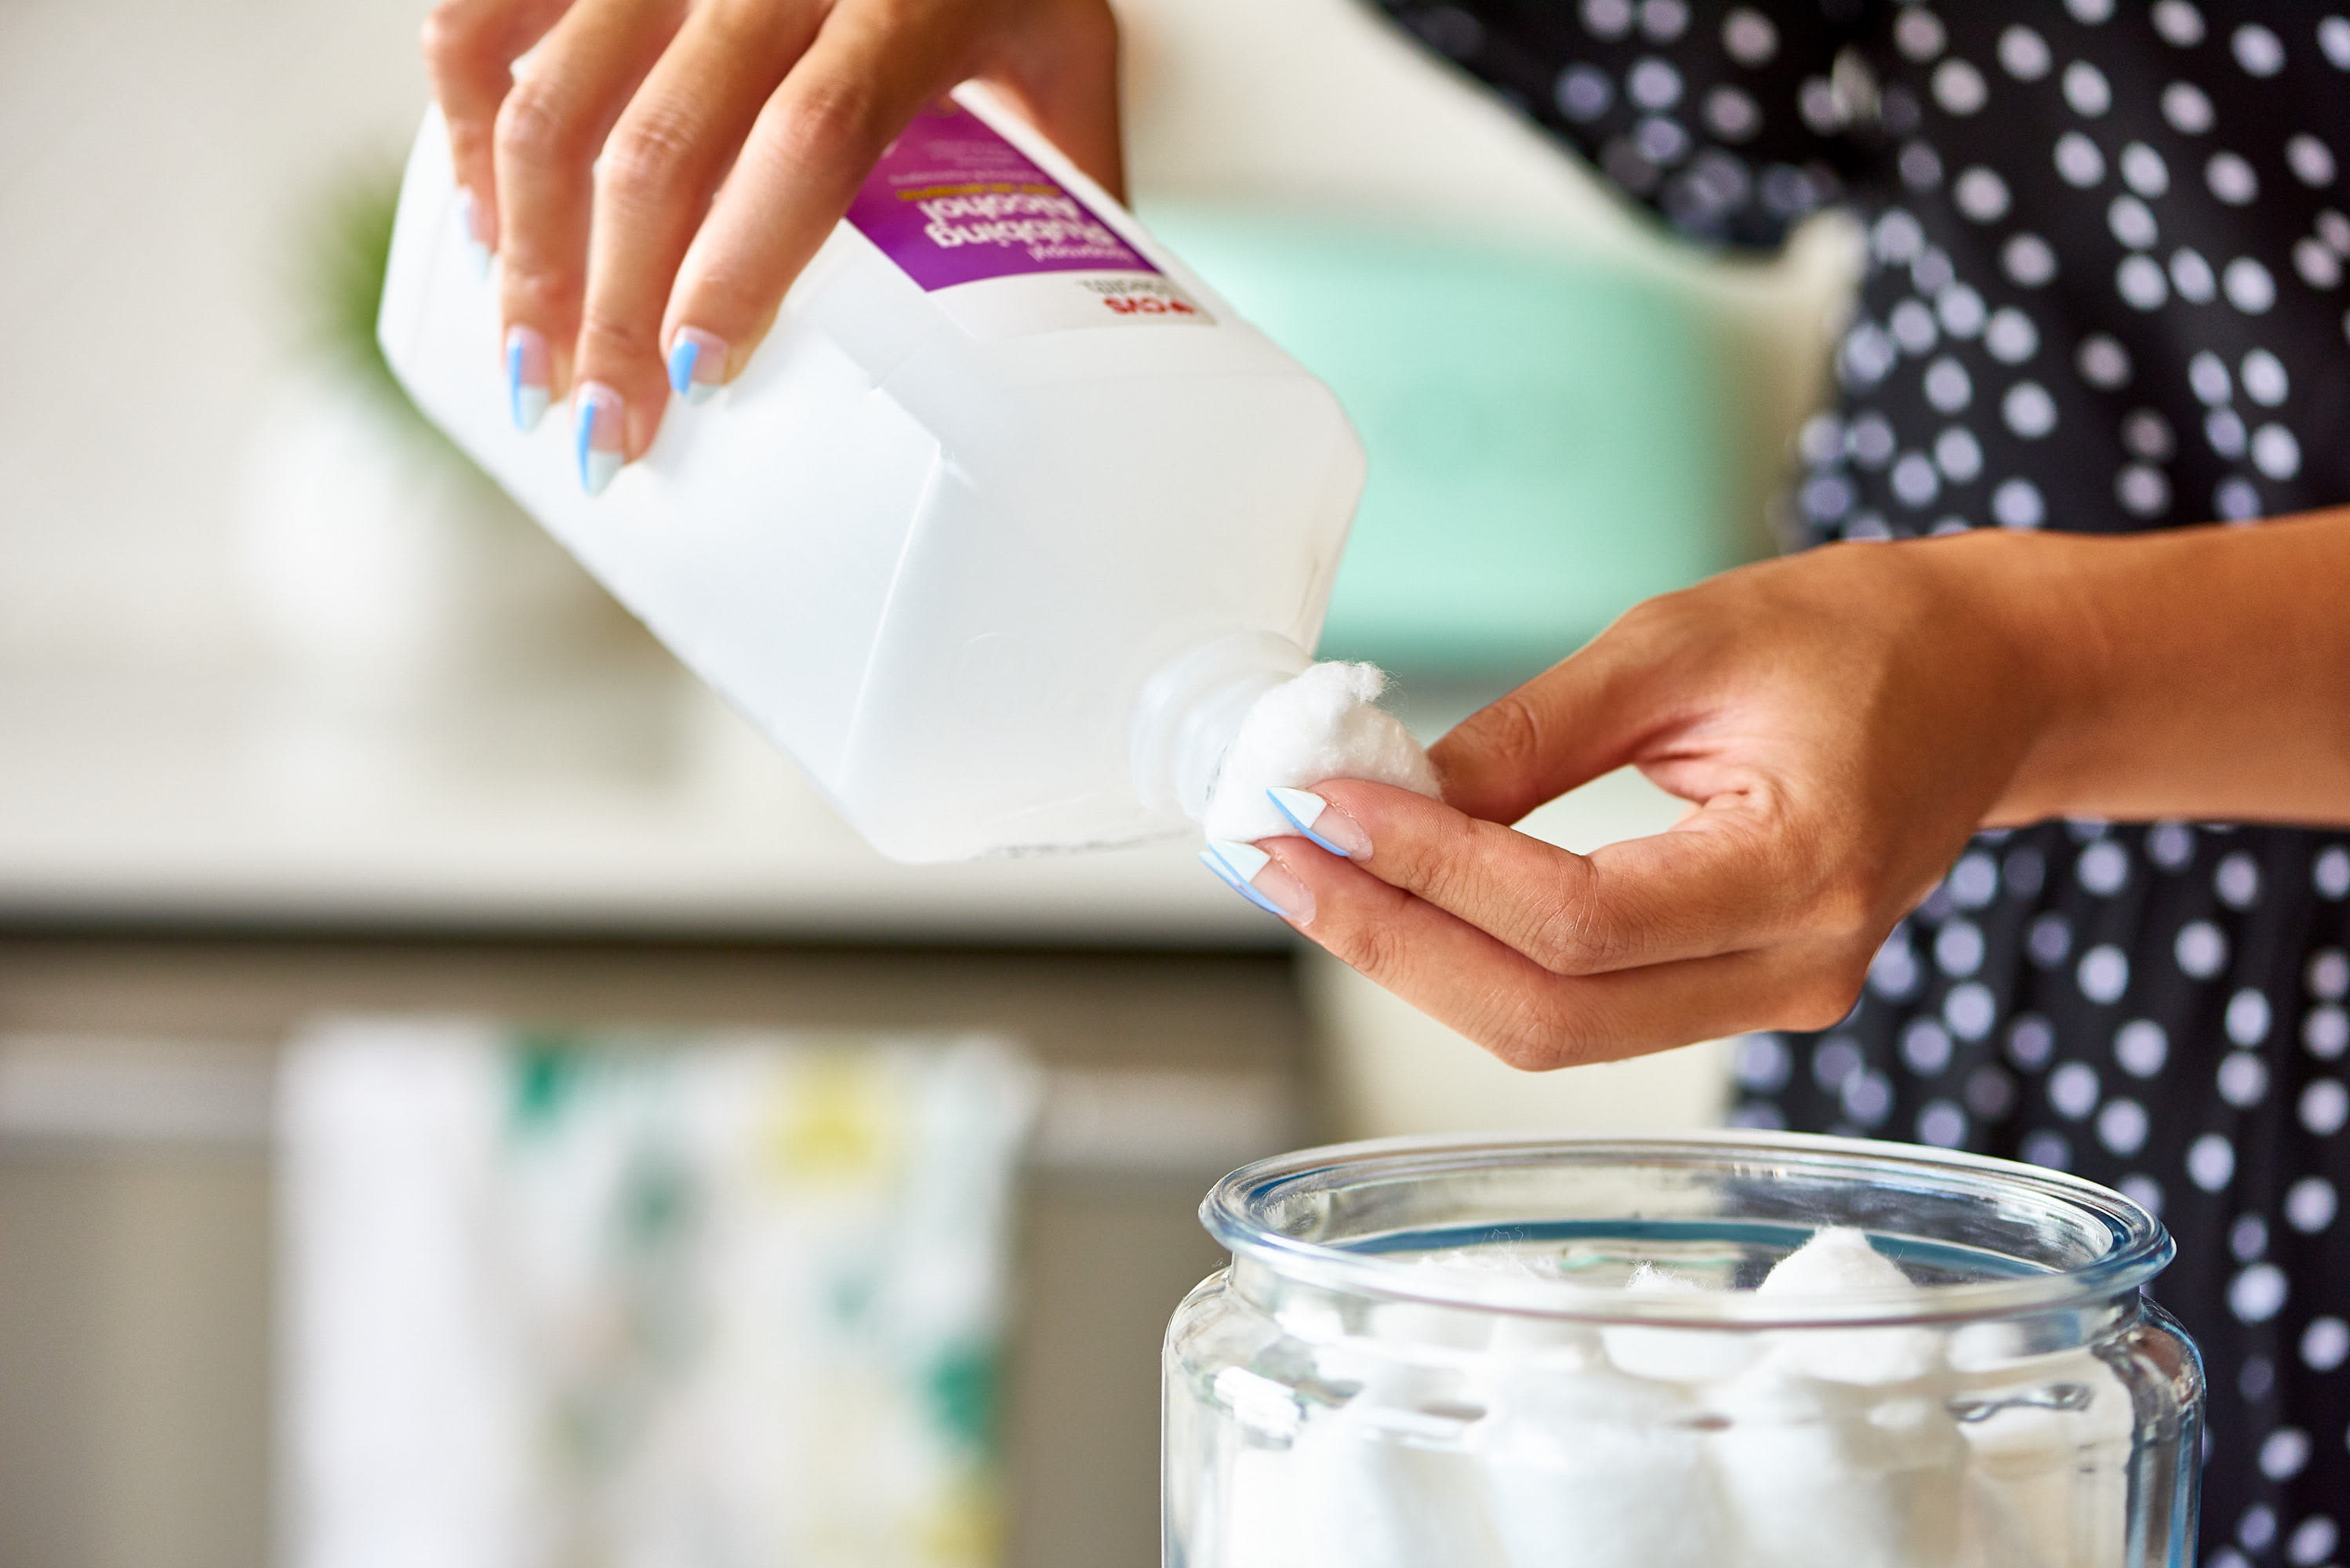
If you're dealing with silicone caulk, a mixture of rubbing alcohol and water can help break down and remove the caulk. Mix equal parts rubbing alcohol and water and apply it to the caulk. Let it sit for a few minutes before using a caulk remover tool or putty knife to scrape off the caulk. This method is also useful for removing any leftover residue from other caulk removal methods.Use a mixture of rubbing alcohol and water
Removing Caulk from a Kitchen Sink: A Professional Guide

Why Removing Caulk is Important for House Design
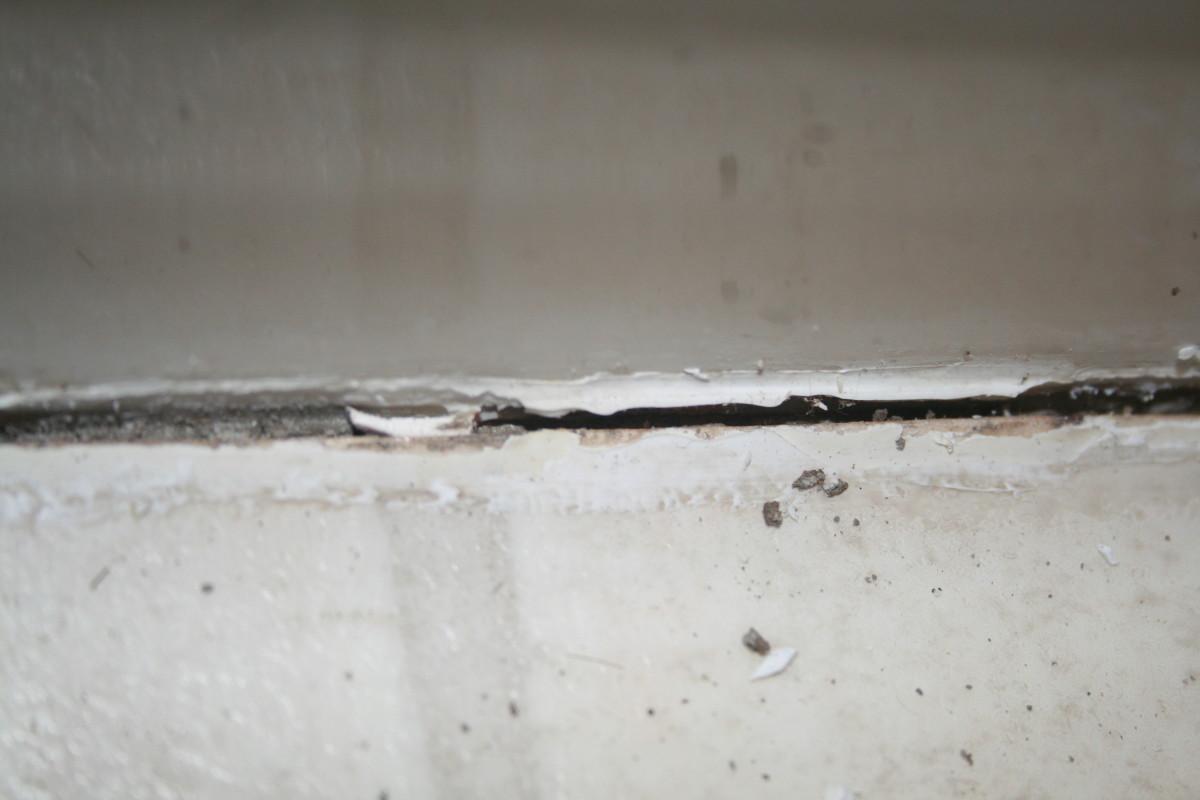
 Caulk is a vital component in keeping your kitchen sink and countertop in good condition. It helps seal gaps and prevent water from seeping into unwanted areas. However, over time, caulk can become discolored, cracked, and even moldy, making it not only unsightly but also a potential health hazard. Removing old caulk and replacing it with new, fresh caulk is an essential step in maintaining a clean and functional kitchen. In this article, we will discuss the best way to remove caulk from a kitchen sink and ensure a professional finish for your house design.
The Importance of Proper Tools and Materials
 Before diving into the process of removing caulk, it is crucial to have the right tools and materials for the job. This will not only make the process more efficient but also ensure that you do not damage the sink or countertop in the process. The materials you will need include a caulk remover, a utility knife, a putty knife, and a sponge. It is also recommended to have gloves and safety goggles for protection.
Step-by-Step Guide to Removing Caulk from a Kitchen Sink
 Now that you have the necessary tools and materials, let's dive into the process of removing caulk from your kitchen sink. Follow these steps for a professional and hassle-free experience:
Step 1: Soften the Caulk
Using a caulk remover, spray the old caulk generously and let it sit for the recommended amount of time. This will help soften the caulk and make it easier to remove.
Step 2: Scrape Off the Old Caulk
Using a utility knife, carefully scrape off the old caulk, making sure not to damage the sink or countertop. If the caulk is too stubborn, you can also use a putty knife to gently lift it off.
Step 3: Clean the Area
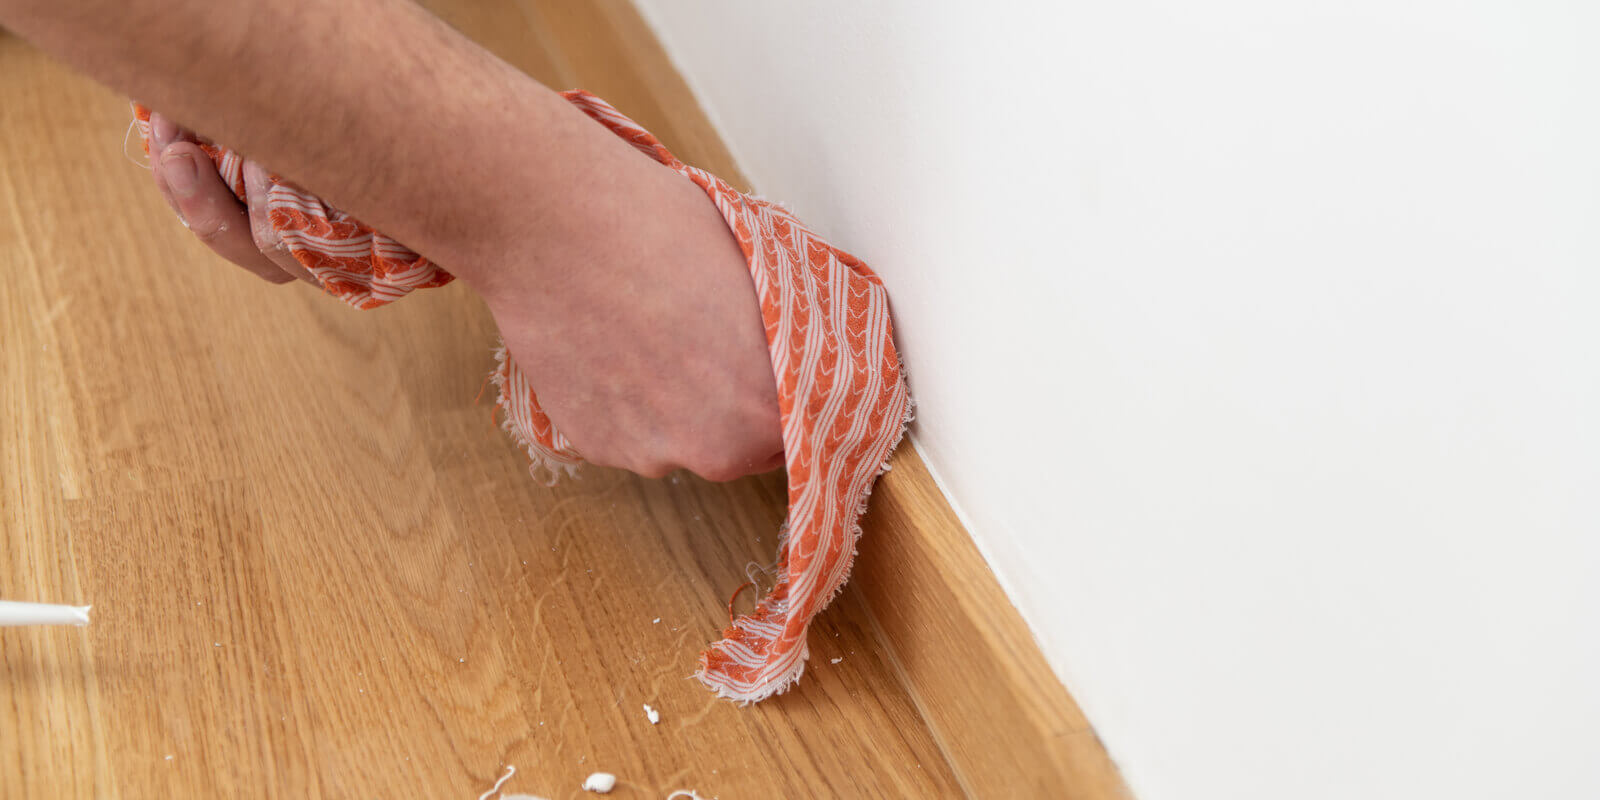
Once all the old caulk is removed, use a sponge and warm water to clean the area thoroughly. This will help remove any remaining residue and prepare the surface for new caulk.
Step 4: Apply New Caulk
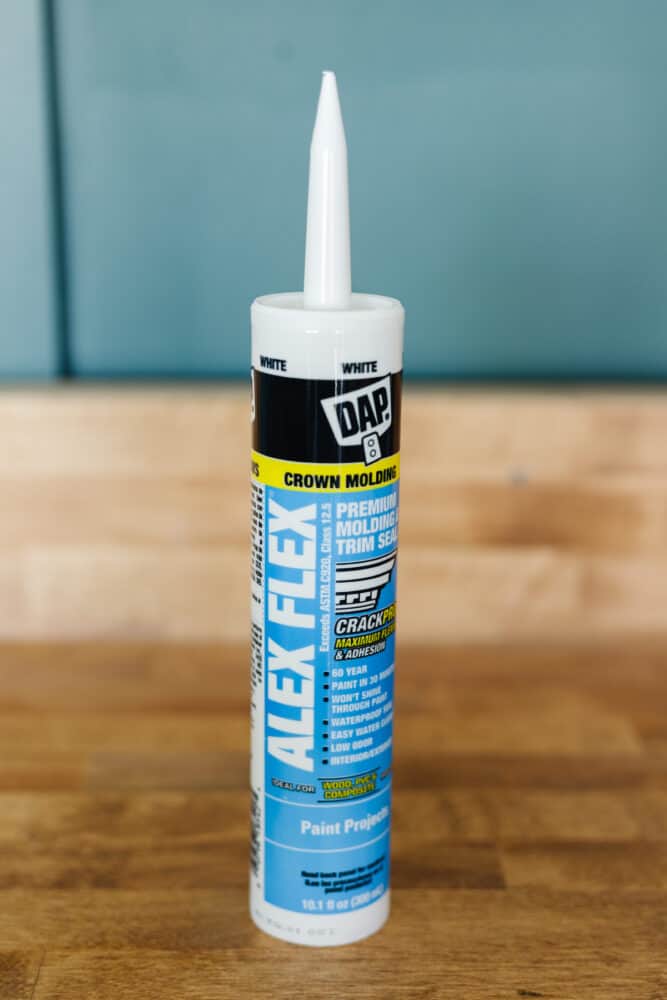
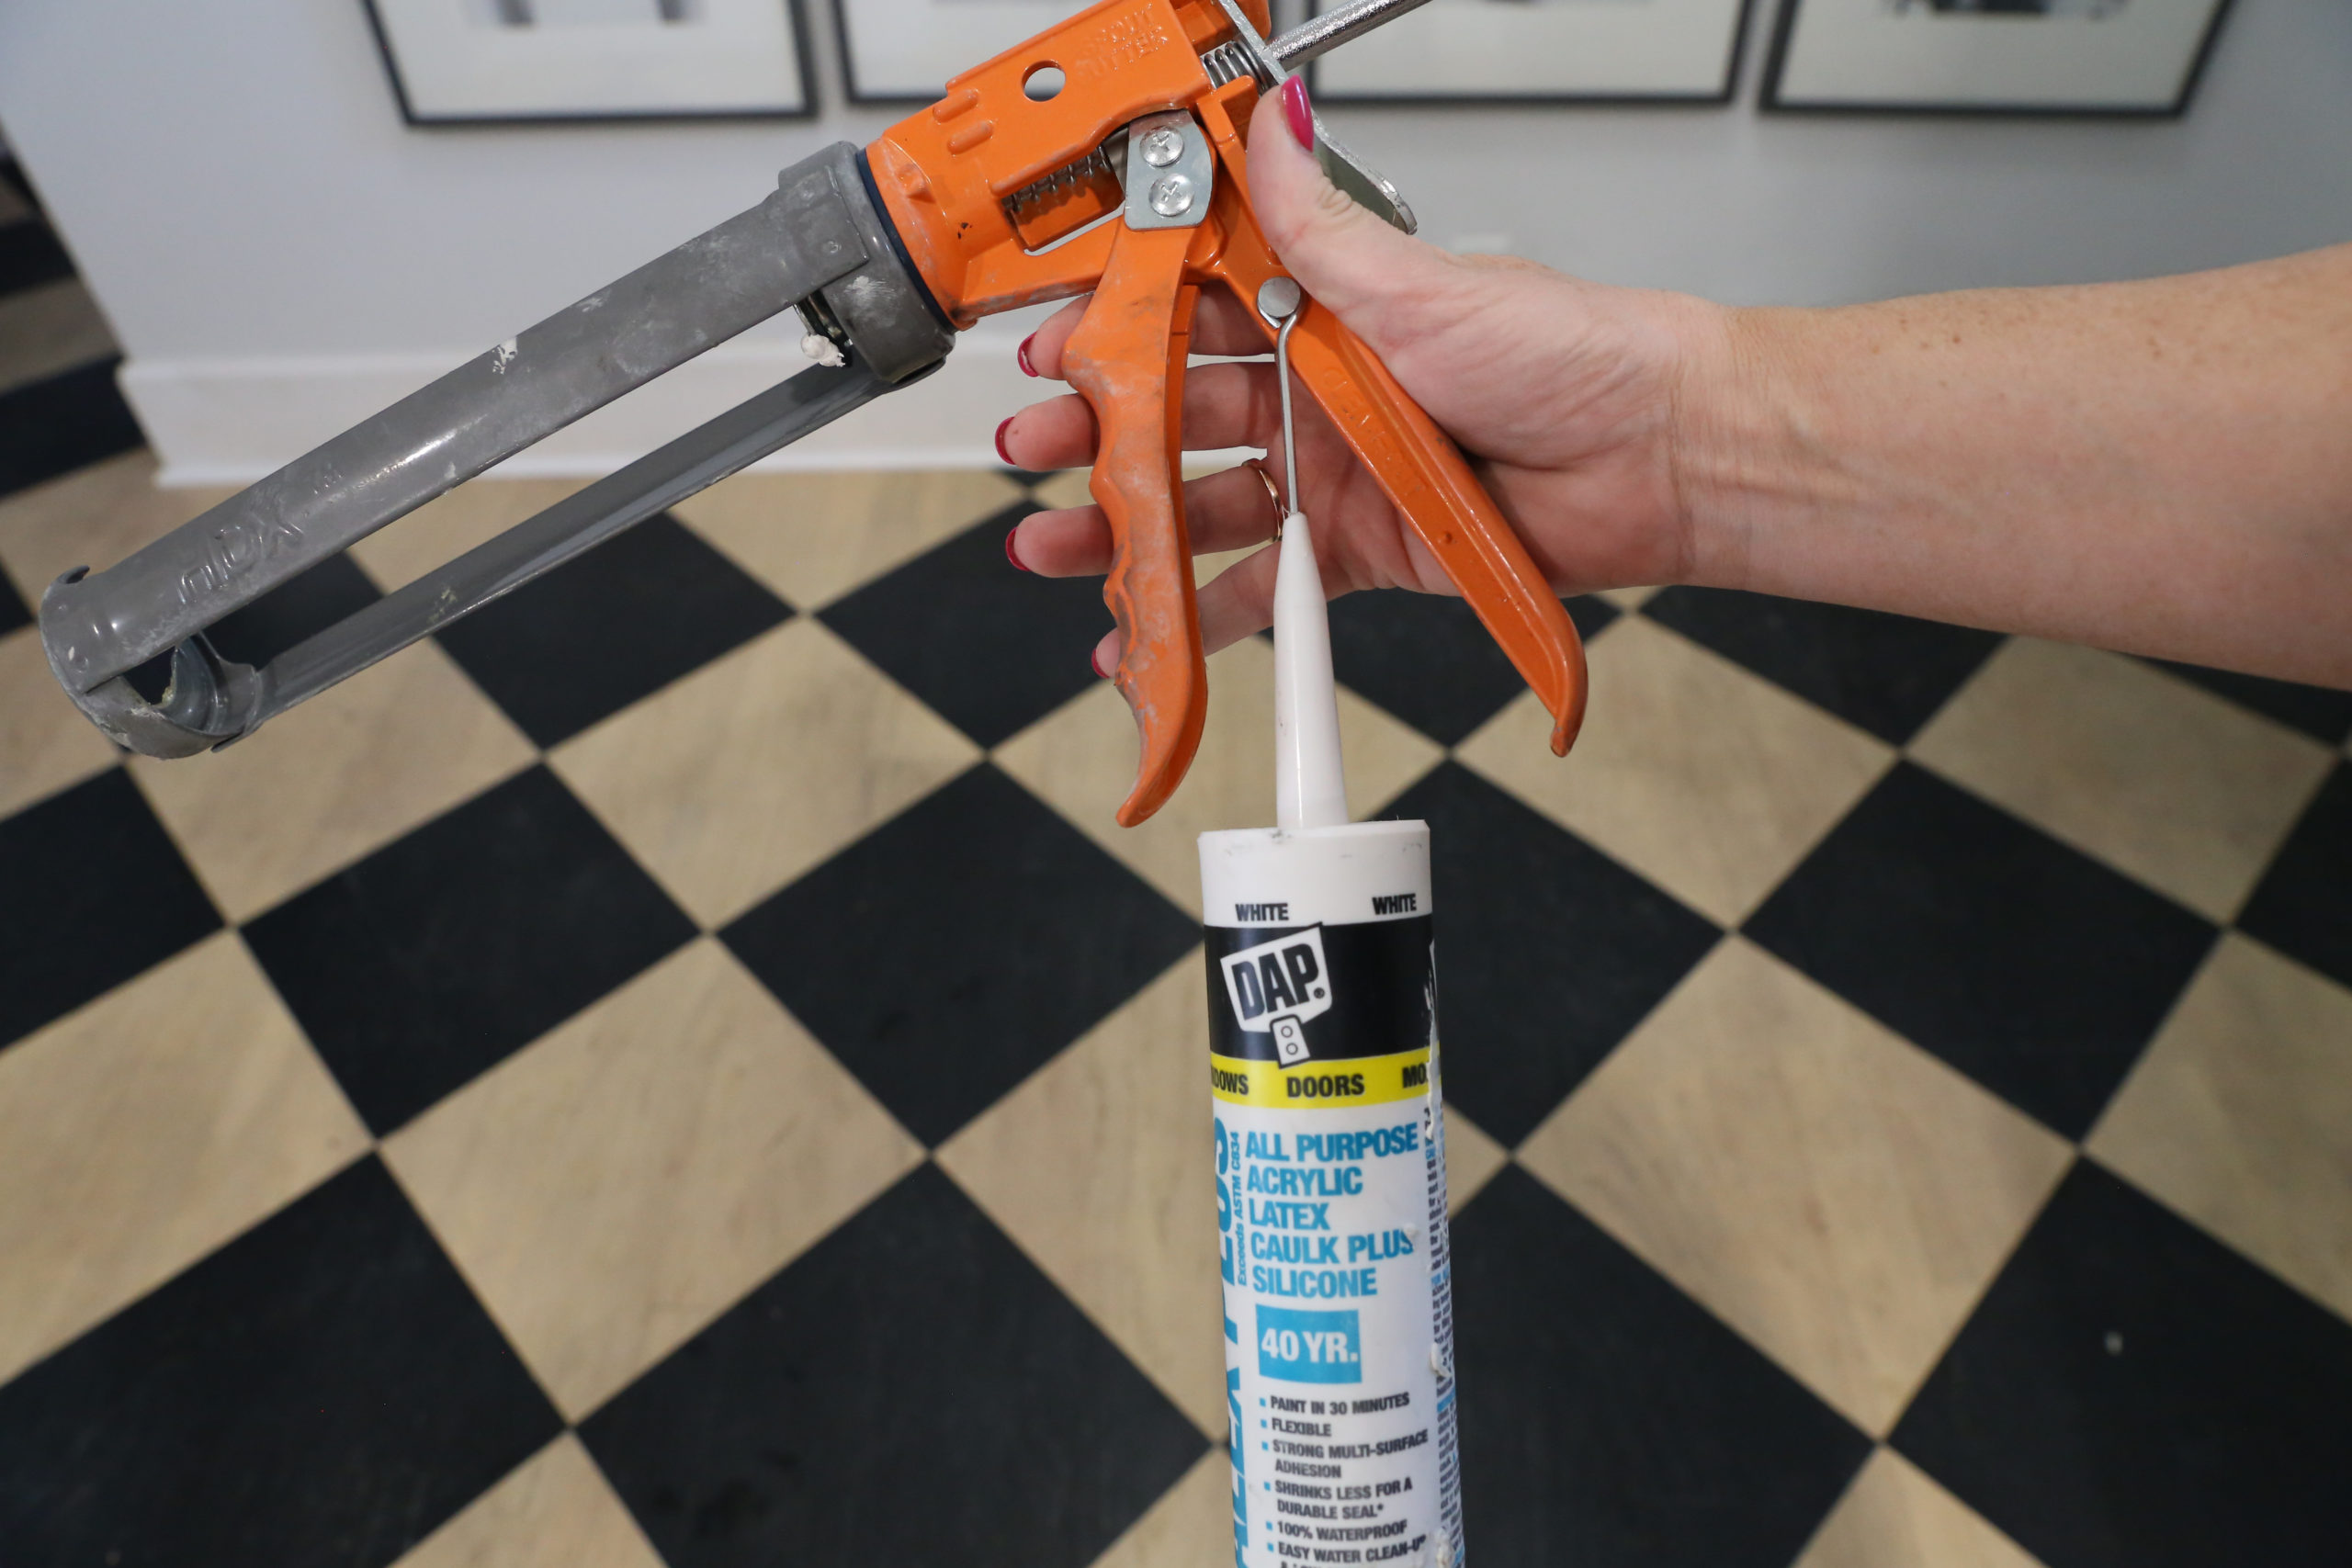
Using a caulk gun, apply a fresh layer of caulk along the edges of the sink and countertop. Use a steady hand and make sure to fill any gaps or cracks.
Step 5: Smooth Out the Caulk
To achieve a professional finish, use a wet finger or a caulk finishing tool to smooth out the caulk. This will give a neat and clean appearance to your kitchen sink.
Conclusion
 Removing caulk from a kitchen sink is an essential step in maintaining a clean and functional kitchen. By following these steps and using the right tools and materials, you can easily remove old caulk and achieve a professional finish for your house design. Don't let old and moldy caulk ruin the look of your kitchen, take the time to remove and replace it for a fresh and clean appearance.

:max_bytes(150000):strip_icc()/caulk-removal-tool-56ec7f1b3df78ce5f83535fe.jpg)

/182836729-56a49f253df78cf772834e2d.jpg)




:max_bytes(150000):strip_icc()/caulk-removal-tool-56ec7f1b3df78ce5f83535fe.jpg)

























/caring-for-her-hair-481491711-5a1dcf579e942700375e6004.jpg)


