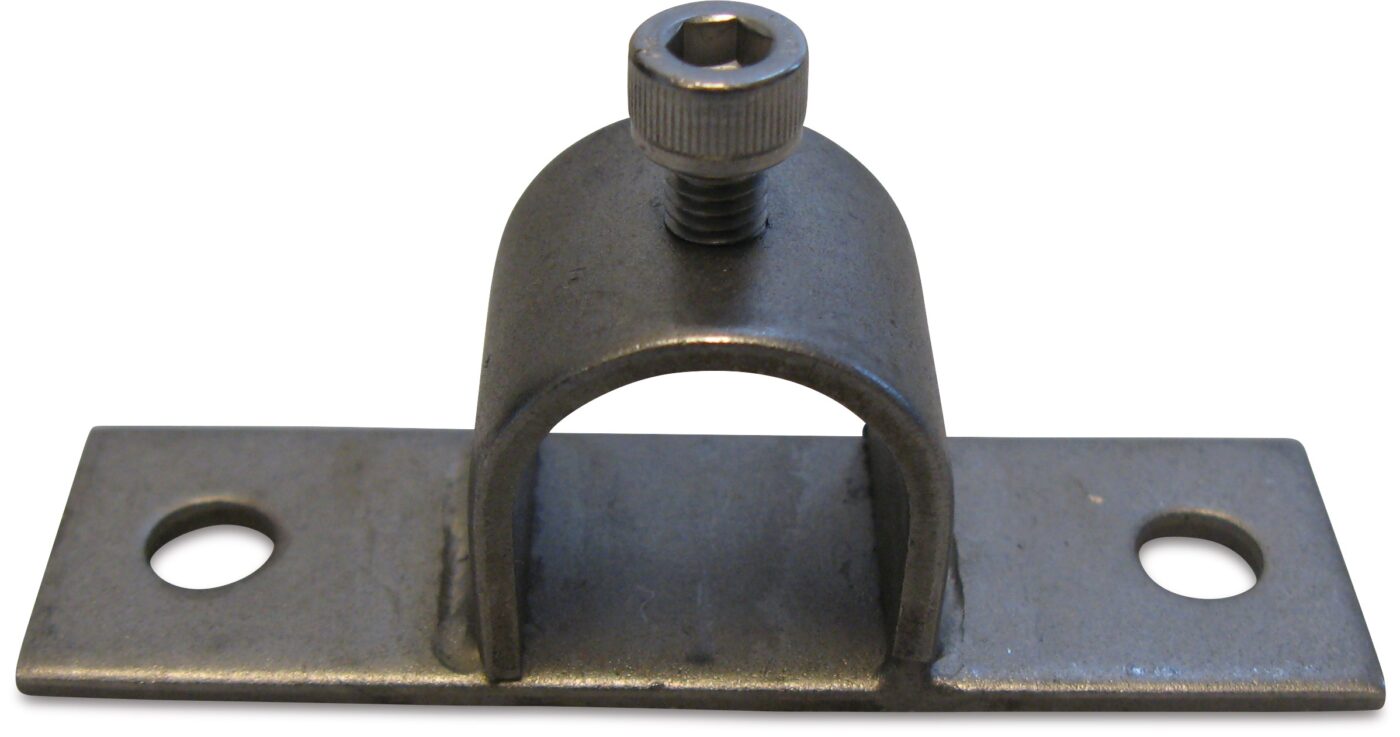
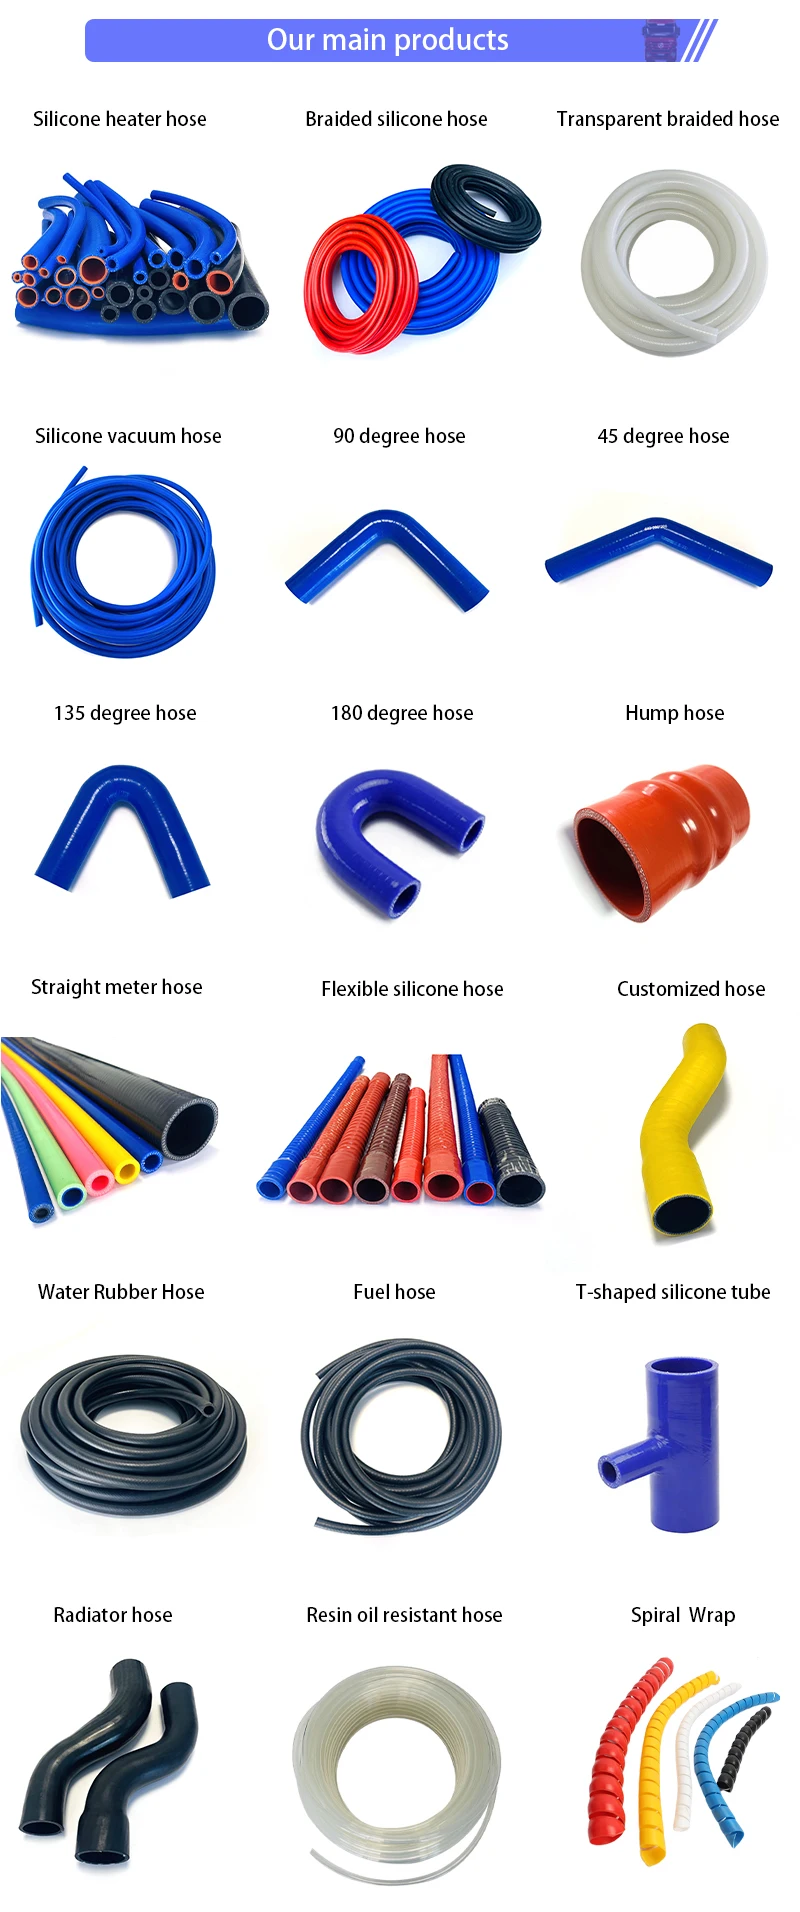
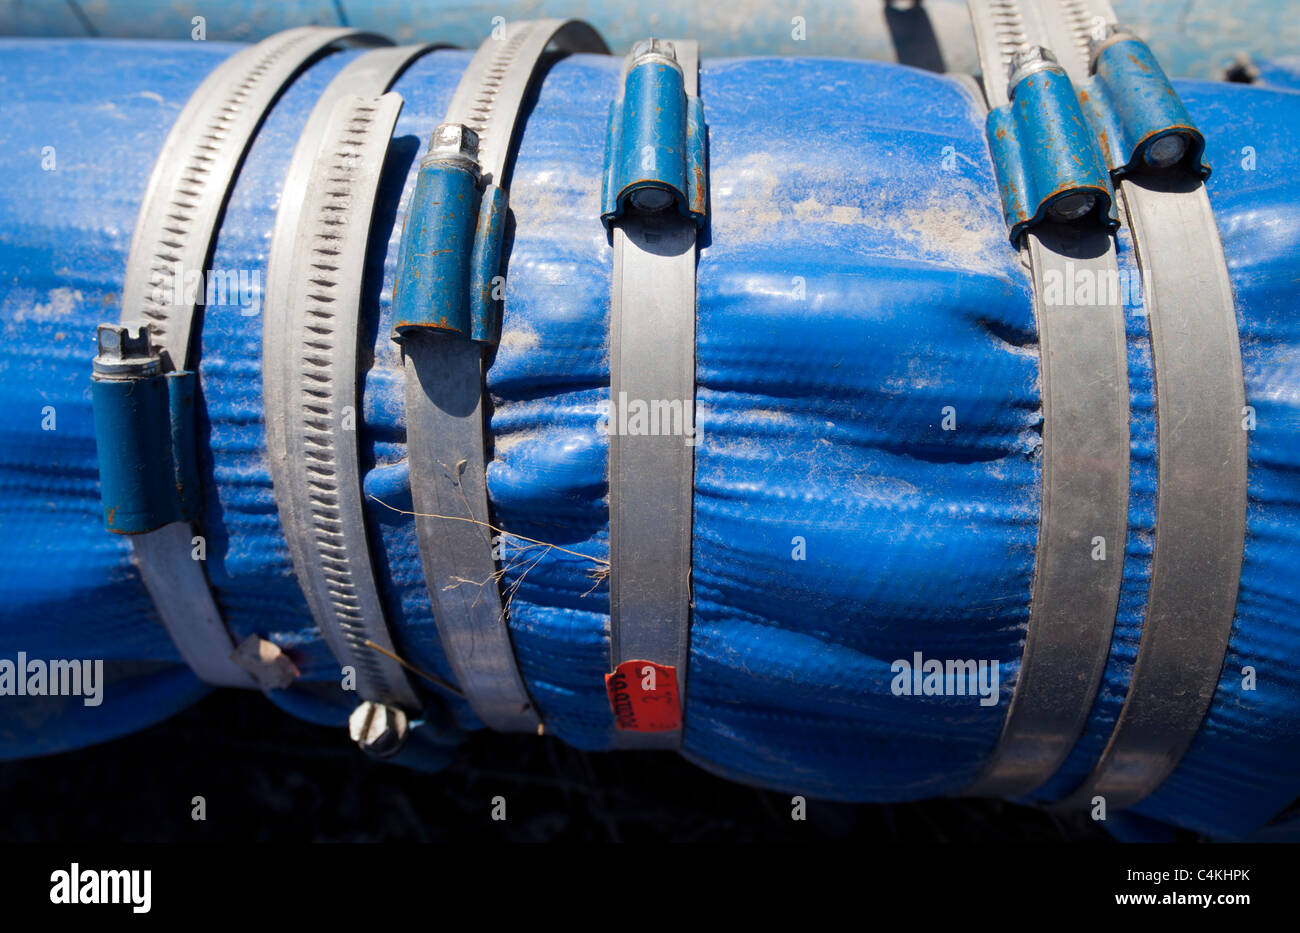
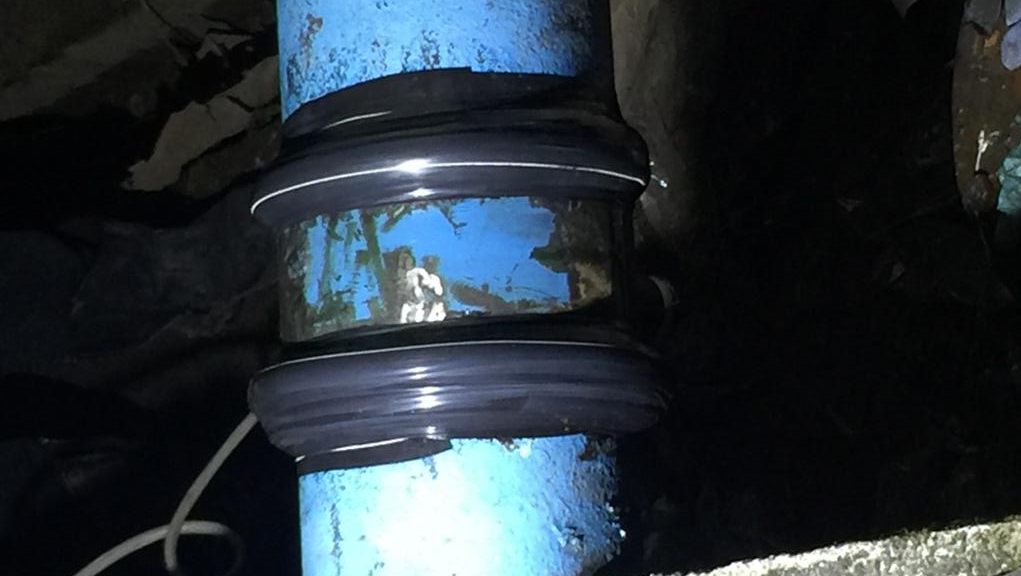
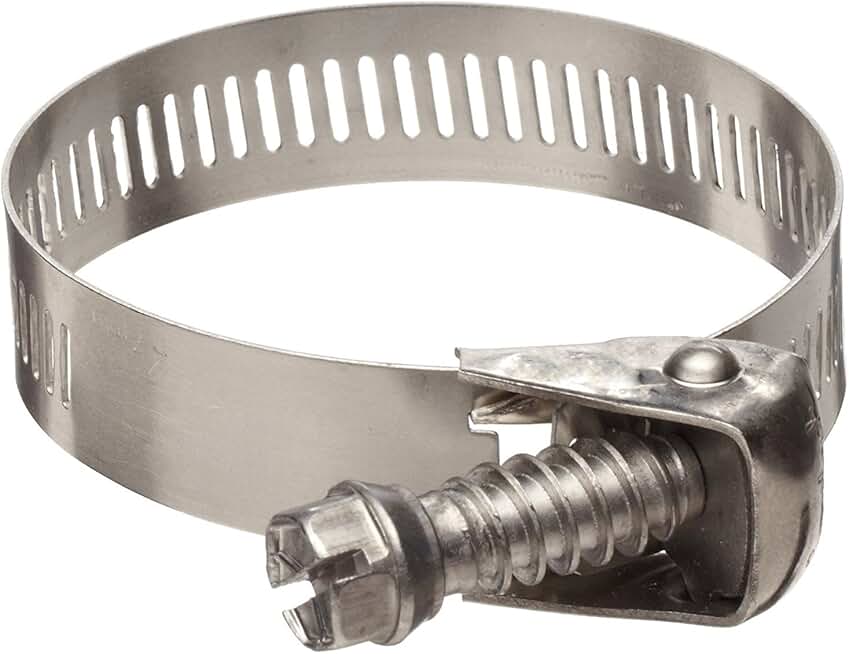
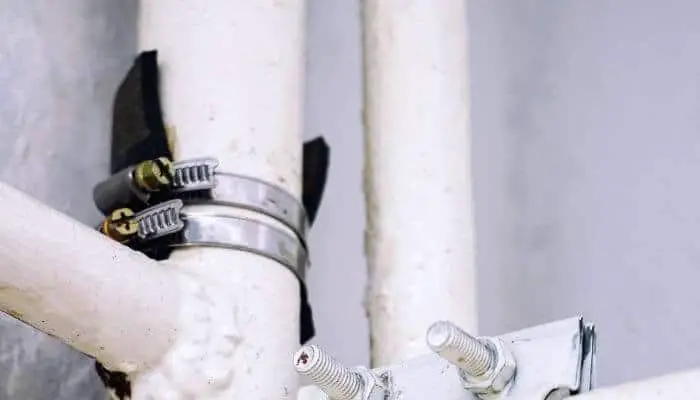
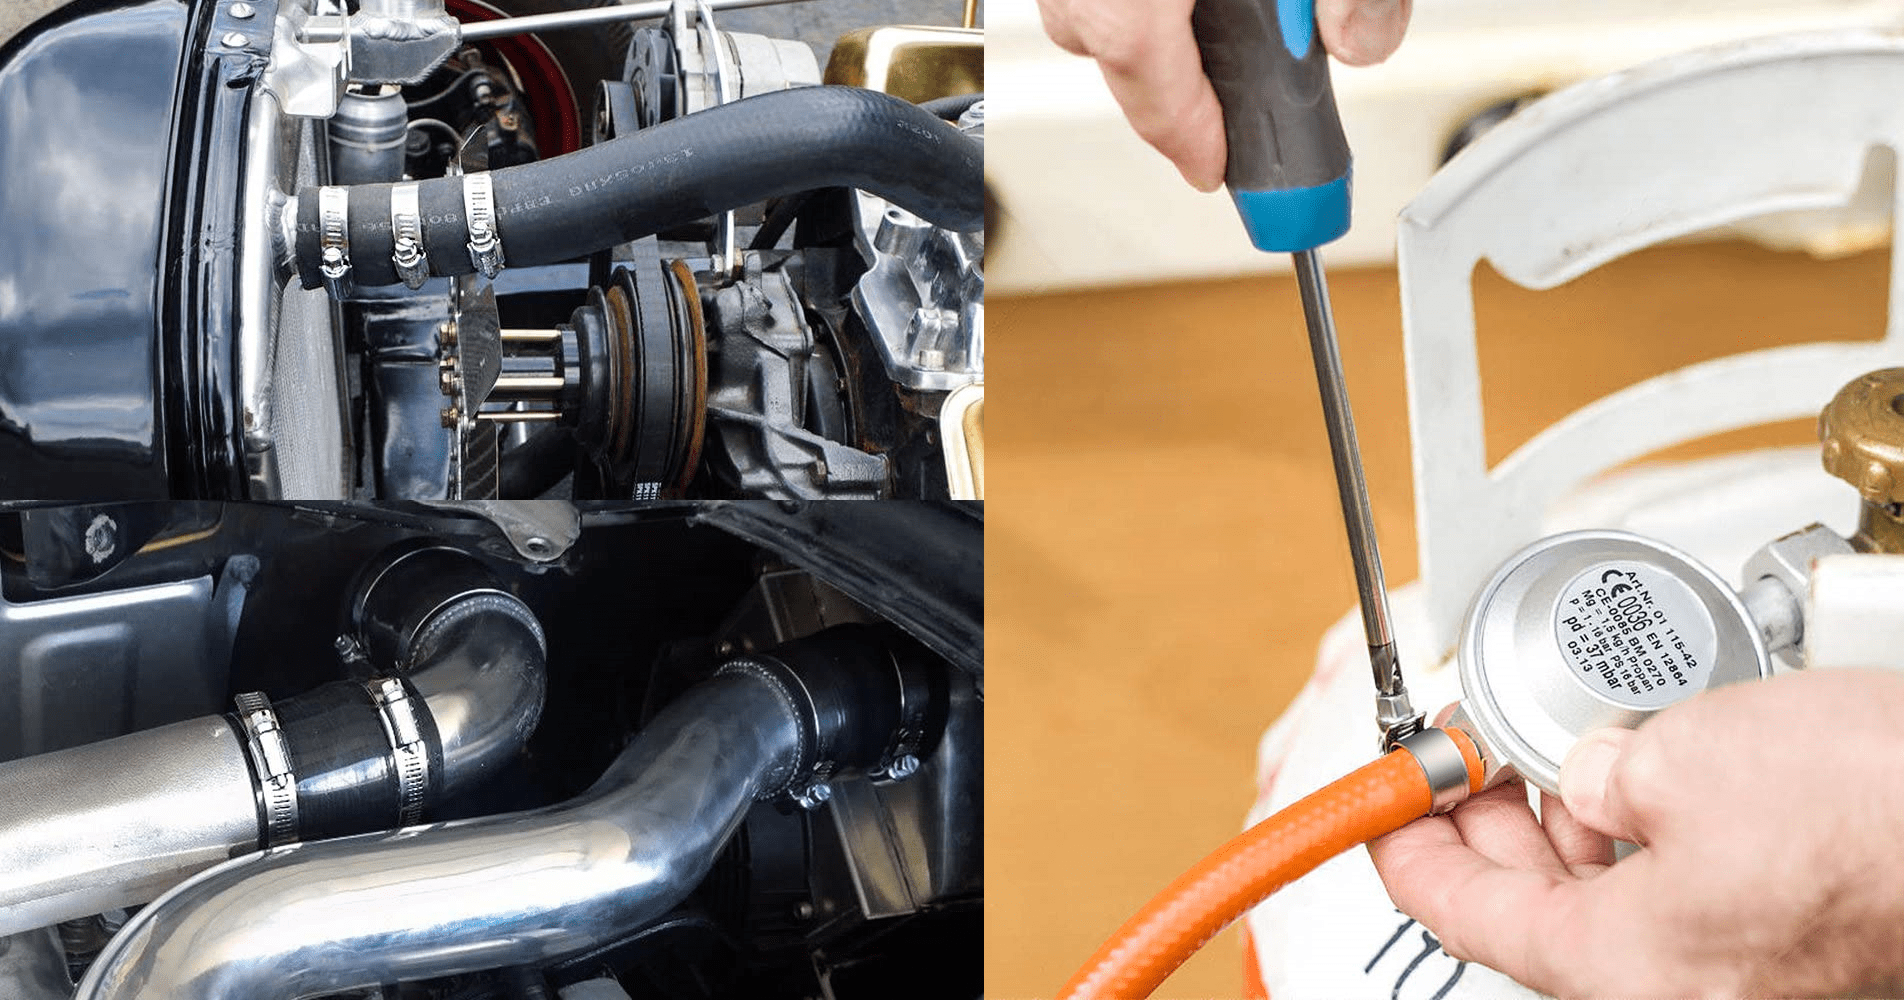
One of the quickest and easiest temporary fixes for a leaking pipe under your kitchen sink is to use a pipe clamp. This tool is designed to secure a leak by clamping around the affected area and compressing it, stopping the flow of water. It is important to have a pipe clamp in your toolbox for emergency situations like this. To use a pipe clamp, first locate the source of the leak and dry the affected area as much as possible. Then, place the clamp over the leak and tighten it with a screwdriver until it is snug. This will create a temporary seal and buy you some time until you can make a more permanent fix. When using a pipe clamp, it is important to remember that it is only a temporary solution and should not be relied on for long-term use. It is best to still have a professional plumber assess and repair the issue as soon as possible.1. Use a pipe clamp


1. Use a pipe clamp


.jpg)

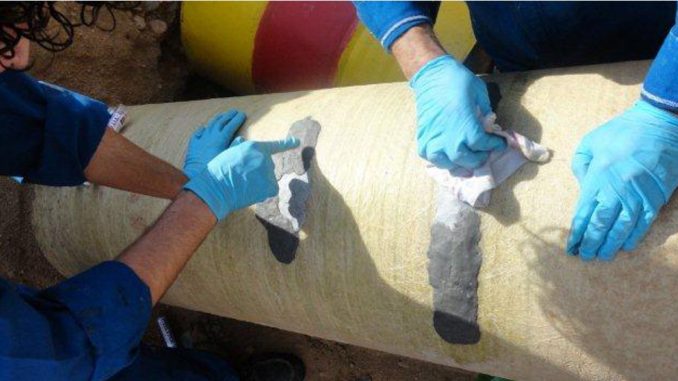
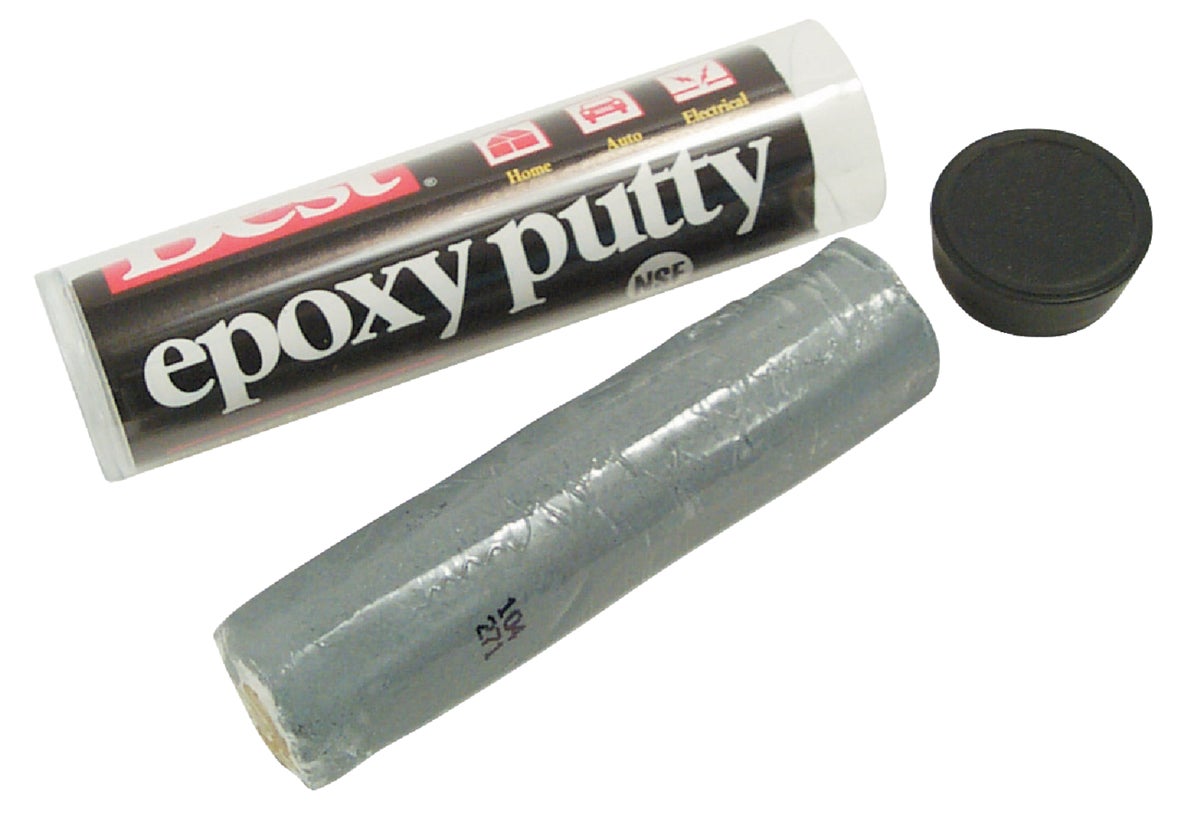
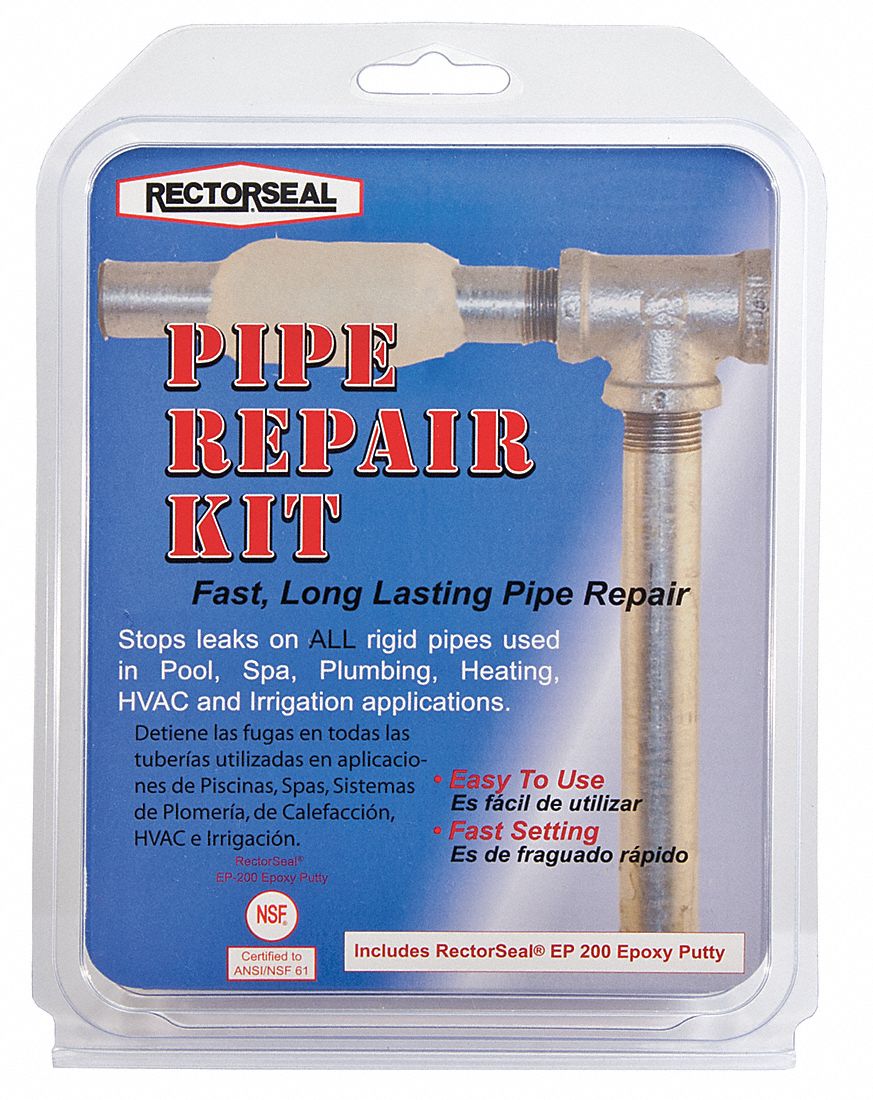
Epoxy putty is another effective temporary fix for a leaking pipe under your kitchen sink. This putty is a two-part adhesive that, when mixed together, forms a strong bond that can seal leaks and cracks in pipes. It is a quick and easy solution that can last for several weeks until a permanent repair can be made. To use epoxy putty, clean the affected area and dry it thoroughly. Then, mix the two parts of the putty together and apply it to the leak, pressing it firmly onto the pipe. Allow it to dry according to the manufacturer's instructions before turning the water back on. Epoxy putty can be sanded and painted over for a more seamless look.2. Apply epoxy putty

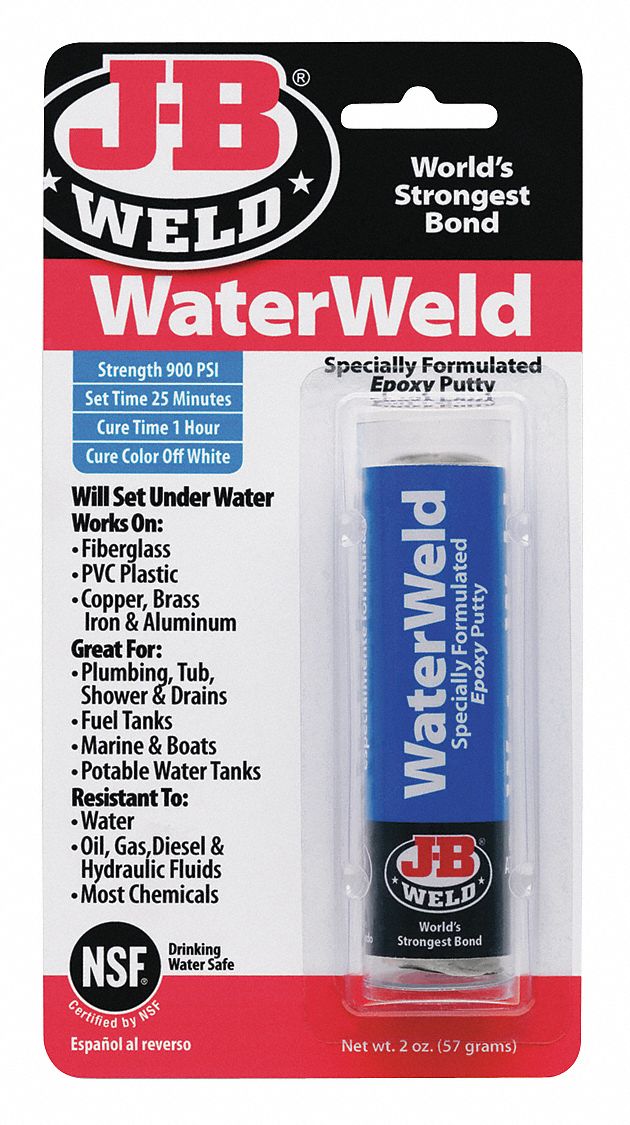
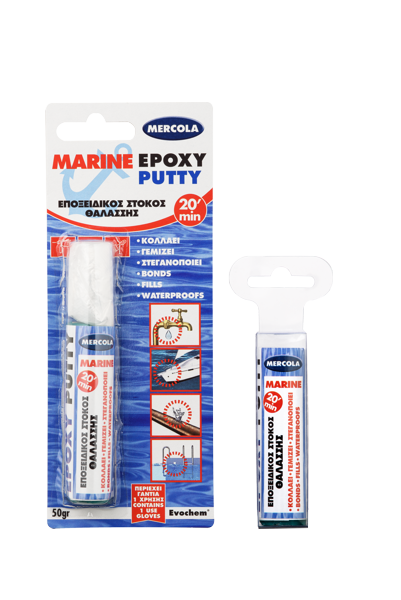
2. Apply epoxy putty


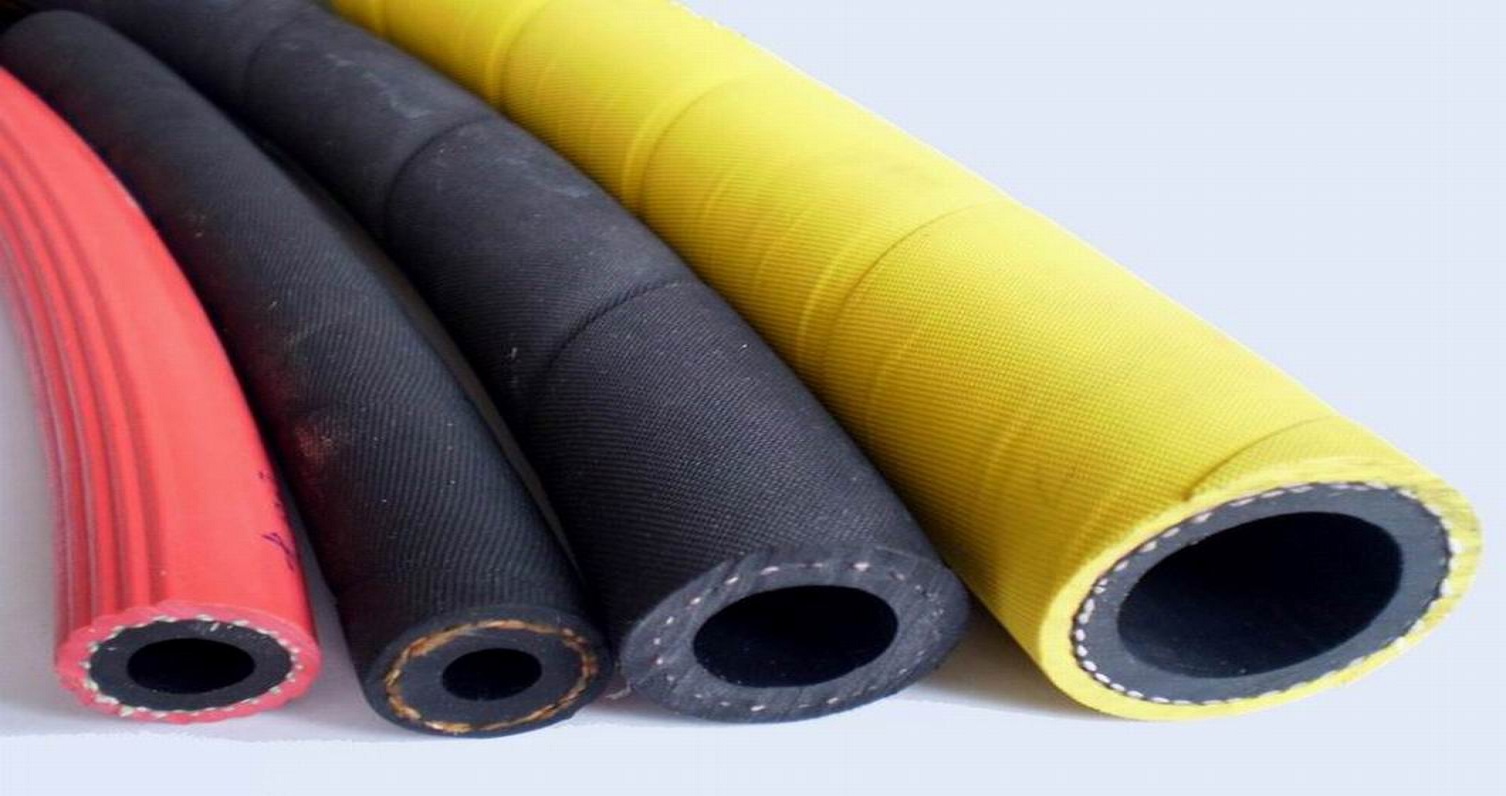
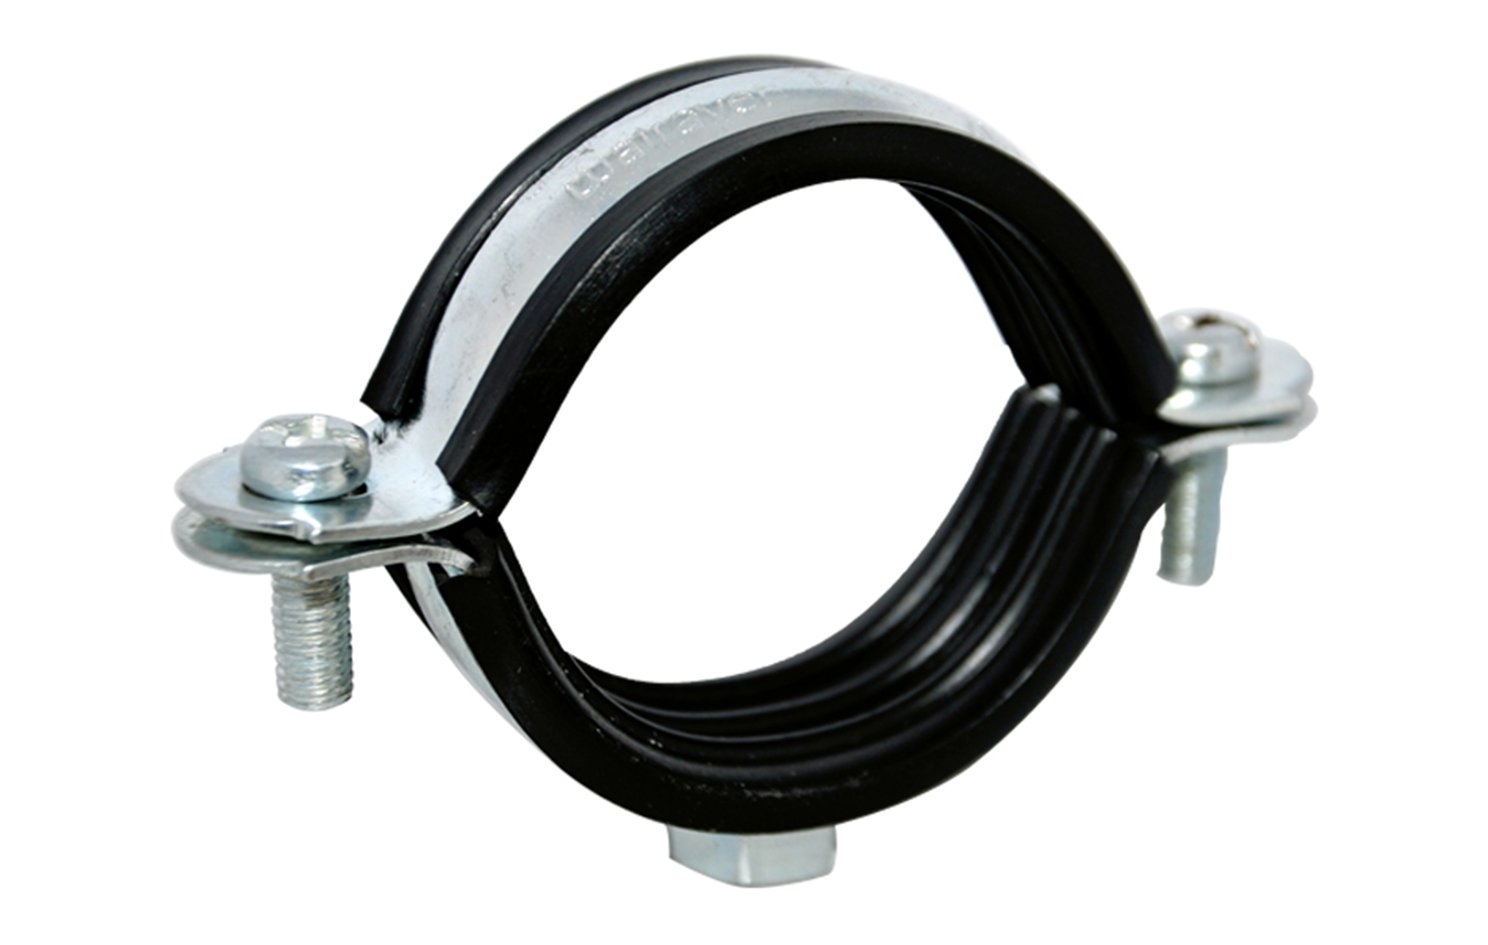
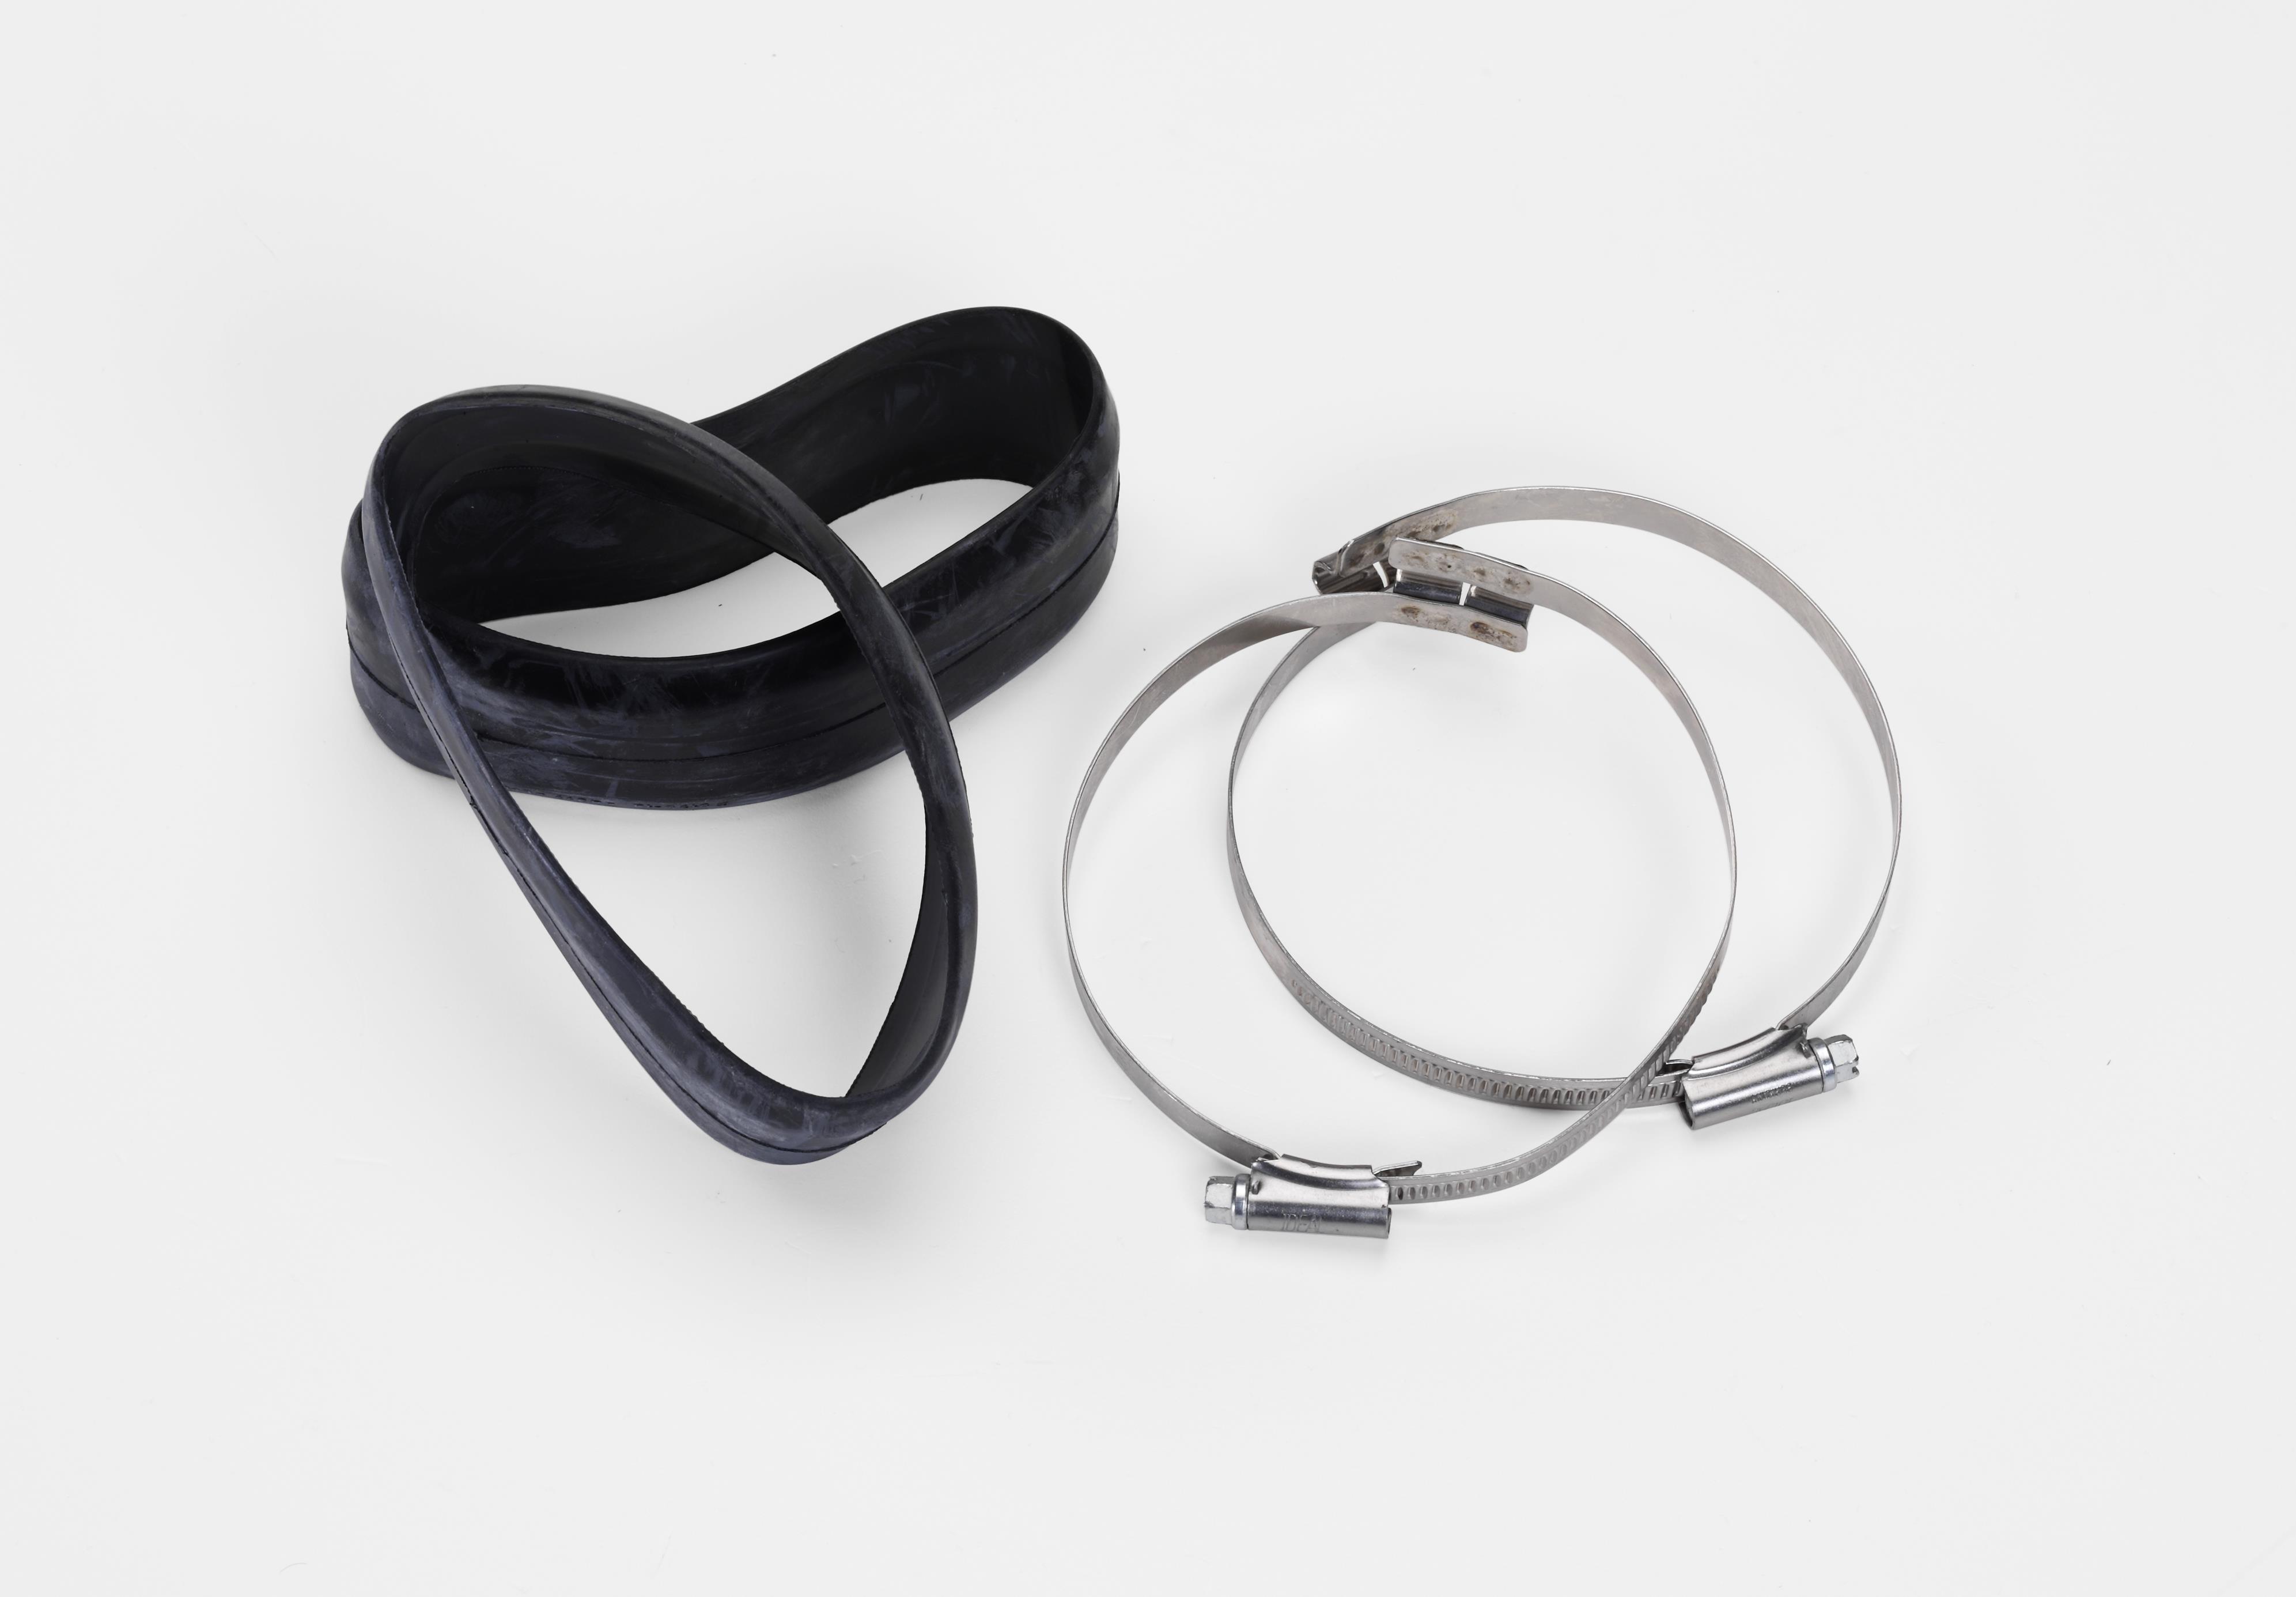
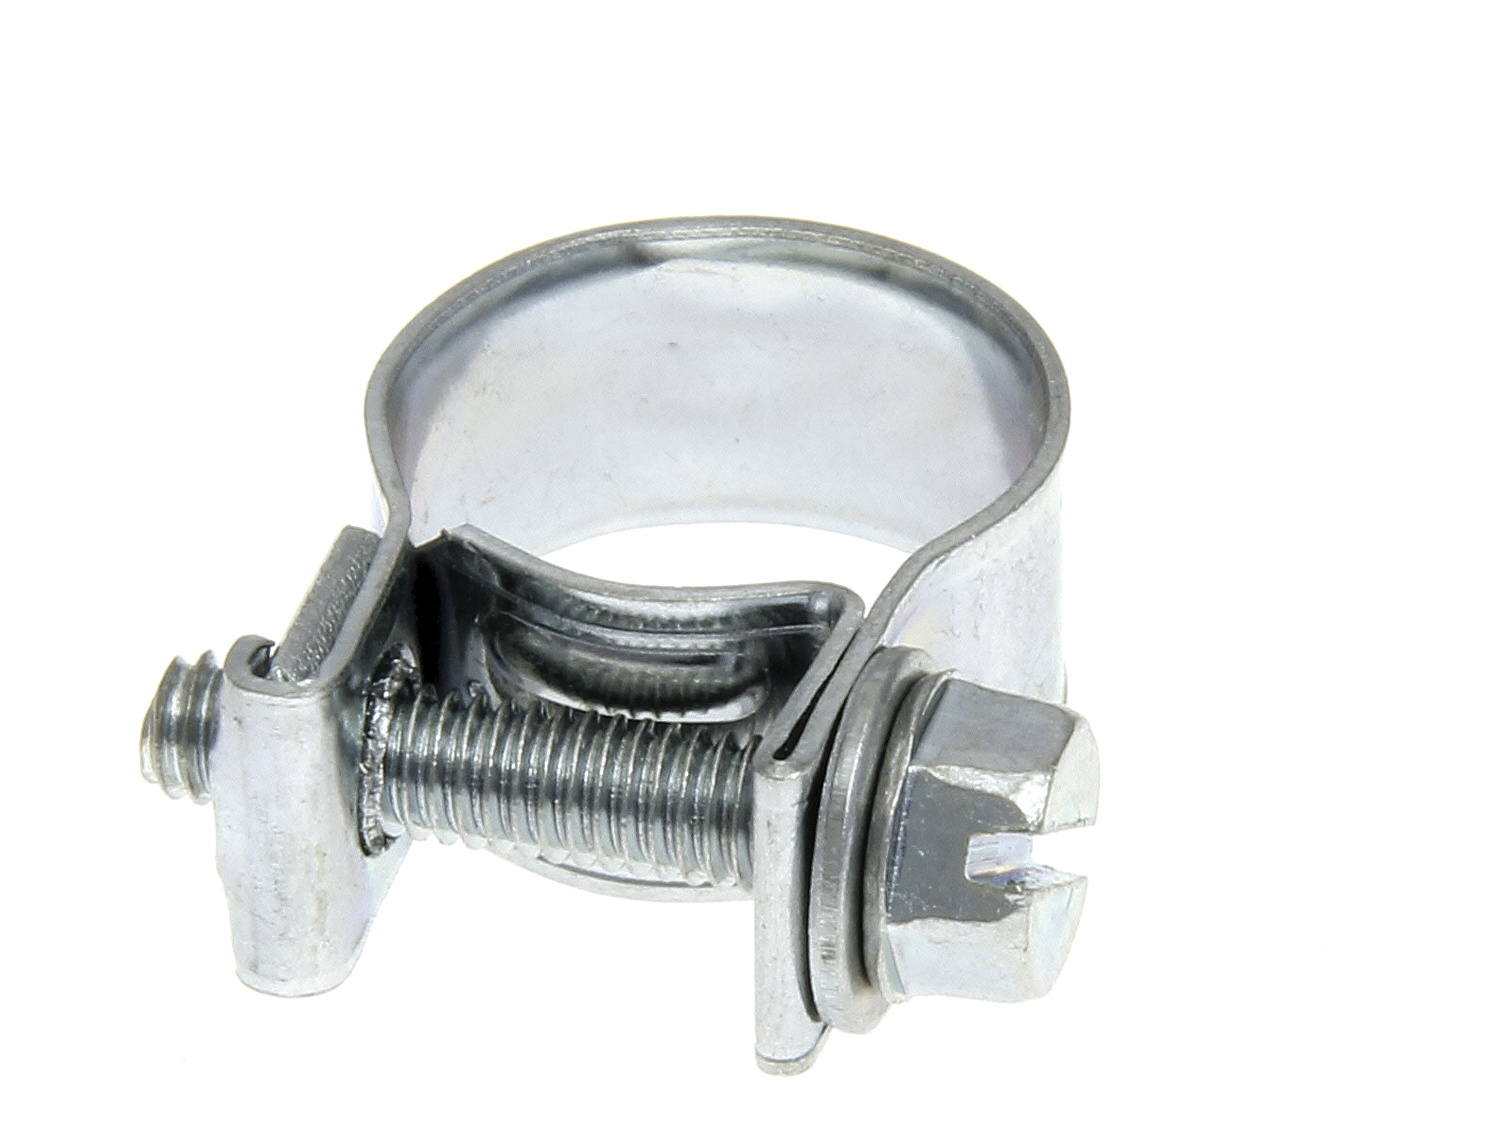
If you don't have a pipe clamp or epoxy putty on hand, a simple temporary fix for a leaking pipe is to wrap it with rubber and secure it with hose clamps. This method works best for smaller leaks and can provide a quick solution until a permanent fix can be made. To use this method, cut a piece of rubber, such as an old bike inner tube or a rubber sheet, and wrap it tightly around the leak. Then, place hose clamps over the rubber and tighten them with a screwdriver. The rubber will create a barrier between the leak and the clamps, preventing them from damaging the pipe.3. Wrap the pipe with rubber and hose clamps

3. Wrap the pipe with rubber and hose clamps


If the leak is larger, a rubber patch may be a better temporary solution. This method is similar to using rubber and hose clamps, but the rubber is cut to fit the size of the leak and is secured with hose clamps on both ends. This will create a stronger seal and can hold up for a longer period of time. To use a rubber patch, first clean and dry the affected area. Then, cut a piece of rubber slightly larger than the leak and place it over the affected area. Secure it with hose clamps on both ends, making sure they are tight enough to create a seal but not so tight that they damage the pipe.4. Use a rubber patch and hose clamps


4. Use a rubber patch and hose clamps


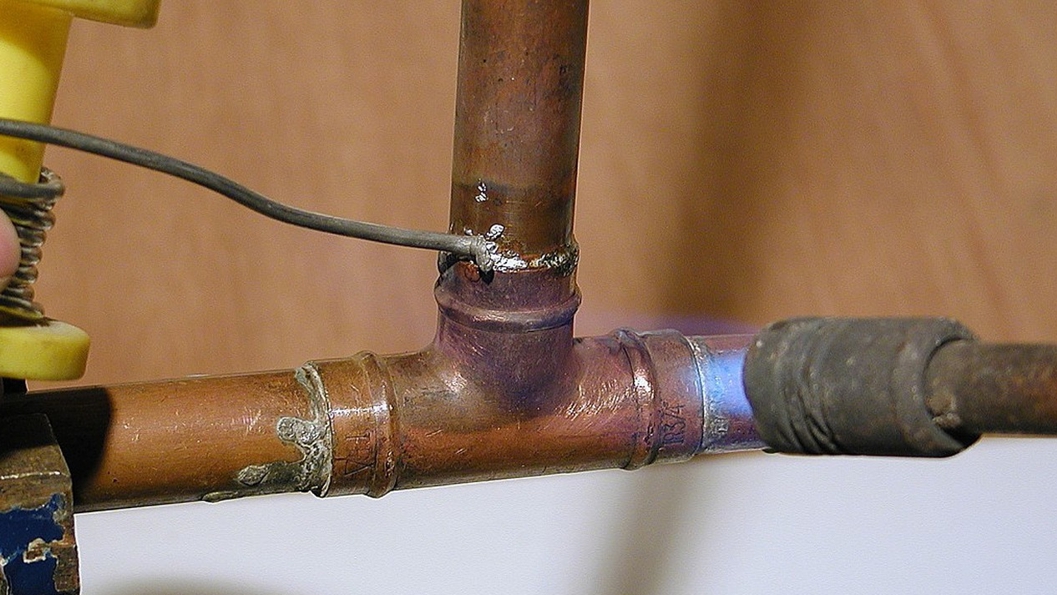
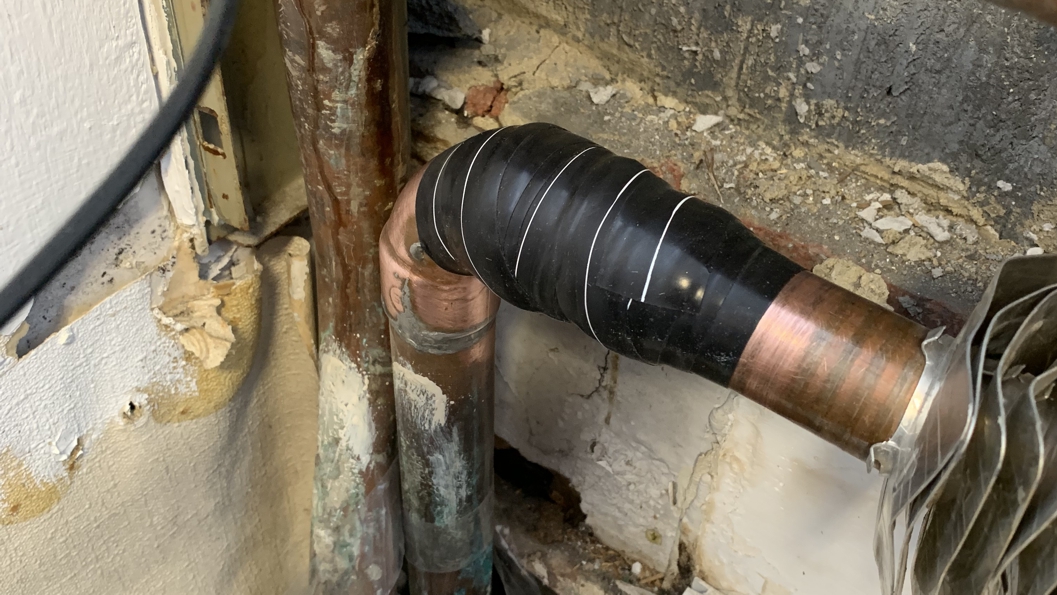
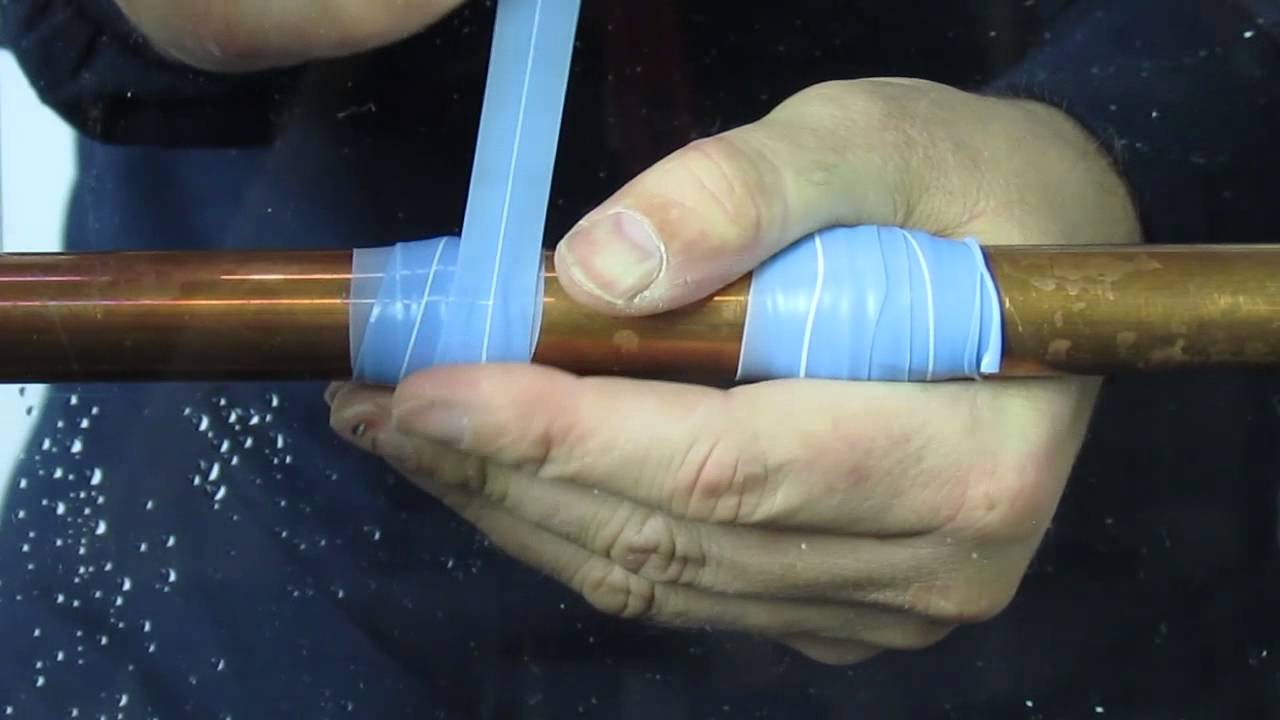
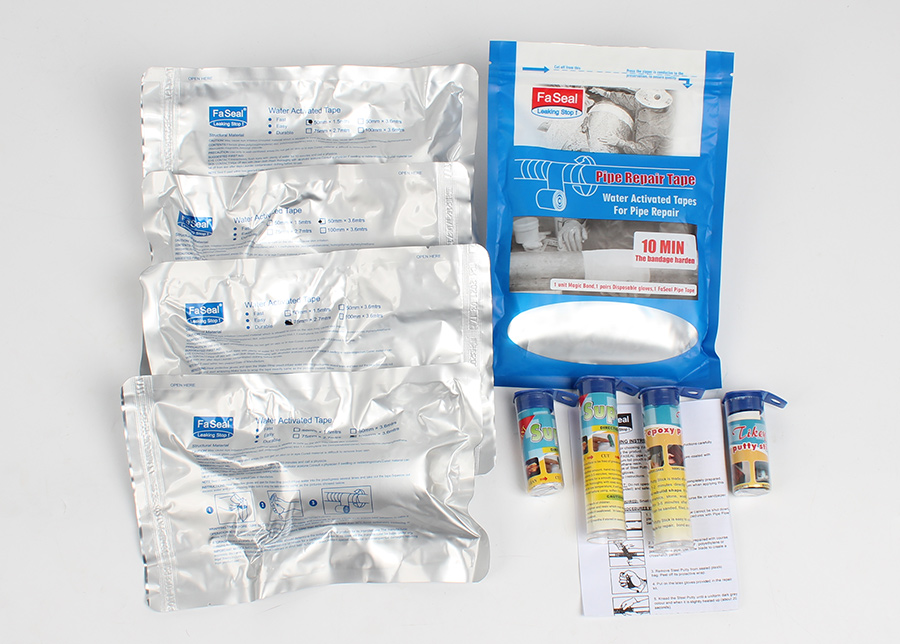
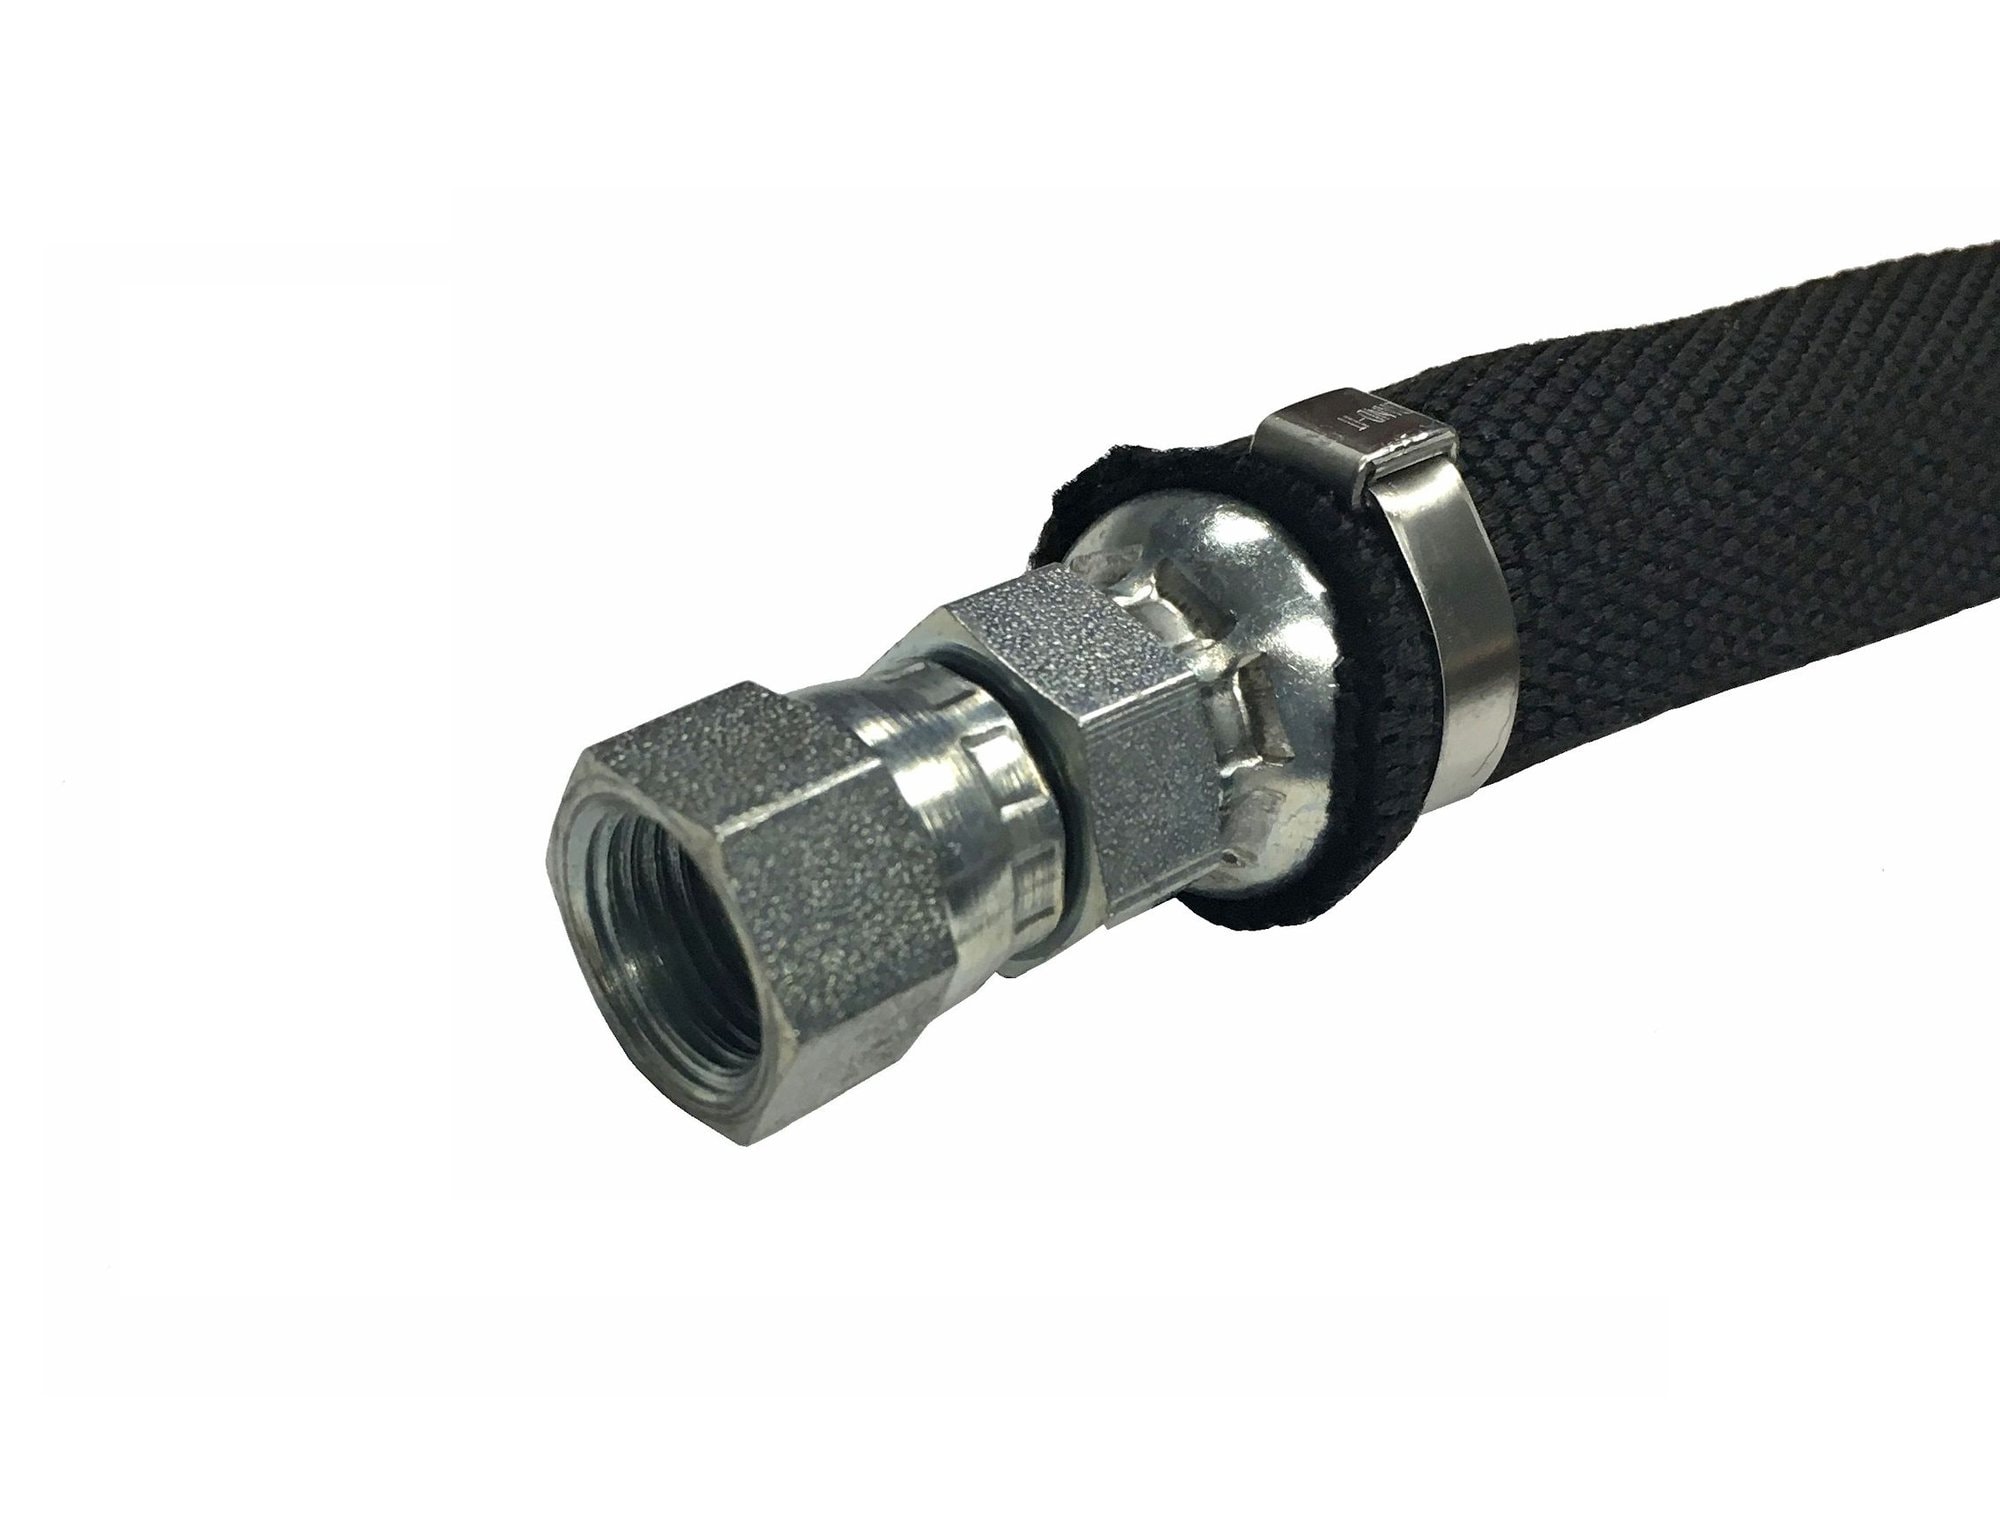
Pipe repair tape, also known as silicone tape or self-fusing tape, is a stretchy, rubber-based tape that can create a temporary seal for leaking pipes. It is designed to bond to itself and create a waterproof barrier around the affected area. To use pipe repair tape, simply wrap it tightly around the leak, stretching it as you go to create a tight seal. The tape will bond to itself and create a strong, temporary fix for the leak. Keep in mind that this is only a temporary solution and should be replaced with a more permanent fix as soon as possible.5. Apply a pipe repair tape


5. Apply a pipe repair tape


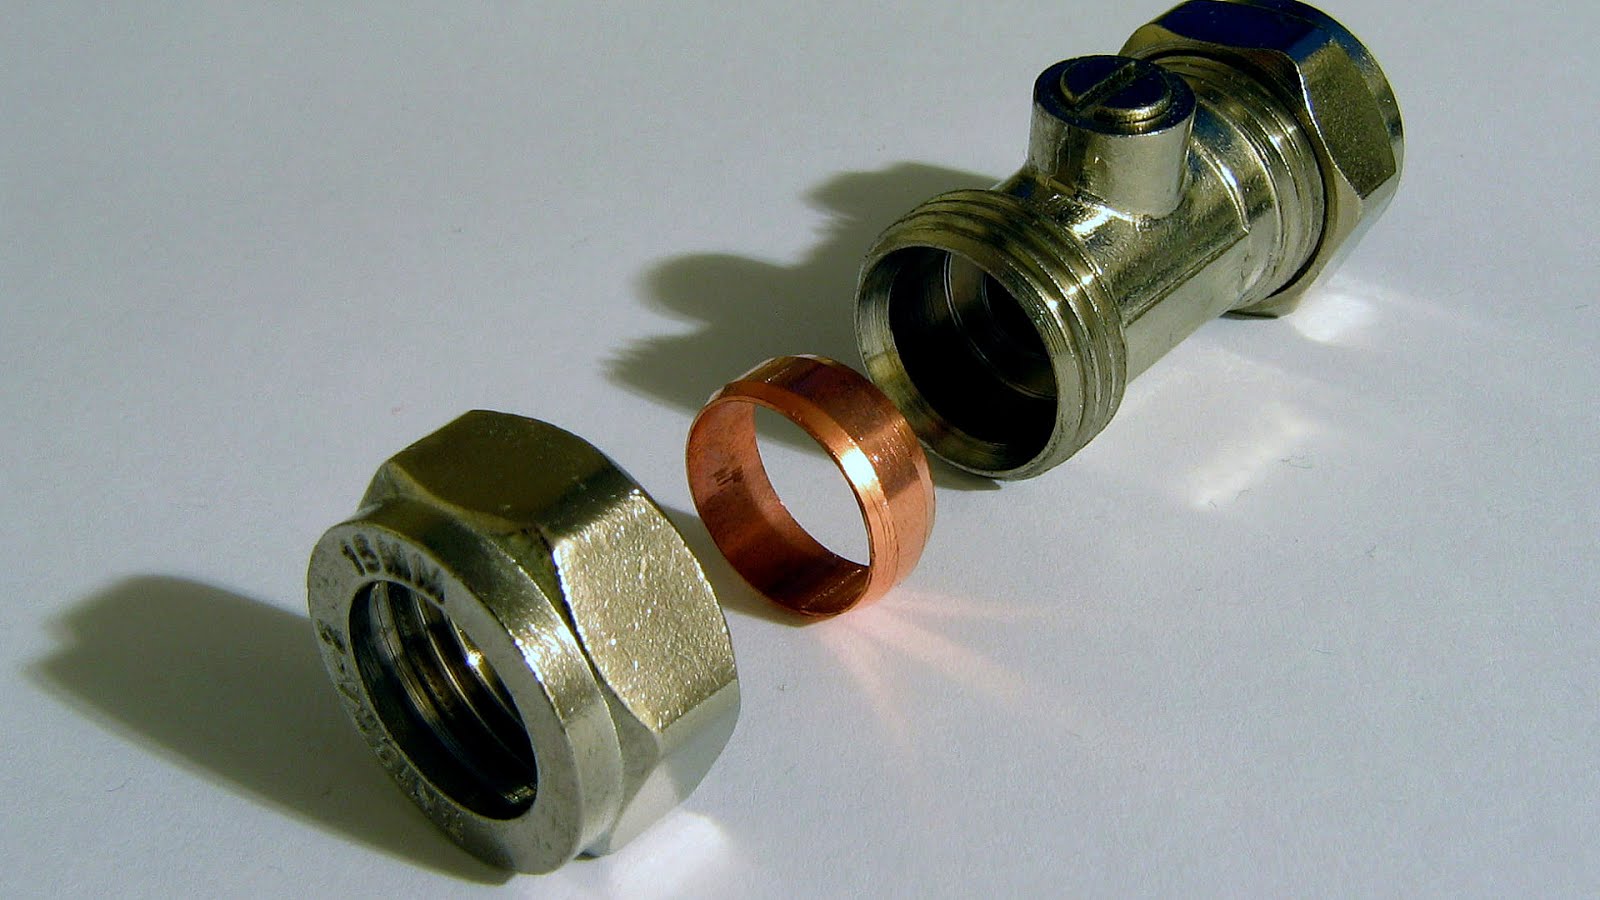
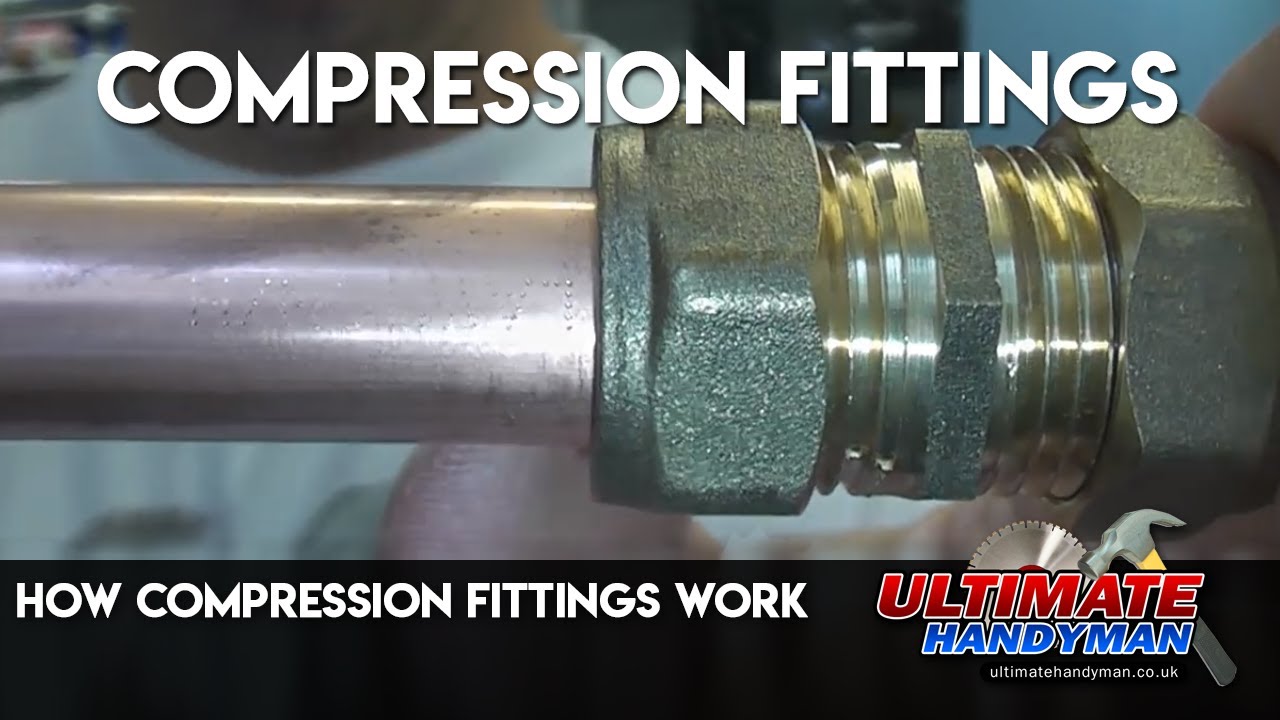
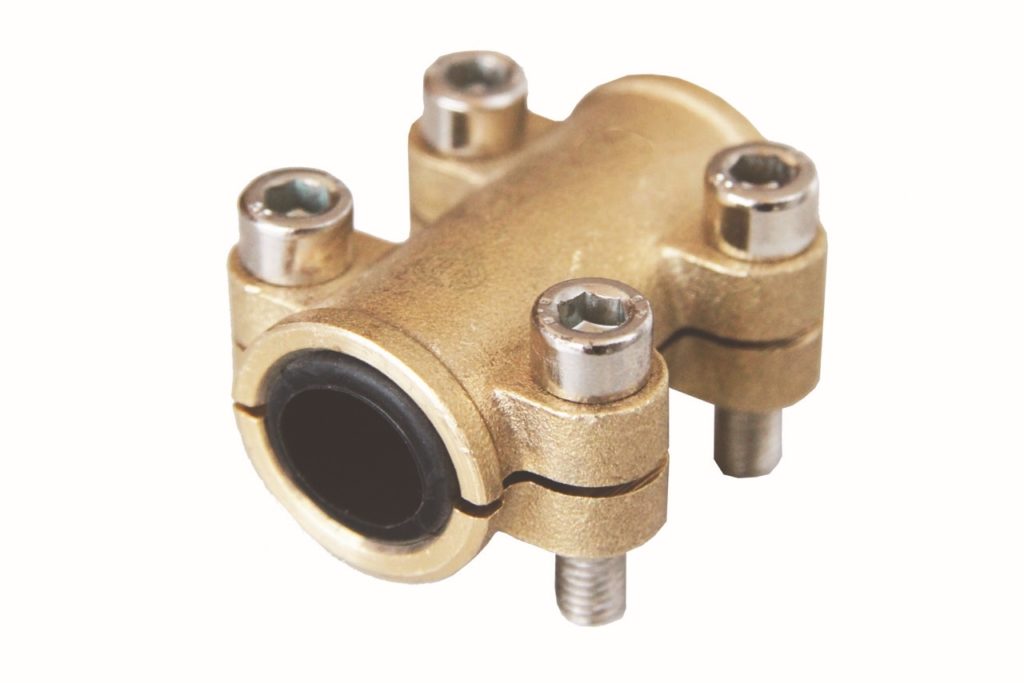
A compression fitting is a type of plumbing fitting that uses pressure to create a seal. It can be a useful temporary fix for a leaking pipe under your kitchen sink. Compression fittings are readily available at most hardware stores and can be easily installed without the need for any special tools. To use a compression fitting, first shut off the water supply and drain the affected pipe. Then, place the fitting over the leak and tighten the compression nut with a wrench. This will create a strong seal and stop the leak temporarily.6. Use a compression fitting

6. Use a compression fitting


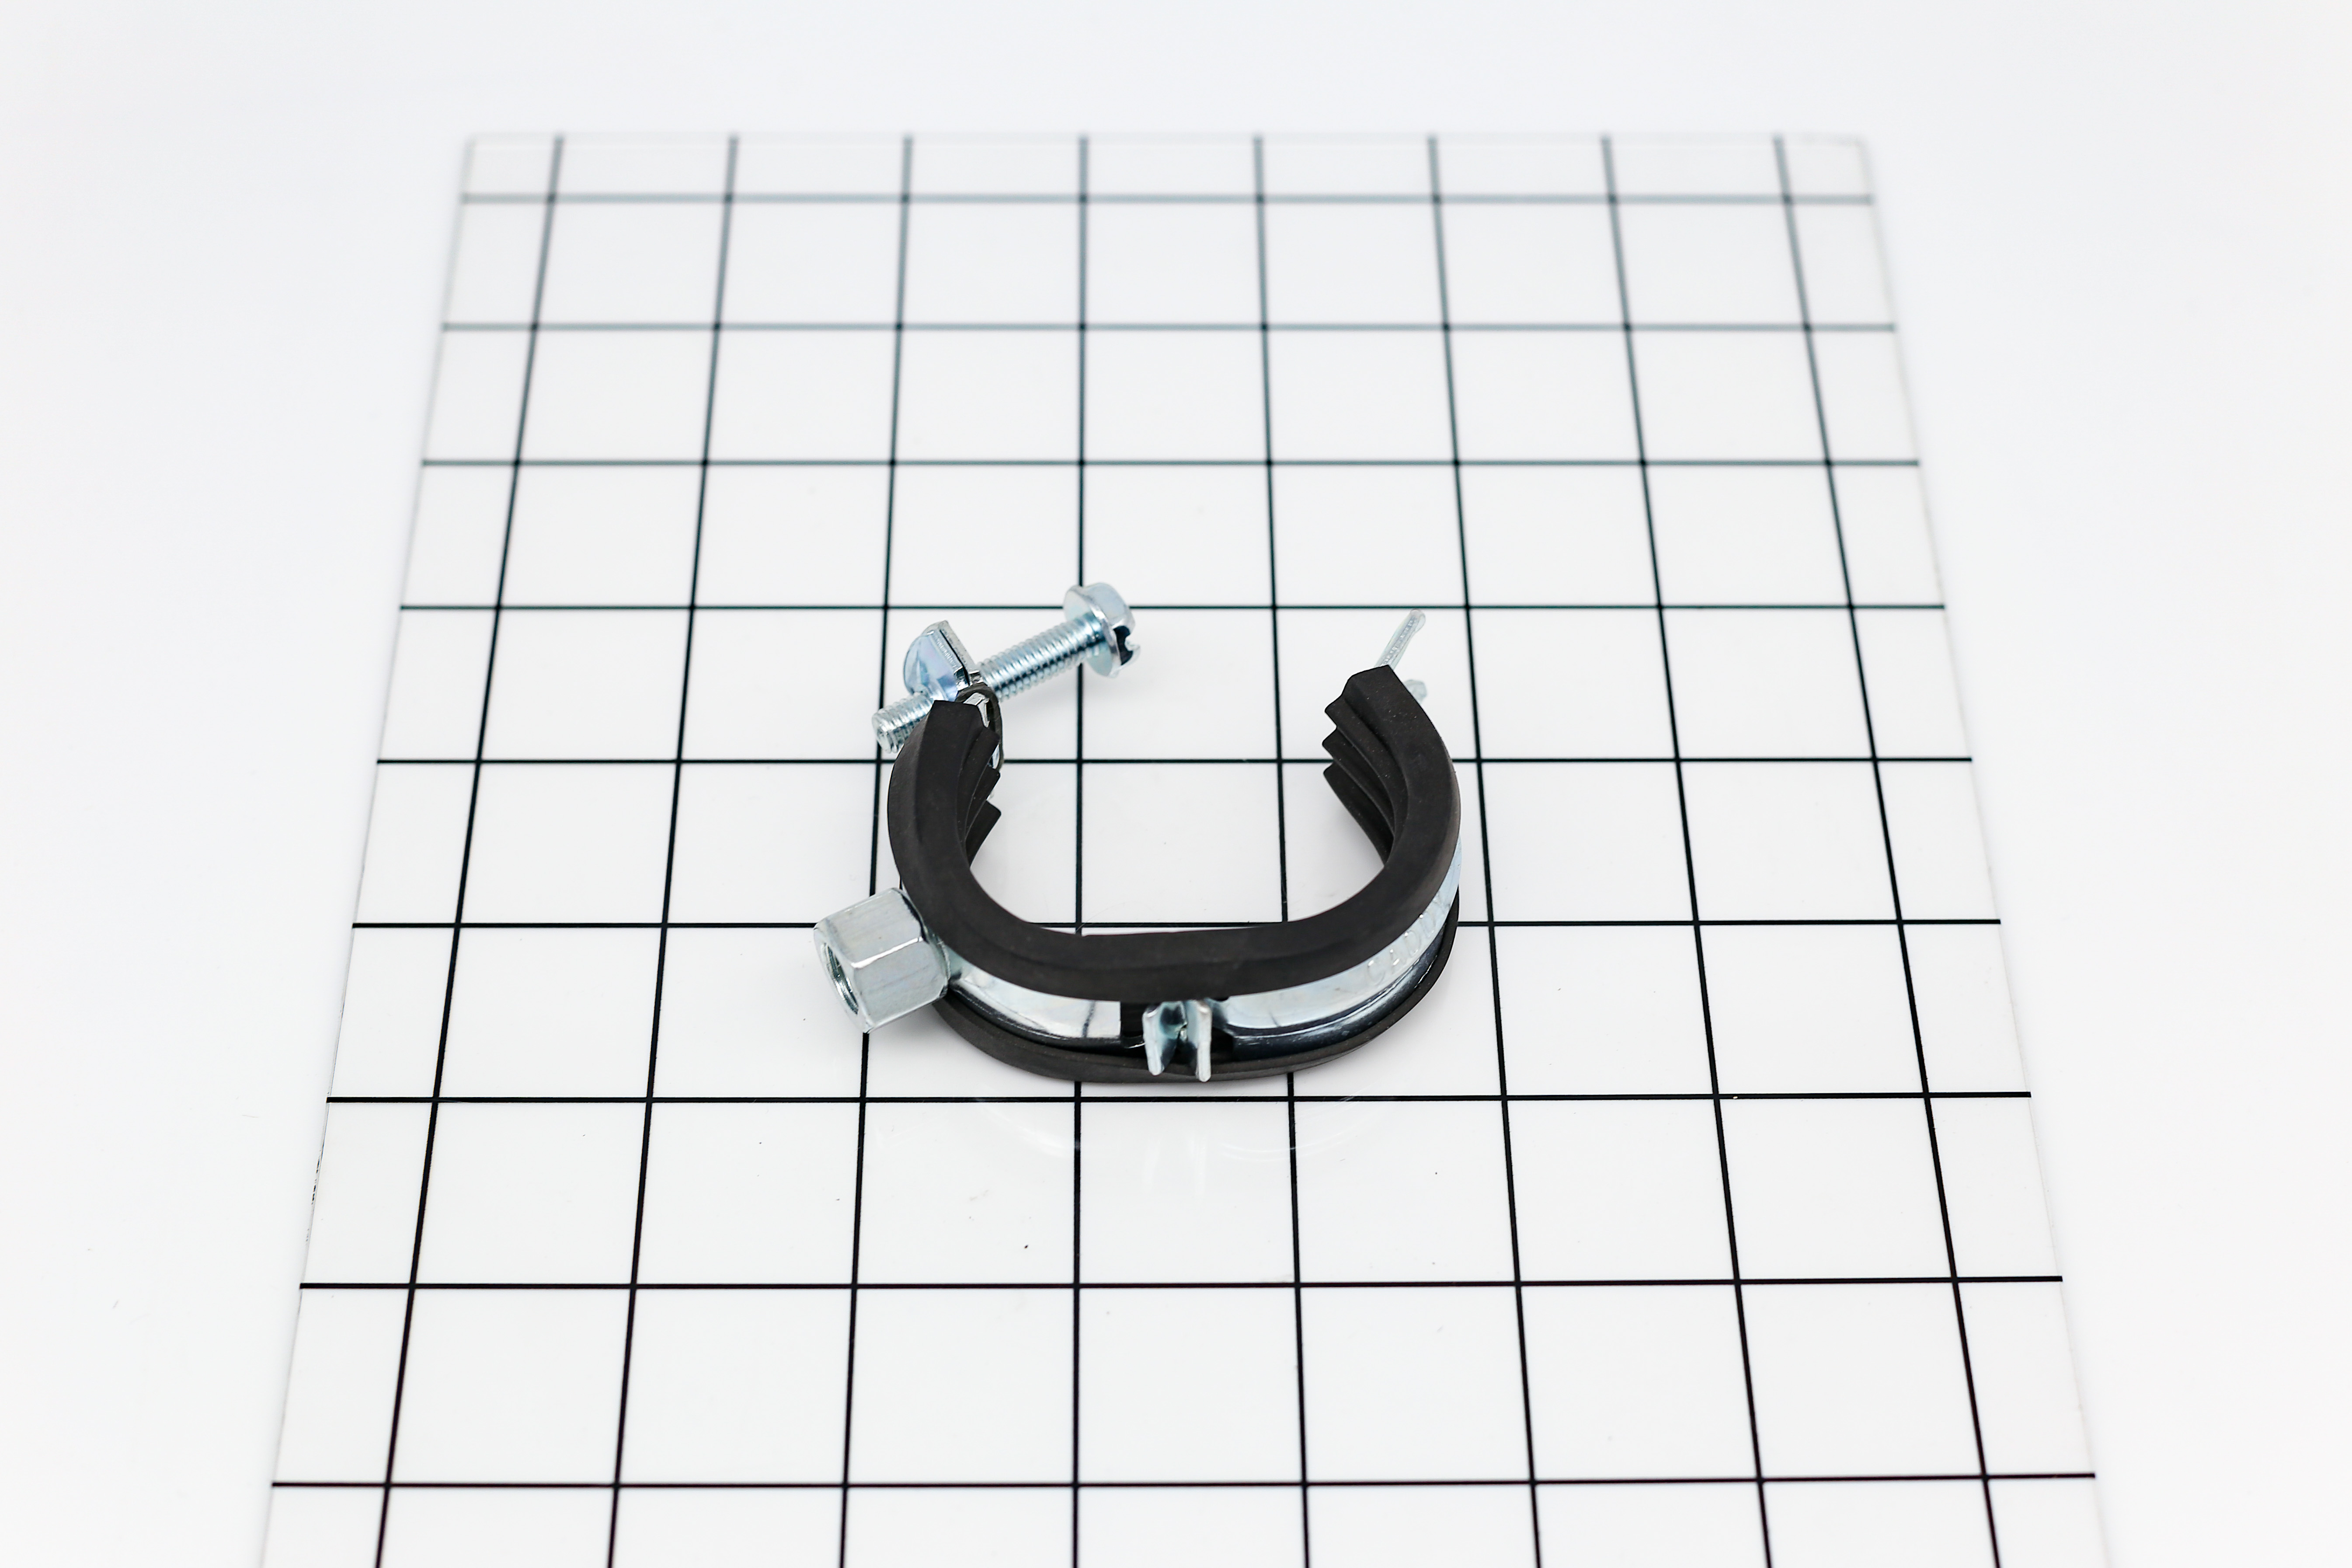
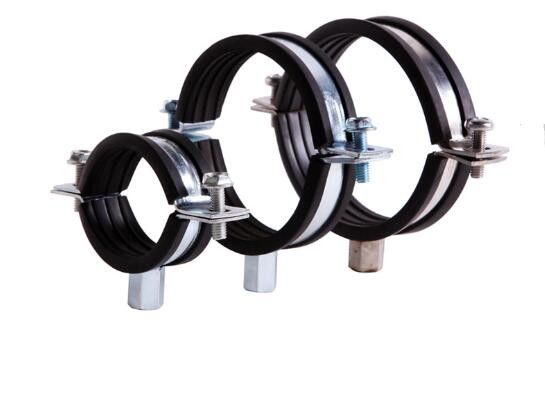
A rubber sleeve, also known as a pipe coupling or repair sleeve, is a rubber cylinder that can be used to seal a leak in a pipe. It is a quick and easy solution that can last for several months until a permanent repair can be made. To use a rubber sleeve, first clean and dry the affected area. Then, slide the sleeve over the leak and secure it with hose clamps on both ends. The rubber will create a seal and prevent any further leaking. Keep in mind that this is only a temporary fix and should be replaced with a more permanent solution as soon as possible.7. Apply a rubber sleeve and hose clamps

7. Apply a rubber sleeve and hose clamps


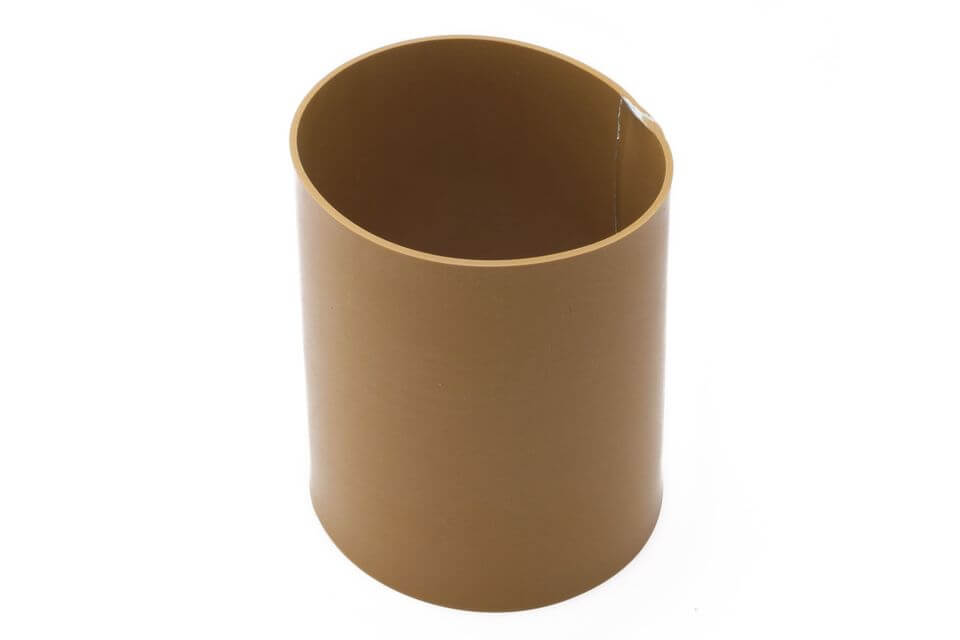

If you don't have a rubber sleeve on hand, a rubber sheet can also be used as a temporary fix for a leaking pipe. This method is similar to using a rubber patch, but the sheet is wrapped around the entire pipe and secured with hose clamps. To use a rubber sheet, first clean and dry the affected area. Then, cut a piece of rubber that is long enough to wrap around the pipe and wide enough to cover the leak. Wrap the rubber tightly around the pipe and secure it with hose clamps on both ends. This will create a strong seal and prevent any further leaking.8. Use a rubber sheet and hose clamps


8. Use a rubber sheet and hose clamps


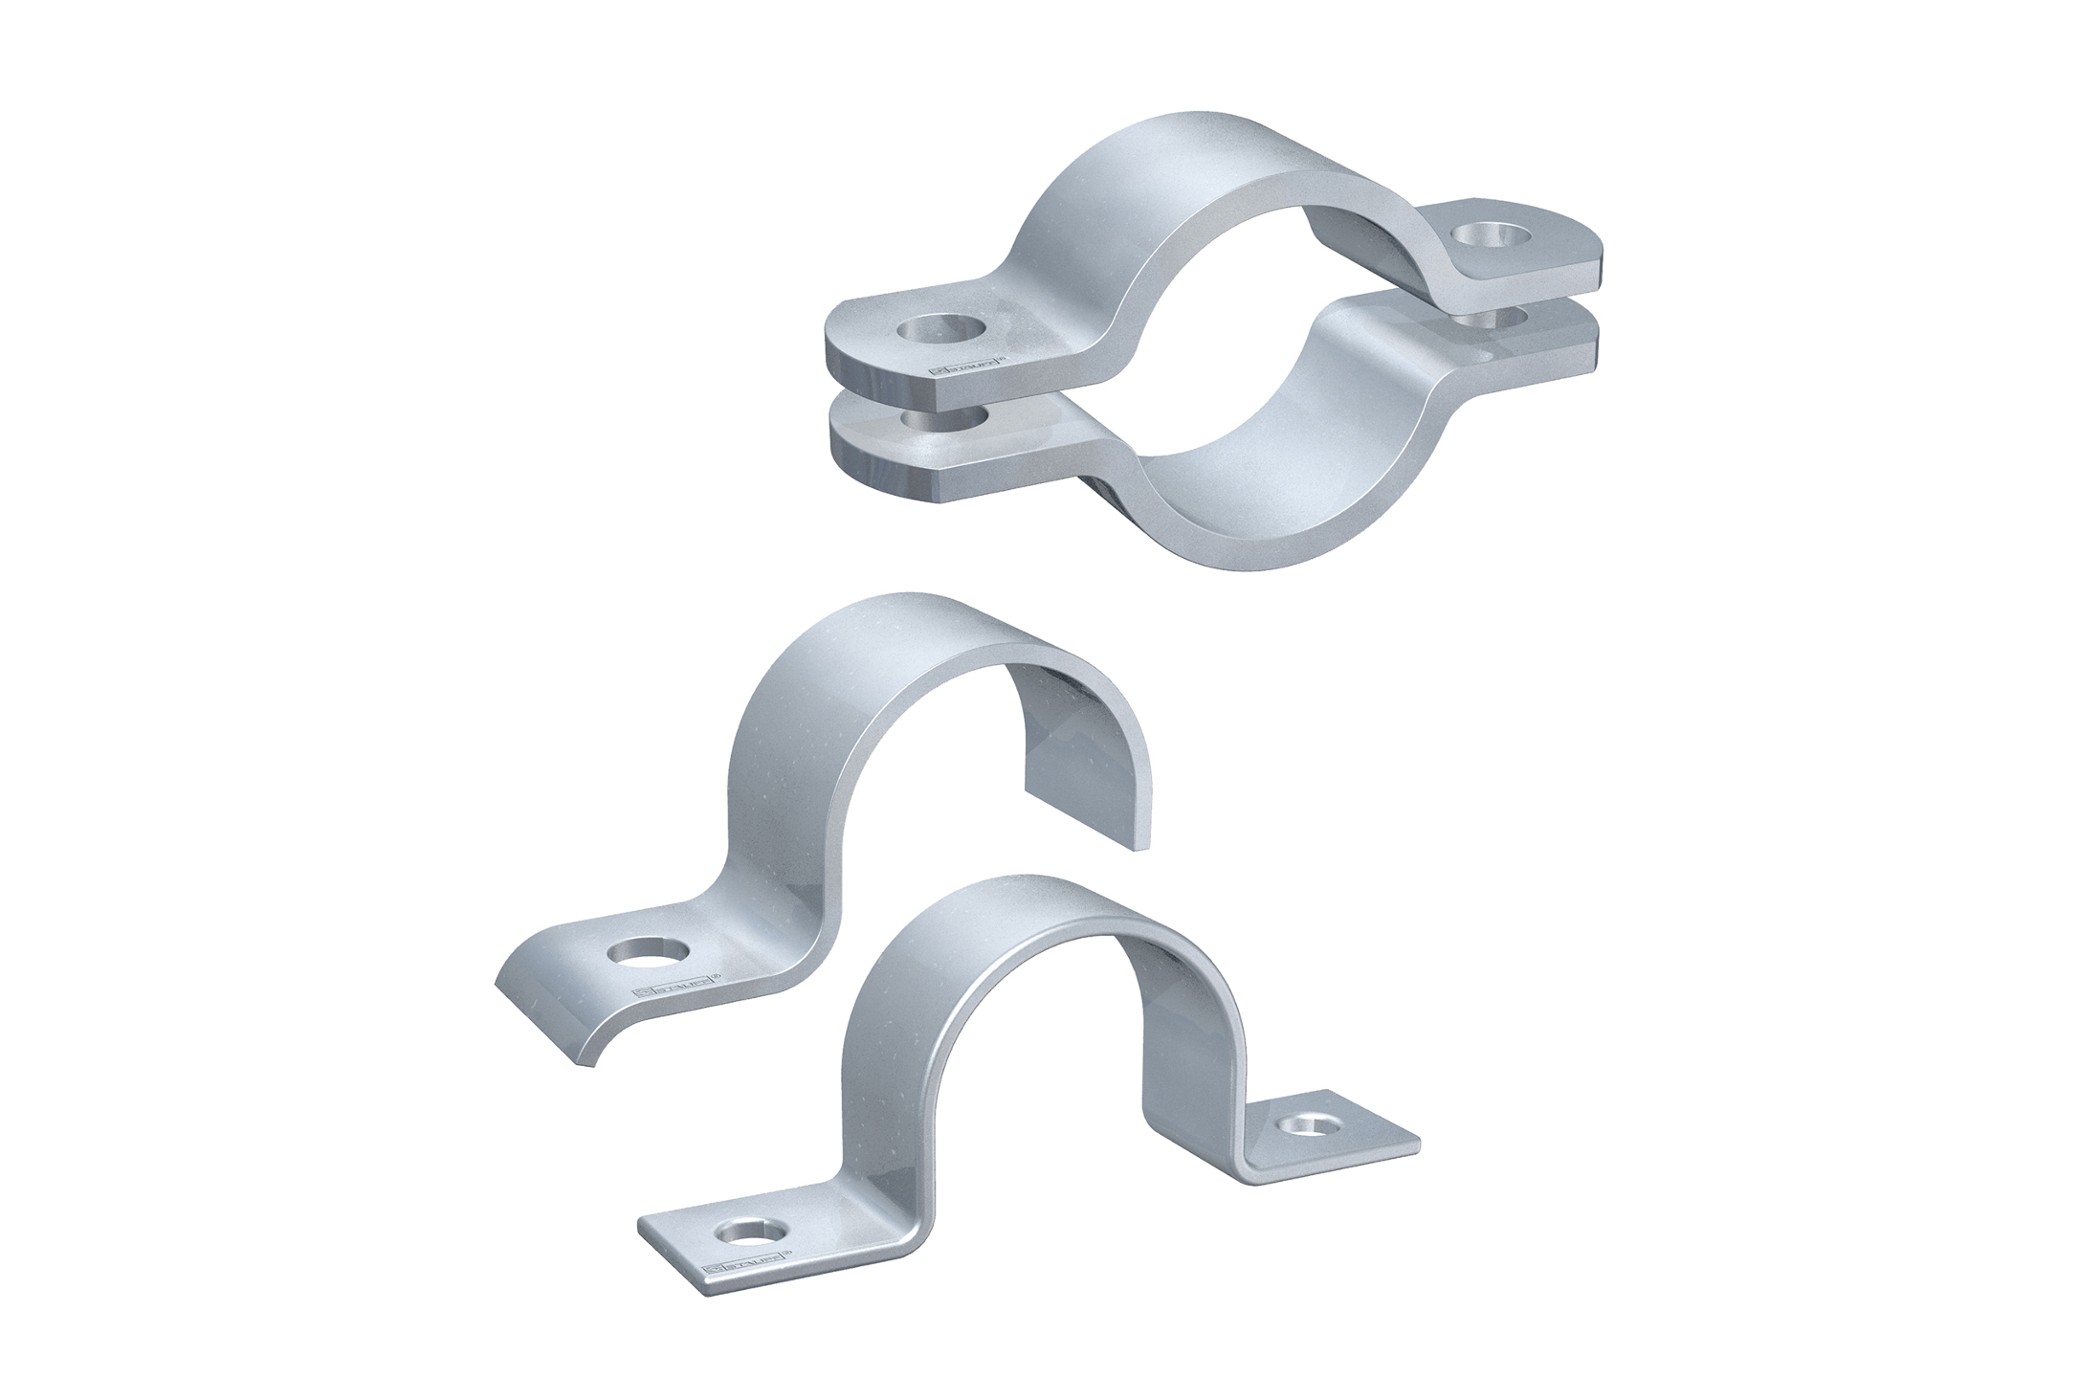
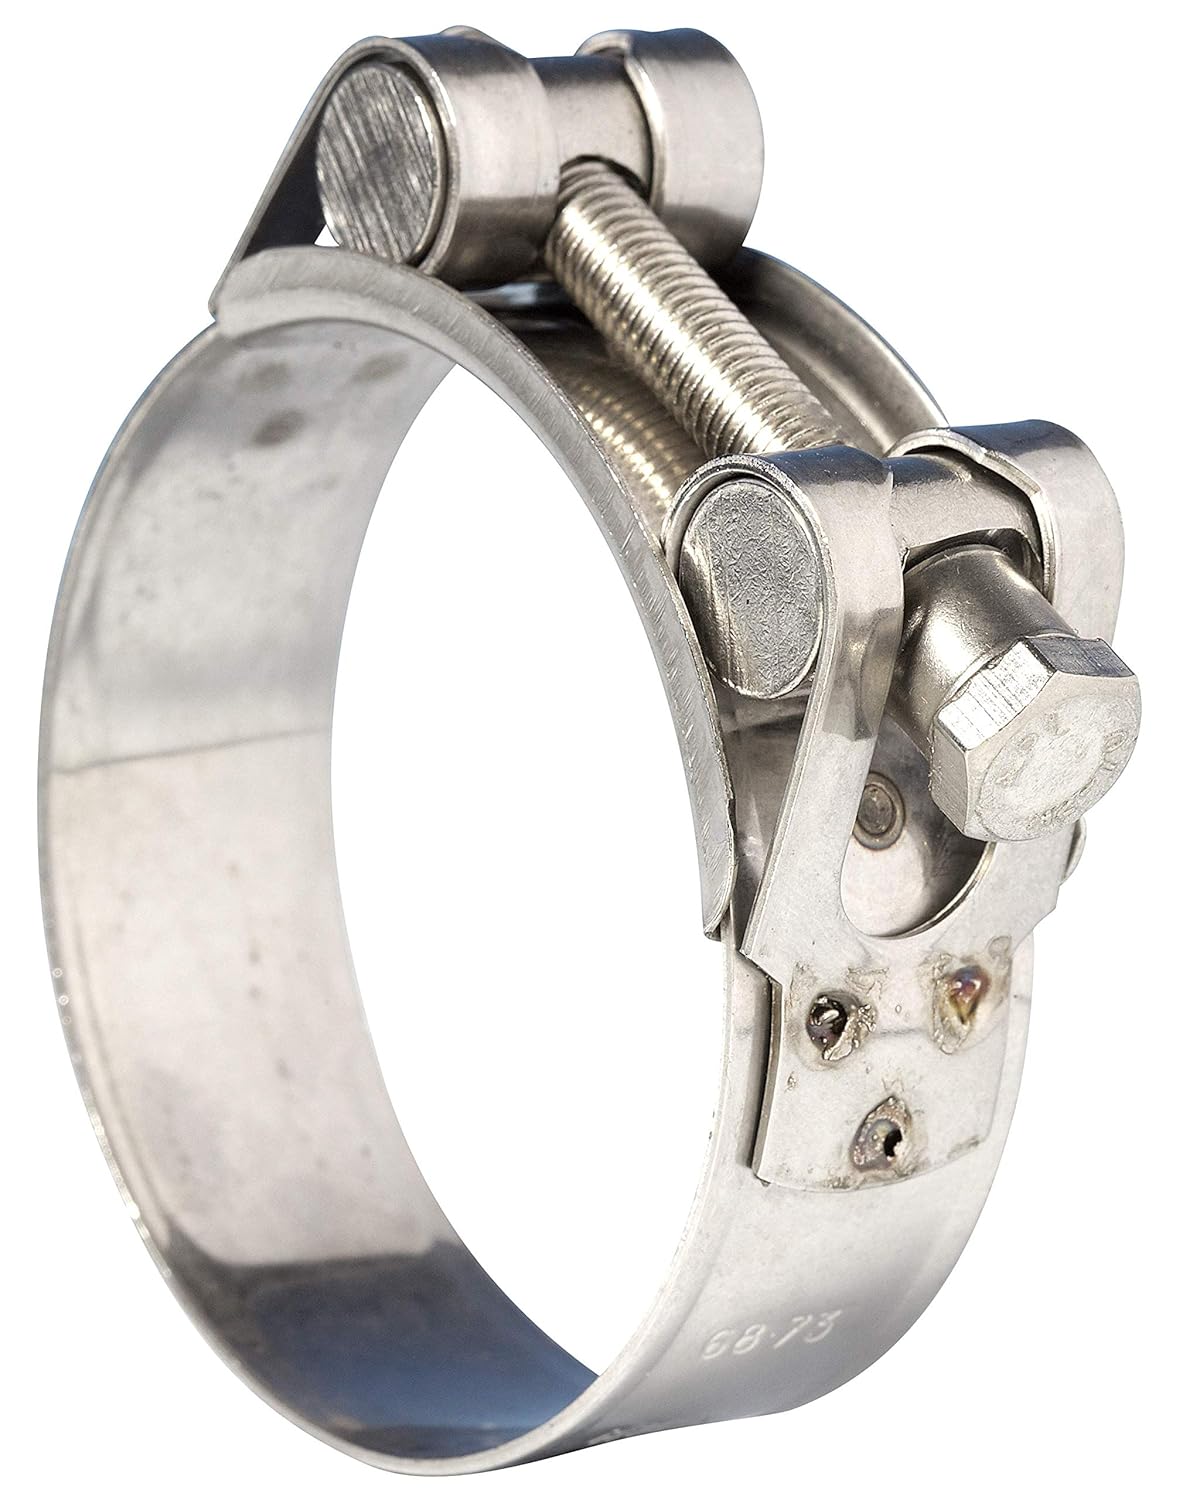
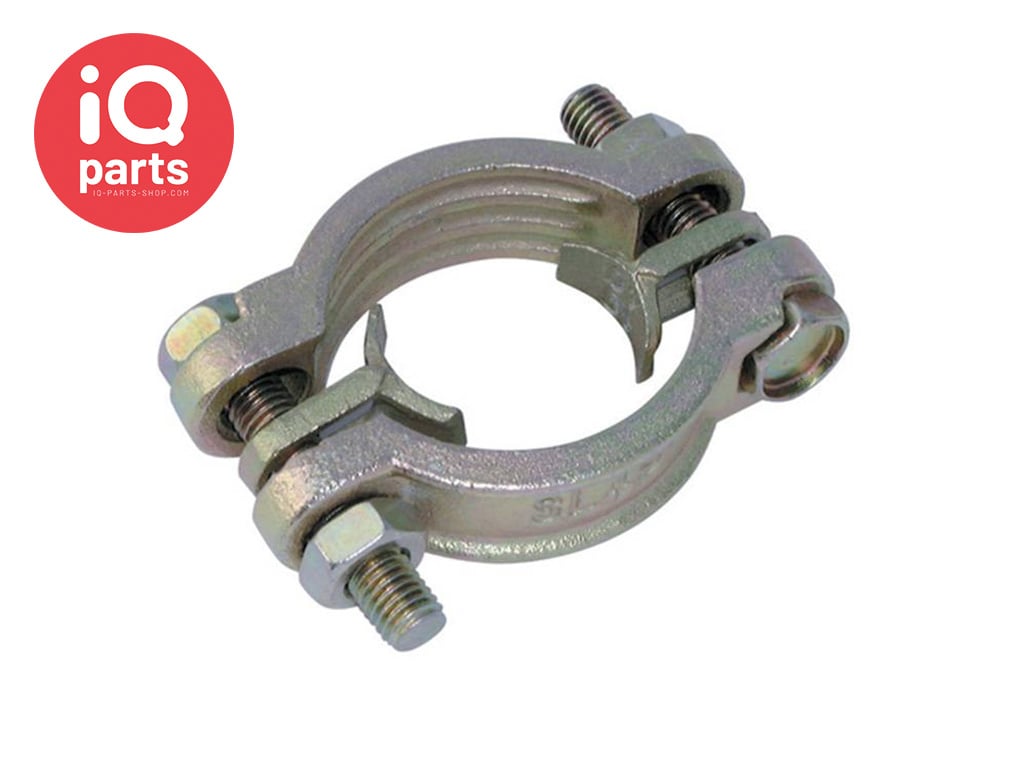
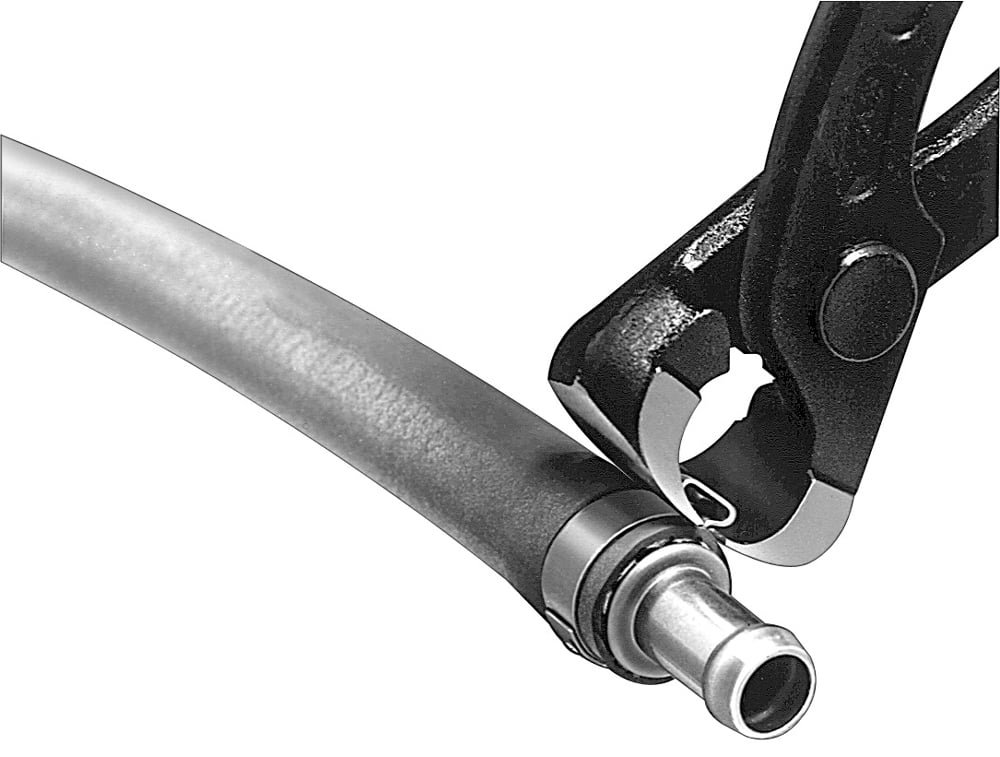
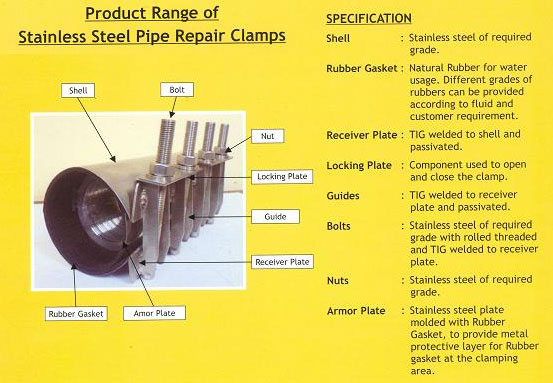
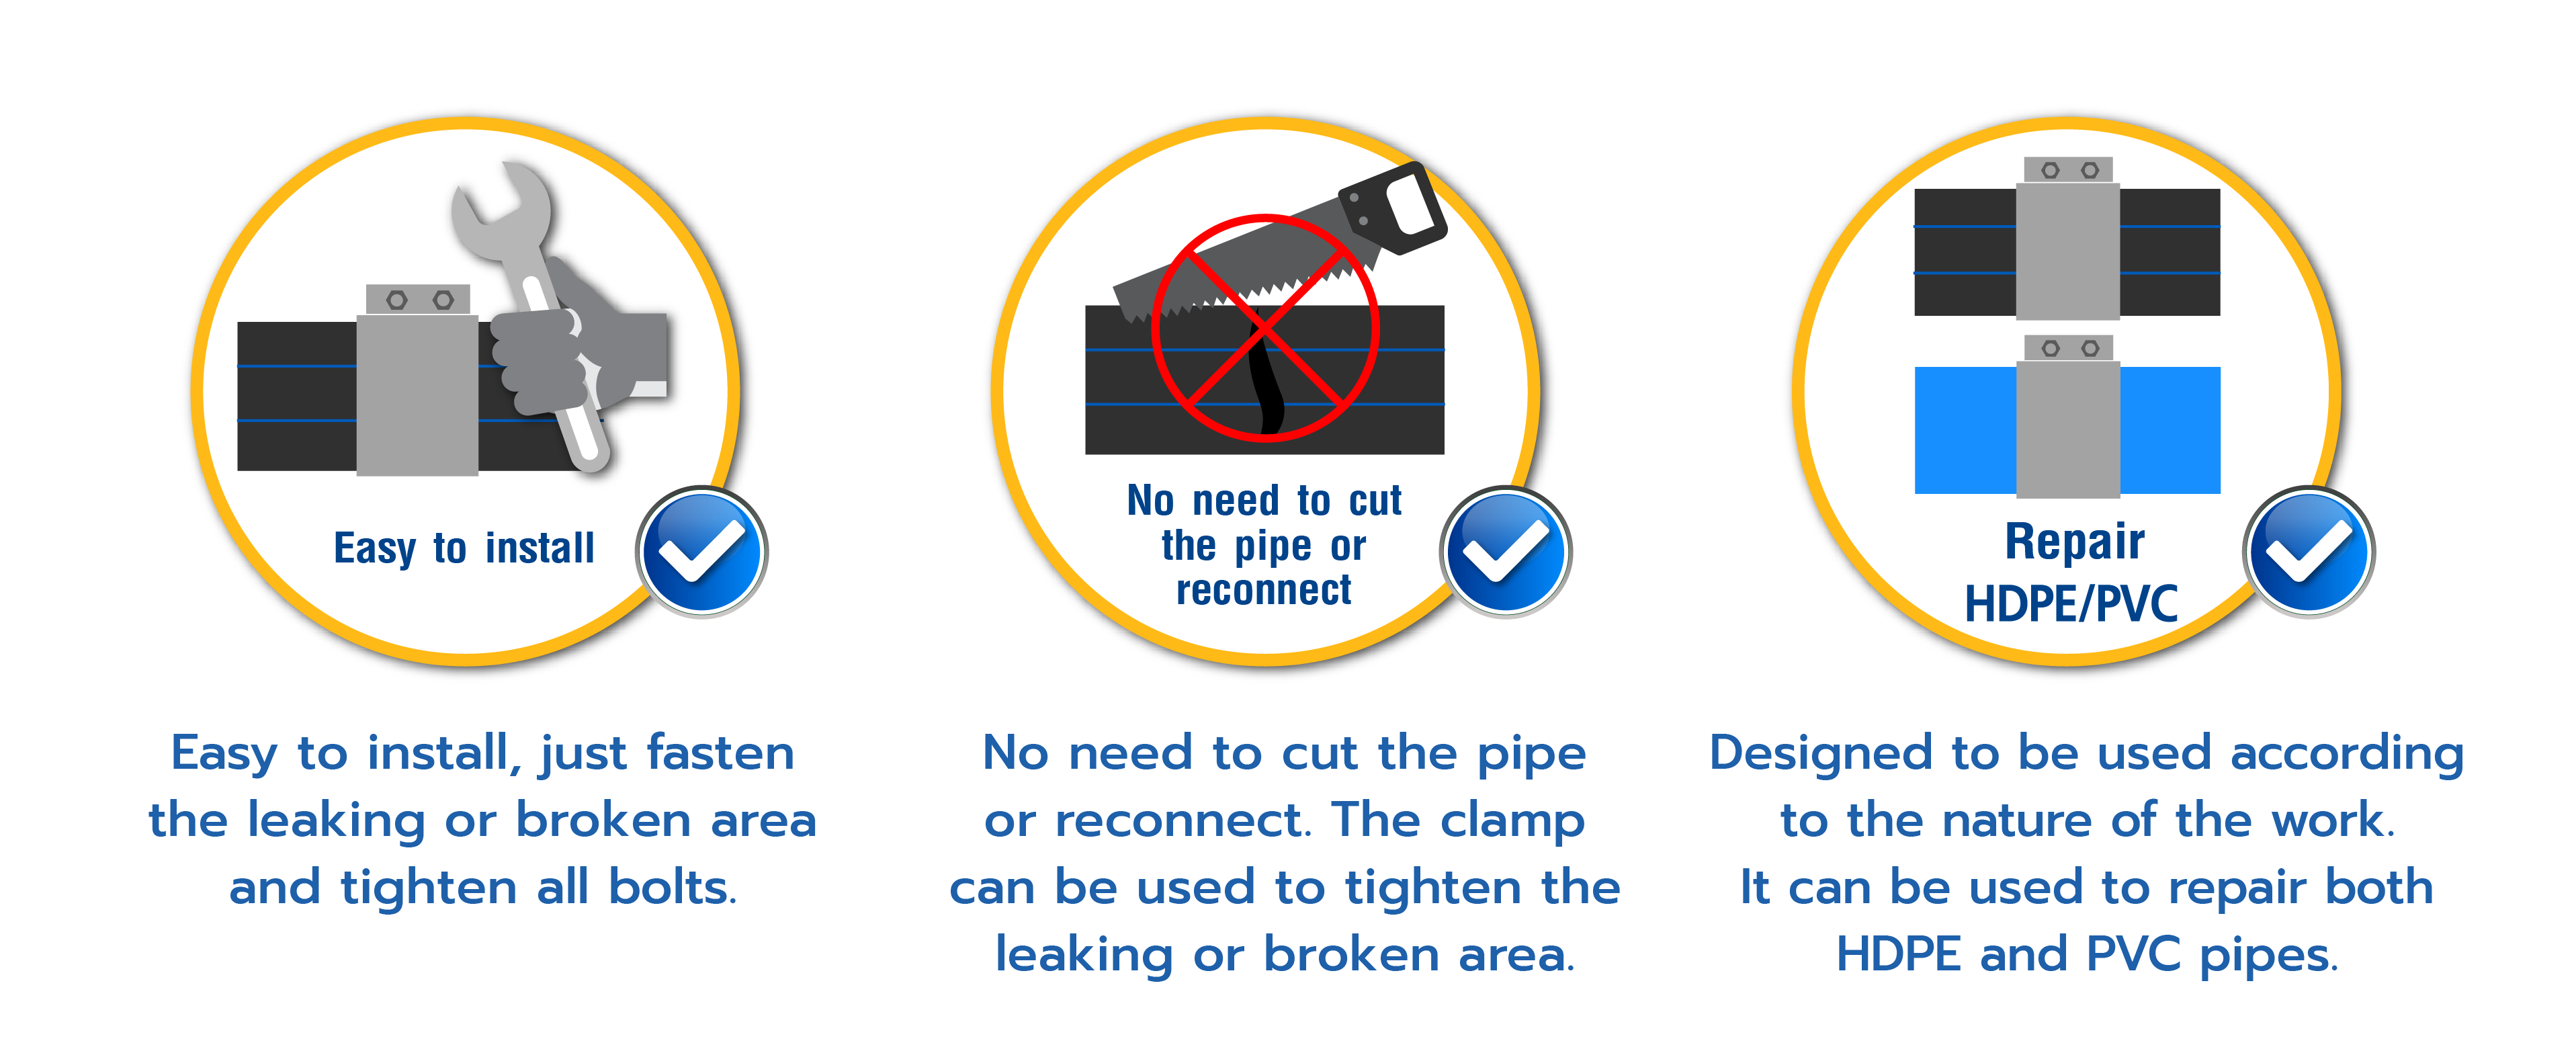
A pipe repair clamp is a metal clamp that can be used to temporarily seal a leaking pipe. It is designed with rubber gaskets on the inside to create a watertight seal around the affected area. Pipe repair clamps come in various sizes and can be found at most hardware stores. To use a pipe repair clamp, first shut off the water supply and dry the affected area. Then, place the clamp over the leak and tighten it with a screwdriver or wrench. The rubber gaskets will compress and create a seal, stopping the leak temporarily.9. Apply a pipe repair clamp
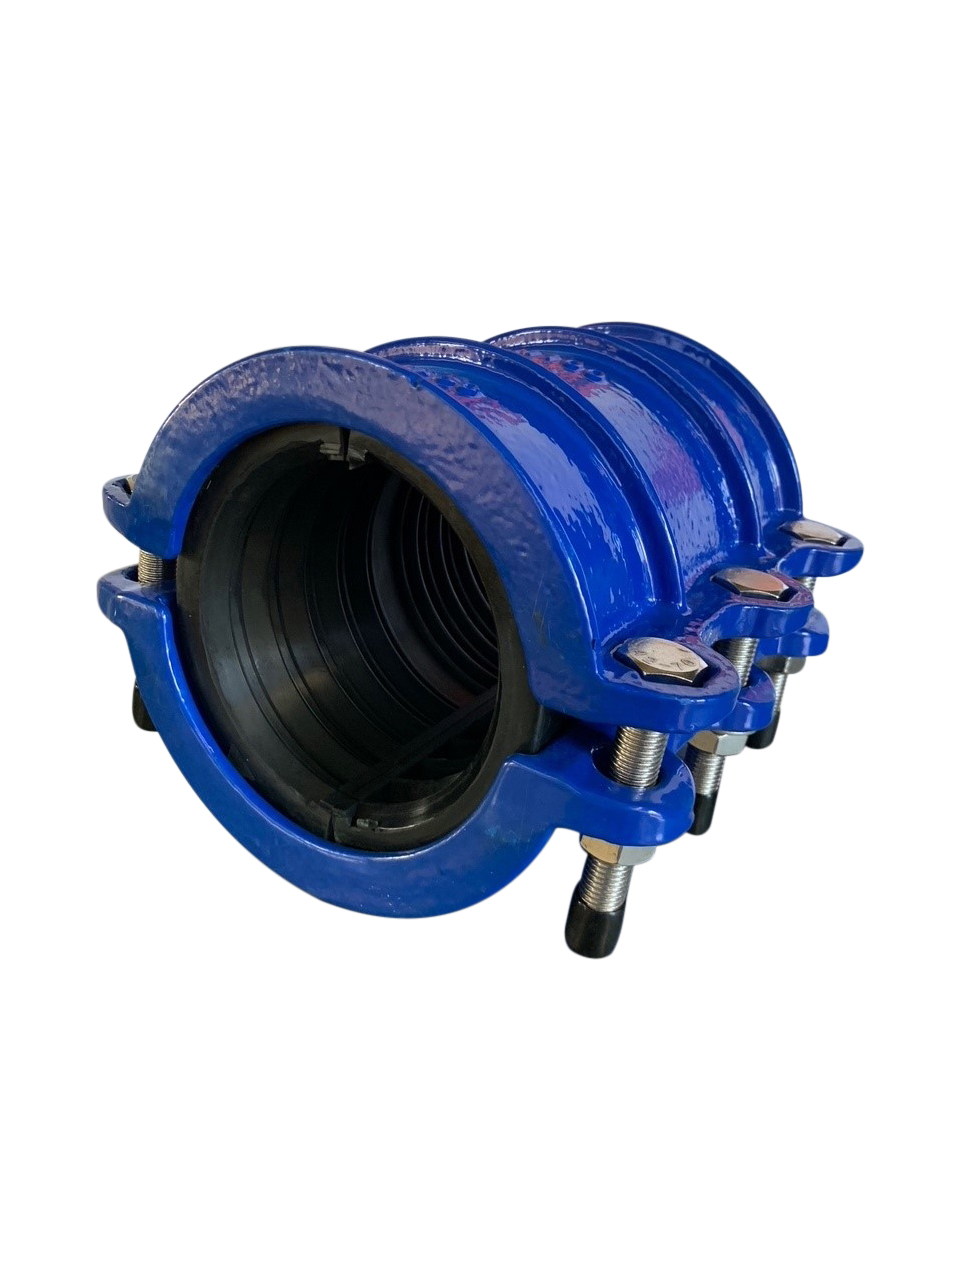
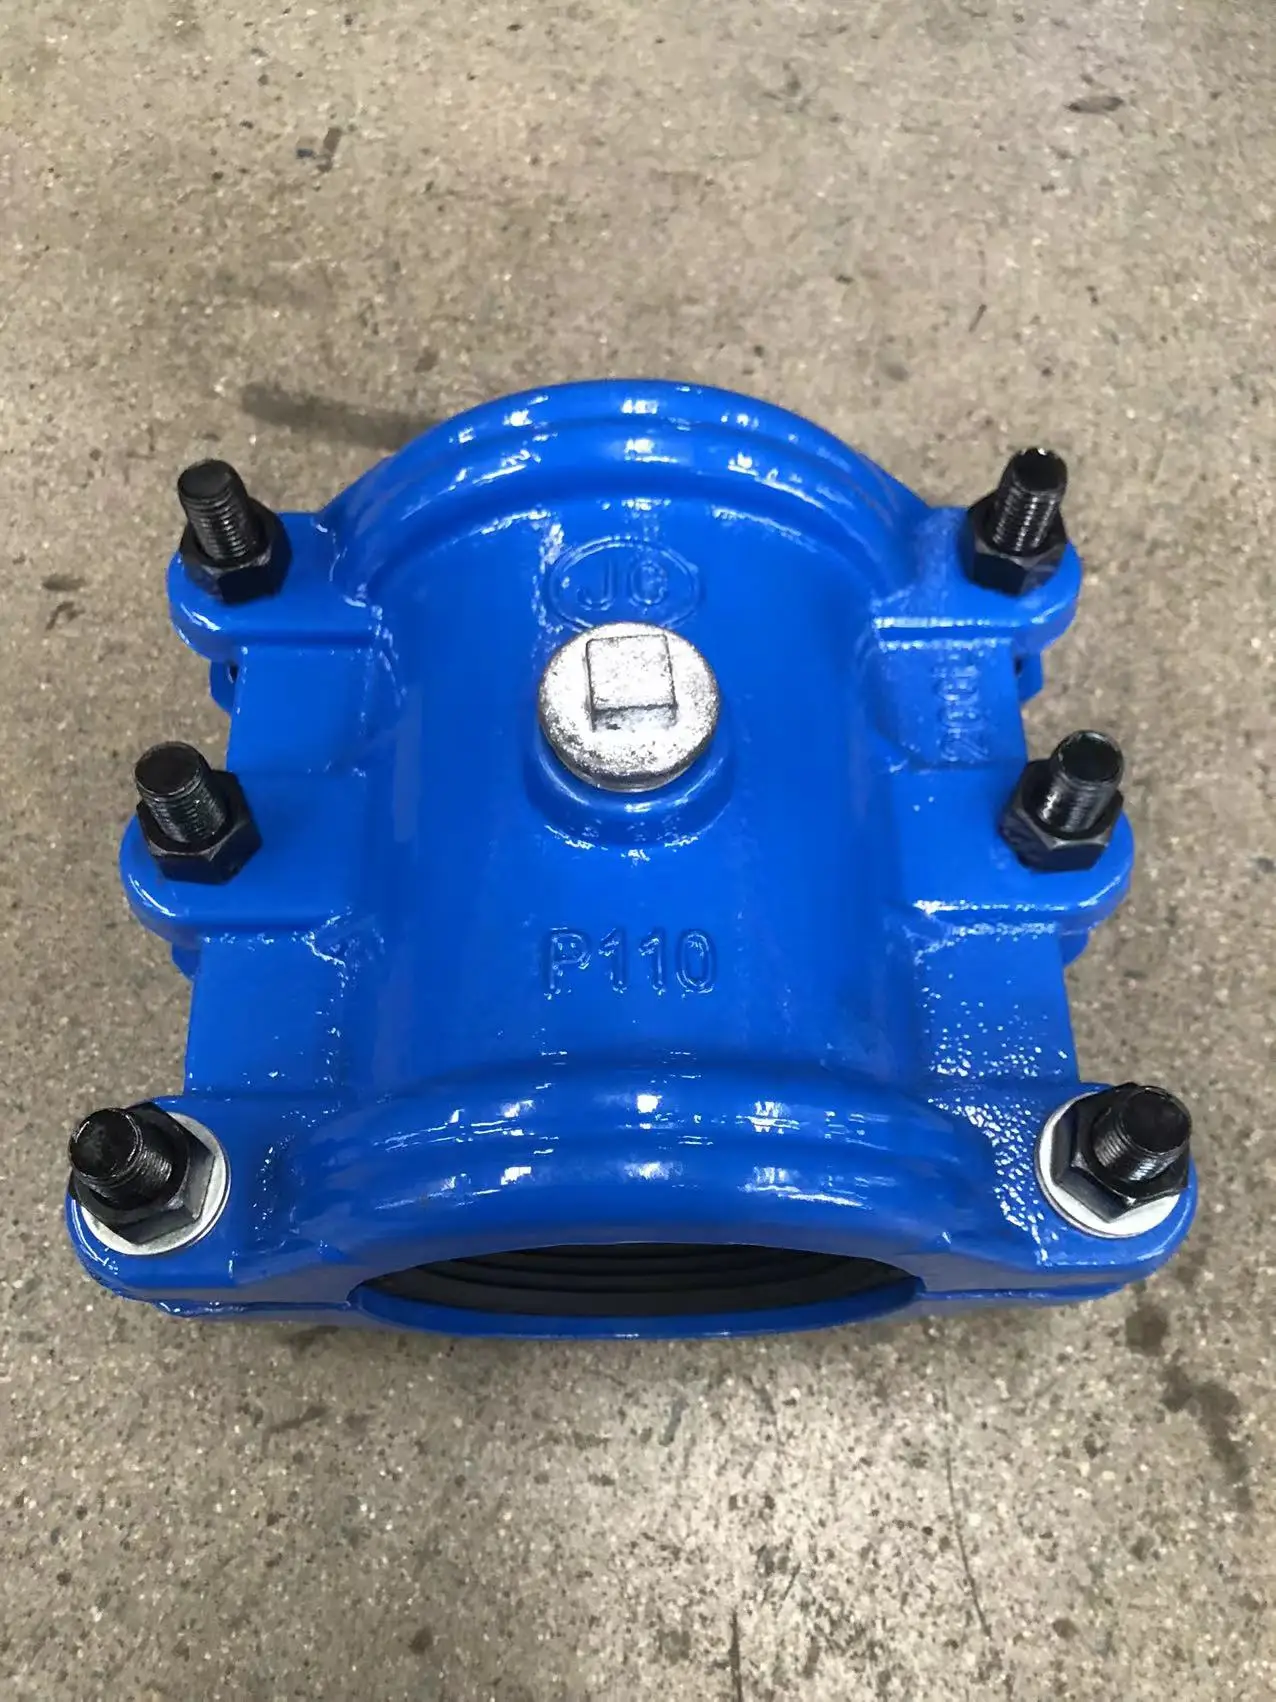

9. Apply a pipe repair clamp


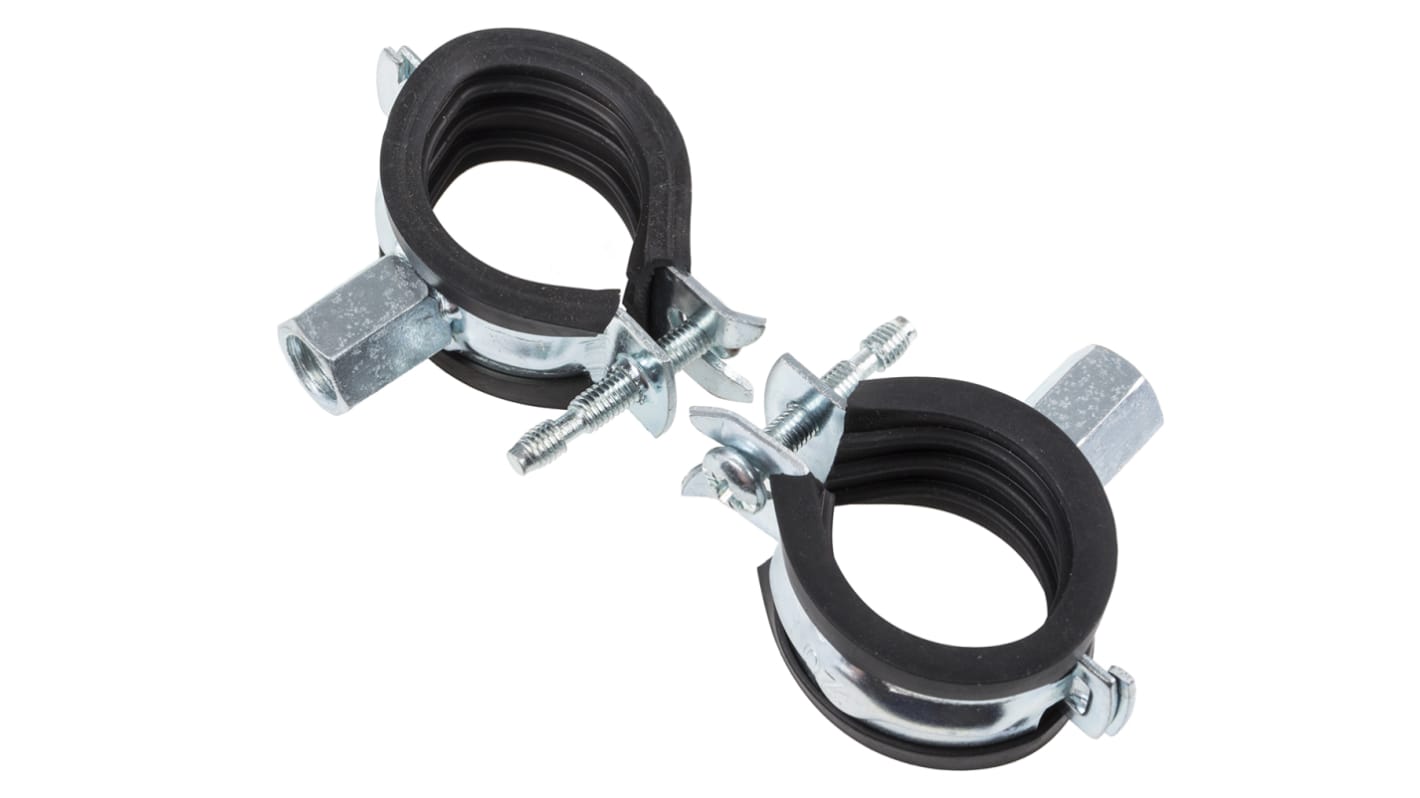
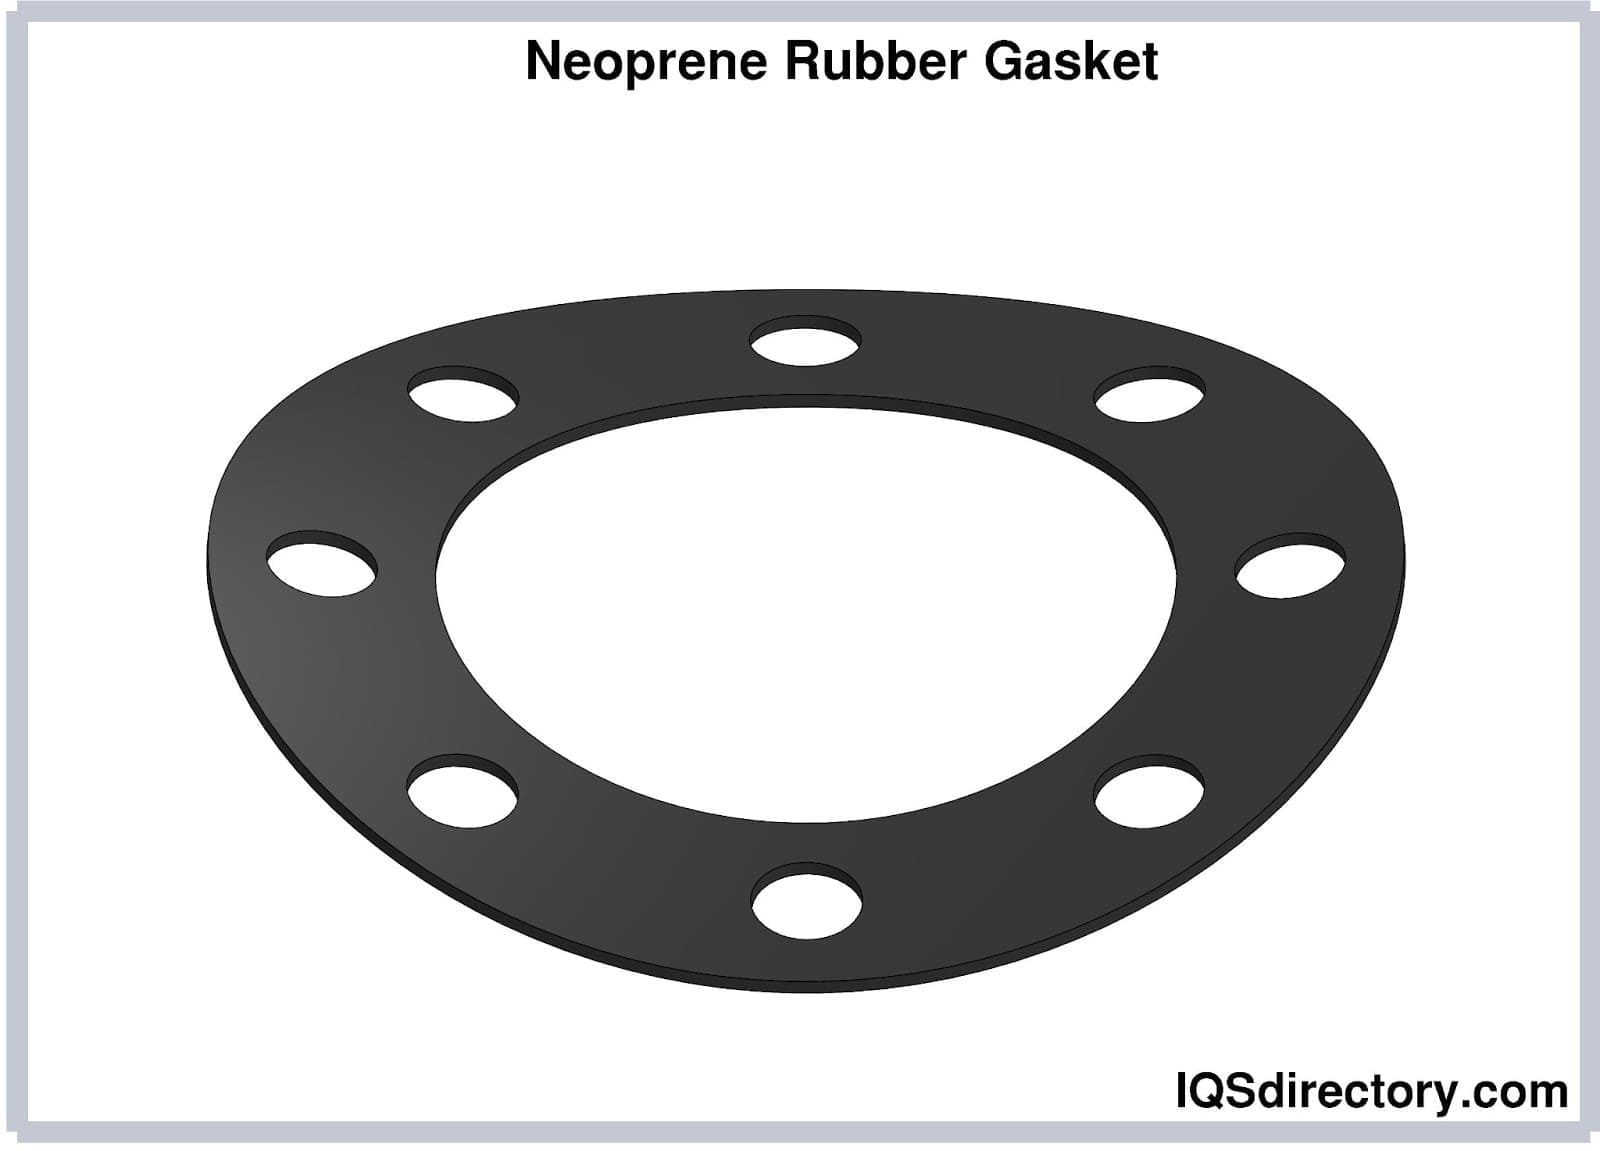
Similar to using a pipe repair clamp, a rubber gasket can also be used to temporarily seal a leaking pipe. Rubber gaskets are available in various sizes and can be found at most hardware stores. They are designed to compress and create a tight seal around the affected area. To use a rubber gasket, first shut off the water supply and dry the affected area. Then, place the gasket over the leak and secure it with hose clamps on both ends. Make sure the clamps are tight enough to create a seal but not so tight that they damage the pipe. This method can provide a temporary solution until a more permanent fix can be made.10. Use a rubber gasket and hose clamps

10. Use a rubber gasket and hose clamps


The Best Temporary Fix for a Leaking Pipe Under Your Kitchen Sink

Don't Let a Leaky Pipe Ruin Your Kitchen Design
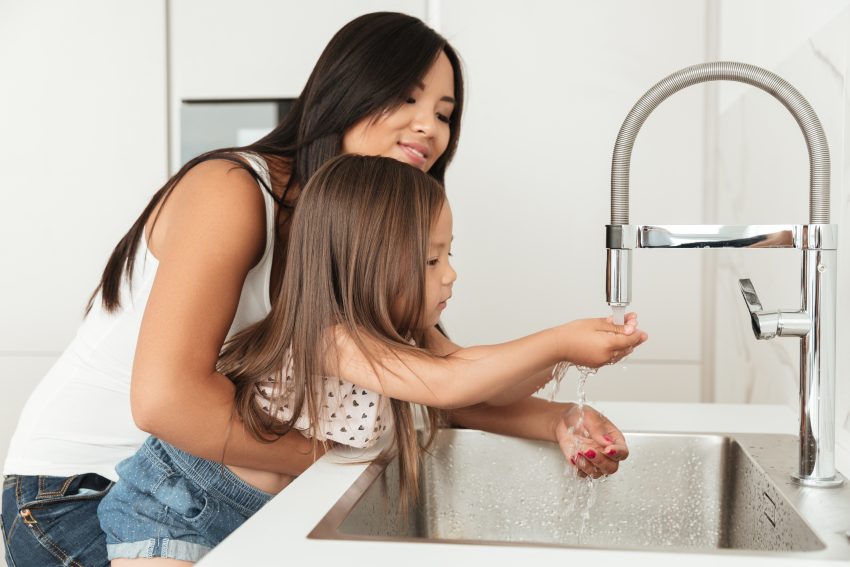
 When it comes to designing a beautiful and functional kitchen, the last thing you want to deal with is a pesky leaking pipe under your sink. Not only can it cause damage to your cabinets and flooring, but it can also lead to costly repairs if left untreated. However, not everyone has the time or budget to immediately fix a leaking pipe. That's where a temporary fix comes in handy. In this article, we'll discuss the best temporary fix for a leaking pipe under your kitchen sink, so you can get back to enjoying your beautiful kitchen without any worries.
Assess the Source of the Leak
The first step in fixing a leaking pipe is to determine where the leak is coming from. Is it a small crack in the pipe itself or is it a loose connection? Identifying the source of the leak will help you determine the best temporary fix.
If the leak is coming from a small crack in the pipe, you can use a
pipe repair clamp
to temporarily stop the leak. These clamps are easily available at most hardware stores and can be installed without any special tools. Simply place the clamp over the crack and tighten the screws to create a watertight seal.
Use Epoxy Putty
For a temporary fix on a loose connection, you can use
epoxy putty
. This putty comes in a two-part formula that hardens into a strong and waterproof seal. Simply mix the two parts together and apply it to the area where the pipe is leaking. Make sure to follow the instructions on the packaging for best results.
When it comes to designing a beautiful and functional kitchen, the last thing you want to deal with is a pesky leaking pipe under your sink. Not only can it cause damage to your cabinets and flooring, but it can also lead to costly repairs if left untreated. However, not everyone has the time or budget to immediately fix a leaking pipe. That's where a temporary fix comes in handy. In this article, we'll discuss the best temporary fix for a leaking pipe under your kitchen sink, so you can get back to enjoying your beautiful kitchen without any worries.
Assess the Source of the Leak
The first step in fixing a leaking pipe is to determine where the leak is coming from. Is it a small crack in the pipe itself or is it a loose connection? Identifying the source of the leak will help you determine the best temporary fix.
If the leak is coming from a small crack in the pipe, you can use a
pipe repair clamp
to temporarily stop the leak. These clamps are easily available at most hardware stores and can be installed without any special tools. Simply place the clamp over the crack and tighten the screws to create a watertight seal.
Use Epoxy Putty
For a temporary fix on a loose connection, you can use
epoxy putty
. This putty comes in a two-part formula that hardens into a strong and waterproof seal. Simply mix the two parts together and apply it to the area where the pipe is leaking. Make sure to follow the instructions on the packaging for best results.
Preventing Future Leaks
 While these temporary fixes can provide a quick solution, it's important to address the root cause of the leak to prevent future problems. If the leak is due to old or corroded pipes, it may be time to consider replacing them. Or, if the leak is coming from a loose connection, make sure to properly tighten all connections and regularly check for any signs of leakage.
Conclusion
 A leaking pipe under your kitchen sink can be a major inconvenience, but with the right temporary fix, you can prevent any further damage to your kitchen design. Remember to assess the source of the leak and choose the appropriate temporary solution. And always make sure to address the root cause to prevent future leaks. With these tips, you can quickly and effectively fix a leaking pipe and get back to enjoying your beautiful kitchen.