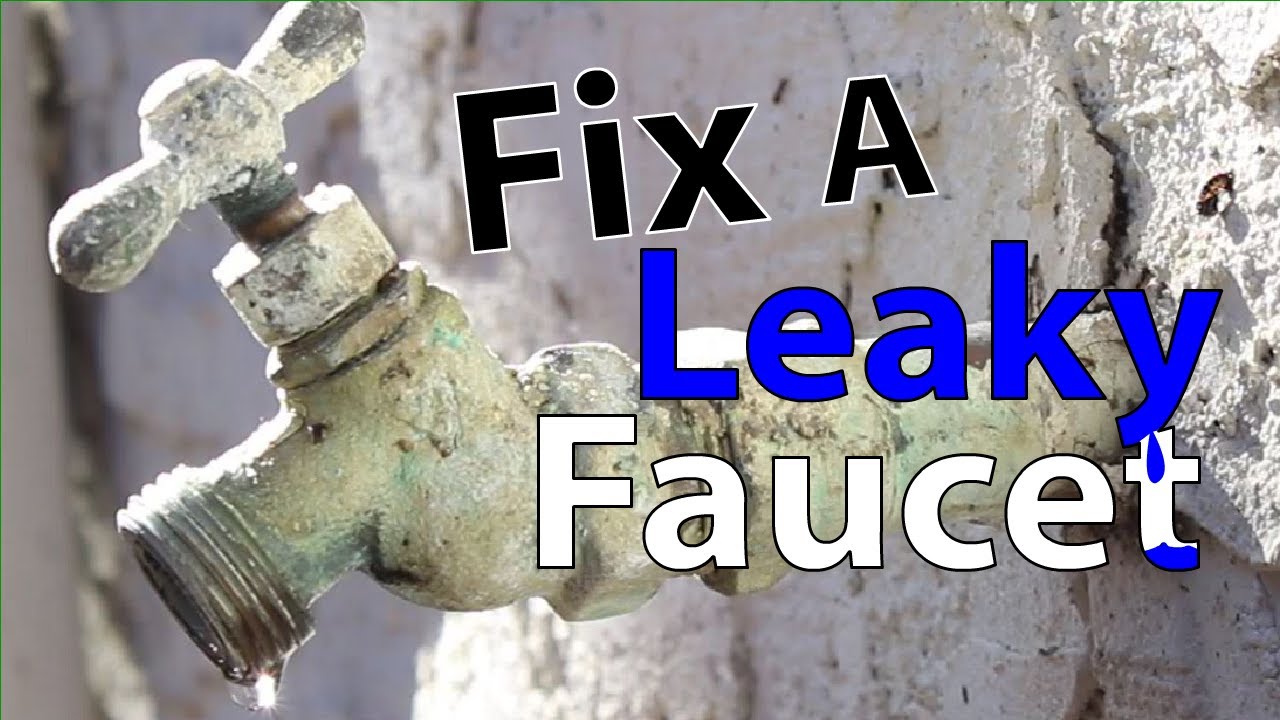
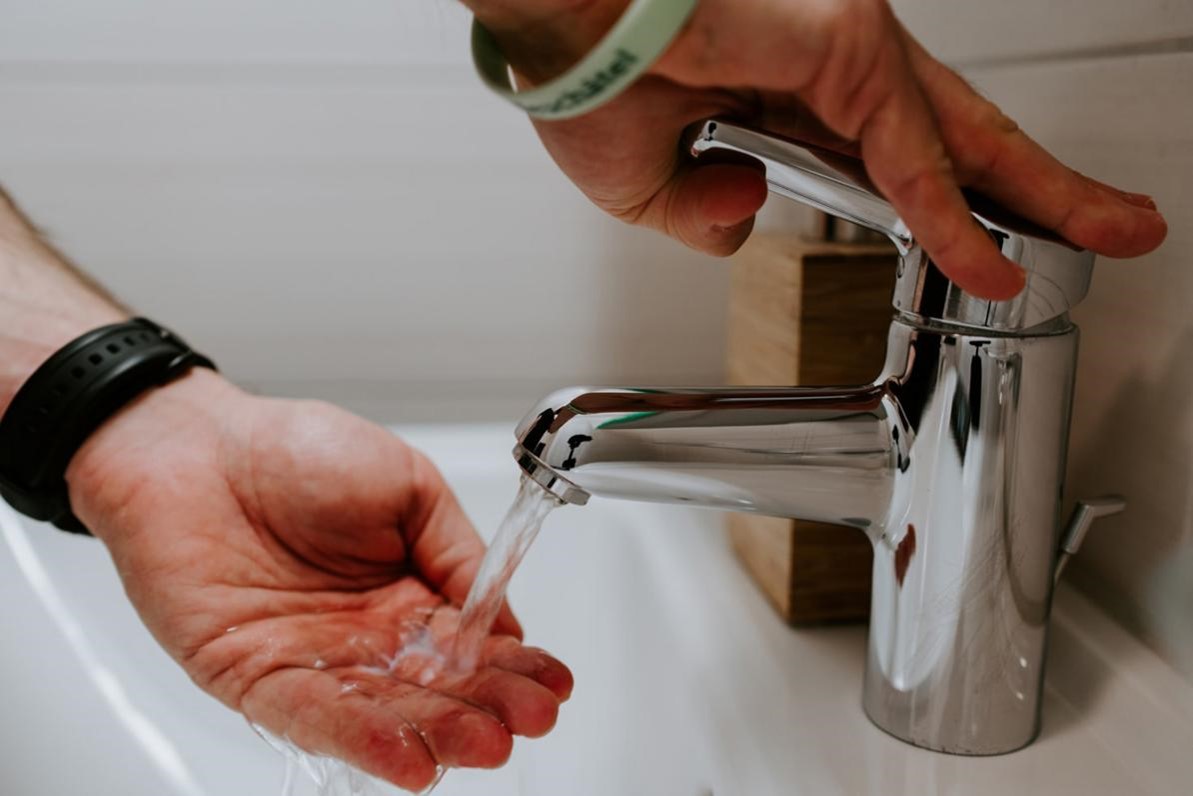
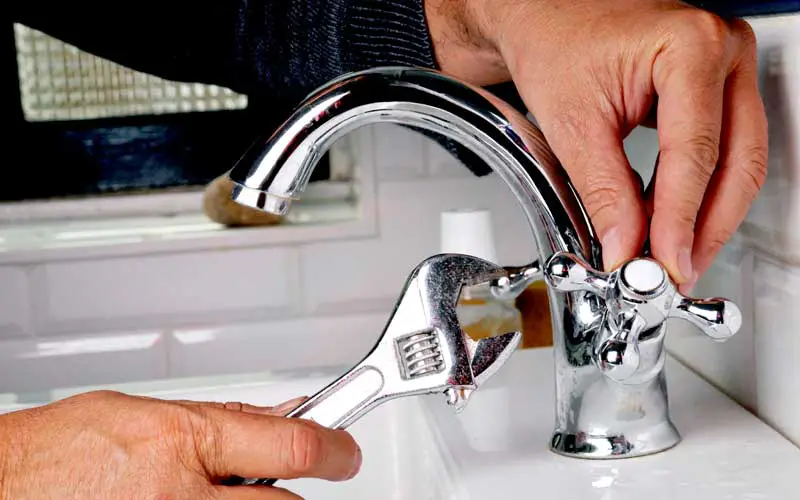
If you've noticed water dripping from your bathroom sink faucet, you may have a leak. Not only is a leaky faucet annoying, but it can also waste a significant amount of water and increase your water bill. But don't worry, fixing a leaky bathroom sink faucet is a relatively simple DIY task. Here's a step-by-step guide on how to fix it.Fixing a Leaky Bathroom Sink Faucet | How to Fix a Leaky Faucet


Fixing a Leaky Bathroom Sink Faucet
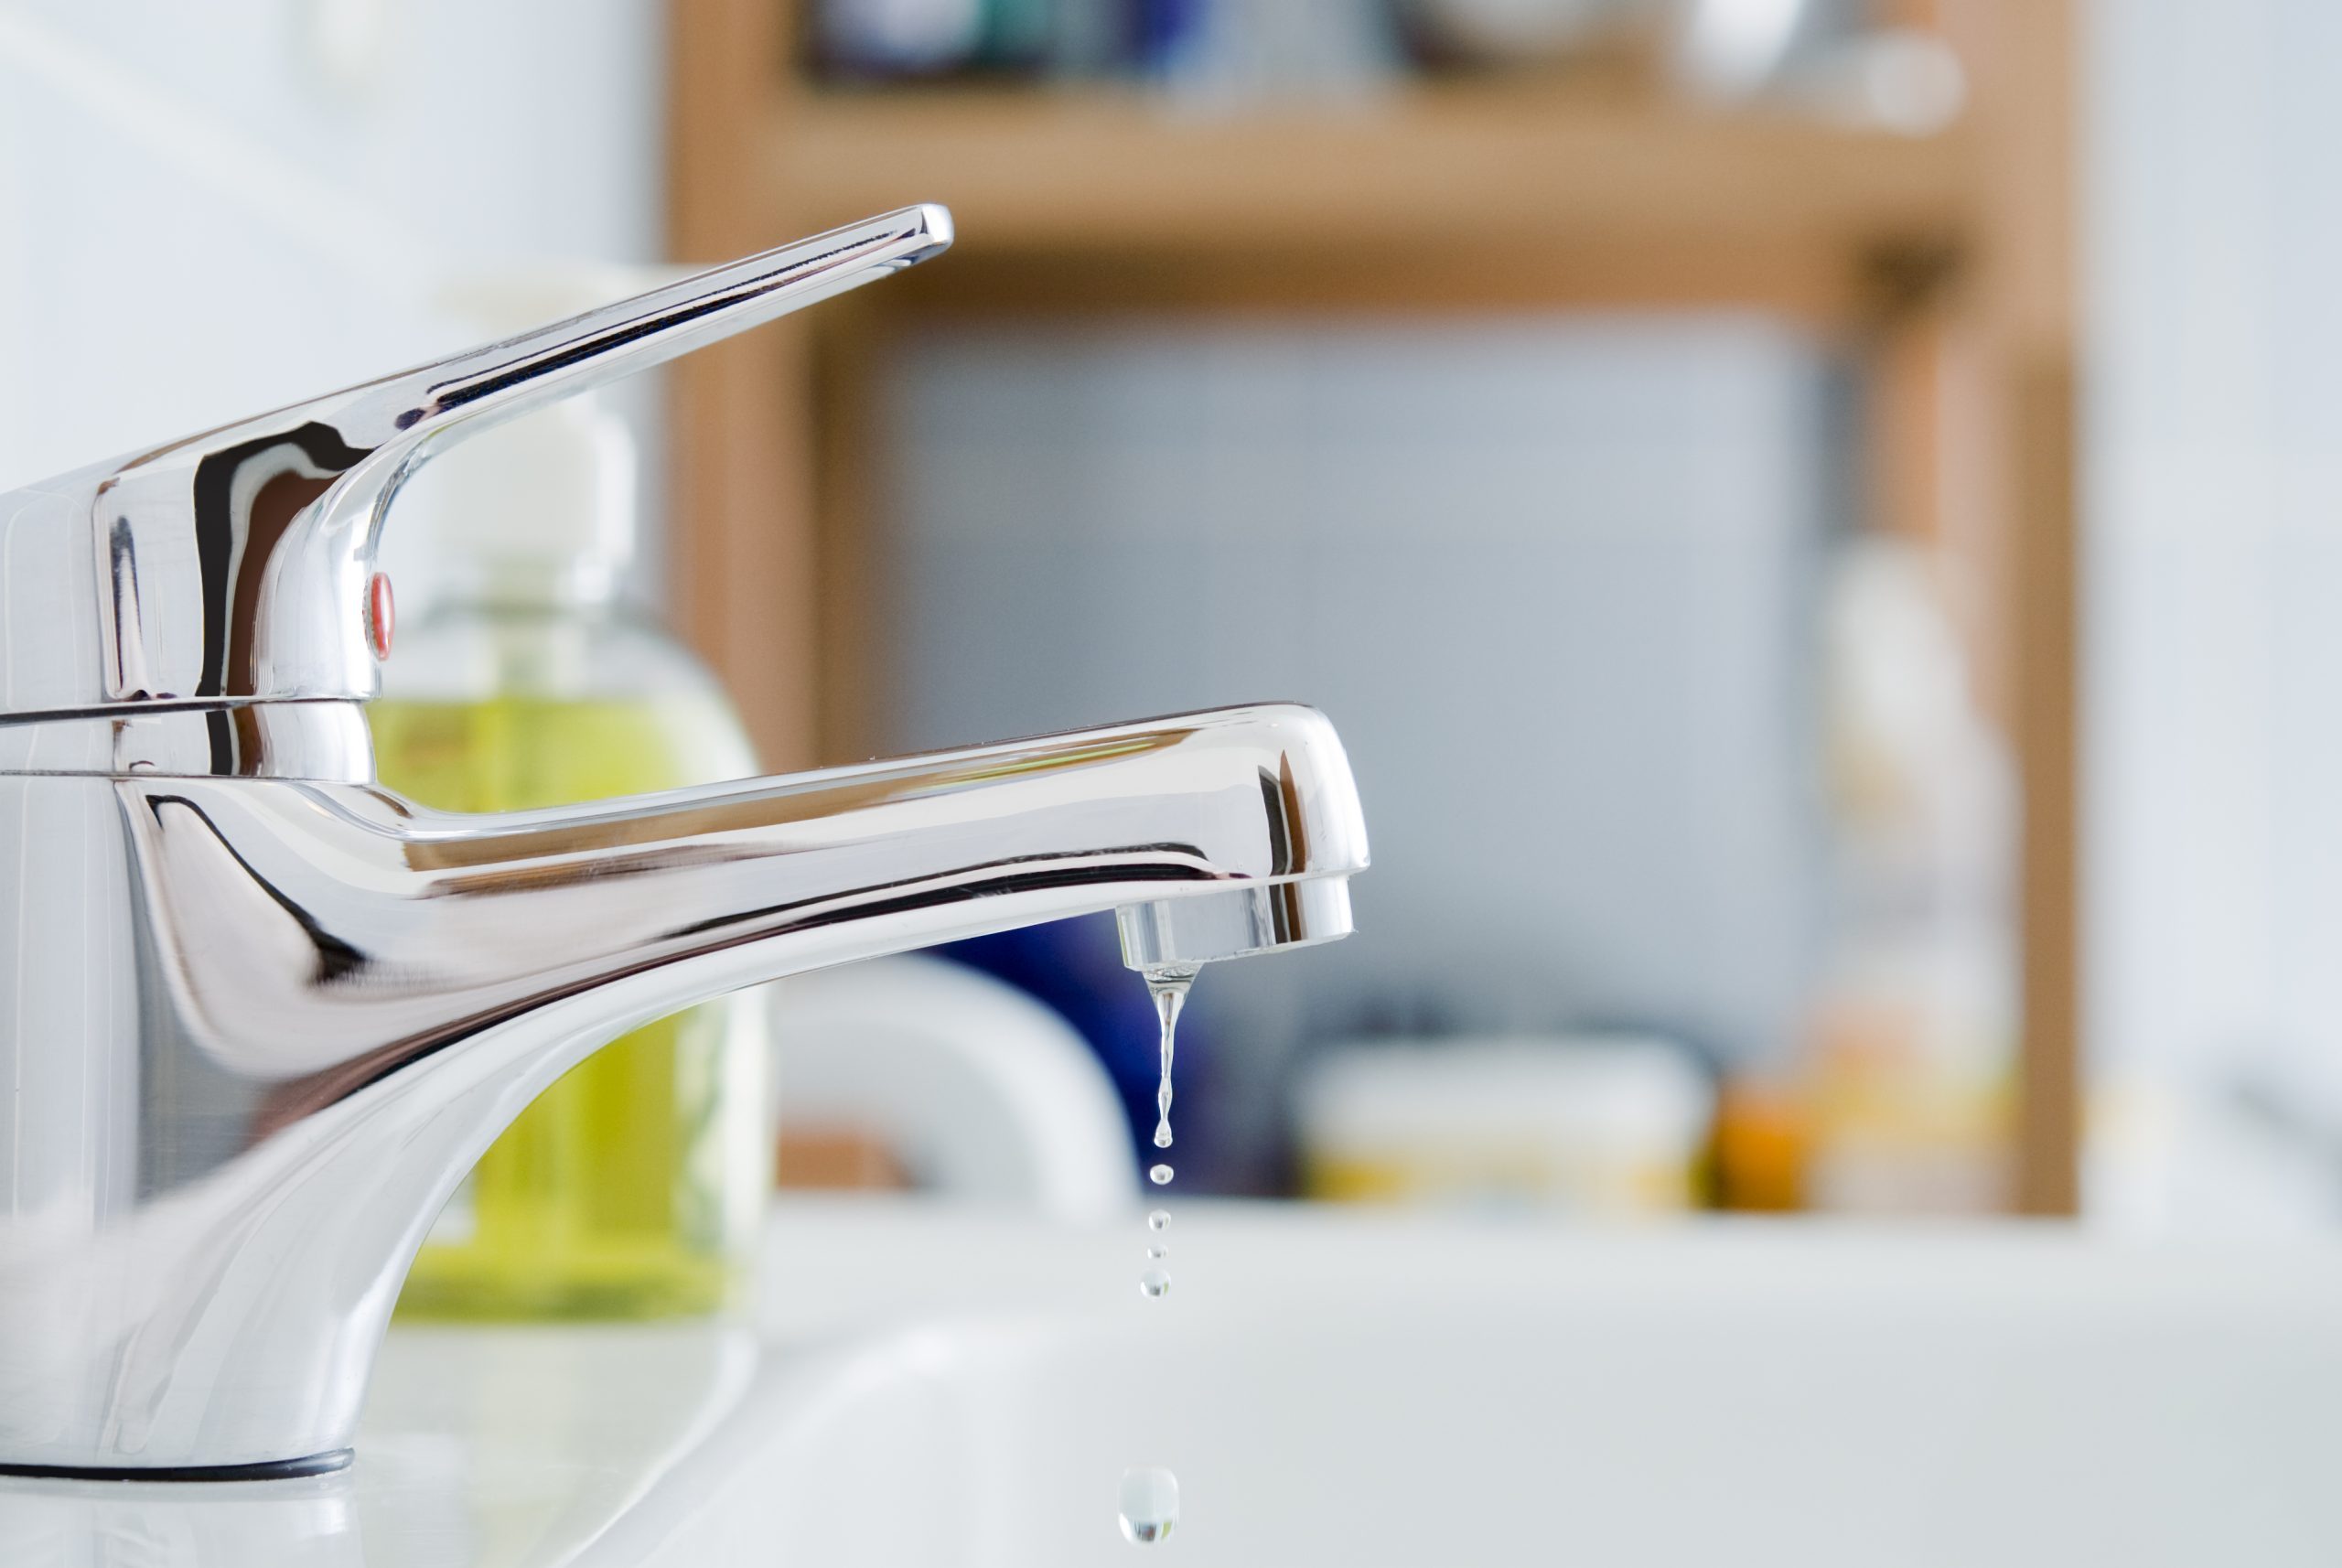


The first step in fixing a leaky bathroom sink faucet is to identify the source of the leak. In most cases, the leak will be coming from the handle or the base of the faucet. Once you've determined the source, it's time to gather your tools and get to work.How to Repair a Leaky Bathroom Sink Faucet | DIY Guide

How to Fix a Leaky Faucet


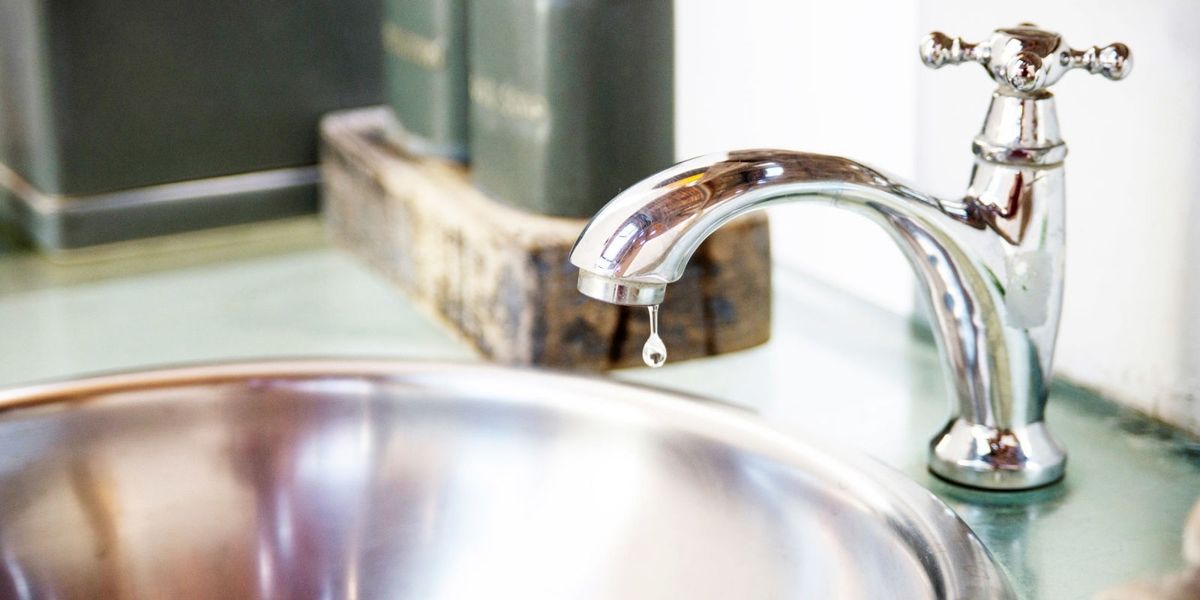
If your bathroom sink faucet is leaking around the handle, the most common cause is a worn-out O-ring or cartridge. These components can become worn over time, causing the seal to break and allowing water to leak. To fix this, you can replace the O-ring or cartridge with a new one.Bathroom Sink Faucet Leaking Around Handle | Troubleshooting Tips


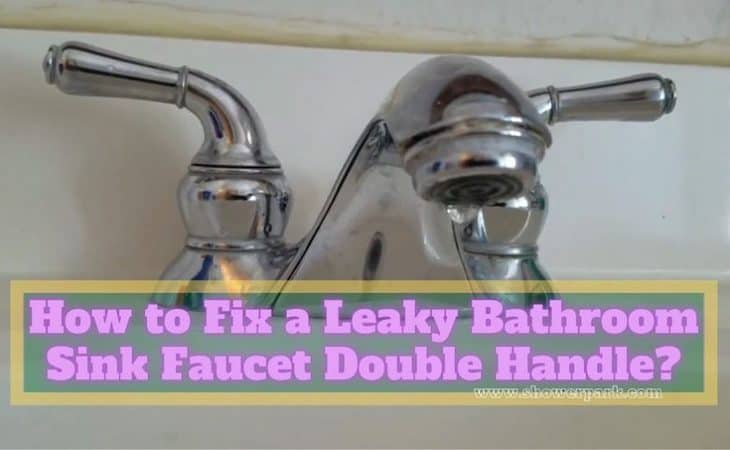
How to Repair a Leaky Bathroom Sink Faucet


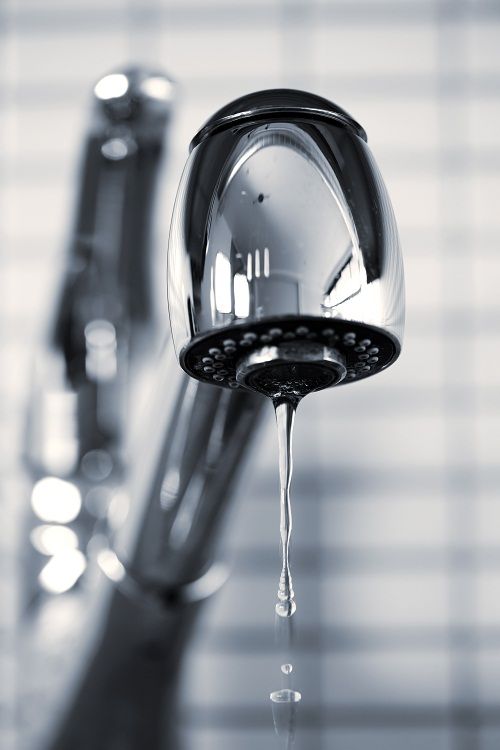
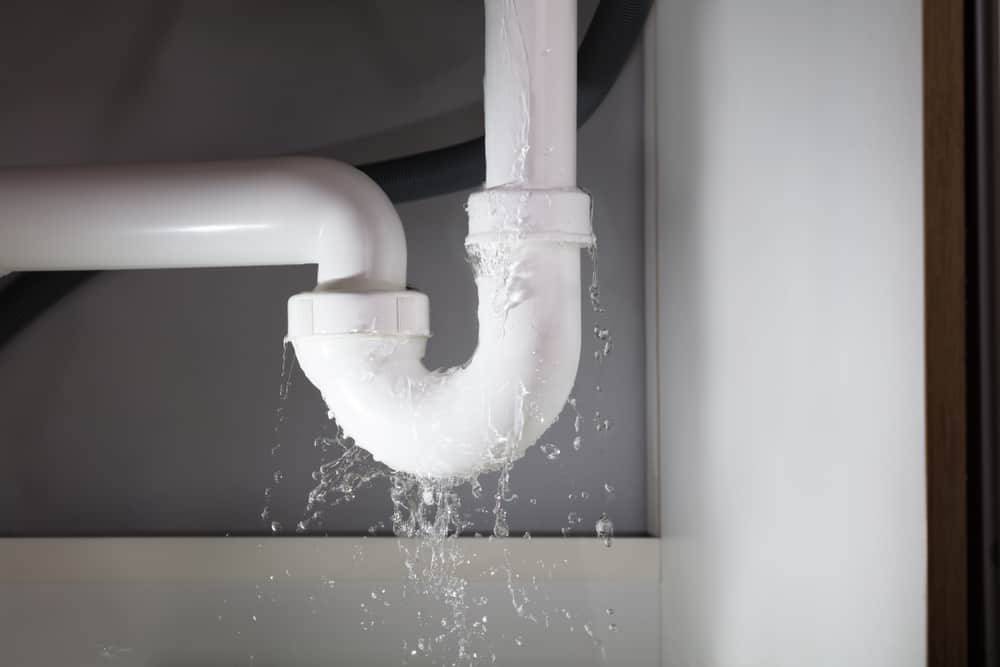
Besides a worn-out O-ring or cartridge, there are a few other common causes of a leaky bathroom sink faucet. These include a loose or damaged valve seat, a corroded valve stem, or a worn-out washer. Identifying the cause of the leak is crucial in fixing it effectively.Common Causes of a Leaky Bathroom Sink Faucet | How to Identify and Fix


DIY Guide


If you're looking for a quick and easy fix for your leaky bathroom sink faucet, you can try tightening the handle or adjusting the valve seat. If this doesn't work, you may need to replace the O-ring or cartridge. Follow the steps mentioned above, and you should have a leak-free faucet in no time.Quick and Easy Fix for a Leaky Bathroom Sink Faucet | Step-by-Step Guide


Bathroom Sink Faucet Leaking Around Handle


If your faucet is beyond repair, you may need to replace it entirely. Don't worry; this is also a relatively straightforward DIY task. You can find replacement faucets at your local hardware store and follow the manufacturer's instructions for installation. Alternatively, you can hire a professional plumber for this task.Replacing a Leaky Bathroom Sink Faucet | DIY Tutorial


Troubleshooting Tips


Fixing a leaky bathroom sink faucet handle is a bit different from fixing a leak at the base of the faucet. In this case, the cause of the leak is likely a worn-out packing nut or valve stem. You can replace these components to fix the leak, or you can opt to replace the entire faucet.How to Fix a Leaky Bathroom Sink Faucet Handle | Troubleshooting Guide


Common Causes of a Leaky Bathroom Sink Faucet


The best way to prevent a leaky bathroom sink faucet is by performing regular maintenance. This includes checking for any loose or damaged parts, cleaning the faucet and its components, and replacing worn-out parts promptly. These simple maintenance tasks can help prolong the lifespan of your faucet and prevent leaks.Preventing a Leaky Bathroom Sink Faucet | Maintenance Tips


How to Identify and Fix


If you're not comfortable fixing a leaky bathroom sink faucet yourself, or if the leak is more complex than you can handle, it's best to call a professional plumber. They have the expertise and tools to fix the leak and ensure it doesn't happen again in the future. Use local directories or ask for recommendations to find a reliable plumber near you.Professional Plumbing Services for a Leaky Bathroom Sink Faucet | Find a Local Expert


Quick and Easy Fix for a Leaky Bathroom Sink Faucet


If you're tired of dealing with leaky faucets, it may be time to upgrade to a newer model. There are now many options for leak-proof bathroom sink faucets, including single-handle and touchless models. These can not only help prevent leaks but also add a modern and stylish touch to your bathroom. In conclusion, a leaky bathroom sink faucet is a common household issue that can be easily fixed with a few simple steps. However, if the problem persists or becomes too complex, don't hesitate to seek professional help. With the right tools and knowledge, you can have a leak-free faucet and save on your water bill in no time.Upgrading Your Bathroom Sink Faucet to Prevent Leaks | Best Options


Step-by-Step Guide


How to Fix a Leaking Bathroom Sink Faucet Around the Handle

Simple Steps for a Quick and Easy Repair
 If you notice that your bathroom sink faucet is leaking around the handle, don't panic. This is a common issue that many homeowners face, and it can be easily fixed with a few simple steps. A leaking faucet not only wastes water and increases your utility bills, but it can also cause damage to your bathroom sink and surrounding areas. It's important to address the problem as soon as possible to avoid further damage. In this article, we will walk you through the process of fixing a leaking bathroom sink faucet around the handle.
Step 1: Shut off the Water Supply
The first step in fixing a leaking bathroom sink faucet is to turn off the water supply. You can usually find the shut-off valve under the sink. If you cannot locate the shut-off valve, you can turn off the main water supply to your house. This will prevent any water from flowing while you work on the faucet.
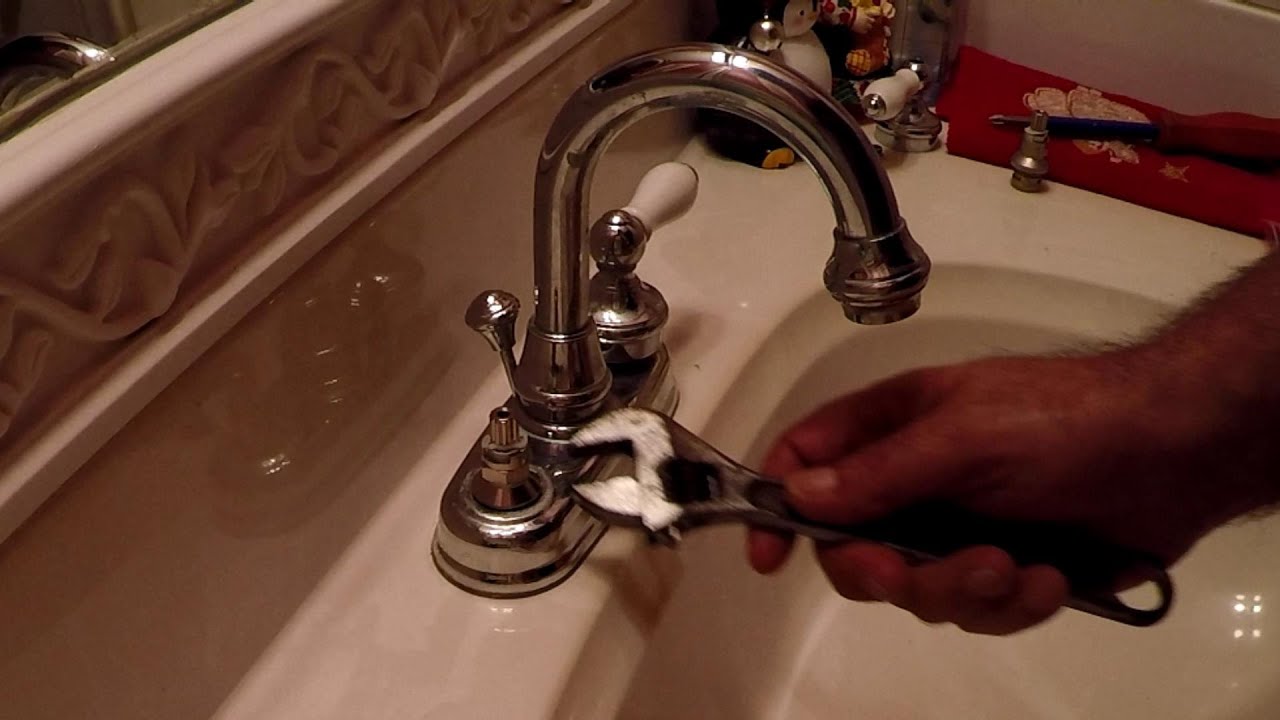
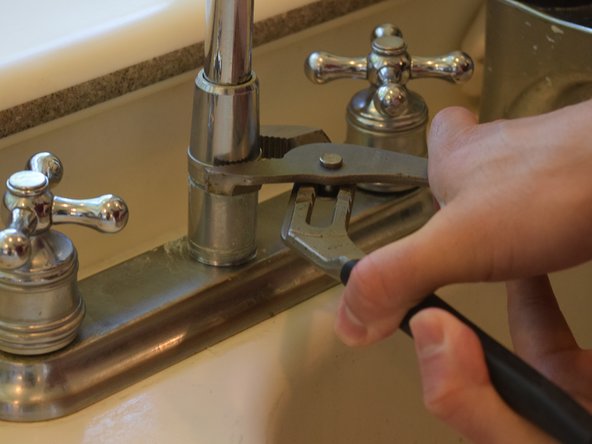
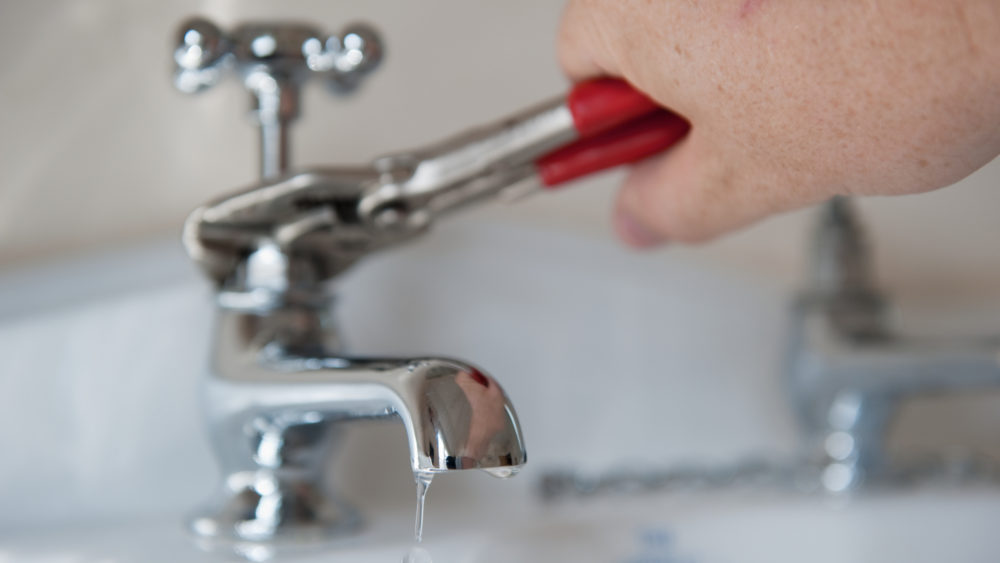
Step 2: Remove the Handle
Using a screwdriver, remove the handle of the faucet. This will give you access to the cartridge or valve that controls the water flow. Inspect the handle for any damage or wear and tear. If the handle is damaged, you may need to replace it.
Step 3: Inspect and Clean the Cartridge/Valve
Carefully remove the cartridge/valve and inspect it for any signs of damage or buildup. If there is any damage, you will need to replace it. If there is buildup or debris, clean it using a solution of equal parts vinegar and water. This will help to remove any mineral deposits or debris that may be causing the leak.
Step 4: Replace the Cartridge/Valve
If the cartridge or valve is damaged, you will need to replace it with a new one. You can find replacements at your local hardware store. Make sure to choose the correct size and type for your faucet. Carefully install the new cartridge/valve and reattach the handle.
Step 5: Turn on the Water Supply
Once you have replaced the cartridge/valve and reattached the handle, turn the water supply back on. Check for any leaks around the handle. If there are no more leaks, congratulations! You have successfully fixed your leaking bathroom sink faucet.
Preventative Measures
To prevent future leaks, it's important to take good care of your bathroom sink faucet. Regularly clean it with a mild soap and water solution to prevent mineral buildup. You can also apply a layer of plumber's tape to the threads of the handle before reattaching it. This will create a tighter seal and prevent leaks from occurring.
In conclusion, a leaking bathroom sink faucet around the handle is a common issue that can be easily fixed. By following these simple steps, you can save money on utility bills and prevent damage to your bathroom. If you are uncomfortable with DIY repairs, it's always best to call a professional plumber to ensure the job is done correctly. Don't let a leaky faucet ruin your day, fix it and enjoy a leak-free bathroom.
If you notice that your bathroom sink faucet is leaking around the handle, don't panic. This is a common issue that many homeowners face, and it can be easily fixed with a few simple steps. A leaking faucet not only wastes water and increases your utility bills, but it can also cause damage to your bathroom sink and surrounding areas. It's important to address the problem as soon as possible to avoid further damage. In this article, we will walk you through the process of fixing a leaking bathroom sink faucet around the handle.
Step 1: Shut off the Water Supply
The first step in fixing a leaking bathroom sink faucet is to turn off the water supply. You can usually find the shut-off valve under the sink. If you cannot locate the shut-off valve, you can turn off the main water supply to your house. This will prevent any water from flowing while you work on the faucet.
Step 2: Remove the Handle
Using a screwdriver, remove the handle of the faucet. This will give you access to the cartridge or valve that controls the water flow. Inspect the handle for any damage or wear and tear. If the handle is damaged, you may need to replace it.
Step 3: Inspect and Clean the Cartridge/Valve
Carefully remove the cartridge/valve and inspect it for any signs of damage or buildup. If there is any damage, you will need to replace it. If there is buildup or debris, clean it using a solution of equal parts vinegar and water. This will help to remove any mineral deposits or debris that may be causing the leak.
Step 4: Replace the Cartridge/Valve
If the cartridge or valve is damaged, you will need to replace it with a new one. You can find replacements at your local hardware store. Make sure to choose the correct size and type for your faucet. Carefully install the new cartridge/valve and reattach the handle.
Step 5: Turn on the Water Supply
Once you have replaced the cartridge/valve and reattached the handle, turn the water supply back on. Check for any leaks around the handle. If there are no more leaks, congratulations! You have successfully fixed your leaking bathroom sink faucet.
Preventative Measures
To prevent future leaks, it's important to take good care of your bathroom sink faucet. Regularly clean it with a mild soap and water solution to prevent mineral buildup. You can also apply a layer of plumber's tape to the threads of the handle before reattaching it. This will create a tighter seal and prevent leaks from occurring.
In conclusion, a leaking bathroom sink faucet around the handle is a common issue that can be easily fixed. By following these simple steps, you can save money on utility bills and prevent damage to your bathroom. If you are uncomfortable with DIY repairs, it's always best to call a professional plumber to ensure the job is done correctly. Don't let a leaky faucet ruin your day, fix it and enjoy a leak-free bathroom.