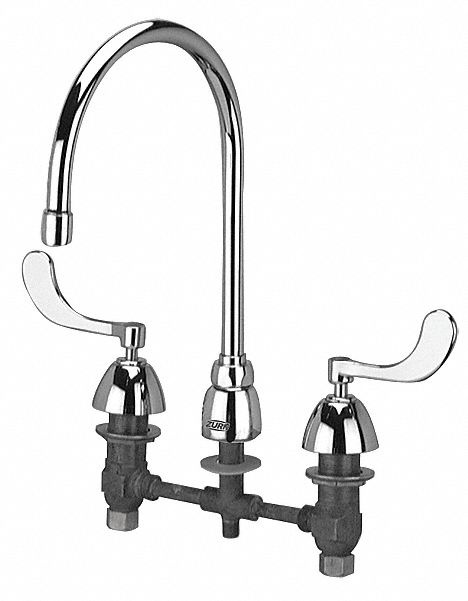
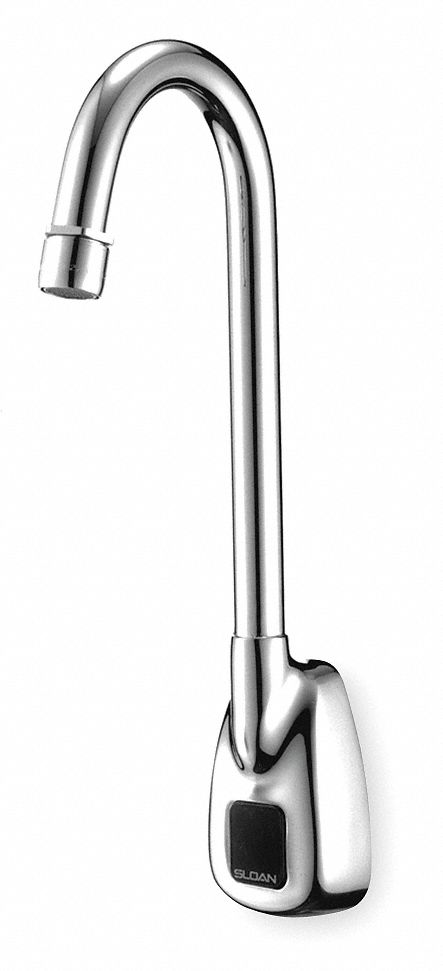
Is your bathroom sink faucet head constantly leaking or producing weak water flow? It may be time for a replacement. With the right tools and a bit of know-how, you can easily replace your bathroom sink faucet head and have your sink functioning like new again. In this article, we will walk you through the process of replacing your bathroom sink faucet head, step-by-step. Bathroom Sink Faucet Head Replacement: A Step-by-Step Guide
Before starting the replacement process, make sure you have all the necessary tools and materials. You will need an adjustable wrench, a screwdriver, plumber's tape, and the new faucet head. It's important to choose a faucet head that is compatible with your sink's existing fixtures, so be sure to check the specifications before purchasing. Gather Your Tools and Materials
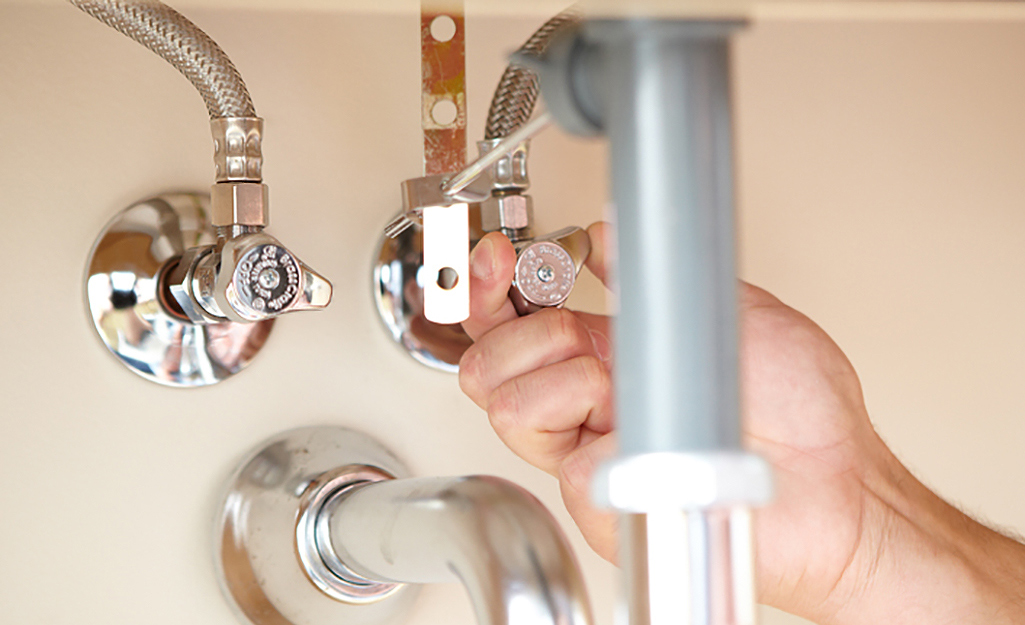
The first step in any plumbing project is to turn off the water supply. Locate the shut-off valves under your sink and turn them clockwise to shut off the water. If your sink does not have shut-off valves, you will need to shut off the main water supply to your home. Turn Off the Water Supply
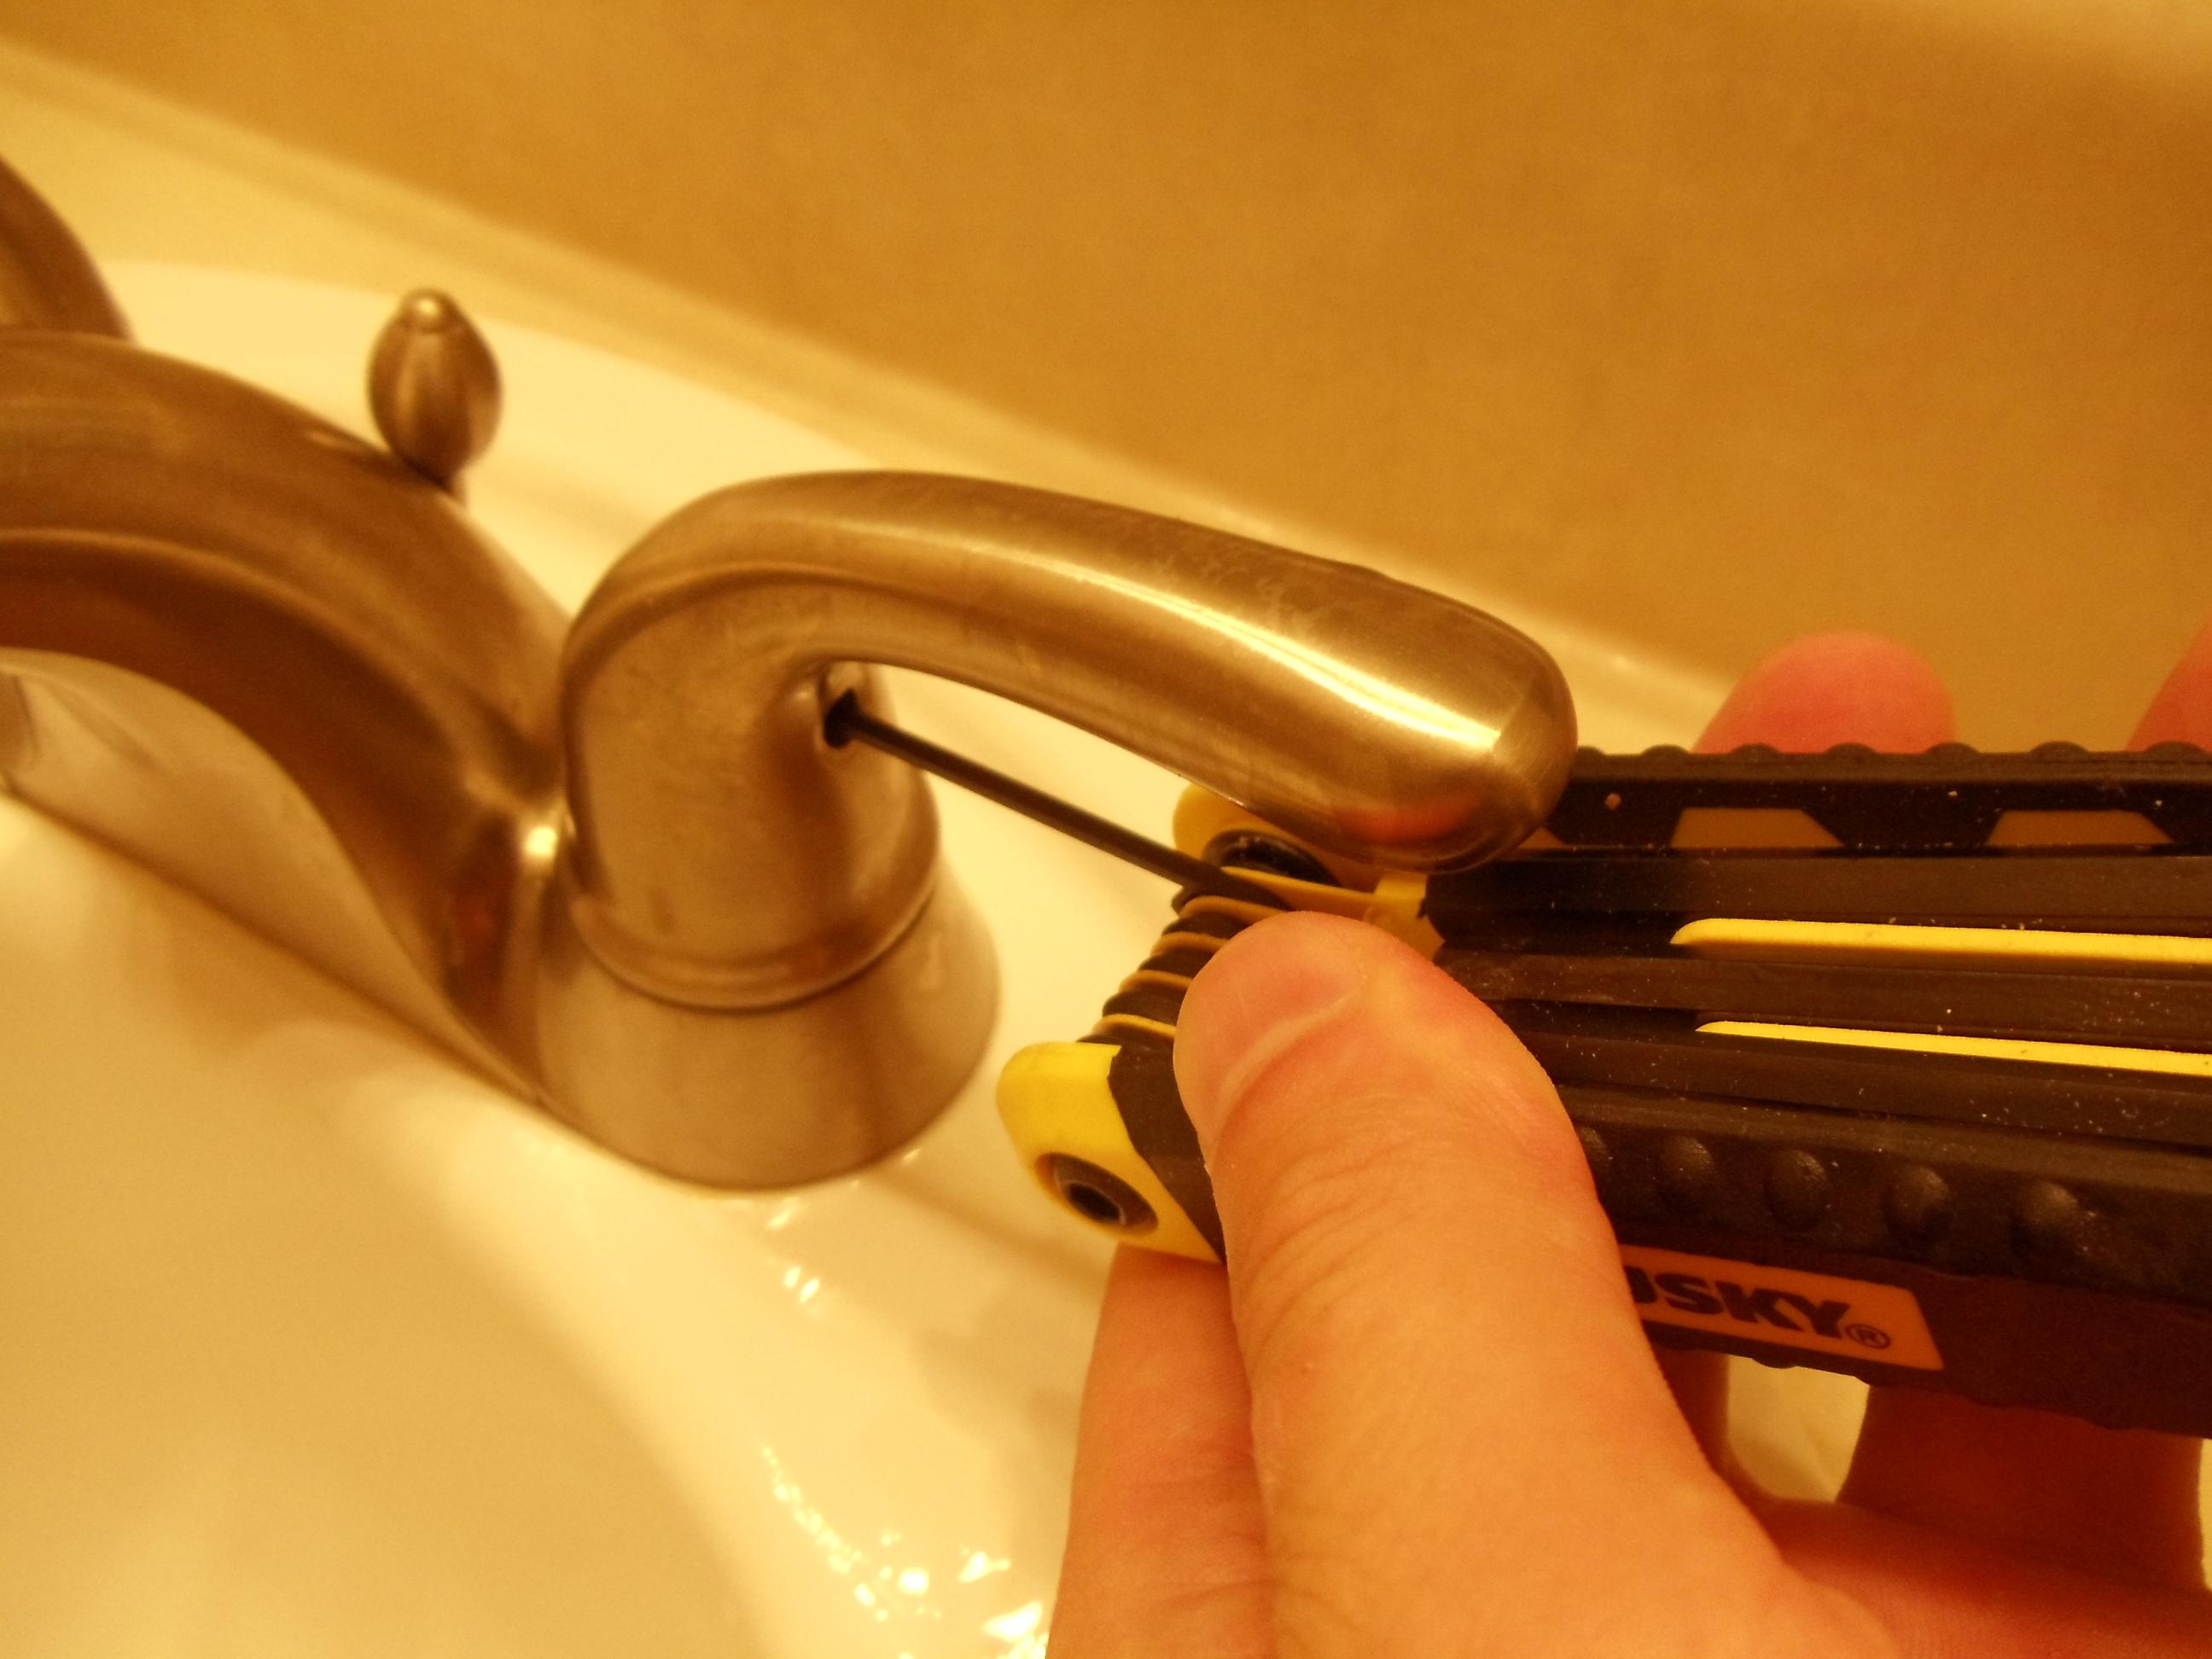
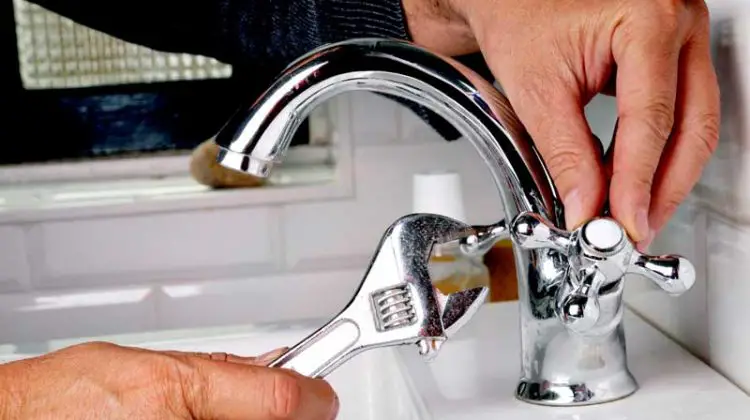
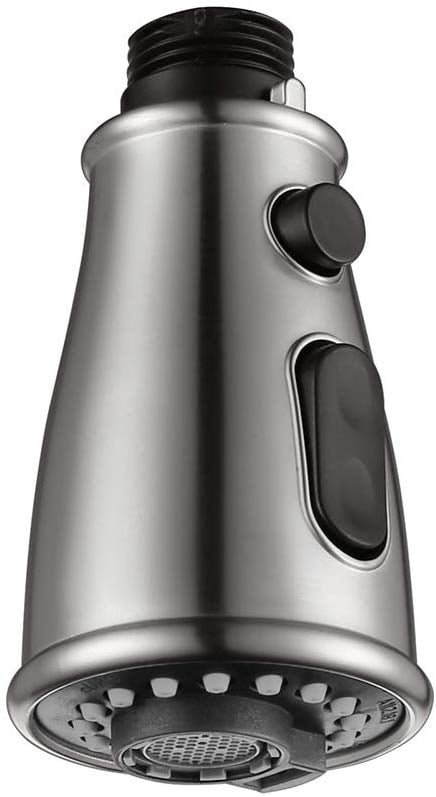
Using your adjustable wrench, carefully loosen and remove the old faucet head. Be sure to place a towel or washcloth over the sink drain to prevent any small parts from falling in. Once the faucet head is removed, clean the threads on the faucet pipe with a cloth to remove any debris or old plumber's tape. Remove the Old Faucet Head
Before installing the new faucet head, wrap the threads on the faucet pipe with plumber's tape. This will create a tight seal and prevent any leaks. Next, attach any necessary parts or adapters to the new faucet head according to the manufacturer's instructions. Prepare the New Faucet Head
Using your adjustable wrench, carefully screw the new faucet head onto the faucet pipe. Make sure it is tightened securely, but be careful not to over-tighten as this can cause damage to the threads. If your new faucet head has a sprayer or other attachment, be sure to attach it as well. Install the New Faucet Head
With the new faucet head securely installed, turn the water supply back on by turning the shut-off valves or main water supply back to the on position. Check for any leaks and tighten the connections if necessary. Turn the Water Supply Back On
Congratulations, you have successfully replaced your bathroom sink faucet head! Turn on the water and test out your new faucet head to make sure it is functioning properly. If you experience any issues, double check the connections and make sure everything is tightened securely. Otherwise, sit back and enjoy your newly replaced faucet head. Enjoy Your New Faucet Head
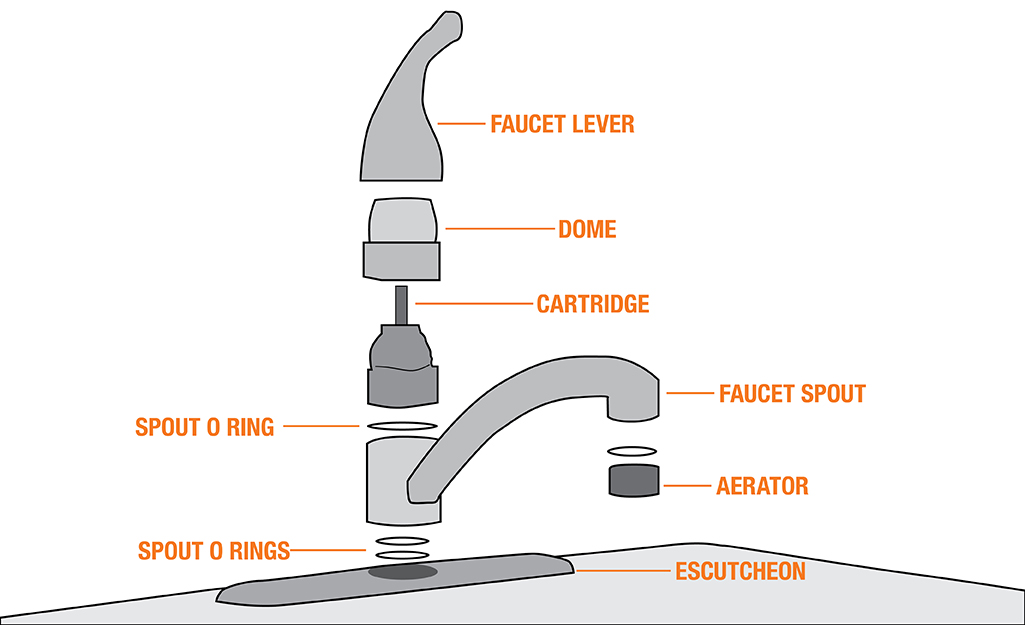
To keep your new faucet head in top working condition, it's important to perform regular maintenance and repairs as needed. This includes checking for leaks, cleaning the faucet head and aerator, and replacing any worn out parts. If you experience any issues with your faucet head, such as leaking or low water pressure, don't hesitate to take the necessary steps to repair or replace it. Regular Maintenance and Repair
Replacing a bathroom sink faucet head may seem like a daunting task, but with the right tools and a bit of know-how, it can be a quick and easy process. By following these steps and performing regular maintenance, you can keep your bathroom sink faucet head in top working condition for years to come. In Conclusion
The Importance of Choosing the Right Bathroom Sink Faucet Head for Your House Design

Enhance Your Bathroom Aesthetics
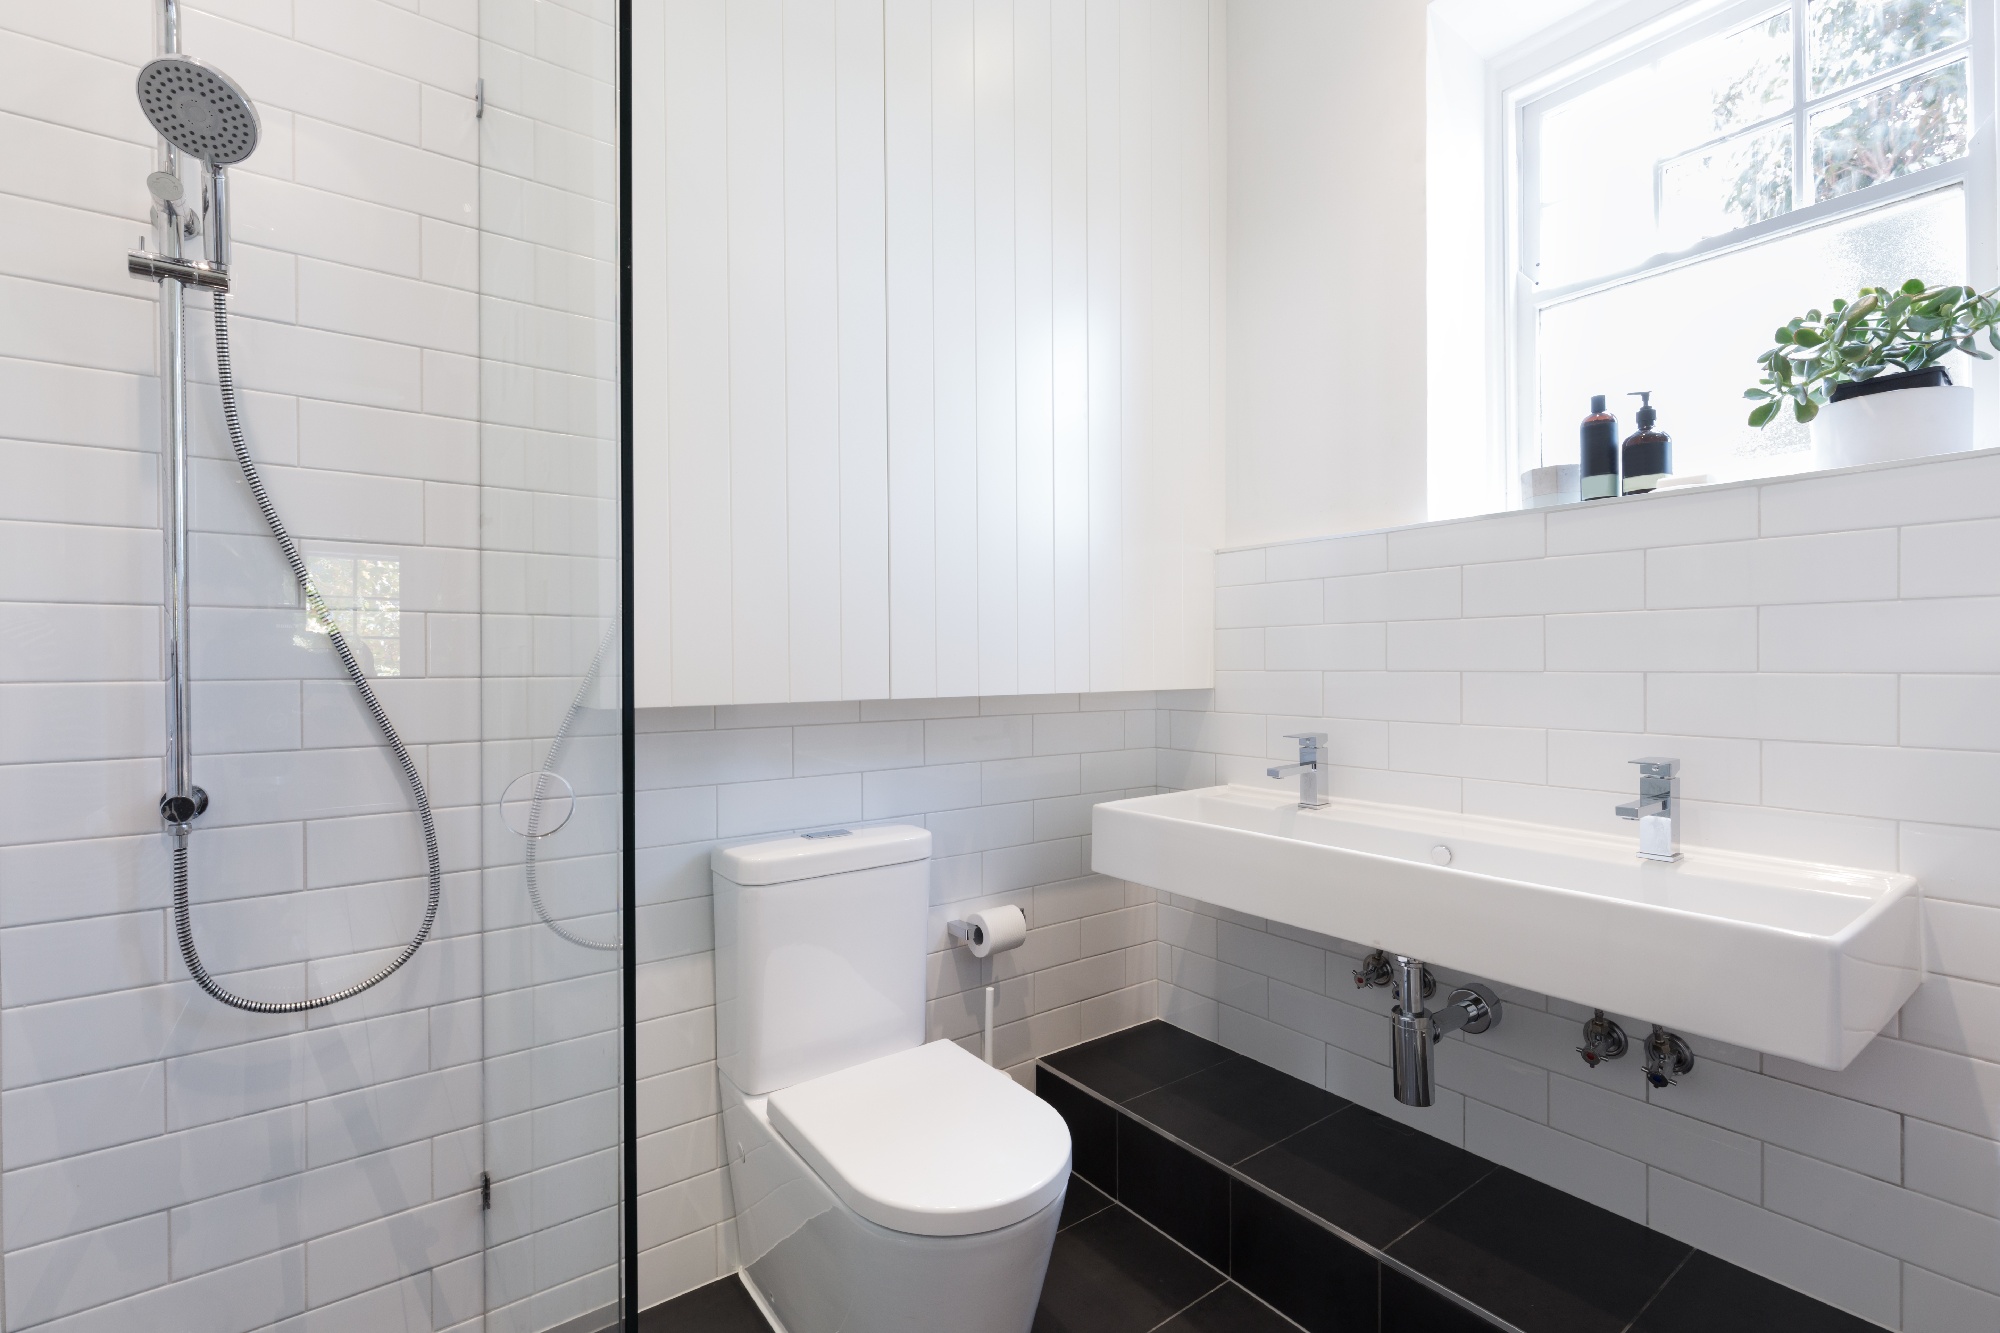
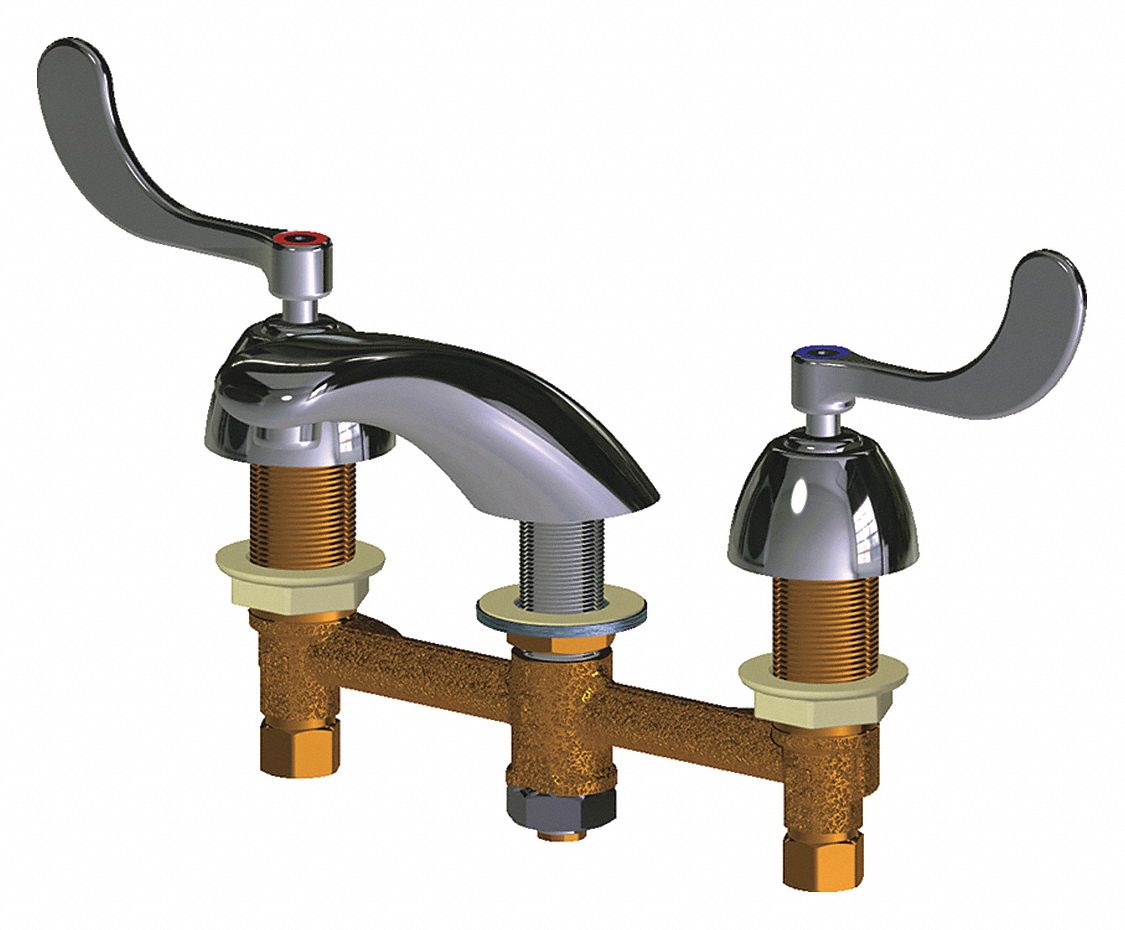 When it comes to designing your dream house, the bathroom is often overlooked. However, it is a space that can greatly impact the overall look and feel of your home. From the floor tiles to the showerhead, every detail matters. One crucial element that should not be overlooked is the
bathroom sink faucet head
. It may seem like a small detail, but the right faucet head can make a big difference in your bathroom's aesthetics.
Functionality and Comfort
 Aside from enhancing your bathroom's appearance, the
bathroom sink faucet head
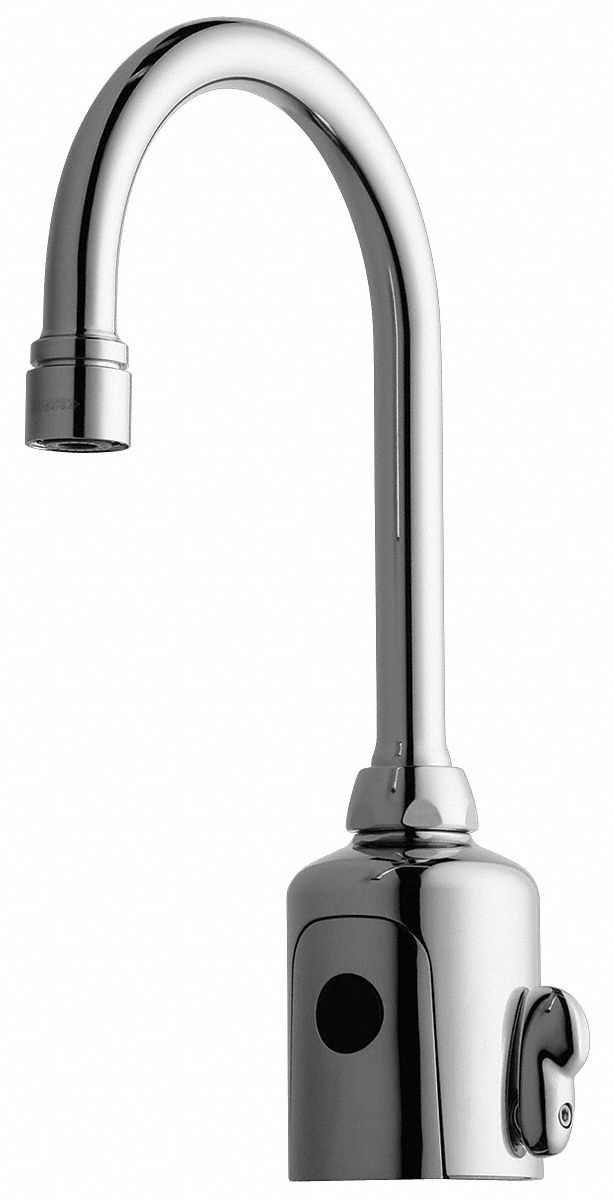
also plays a significant role in its functionality and comfort. The type of faucet head you choose can affect the water pressure and flow, making it easier or more challenging to wash your hands or fill up a container. It is essential to consider your household's needs and habits when choosing a faucet head. For example, if you have children, a faucet head with a single lever or touchless option may be more convenient for them to use.
Durability and Maintenance
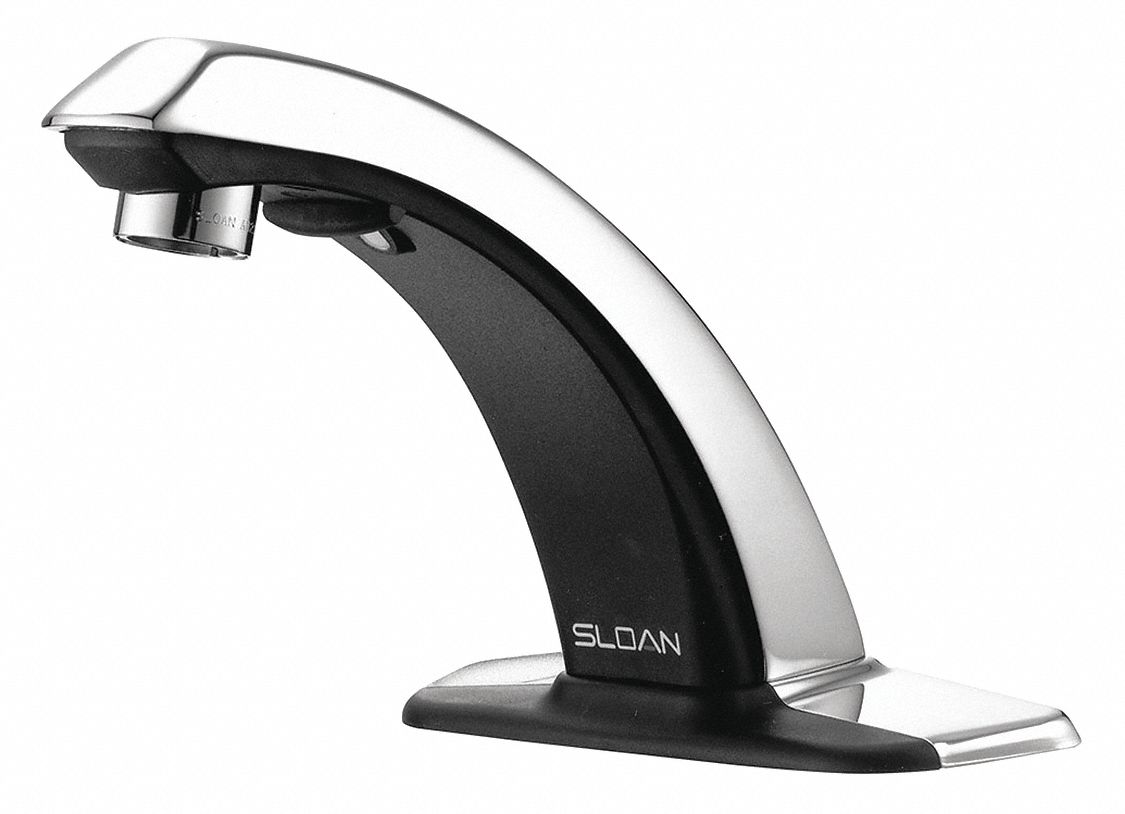 Another important factor to consider when selecting a
bathroom sink faucet head
is its durability and maintenance. A high-quality faucet head can last for years without any issues, while a cheaper one may need frequent repairs or replacements. It is worth investing in a durable and well-made faucet head to avoid any inconvenience or additional costs in the long run. Additionally, consider the ease of maintenance, as some faucet heads require more frequent cleaning and upkeep than others.
Final Thoughts
 In conclusion, the
bathroom sink faucet head
may seem like a minor detail, but it can greatly impact your bathroom's design, functionality, and longevity. When choosing a faucet head, consider its aesthetics, functionality, durability, and maintenance. It is also important to choose a faucet head that complements the rest of your bathroom fixtures and design. With the right faucet head, you can elevate your bathroom's overall look and make your daily routines more efficient and comfortable.

