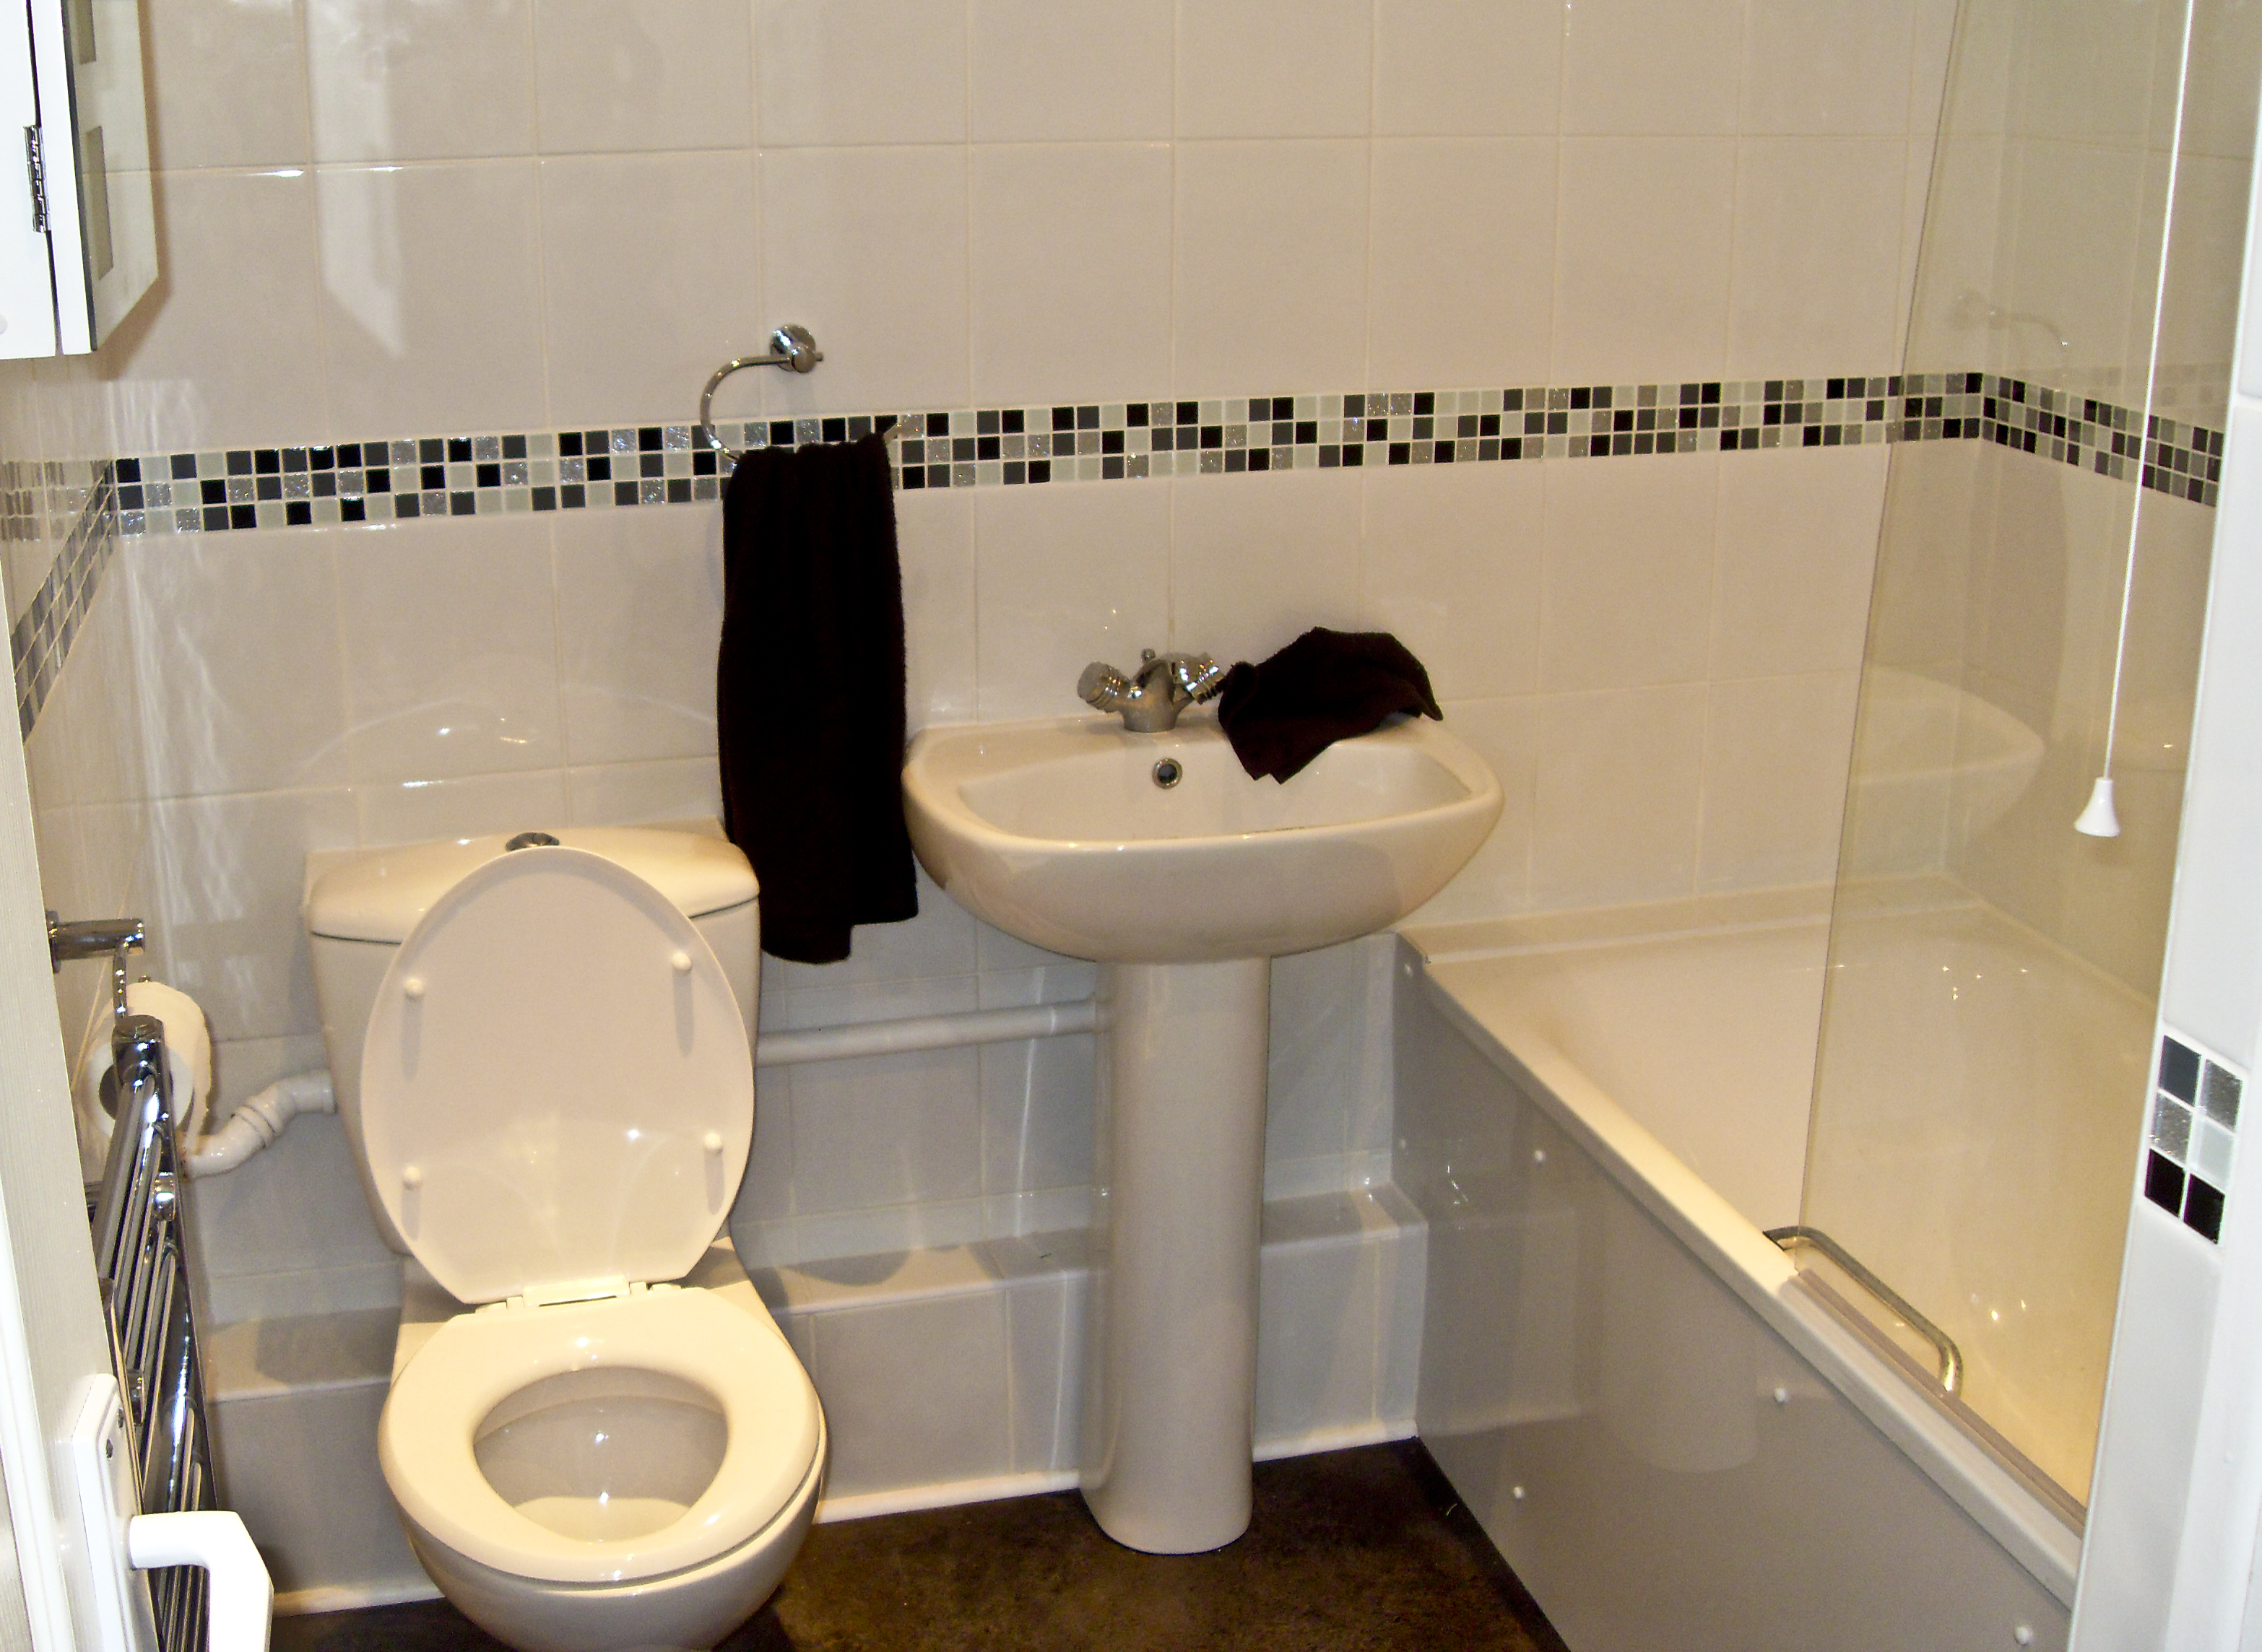
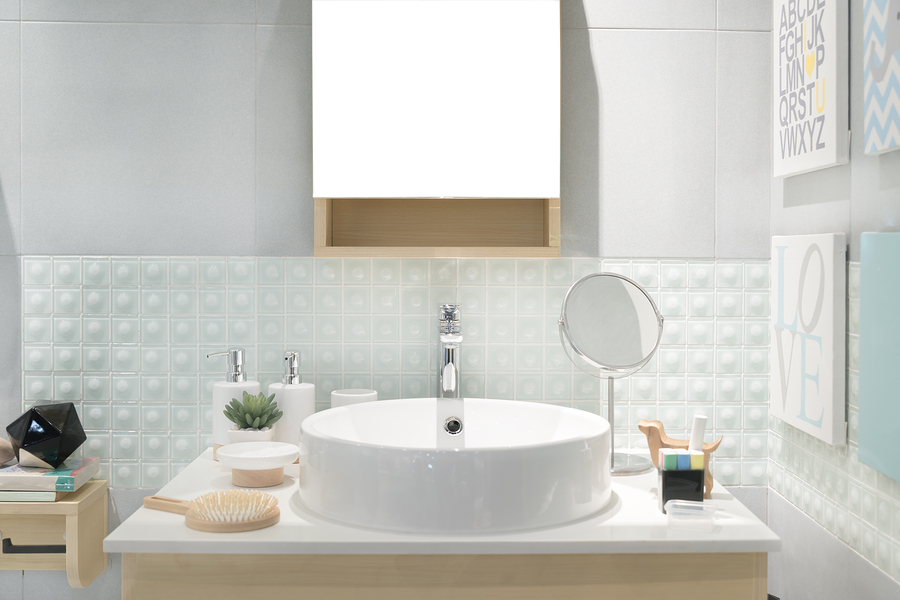
Are you thinking of giving your bathroom a fresh new look? Installing a drop in sink can instantly transform the space and add a touch of elegance. This type of sink is also known as a self-rimming or top-mount sink and is a popular choice among homeowners due to its easy installation process. In this guide, we will take you through the steps of installing a bathroom drop in sink. Bathroom Drop In Sink Installation: A Step-by-Step Guide


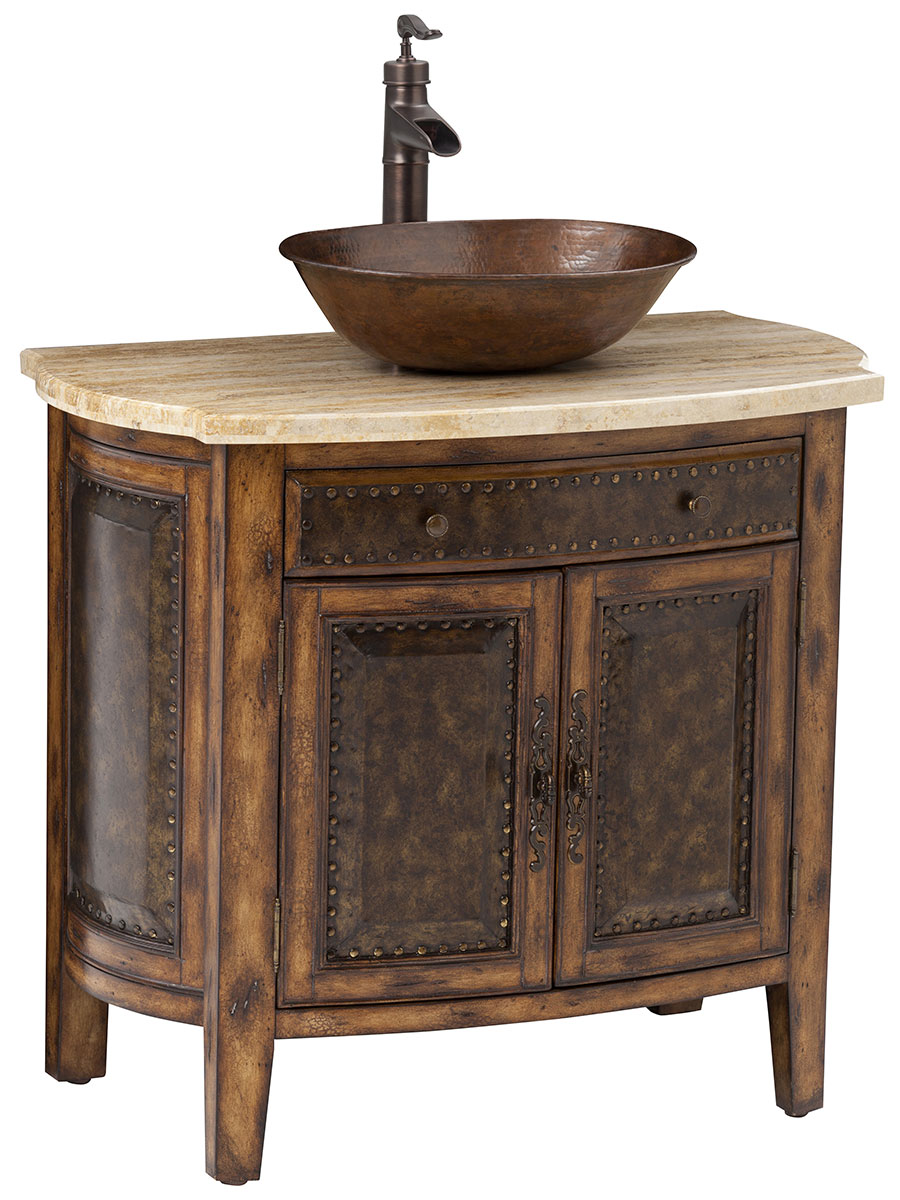
Bathroom Drop In Sink Installation


Before you start the installation process, make sure you have all the necessary tools and materials. This will include a tape measure, a level, a drill, a wrench, plumber's putty, silicone sealant, and a drop in sink installation kit. It's also a good idea to have some rags or towels handy to clean up any spills or excess putty. Step 1: Gather Your Tools and Materials


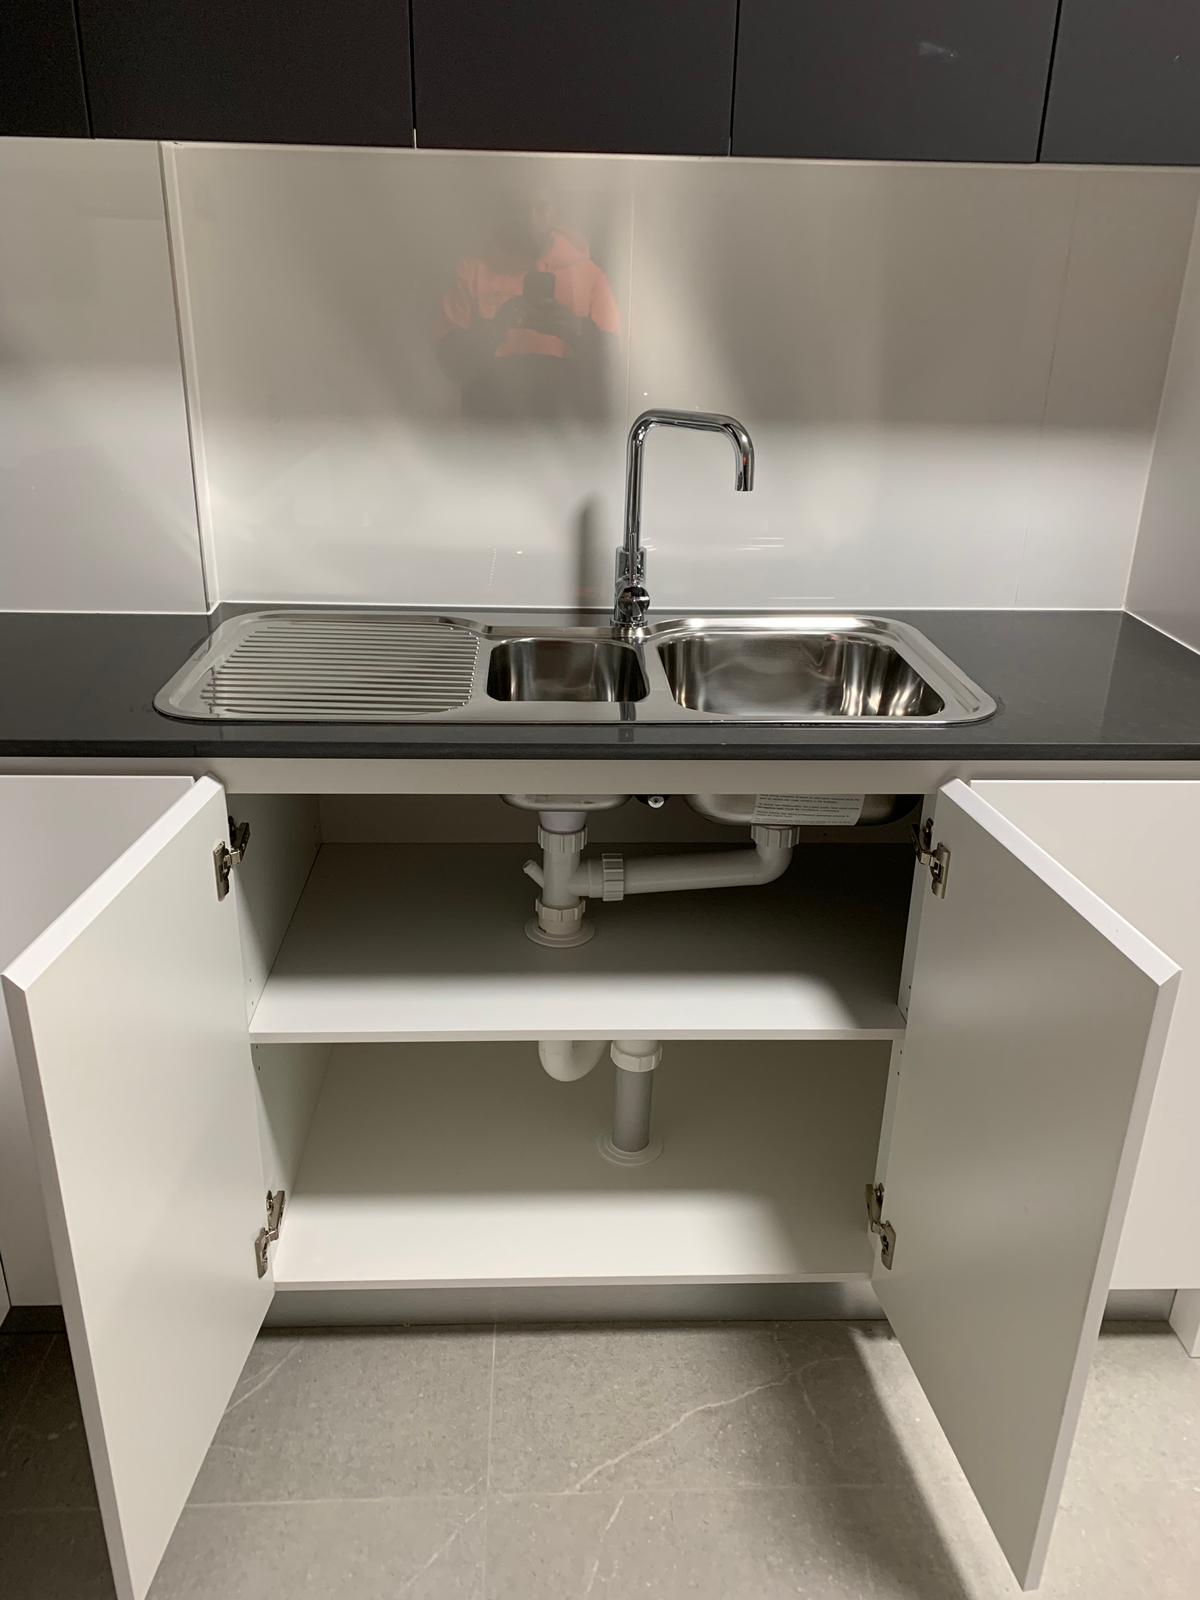
Drop In Sink Installation


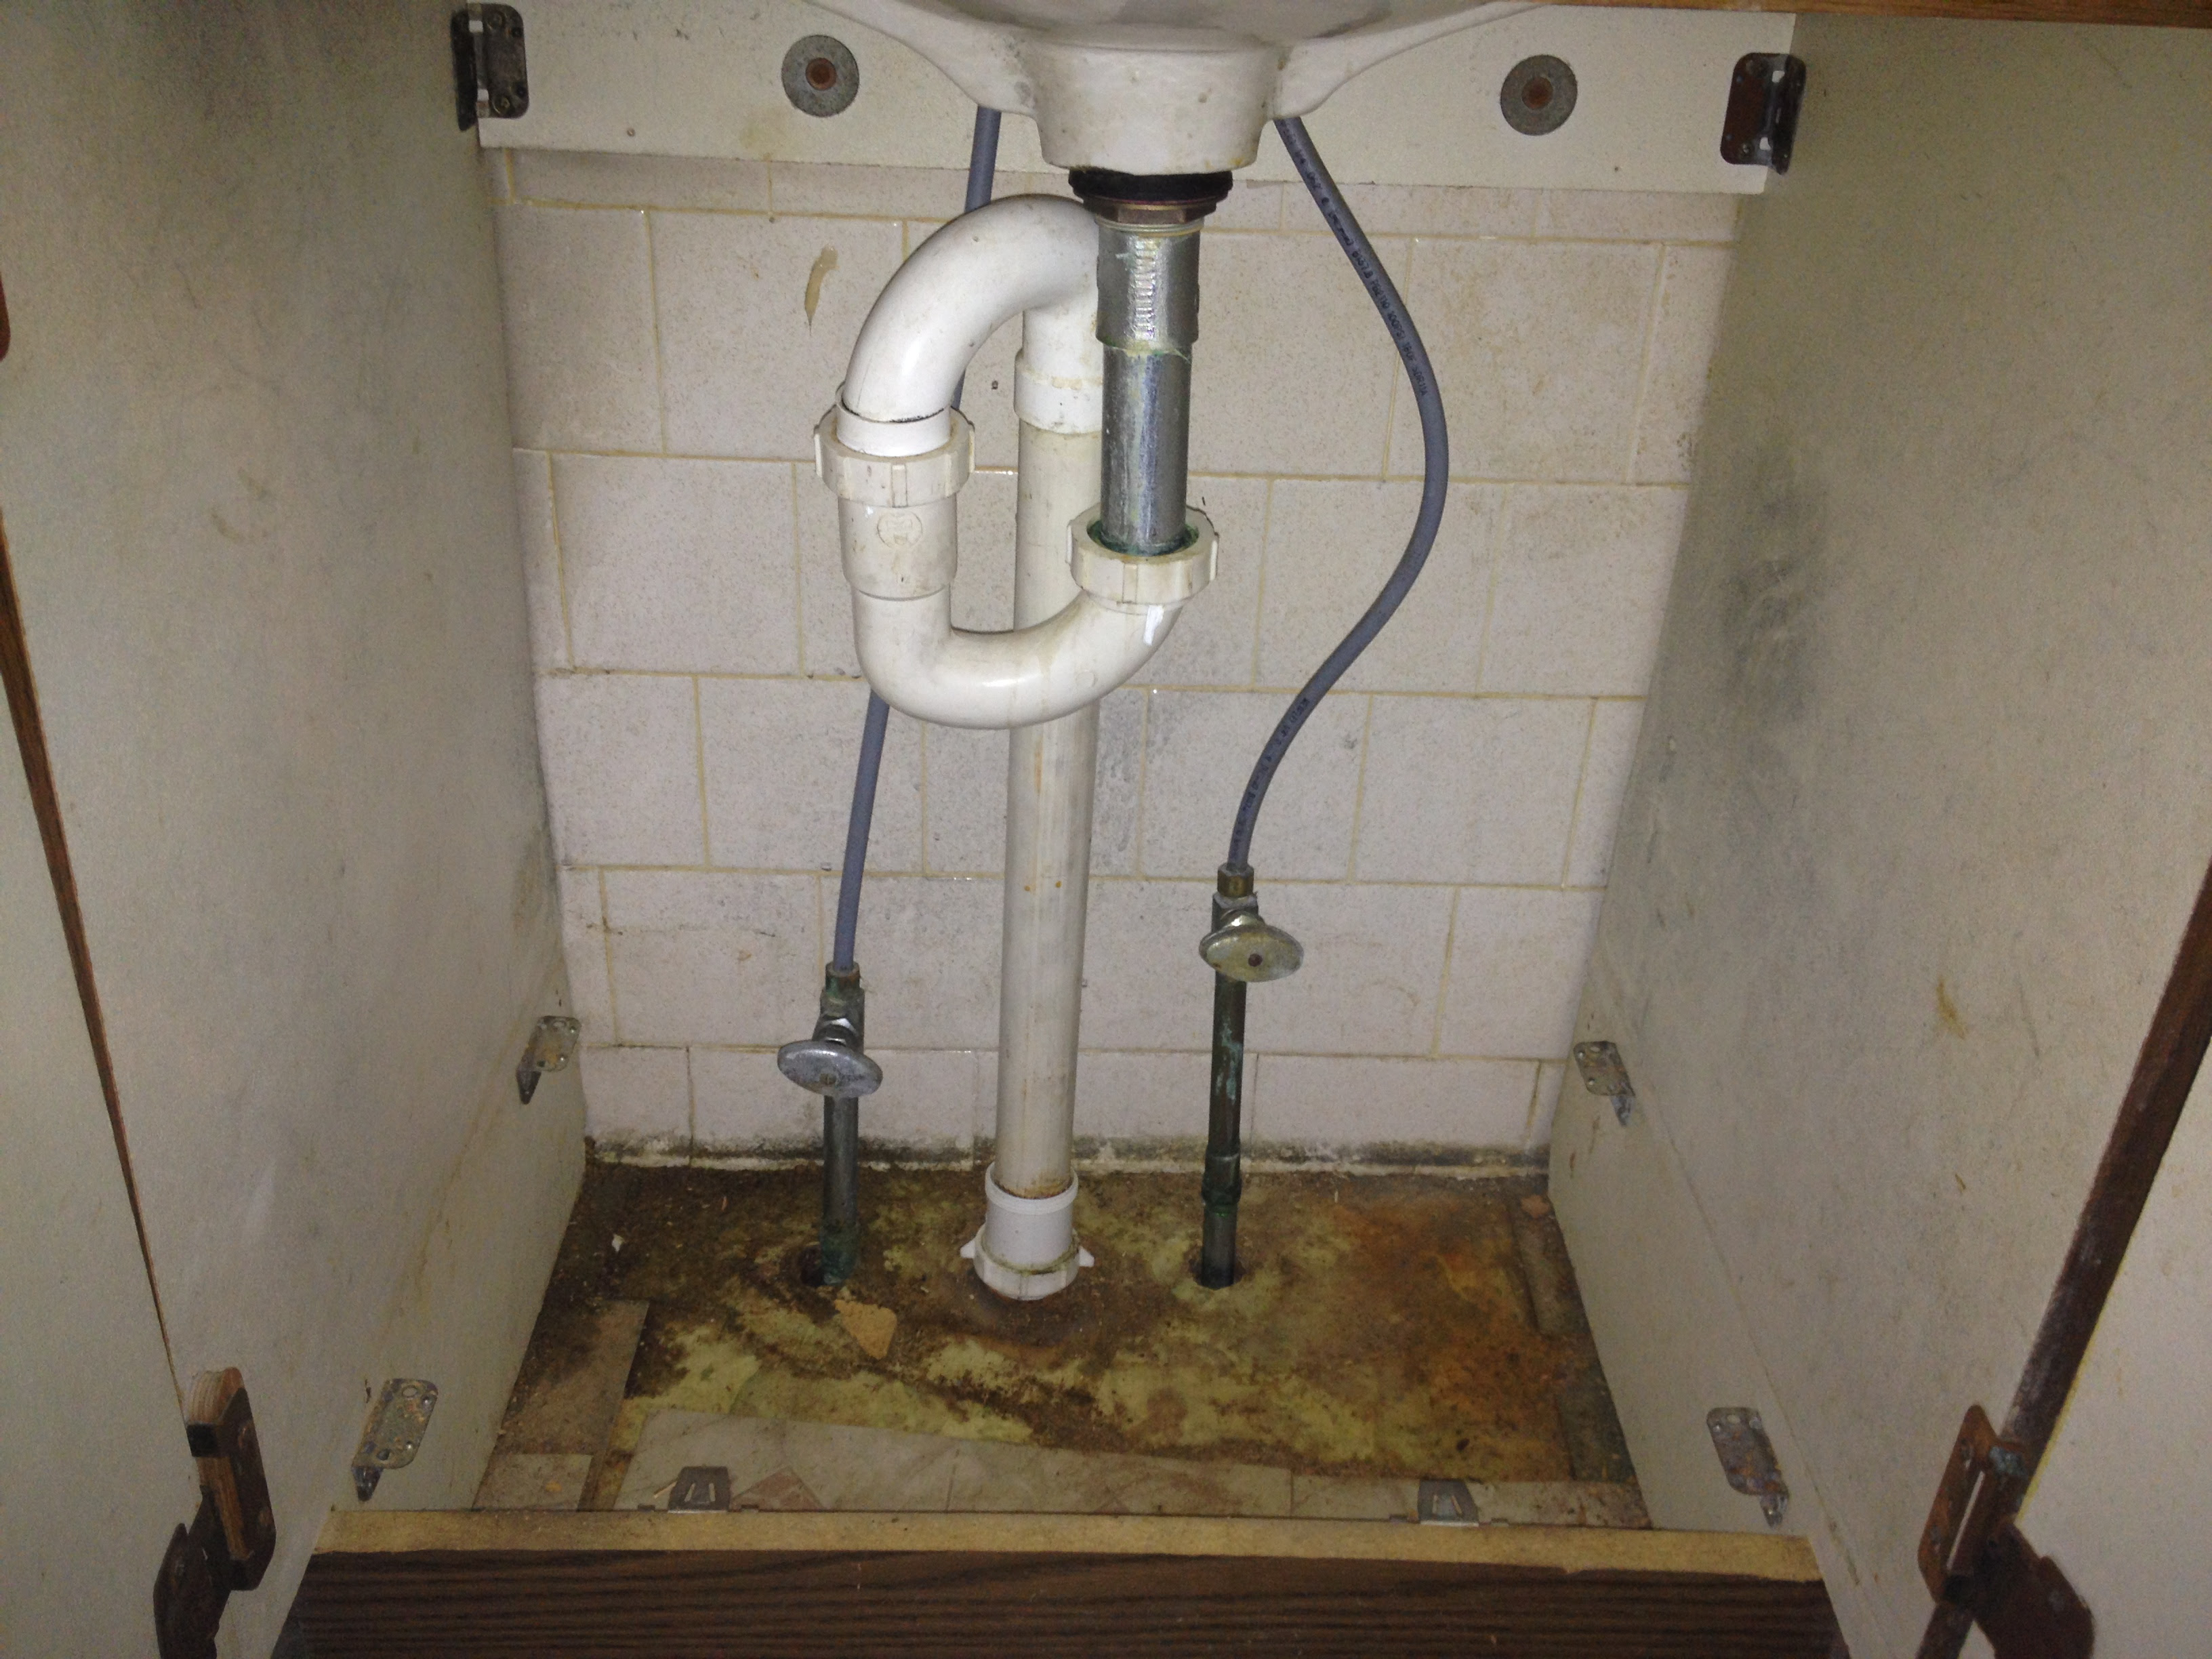
Before you begin any work, it's important to turn off the water supply to your bathroom. This can usually be done at the shut-off valves located under the sink. If you can't find the shut-off valves, you can also turn off the main water supply to your home. Step 2: Turn Off the Water Supply


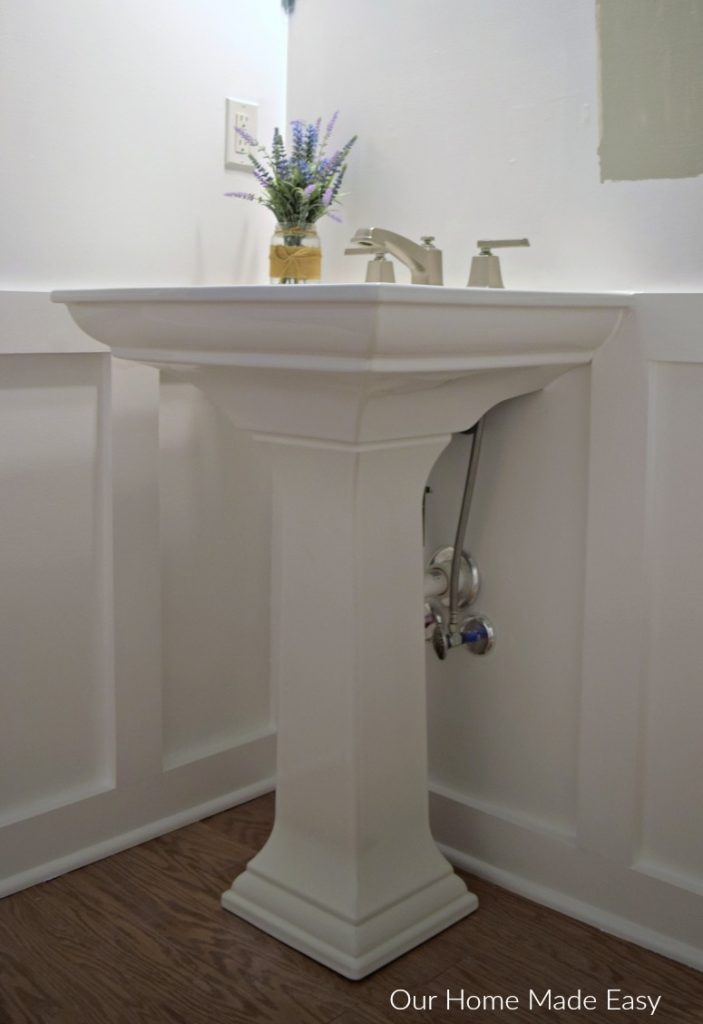
Bathroom Sink Installation


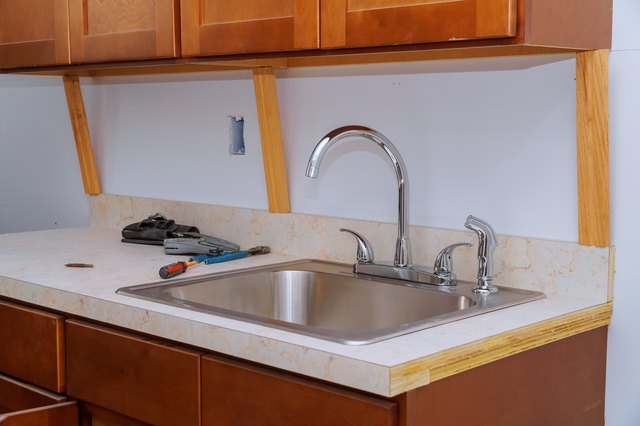
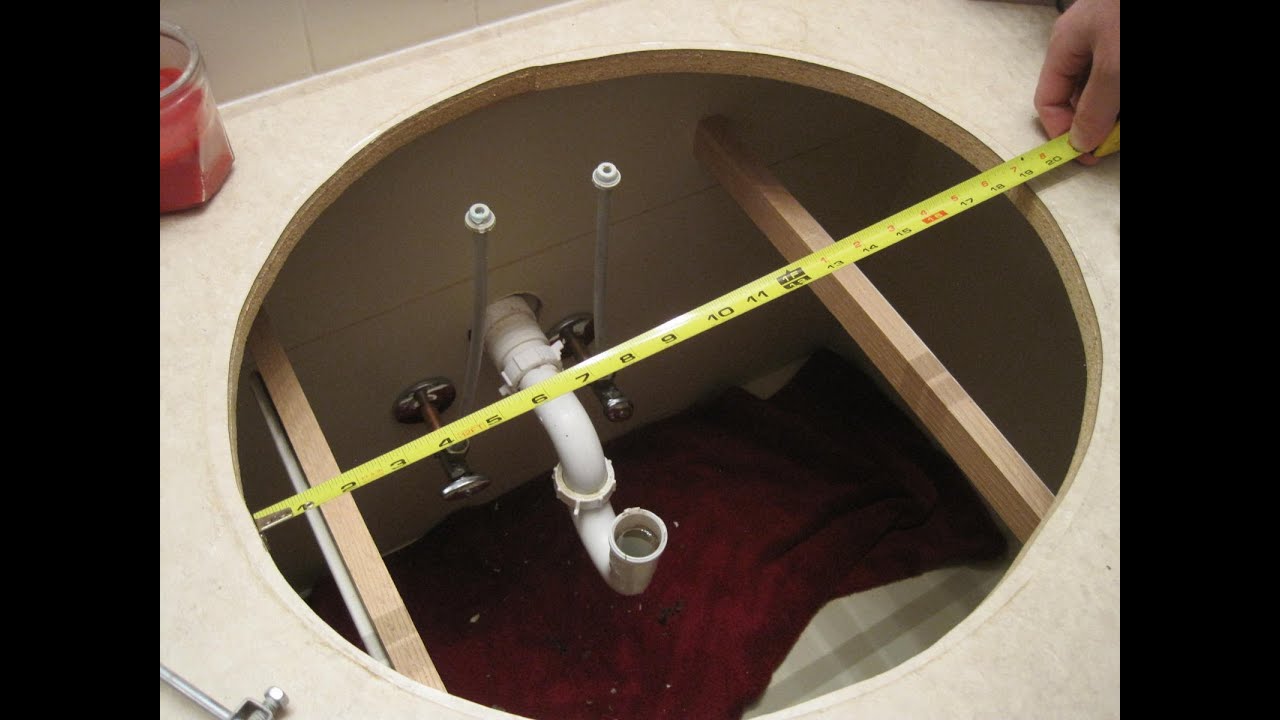
Measure the width and depth of your sink and use these measurements to mark the placement on your countertop. Make sure to leave enough space around the sink for the faucet and any additional accessories. Use a level to ensure that the sink will be installed evenly. Step 3: Measure and Mark the Sink Placement


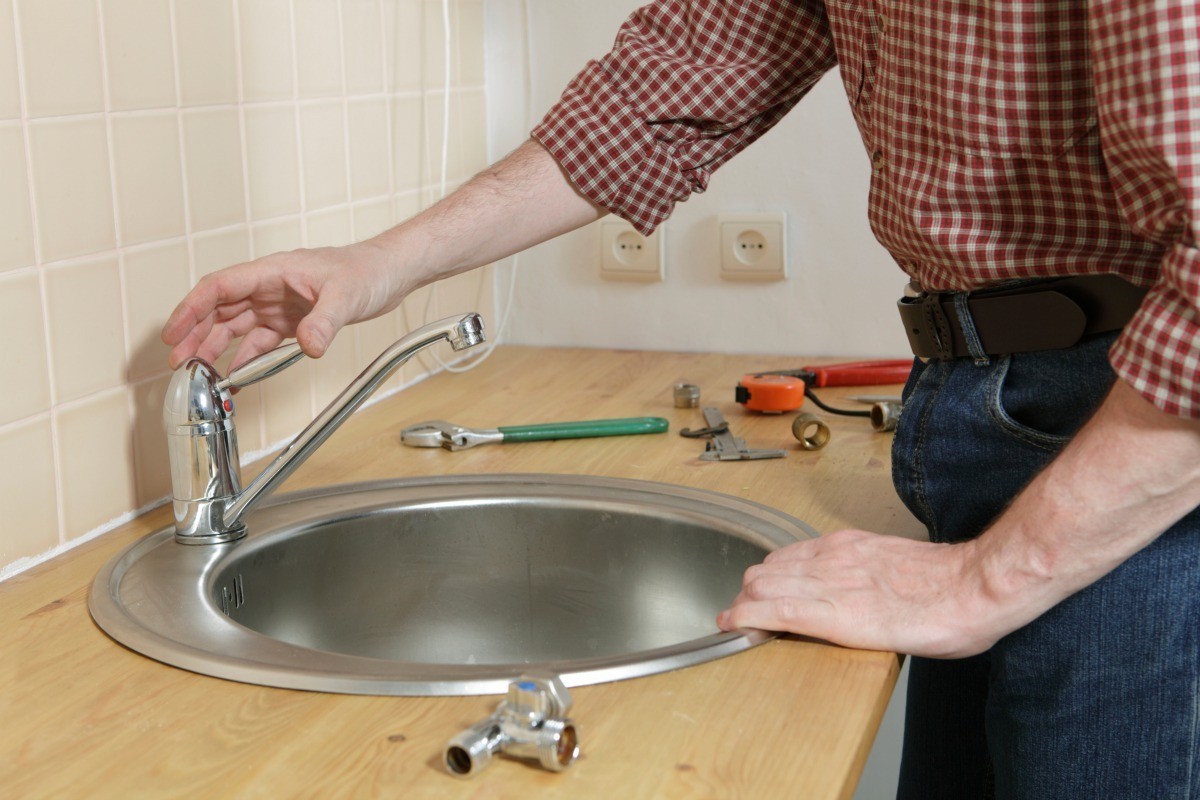
Drop In Sink


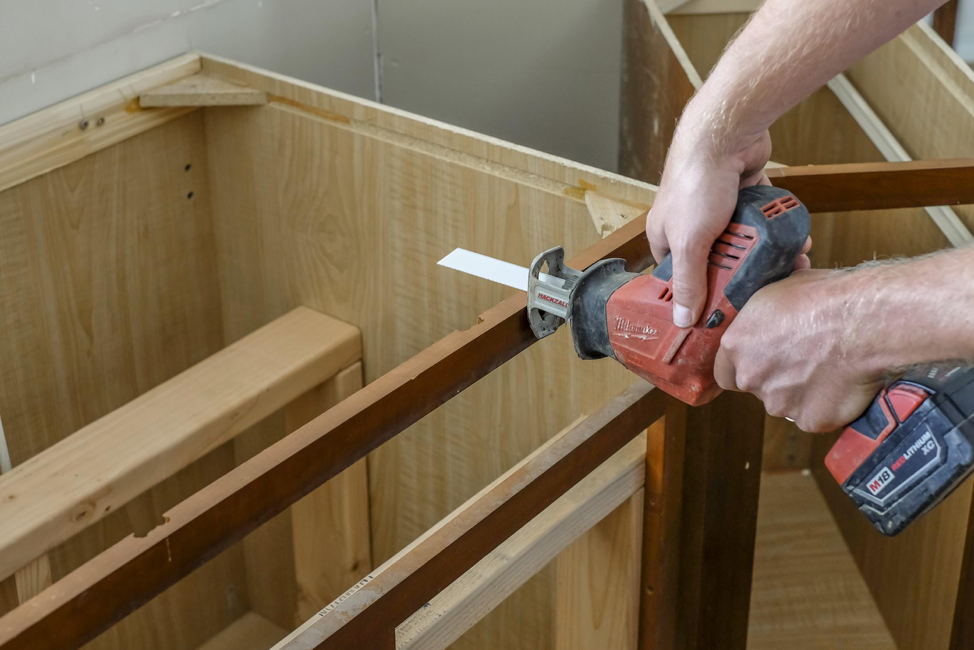
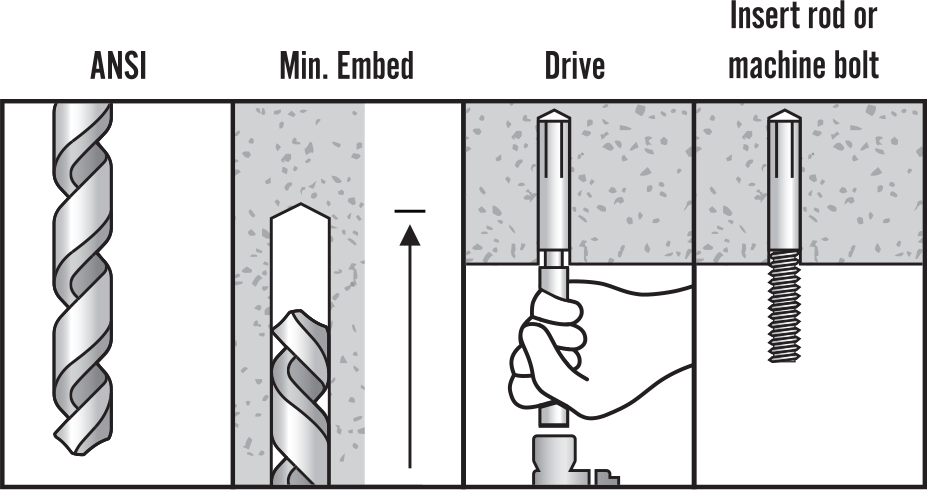
If your sink did not come with a template, use a piece of cardboard or paper to create one. Place the template on the countertop and trace the outline of the sink. Use a drill to create a starter hole for the jigsaw to cut out the hole for the sink. Step 4: Create a Template


Bathroom Sink


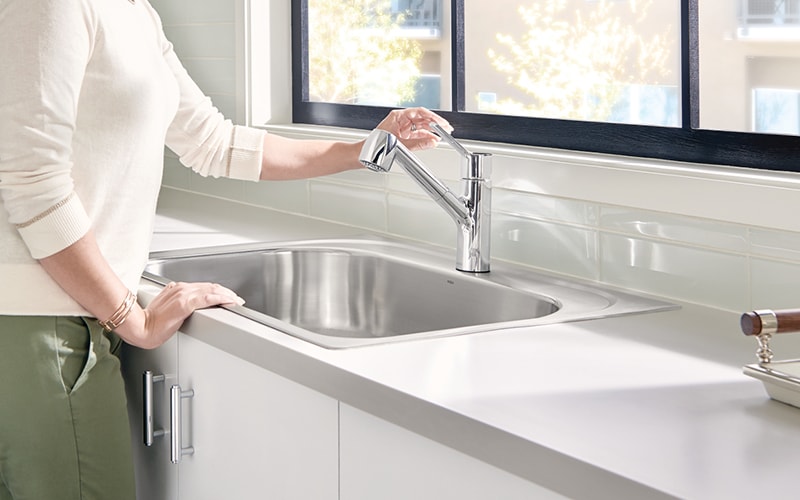
Before placing the sink, install the faucet and drain according to the manufacturer's instructions. This will make it easier to install them once the sink is in place. Step 5: Install the Faucet and Drain

Sink Installation


Roll out a thin layer of plumber's putty and place it around the edge of the sink where it will come in contact with the countertop. This will create a watertight seal and prevent any leaks. Step 6: Apply Plumber's Putty


Bathroom Installation


Carefully lower the sink into the hole, making sure it is centered and level. Apply gentle pressure to the edges of the sink to ensure it adheres to the putty. Step 7: Place the Sink


Drop In Installation


Use the clips provided in the drop in sink installation kit to secure the sink to the countertop. These clips will hold the sink in place and prevent it from shifting. Step 8: Secure the Sink


Bathroom Sink Install


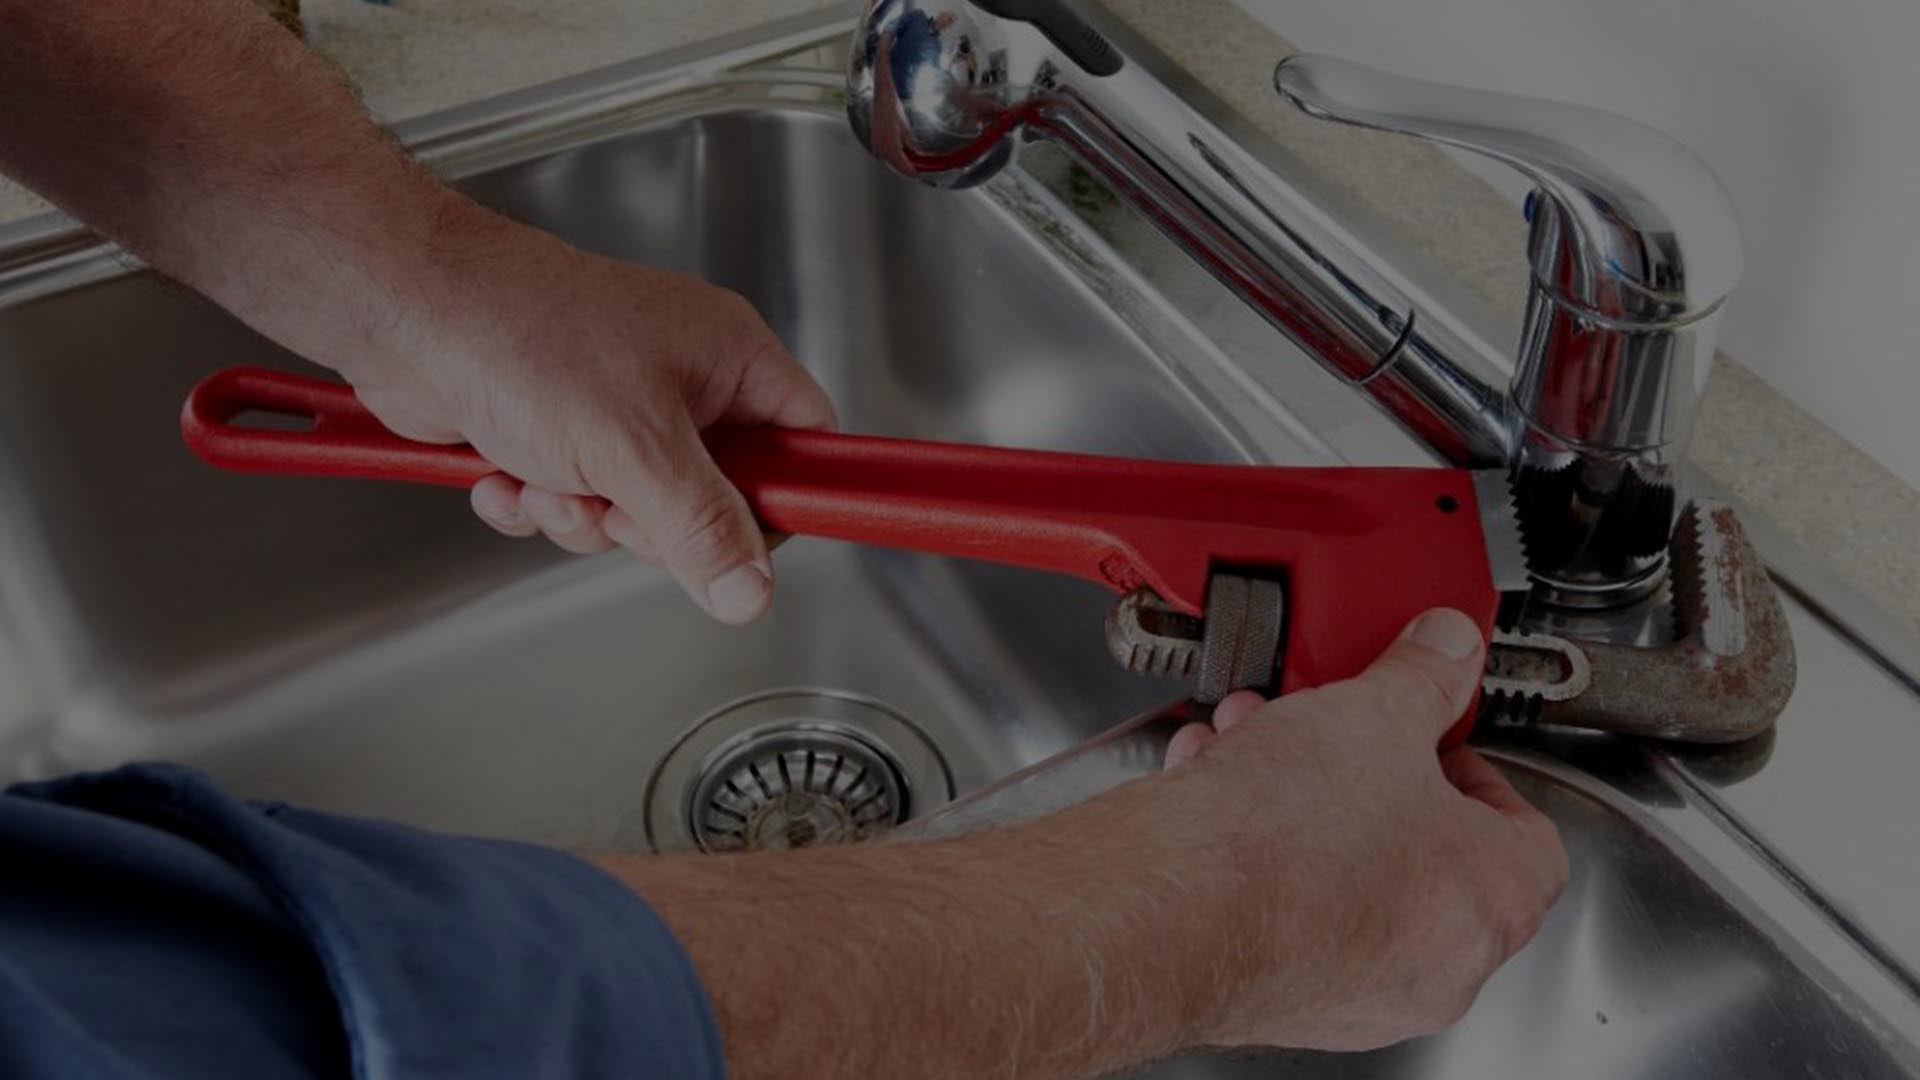
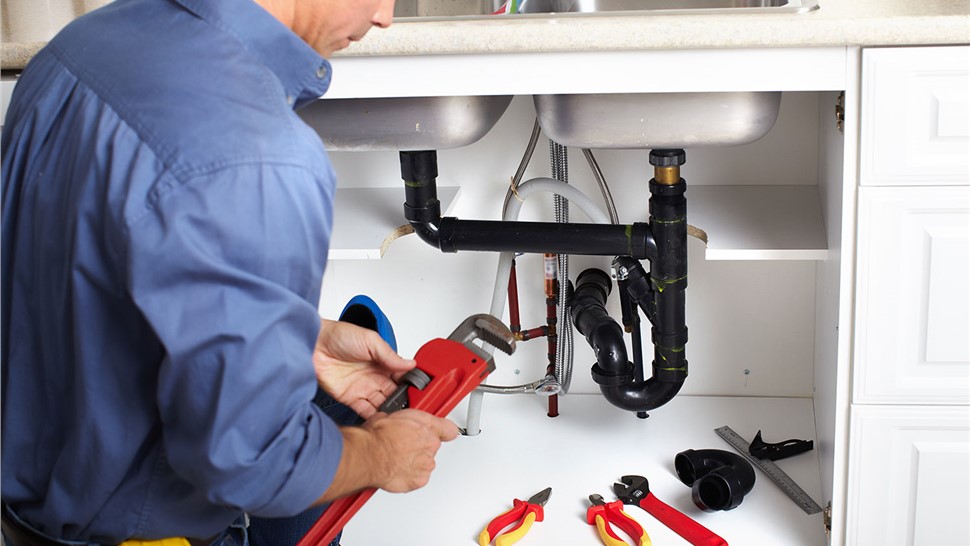
Once the sink is securely in place, connect the water supply lines to the faucet and the drain to the plumbing below the sink. Use a wrench to tighten the connections and ensure there are no leaks. Step 9: Connect the Plumbing


Drop In Sink Install

:max_bytes(150000):strip_icc()/8_IMG_3767-56a4a2753df78cf772835b72.JPG)


Why Drop-In Sinks are the Perfect Choice for Your Bathroom

Effortless Installation Process
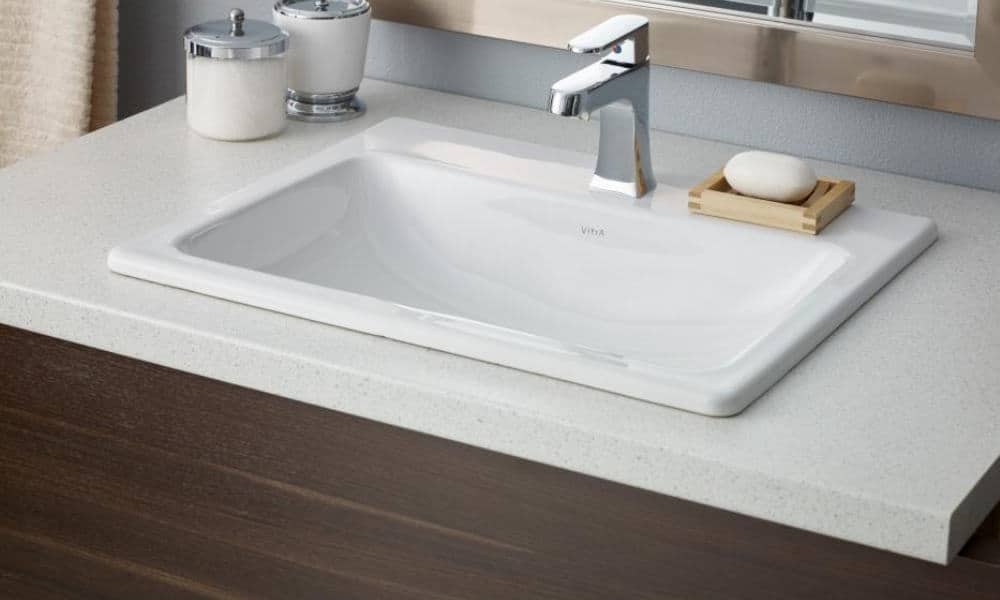
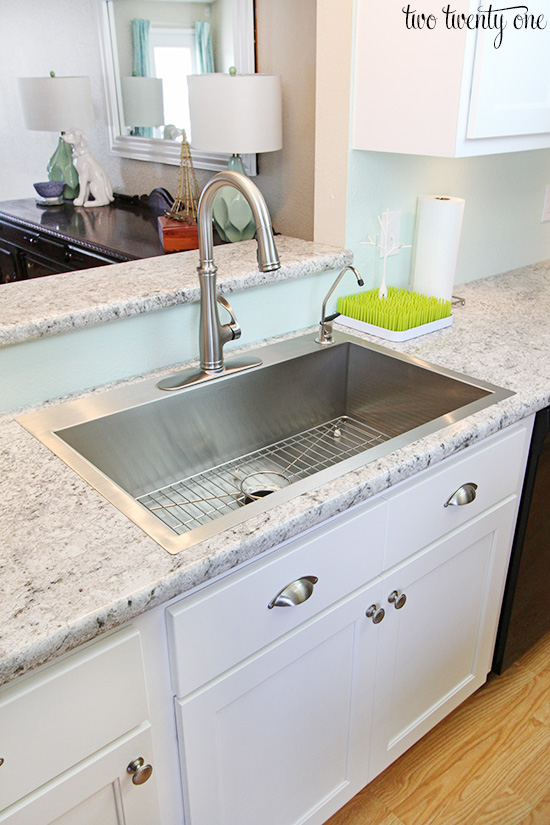
 When it comes to bathroom renovation, choosing the right sink can be a daunting task. With so many options available in the market, it can be overwhelming to decide which one is best suited for your space. However, one type of sink that stands out for its ease of installation is the
drop-in sink
. As the name suggests, this type of sink is simply dropped into a cutout in the countertop, making the installation process effortless and hassle-free.
When it comes to bathroom renovation, choosing the right sink can be a daunting task. With so many options available in the market, it can be overwhelming to decide which one is best suited for your space. However, one type of sink that stands out for its ease of installation is the
drop-in sink
. As the name suggests, this type of sink is simply dropped into a cutout in the countertop, making the installation process effortless and hassle-free.
Seamless Design and Customization
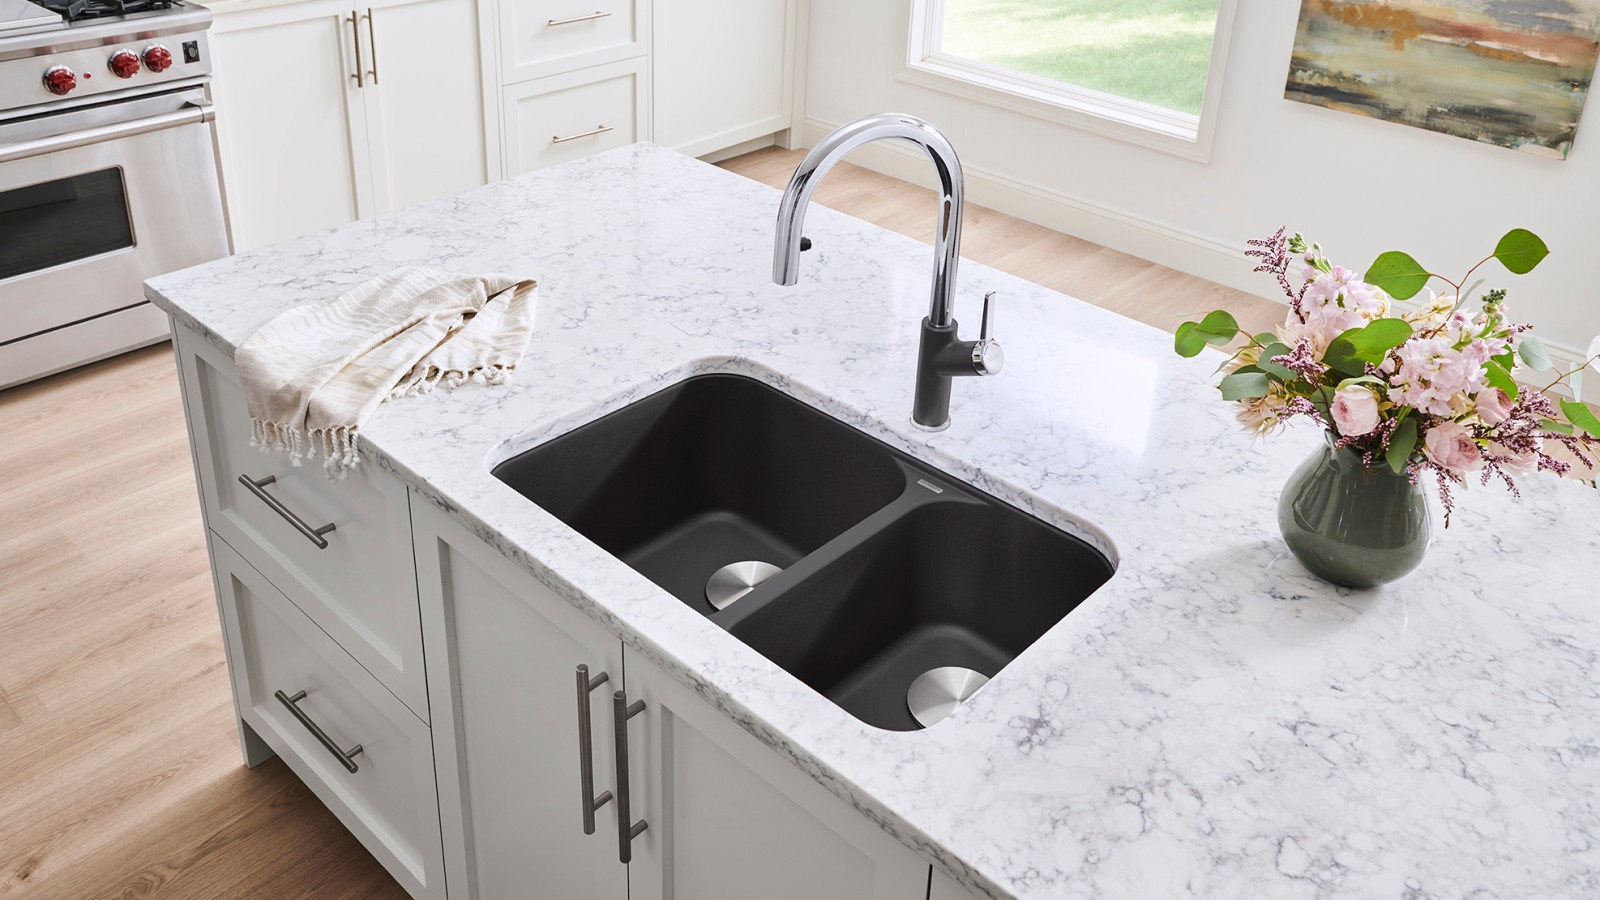
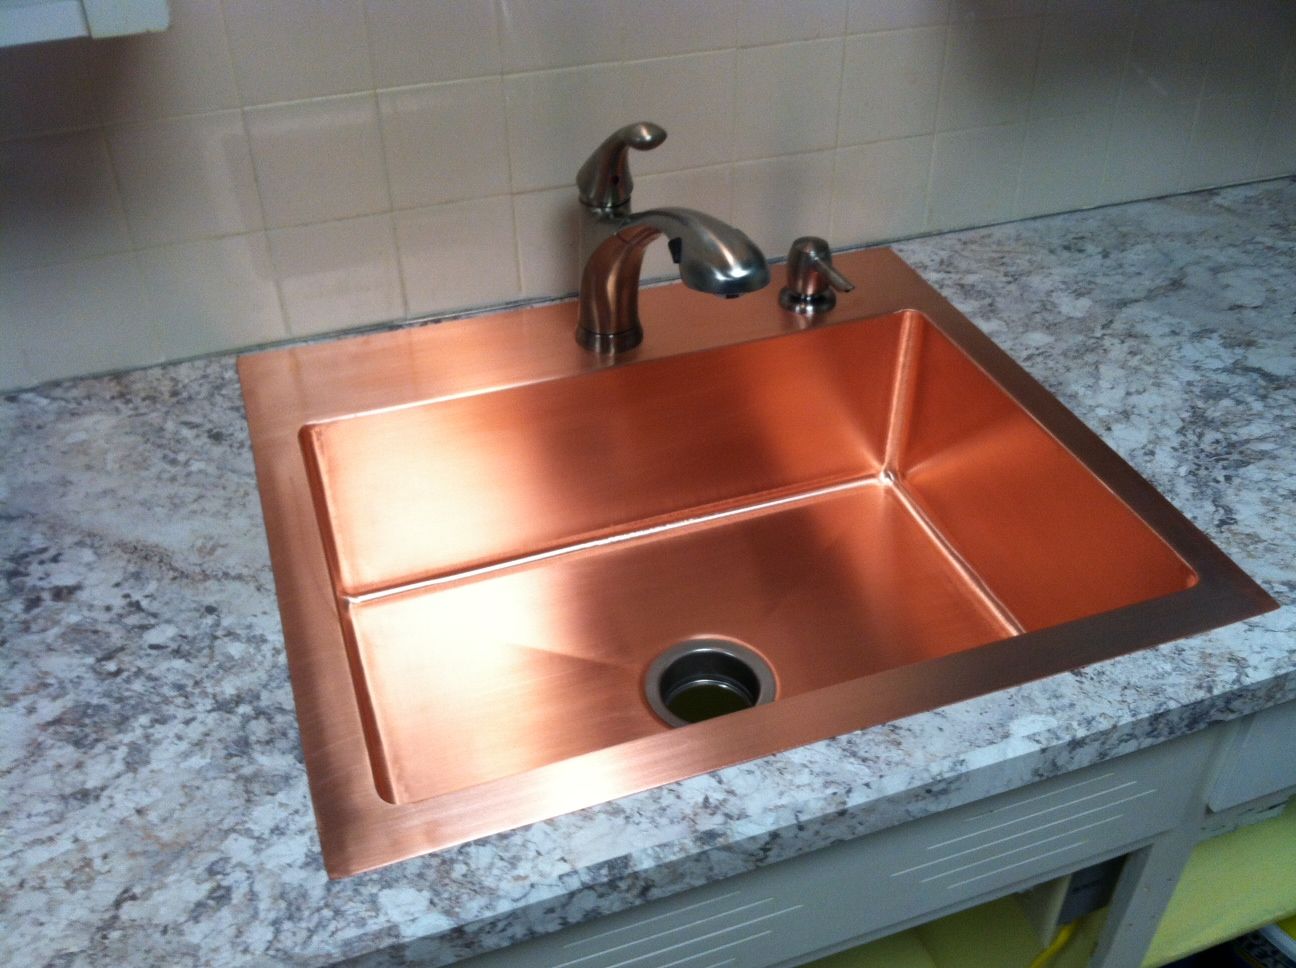
 One of the main advantages of a drop-in sink is its seamless design. Unlike undermount or vessel sinks, which require a perfect cutout in the countertop,
drop-in sinks
can cover up any imperfections or gaps in the cutout. This makes them a great choice for older or uneven countertops. Additionally, drop-in sinks come in a variety of shapes and sizes, allowing for easy customization to fit your specific bathroom design needs.
One of the main advantages of a drop-in sink is its seamless design. Unlike undermount or vessel sinks, which require a perfect cutout in the countertop,
drop-in sinks
can cover up any imperfections or gaps in the cutout. This makes them a great choice for older or uneven countertops. Additionally, drop-in sinks come in a variety of shapes and sizes, allowing for easy customization to fit your specific bathroom design needs.
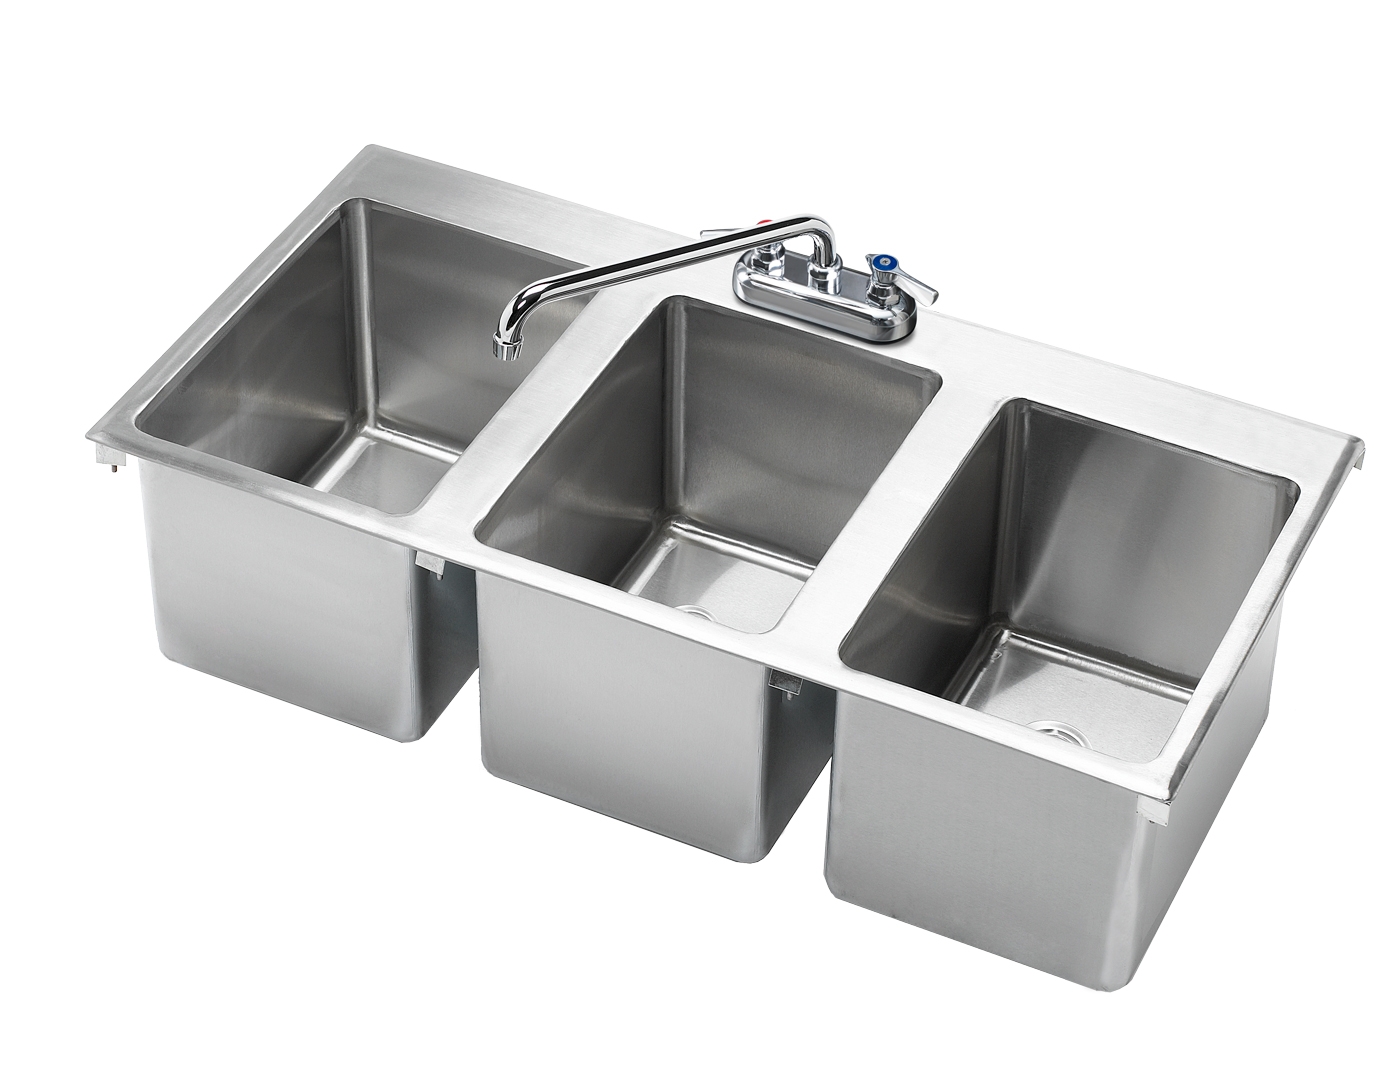
Durable and Cost-Effective
 Another important factor to consider when choosing a sink for your bathroom is durability. Drop-in sinks are made of durable materials such as porcelain, stainless steel, and cast iron, making them resistant to scratches, stains, and chipping. They are also more cost-effective compared to other types of sinks, making them a budget-friendly option for your bathroom renovation.
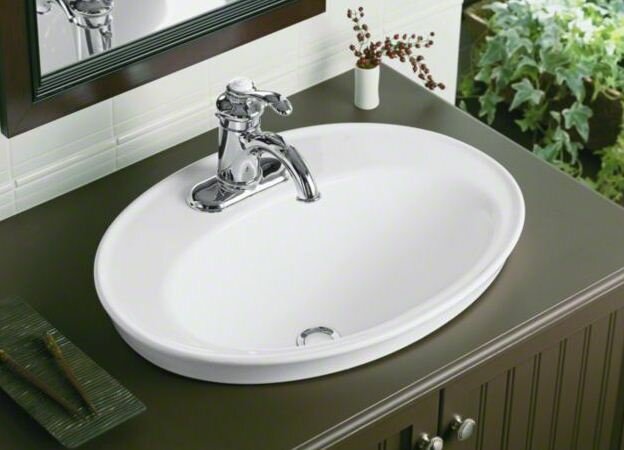
Easy Maintenance and Versatility
 Drop-in sinks are also known for their easy maintenance and versatility. The drop-in design allows for easy cleaning and prevents water from spilling onto the countertop. Additionally, these sinks can be easily replaced if needed without having to replace the entire countertop. They also come in a variety of styles and designs, making them suitable for any bathroom theme or decor.
In conclusion, when it comes to bathroom design, drop-in sinks are a practical and versatile choice. With their effortless installation, seamless design, durability, and easy maintenance, they are a perfect addition to any bathroom. So why wait? Upgrade your bathroom with a drop-in sink and enjoy a beautiful and functional space for years to come.
Drop-in sinks are also known for their easy maintenance and versatility. The drop-in design allows for easy cleaning and prevents water from spilling onto the countertop. Additionally, these sinks can be easily replaced if needed without having to replace the entire countertop. They also come in a variety of styles and designs, making them suitable for any bathroom theme or decor.
In conclusion, when it comes to bathroom design, drop-in sinks are a practical and versatile choice. With their effortless installation, seamless design, durability, and easy maintenance, they are a perfect addition to any bathroom. So why wait? Upgrade your bathroom with a drop-in sink and enjoy a beautiful and functional space for years to come.