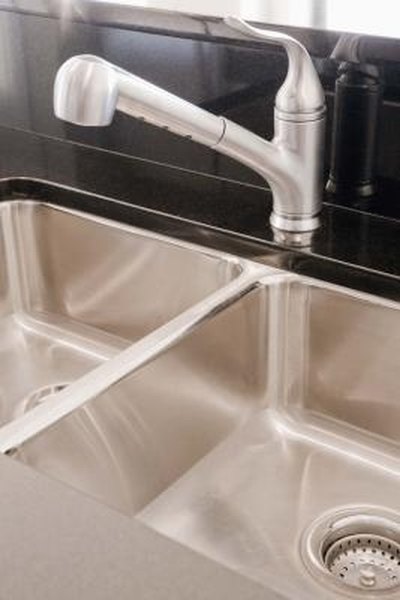
Caulking is an essential step in maintaining the cleanliness and functionality of your kitchen sink. It not only provides a watertight seal but also prevents mold and mildew from growing in the gaps between the sink and countertop. In this article, we will guide you through the process of applying caulk to your kitchen sink, step-by-step.How to Apply Caulk to a Kitchen Sink


How to Apply Caulk to a Kitchen Sink
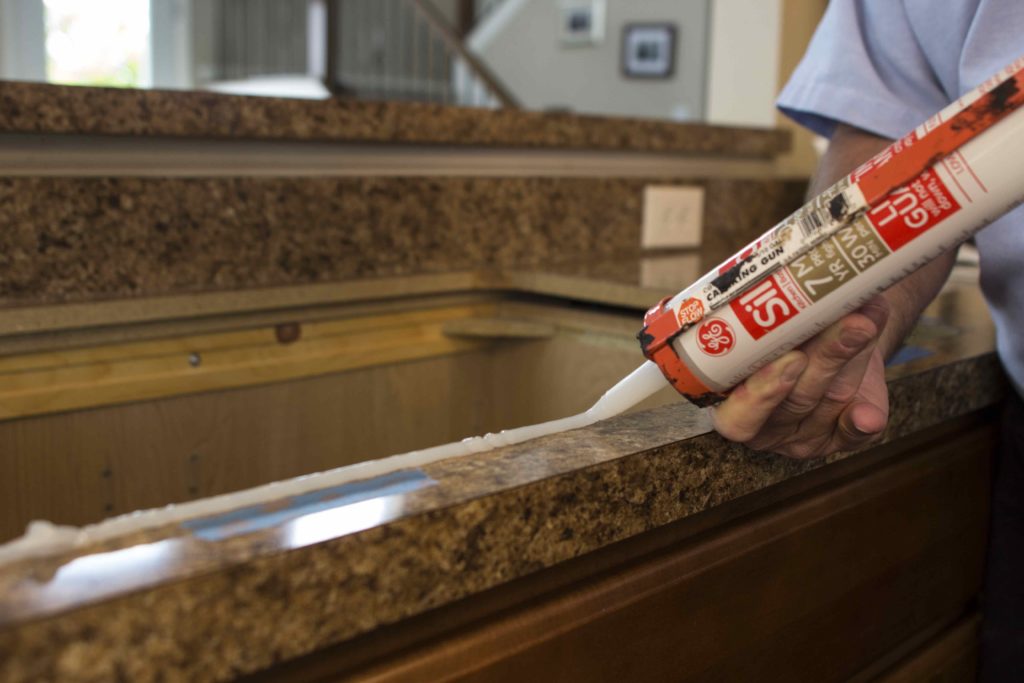


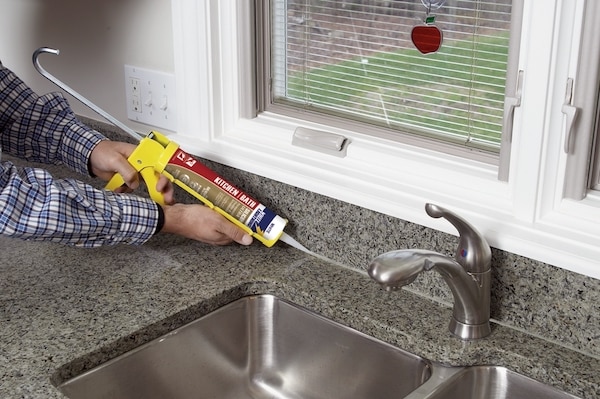

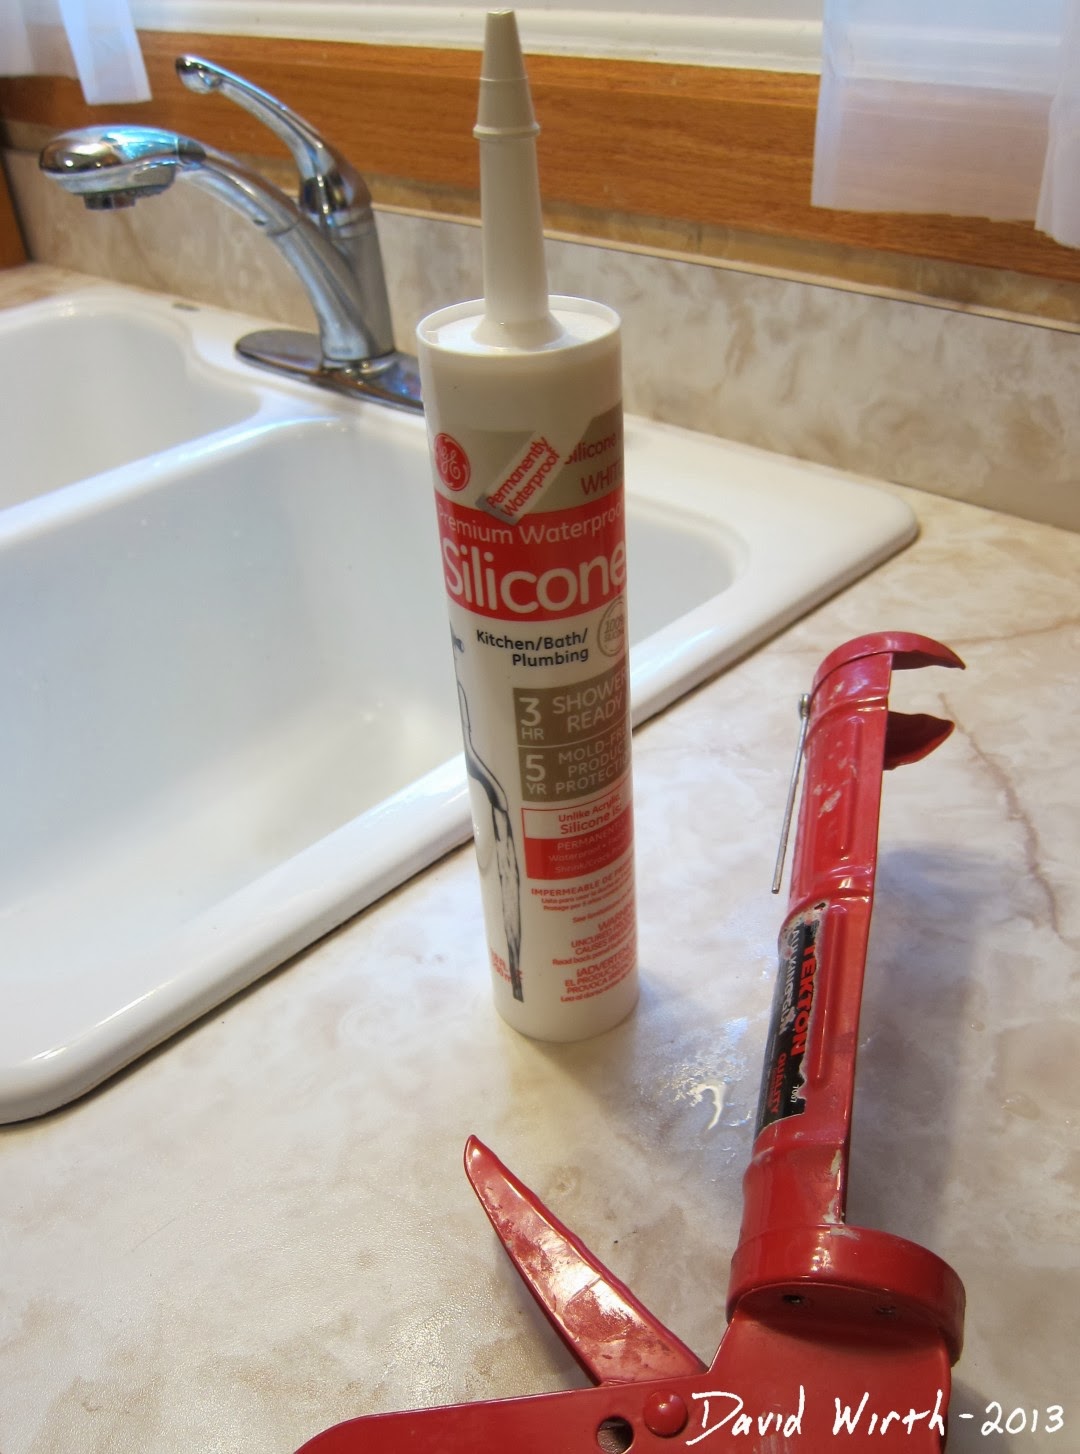
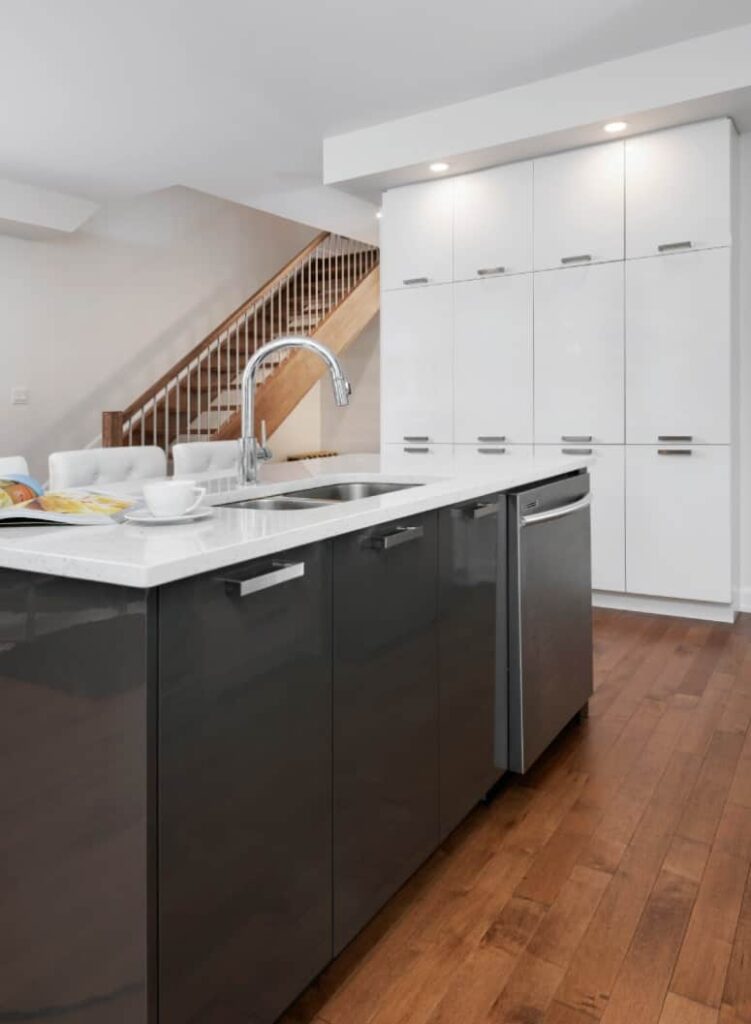
Caulking a kitchen sink may seem like a daunting task, but with the right tools and techniques, it can be a quick and easy process. Follow these steps to achieve a professional-looking caulk job for your kitchen sink: Step 1: Choose the Right Caulk The first step is to choose the right caulk for your kitchen sink. Look for a waterproof, silicone-based caulk that is specifically designed for use in kitchens and bathrooms. It should also be mold and mildew resistant and able to withstand high moisture and temperature levels. Step 2: Prepare the Sink and Countertop Before applying caulk, make sure that the sink and countertop are clean and dry. Use a mild cleaner to remove any dirt, grime, or old caulk residue. Then, dry the area thoroughly with a clean cloth. Step 3: Cut the Tip of the Caulk Tube Using a utility knife, cut the tip of the caulk tube at a 45-degree angle. The size of the cut will determine the width of the caulk bead. For a standard kitchen sink, a ¼ inch cut should be sufficient. Step 4: Apply the Caulk Place the caulk tube in a caulking gun and start applying the caulk in a continuous and steady motion along the edges of the sink and countertop. Use your finger or a caulk smoothing tool to smooth out the caulk bead and remove any excess. Wipe off any remaining caulk with a damp cloth. Step 5: Allow the Caulk to Dry Let the caulk dry for at least 24 hours before using the sink. This will ensure that the caulk has fully cured and will provide a strong seal.How to Caulk a Kitchen Sink
.jpg)


How to Caulk a Kitchen Sink


When it comes to choosing the best caulk for your kitchen sink, there are a few factors to keep in mind. As mentioned earlier, make sure to choose a waterproof, silicone-based caulk that is specifically designed for use in kitchens and bathrooms. Some popular options include GE Silicone II Kitchen and Bath Caulk, DAP Kwik Seal Ultra, and Loctite Polyseamseal Tub and Tile Caulk. Additionally, consider the color of the caulk and match it to your sink and countertop for a seamless look. You may also want to choose a caulk that is paintable in case you want to change the color of your kitchen in the future.Best Caulk for Kitchen Sink


Step-by-Step Guide to Caulking a Kitchen Sink


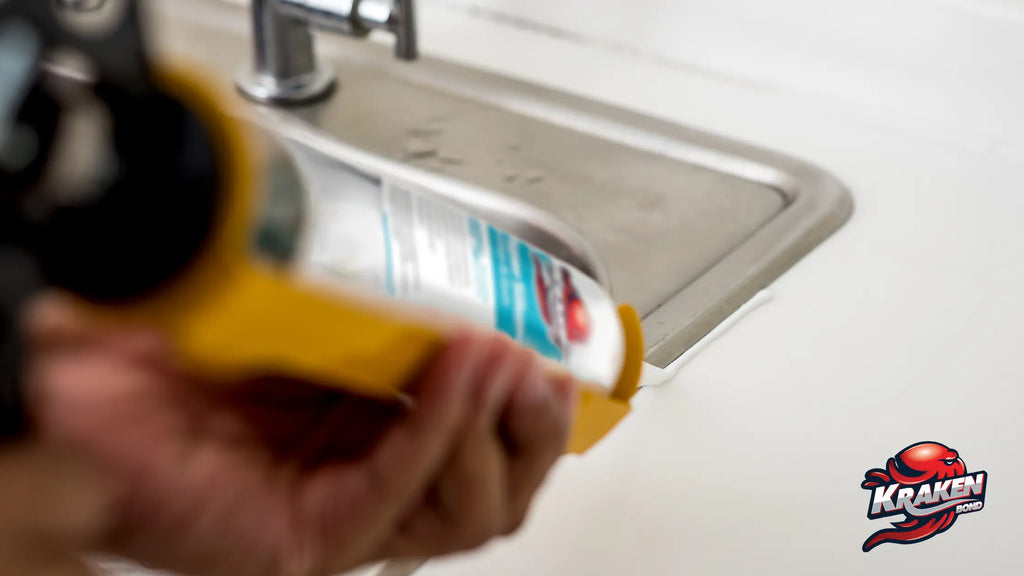


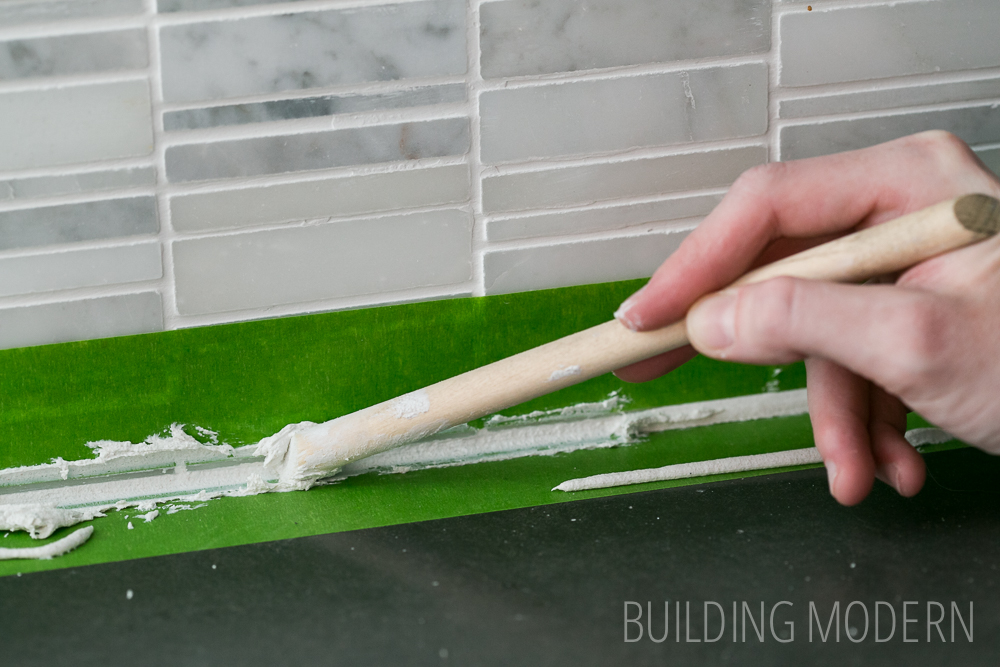
To ensure a successful caulk job for your kitchen sink, here are a few helpful tips: Tip #1: Use a caulk smoothing tool for a professional finish. Tip #2: Place masking tape along the edges of the sink and countertop to create a straight caulk line. Tip #3: If using a caulk gun is too difficult, you can also use a squeeze tube or a caulking syringe. Tip #4: For a more durable seal, apply a second layer of caulk after the first layer has dried.Tips for Caulking a Kitchen Sink


Best Caulk for Kitchen Sink


.jpg)

Caulking a kitchen sink may seem like a straightforward task, but there are some dos and don'ts to keep in mind to ensure a successful caulk job: Do: Do clean and dry the sink and countertop before applying caulk. Do use a caulk smoothing tool or your finger to smooth out the caulk bead. Do allow the caulk to dry for at least 24 hours before using the sink. Don't: Don't use regular caulk or acrylic caulk for your kitchen sink. These types of caulk are not waterproof and will not provide a strong seal. Don't use a damp cloth to wipe off excess caulk. This can affect the curing process and result in a weaker seal.Caulking a Kitchen Sink: Dos and Don'ts


Tips for Caulking a Kitchen Sink


It is recommended to caulk a kitchen sink every 1-2 years, depending on the condition of the caulk. Over time, caulk can shrink, crack, or become discolored, which can compromise the seal and allow water to seep through. Regularly checking and replacing worn-out caulk will help maintain the cleanliness and functionality of your kitchen sink.How Often Should You Caulk a Kitchen Sink?


Caulking a Kitchen Sink: Dos and Don'ts


Here are some common mistakes that people make when caulking a kitchen sink: Mistake #1: Not cleaning the sink and countertop properly. As mentioned earlier, it is essential to thoroughly clean and dry the sink and countertop before applying caulk. This will ensure that the caulk adheres properly and provides a strong seal. Mistake #2: Using the wrong type of caulk. Using regular or acrylic caulk instead of silicone-based caulk can result in a weak and ineffective seal. Make sure to choose the right caulk for your kitchen sink. Mistake #3: Not allowing the caulk to dry completely. Rushing to use the sink before the caulk has fully cured can cause the seal to break and result in water leakage. Be patient and give the caulk enough time to dry.Caulking a Kitchen Sink: Common Mistakes to Avoid


How Often Should You Caulk a Kitchen Sink?
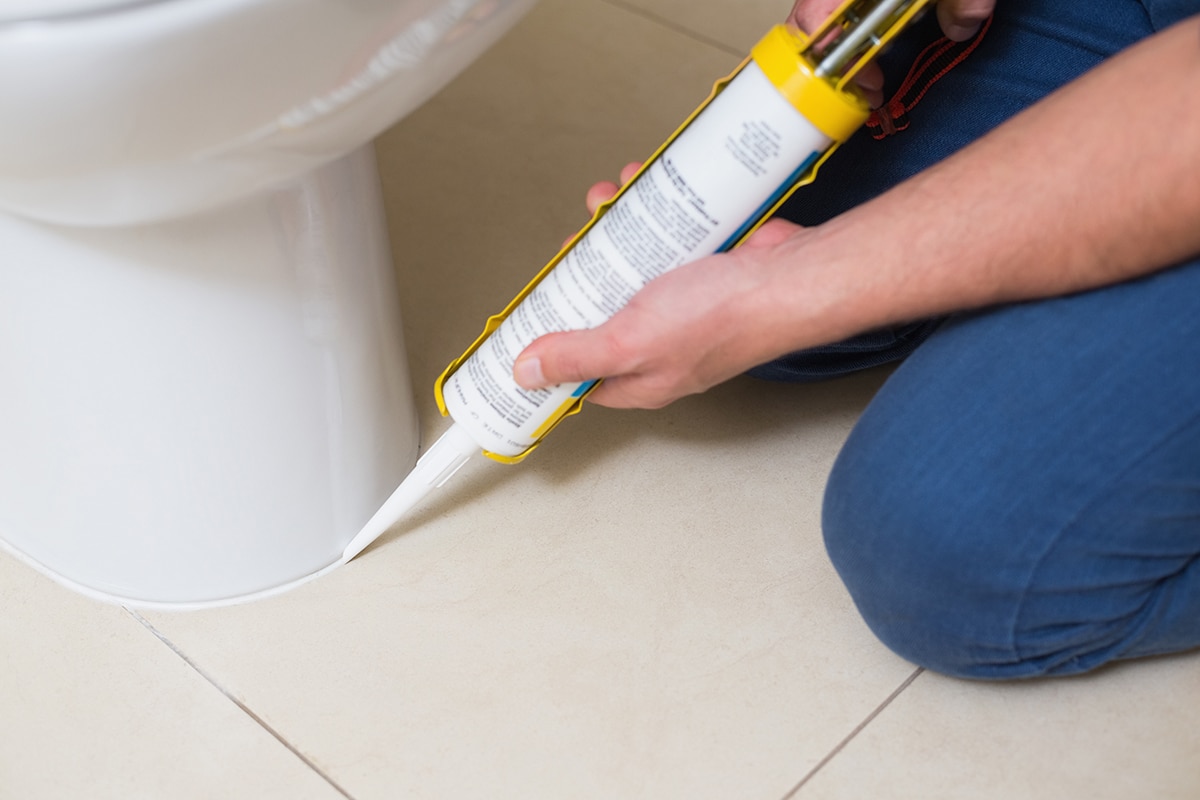


If you need to re-caulk your kitchen sink, you will first need to remove the old caulk. Here's how: Step 1: Soften the Old Caulk Using a caulk softener or a mixture of equal parts vinegar and warm water, apply the solution to the old caulk and let it sit for a few hours. This will soften the caulk and make it easier to remove. Step 2: Scrape Off the Old Caulk Using a caulk scraper or a razor blade, gently scrape off the old caulk. Be careful not to scratch or damage the sink or countertop. Step 3: Clean the Area Once the old caulk is removed, clean the area with a mild cleaner and dry it thoroughly. Step 4: Apply New Caulk Follow the steps mentioned above to apply new caulk to your kitchen sink.How to Remove Old Caulk from a Kitchen Sink

Caulking a Kitchen Sink: Common Mistakes to Avoid


To caulk a kitchen sink, you will need the following tools and materials: - Caulk gun - Caulk smoothing tool - Utility knife - Caulk scraper or razor blade - Masking tape - Mild cleaner - Damp cloth - Caulk softener or vinegar and warm water mixture - Silicone-based caulkCaulking a Kitchen Sink: Tools and Materials You'll Need


How to Remove Old Caulk from a Kitchen Sink


:max_bytes(150000):strip_icc()/how-to-remove-old-caulk-1824827-01-3d0370c59e124dbbaa6560c68bab111c.jpg)

Caulking a kitchen sink is an essential maintenance task that should not be overlooked. By following these steps and tips, you can easily apply caulk to your kitchen sink and ensure a watertight seal that will last for years to come.In Conclusion


Caulking a Kitchen Sink: Tools and Materials You'll Need
Why Caulking Your Kitchen Sink is Important for a Beautiful and Functional Home

Protecting Your Kitchen Sink from Water Damage
 When it comes to designing and decorating your home, the kitchen is often the center of attention. From choosing the perfect countertops and cabinets to selecting the right appliances, every detail matters. However, one aspect that is often overlooked is the importance of properly caulking your kitchen sink. This simple yet crucial step can help protect your sink from water damage and keep your kitchen looking beautiful for years to come.
Caulking
is the process of sealing gaps and cracks around your sink to prevent water from seeping in. Over time, water can cause damage to the surrounding areas of your sink, including the countertop, cabinets, and even the floor. This can lead to costly repairs and a less appealing kitchen. By
applying caulk
to your kitchen sink, you can
prevent
any potential water damage and keep your kitchen looking its best.
When it comes to designing and decorating your home, the kitchen is often the center of attention. From choosing the perfect countertops and cabinets to selecting the right appliances, every detail matters. However, one aspect that is often overlooked is the importance of properly caulking your kitchen sink. This simple yet crucial step can help protect your sink from water damage and keep your kitchen looking beautiful for years to come.
Caulking
is the process of sealing gaps and cracks around your sink to prevent water from seeping in. Over time, water can cause damage to the surrounding areas of your sink, including the countertop, cabinets, and even the floor. This can lead to costly repairs and a less appealing kitchen. By
applying caulk
to your kitchen sink, you can
prevent
any potential water damage and keep your kitchen looking its best.
Enhancing the Aesthetics of Your Kitchen
 Not only does caulking protect your kitchen sink, but it also plays a significant role in enhancing the overall aesthetics of your kitchen. The
proper application of caulk
can give your sink a clean and polished look, making it a focal point in your kitchen design. You can choose from a variety of caulk colors to match your sink or create a contrast for a unique and eye-catching look. Additionally, caulking can also hide any imperfections or gaps around your sink, creating a seamless and professional finish.
Not only does caulking protect your kitchen sink, but it also plays a significant role in enhancing the overall aesthetics of your kitchen. The
proper application of caulk
can give your sink a clean and polished look, making it a focal point in your kitchen design. You can choose from a variety of caulk colors to match your sink or create a contrast for a unique and eye-catching look. Additionally, caulking can also hide any imperfections or gaps around your sink, creating a seamless and professional finish.
Preventing Mold and Mildew Growth
 Another essential reason to
caulk your kitchen sink
is to prevent the growth of mold and mildew. These fungal growths thrive in moist and damp environments, making your sink an ideal breeding ground. Not only are they unsightly, but they can also pose health risks to you and your family. By properly caulking your sink, you can seal any gaps and prevent water from accumulating, ultimately
eliminating the risk of mold and mildew growth
.
Another essential reason to
caulk your kitchen sink
is to prevent the growth of mold and mildew. These fungal growths thrive in moist and damp environments, making your sink an ideal breeding ground. Not only are they unsightly, but they can also pose health risks to you and your family. By properly caulking your sink, you can seal any gaps and prevent water from accumulating, ultimately
eliminating the risk of mold and mildew growth
.
Simple Steps to Caulk Your Kitchen Sink
 Now that you understand the importance of caulk in your kitchen sink, here are some simple steps to follow to
properly caulk your sink
:
1. Clean the area around your sink thoroughly, removing any old caulk or debris.
2. Use a caulk gun to apply a thin and even layer of caulk around the edges of your sink.
3. Use your finger or a caulk smoothing tool to smooth out the caulk and remove any excess.
4. Wipe away any excess caulk with a damp cloth and let it dry completely.
In just a few simple steps, you can
protect and enhance
the beauty of your kitchen sink with caulk. Don't overlook this crucial step in your house design process, and enjoy a beautiful and functional kitchen for years to come.
Now that you understand the importance of caulk in your kitchen sink, here are some simple steps to follow to
properly caulk your sink
:
1. Clean the area around your sink thoroughly, removing any old caulk or debris.
2. Use a caulk gun to apply a thin and even layer of caulk around the edges of your sink.
3. Use your finger or a caulk smoothing tool to smooth out the caulk and remove any excess.
4. Wipe away any excess caulk with a damp cloth and let it dry completely.
In just a few simple steps, you can
protect and enhance
the beauty of your kitchen sink with caulk. Don't overlook this crucial step in your house design process, and enjoy a beautiful and functional kitchen for years to come.