1. How to Add a Filter to Your Kitchen Sink
Are you tired of constantly dealing with hard water or other impurities in your kitchen sink? Adding a filter to your kitchen sink can be a game changer. Not only does it improve the quality of your water, but it also makes cleaning and washing dishes easier. In this article, we will guide you through the process of adding a filter to your kitchen sink, making it a DIY project that anyone can tackle.
2. DIY Kitchen Sink Filter Installation
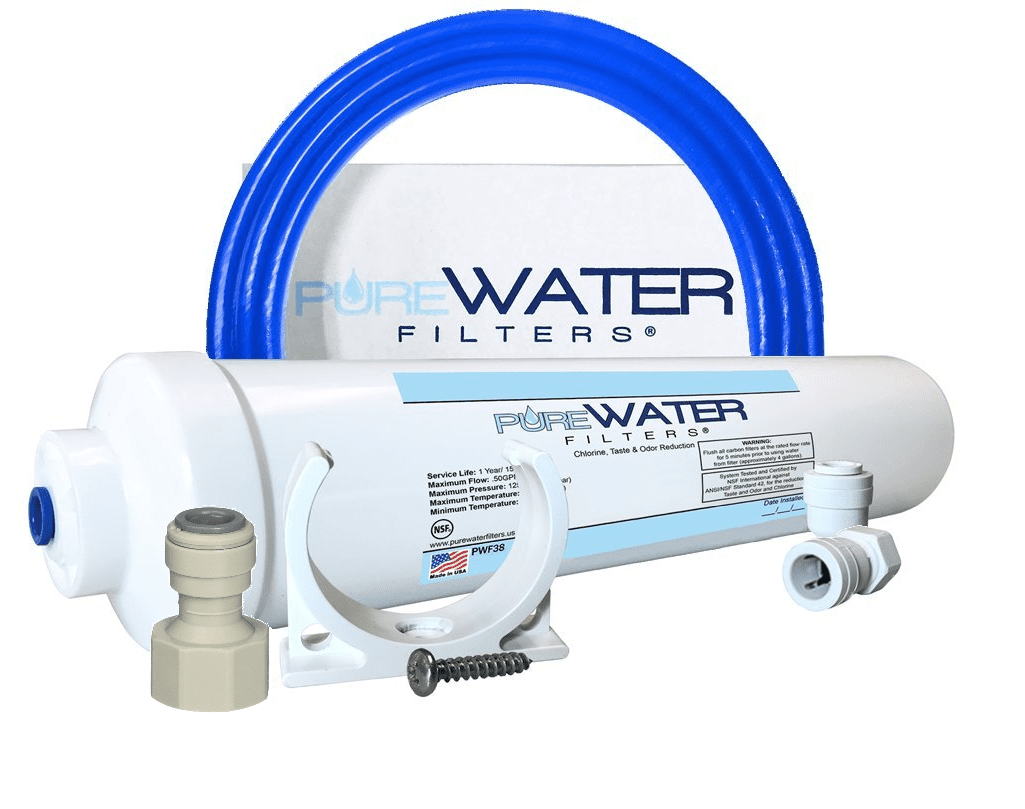
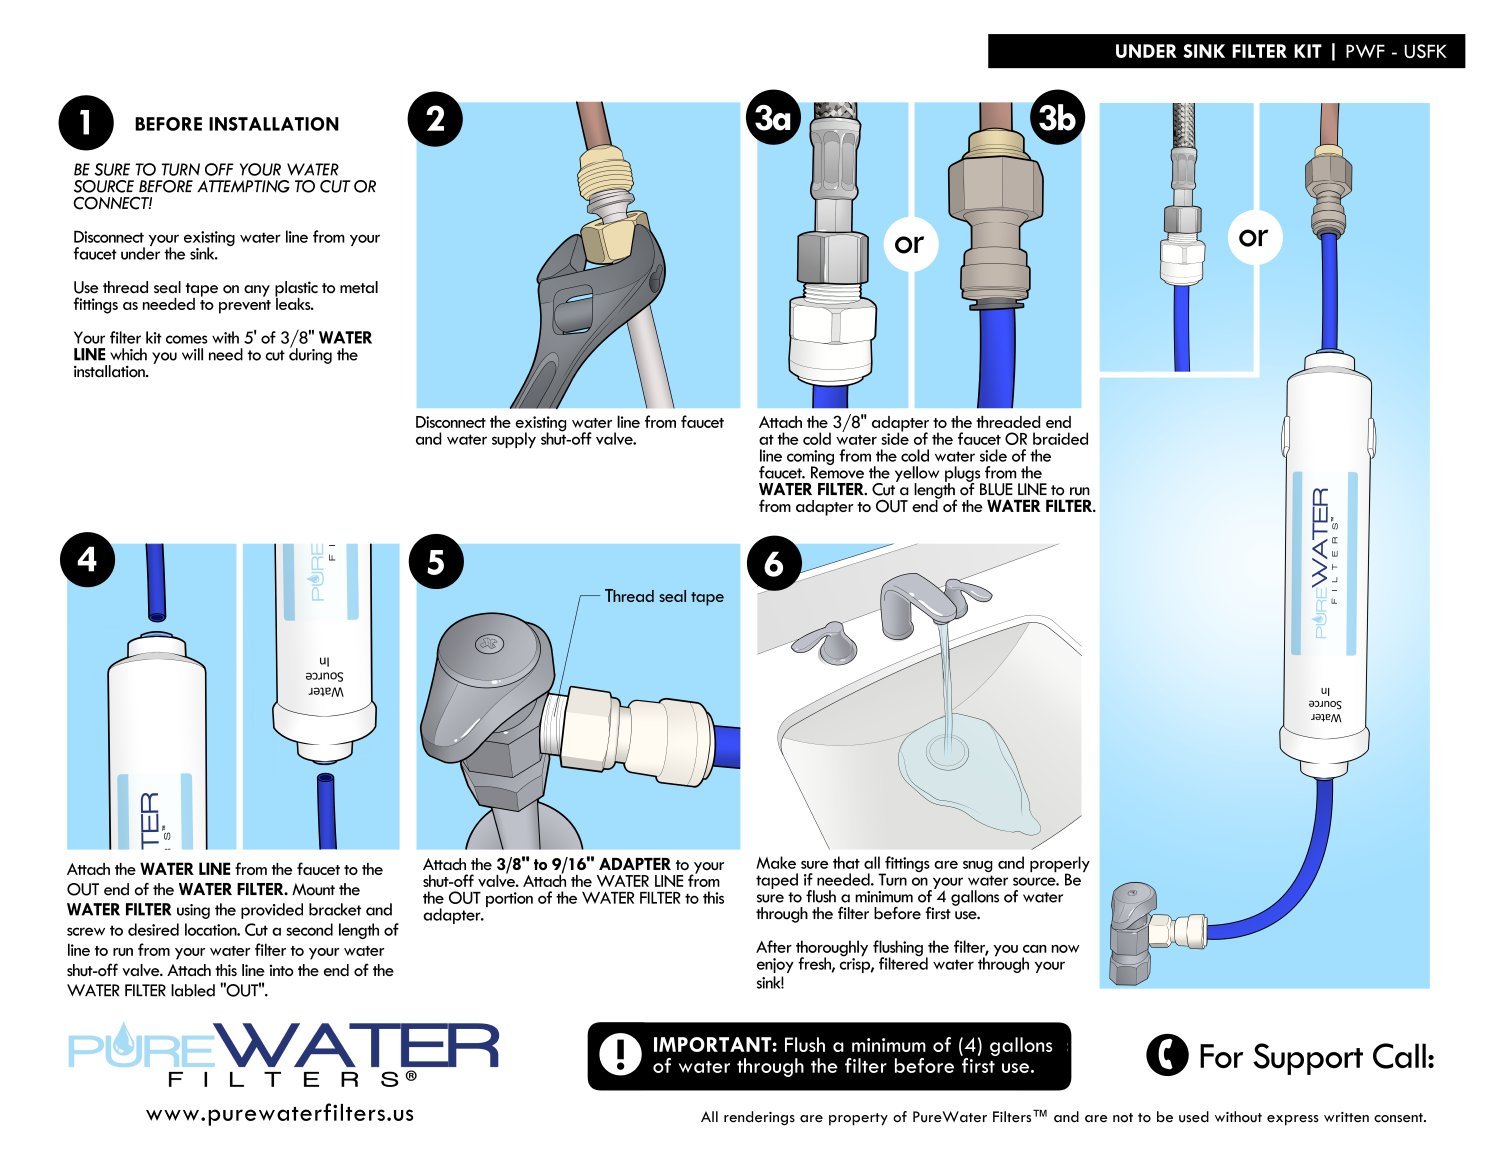
Adding a filter to your kitchen sink may seem like a daunting task, but with the right tools and instructions, it can be done easily and efficiently. The first step is to gather all the necessary materials, including a filter kit, pliers, Teflon tape, and a wrench.
Next, turn off the water supply to your sink and remove the aerator from the end of the faucet. This will allow you to attach the filter directly to the faucet. Then, use the Teflon tape to wrap around the threads of the faucet to prevent any leaks.
Once the tape is in place, attach the filter to the faucet and use the wrench to tighten it. Finally, turn the water supply back on and check for any leaks. If everything looks good, your filter is now installed and ready to use.
3. Best Filters for Kitchen Sinks
There are various types of filters available for kitchen sinks, so it's important to choose the one that best fits your needs. Some of the most popular options include carbon filters, reverse osmosis filters, and ceramic filters.
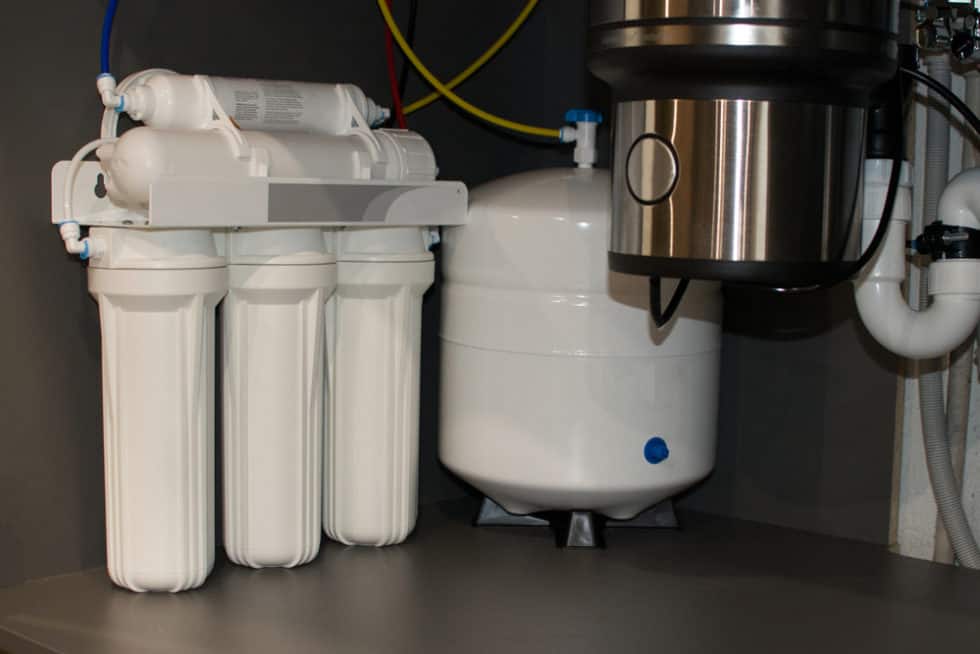
Carbon filters are great for removing chlorine, sediment, and other impurities from your water. Reverse osmosis filters use a semi-permeable membrane to remove contaminants, making them a great option for those looking for extremely clean drinking water. Ceramic filters are also effective in removing impurities and bacteria from water.
4. Step-by-Step Guide to Adding a Filter to Your Kitchen Sink
If you're new to DIY projects, adding a filter to your kitchen sink may seem overwhelming. But don't worry, we've got you covered with this step-by-step guide.
Step 1: Gather all necessary materials - as mentioned before, you will need a filter kit, pliers, Teflon tape, and a wrench.
Step 2: Turn off the water supply to your sink.
Step 3: Remove the aerator from the end of the faucet.
Step 4: Wrap Teflon tape around the threads of the faucet.
Step 5: Attach the filter to the faucet and use the wrench to tighten it.
Step 6: Turn the water supply back on and check for any leaks.
Step 7: Enjoy your newly installed kitchen sink filter!
5. Top Rated Kitchen Sink Filters
With so many options on the market, it can be overwhelming to choose the right filter for your kitchen sink. To help you out, here are some of the top rated kitchen sink filters that have received rave reviews from consumers.
1. Brand X - This carbon filter is known for its ability to remove chlorine and other impurities from water, leaving it tasting clean and crisp.
2. Brand Y - With a reverse osmosis system, this filter is great for removing contaminants and producing ultra-pure drinking water.
3. Brand Z - This ceramic filter is praised for its ability to remove bacteria and impurities from water, making it a great option for those concerned about their water quality.
6. Benefits of Adding a Filter to Your Kitchen Sink
Adding a filter to your kitchen sink has numerous benefits, making it a worthwhile investment. Here are just a few of the advantages you can enjoy with a kitchen sink filter:
1. Clean and safe drinking water - With a filter in place, you can have peace of mind knowing that your drinking water is free from impurities and contaminants.
2. Better tasting water - Removing chlorine and other impurities can greatly improve the taste of your water, making it more enjoyable to drink and use for cooking.
3. Easier cleaning - With filtered water, you can say goodbye to hard water stains and residue on your dishes, making cleaning a breeze.
7. Easy Ways to Add a Filter to Your Kitchen Sink
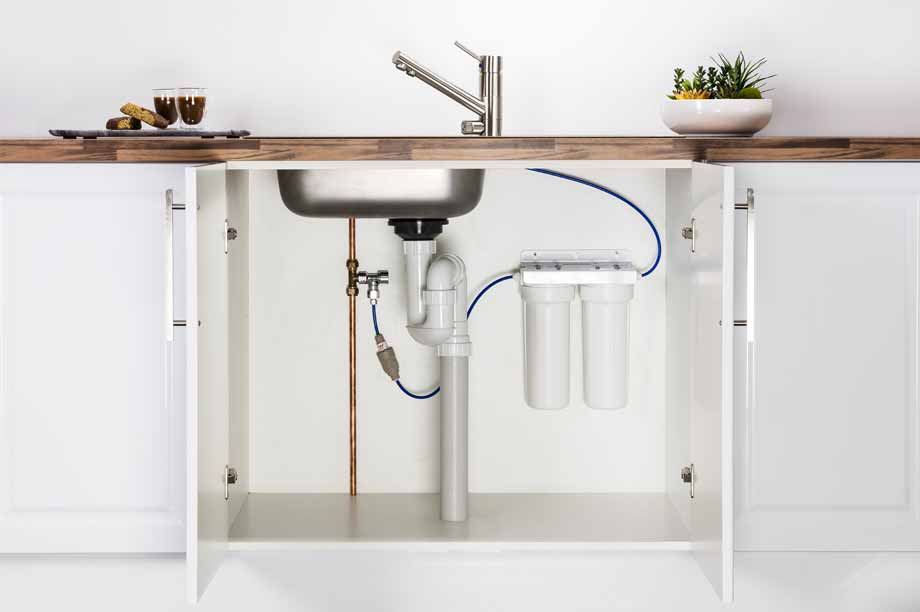
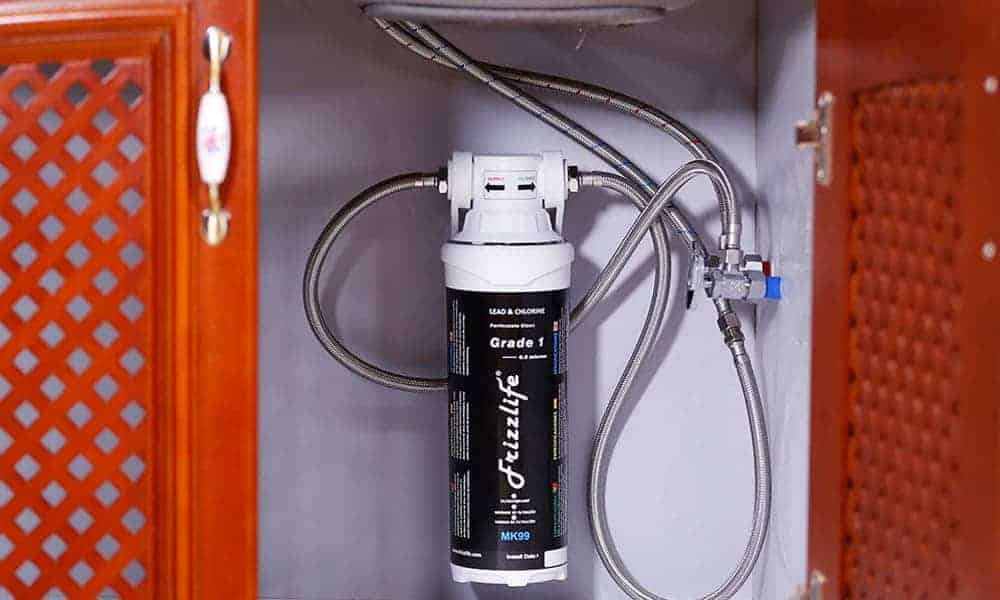
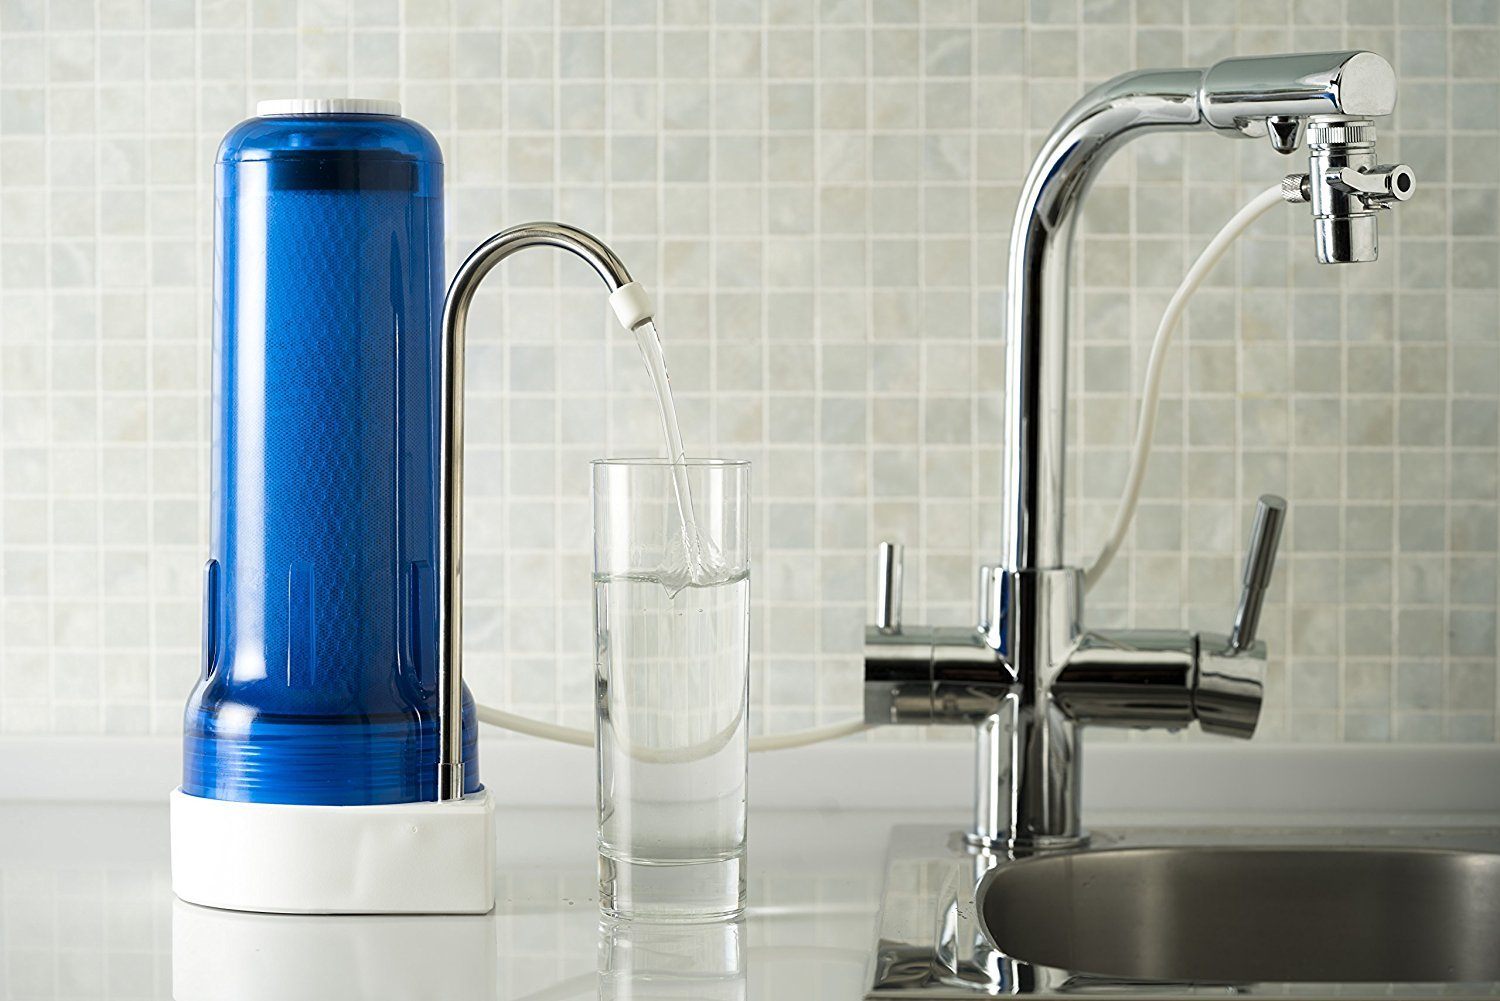
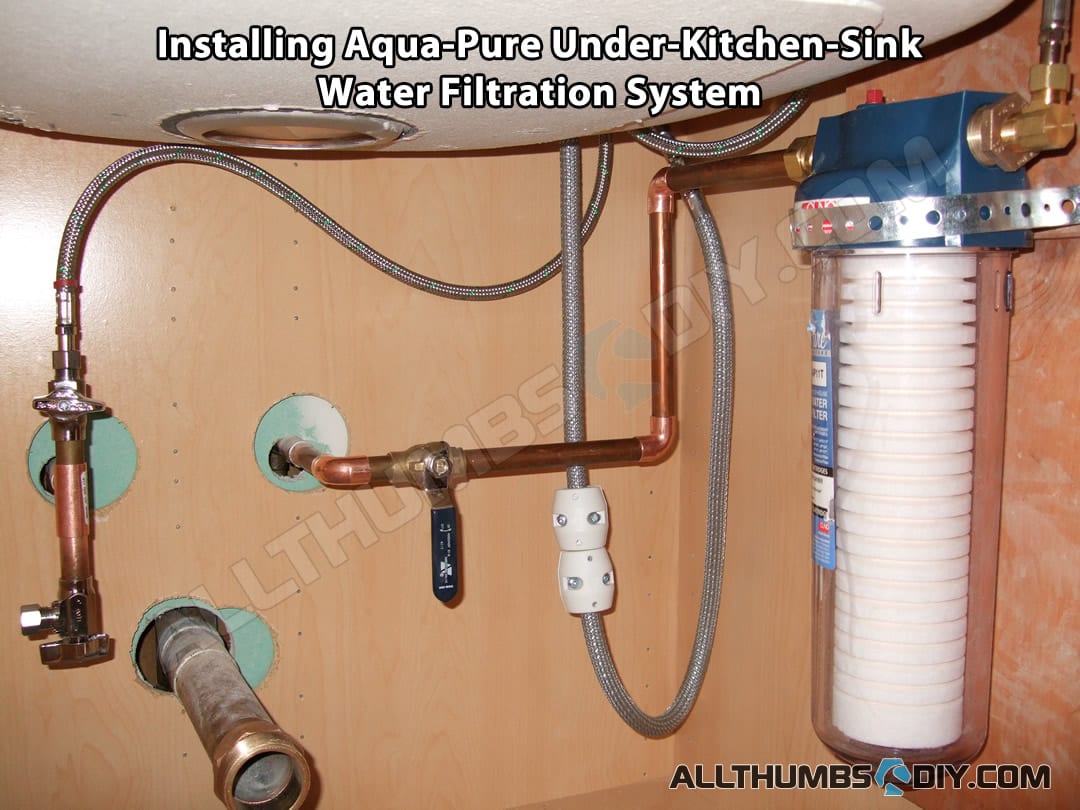
If you're not ready to take on the task of installing a filter on your own, there are other easy ways to add a filter to your kitchen sink. You can purchase a faucet-mounted filter, an under-sink filter, or a pitcher filter. These options require minimal installation and can still provide you with clean, filtered water.
8. How to Choose the Right Filter for Your Kitchen Sink
When it comes to choosing the right filter for your kitchen sink, there are a few factors to consider. These include your water source, the types of contaminants you want to remove, and your budget. It's also important to research different brands and read reviews to ensure you're getting a high-quality filter.
9. Common Mistakes to Avoid When Adding a Filter to Your Kitchen Sink
While adding a filter to your kitchen sink is a relatively simple process, there are some common mistakes that people make. These include not properly securing the filter, not turning off the water supply, and not using enough Teflon tape. To avoid any mishaps, make sure to carefully follow the installation instructions and double check your work.
10. The Importance of Adding a Filter to Your Kitchen Sink
In today's world, where clean drinking water is not always a given, it's important to take steps to ensure the water you and your family consume is safe and pure. Adding a filter to your kitchen sink is a simple and effective way to achieve this. Not only does it provide you with clean drinking water, but it also has numerous other benefits that make it a worthwhile investment for any household.
Add a Filter to Your Kitchen Sink: The Perfect Addition to Your Home's Design

Why a Filter for Your Kitchen Sink?
 Kitchen sinks are an essential part of any home's design, used for everything from washing dishes to filling up pots for cooking. However, one aspect that is often overlooked is the importance of having a filter on your kitchen sink. A filter can provide numerous benefits, not only for your health but also for the overall functionality and appearance of your kitchen.
Purify Your Water and Improve Your Health
One of the main reasons to add a filter to your kitchen sink is to purify your water. Tap water can contain harmful chemicals and contaminants, such as lead and chlorine, that may be harmful to your health. Installing a filter on your kitchen sink can remove these impurities, providing you with clean and safe drinking water. This can also save you money in the long run, as you won't have to constantly buy bottled water.
Enhance Your Kitchen's Aesthetics
In addition to the health benefits, a filter can also enhance the overall appearance of your kitchen. With a variety of styles and finishes available, you can find a filter that complements your kitchen's design. Whether you prefer a sleek and modern look or a more traditional style, there is a filter that will blend seamlessly into your kitchen's aesthetic.
Reduce Waste and Save Money
Adding a filter to your kitchen sink can also help reduce waste and save you money. Instead of constantly buying plastic water bottles, you can use your filtered water for drinking and cooking. This not only reduces plastic waste but also saves you money in the long run. Additionally, some filters have the option to switch between filtered and unfiltered water, allowing you to conserve your filter and prolong its lifespan.
Easy to Install and Maintain
Many people may be hesitant to add a filter to their kitchen sink because they believe it will be a complicated and time-consuming process. However, most filters are easy to install and require minimal maintenance. With just a few simple steps, you can have clean and safe water in no time. Plus, most filters only require a filter replacement every few months, making it a low-maintenance addition to your kitchen.
Final Thoughts
 A filter for your kitchen sink is a simple yet crucial addition to your home's design. It not only provides clean and safe water for drinking and cooking but also enhances the overall aesthetics and functionality of your kitchen. With the numerous benefits and easy installation and maintenance, it's clear that adding a filter to your kitchen sink is a must for any homeowner. So why wait? Upgrade your kitchen today and enjoy the many advantages that a filter has to offer.







/how-to-install-a-sink-drain-2718789-hero-24e898006ed94c9593a2a268b57989a3.jpg)












:max_bytes(150000):strip_icc()/Web_1500-20220215-sink-caddy-vicky-wasik-simple-human-spruce-eats-12-066143e8c46f4904b471bec837a432e7.jpg)











:max_bytes(150000):strip_icc()/Basic-kitchen-sink-types-1821207_color_rev-0b539306b9ef4236a136624ad2a89a4c.jpg)
