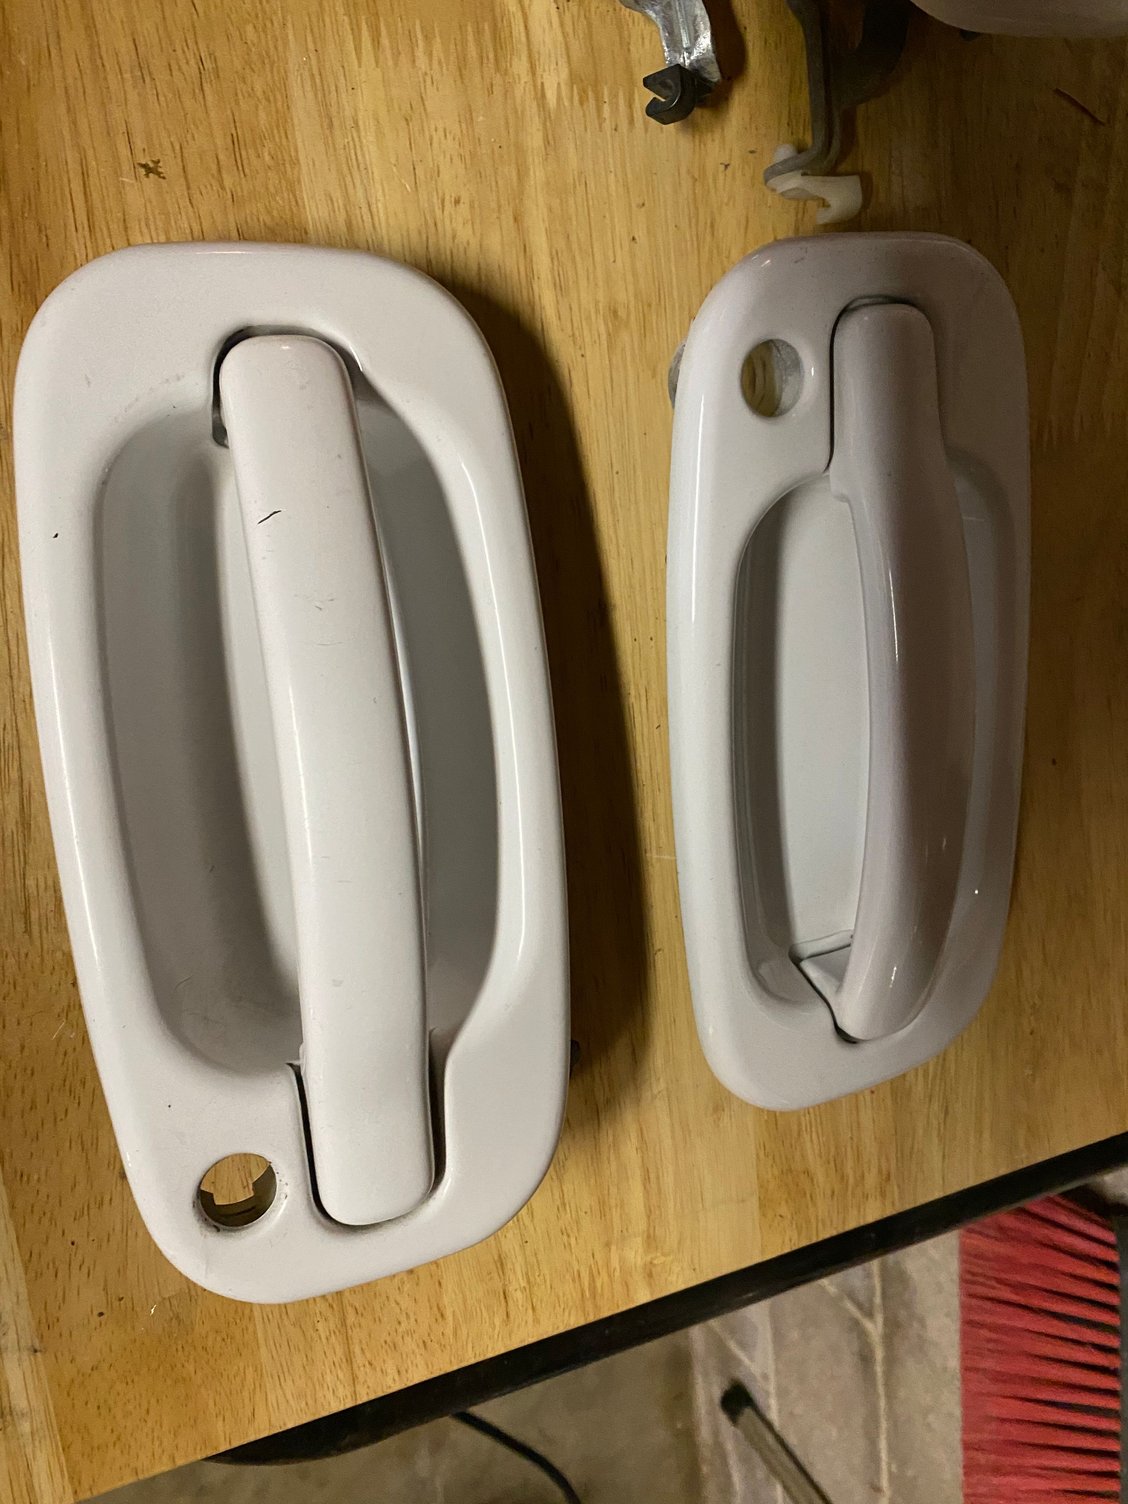
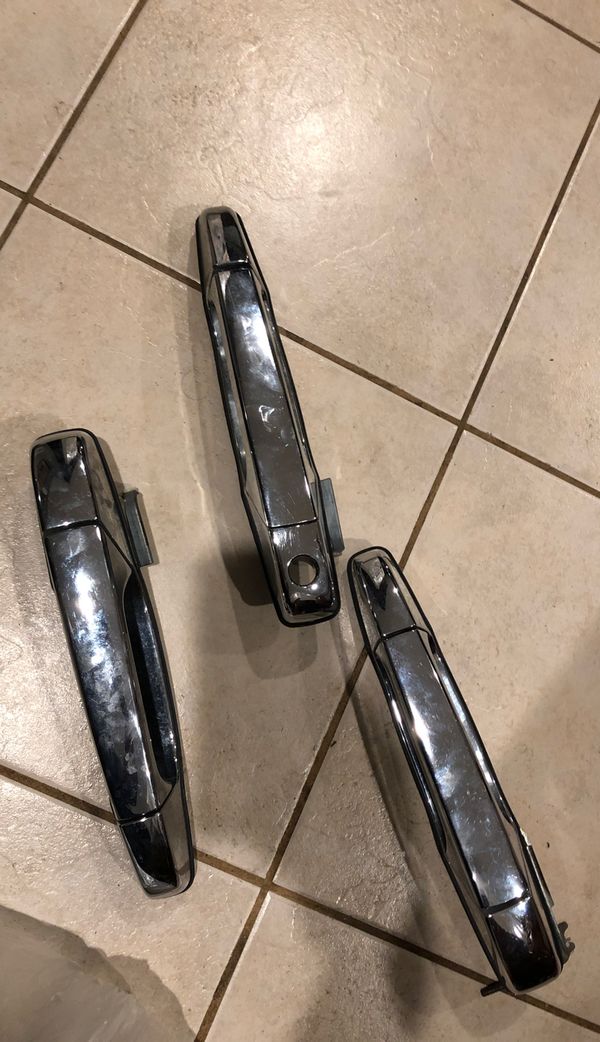
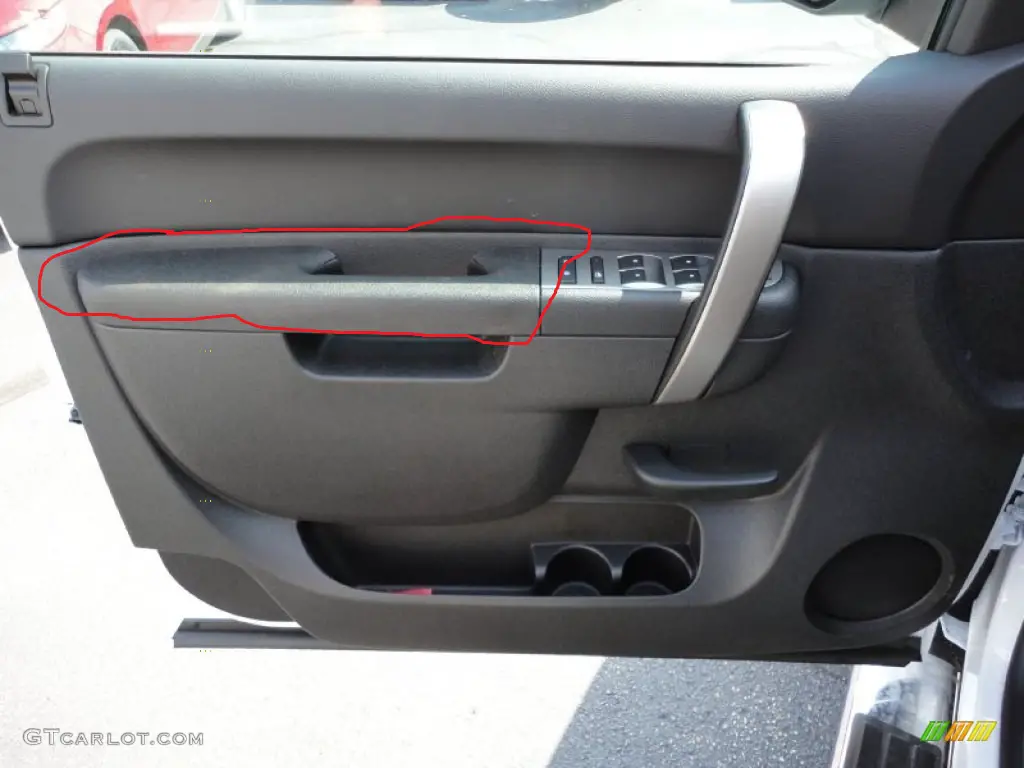
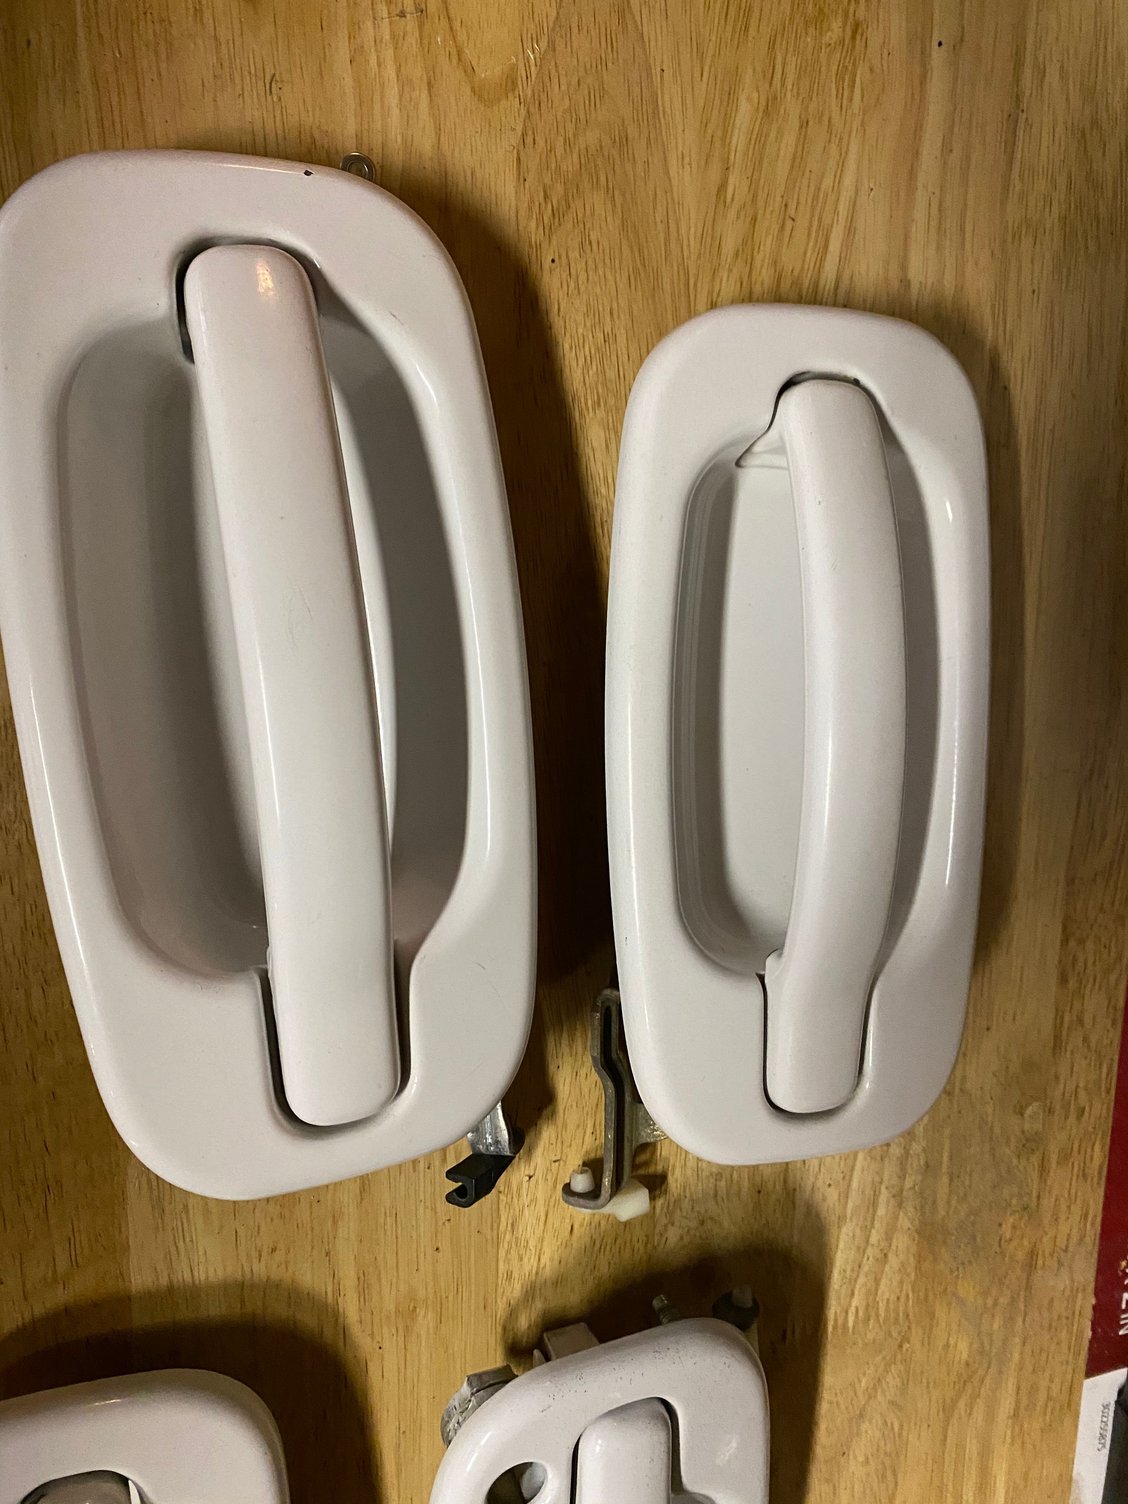
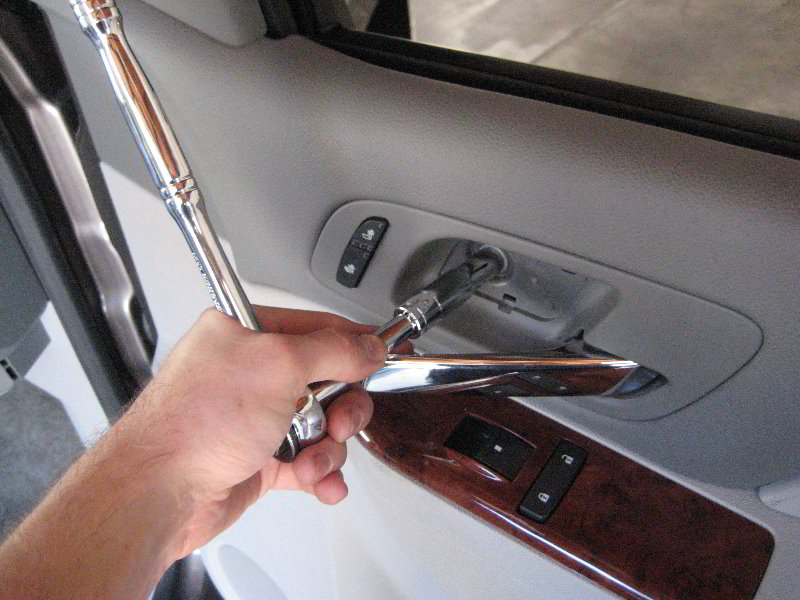
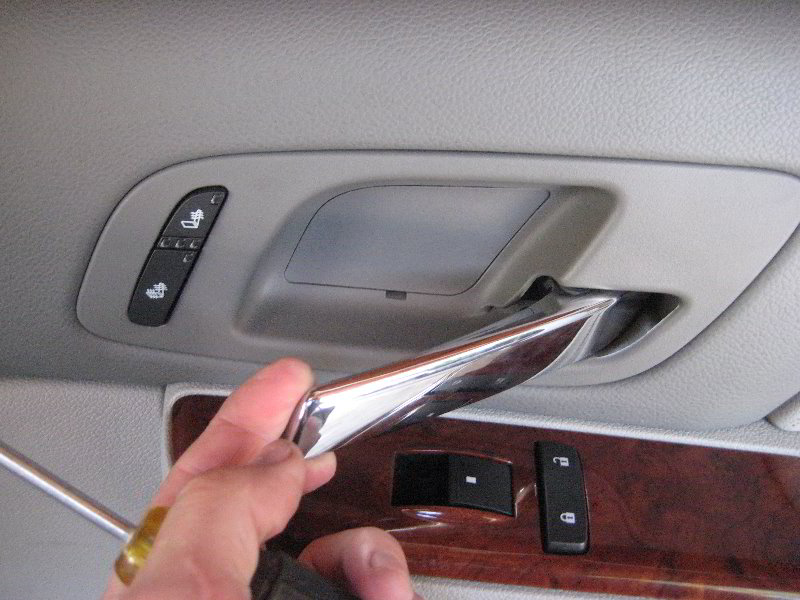
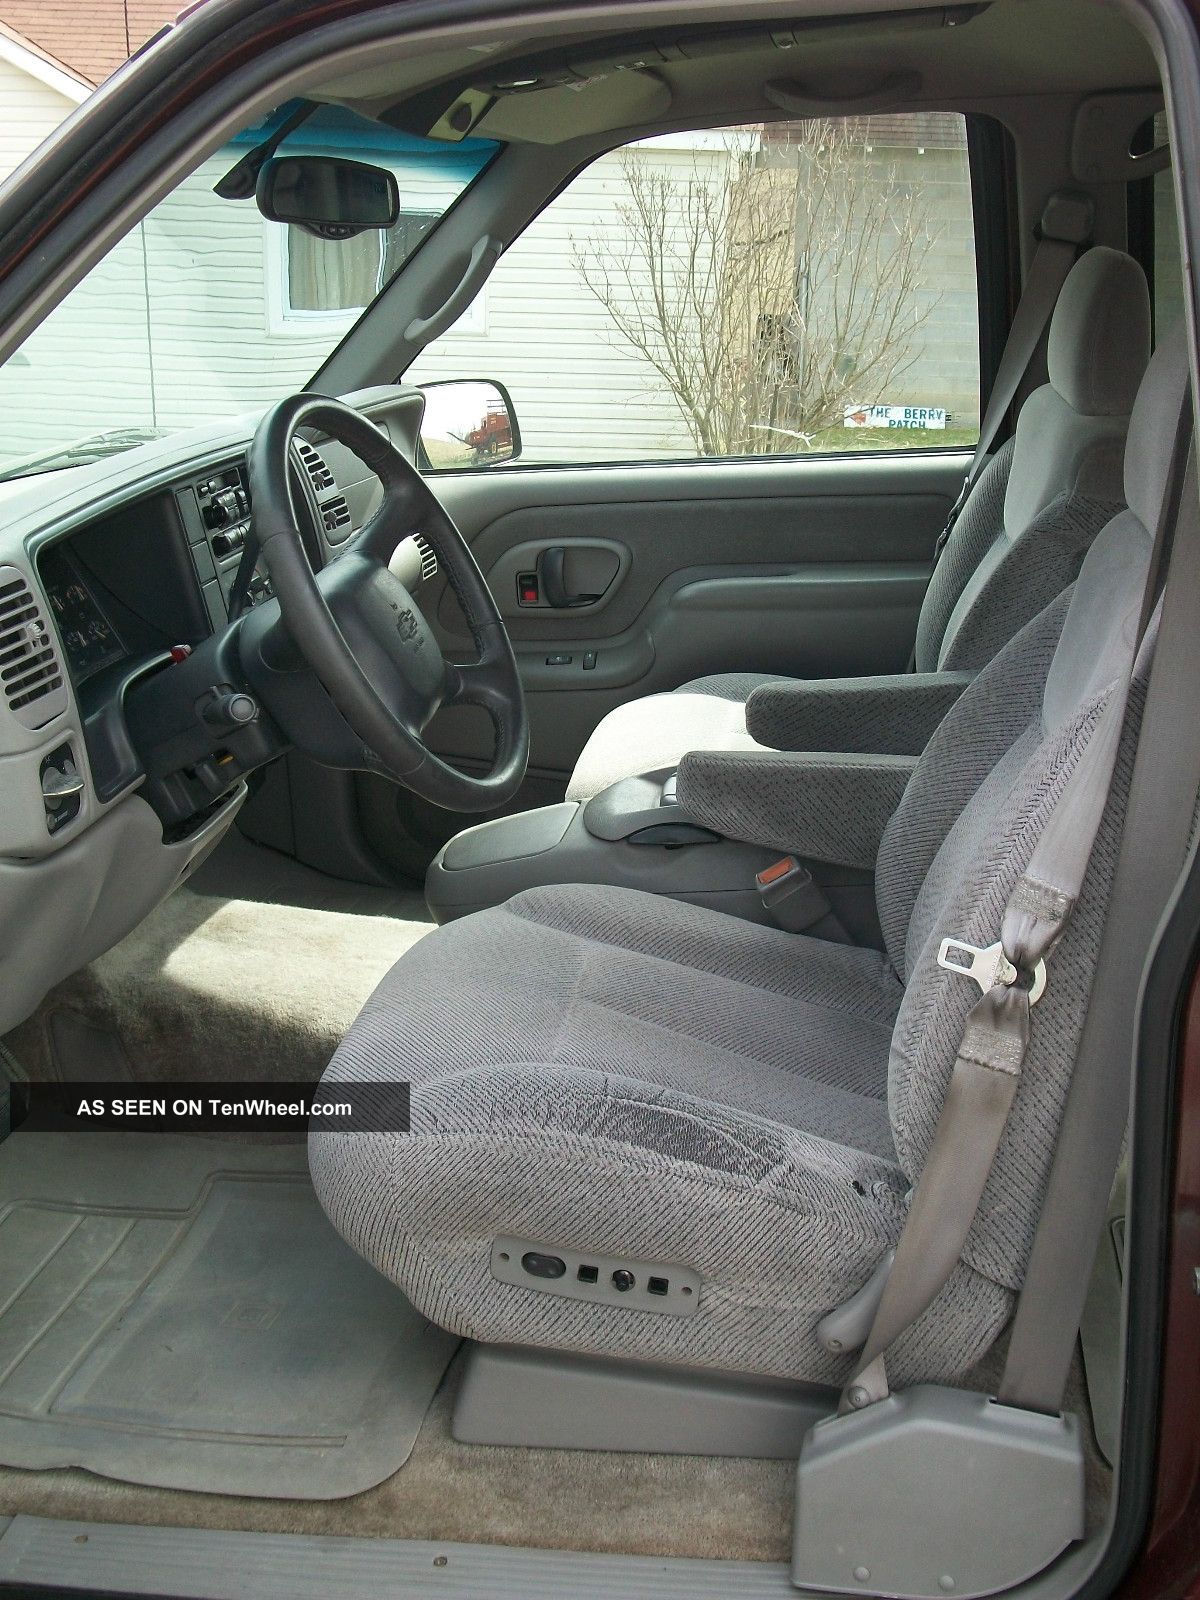
If you're looking to upgrade the interior of your 1999 Chevy Tahoe, getting rid of the old door handles may be the first step. Removing the interior door handles is not as difficult as you might think and requires just a few tools. Start by removing the screws that hold the door handle to the door. These will usually be found near the bottom and sides of the handle. Once the screws have been removed, you'll be able to take the handle off and dispose of it. How to Remove Interior Door Handles on Chevy Tahoe

How to Remove Interior Door Handles on Chevy Tahoe


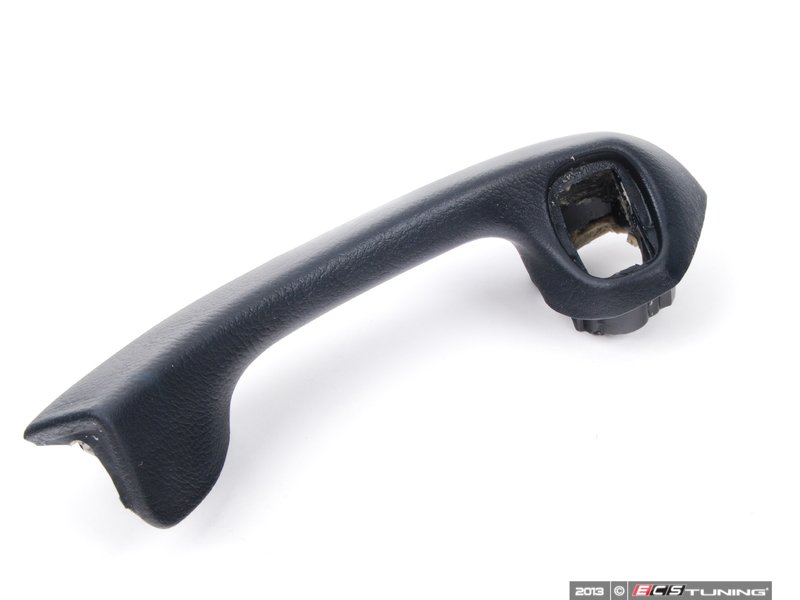
Replacing the inside door handles of the 1999 Chevy Tahoe can have a dramatic impact on the overall look and feel of the vehicle. When you are ready to replace the door handles, you should begin by taking the old handles off the door panel. There will most likely be Phillips-head screws on either side of the door handle. Remove these screws and the handle should come off. How to Replace Inside Door Handles on 1999 Chevy Tahoe


How to Replace Inside Door Handles on 1999 Chevy Tahoe


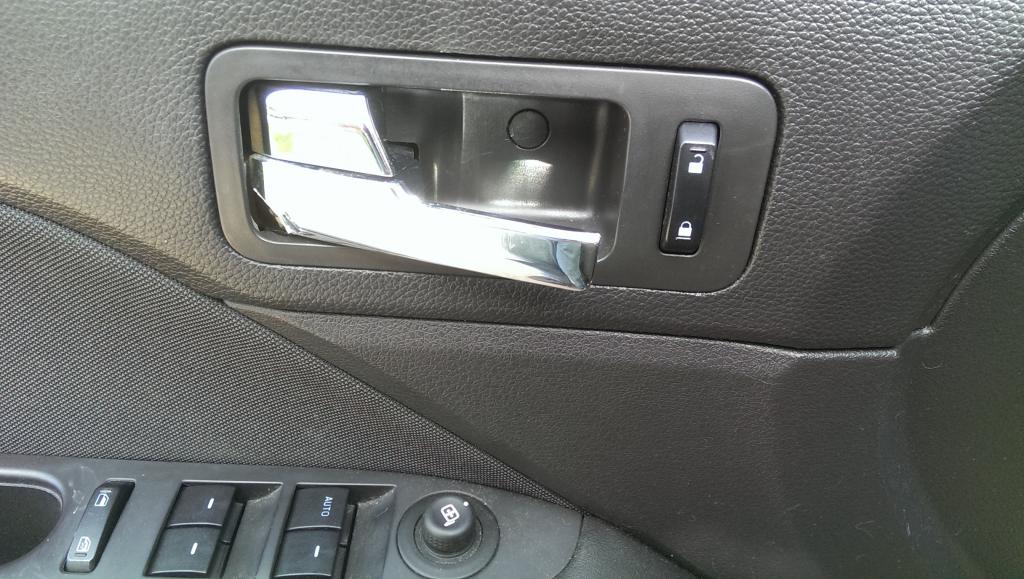


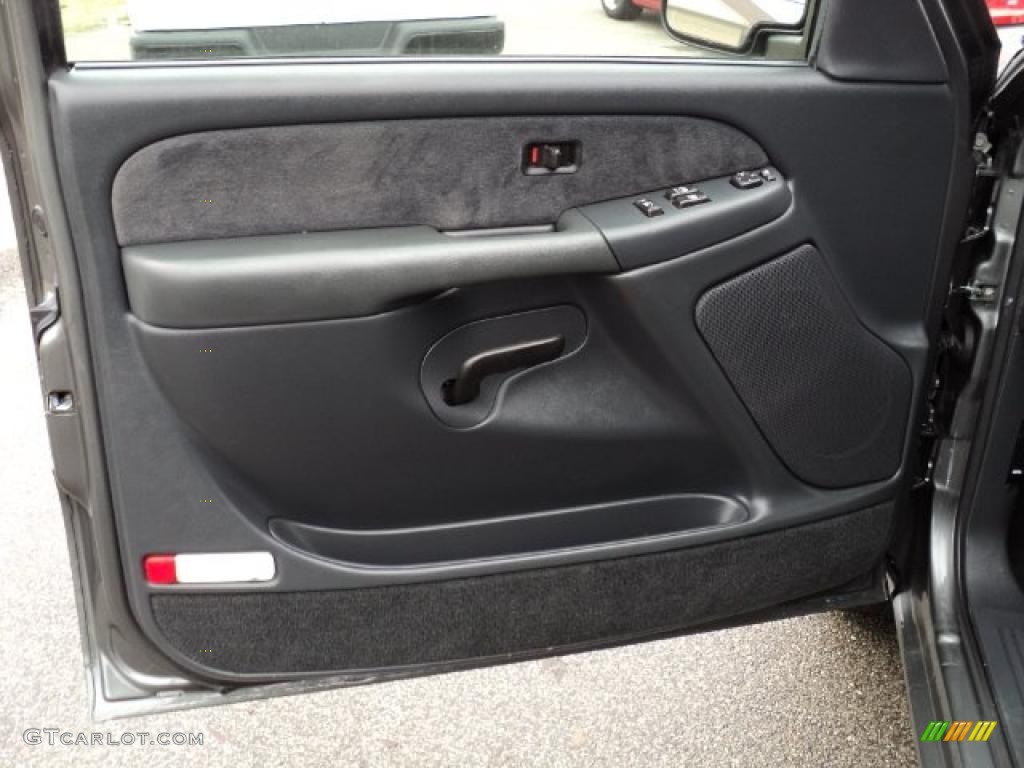
Changing an interior door handle in a Chevrolet Tahoe is relatively simple. To start, you will need to locate the screws that hold the door handle. Once you have these screws removed, the handle should be able to slide off. Then, you can install the new handle. Make sure that the screws are securely tightened so that the handle does not come loose. Finally, test the handle to make sure that it is secure and functioning properly. How to Change an Interior Door Handle in a Chevrolet Tahoe

How to Change an Interior Door Handle in a Chevrolet Tahoe


When you are looking to upgrade the interior doors of your 1999-2006 Chevy Tahoe, replacing old and worn-out door handles is an easy way to spruce up the look and feel of the vehicle. Start by removing the Phillips-head screws that hold the door handle in place. Once the screws have been taken out, you can begin to slide the old handle off the door panel. Interior Door Handle Replacement | 1999-2006 Chevy Tahoe


Interior Door Handle Replacement


Removing the interior door handles of a 1999 Chevy Tahoe may seem like a daunting task, but it's actually much easier than you think. First, locate the screws that hold the door handle in place. Once you've found them, remove them and the handle should be able to slide off. For safety, make sure that you cover the door handle with a thick rug to protect it while you are maneuvering the screwdriver. How to Remove Interior Door Handles on a 1999 Chevy Tahoe


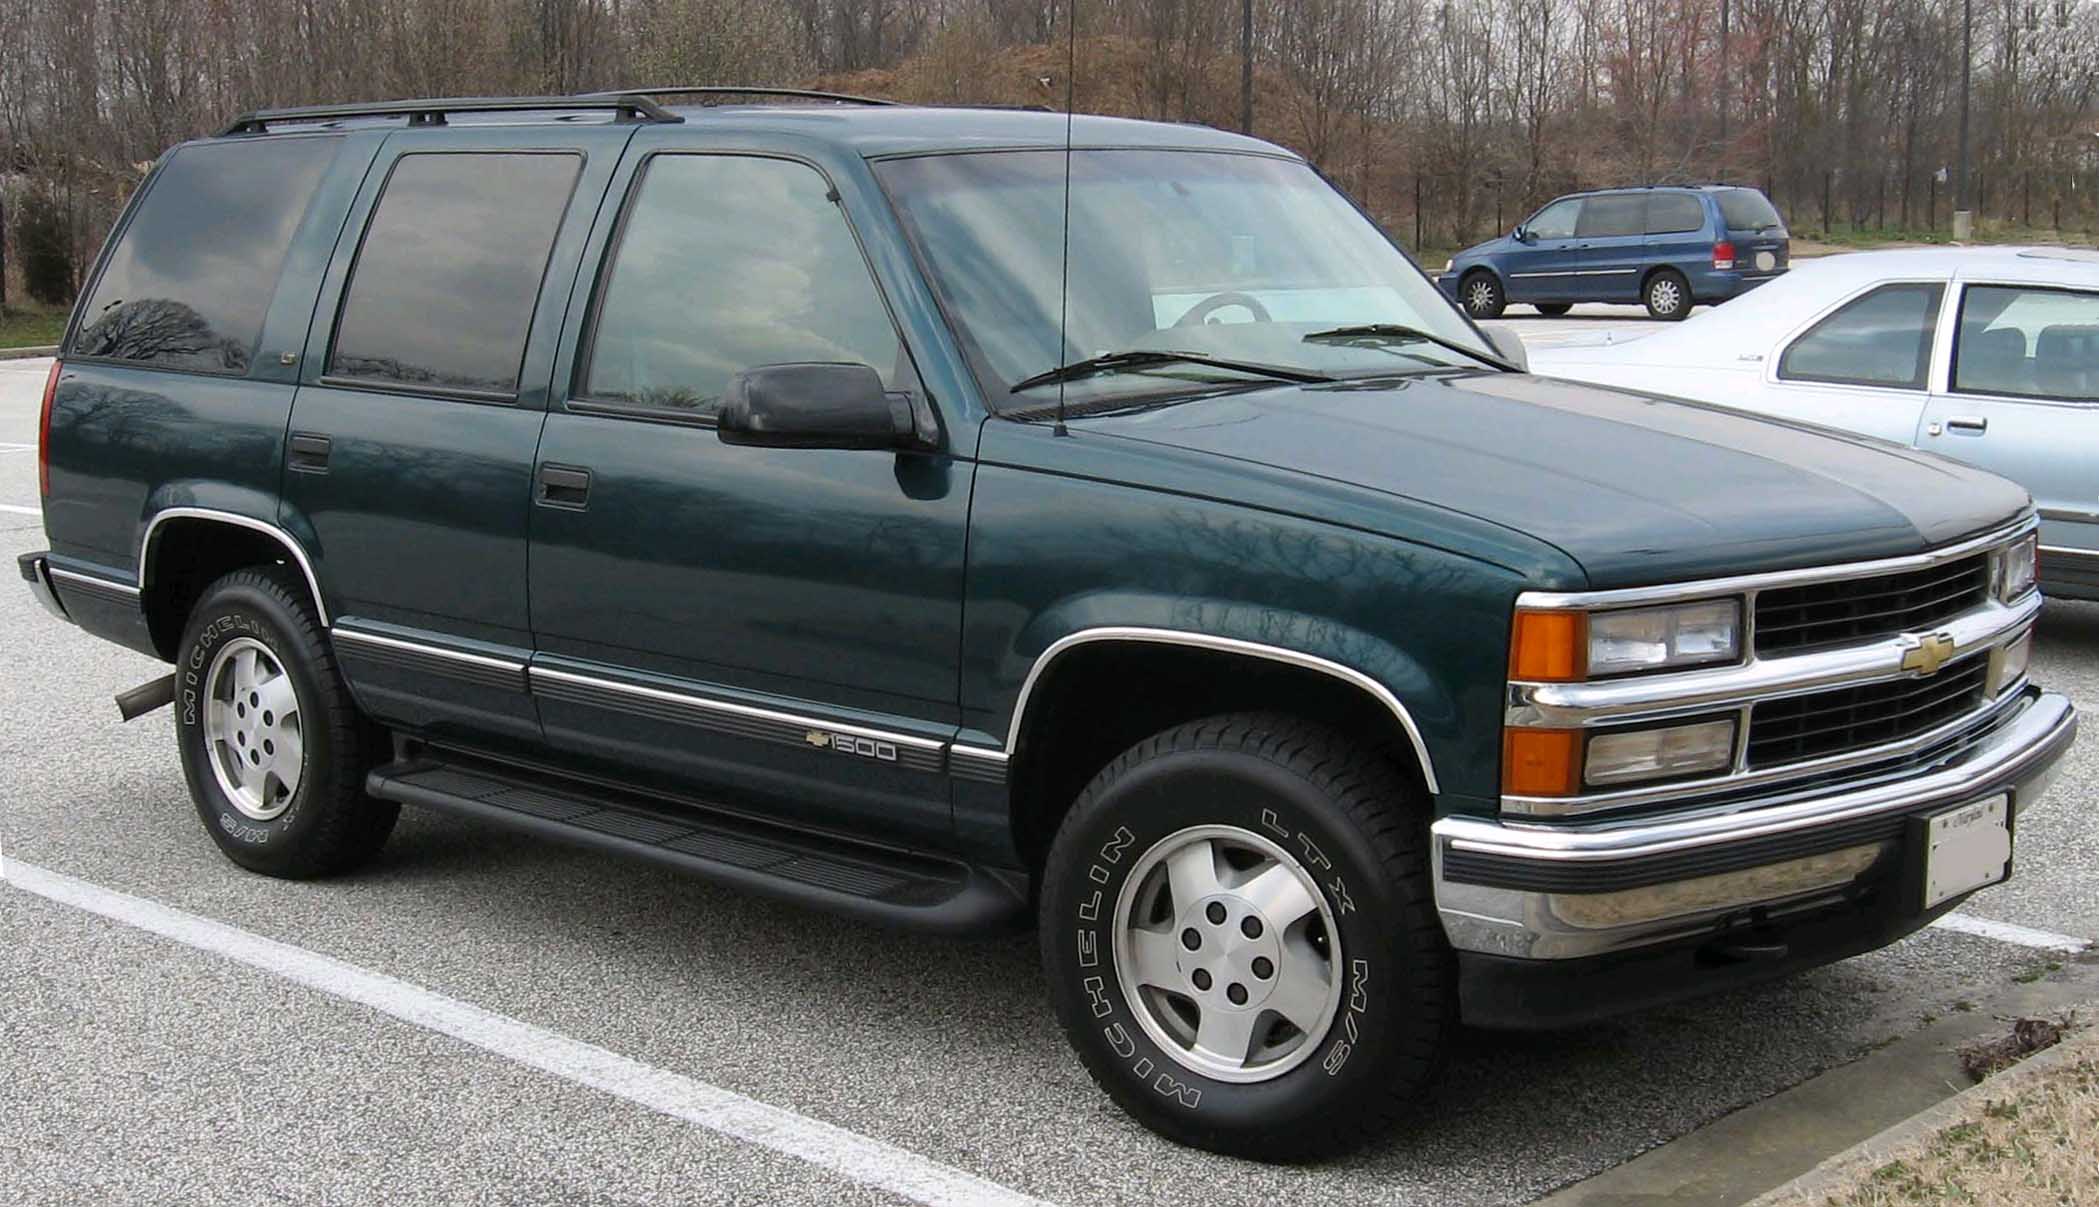
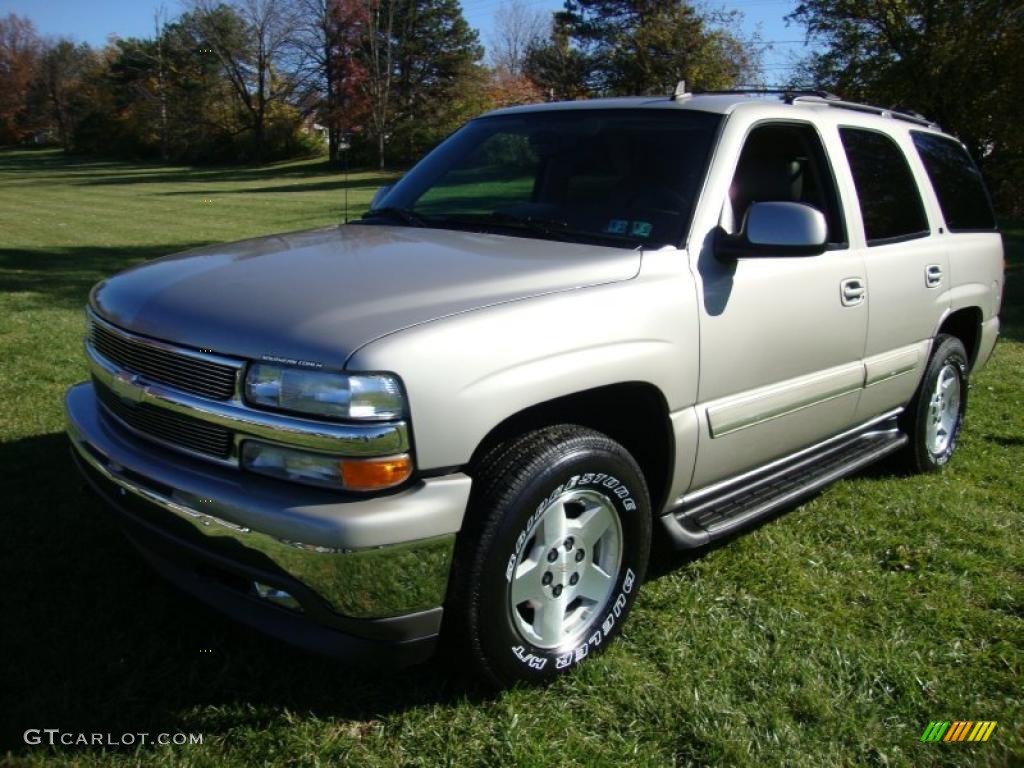
1999-2006 Chevy Tahoe


Installing a new interior door handle in a 1999 Chevy Tahoe can be a great way to quickly and easily update the look and feel of the vehicle. The first step is to identify the screws that hold the existing door handle in place. Remove these screws and slide off the old handle. Next, you can slide the new handle onto the door and put the screws back in. Finally, test the handle to make sure that it is secure and functioning properly. How to Install a New Interior Door Handle in a 1999 Chevy Tahoe


How to Remove Interior Door Handles on a 1999 Chevy Tahoe


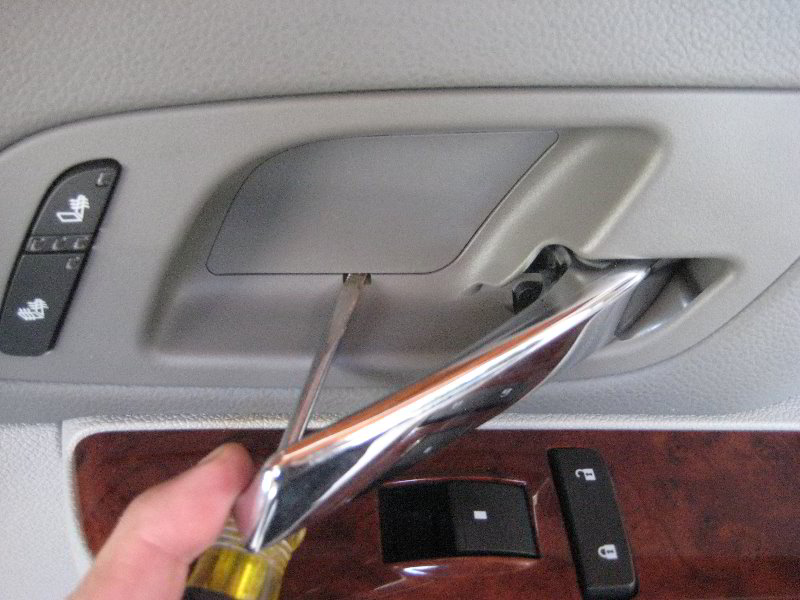

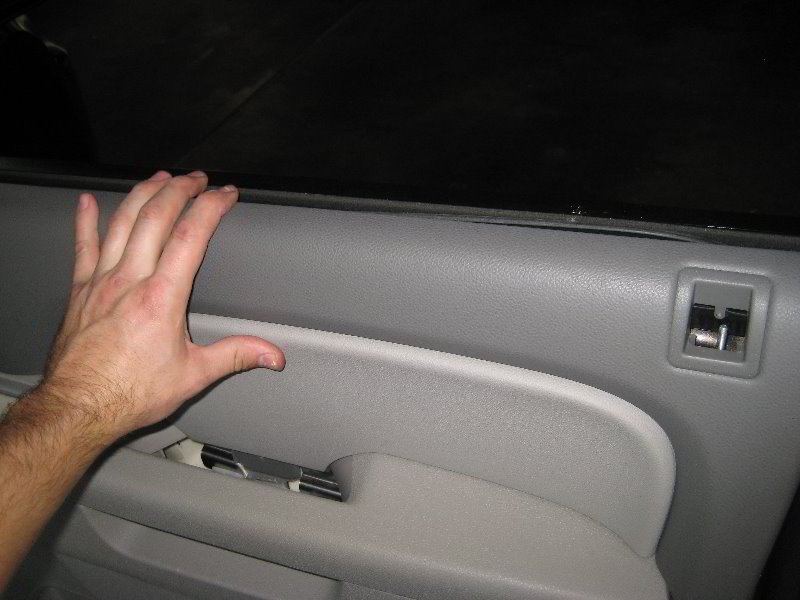
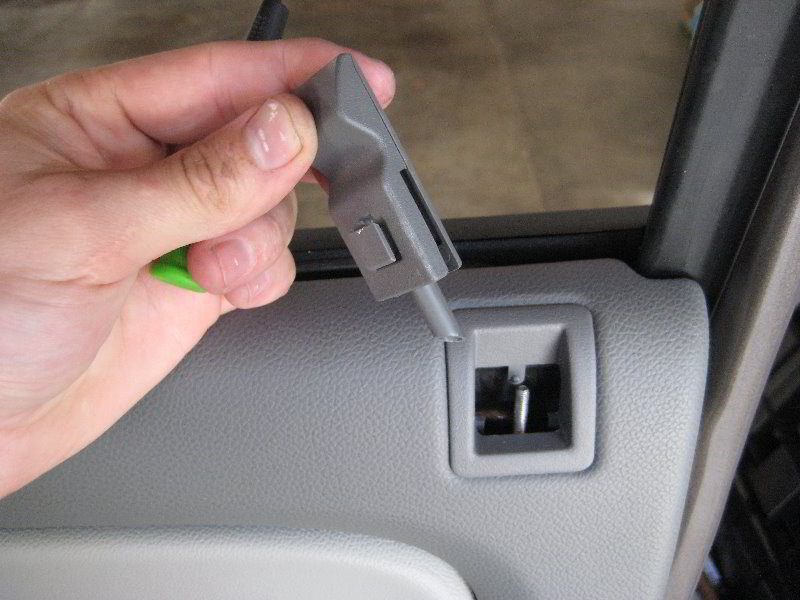
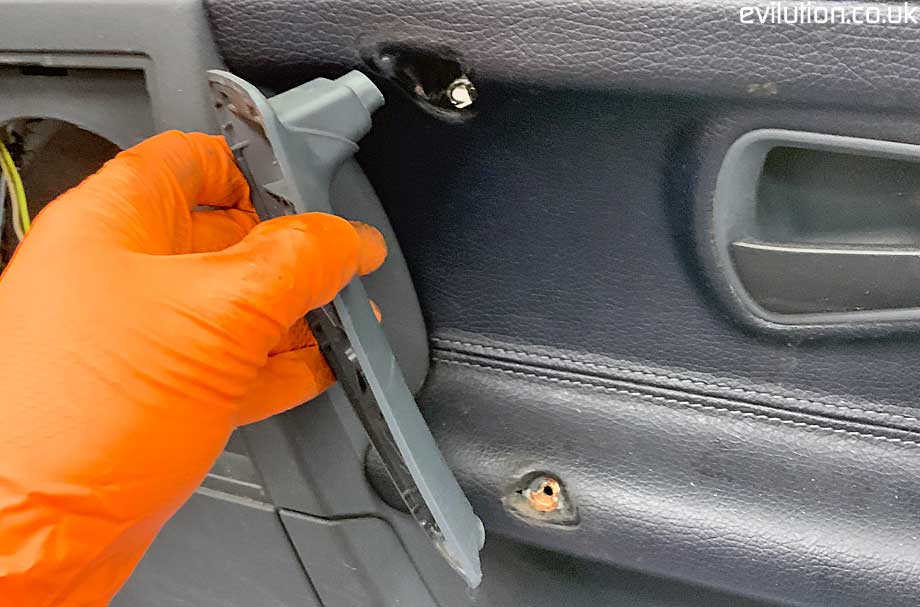
If you are looking to enhance the interior of your 1999 Chevy Tahoe, replacing the interior door panel is a great way to start. Before you install your new panel, you'll need to remove the old one. This can be difficult and time-consuming, so make sure that you have plenty of help and patience. First, remove the screws that hold the door handle in place. Then, remove the bolts that hold the door panel to the frame of the vehicle. Finally, pull off the old panel. How to Remove and Replace the Interior Door Panel of a 1999 Chevy Tahoe


How to Install a New Interior Door Handle in a 1999 Chevy Tahoe

:no_upscale()/cdn.vox-cdn.com/uploads/chorus_asset/file/19493062/door_frame_illo.jpg)


Installing an interior door handle to a 1999 Chevy Tahoe may seem like a difficult task, but it is actually quite easy. Start by finding the screws that hold the old handle in place. Remove these screws and slide the handle off the door panel. Next, slide the new door handle into place and secure it with the new screws. Finally, test the handle to make sure that it is secure and functioning properly. How to Install Interior Door Handle For 1999 Chevy Tahoe


How to Remove and Replace the Interior Door Panel of a 1999 Chevy Tahoe


Fitting a 1999 Chevy Tahoe door handle is a relatively straightforward procedure. Start by removing the screws that hold the existing door handle in place. Once the screws have been removed, the handle should be able to slide off. Then, slide the new door handle onto the door and securely tighten the screws. Finally, test the handle to make sure that it is secure and functioning properly. How to Fit a 1999 Chevy Tahoe Door Handle


How to Install Interior Door Handle For 1999 Chevy Tahoe


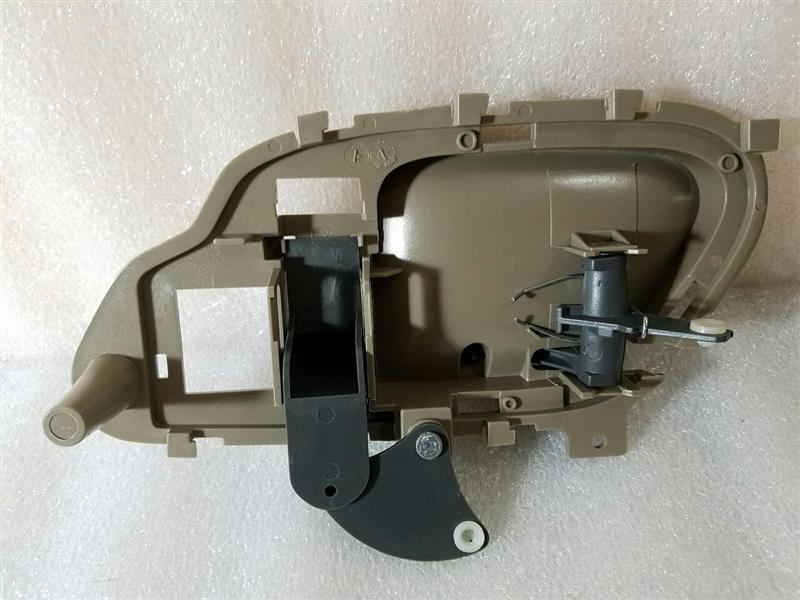
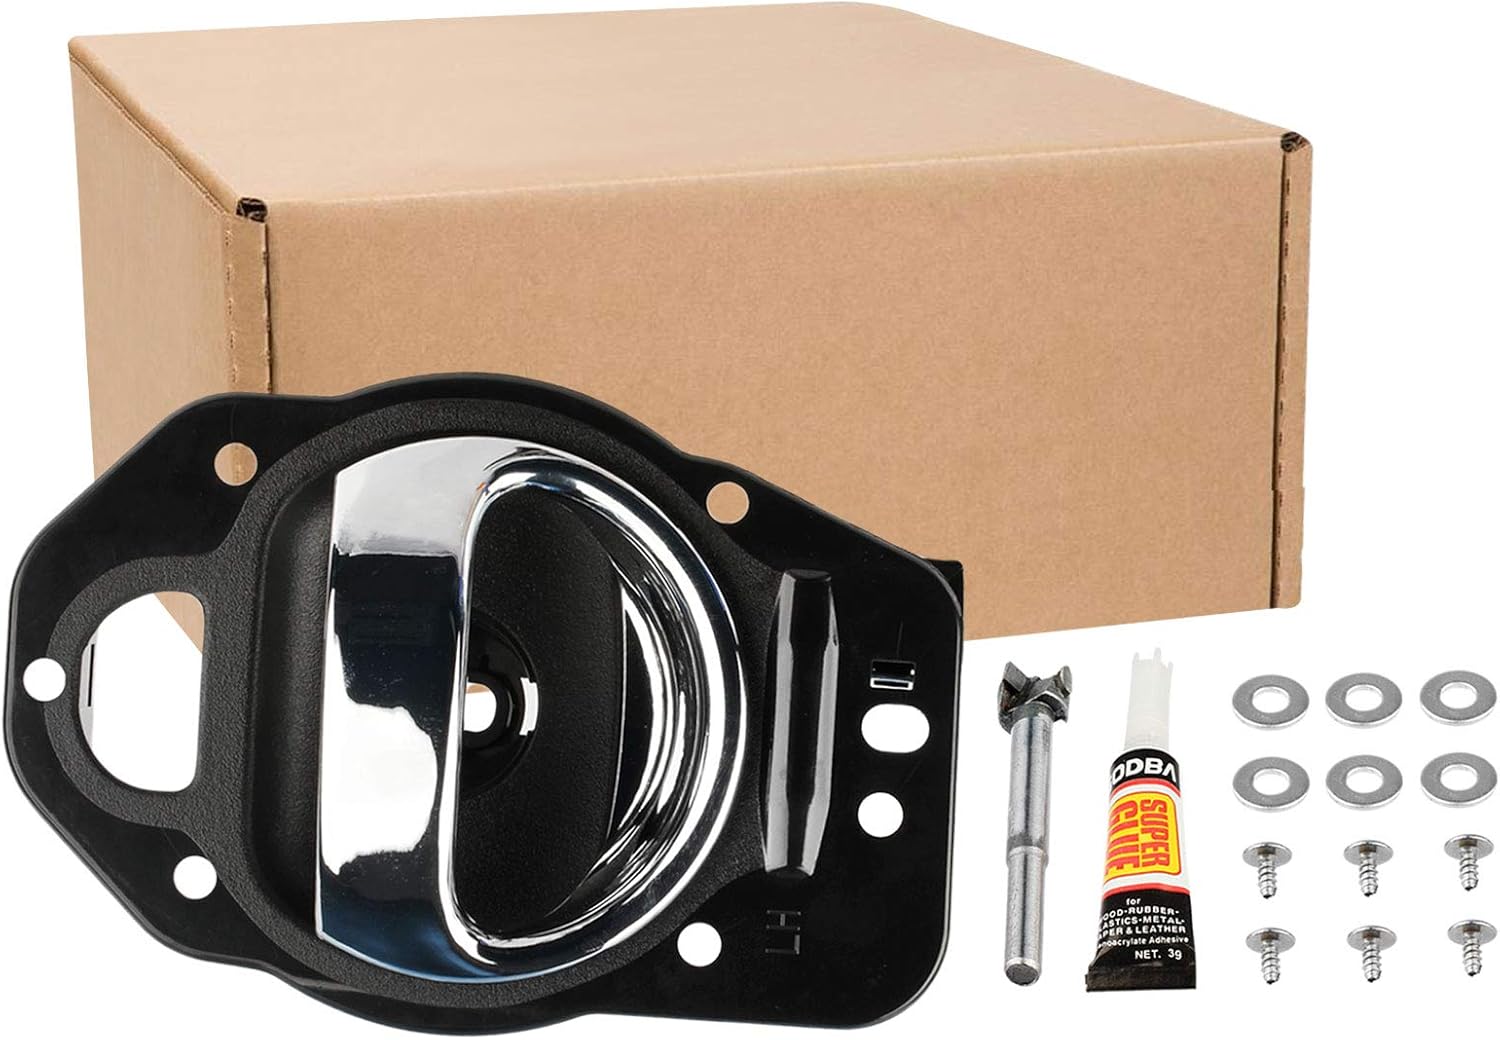
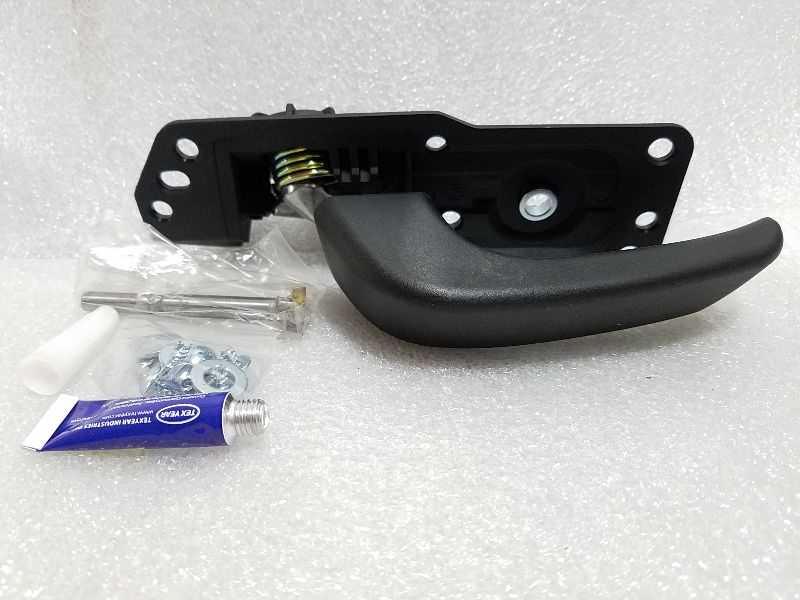
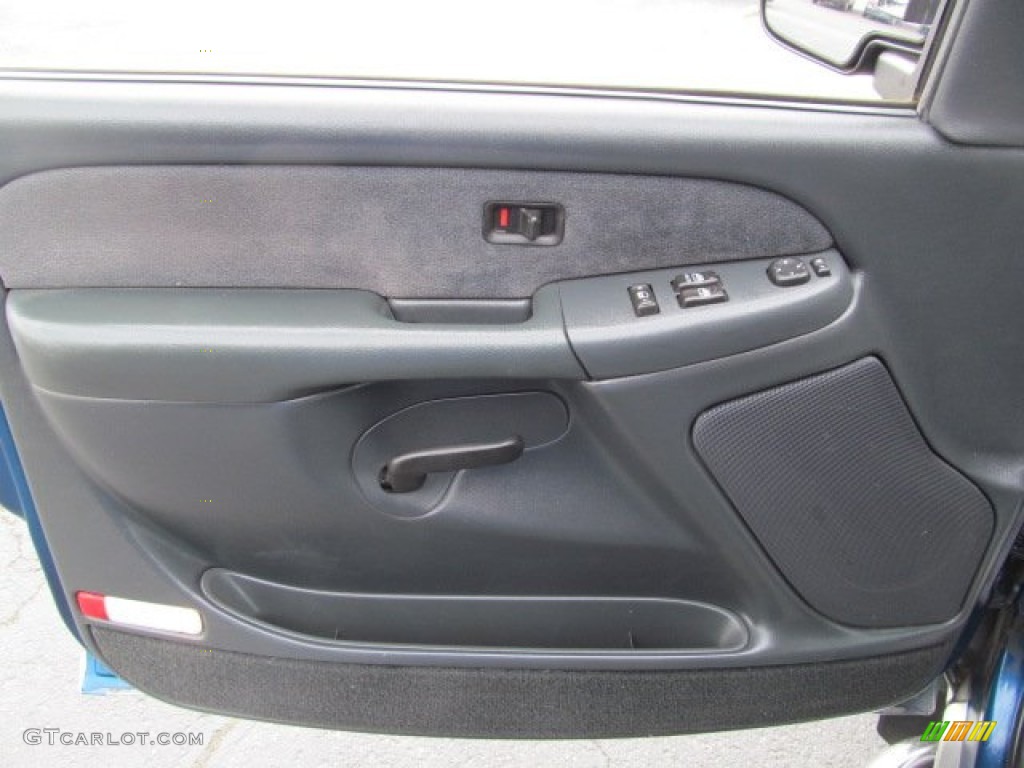
If the exterior door handle on your 1999-2006 Chevy Tahoe is not functioning properly, you may need to consider repairing it. Before attempting to repair the door handle, be sure to get the correct replacement part. After you have done this, you should begin by taking the screws out of the door handle. Once the screws have been removed, you can begin the repair process. Make sure that all screws and bolts are securely tightened to ensure that the handle is properly fitted. Chevy Tahoe 1999-2006 Door Handle Repair

How to Fit a 1999 Chevy Tahoe Door Handle


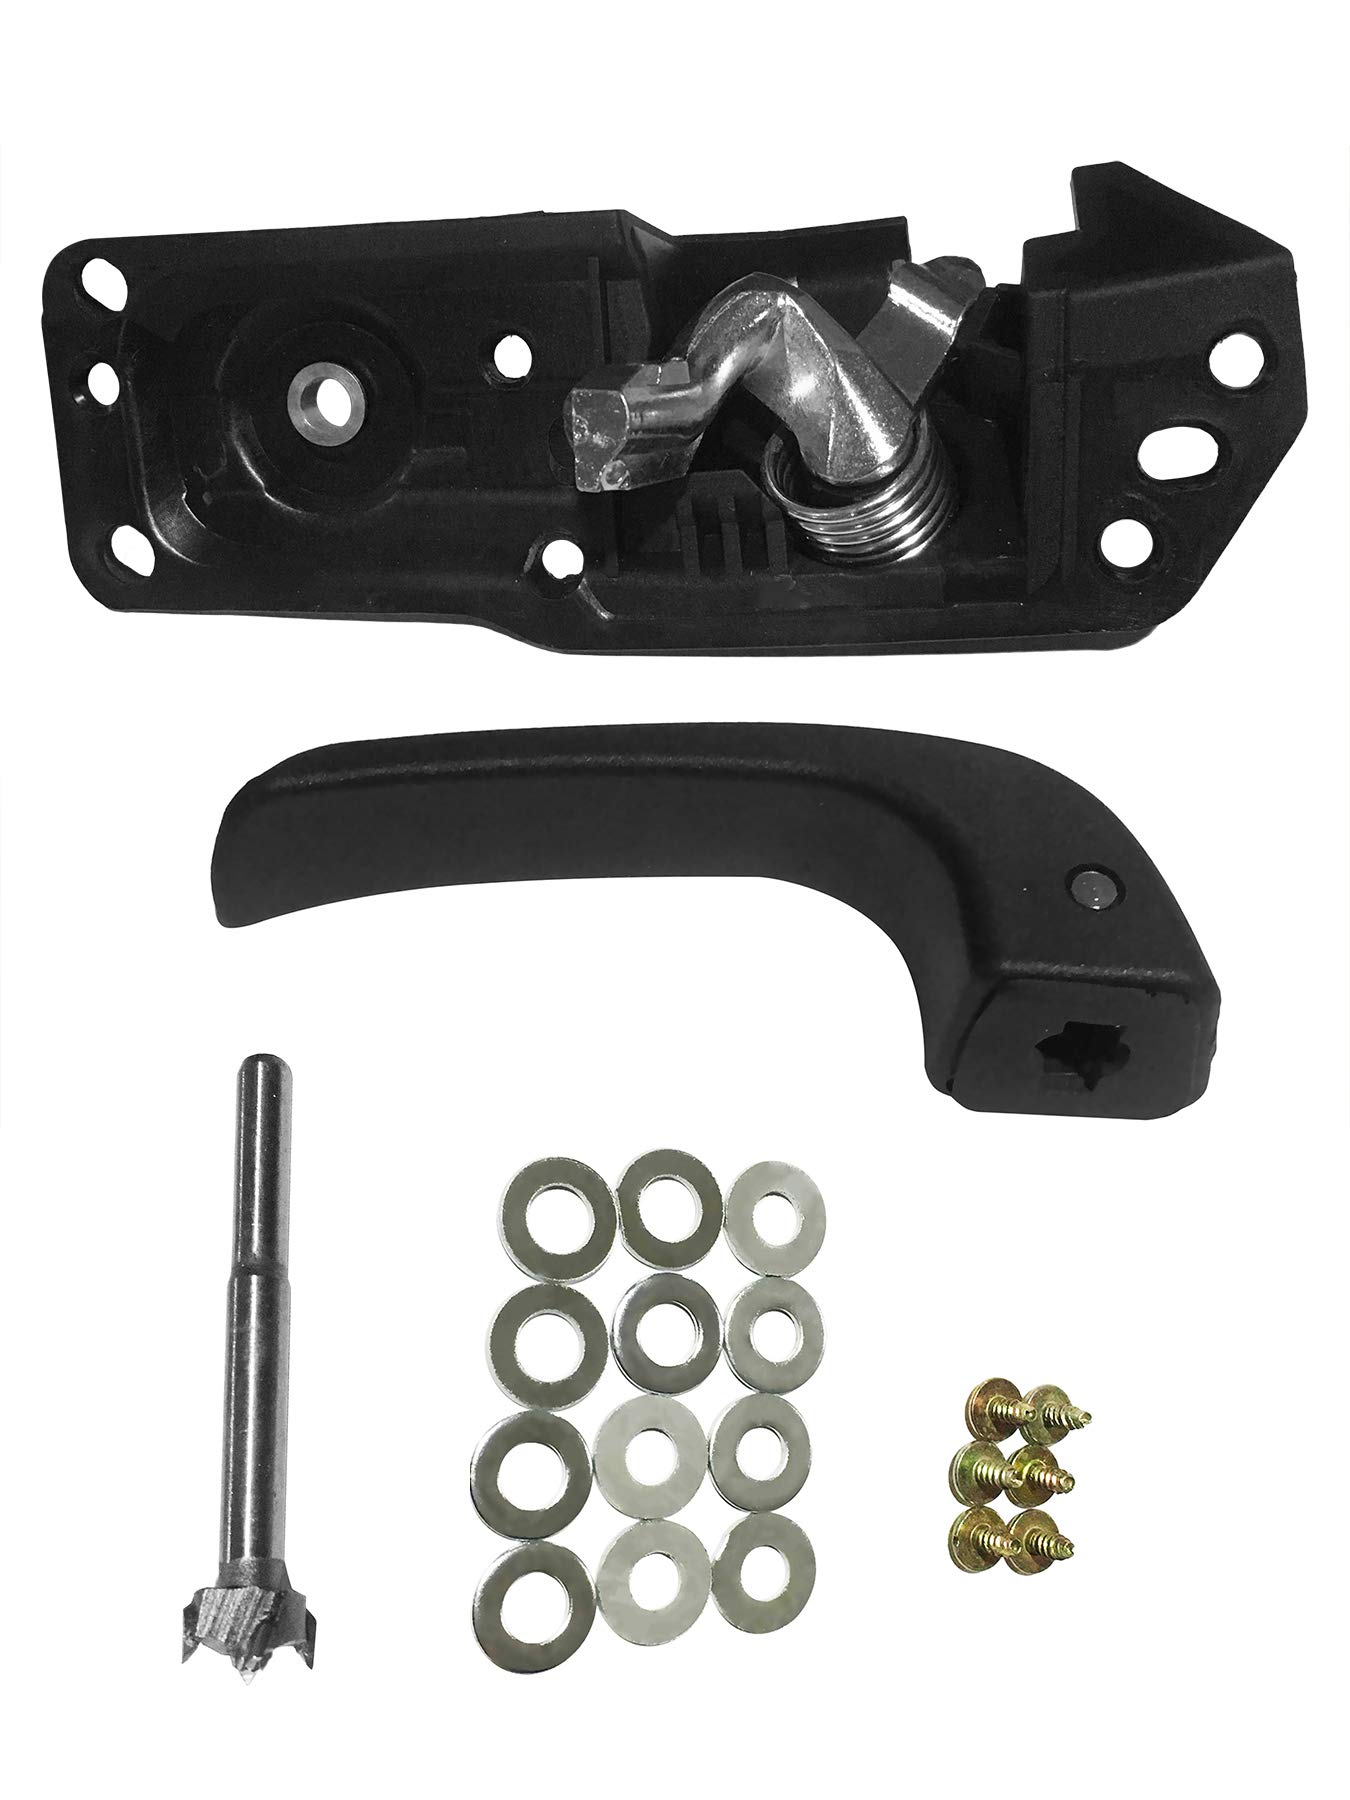
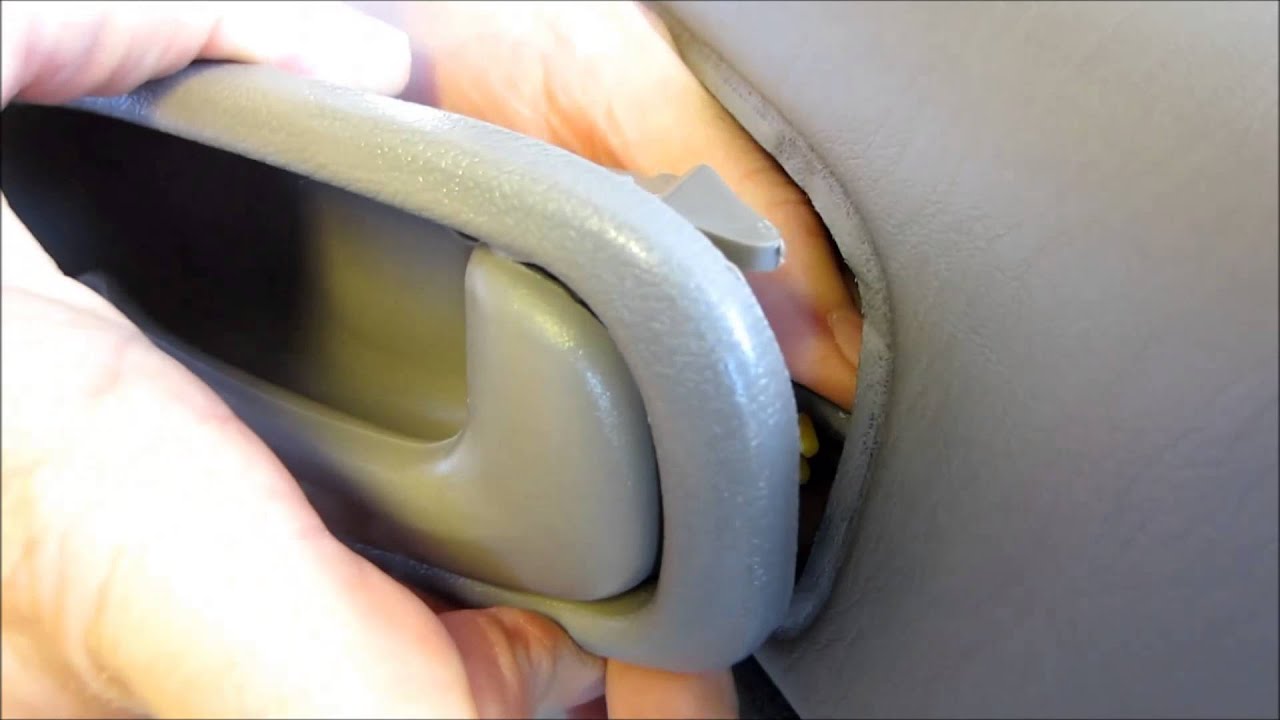
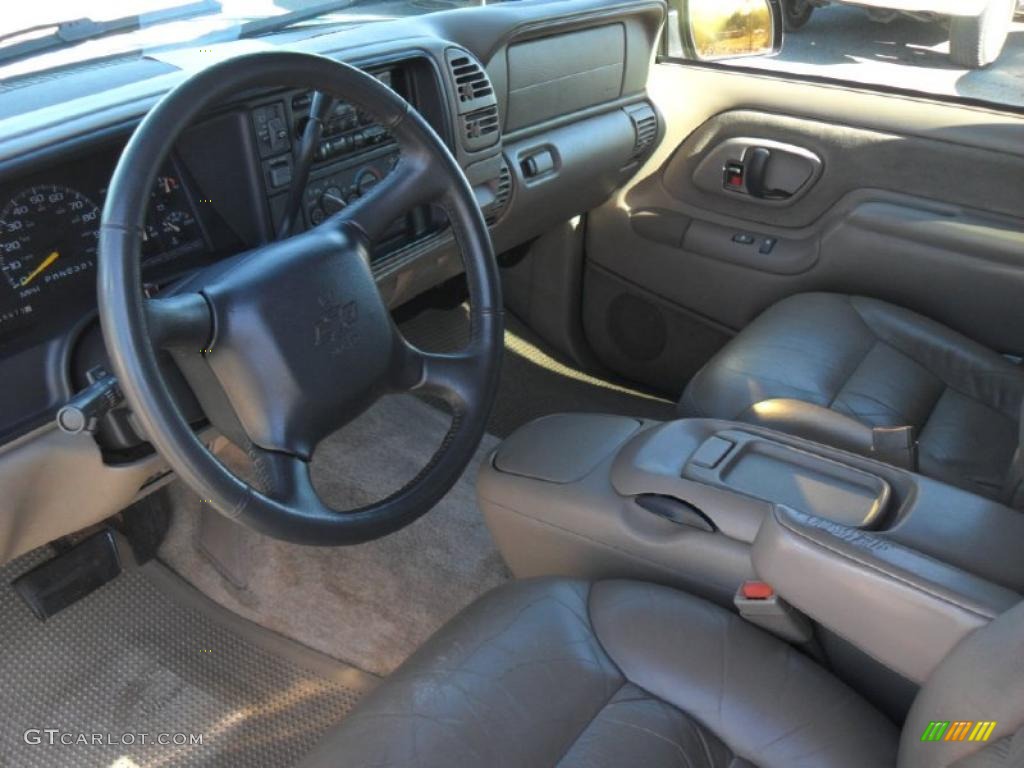
Removing the Interior Door Handle of a 1999 Tahoe

Removing a door handle can be a daunting task, especially if you are not mechanically-inclined. However, with a few simple steps, you can successfully remove the interior door handle from a 1999 Tahoe without an issue. This tutorial will guide you through the process and leave you with a door handle free of charge!
Tools & Materials Needed

Before starting the project, you will need to collect some basic tools and materials that will be needed for removing the interior door handle of your 1999 Tahoe. This includes the following:
- Phillips-head screwdriver
- Socket set
- Replacement interior door handle
Step-By-Step Tutorial

Now that you have all of the necessary tools & materials ready, let's get started:
- Using your Phillips-head screwdriver, remove the three Philips-head screws located on the door handle.
- After removing the screws, use your socket set to remove the two bolts that hold the door handle in place. Once the bolts are loose, the door handle should come off easily.
- Disconnect the wiring harness that is connected to the door handle.
- Carefully insert the new interior door handle in place and reattach the wiring harness.
- Using your Philips-head screwdriver, replace the three Philips-head screws that were removed.
- Tighten the bolts using your socket set and make sure the new door handle is securely in place.
- Your 1999 Tahoe's interior door handle has been successfully removed !
Useful Tips & Warnings

- If your 1999 Tahoe is still under warranty, it's recommended not to attempt this project as it could void the warranty.
- Always be sure to disconnect the power to the door handle before attempting this project.

:max_bytes(150000):strip_icc()/GettyImages-522942474-5afd53c4e34d4243a0246641aabf489c.jpg)