How to Install Plinth Lights in Your Kitchen
Adding plinth lights to your kitchen can add a touch of elegance and functionality to the space. These small lights, installed at the bottom of your kitchen cabinets, can provide subtle lighting and make it easier to navigate the room at night. If you're looking to upgrade your kitchen with plinth lights, here's a step-by-step guide on how to install them.


How to Install Plinth Lights in Your Kitchen

How to Wire Up Plinth Lights
Before you begin the installation process, you'll need to make sure you have the right tools and materials. This includes plinth lights of your choice, a drill, wire strippers, and electrical tape. You'll also need to measure the length of your kitchen cabinets to determine how many plinth lights you'll need.


How to Wire Up Plinth Lights


Step-by-Step Guide to Installing Kitchen Plinth Lights
Step 1: Turn off the power to your kitchen. This is an important safety precaution to take before doing any electrical work.
Step 2: Mark where you want to install the plinth lights. Use a pencil to mark the spots where you'll be drilling holes for the lights.
Step 3: Drill holes for the lights. Use a drill bit that is slightly larger than the lights to create holes in the bottom of your cabinets.
Step 4: Feed the wires through the holes. Make sure to leave enough length for the wires to reach the power source.
Step 5: Strip the ends of the wires. Use wire strippers to remove the insulation from the ends of the wires.
Step 6: Connect the wires to the power source. Use electrical tape to secure the connections.
Step 7: Test the lights. Turn the power back on and make sure the lights are working properly.
Step 8: Install the lights. Use the provided screws to secure the lights in place.


Step-by-Step Guide to Installing Kitchen Plinth Lights


Wiring Tips for Kitchen Plinth Lights
If you're not familiar with electrical work, it's best to hire a professional to wire up your kitchen plinth lights. However, if you're confident in your DIY skills, here are a few tips to keep in mind:

Wiring Tips for Kitchen Plinth Lights


DIY Kitchen Plinth Light Installation
If you're up for the challenge, installing plinth lights in your kitchen can be a fun and rewarding DIY project. However, it's important to follow all safety precautions and make sure you have the necessary tools and materials before starting the installation process.


DIY Kitchen Plinth Light Installation


Tools and Materials Needed for Wiring Up Kitchen Plinth Lights
Here's a list of tools and materials you'll need for installing plinth lights in your kitchen:

Tools and Materials Needed for Wiring Up Kitchen Plinth Lights


Common Mistakes to Avoid When Installing Plinth Lights
While installing plinth lights may seem like a simple task, there are a few common mistakes that can be easily avoided:


Common Mistakes to Avoid When Installing Plinth Lights


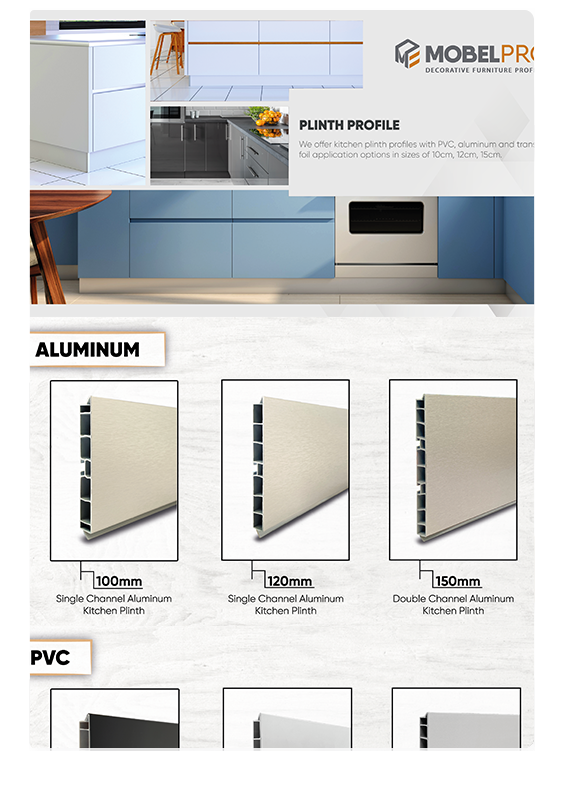
How to Choose the Right Plinth Lights for Your Kitchen
When it comes to choosing the right plinth lights for your kitchen, there are a few things to consider:

How to Choose the Right Plinth Lights for Your Kitchen


Safety Precautions for Wiring Up Kitchen Plinth Lights
As with any electrical work, it's important to take the necessary safety precautions when installing plinth lights in your kitchen:


Safety Precautions for Wiring Up Kitchen Plinth Lights


Troubleshooting Common Issues with Kitchen Plinth Lights
If you encounter any issues with your plinth lights, here are a few troubleshooting tips:


Troubleshooting Common Issues with Kitchen Plinth Lights

How to Properly Wire Up Kitchen Plinth Lights
Why Install Plinth Lights in Your Kitchen?
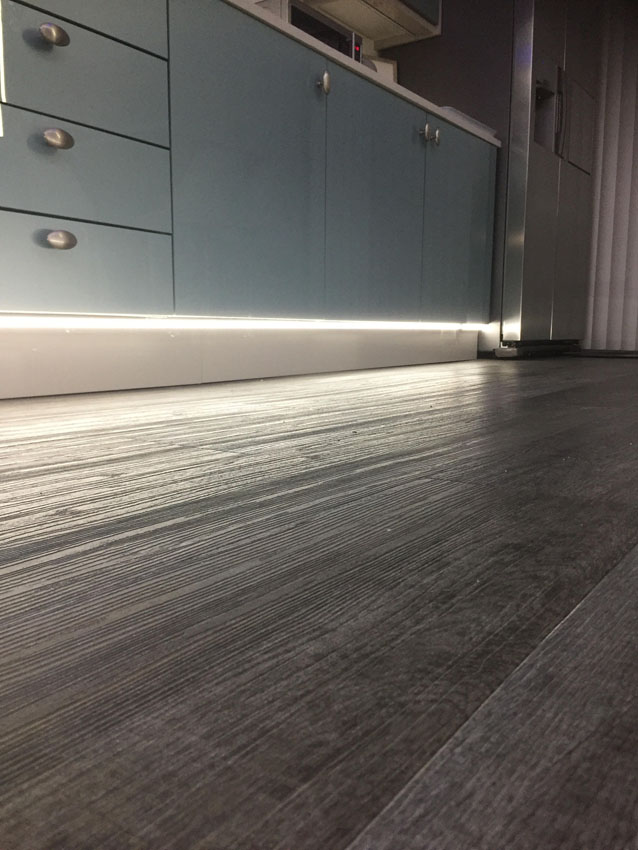
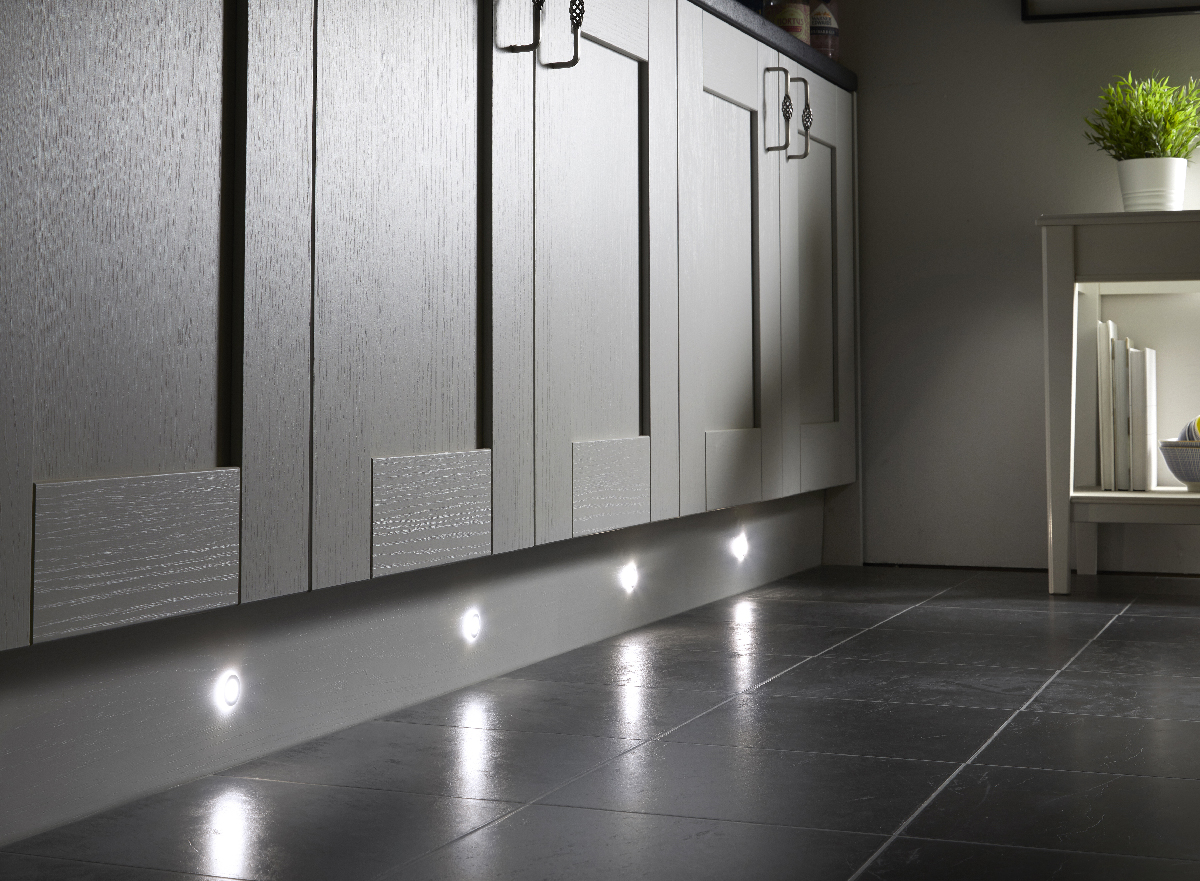
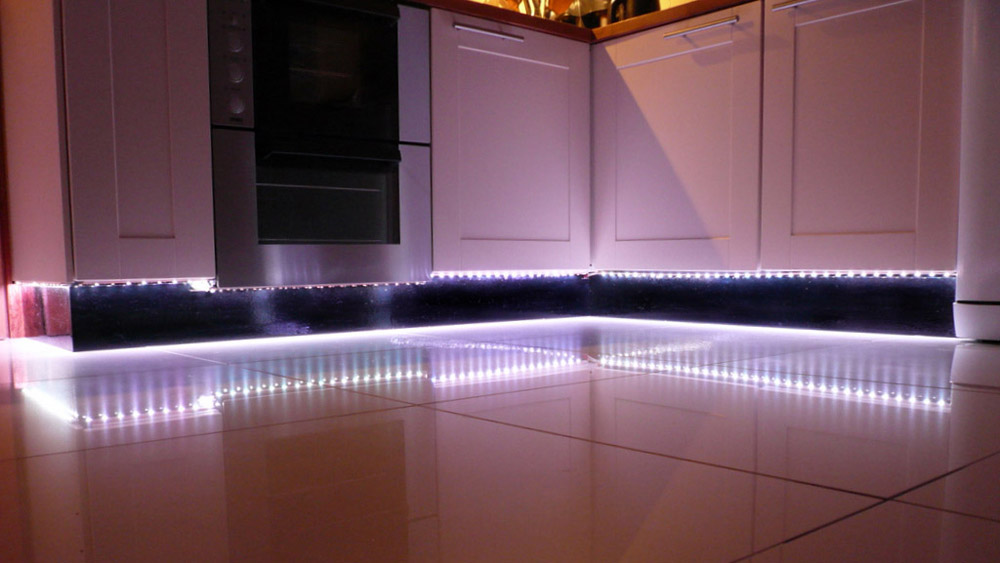
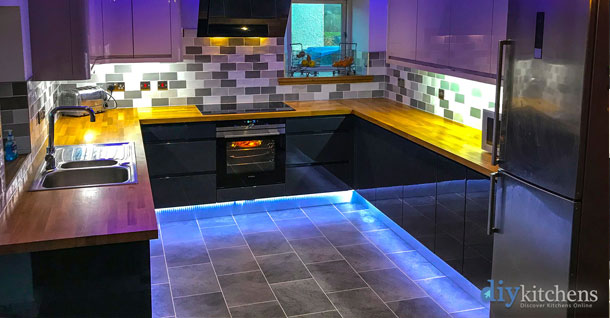
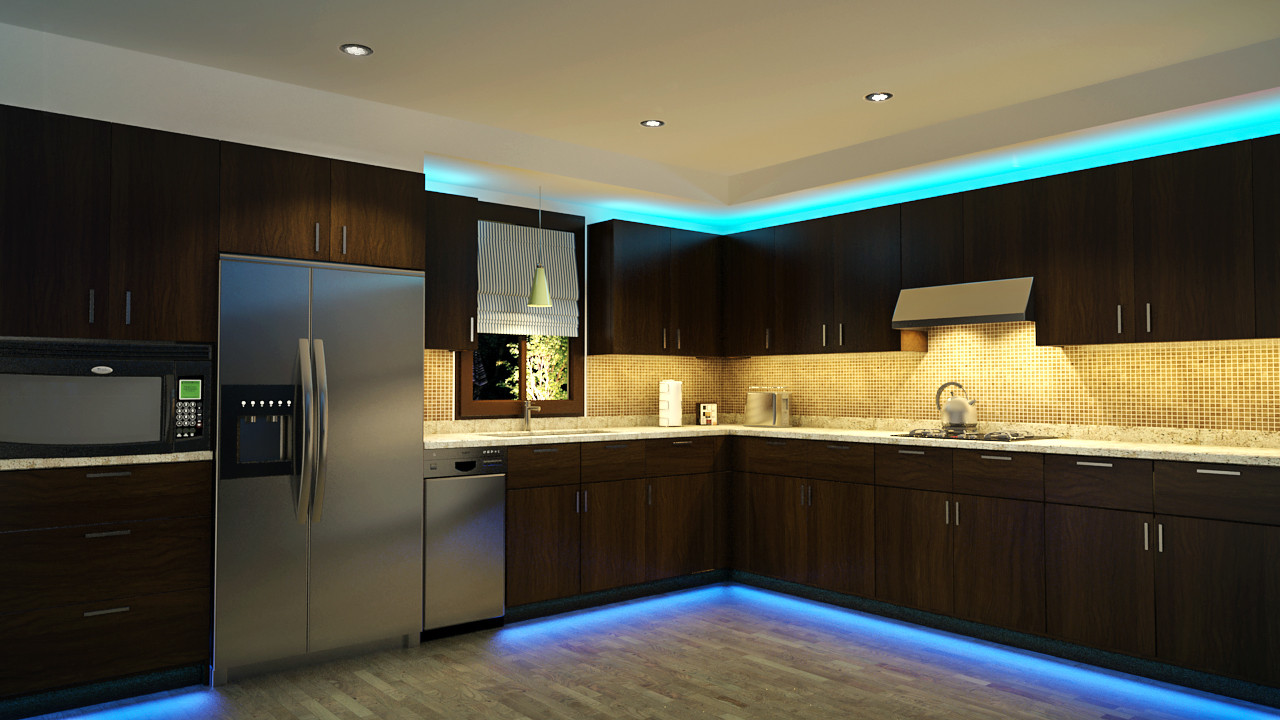
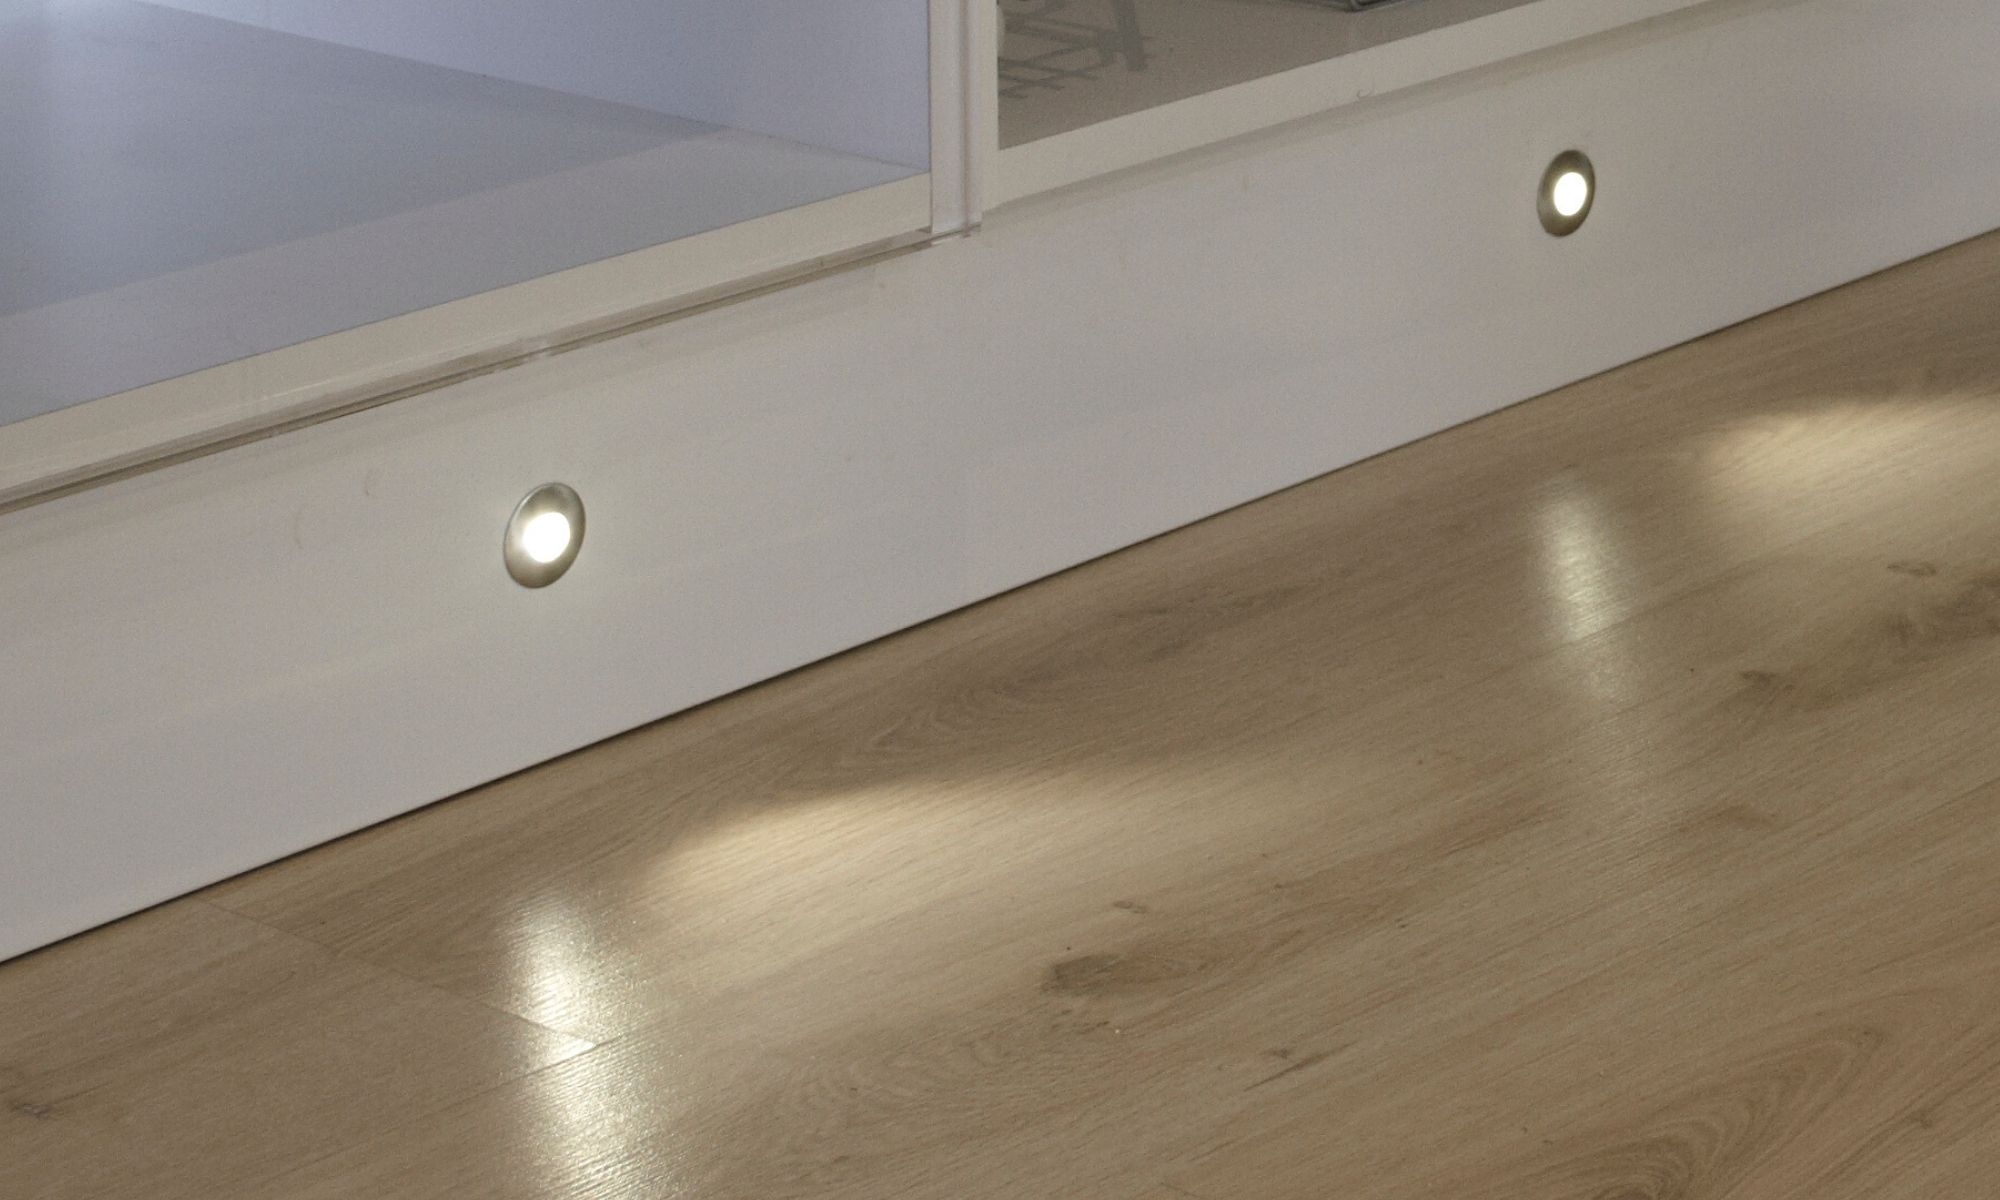
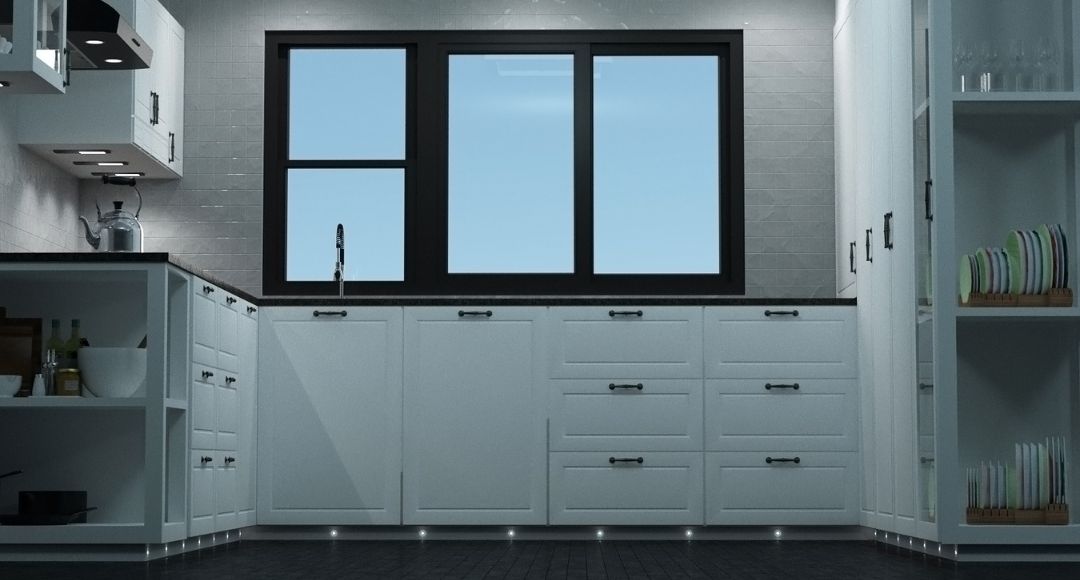
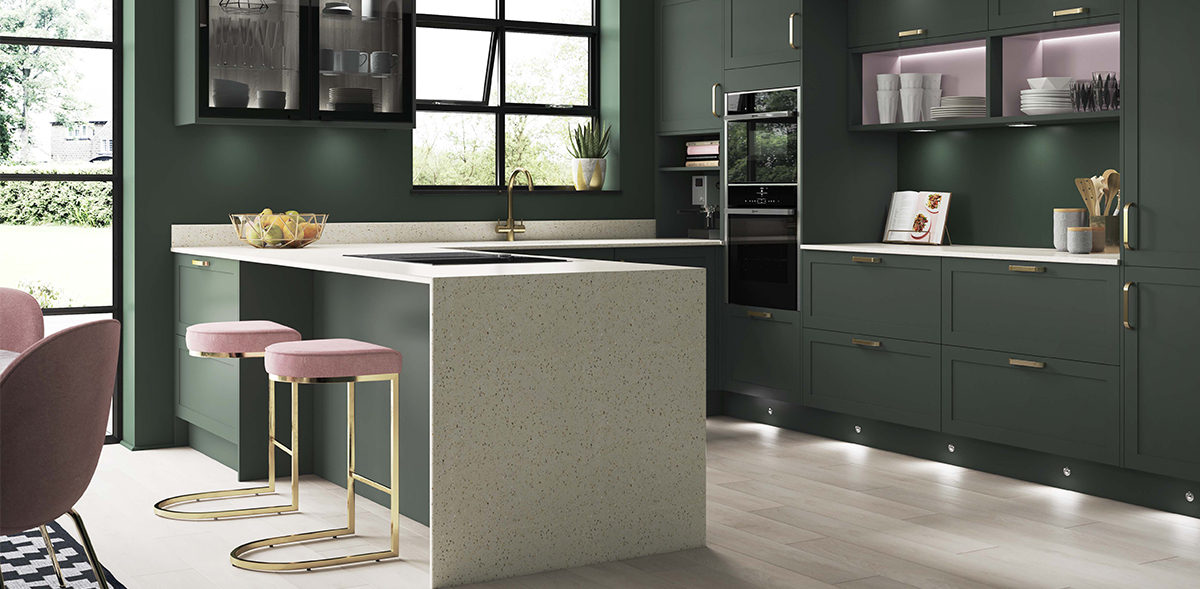
 Plinth lights are a great addition to any kitchen design. Not only do they add a touch of elegance and modernity, but they also serve as functional lighting for your workspace.
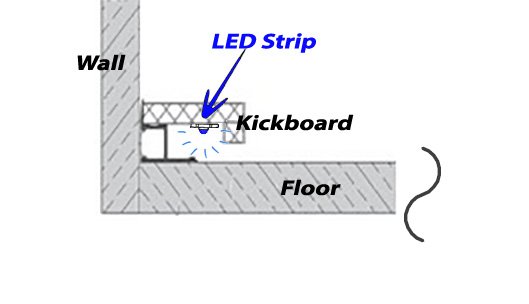
Kitchen plinth lights
are installed along the bottom of your cabinets, illuminating your countertops and adding depth to the room. They can also be used to highlight certain features in your kitchen, such as a statement backsplash or decorative items on display. Installing plinth lights adds an extra layer of ambiance and convenience to your kitchen, making it a popular choice in modern house designs.
Plinth lights are a great addition to any kitchen design. Not only do they add a touch of elegance and modernity, but they also serve as functional lighting for your workspace.
Kitchen plinth lights
are installed along the bottom of your cabinets, illuminating your countertops and adding depth to the room. They can also be used to highlight certain features in your kitchen, such as a statement backsplash or decorative items on display. Installing plinth lights adds an extra layer of ambiance and convenience to your kitchen, making it a popular choice in modern house designs.
Materials You Will Need
 Before
wiring up your kitchen plinth lights
, you will need to gather the necessary materials. This includes
LED strip lights
, a power supply, a
transformer
, and
connecting wires
. It is important to choose high-quality materials to ensure the safety and longevity of your plinth lights. Additionally, you will need basic tools such as a screwdriver, wire cutters, and electrical tape.
Before
wiring up your kitchen plinth lights
, you will need to gather the necessary materials. This includes
LED strip lights
, a power supply, a
transformer
, and
connecting wires
. It is important to choose high-quality materials to ensure the safety and longevity of your plinth lights. Additionally, you will need basic tools such as a screwdriver, wire cutters, and electrical tape.
Step-by-Step Guide
 Now that you have all the materials, it's time to wire up your kitchen plinth lights. Follow these simple steps to ensure a smooth installation process:
1. Plan Your Layout
Before starting any installation, it's important to have a plan in mind. Determine where you want to place your plinth lights and how many you will need. Measure the length of your cabinets to determine the length of LED strip lights you will need.2. Prepare the LED Strip Lights
Using your wire cutters, cut the LED strip lights to the desired length. Most strip lights have designated cutting points, so be sure to cut at those points for a clean and proper connection.3. Connect the Lights to the Power Supply
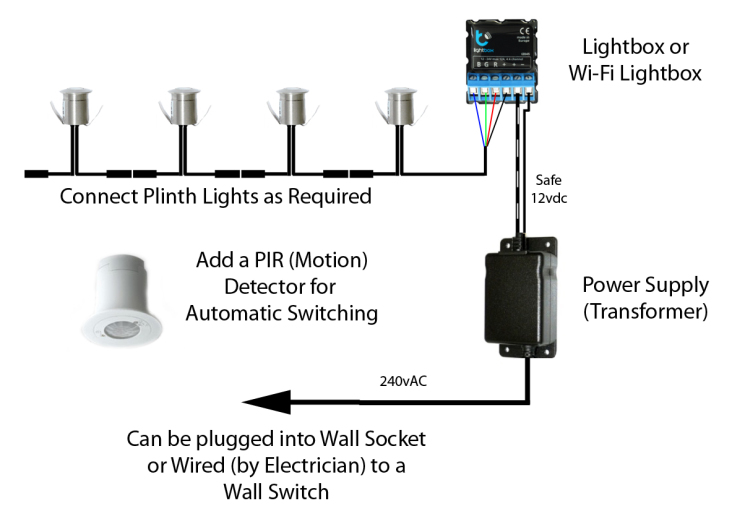
Using your connecting wires, attach the positive (+) and negative (-) ends of the LED strip lights to the corresponding terminals on the power supply. Make sure the connections are secure and use electrical tape to cover any exposed wires.4. Install the Transformer
The transformer is responsible for converting the power supply to the correct voltage for the LED lights. Install it in a safe and accessible location, preferably near an outlet.5. Connect the Transformer to the Power Supply
Using another set of connecting wires, attach the transformer to the power supply. Again, make sure the connections are secure and covered with electrical tape.6. Test the Lights
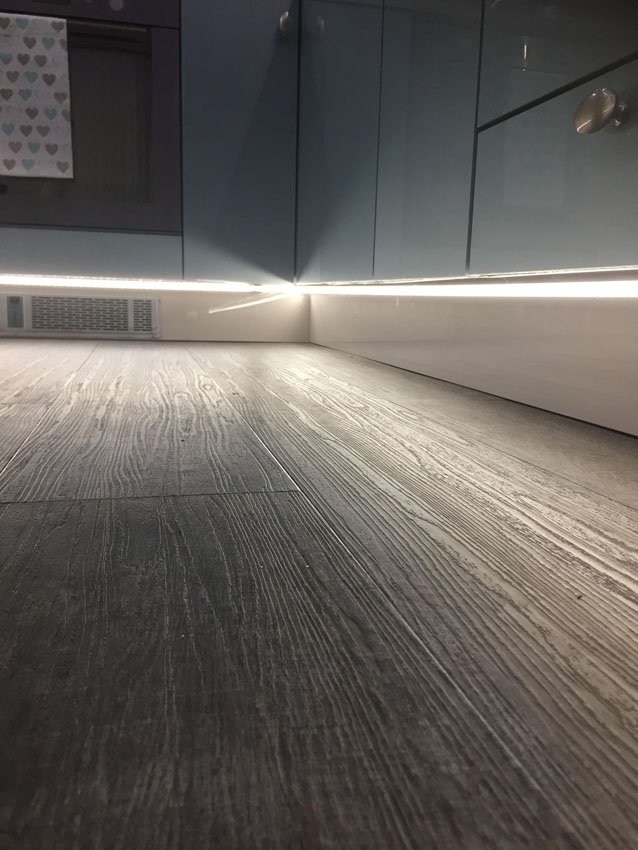
Before mounting the lights, test them to ensure they are working properly. If there are any issues, double-check all connections and make necessary adjustments.7. Mount the Lights
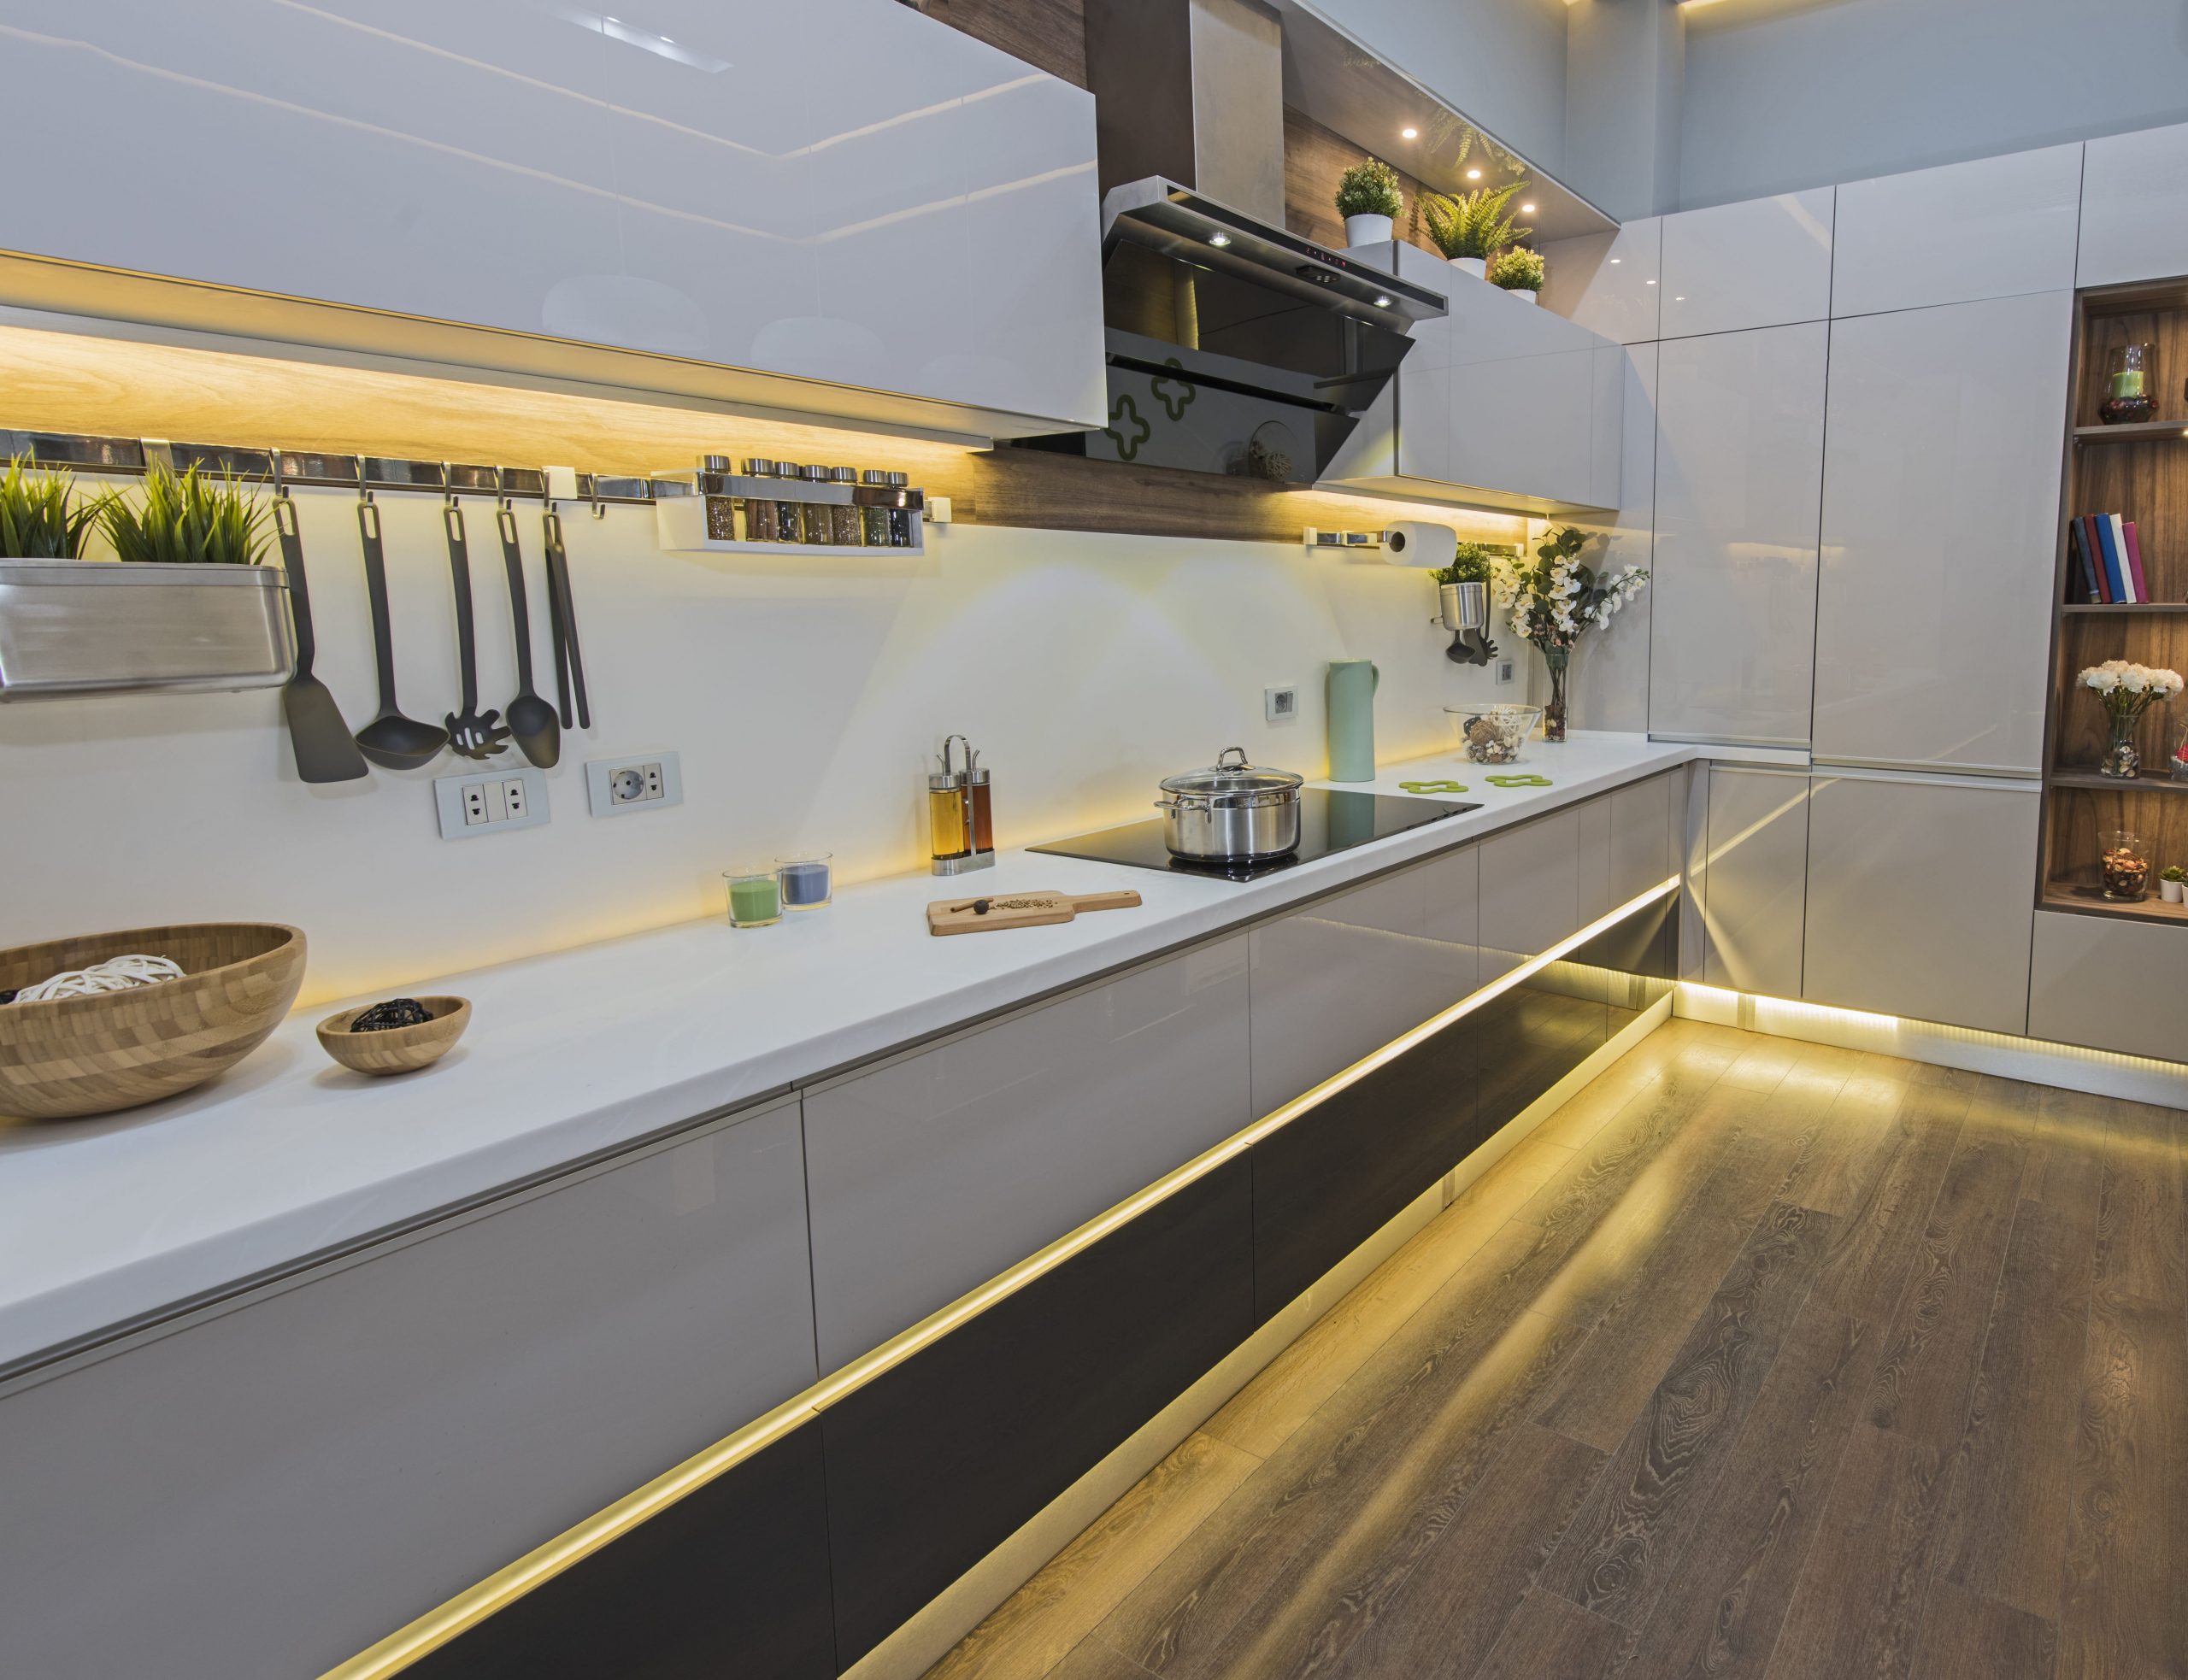
Using the adhesive backing on the LED strip lights, carefully mount them along the bottom of your cabinets. Be sure to follow any specific instructions provided by the manufacturer.8. Connect to a Timer or Dimmer (Optional)
For added convenience, you can connect your plinth lights to a timer or dimmer switch. This allows you to control the ambiance and timing of your lights with ease.In Conclusion
 Wiring up kitchen plinth lights may seem like a daunting task, but with the right materials and a proper guide, it can be a simple and rewarding project. Not only will it add a beautiful touch to your kitchen design, but it will also enhance the functionality and ambiance of the space. So why not consider installing plinth lights in your kitchen for a modern and chic upgrade?