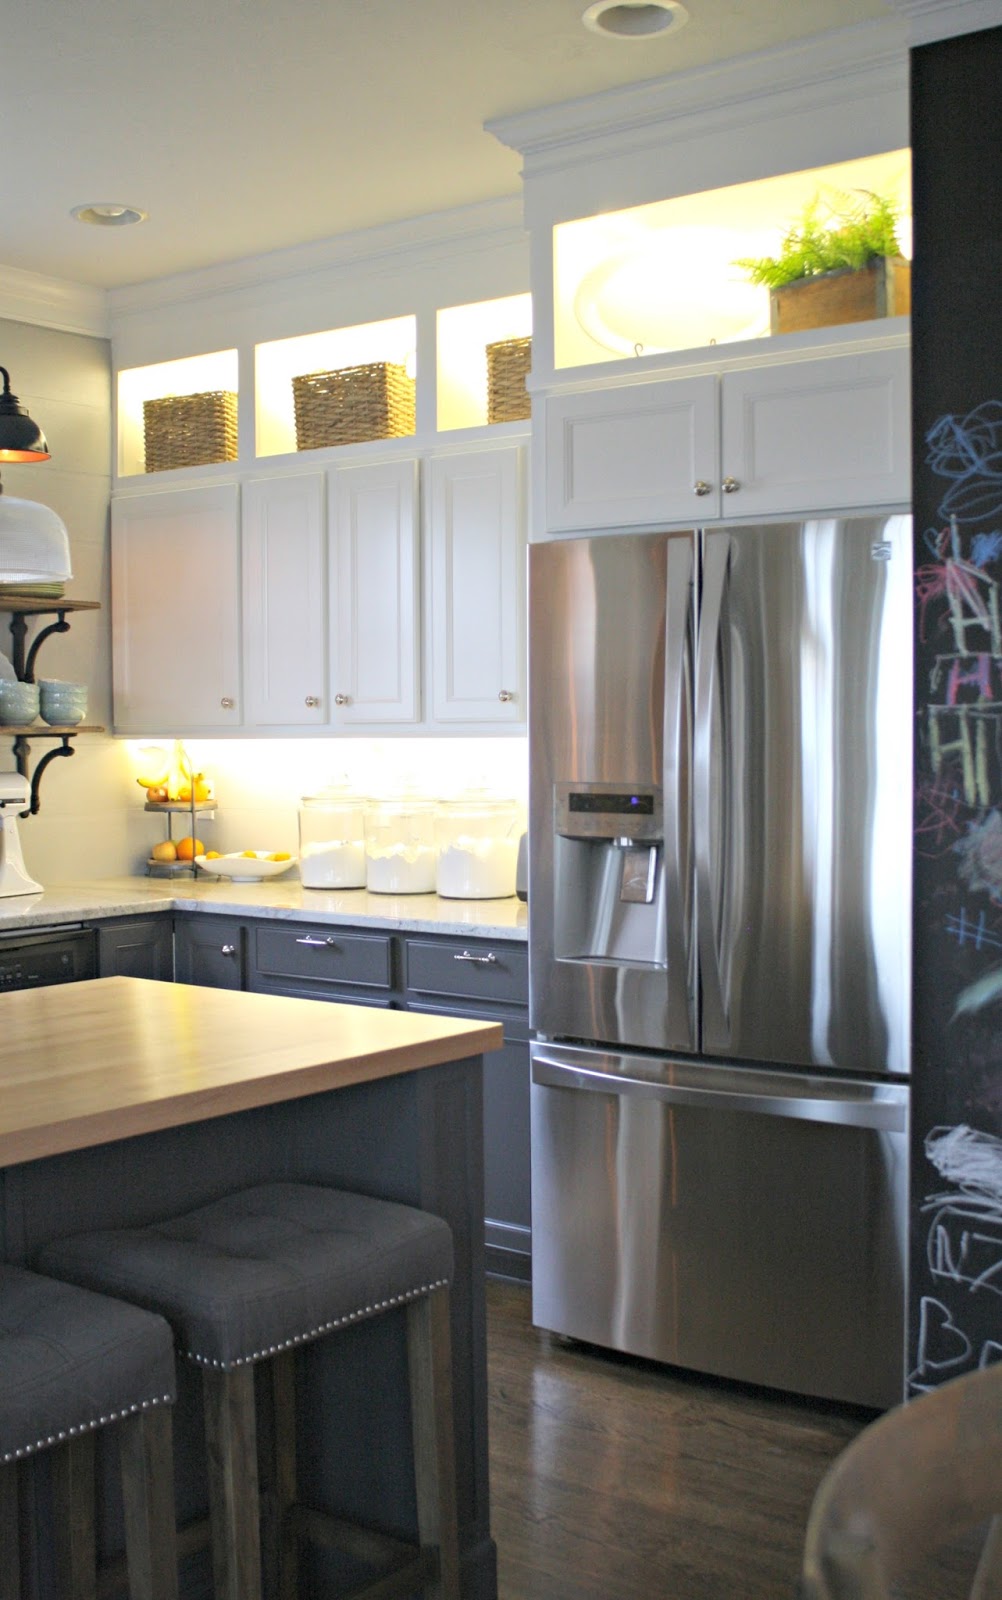
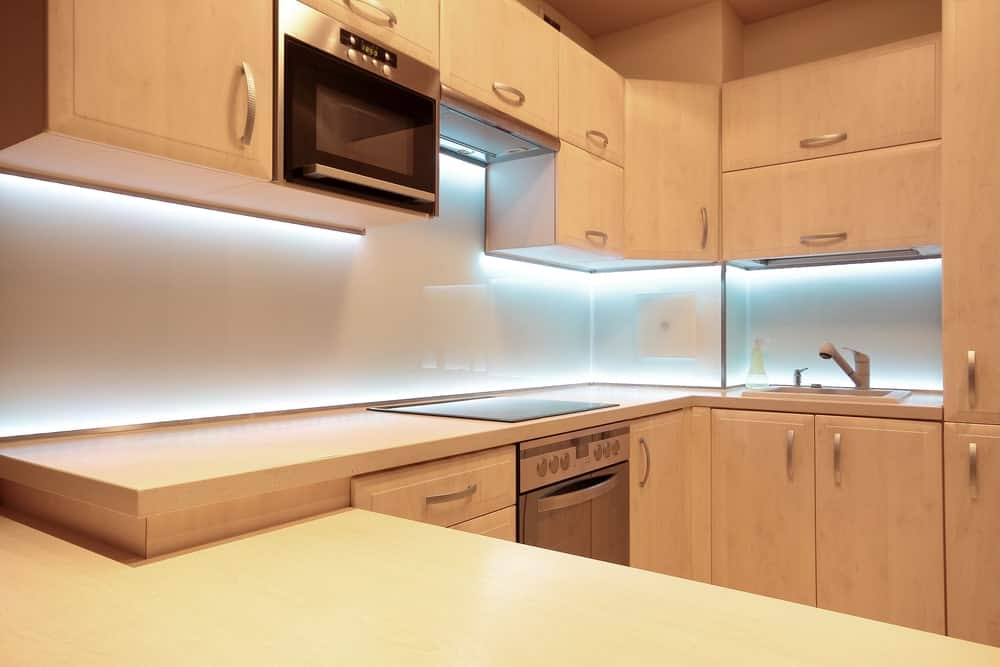
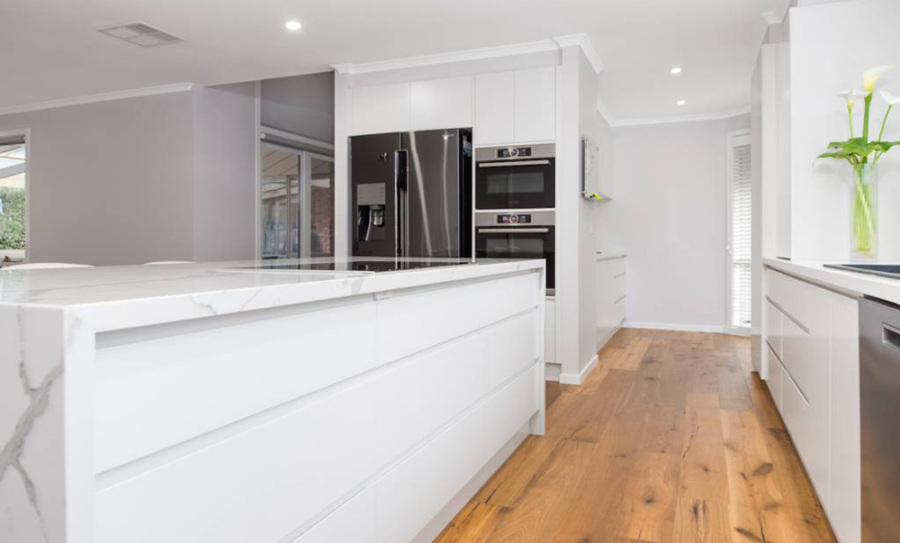
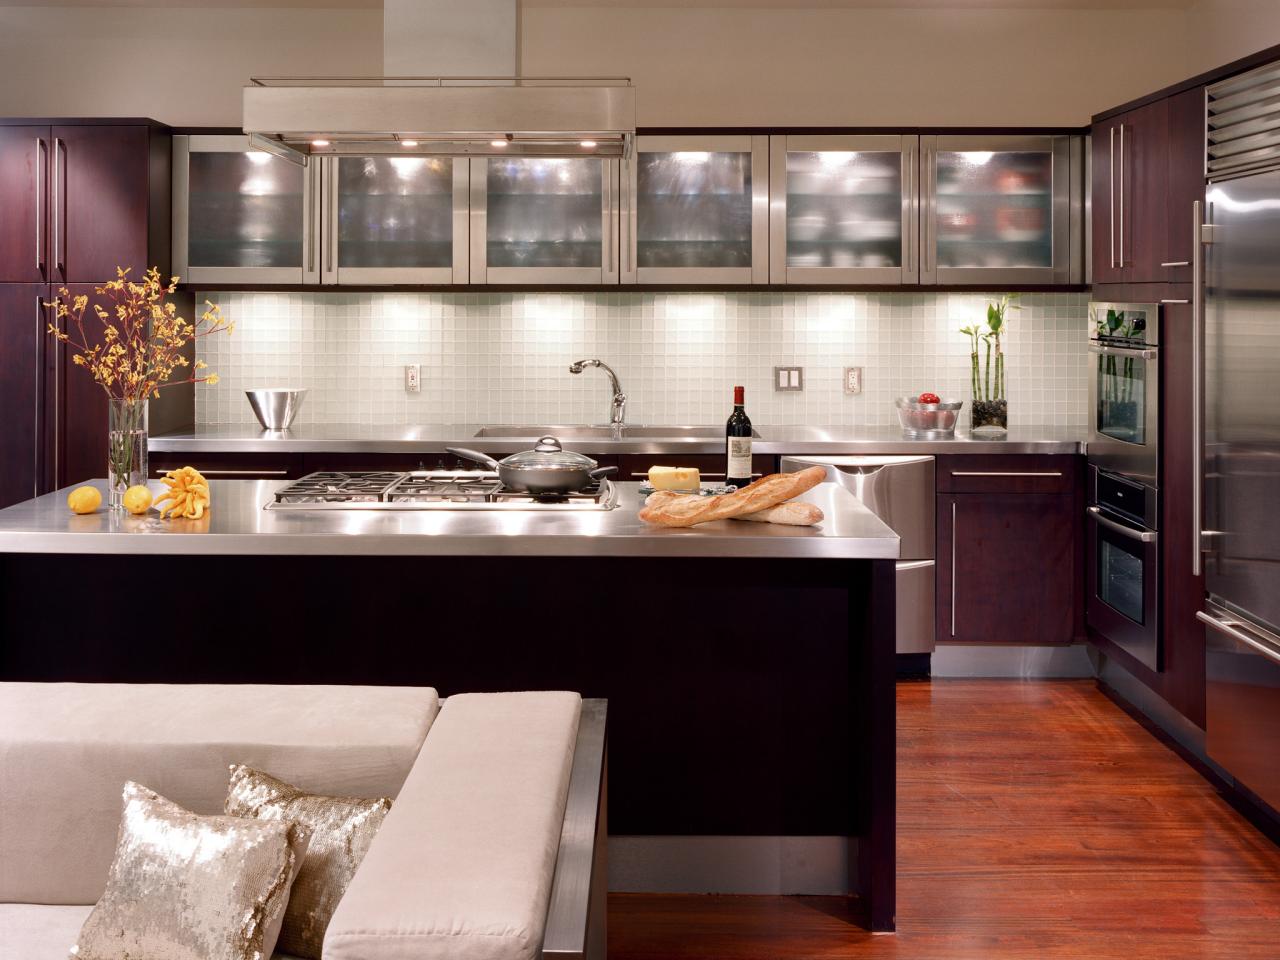
Adding under cabinet lighting to your kitchen not only provides functional task lighting, but also adds a beautiful and modern touch to your space. Whether you're renovating your kitchen or just looking for a simple upgrade, installing under cabinet lighting is a relatively easy and affordable project that can make a big impact. Here's a step-by-step guide on how to install under cabinet lighting in your kitchen.How to Install Under Cabinet Lighting in Your Kitchen
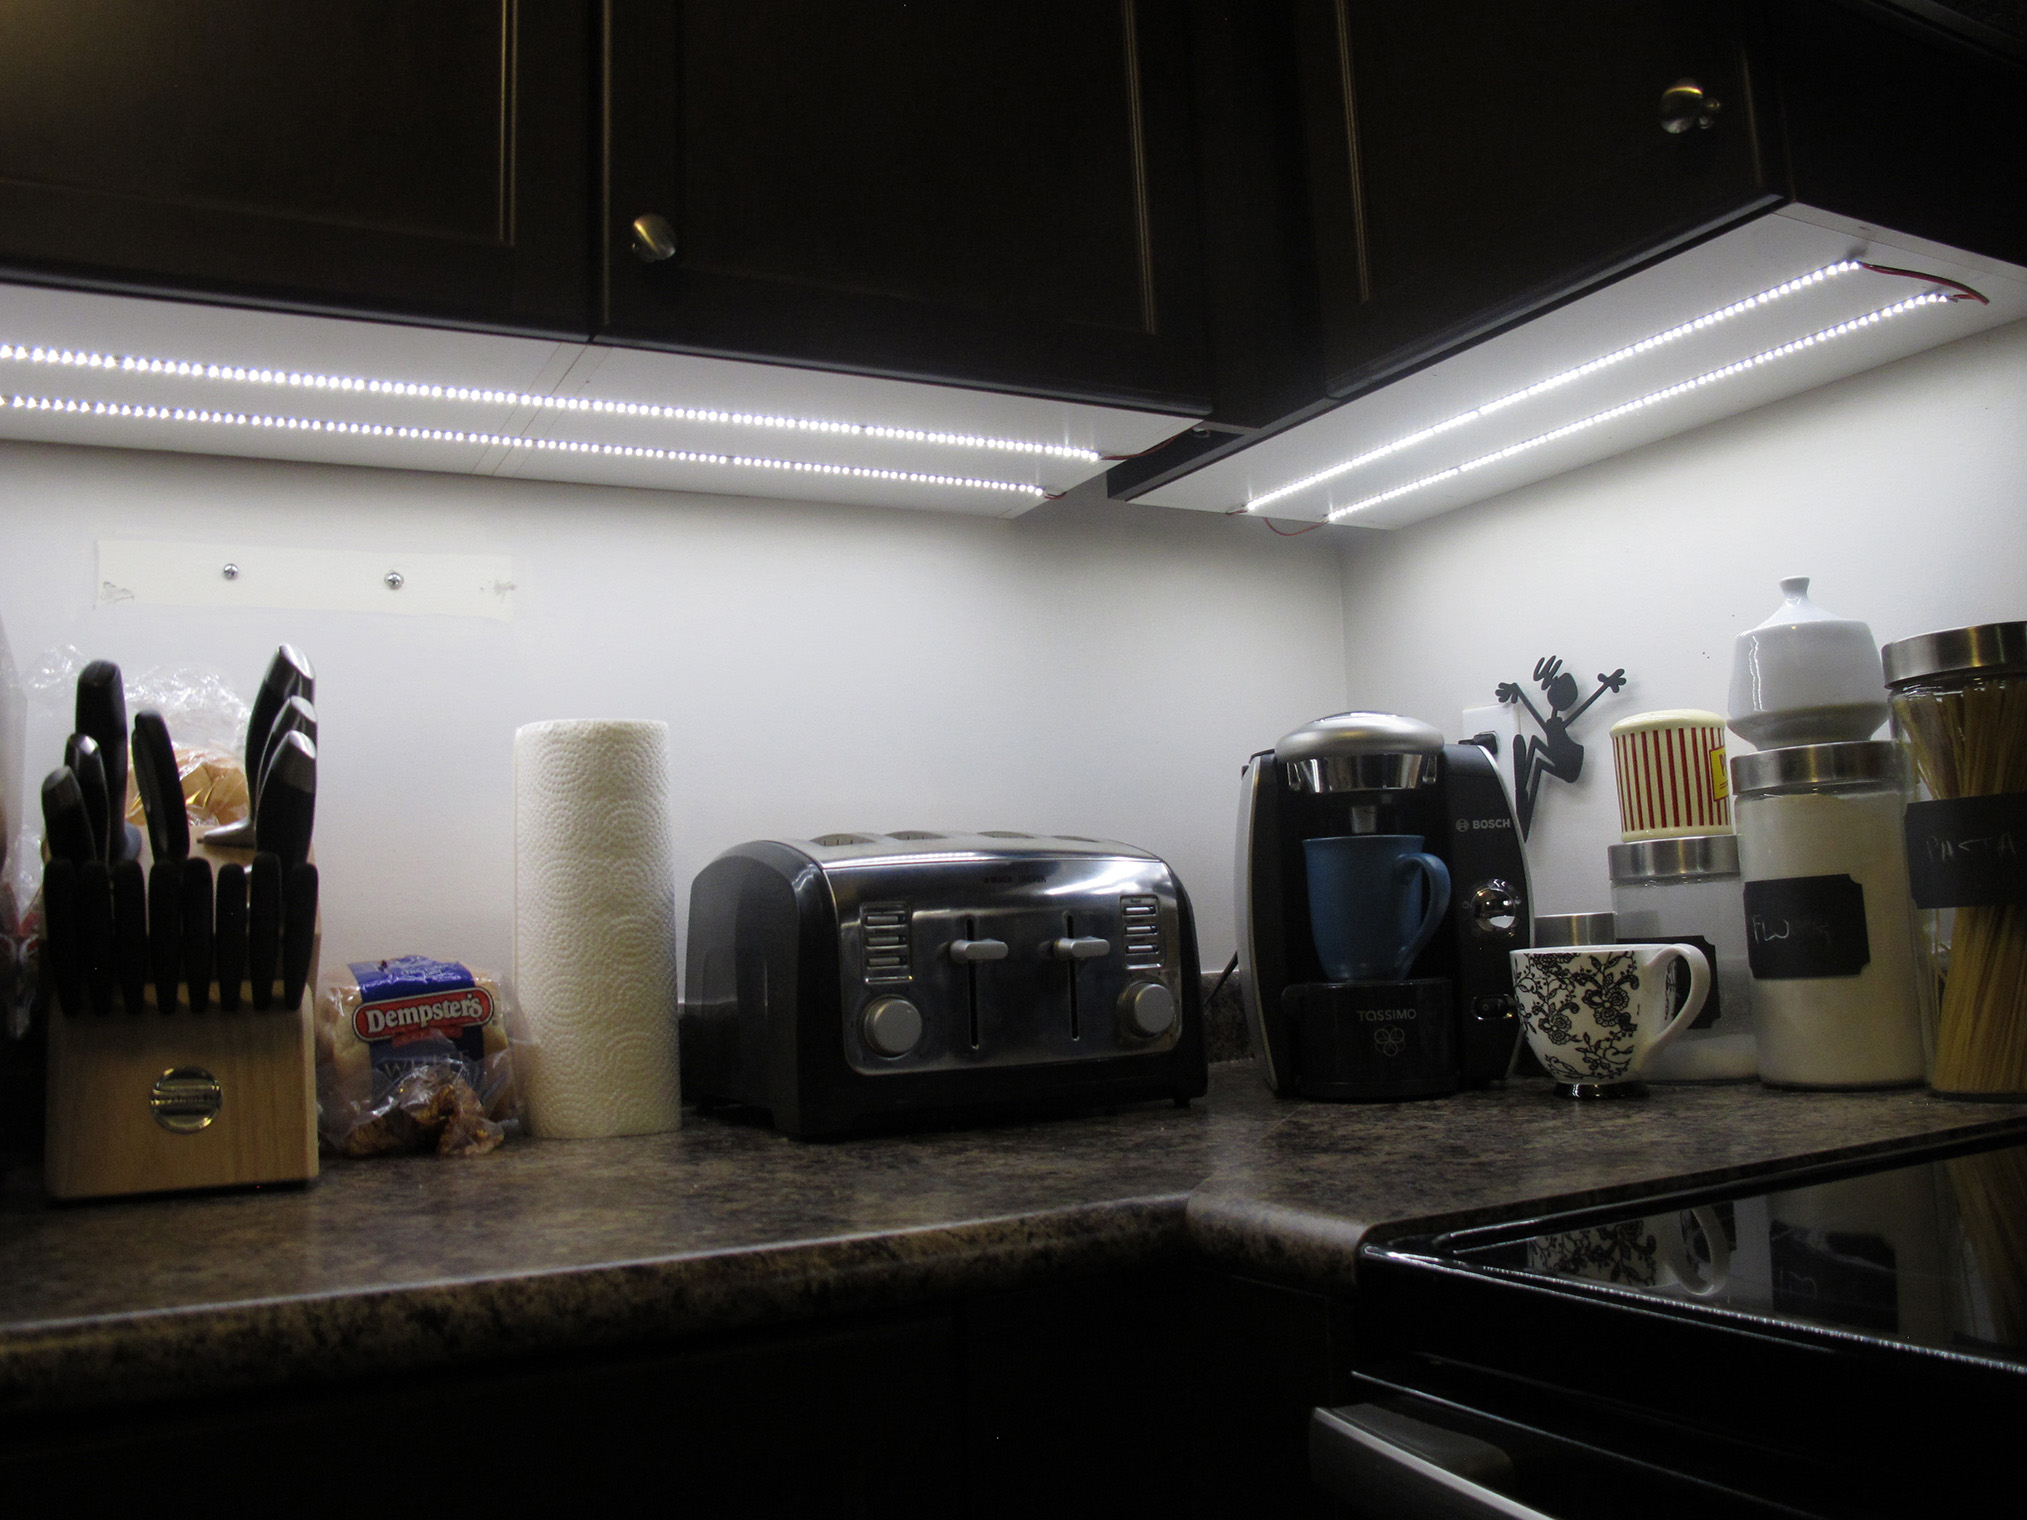
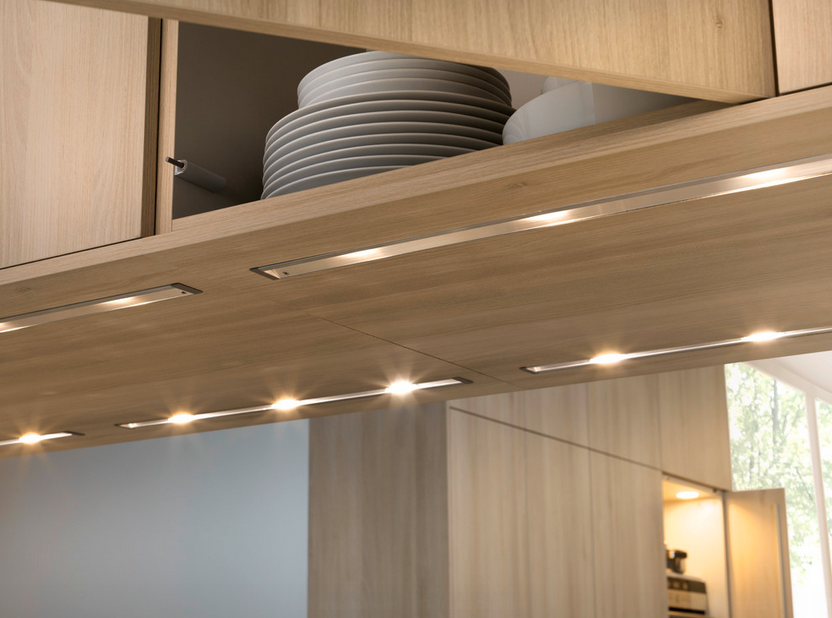
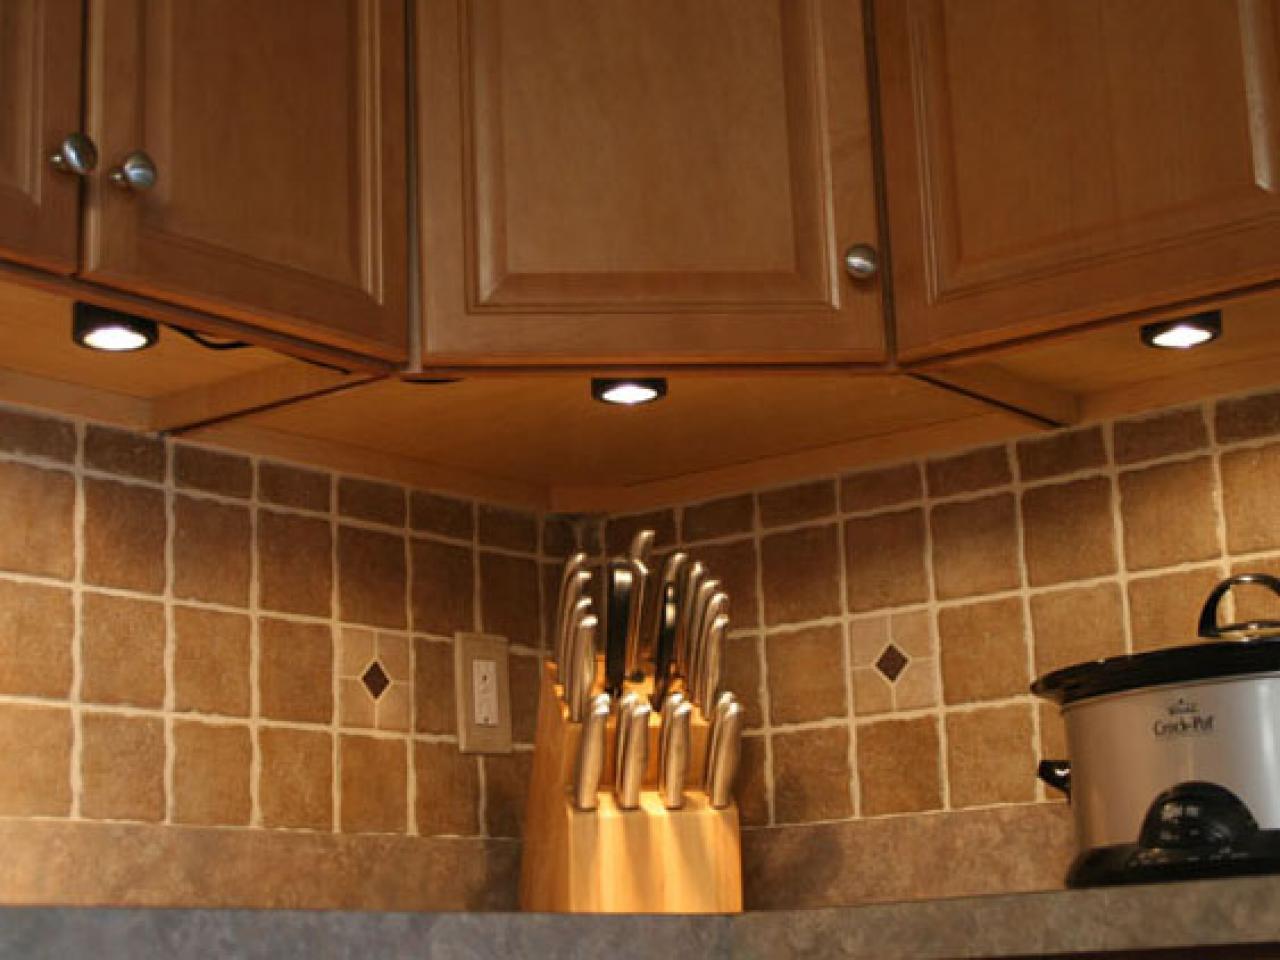
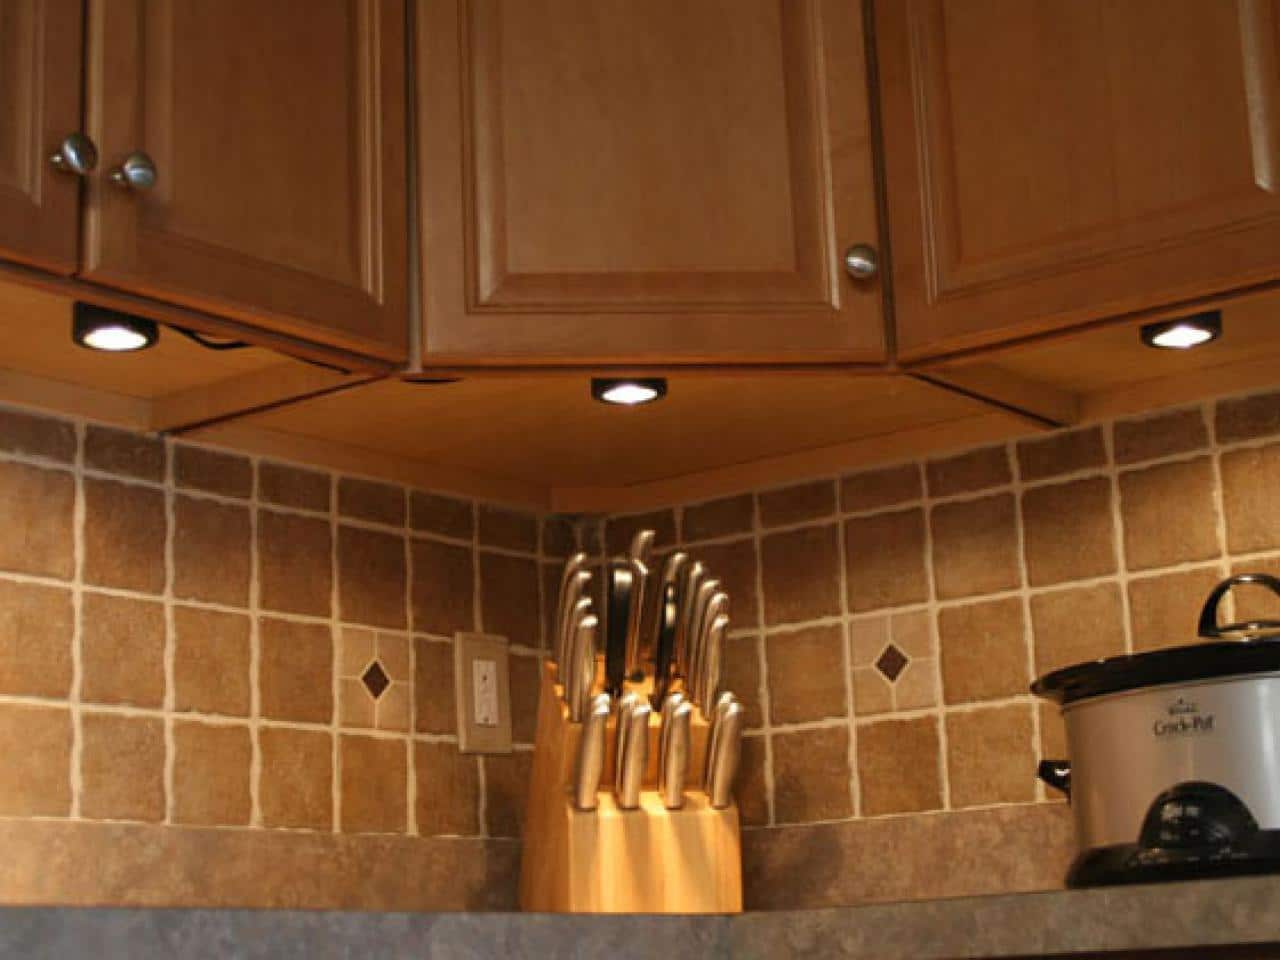
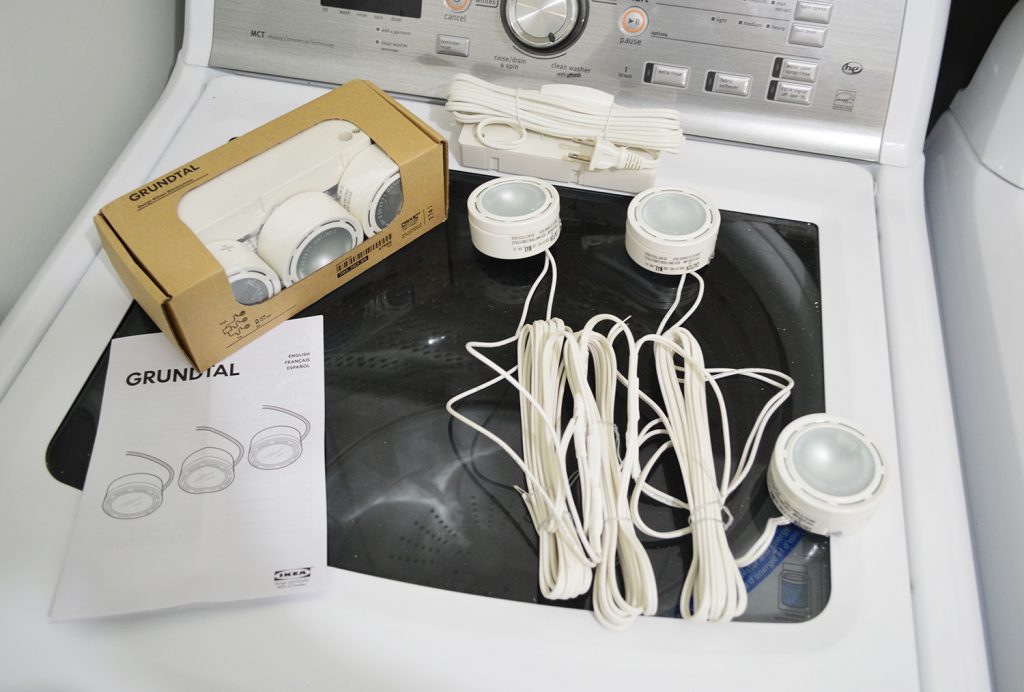
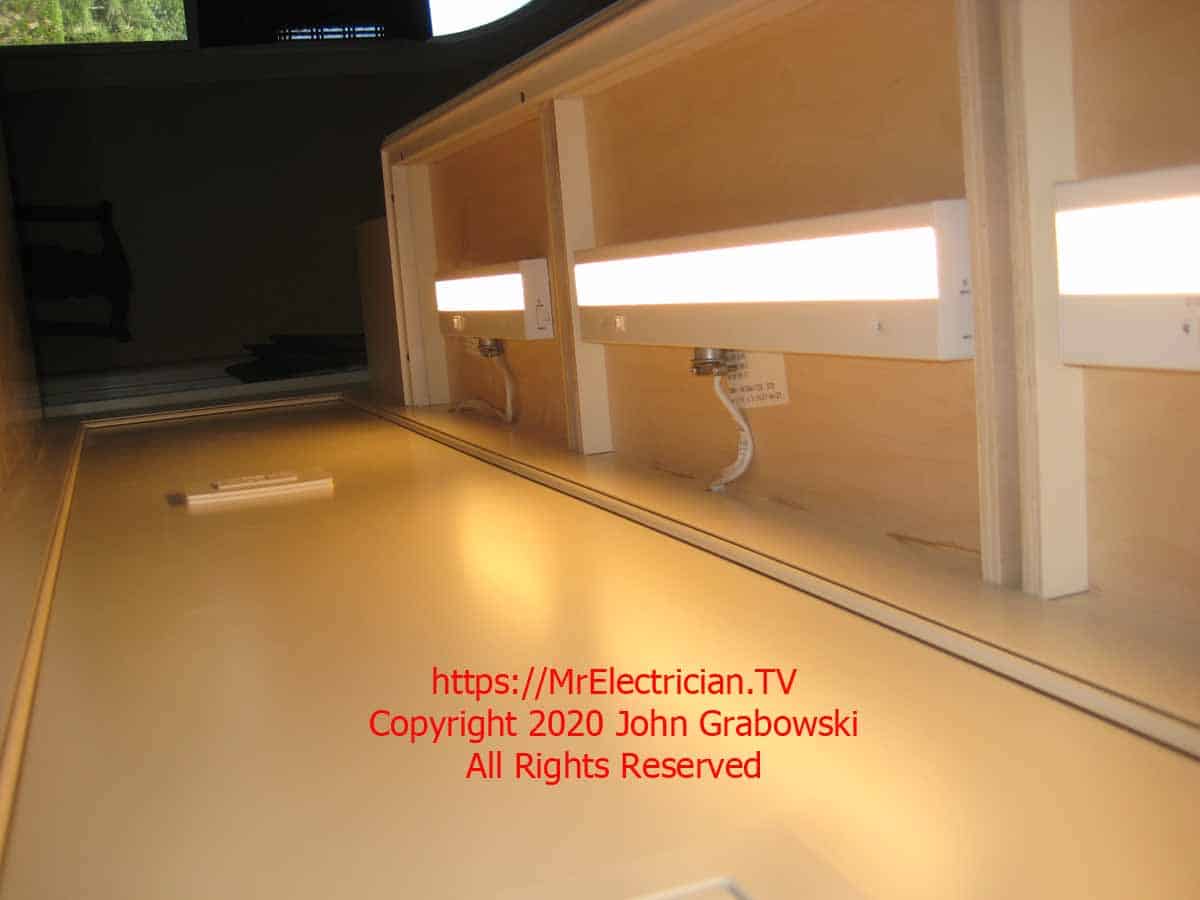
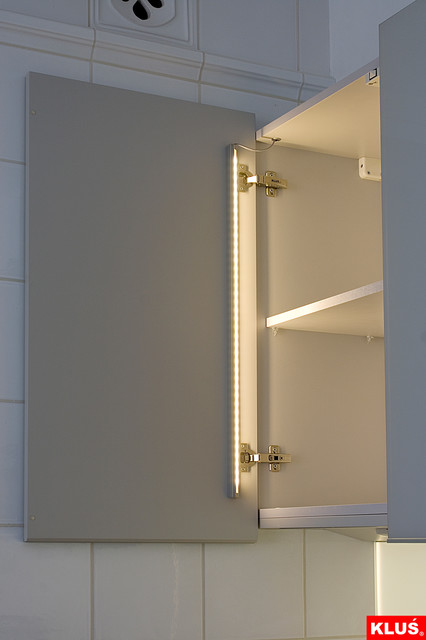
If you're a DIY enthusiast, installing under cabinet lighting is a project you can easily tackle on your own. Here's a breakdown of the 5 simple steps to follow for a successful installation: Step 1: Plan and Prepare Before you start the installation process, it's important to plan and prepare accordingly. Measure the length of your cabinets and decide on the type of under cabinet lighting you want to install. You can choose from puck lights, LED strips, or linear lights, depending on your personal preference and the amount of light you need. Step 2: Gather Your Materials Make sure you have all the necessary materials before starting the installation. This includes the under cabinet lighting kit, a drill, screws, a screwdriver, and wire strippers. Step 3: Turn Off Power and Remove Cabinet Doors For safety purposes, turn off the power to the kitchen before starting any electrical work. Then, remove the cabinet doors to make it easier to access the space underneath. This will also prevent any damage to the doors during installation. Step 4: Install the Lights Using the drill, install the lights under the cabinets according to the manufacturer's instructions. Make sure the lights are evenly spaced and securely attached. Step 5: Wire the Lights Using the wire strippers, remove the insulation from the ends of the wires and connect them to the power source. Make sure to follow the correct wiring instructions for your specific lighting kit.How to Install Under Cabinet Lighting in 5 Easy Steps
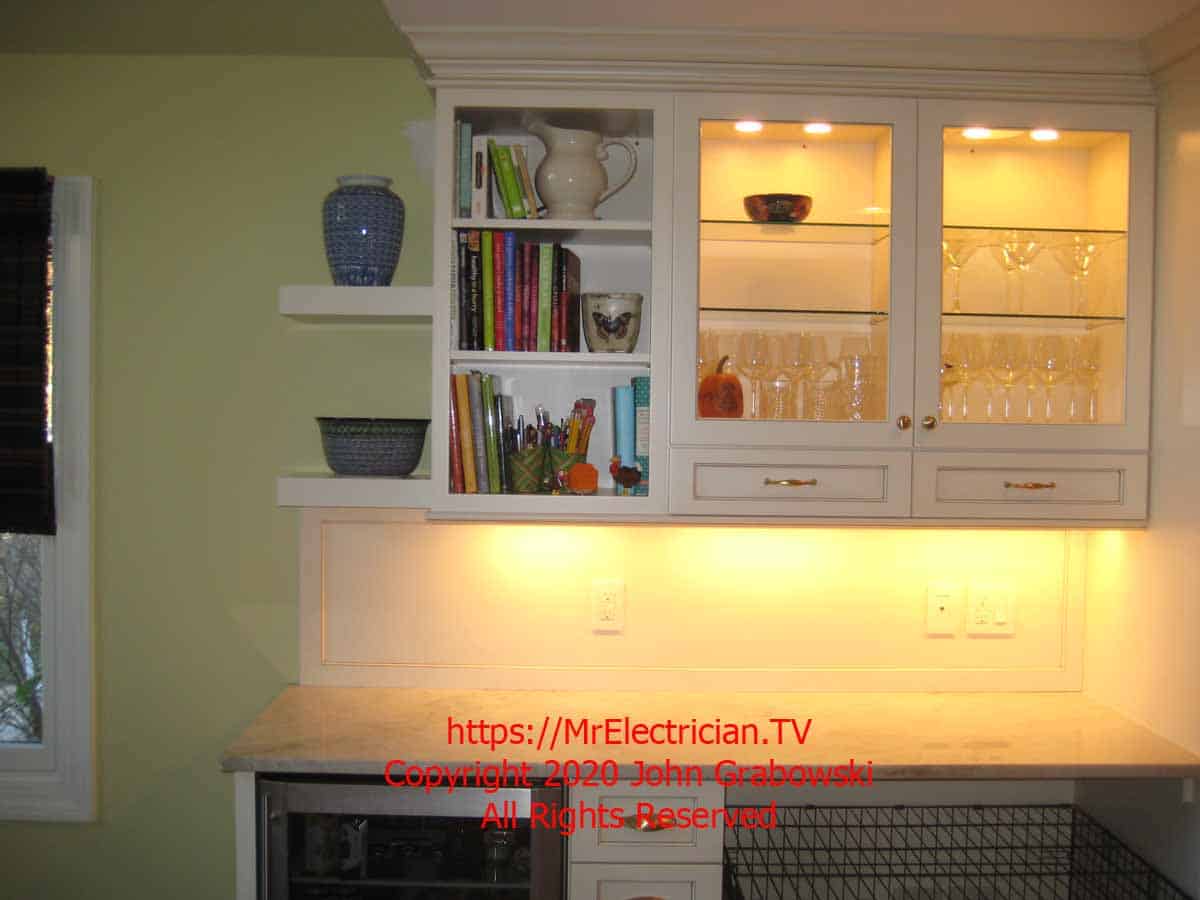
If you're looking to save money on hiring a professional, installing under cabinet lighting yourself is a great option. Not only will you save money, but you'll also have the satisfaction of completing a DIY project. Here are a few tips to keep in mind when installing under cabinet lighting on your own: Tip #1: Choose the Right Type of Lighting When it comes to under cabinet lighting, there are various options to choose from. LED lights are the most popular choice due to their energy efficiency and long lifespan. However, you can also opt for halogen or xenon lights if you prefer a warmer tone. Tip #2: Use a Template To ensure that your lights are evenly spaced and installed in a straight line, create a template using a piece of cardboard or paper. This will make the installation process much easier and give you a professional-looking result. Tip #3: Consider Adding a Dimmer If you want the ability to adjust the brightness of your under cabinet lighting, consider adding a dimmer switch. This will not only provide ambient lighting, but also create a cozy and inviting atmosphere in your kitchen.DIY Kitchen Lighting: How to Install Under Cabinet Lights
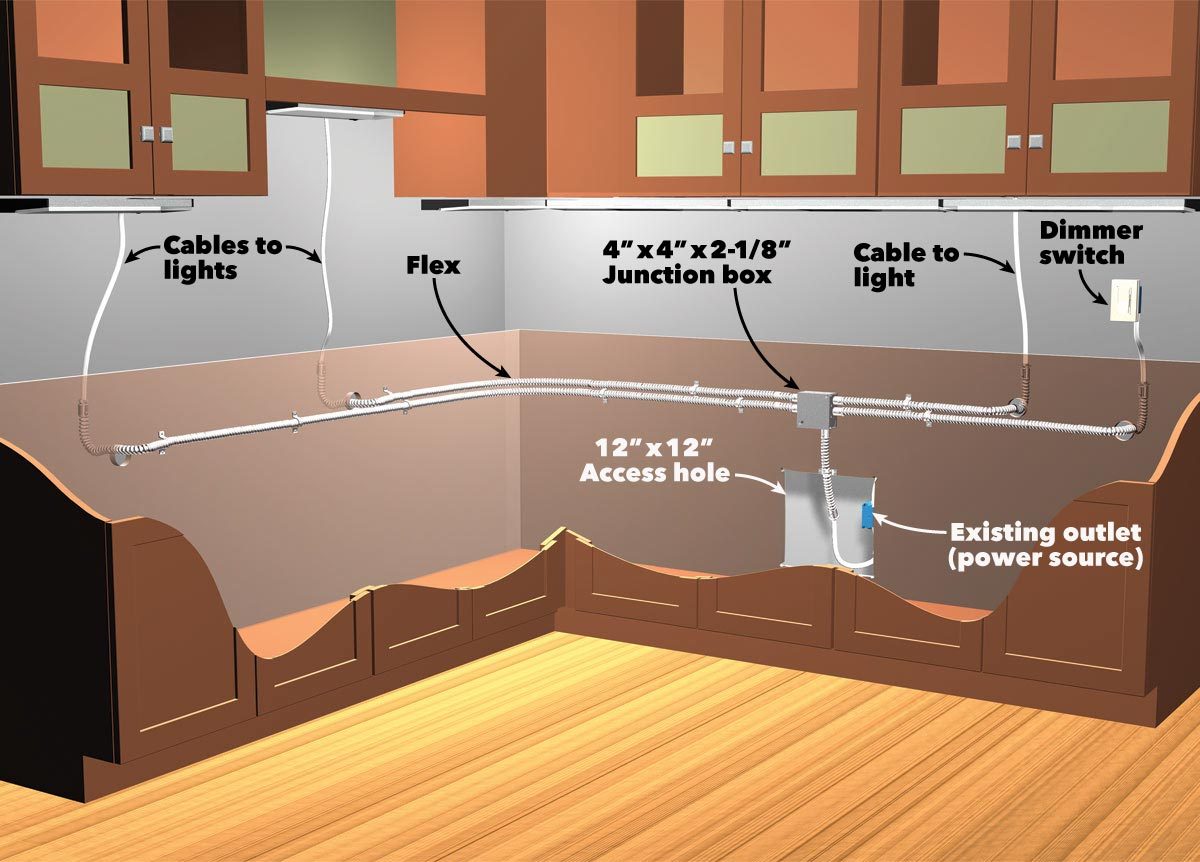
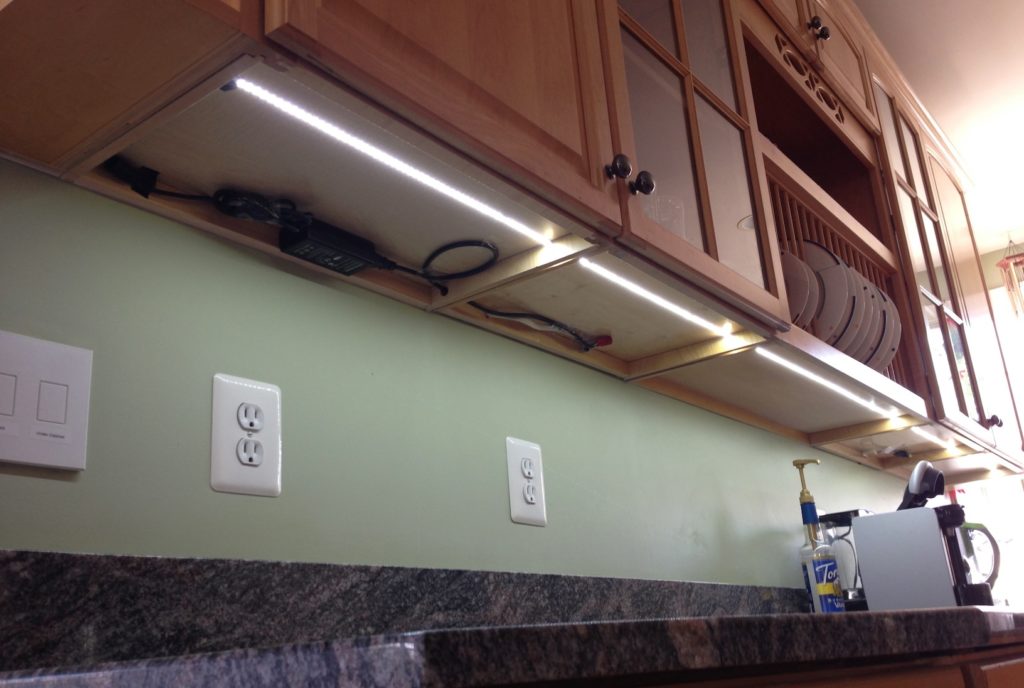
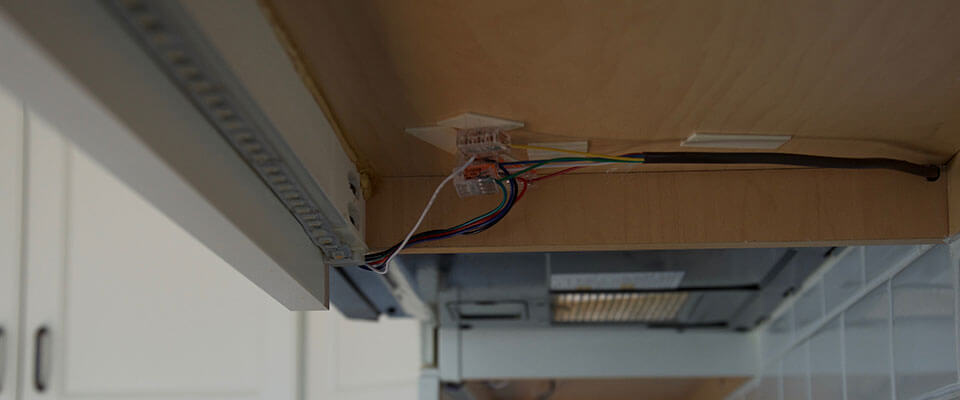
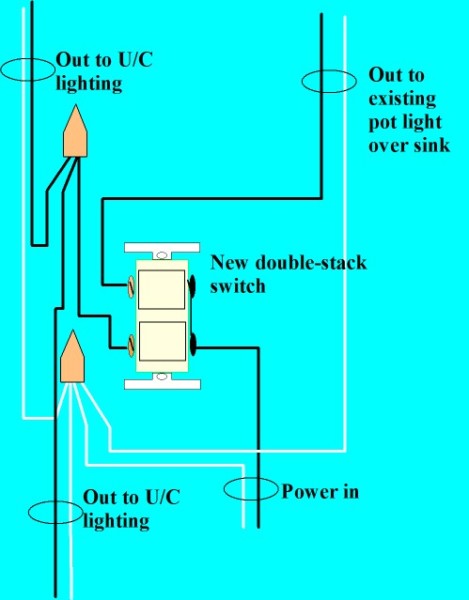
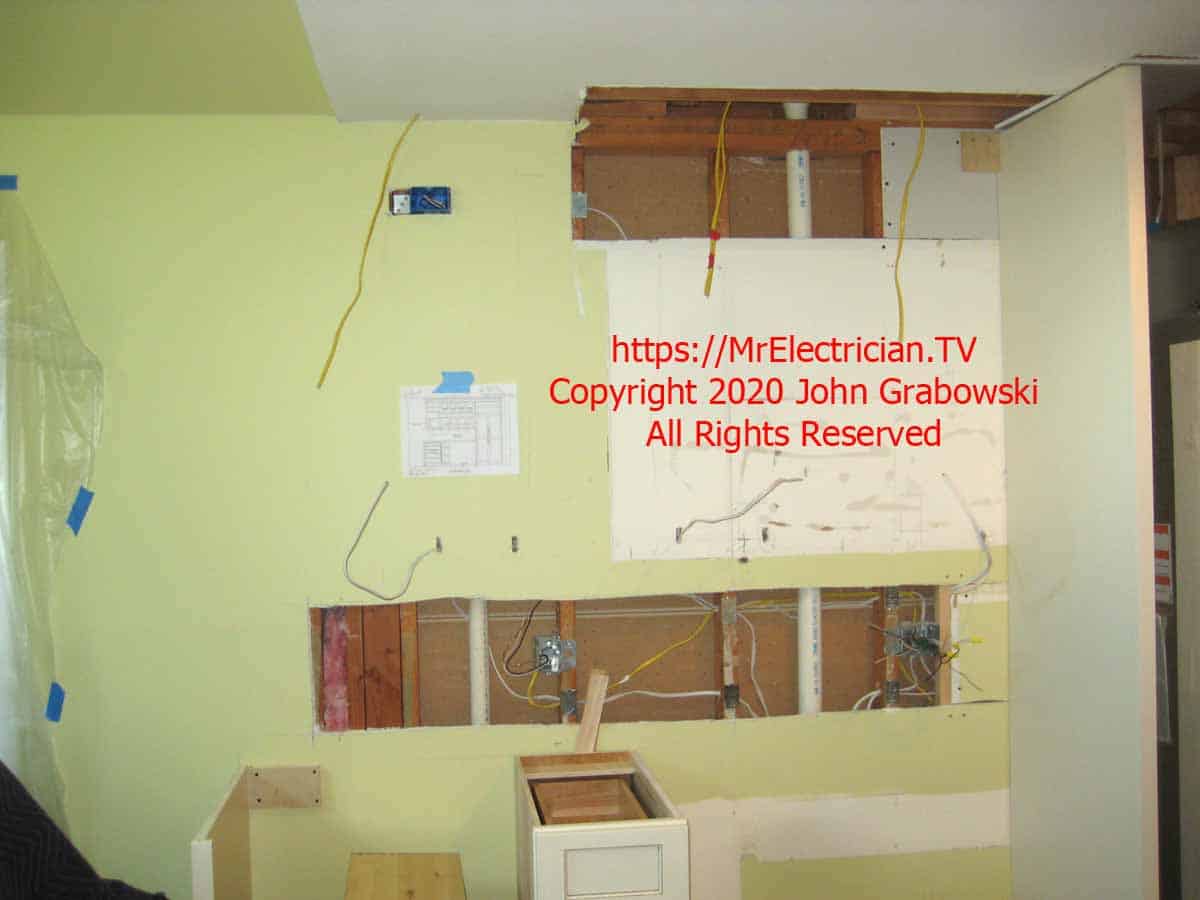
Wiring kitchen cabinet lights may seem intimidating, but with the right tools and instructions, it's a relatively simple process. Here's a step-by-step guide on how to wire your under cabinet lights: Step 1: Turn Off Power Before starting any electrical work, turn off the power to the kitchen at the circuit breaker. Step 2: Install the Power Source Using a drill, install the power source for the lights in a location that's easily accessible. This can be on the wall or inside a cabinet. Step 3: Connect the Wires Using wire strippers, remove the insulation from the ends of the wires and connect them to the power source. Make sure to follow the correct wiring instructions for your specific lighting kit. Step 4: Connect the Lights Connect the wires from the power source to the lights using wire connectors. Make sure to follow the correct wiring instructions for your specific lighting kit. Step 5: Test the Lights Once all the wires are connected, turn the power back on and test the lights to ensure they are working properly.Step-by-Step Guide to Wiring Kitchen Cabinet Lights
When it comes to wiring your under cabinet lights, there are a few tips to keep in mind to ensure a safe and successful installation: Tip #1: Use Wire Connectors When connecting wires, always use wire connectors to ensure a secure and safe connection. Never twist wires together without a connector. Tip #2: Label Wires Before connecting any wires, make sure to label them with tape or markers. This will make it easier to identify which wire goes where and prevent any mistakes. Tip #3: Follow Instructions Always follow the manufacturer's instructions when wiring your under cabinet lights. This will ensure a safe and proper installation.Wiring Tips for Installing Under Cabinet Lighting
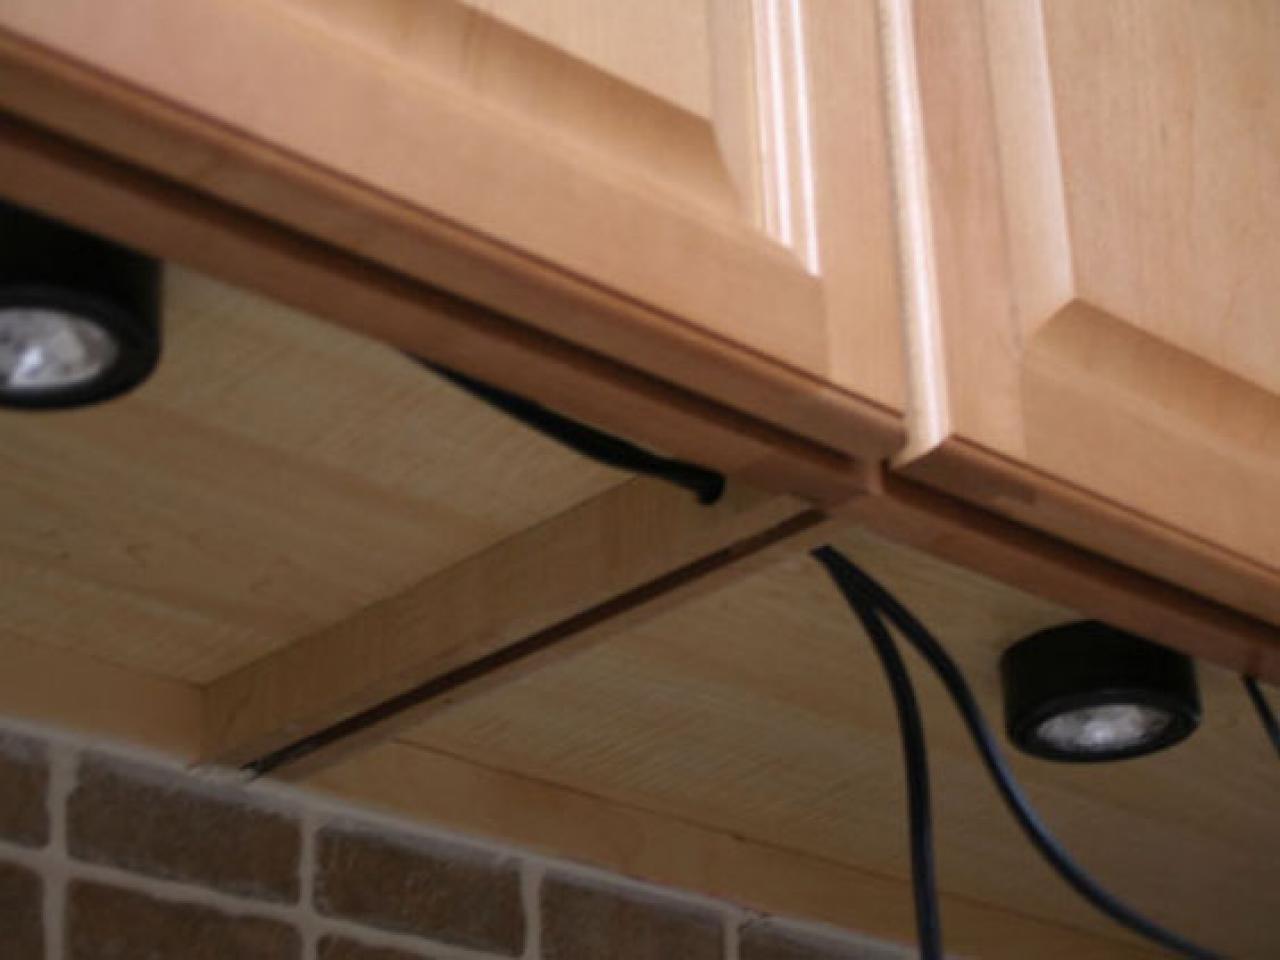
Wiring your kitchen cabinet lights properly is key to achieving a professional-looking result. Here are a few tips to help you achieve a seamless and polished finish: Tip #1: Hide Wires To achieve a clean and organized look, make sure to hide the wires behind the cabinets. You can use cable clips or adhesive hooks to secure the wires and keep them out of sight. Tip #2: Use a Junction Box If you're installing multiple sets of under cabinet lights, consider using a junction box to connect the wires. This will help keep the wires organized and make it easier to troubleshoot any issues in the future. Tip #3: Secure Wires with Staples To prevent any loose or hanging wires, use staples to secure them to the underside of the cabinets. This will also help prevent any damage to the wires.How to Wire Kitchen Cabinet Lights for a Professional Look
To ensure a safe and successful installation, here are a few best practices to keep in mind when wiring your kitchen cabinet lights: Practice #1: Turn off Power Always turn off the power before starting any electrical work. This will prevent any accidents or injuries. Practice #2: Use the Right Tools Make sure to use the right tools for the job, including wire strippers, wire connectors, and a drill. This will make the process easier and ensure a professional-looking result. Practice #3: Seek Professional Help if Needed If you're not comfortable with electrical work, it's always best to seek professional help. This will ensure the job is done safely and correctly.Best Practices for Wiring Kitchen Cabinet Lights
For a successful and hassle-free installation, here are a few expert tips to keep in mind: Tip #1: Choose the Right Color Temperature The color temperature of your under cabinet lighting can greatly affect the overall look of your kitchen. Consider opting for a cooler color temperature for task lighting and a warmer color temperature for ambient lighting. Tip #2: Install Lights Close to the Front of Cabinets To ensure maximum light coverage, install the lights close to the front of the cabinets. This will prevent shadows and provide better task lighting. Tip #3: Add a Timer or Motion Sensor To make your under cabinet lighting more convenient, consider adding a timer or motion sensor. This will save energy and make it easier to turn the lights on and off.Expert Tips for Installing Under Cabinet Lighting
The type of wiring you choose for your kitchen cabinet lights will depend on the type of lights you're installing and your personal preference. Here are a few factors to consider when choosing the right wiring: Factor #1: Length of Wire Make sure to measure the length of wire needed before purchasing. You can always cut and adjust the wires as needed during installation. Factor #2: Type of Lights The type of lights you choose will determine the type of wiring you need. LED lights require a low voltage wire, while halogen or xenon lights require a higher voltage wire. Factor #3: Budget If you're on a tight budget, consider opting for a basic wiring kit. However, if you want a more professional and seamless finish, invest in a higher quality wiring kit.How to Choose the Right Wiring for Your Kitchen Cabinet Lights
To prevent any issues and ensure a successful installation, here are a few common mistakes to avoid when wiring your under cabinet lights: Mistake #1: Not Turning Off Power Always turn off the power before starting any electrical work. Not doing so can result in serious injury or damage to your electrical system. Mistake #2: Using the Wrong Tools Using the wrong tools can not only make the installation process more difficult, but also result in a less-than-perfect finish. Make sure to use the right tools for the job. Mistake #3: Not Following Instructions Always follow the manufacturer's instructions when wiring your under cabinet lights. This will ensure a safe and proper installation.Common Mistakes to Avoid When Wiring Kitchen Cabinet Lights
Benefits of Wiring Kitchen Cabinet Lights

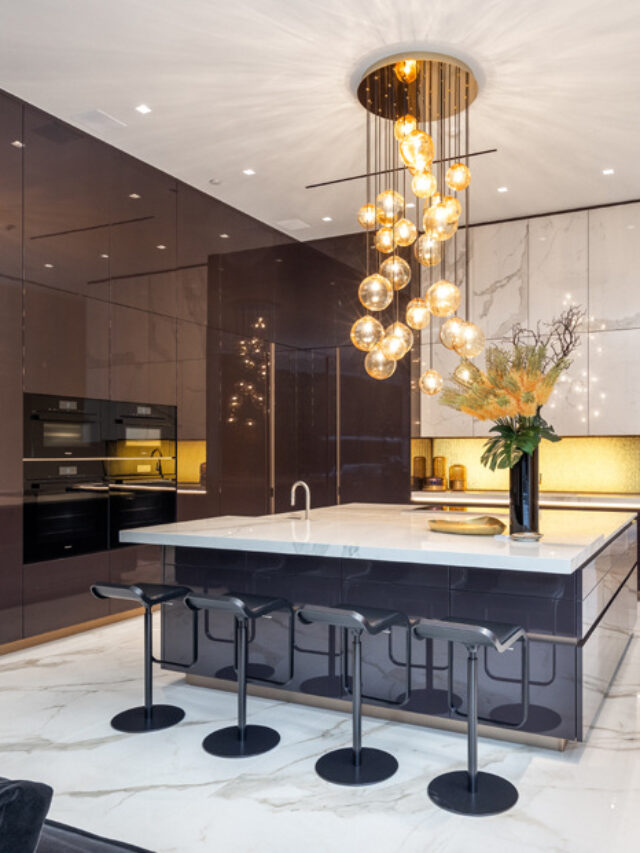
Enhancing Functionality and Aesthetics
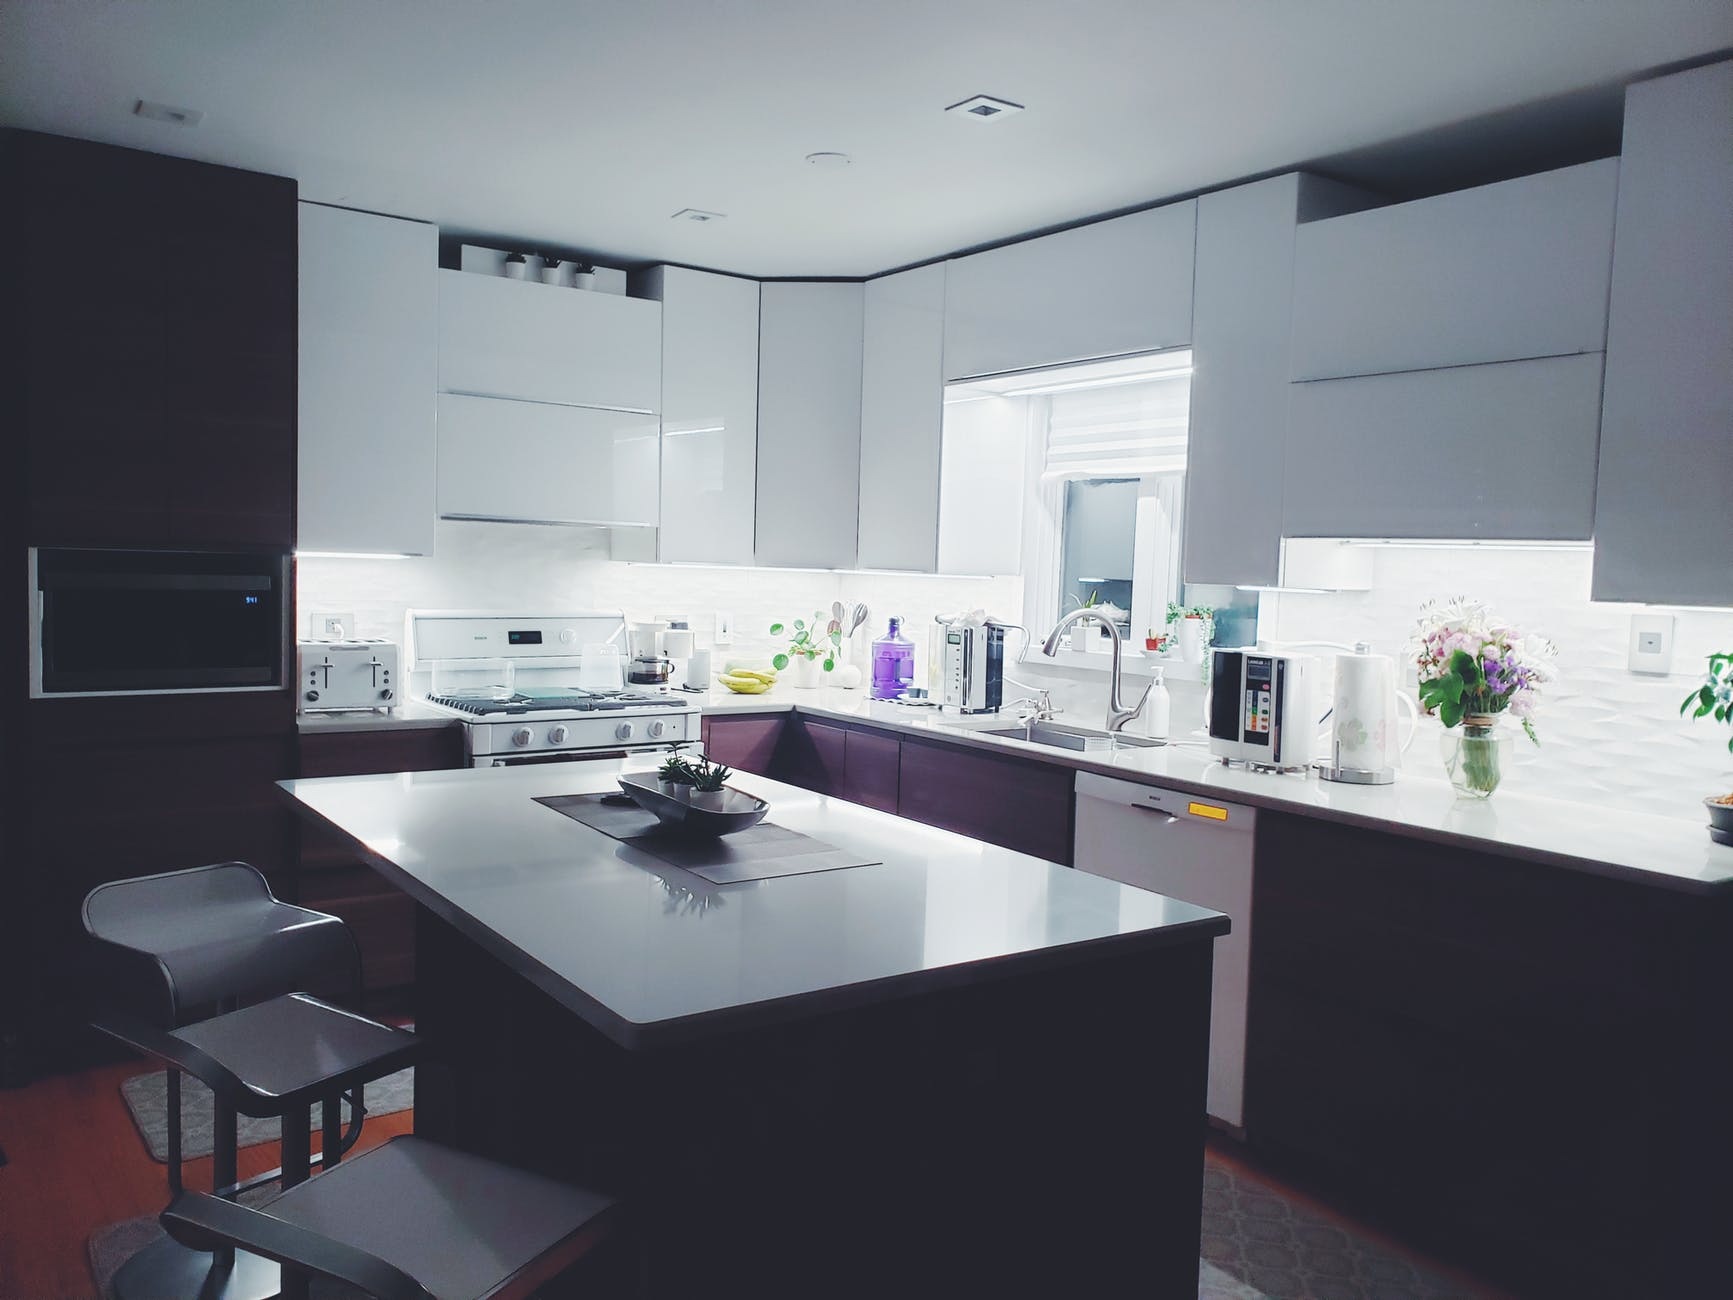
 When it comes to designing a kitchen, lighting is often overlooked. However, proper lighting can make a huge difference in both functionality and aesthetics. By adding
kitchen cabinet lights
, you can not only brighten up your workspace but also add a touch of elegance to your kitchen. These lights are perfect for illuminating dark corners and providing extra light for food preparation. They also add a warm and inviting ambiance, making your kitchen a more enjoyable place to cook and entertain in.
Increase Energy Efficiency
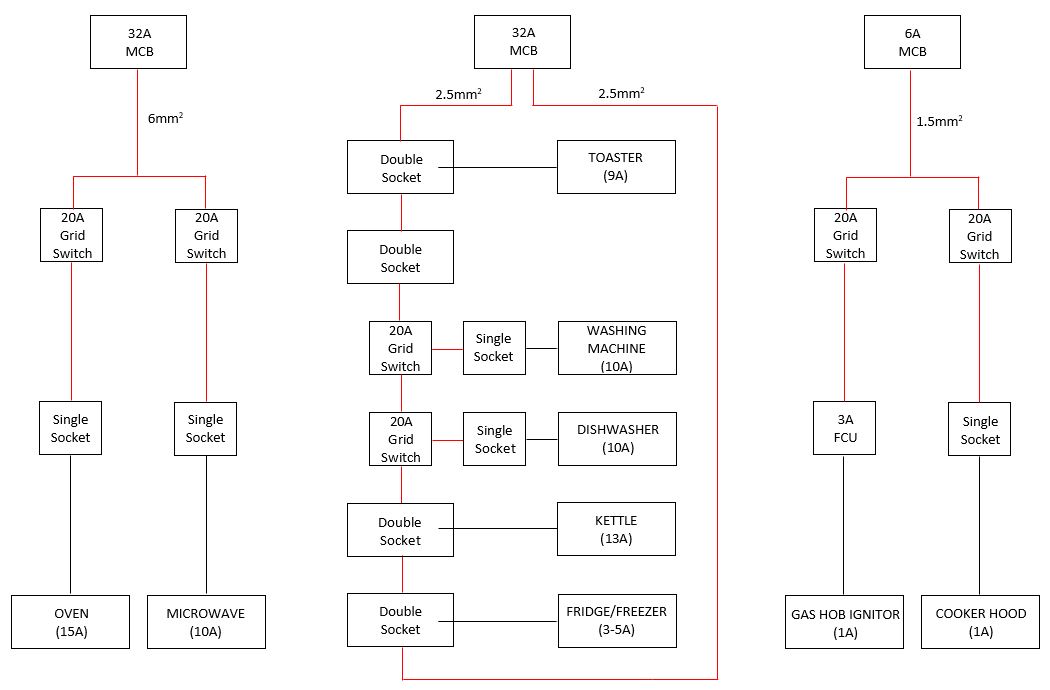 Wiring kitchen cabinet lights
can also help increase energy efficiency in your home. Instead of relying solely on overhead lighting, which can be harsh and use a lot of energy, cabinet lights provide targeted lighting only where it is needed. This allows you to use less energy while still achieving the desired level of brightness in your kitchen. Additionally, LED cabinet lights are a great option as they are energy-efficient and have a longer lifespan compared to traditional incandescent bulbs.
Highlighting Kitchen Design Elements
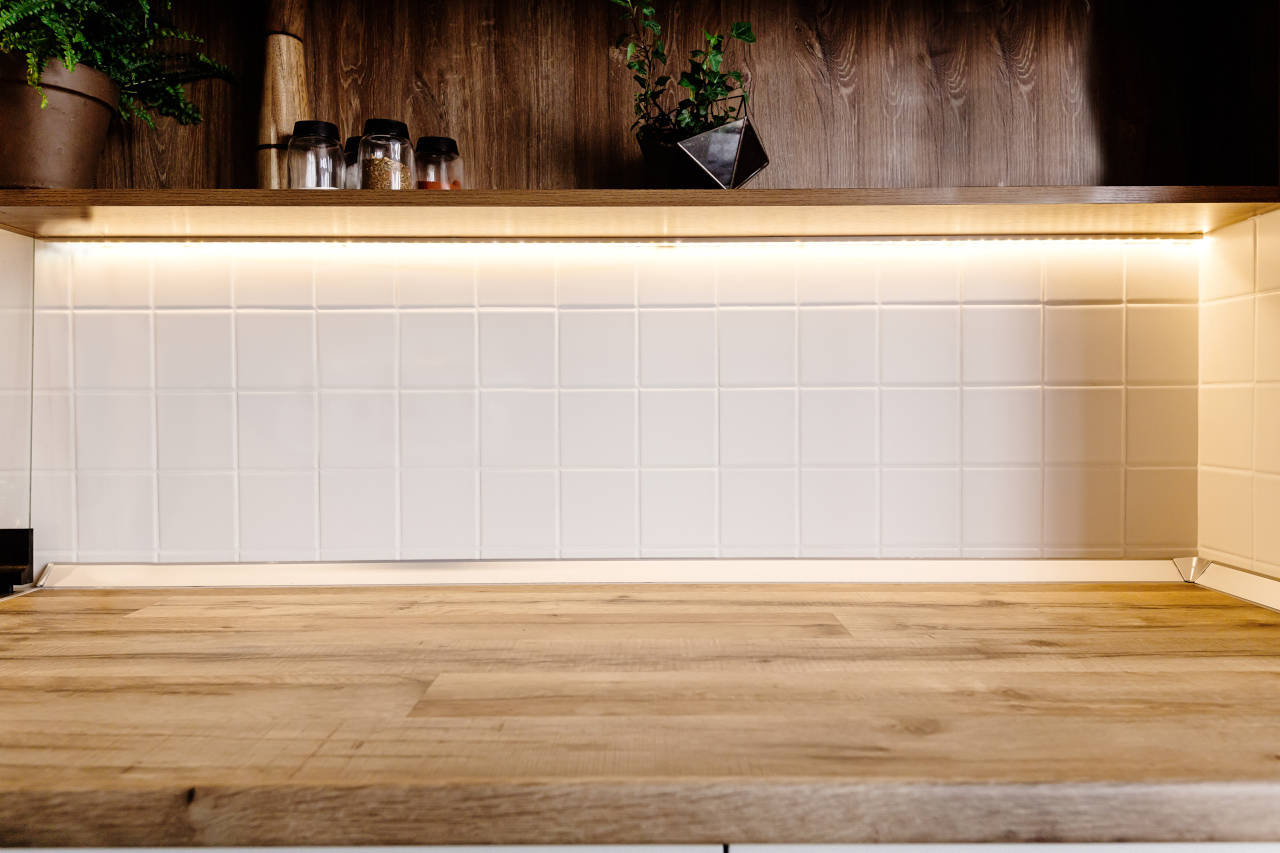
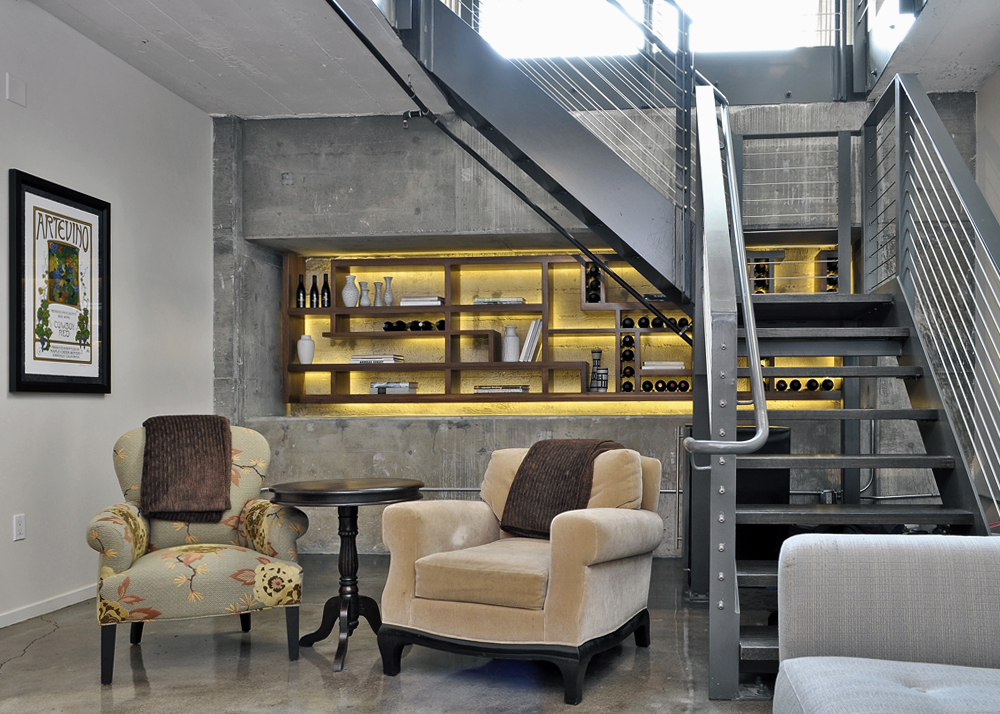
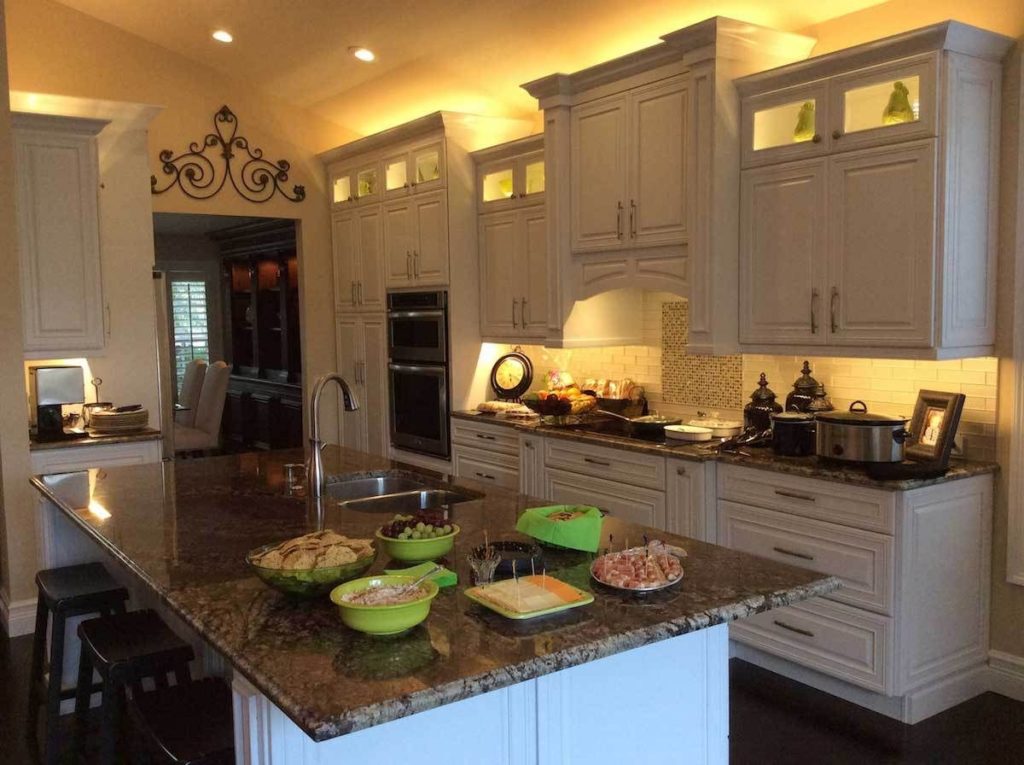
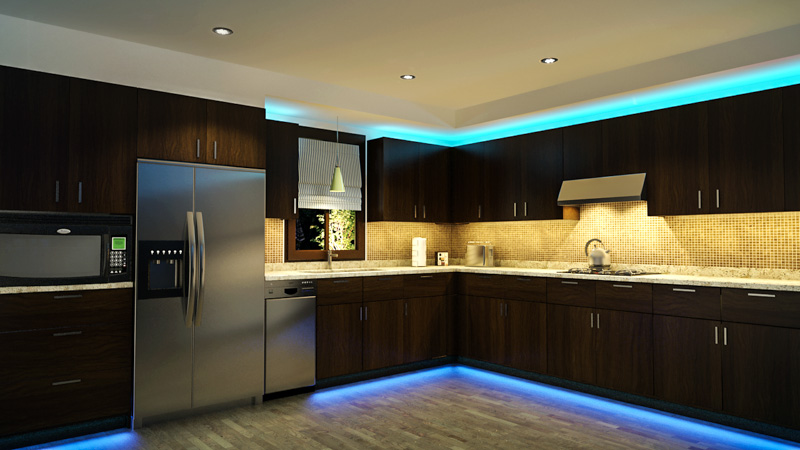
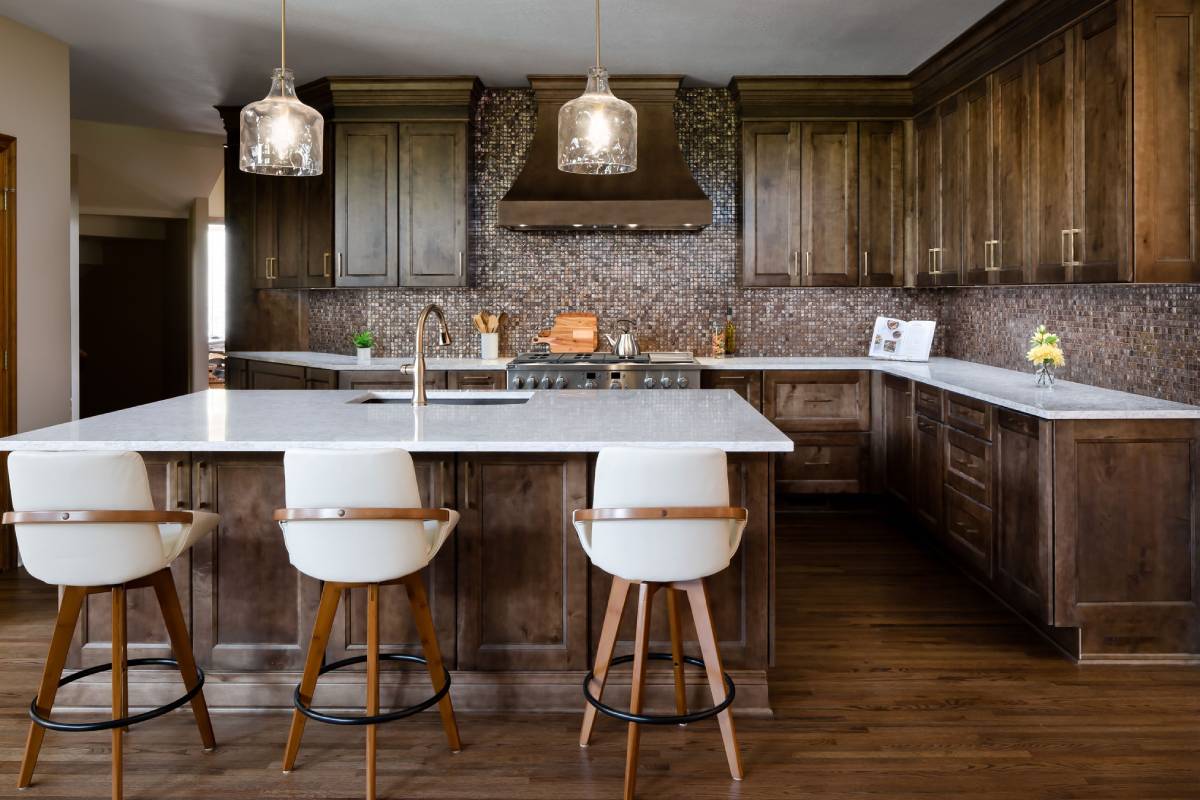
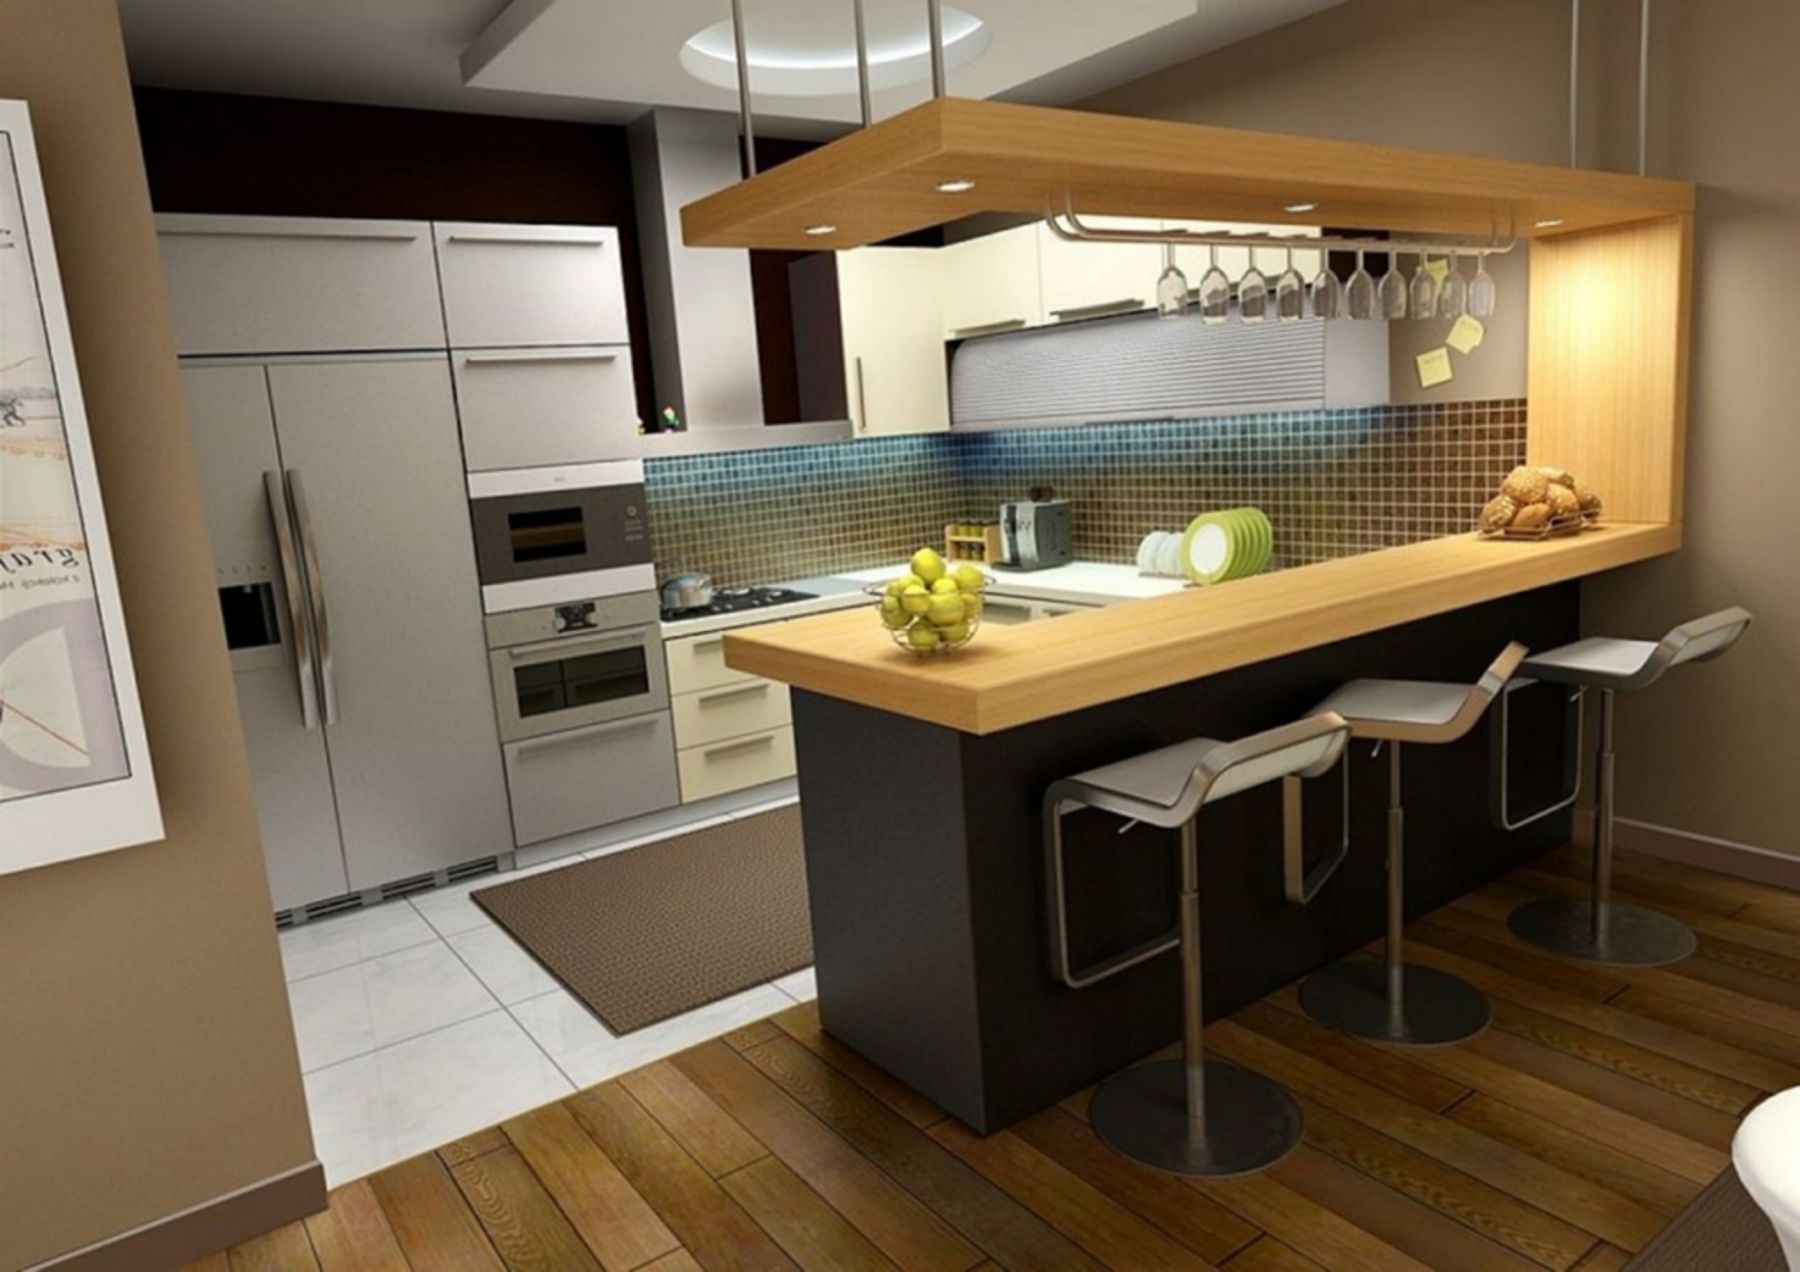
 One of the best things about cabinet lights is that they can be strategically placed to highlight certain design elements in your kitchen. For example, by placing lights under your cabinets, you can showcase your beautiful backsplash or highlight your kitchen island. This can add depth and dimension to your kitchen, making it feel more spacious and visually appealing. With the right placement, cabinet lights can also draw attention to your countertops and cabinetry, making them stand out as a focal point in the room.
Easy Installation and Customization
 Installing
kitchen cabinet lights
is a simple and straightforward process. With basic electrical knowledge and tools, you can easily wire these lights yourself. Additionally, cabinet lights come in a variety of styles, sizes, and colors, allowing you to customize them to your specific kitchen design. You can choose from puck lights, strip lights, or even recessed lights depending on your needs and preferences. This makes it easy to find the perfect fit for your kitchen and achieve the desired lighting effect.
In conclusion, wiring kitchen cabinet lights is a simple and affordable way to enhance both the functionality and aesthetics of your kitchen. Not only do they provide targeted lighting and increase energy efficiency, but they also offer the opportunity to highlight design elements and add a touch of elegance to your space. So if you're looking to upgrade your kitchen, consider adding cabinet lights for a beautiful and practical lighting solution.


