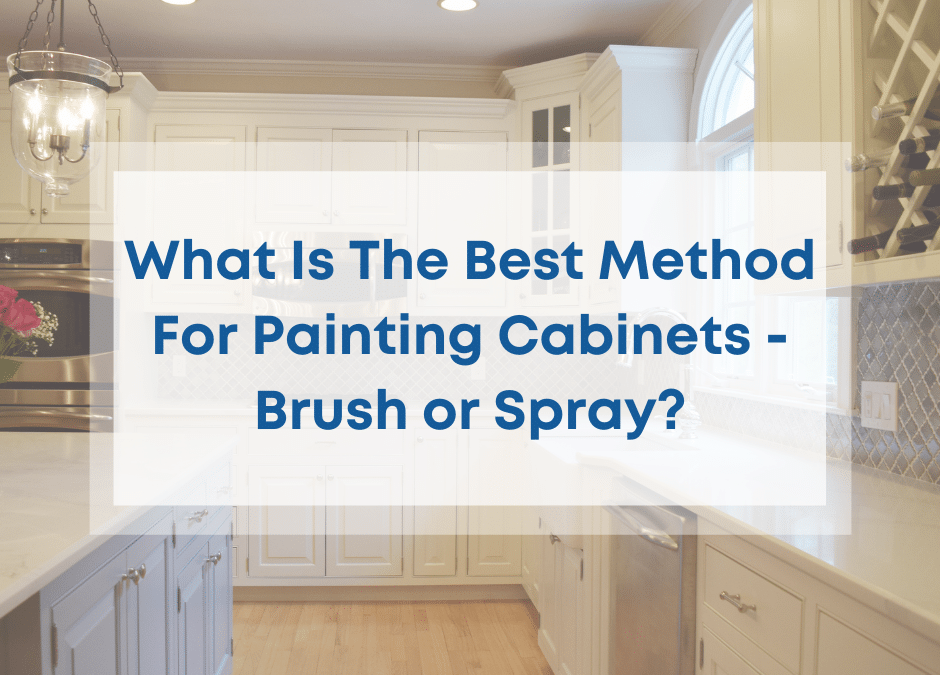
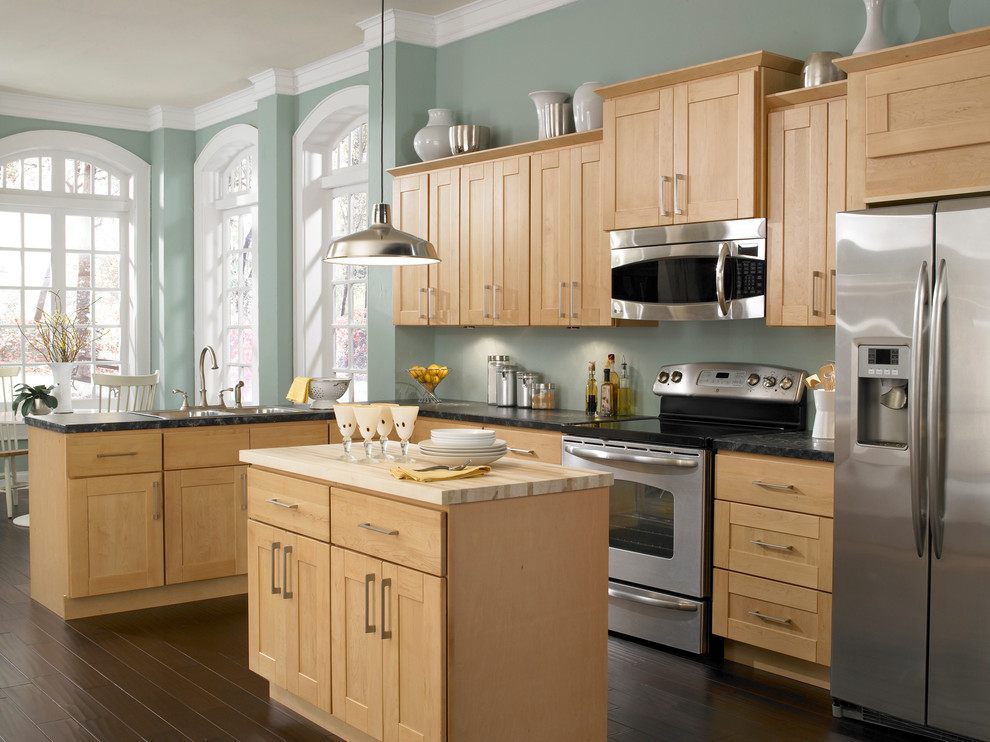
Painting kitchen cabinets can be a tedious and time-consuming task, but using a paint sprayer can make the process much easier and faster. With a paint sprayer, you can achieve a smooth and professional finish that will make your kitchen cabinets look brand new. Follow these steps to learn how to use a paint sprayer to paint your kitchen cabinets. Step 1: Gather Your Supplies Before you begin painting, make sure you have all the necessary supplies. This includes a paint sprayer, primer, paint, sandpaper, drop cloths, and painter's tape. It's also important to have a well-ventilated area to work in and to wear protective gear, such as a mask and goggles. Step 2: Prep the Cabinets Start by removing all the cabinet doors and hardware. Lay them flat on drop cloths or a tarp to protect your floors. Use painter's tape to cover any areas that you don't want to paint, such as hinges or handles. Next, sand the cabinets to remove any existing paint or finish and create a smooth surface for the new paint to adhere to. Step 3: Prime the Cabinets Before painting, it's important to prime your cabinets to ensure the paint will adhere properly and provide a smooth finish. Use a high-quality primer and apply it evenly with a paint sprayer. Let the primer dry completely before moving on to the next step. Step 4: Paint the Cabinets Now it's time to paint your cabinets with your chosen color. Make sure to choose a paint specifically designed for use on cabinets and apply it in thin, even coats with the paint sprayer. Start at the top of the cabinets and work your way down, making sure to cover all surfaces. Let the first coat dry completely before applying a second coat. Step 5: Reassemble the Cabinets Once the paint is dry, you can reattach the cabinet doors and hardware. Make sure everything is securely in place before moving on to the final step. Step 6: Clean Up Clean up any stray paint or spills and properly store your paint sprayer for future use. Let your cabinets dry completely before using them.How to Paint Kitchen Cabinets with a Paint Sprayer


How to Paint Kitchen Cabinets with a Paint Sprayer


:max_bytes(150000):strip_icc()/how-to-spray-paint-kitchen-cabinets-4150186-12-8b15779f0d2e41a28da5dc10171ab840.jpg)

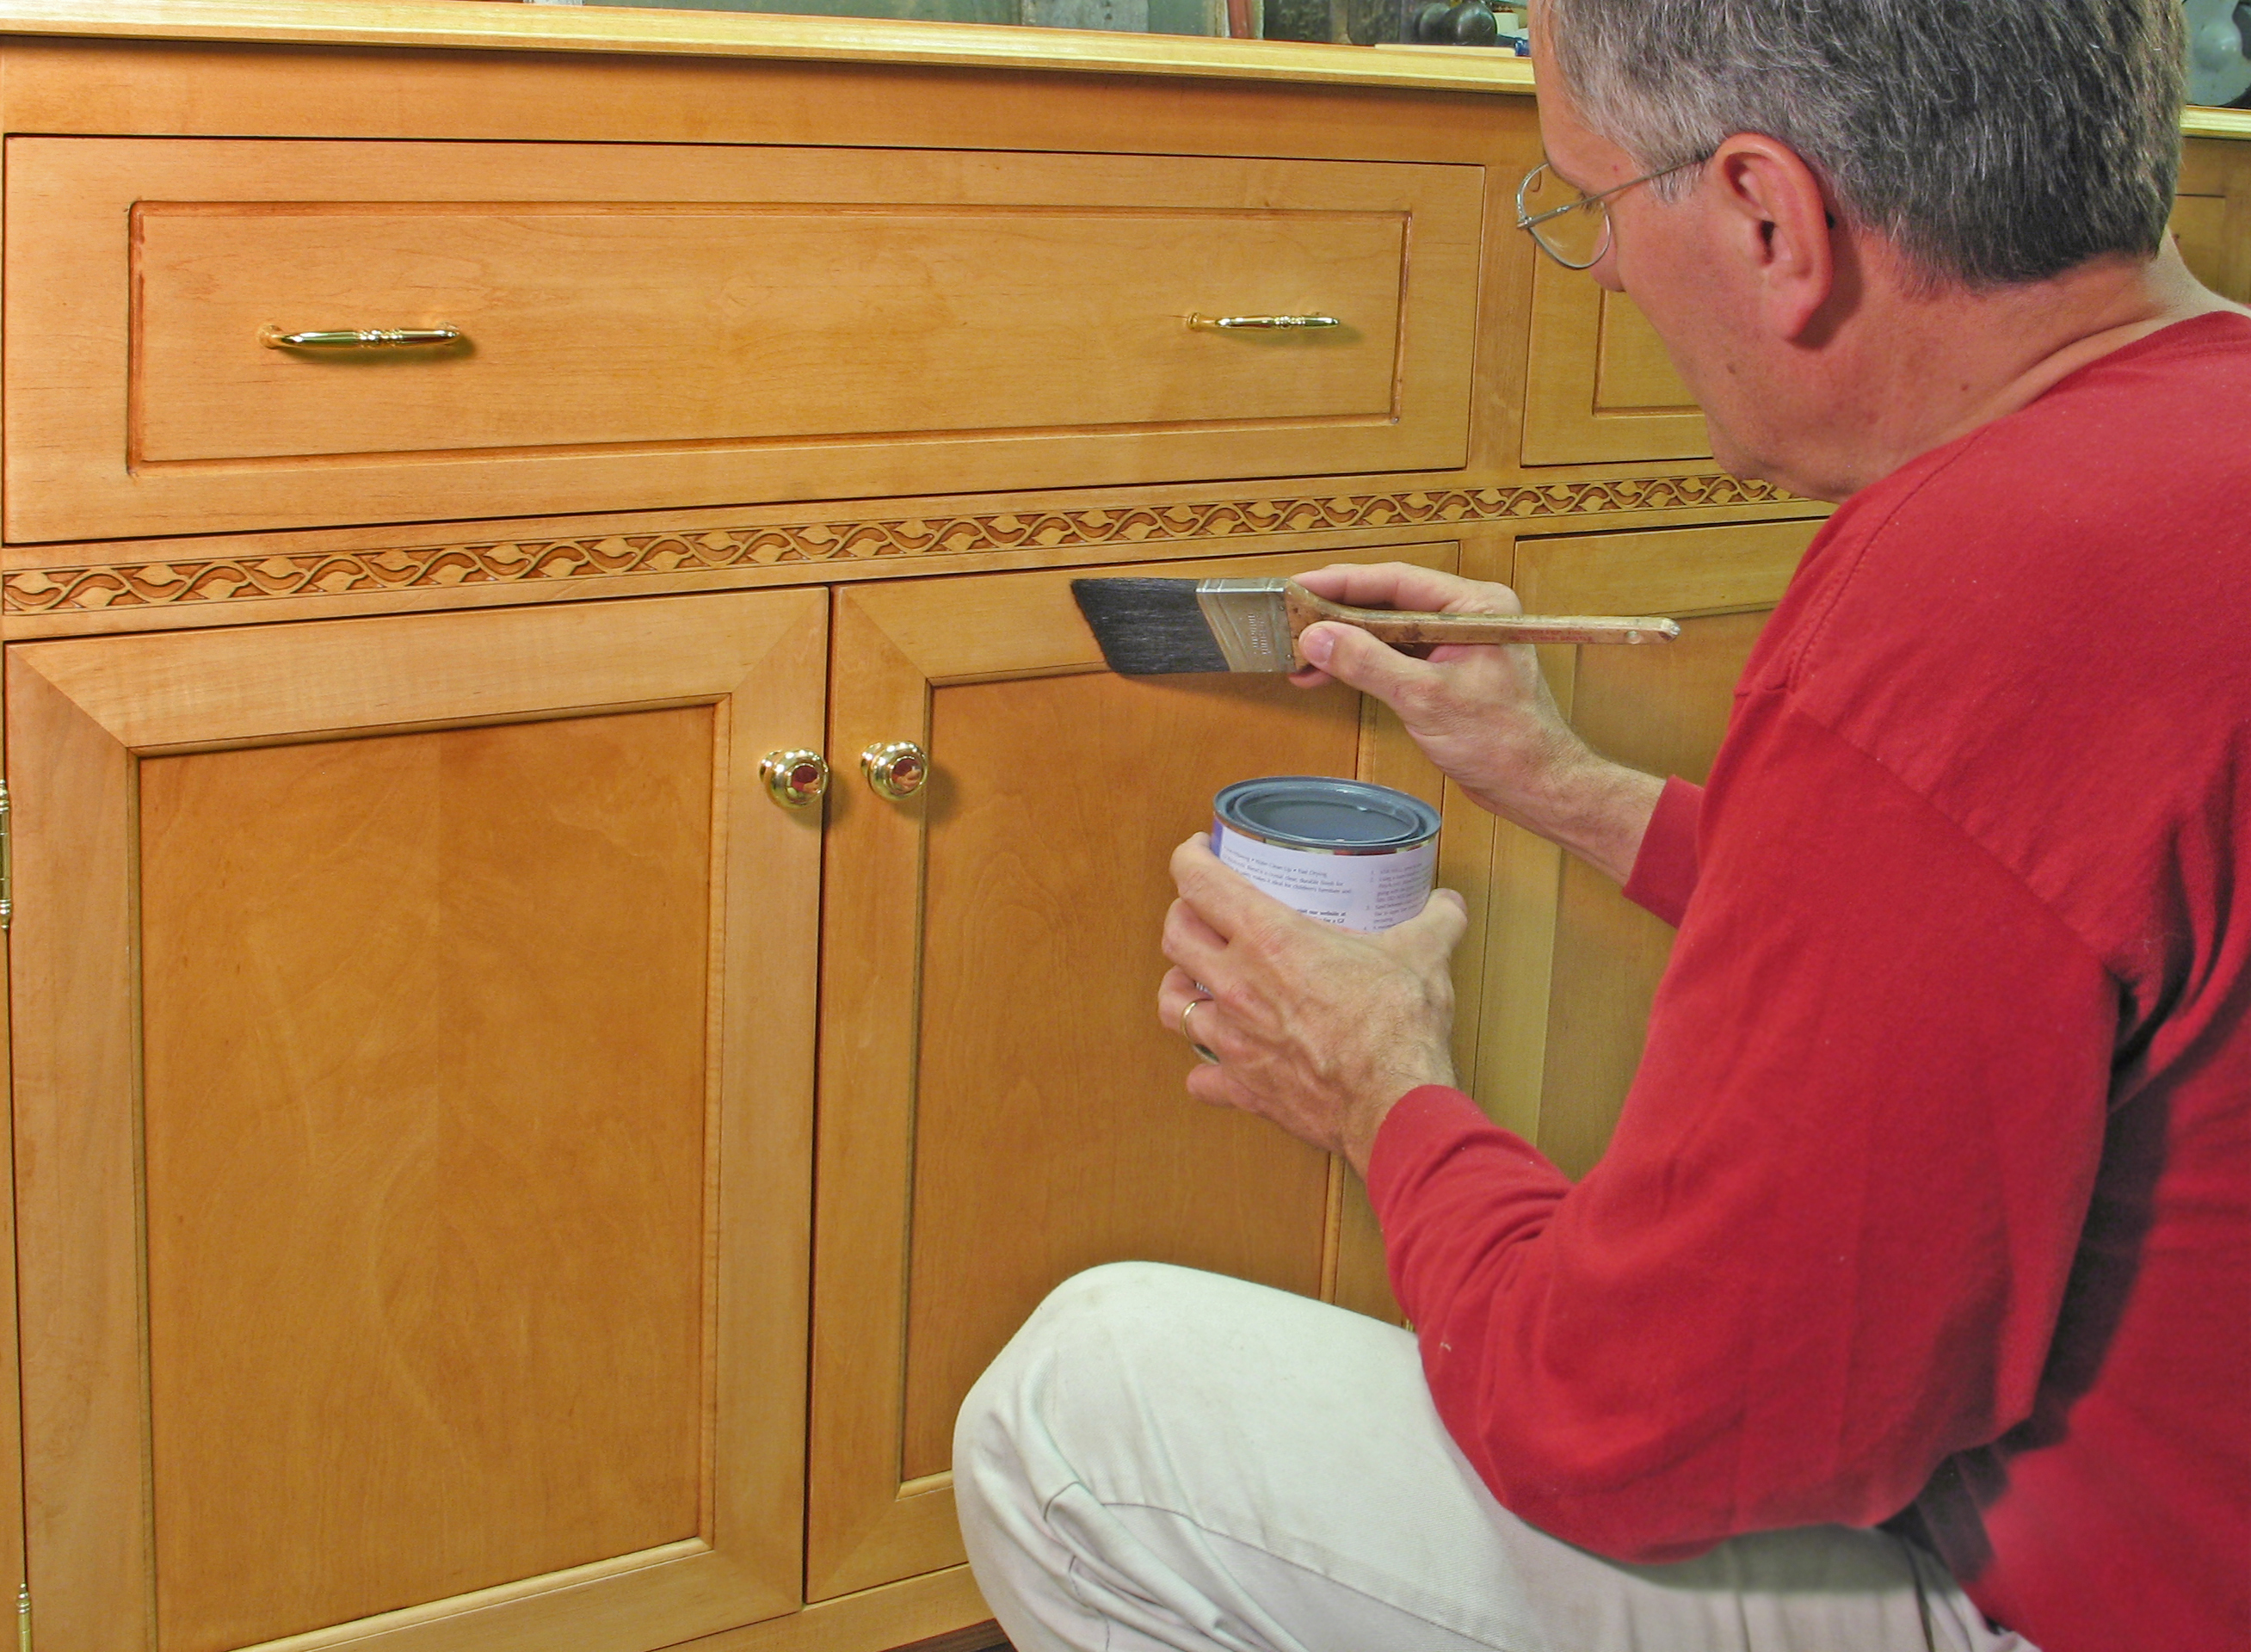
If you don't have a paint sprayer, don't worry! You can still achieve a beautiful finish on your kitchen cabinets with a brush. Follow these steps to learn how to paint kitchen cabinets with a brush. Step 1: Gather Your Supplies The supplies you will need for painting with a brush are similar to those needed for painting with a sprayer. You will need primer, paint, sandpaper, drop cloths, painter's tape, and protective gear. You will also need a high-quality paintbrush made specifically for painting cabinets. Step 2: Prep the Cabinets Just like with a paint sprayer, it's important to properly prepare your cabinets before painting with a brush. Remove all cabinet doors and hardware, sand the cabinets, and cover any areas you don't want to paint with painter's tape. Step 3: Prime the Cabinets Priming is an essential step when painting with a brush to ensure the paint adheres properly. Use a high-quality primer and apply it evenly with your paintbrush. Let the primer dry completely before moving on to the next step. Step 4: Paint the Cabinets Using a high-quality paintbrush, apply your chosen paint color in thin, even coats. Start at the top of the cabinets and work your way down, making sure to cover all surfaces. Let the first coat dry completely before applying a second coat. Step 5: Reassemble the Cabinets Once the paint is dry, you can reattach the cabinet doors and hardware. Make sure everything is securely in place before moving on to the final step. Step 6: Clean Up Clean up any stray paint or spills and properly store your paintbrush for future use. Let your cabinets dry completely before using them.How to Paint Kitchen Cabinets with a Brush


How to Paint Kitchen Cabinets with a Brush


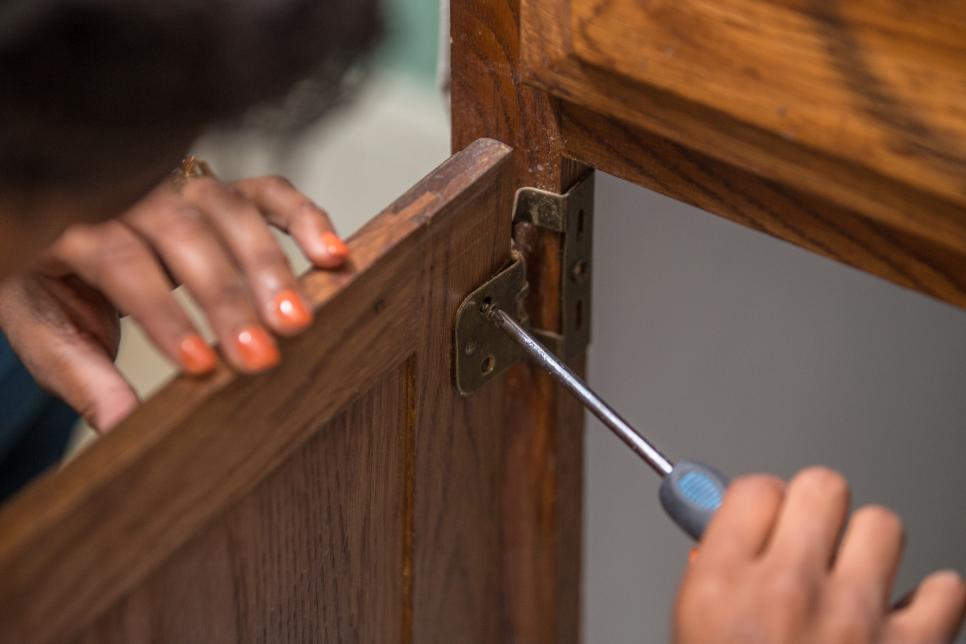
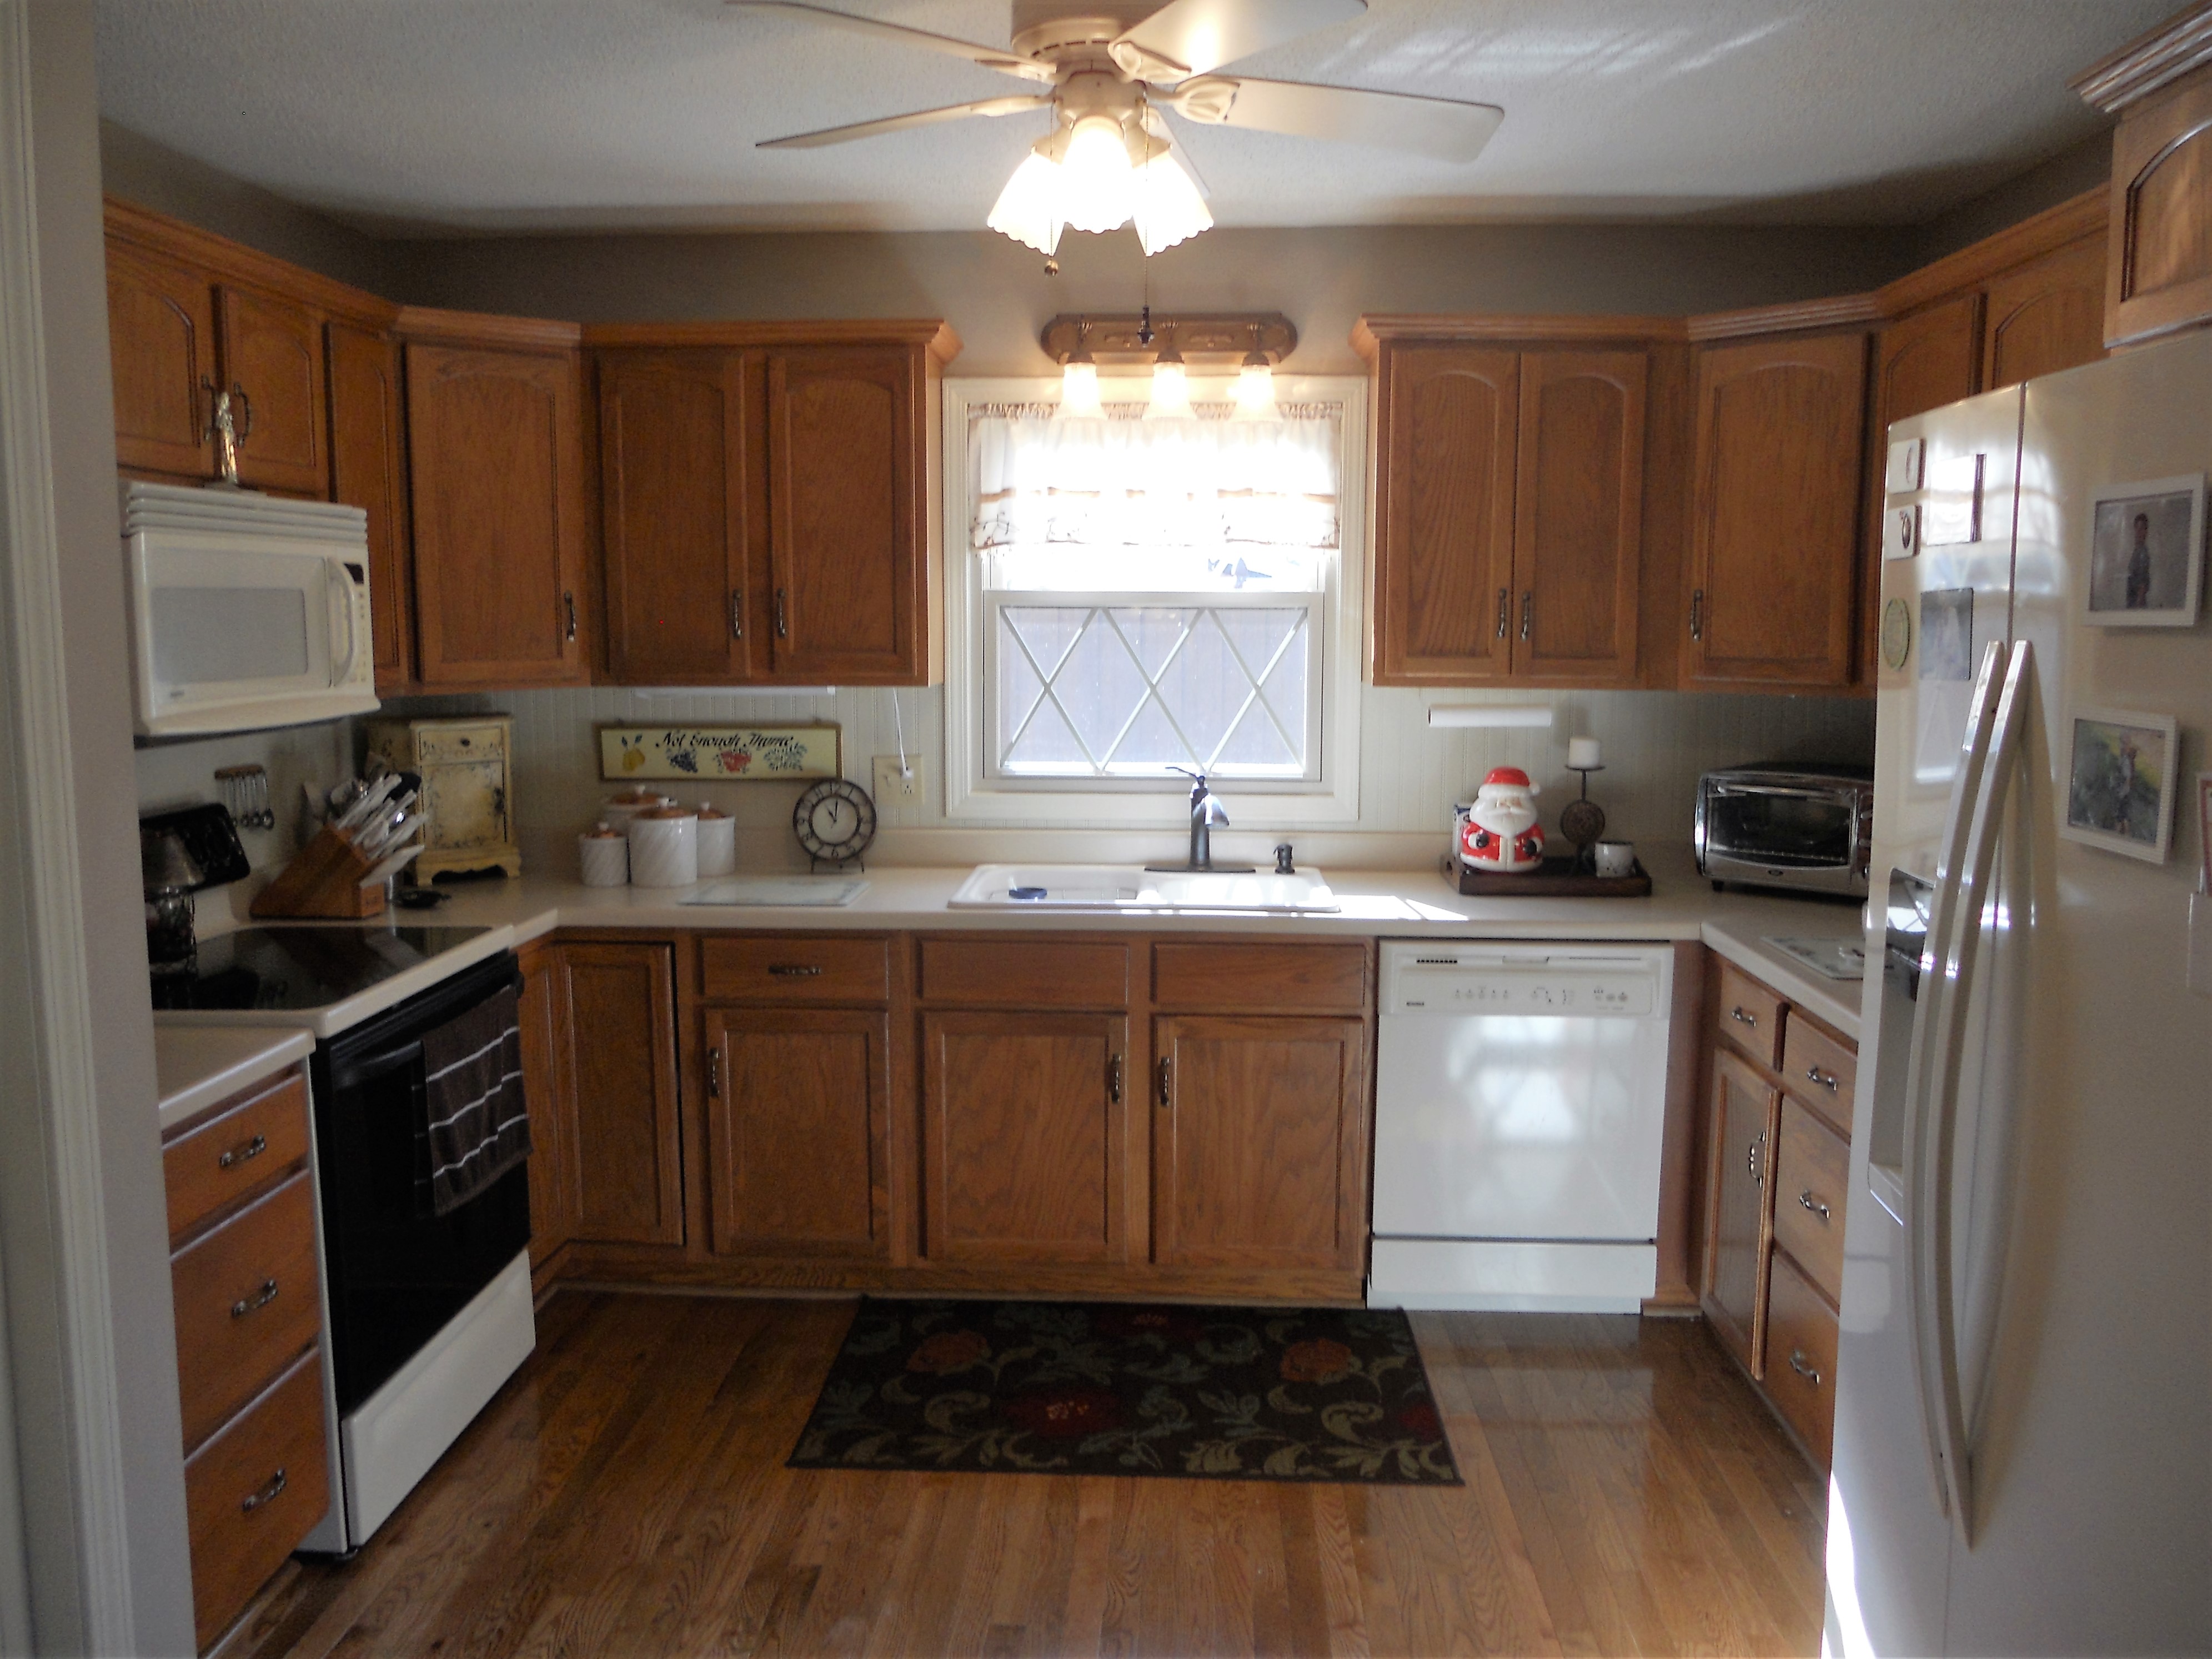
Proper preparation is key to achieving a professional finish when painting kitchen cabinets. Follow these steps to learn how to properly prep and paint your cabinets. Step 1: Remove Cabinet Doors and Hardware Start by removing all cabinet doors and hardware, including hinges and handles. This will make it easier to paint and ensure you get an even coat on all surfaces. Step 2: Clean the Cabinets Use a degreaser and a sponge to thoroughly clean the cabinets and remove any built-up grease or grime. This will ensure the primer and paint adhere properly to the surface. Step 3: Sand the Cabinets Using sandpaper, lightly sand the cabinets to remove any existing paint or finish and create a smooth surface for the new paint to adhere to. Make sure to sand in the direction of the wood grain. Step 4: Fill Any Holes or Imperfections If there are any holes or imperfections in the cabinets, use wood filler to fill them in and create a smooth surface for painting. Step 5: Prime the Cabinets Once the cabinets are clean and sanded, it's time to prime them. Use a high-quality primer and apply it evenly with a paintbrush or sprayer. Let the primer dry completely before moving on to the next step. Step 6: Paint the Cabinets Finally, it's time to paint your cabinets with your chosen color. Apply the paint in thin, even coats with a brush or sprayer, starting at the top of the cabinets and working your way down. Let the first coat dry completely before applying a second coat. Step 7: Reattach Cabinet Doors and Hardware Once the paint is dry, reattach the cabinet doors and hardware. Make sure everything is securely in place before moving on to the final step. Step 8: Clean Up Clean up any stray paint or spills and properly store your supplies for future use. Let your cabinets dry completely before using them.How to Prep and Paint Kitchen Cabinets


How to Prep and Paint Kitchen Cabinets


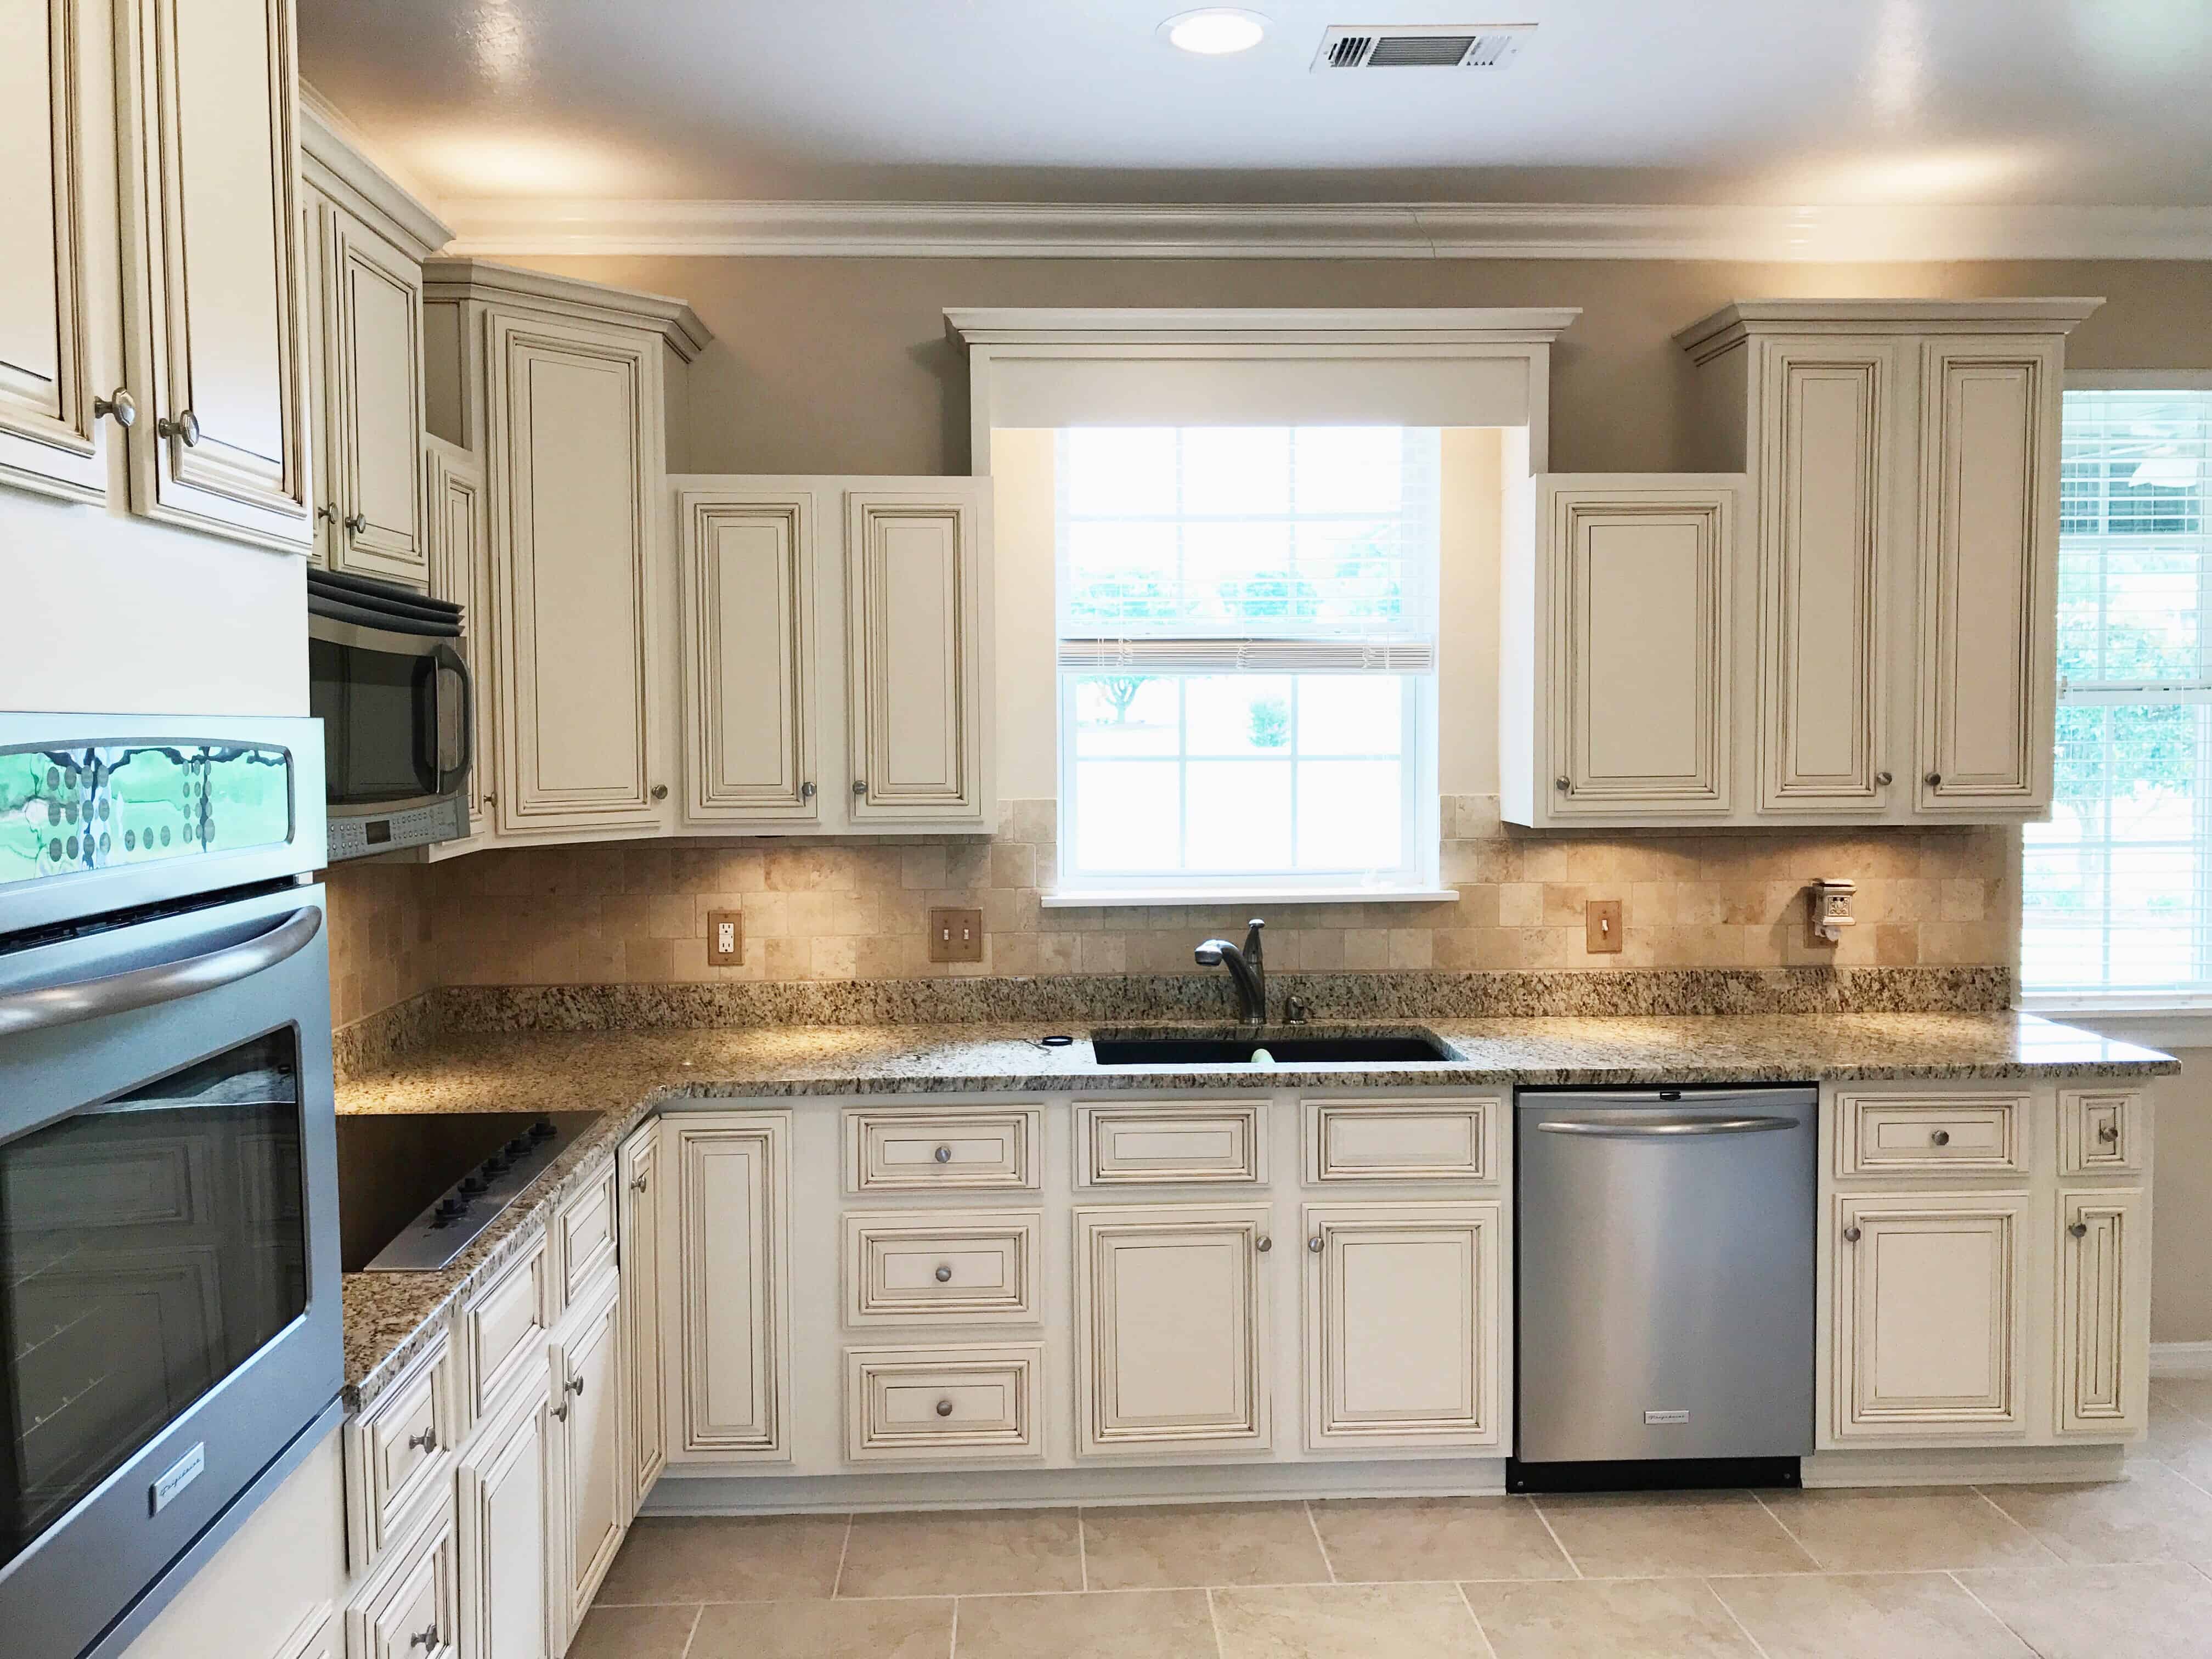
Choosing the right paint for your kitchen cabinets is crucial to achieving a professional and long-lasting finish. Follow these tips to help you choose the best paint for your cabinets. Tip 1: Use a Paint Specifically Designed for Cabinets When painting kitchen cabinets, it's important to use a paint specifically designed for this purpose. These paints are more durable and have a smooth finish, making them perfect for cabinets. Tip 2: Look for a High-Quality Paint Investing in a high-quality paint will make a big difference in the overall look and durability of your cabinets. Look for a paint with good coverage and a smooth finish. Tip 3: Consider the Finish The finish of the paint can have a big impact on the overall look of your cabinets. Matte and satin finishes are popular choices for kitchen cabinets, but you can also opt for a gloss finish for a more modern look. Tip 4: Choose a Color You Love Ultimately, the color you choose for your cabinets should be one that you love and will be happy with for years to come. Consider the overall style and color scheme of your kitchen when selecting a paint color.How to Choose the Right Paint for Kitchen Cabinets


How to Choose the Right Paint for Kitchen Cabinets


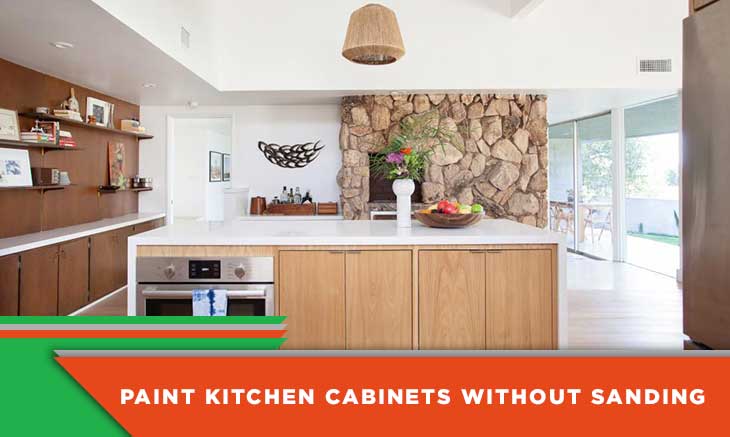
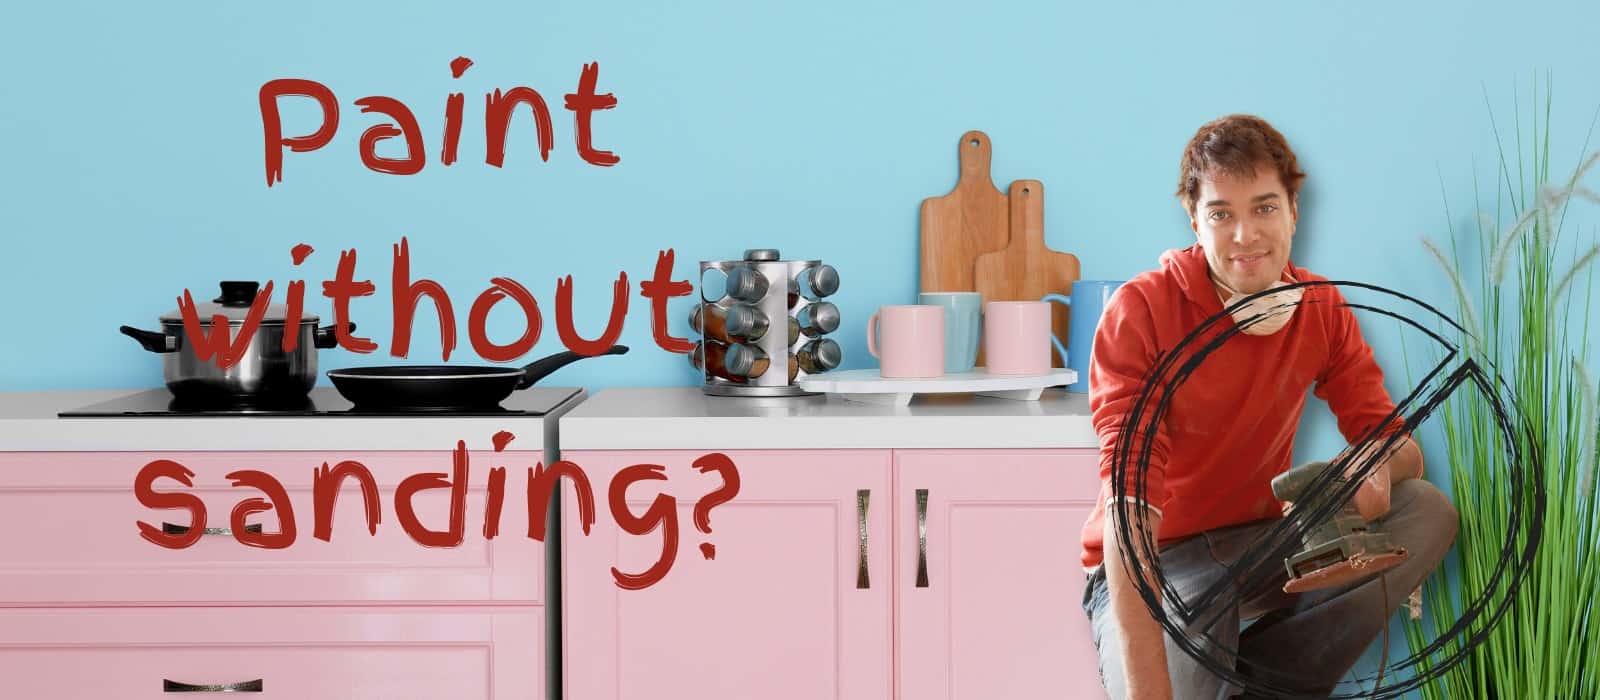
If the thought of sanding your kitchen cabinets is daunting, don't worry! It is possible to paint cabinets without sanding, although it may require a bit more prep work. Follow these steps to learn how to paint kitchen cabinets without sanding. Step 1: Thoroughly Clean the Cabinets Before painting, it's important to clean the cabinets thoroughly to remove any built-up grease or grime. Use a degreaser and a sponge to clean all surfaces. Step 2: Fill Any Holes or Imperfections If there are any holes or imperfections on the cabinets, use wood filler to fill them in and create a smooth surface for painting. Step 3: Prime the Cabinets Using a high-quality primer, apply a thin, even coat to all surfaces of the cabinets. This will help the paint adhere properly and provide a smooth finish. Step 4: Paint the Cabinets Once the primer is dry, you can paint your cabinets with your chosen color. Apply the paint in thin, even coats with a brush or sprayer, starting at the top of the cabinets and working your way down. Let the first coat dry completely before applying a second coat. Step 5: Reattach Cabinet Doors and Hardware Once the paint is dry, reattach the cabinet doors and hardware. Make sure everything is securely in place before moving on to the final step. Step 6: Clean Up Clean up any stray paint or spills and properly store your supplies for future use. Let your cabinets dry completely before using them.How to Paint Kitchen Cabinets without Sanding


How to Paint Kitchen Cabinets without Sanding


/cdn.vox-cdn.com/uploads/chorus_image/image/66181129/iStock_1152705690.7.jpg)
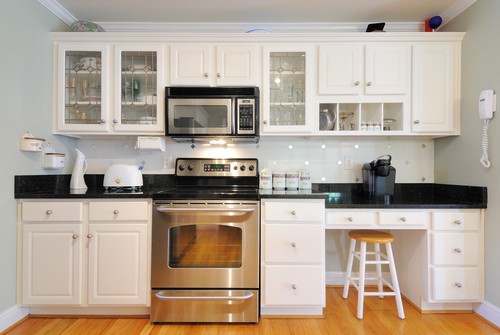
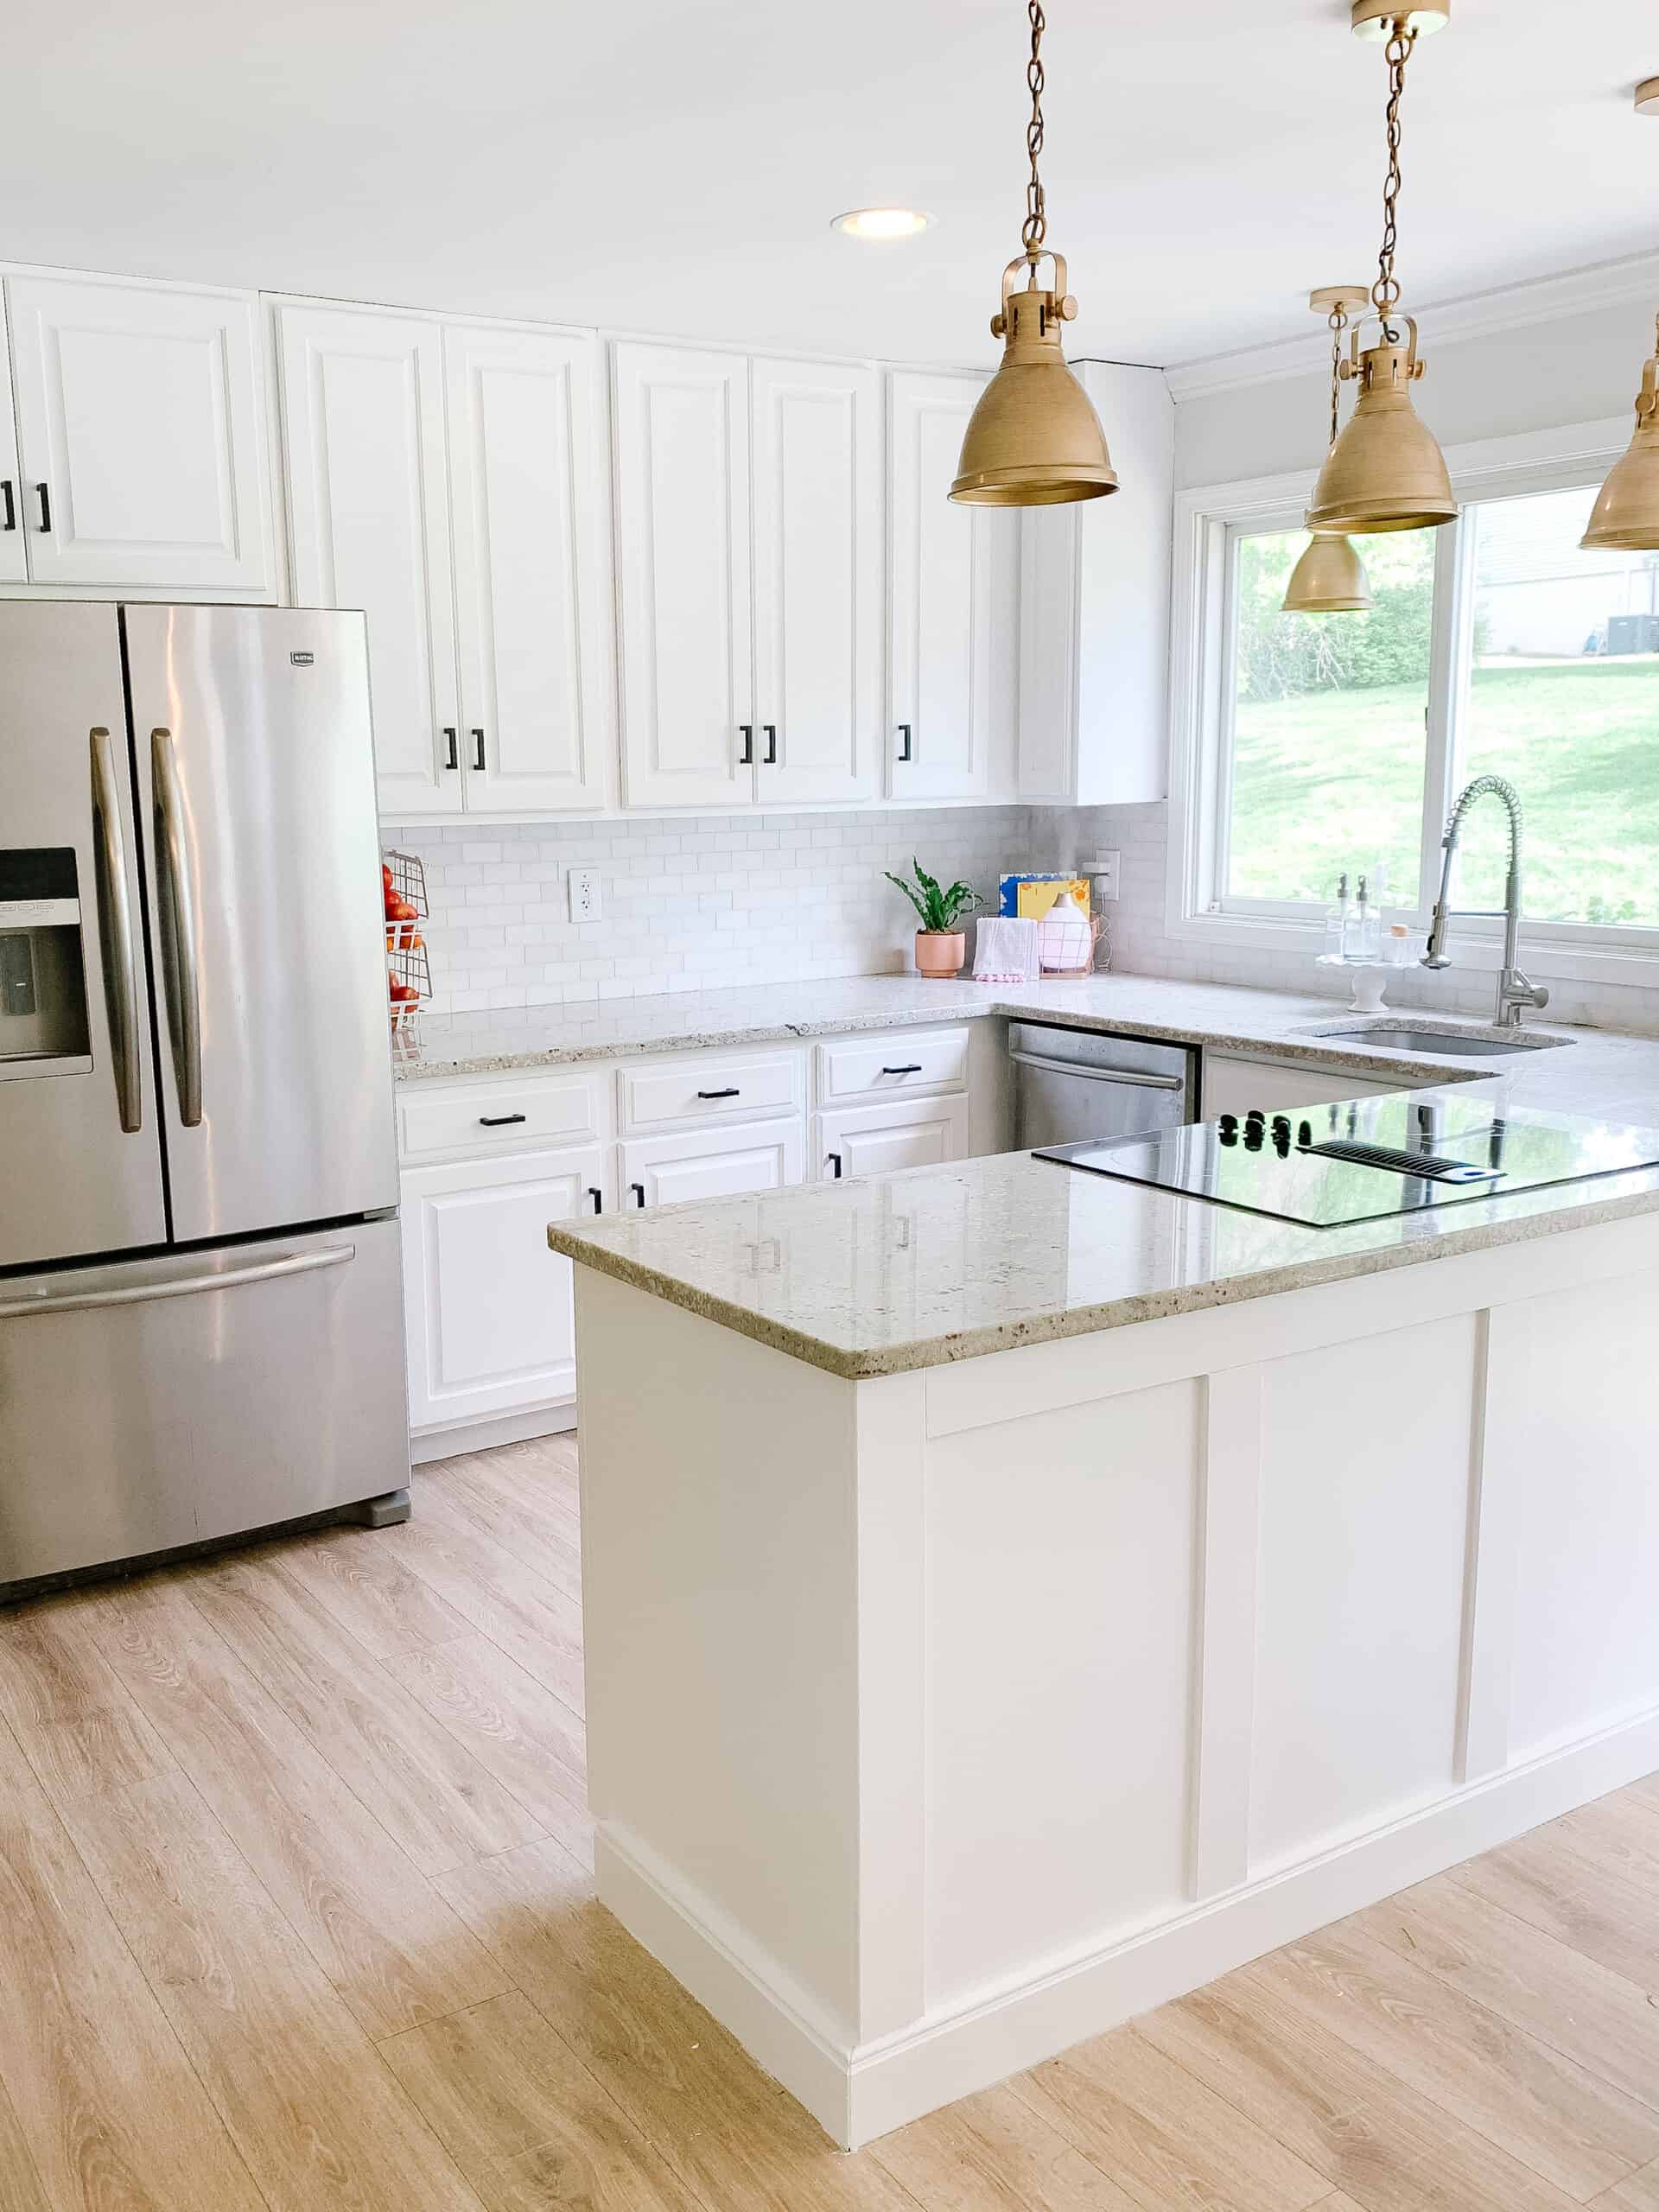
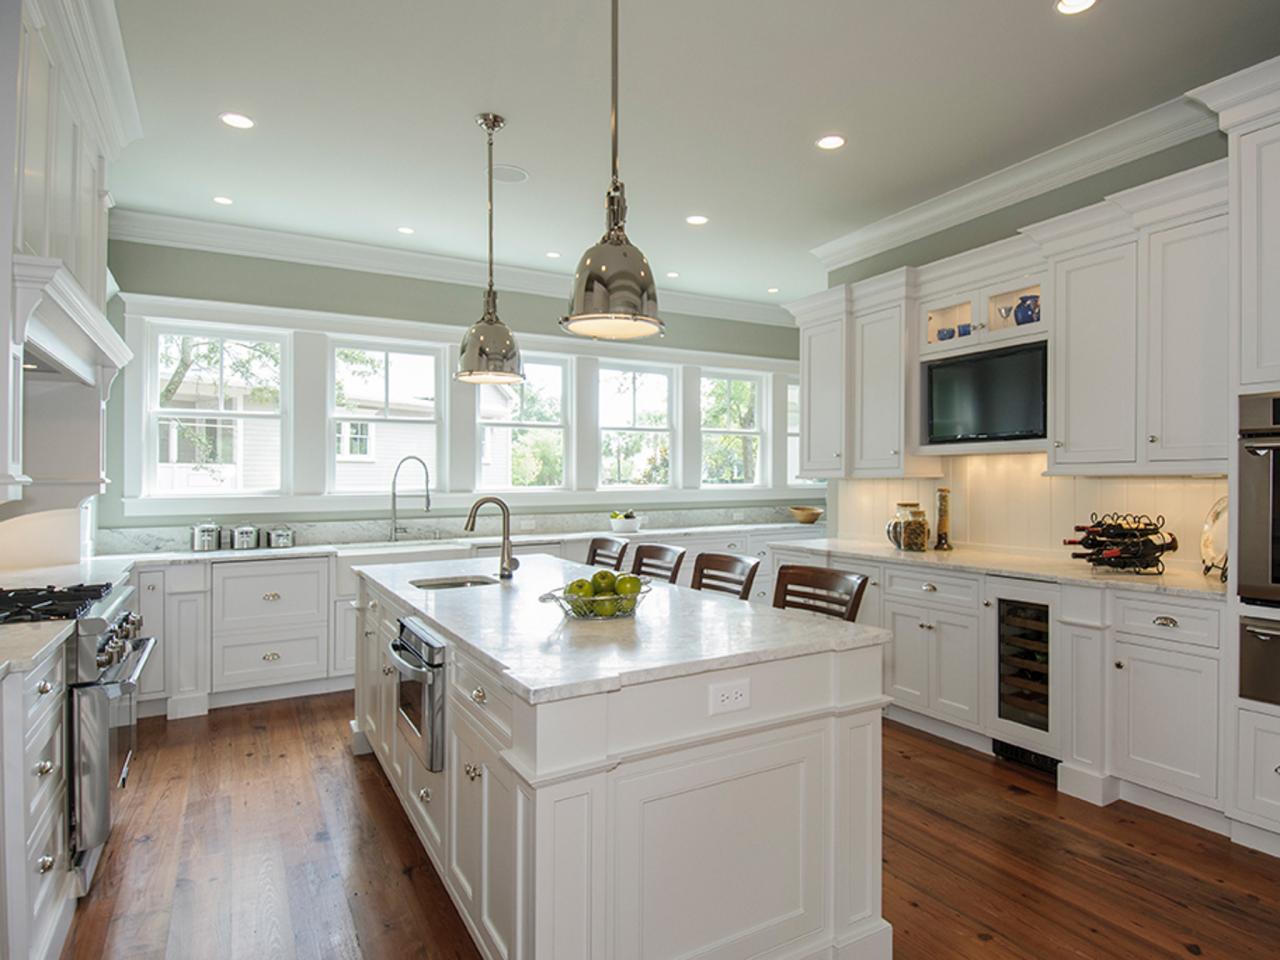
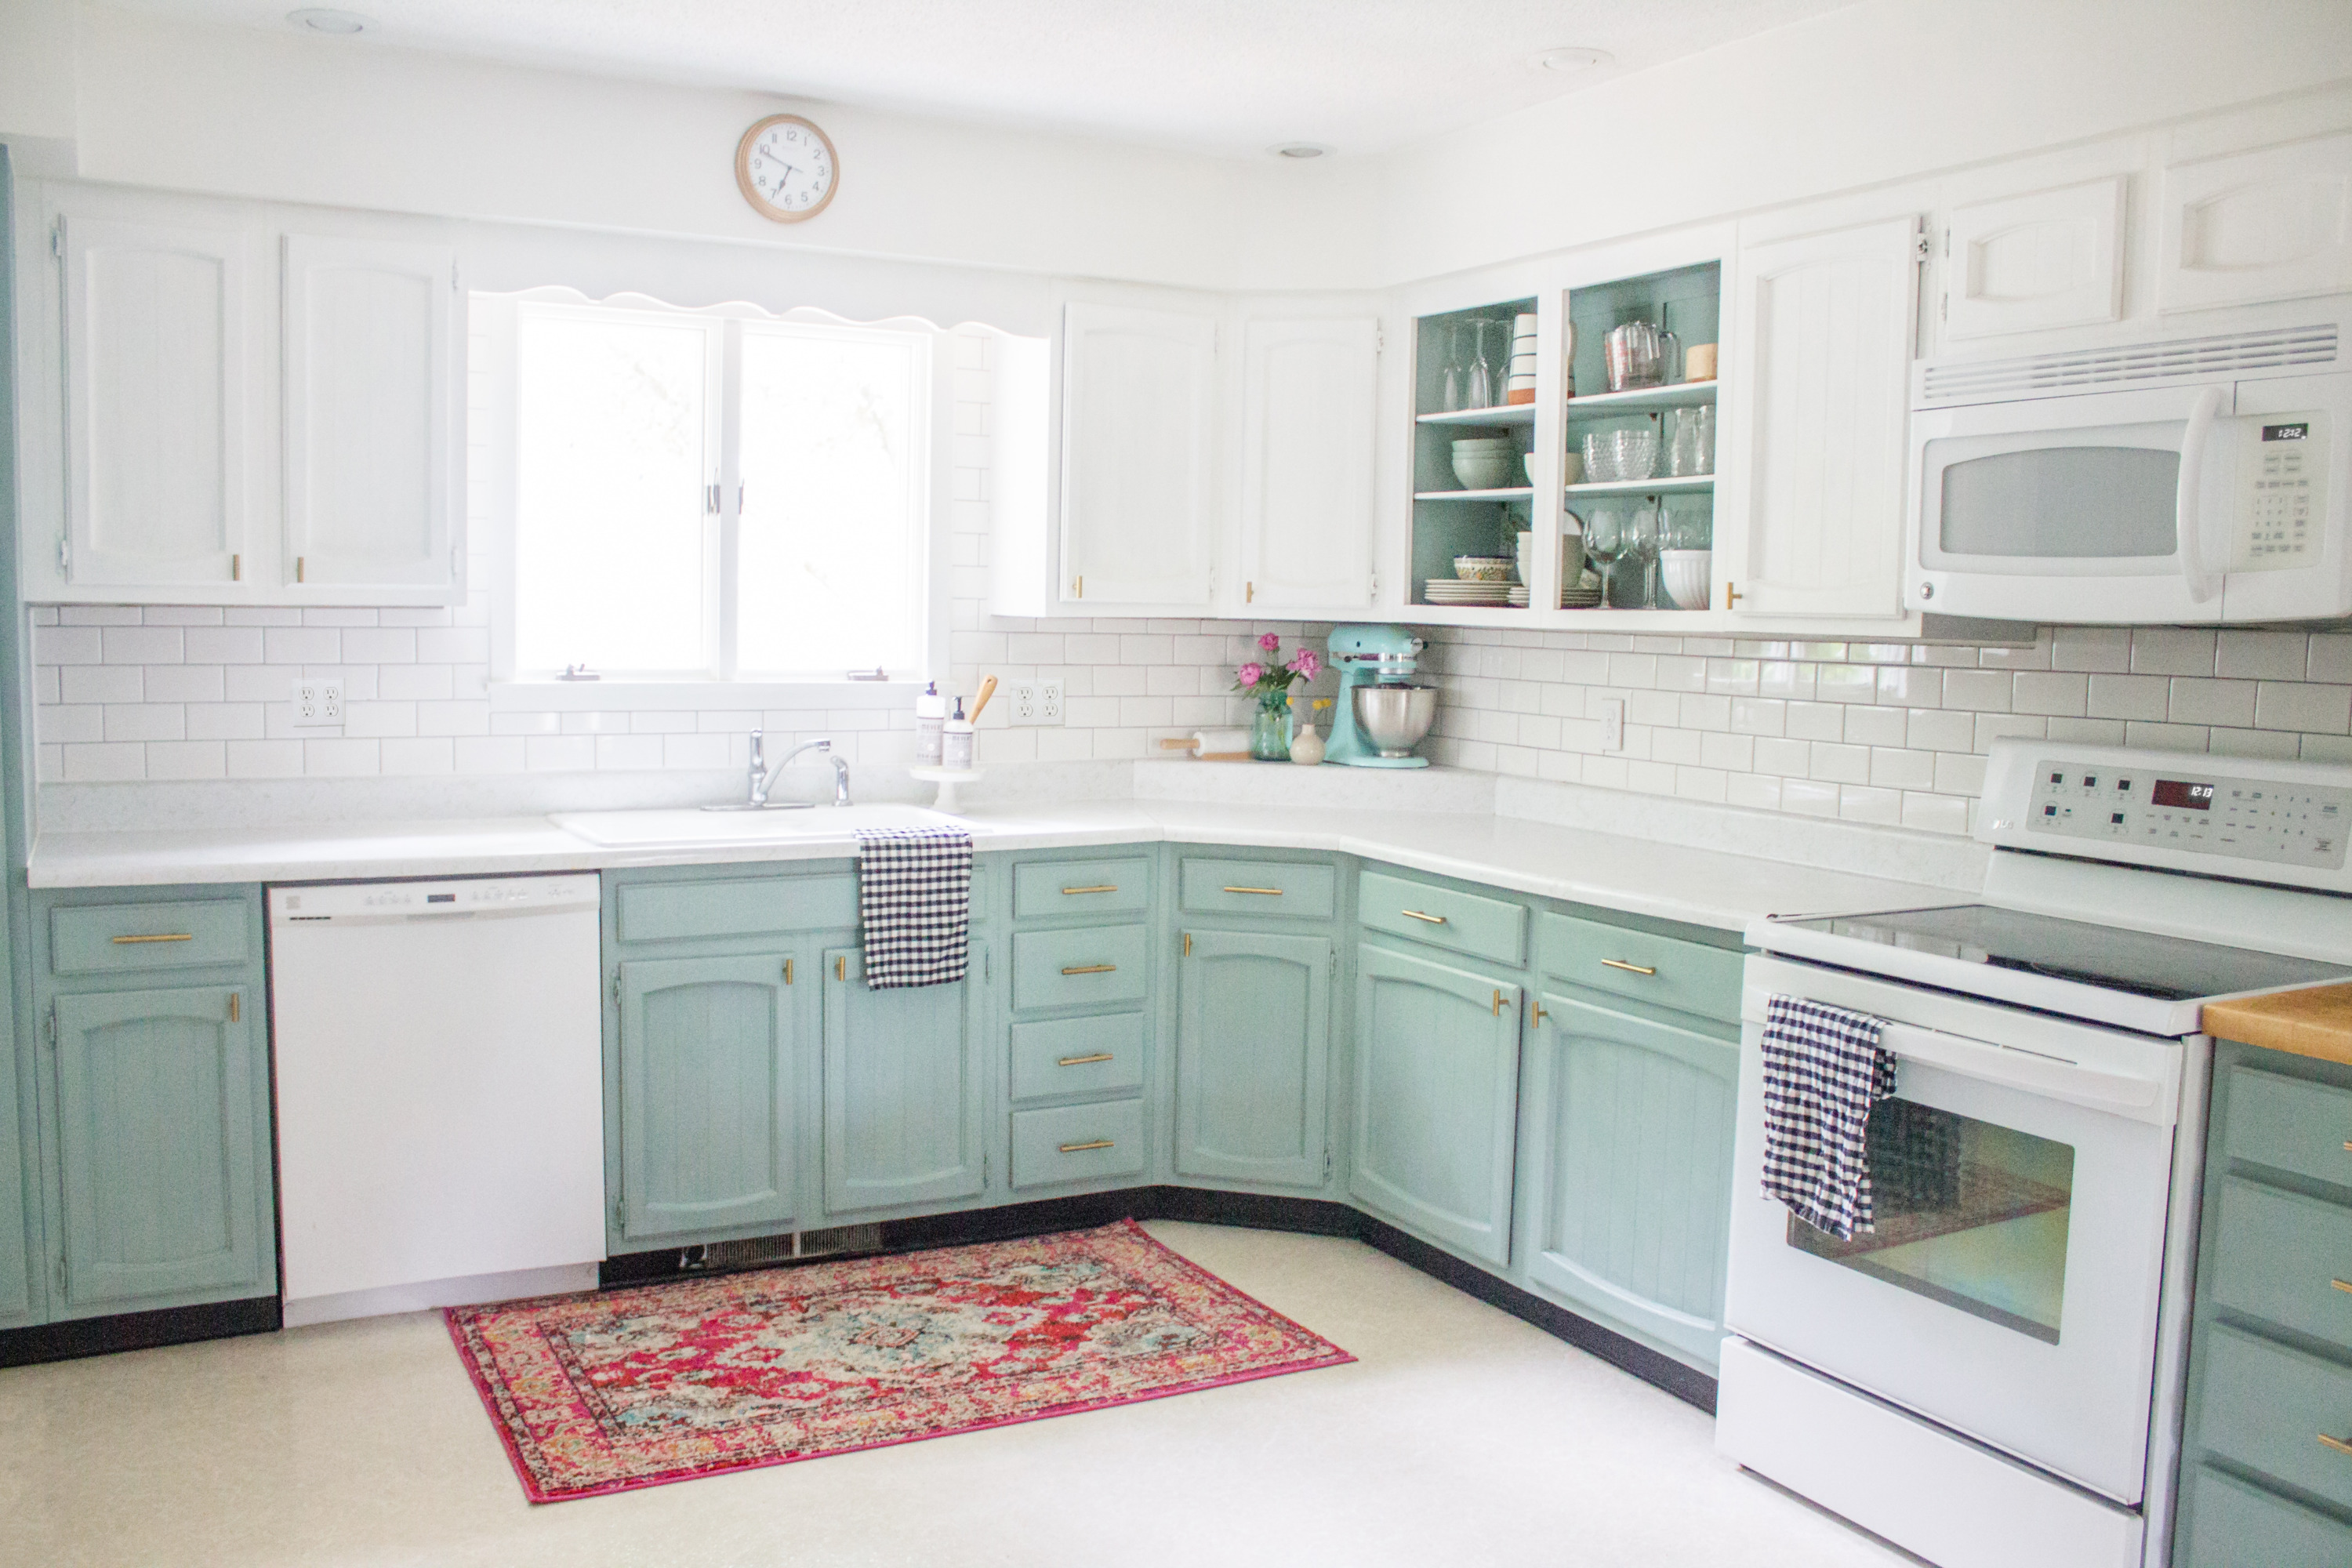
White kitchen cabinets are a timeless and classic choice that can brighten up any kitchen. Follow these steps to learn how to paint your kitchen cabinets white. Step 1: Choose the Right White Paint When painting your cabinets white, it's important to choose the right shade of white. Consider the overall style and color scheme of your kitchen and opt for a shade of white that will complement it. Step 2: Prep the Cabinets Start by removing all cabinet doors and hardware, cleaning the cabinets, and sanding them to create a smooth surface for painting. Step 3: Prime the Cabinets Using a high-quality primer, apply a thin, even coat to all surfaces of the cabinets. This will help the paint adhere properly and provide a smooth finish. Step 4: Paint the Cabinets Once the primer is dry, you can paint your cabinets with your chosen shade of white. Apply the paint in thin, even coats with a brush or sprayer, starting at the top of the cabinets and working your way down. Let the first coat dry completely before applying a second coat. Step 5: Reattach Cabinet Doors and Hardware Once the paint is dry, reattach the cabinet doors and hardware. Make sure everything is securely in place before moving on to the final step. Step 6: Clean Up Clean up any stray paint or spills and properly store your supplies for future use. Let your cabinets dry completely before using them.How to Paint Kitchen Cabinets White


How to Paint Kitchen Cabinets White


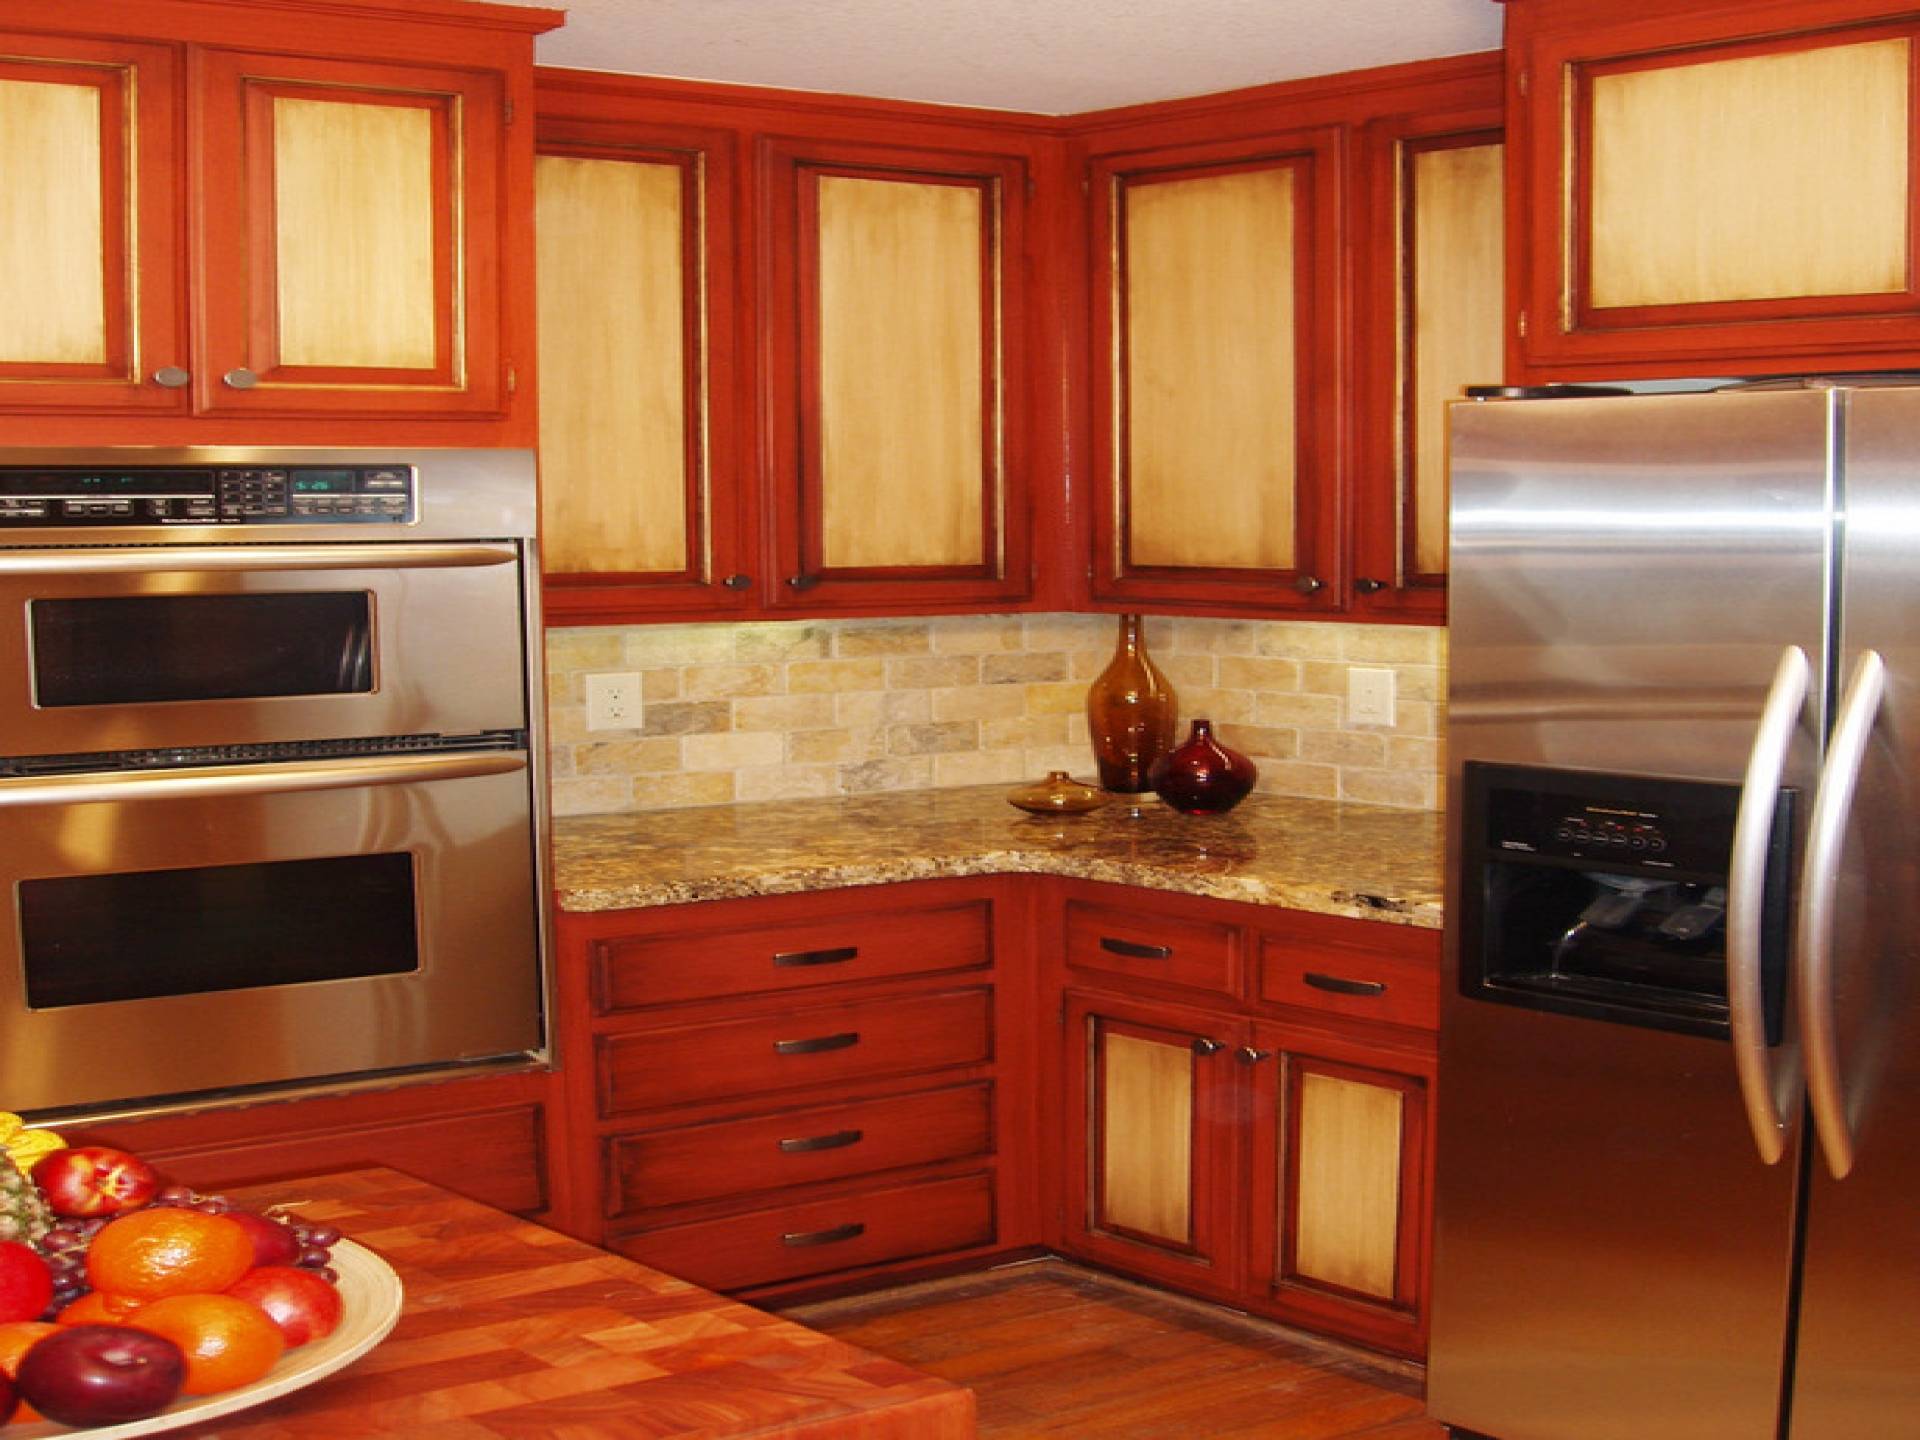
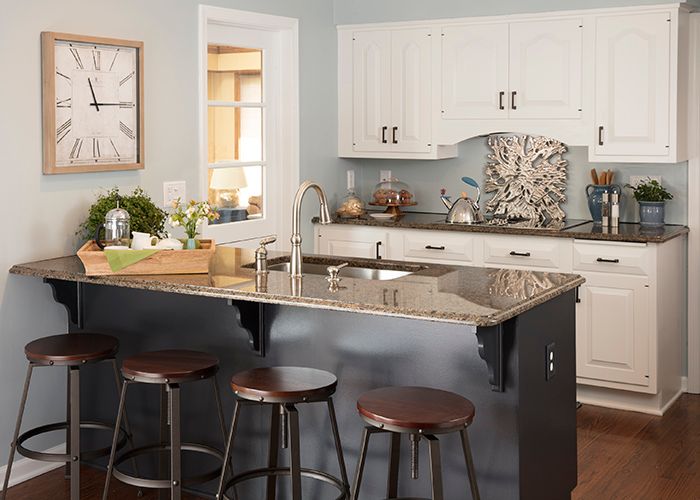
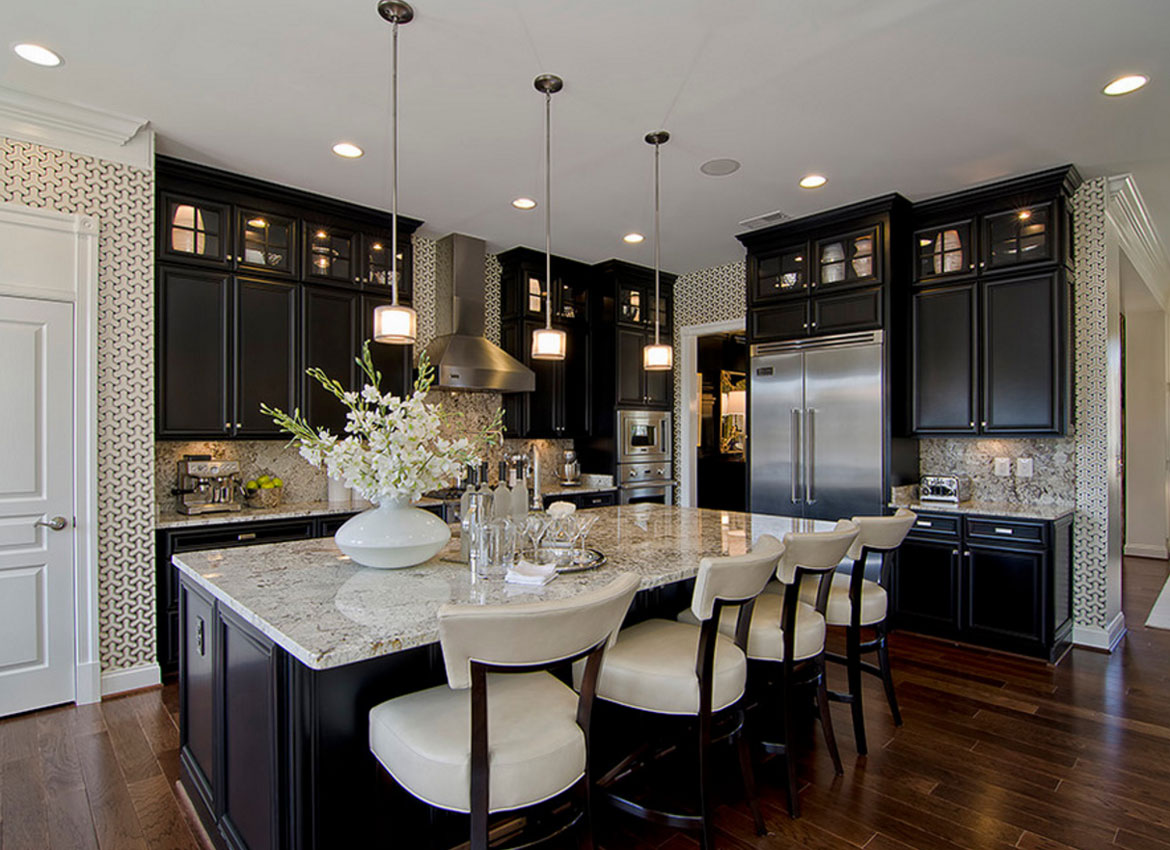
Black kitchen cabinets can add a touch of elegance and sophistication to your kitchen. Follow these steps to learn how to paint your kitchen cabinets black. Step 1: Choose the Right Black Paint When painting your cabinets black, it's important to choose the right shade of black. Consider the style and color scheme of your kitchen and opt for a shade that will complement it. Step 2: Prep the Cabinets Start by removing all cabinet doors and hardware, cleaning the cabinets, and sanding them to create a smooth surface for painting. Step 3: Prime the Cabinets Using a high-quality primer, apply a thin, even coat to all surfaces of the cabinets. This will help the paint adhere properly and provide a smooth finish. Step 4: Paint the Cabinets Once the primer is dry, you can paint your cabinets with your chosen shade of black. Apply the paint in thin, even coats with a brush or sprayer, starting at the top of the cabinets and working your way down. Let the first coat dry completely before applying a second coat. Step 5: Reattach Cabinet Doors and Hardware Once the paint is dry, reattach the cabinet doors and hardware. Make sure everything is securely in place before moving on to the final step. Step 6: Clean Up Clean up any stray paint or spills and properly store your supplies for future use. Let your cabinets dry completely before using them.How to Paint Kitchen Cabinets Black

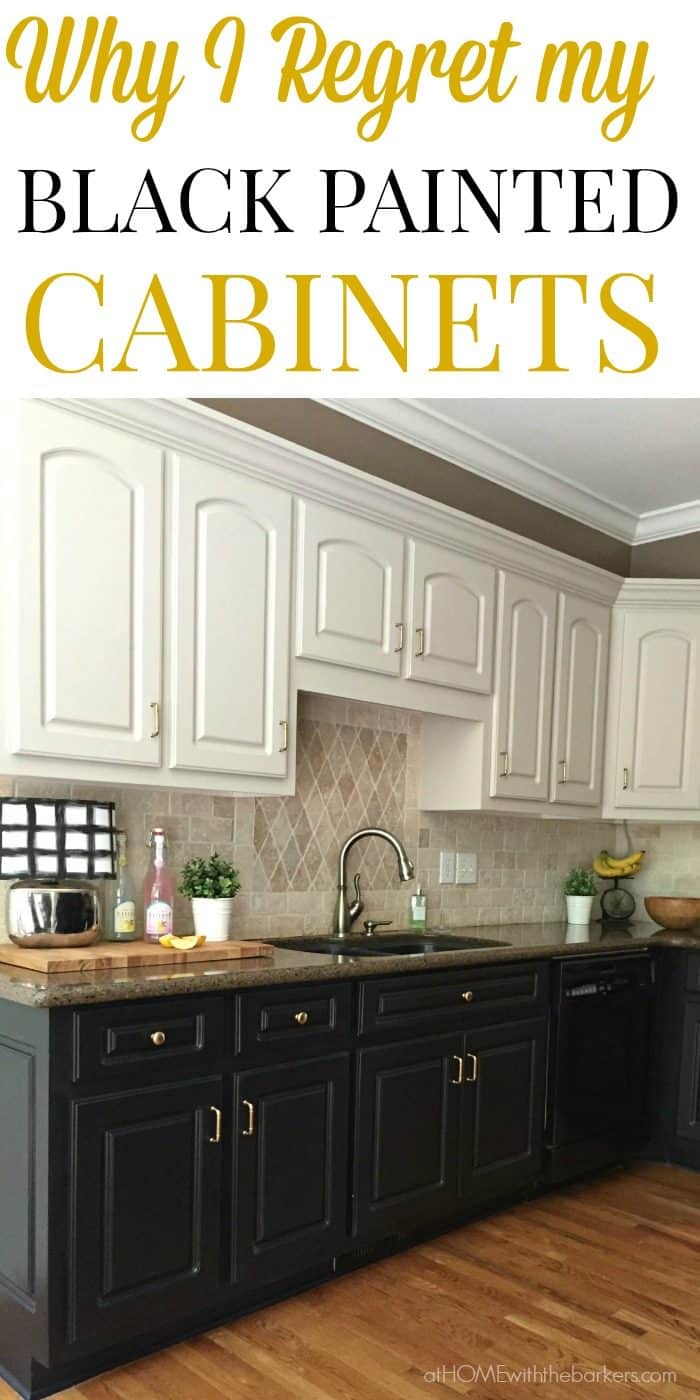
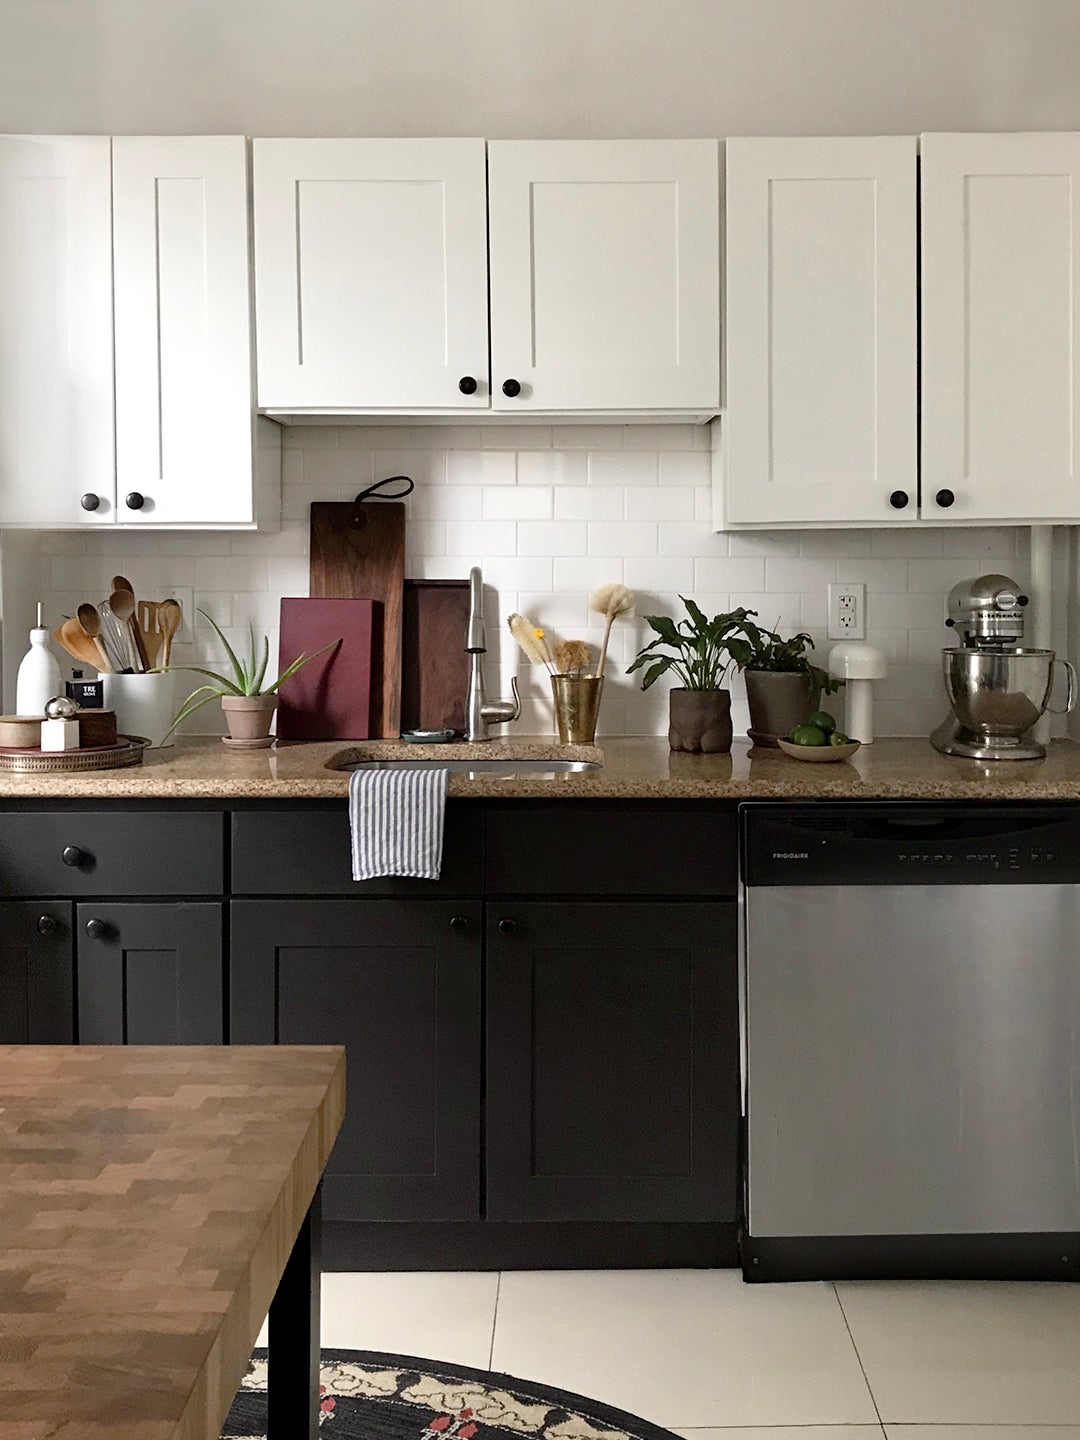
How to Paint Kitchen Cabinets Black


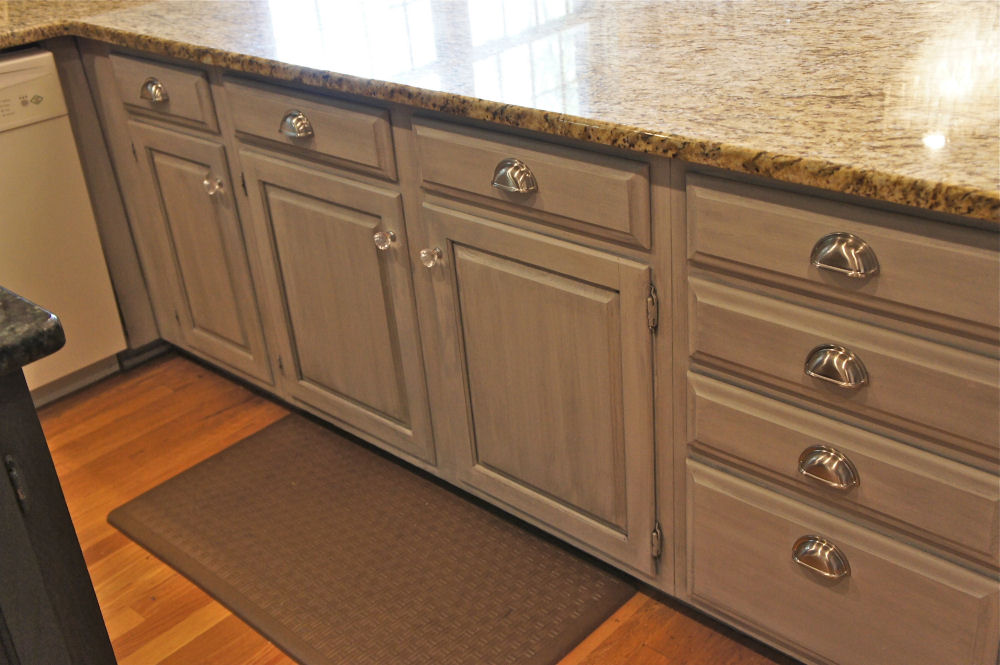
Chalk paint has become a popular choice for painting furniture and cabinets due to its matte finish and easy application. Follow these steps to learn how to paint your kitchen cabinets with chalk paint. Step 1: Gather Your SuppliesHow to Paint Kitchen Cabinets with Chalk Paint


How to Paint Kitchen Cabinets with Chalk Paint


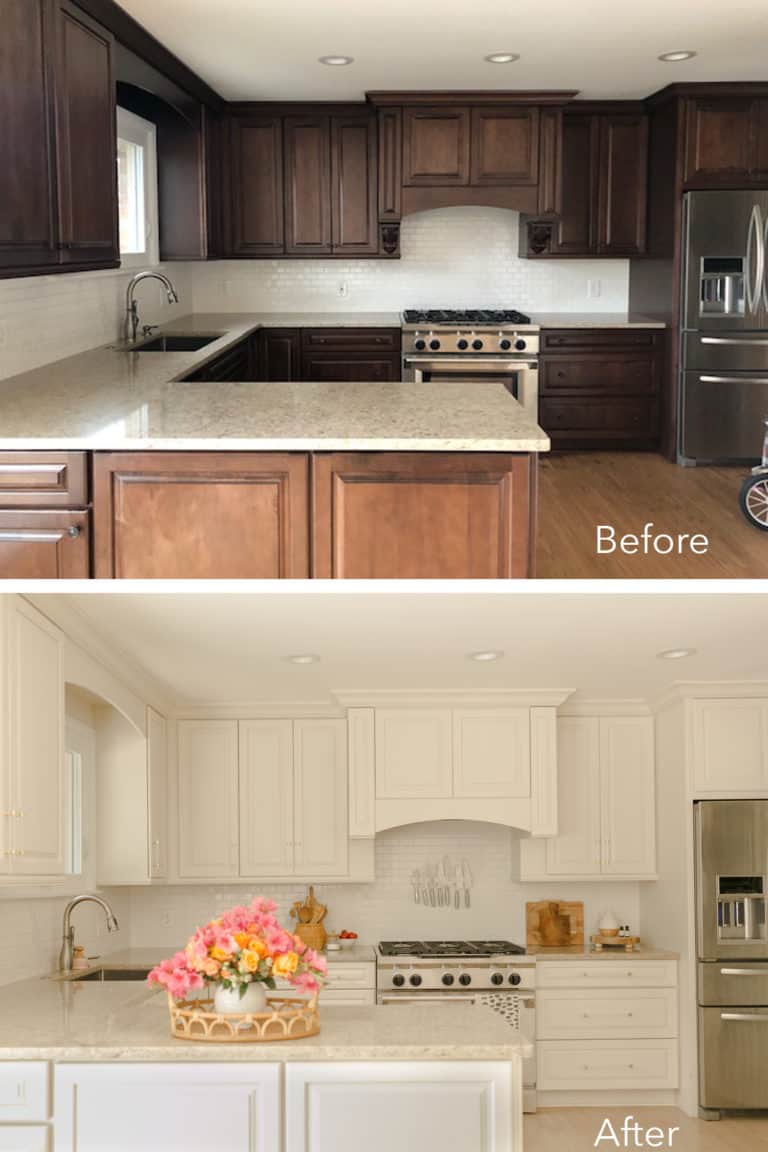
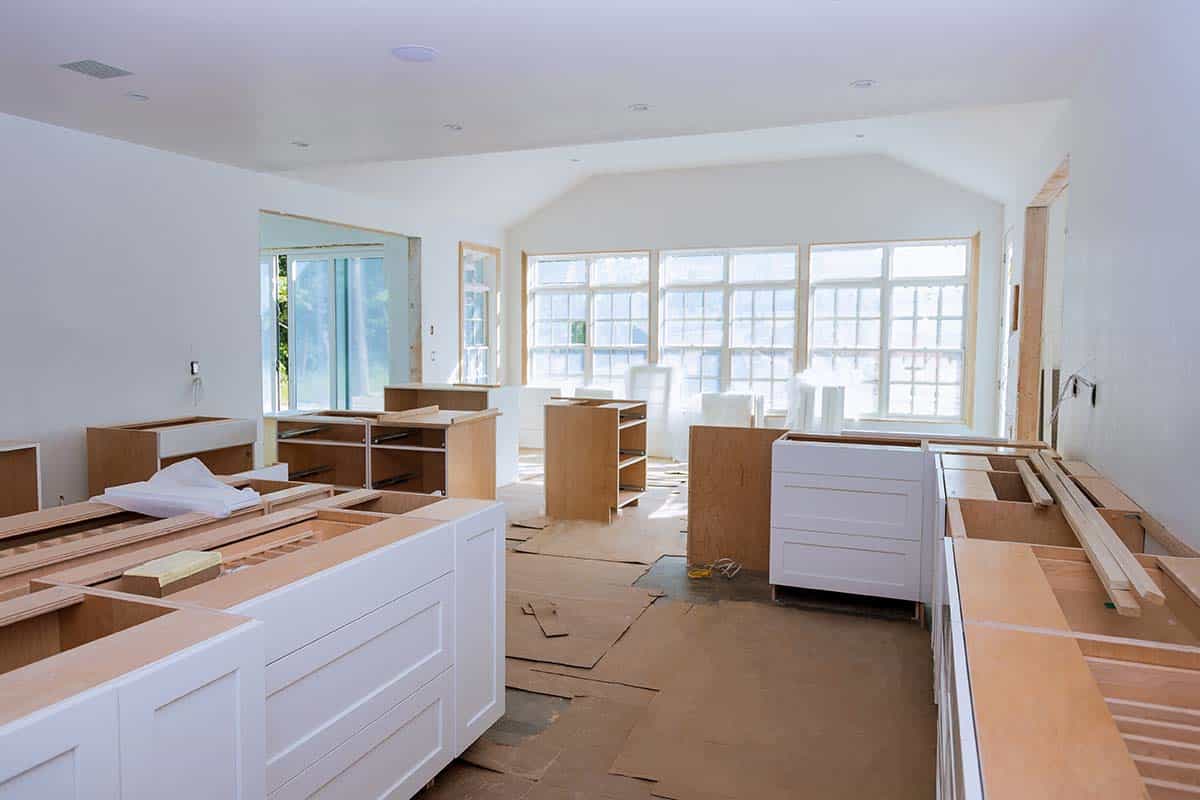
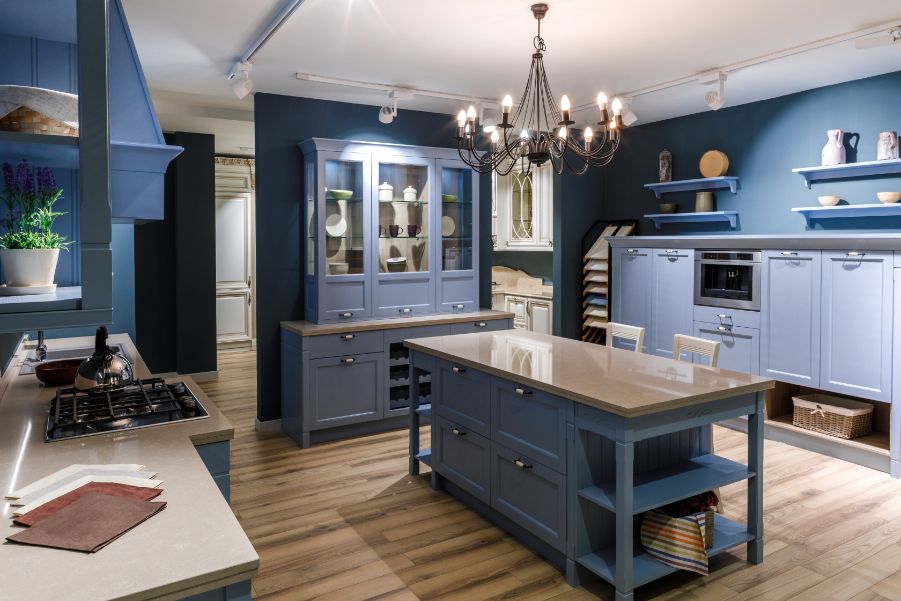
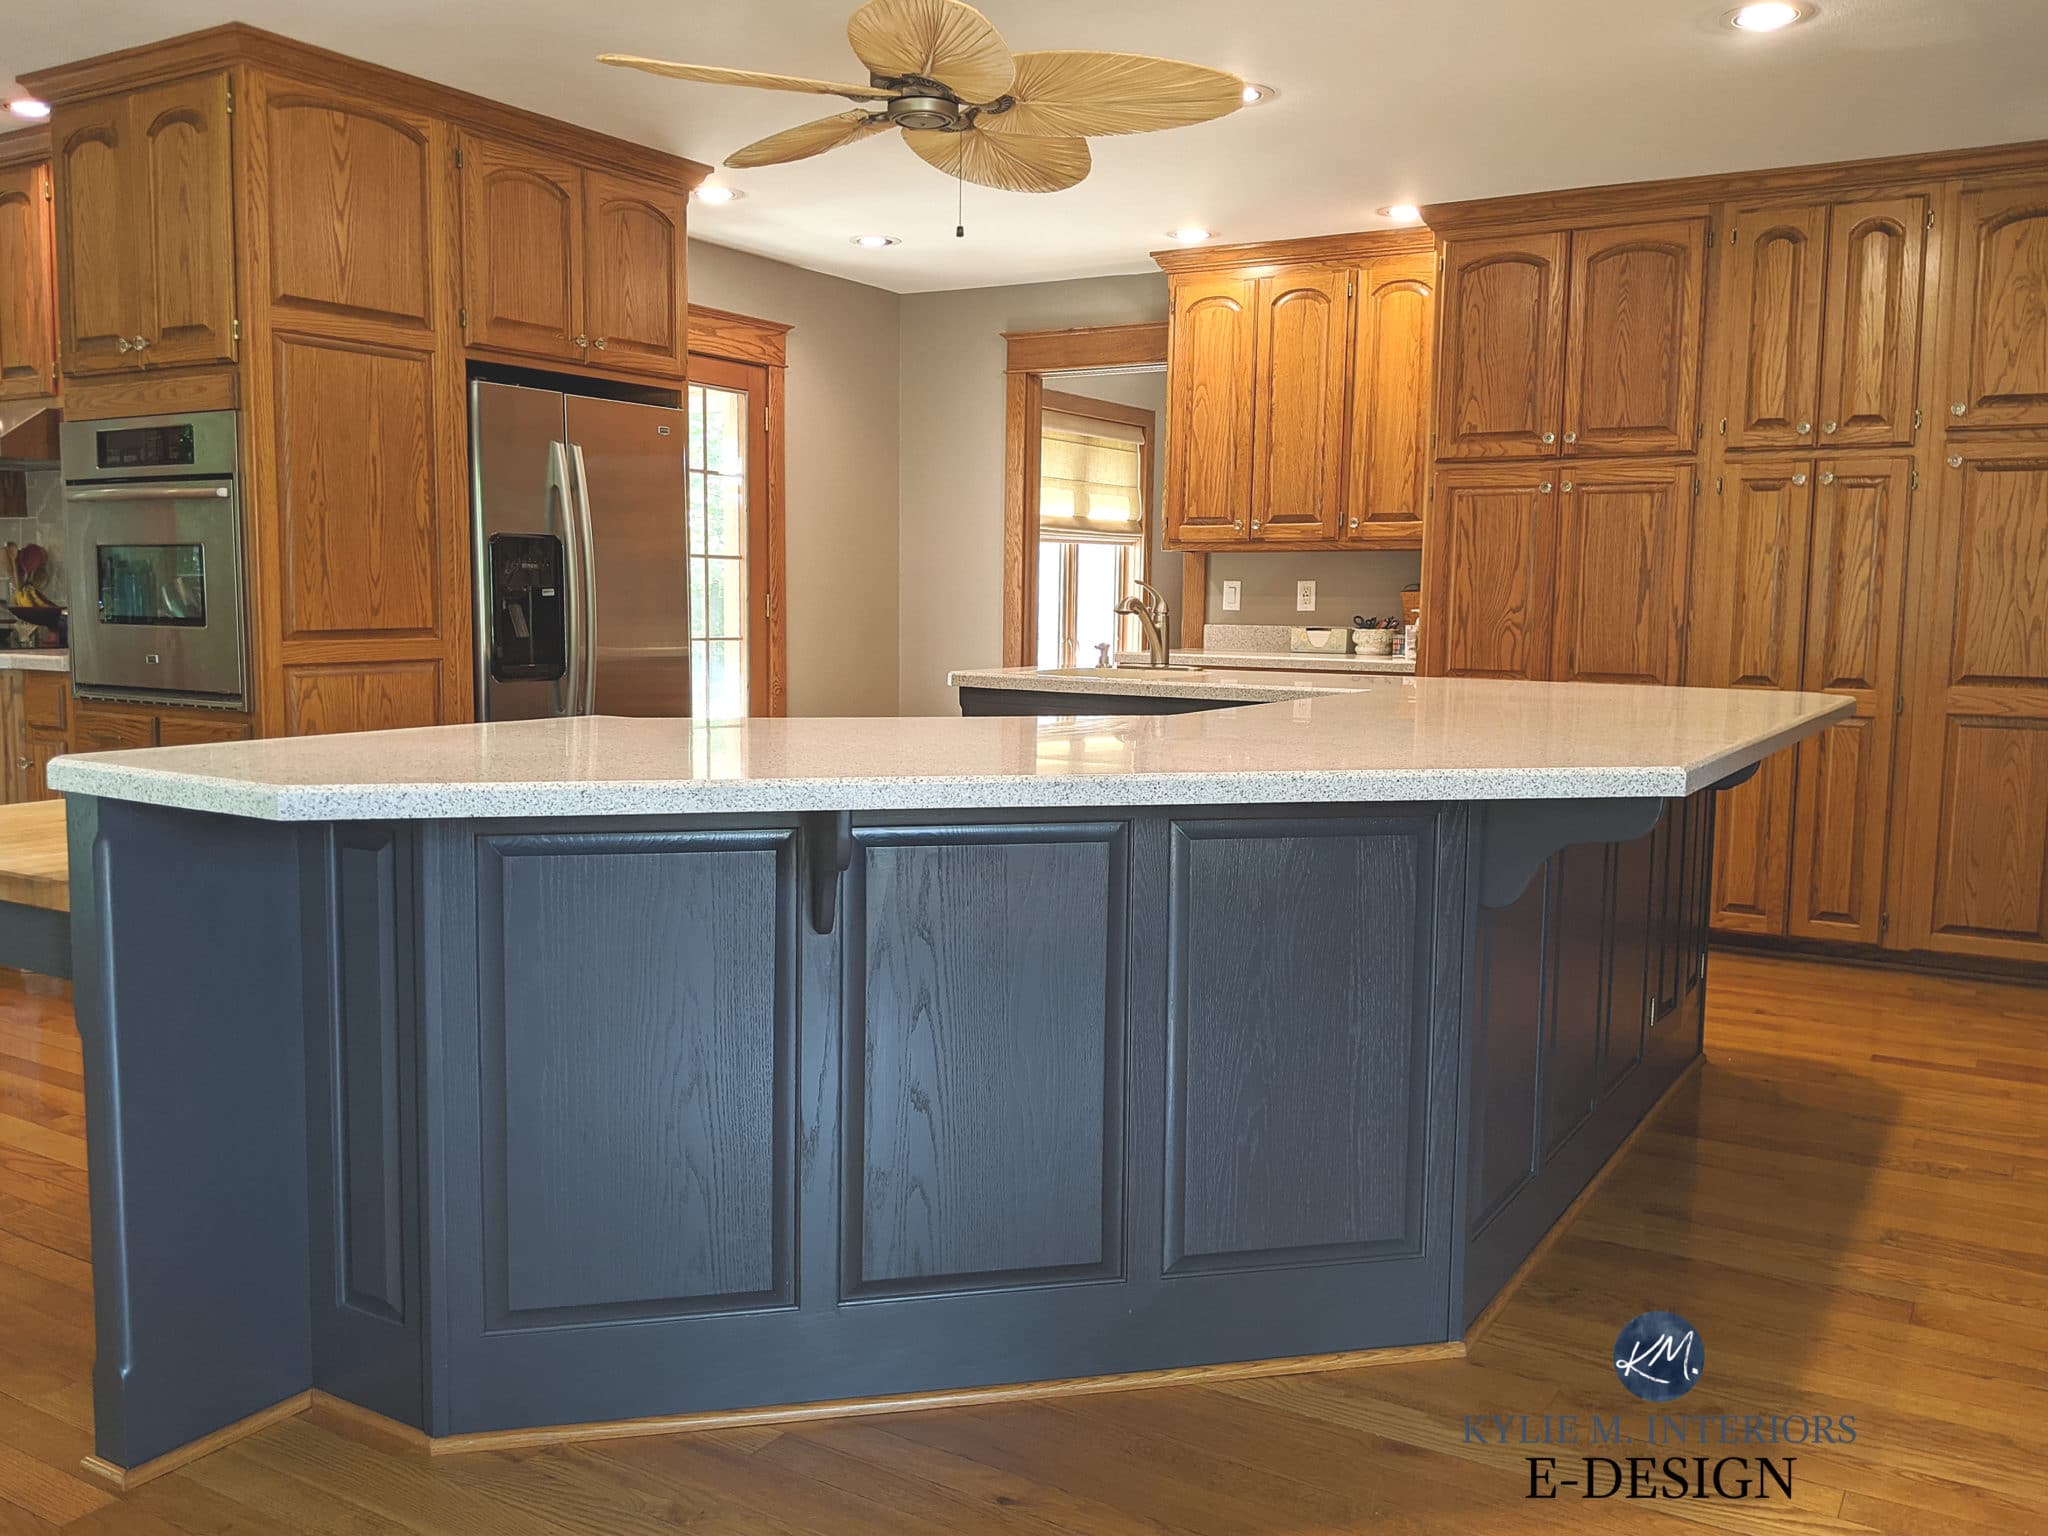
How to Transform Your Kitchen Cabinets with Wall Paint

The Power of Paint
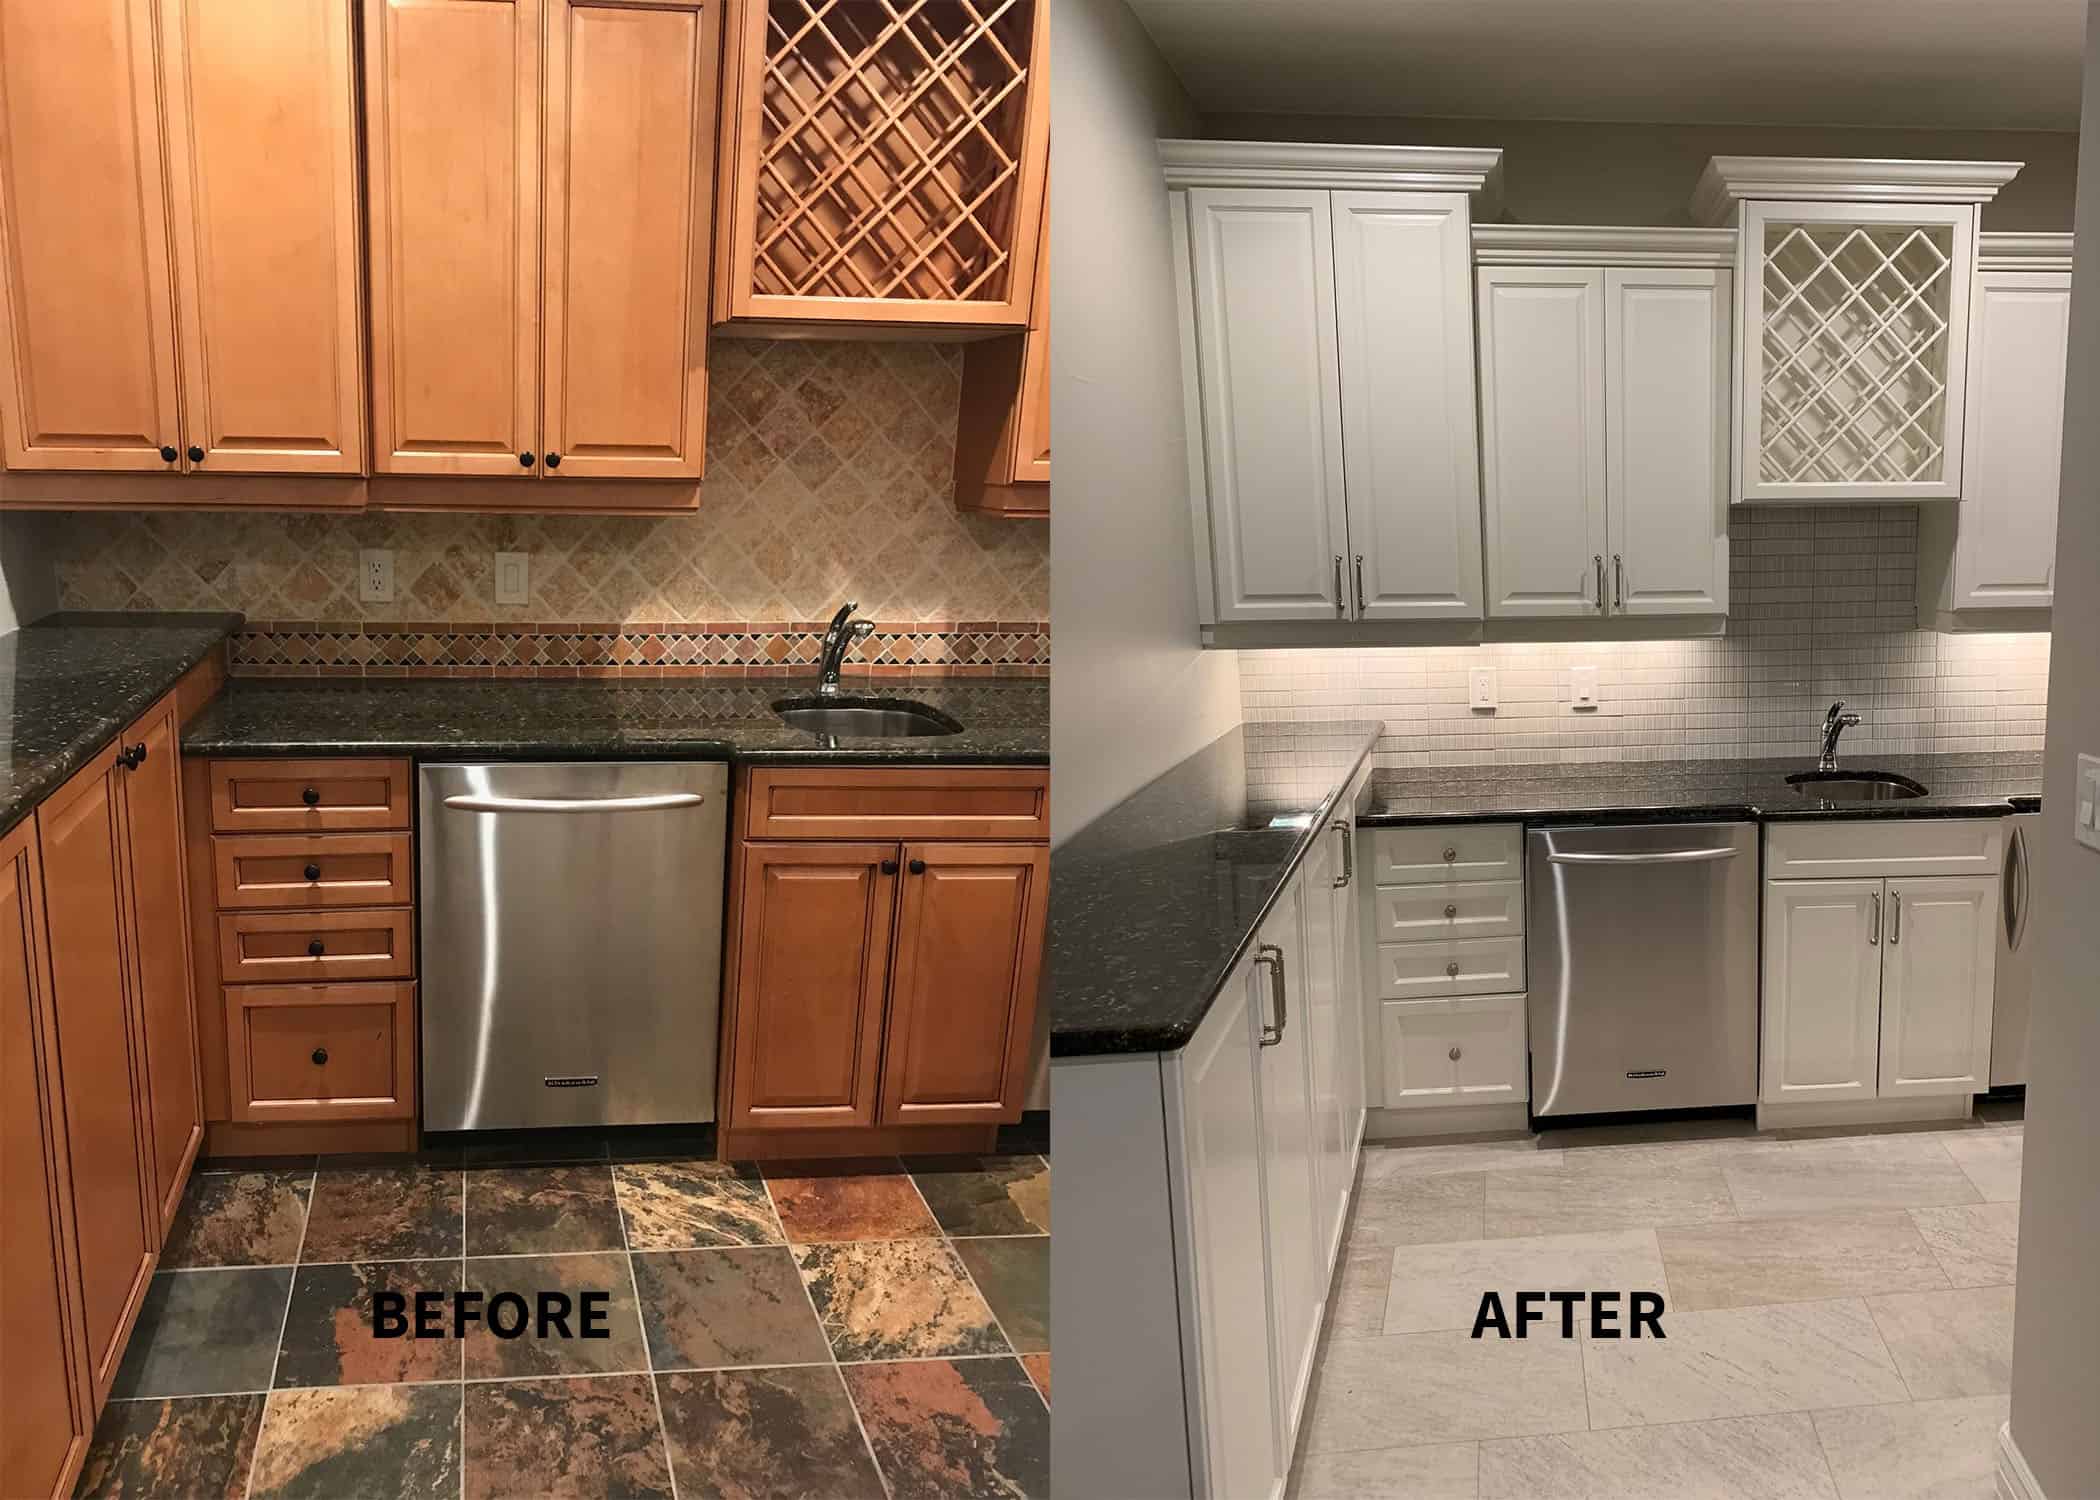 When it comes to home design, it's often the small changes that make the biggest impact. And one of the most impactful changes you can make in your kitchen is to
paint your cabinets
. Not only is it a cost-effective way to update your space, but it also allows for endless creative possibilities. By choosing
wall paint
for your cabinets, you can completely transform the look and feel of your kitchen without breaking the bank.
When it comes to home design, it's often the small changes that make the biggest impact. And one of the most impactful changes you can make in your kitchen is to
paint your cabinets
. Not only is it a cost-effective way to update your space, but it also allows for endless creative possibilities. By choosing
wall paint
for your cabinets, you can completely transform the look and feel of your kitchen without breaking the bank.
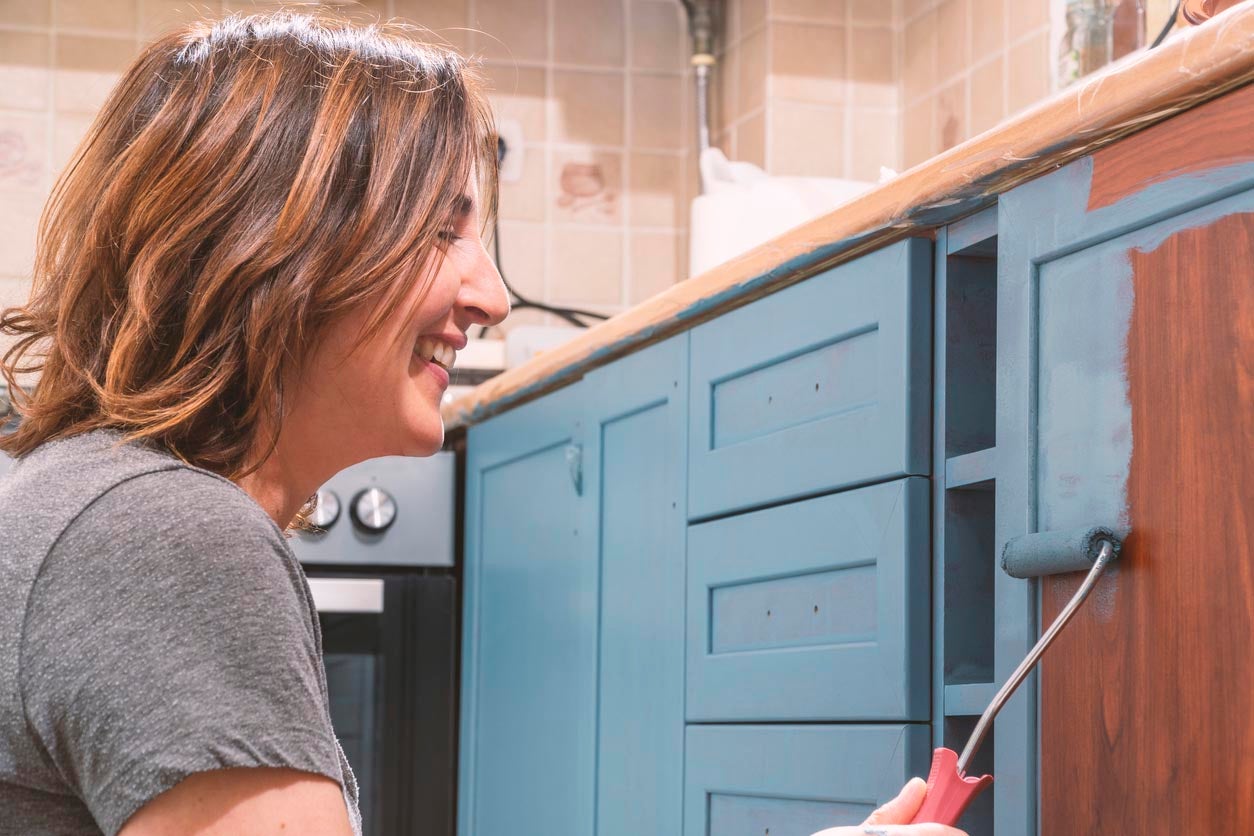
Preparation is Key
 Before you begin the painting process, it's important to properly prepare your cabinets. This will ensure that the paint adheres well and lasts for years to come. Start by removing all hardware, including handles and hinges. Then, give your cabinets a thorough cleaning with a degreasing cleaner. Sand down any rough spots or imperfections to create a smooth surface for the paint to adhere to.
Priming your cabinets
is also essential for a professional-looking finish. This will prevent the original color from showing through and help the paint stick better.
Before you begin the painting process, it's important to properly prepare your cabinets. This will ensure that the paint adheres well and lasts for years to come. Start by removing all hardware, including handles and hinges. Then, give your cabinets a thorough cleaning with a degreasing cleaner. Sand down any rough spots or imperfections to create a smooth surface for the paint to adhere to.
Priming your cabinets
is also essential for a professional-looking finish. This will prevent the original color from showing through and help the paint stick better.
Choosing the Right Paint
 When it comes to painting your cabinets, not just any paint will do. It's important to choose a high-quality, durable paint that can withstand the wear and tear of a busy kitchen. Look for
paints specifically designed for cabinets and trim
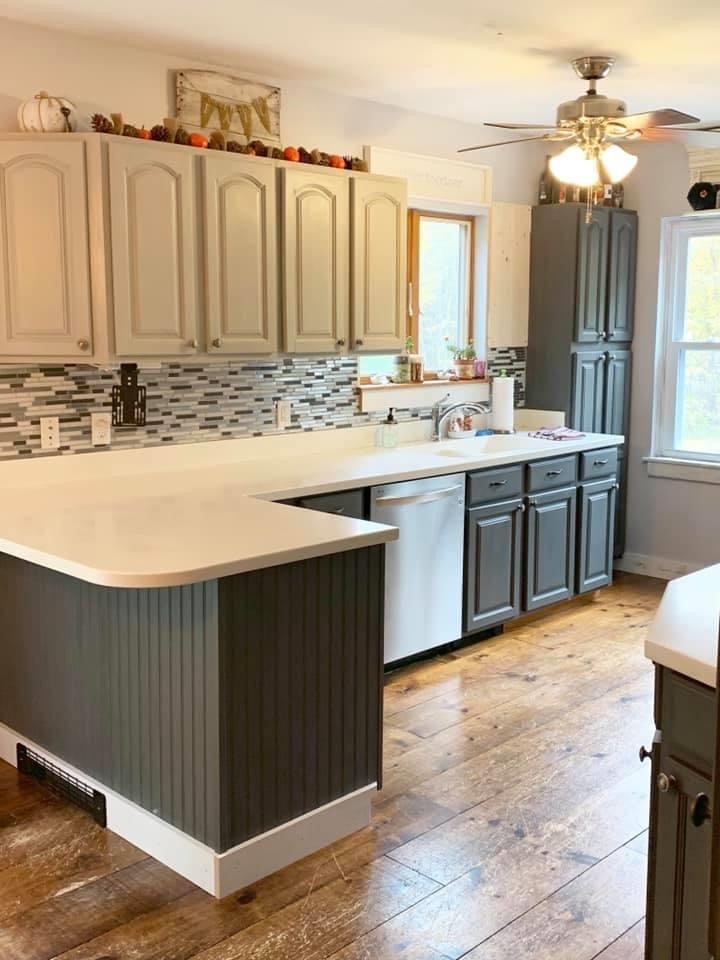
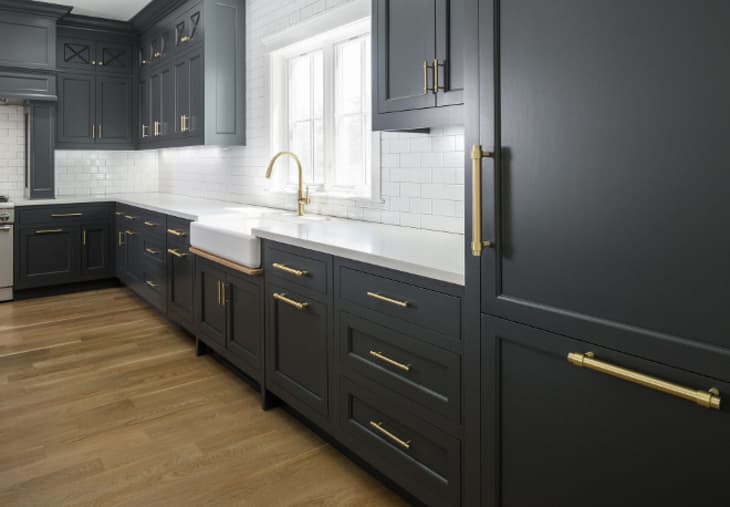
, as they will provide a smooth, long-lasting finish. It's also important to choose a color that complements your kitchen's overall design and style. A
bold color
can add a pop of personality, while a
neutral shade
can create a timeless and classic look.
When it comes to painting your cabinets, not just any paint will do. It's important to choose a high-quality, durable paint that can withstand the wear and tear of a busy kitchen. Look for
paints specifically designed for cabinets and trim
, as they will provide a smooth, long-lasting finish. It's also important to choose a color that complements your kitchen's overall design and style. A
bold color
can add a pop of personality, while a
neutral shade
can create a timeless and classic look.
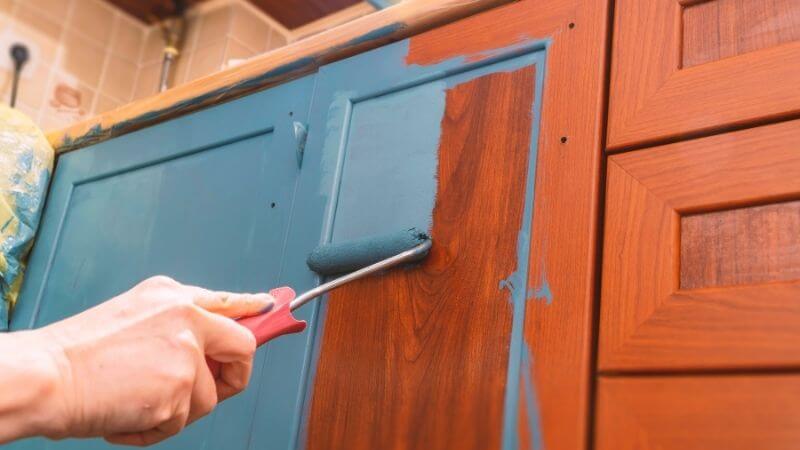
The Painting Process
 Once you've prepped your cabinets and chosen your paint, it's time to get to work. Use a paintbrush or roller to apply an even coat of paint, working in the direction of the wood grain.
Be patient and allow each coat to dry completely
before applying the next. Depending on the color and type of paint, you may need to apply multiple coats to achieve the desired look. Don't forget to paint the edges and inside of the cabinet doors for a polished finish.
Once you've prepped your cabinets and chosen your paint, it's time to get to work. Use a paintbrush or roller to apply an even coat of paint, working in the direction of the wood grain.
Be patient and allow each coat to dry completely
before applying the next. Depending on the color and type of paint, you may need to apply multiple coats to achieve the desired look. Don't forget to paint the edges and inside of the cabinet doors for a polished finish.
Finishing Touches
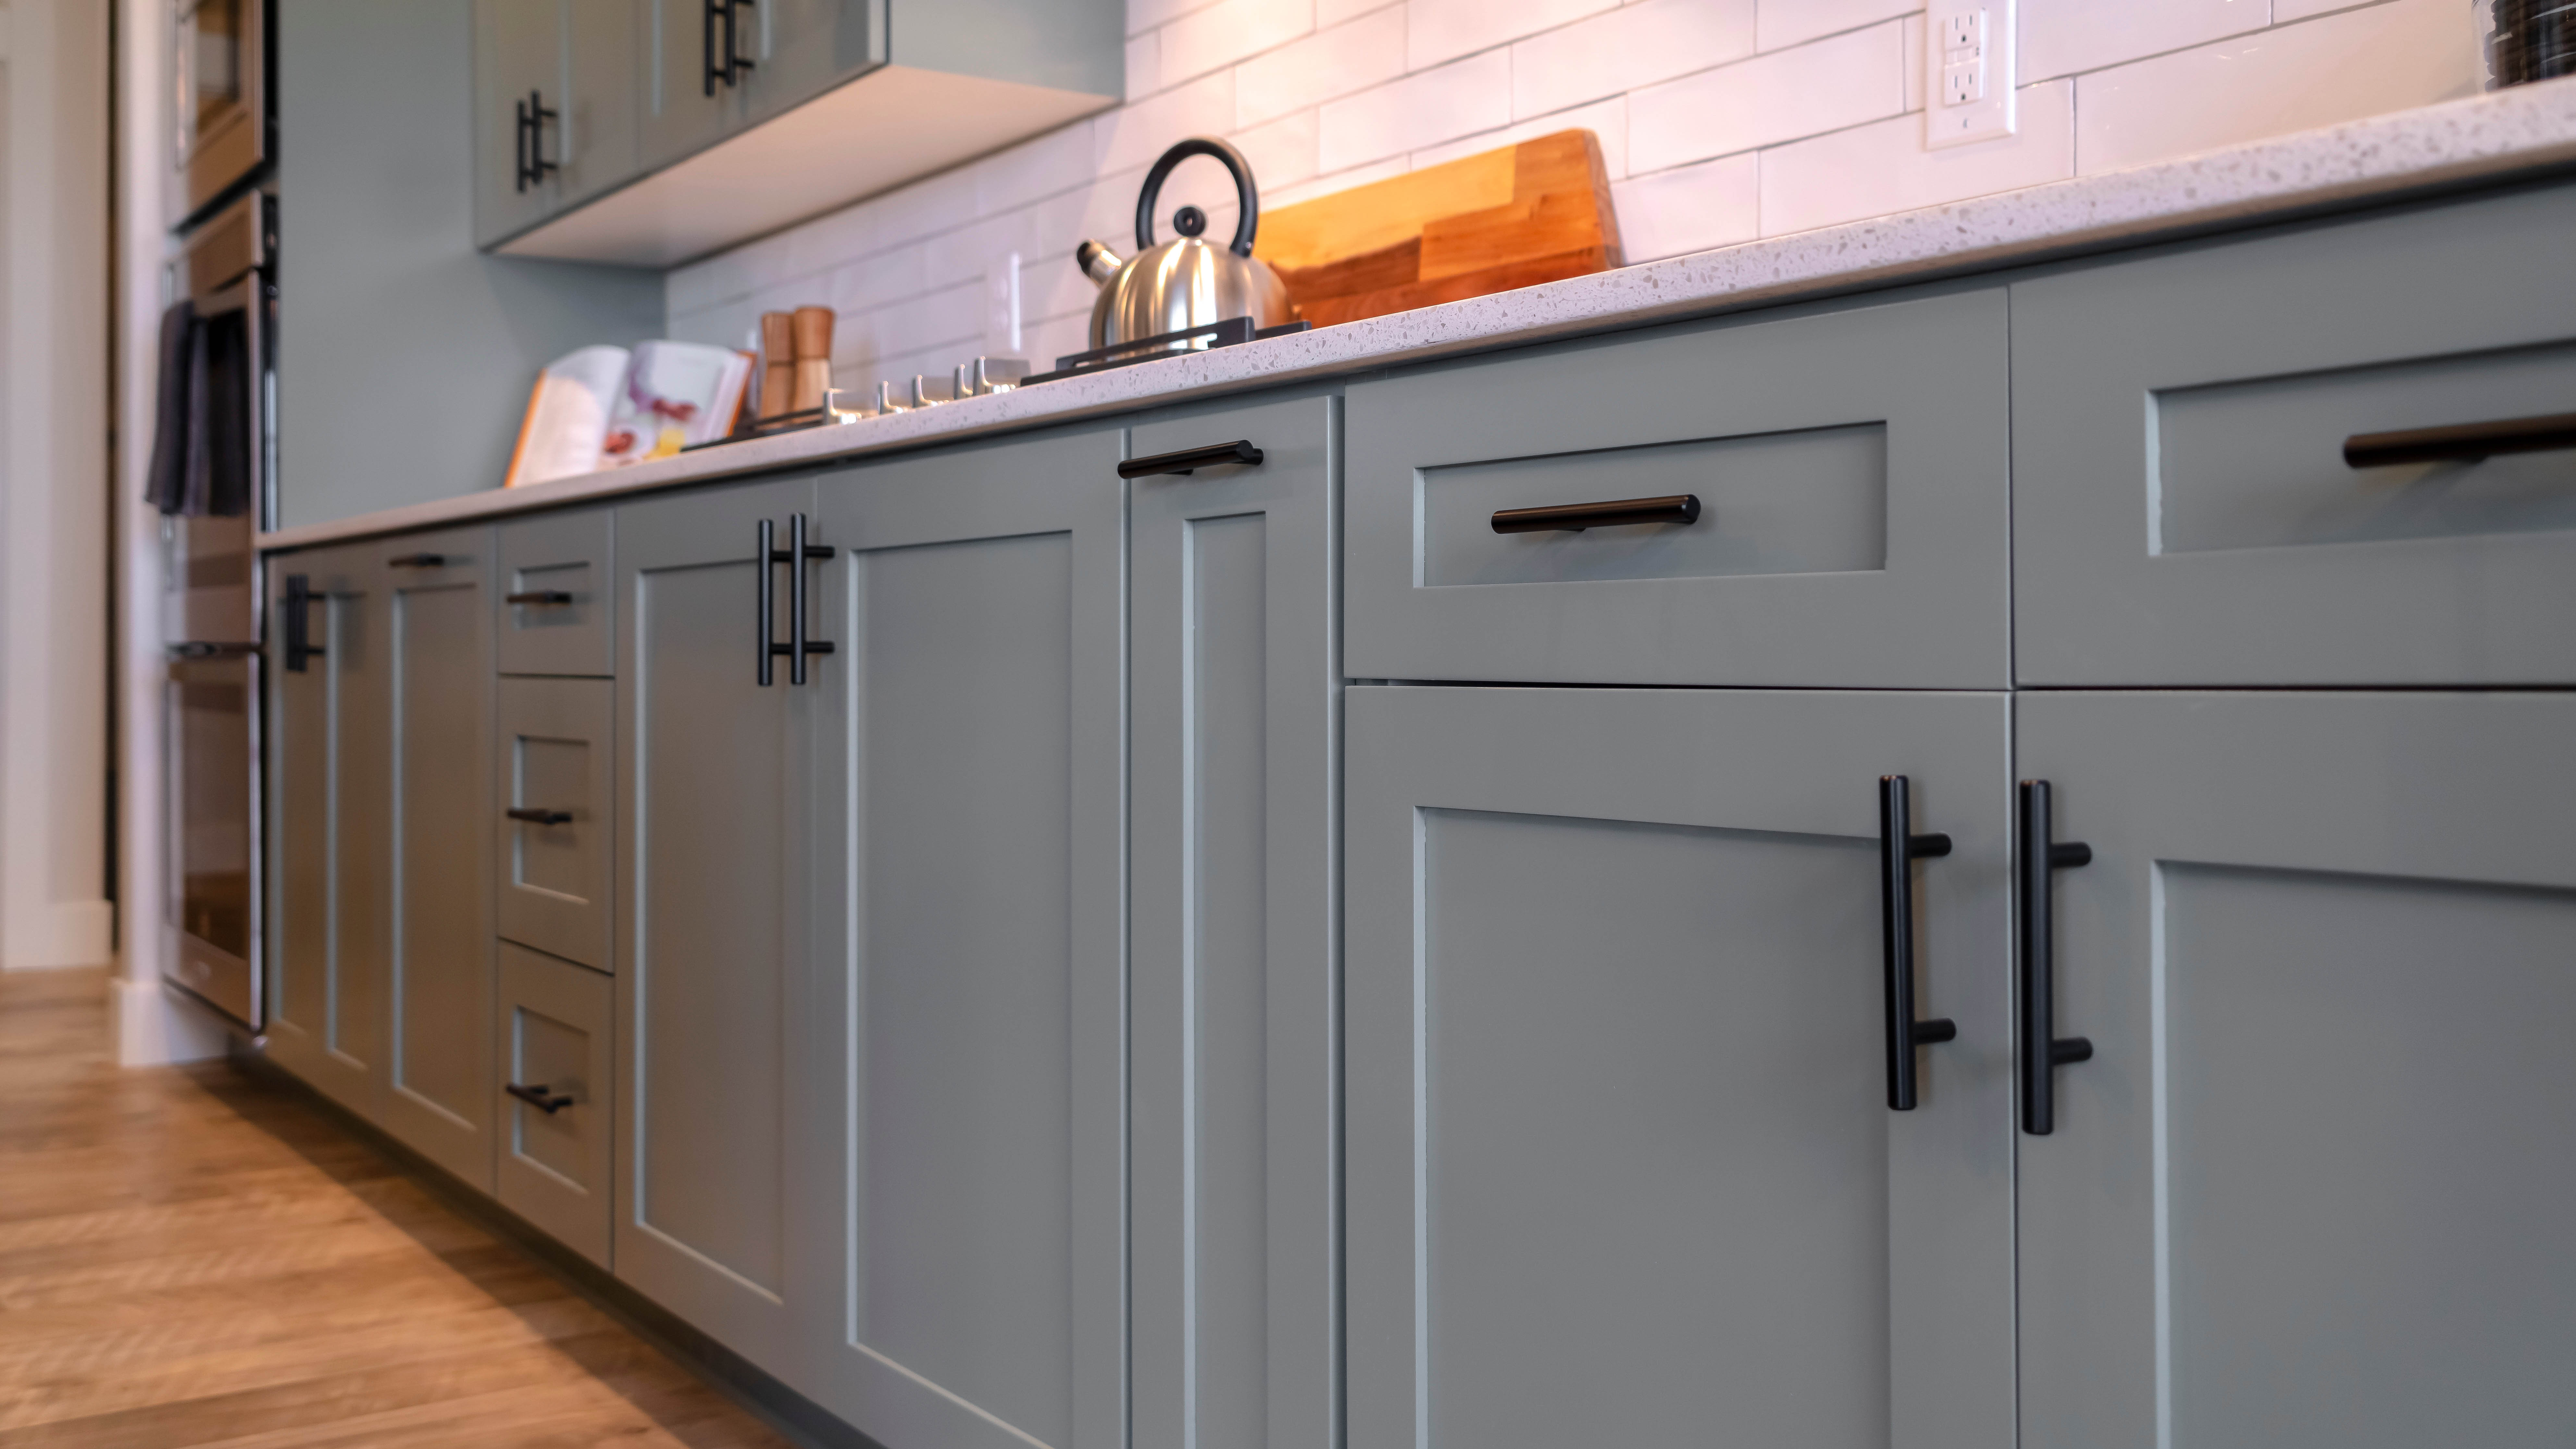
 After your final coat of paint has dried, it's time to reattach the hardware and hang the cabinet doors back in place. You can also add some
stylish details
such as new handles or knobs to further enhance the look of your cabinets. And voila! You now have a completely transformed kitchen, all thanks to a fresh coat of wall paint.
In conclusion, using
wall paint on your kitchen cabinets
is a simple and budget-friendly way to give your kitchen a whole new look. With proper preparation, the right paint, and some patience, you can achieve a professional-looking finish that will impress anyone who enters your kitchen. So why not grab a paintbrush and start transforming your cabinets today?
After your final coat of paint has dried, it's time to reattach the hardware and hang the cabinet doors back in place. You can also add some
stylish details
such as new handles or knobs to further enhance the look of your cabinets. And voila! You now have a completely transformed kitchen, all thanks to a fresh coat of wall paint.
In conclusion, using
wall paint on your kitchen cabinets
is a simple and budget-friendly way to give your kitchen a whole new look. With proper preparation, the right paint, and some patience, you can achieve a professional-looking finish that will impress anyone who enters your kitchen. So why not grab a paintbrush and start transforming your cabinets today?