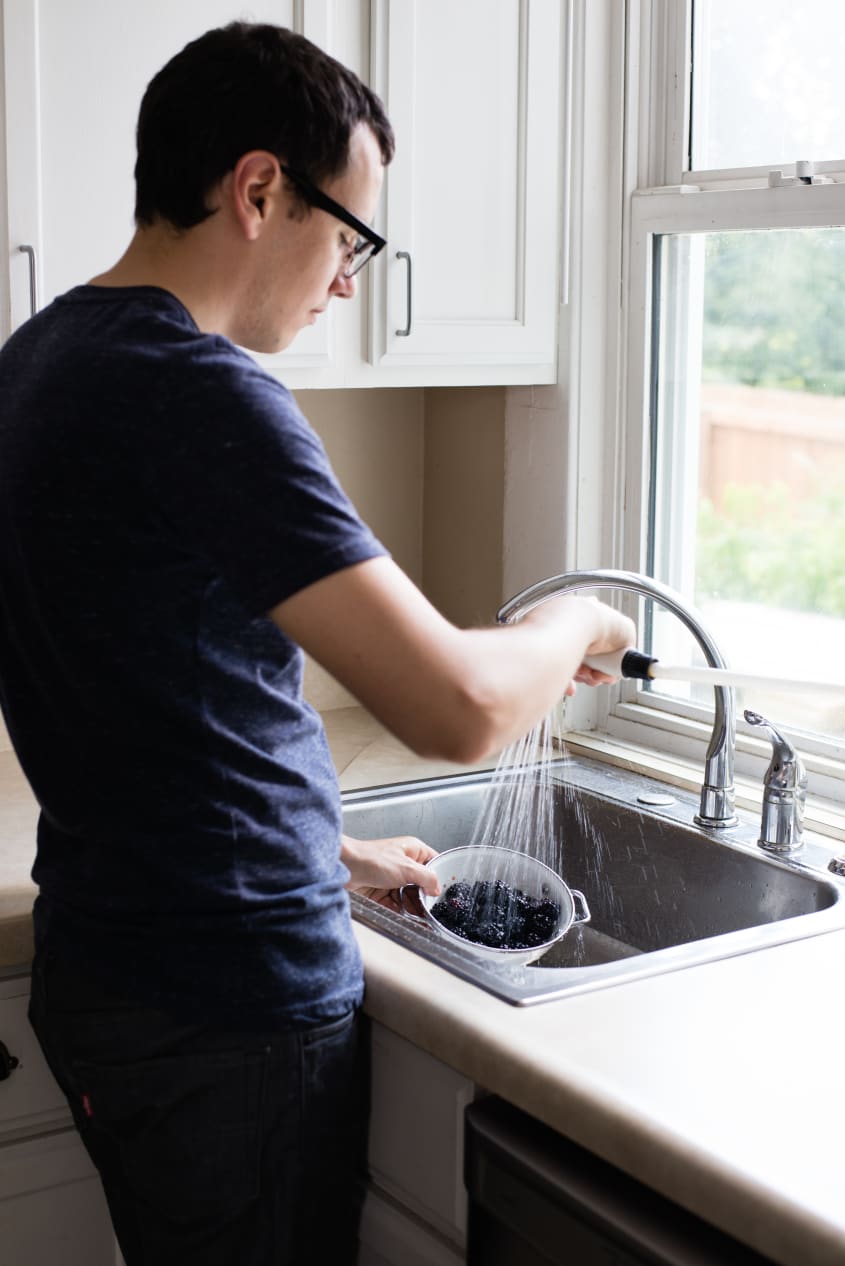
If you've noticed that your kitchen sink sprayer is not working as well as it used to, it may be time to replace the nozzle. Over time, the nozzle can become clogged with mineral deposits or simply wear out from regular use. Luckily, replacing a kitchen sink sprayer nozzle is a relatively simple DIY task that can save you time and money. In this guide, we'll take you through the step-by-step process of replacing a kitchen sink sprayer nozzle so you can get your sink back to working like new.How to Replace a Kitchen Sink Sprayer Nozzle


How to Replace a Kitchen Sink Sprayer Nozzle


/installing-a-kitchen-sink-sprayer-2718817-hero-2b7047468d594da6be2494ba0eebb480.jpg)

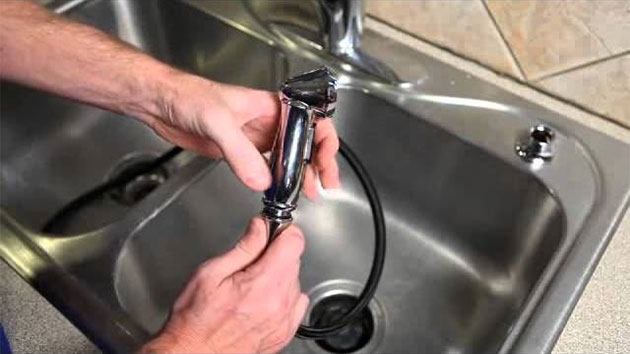
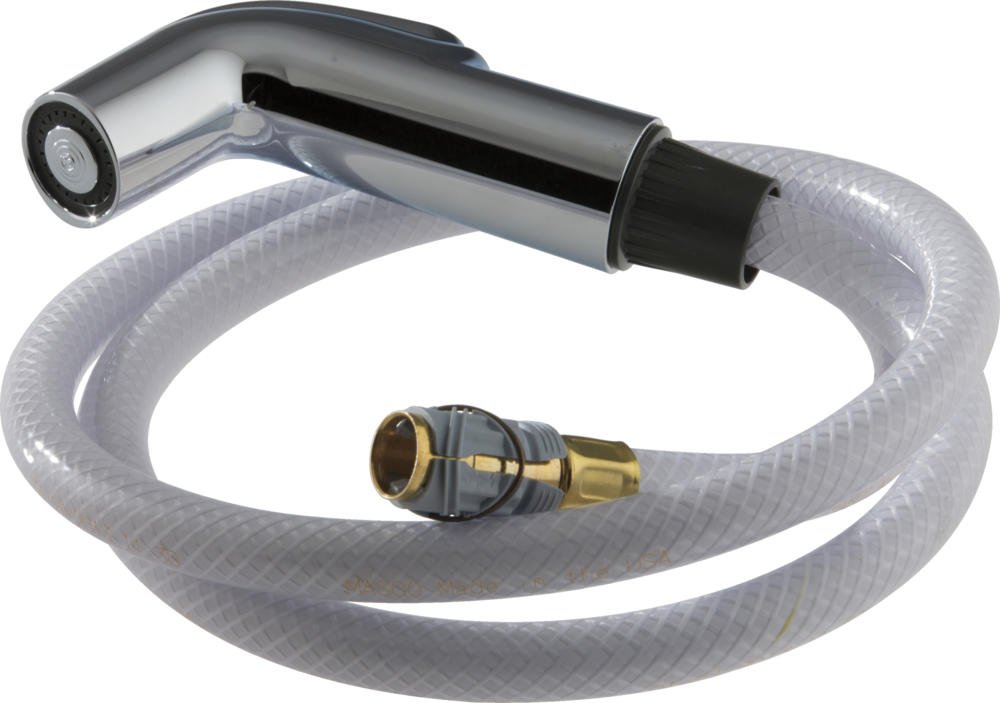
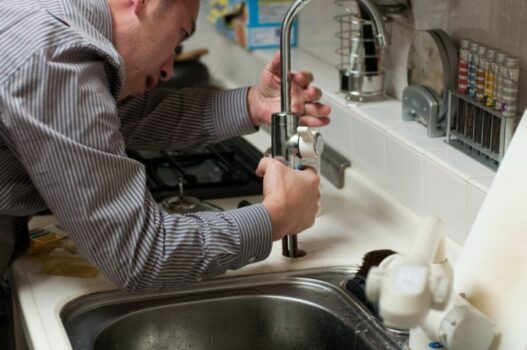
The first step in replacing a kitchen sink sprayer nozzle is to gather all the necessary tools and materials. You will need a new sprayer nozzle, a wrench, plumber's tape, and a cloth or rag. Once you have everything you need, follow these steps: Step 1: Turn off the water supply to the sink by shutting off the water valves under the sink. This will prevent any water from leaking while you work. Step 2: Disconnect the old sprayer nozzle from the hose by unscrewing it using a wrench. If the nozzle is stuck, you can use a pair of pliers to help loosen it. Step 3: Clean the hose and the connection point where the old nozzle was attached. Use a cloth or rag to wipe away any debris or buildup. Step 4: Wrap plumber's tape around the threads of the new sprayer nozzle. This will help create a tight seal and prevent any leaks. Step 5: Screw the new sprayer nozzle onto the hose, making sure it is tight and secure. Step 6: Turn the water supply back on and test the new nozzle by spraying water into the sink. If there are any leaks, tighten the connections or add more plumber's tape as needed. Step 7: Once you're satisfied with the new nozzle, clean up any excess water and debris and enjoy your newly functioning kitchen sink sprayer.Replacing a Kitchen Sink Sprayer Nozzle: Step-by-Step Guide


Replacing a Kitchen Sink Sprayer Nozzle: Step-by-Step Guide


:max_bytes(150000):strip_icc()/installing-a-kitchen-sink-sprayer-2718817-hero-2b7047468d594da6be2494ba0eebb480.jpg)
:max_bytes(150000):strip_icc()/installing-a-kitchen-sink-sprayer-2718817-09-eb32dfd25037467c99fc73cadde60281.jpg)


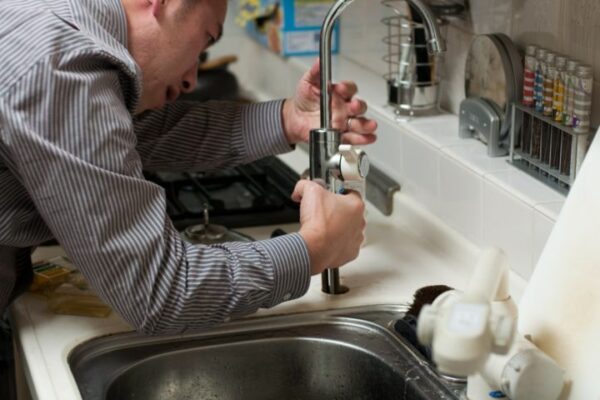

If you're a handy person who loves to tackle DIY projects, replacing a kitchen sink sprayer nozzle is a perfect task for you. Not only will you save money by not having to call a plumber, but you'll also gain the satisfaction of fixing something yourself. Just make sure to follow the steps carefully and take your time to avoid any mistakes.DIY: Replacing a Kitchen Sink Sprayer Nozzle


DIY: Replacing a Kitchen Sink Sprayer Nozzle


Don't have the time or patience for a DIY project? No problem. Replacing a kitchen sink sprayer nozzle is a relatively quick and easy task that can be done in less than 30 minutes. With just a few simple steps, you can have your sink sprayer working like new in no time.Quick and Easy Kitchen Sink Sprayer Nozzle Replacement


Quick and Easy Kitchen Sink Sprayer Nozzle Replacement


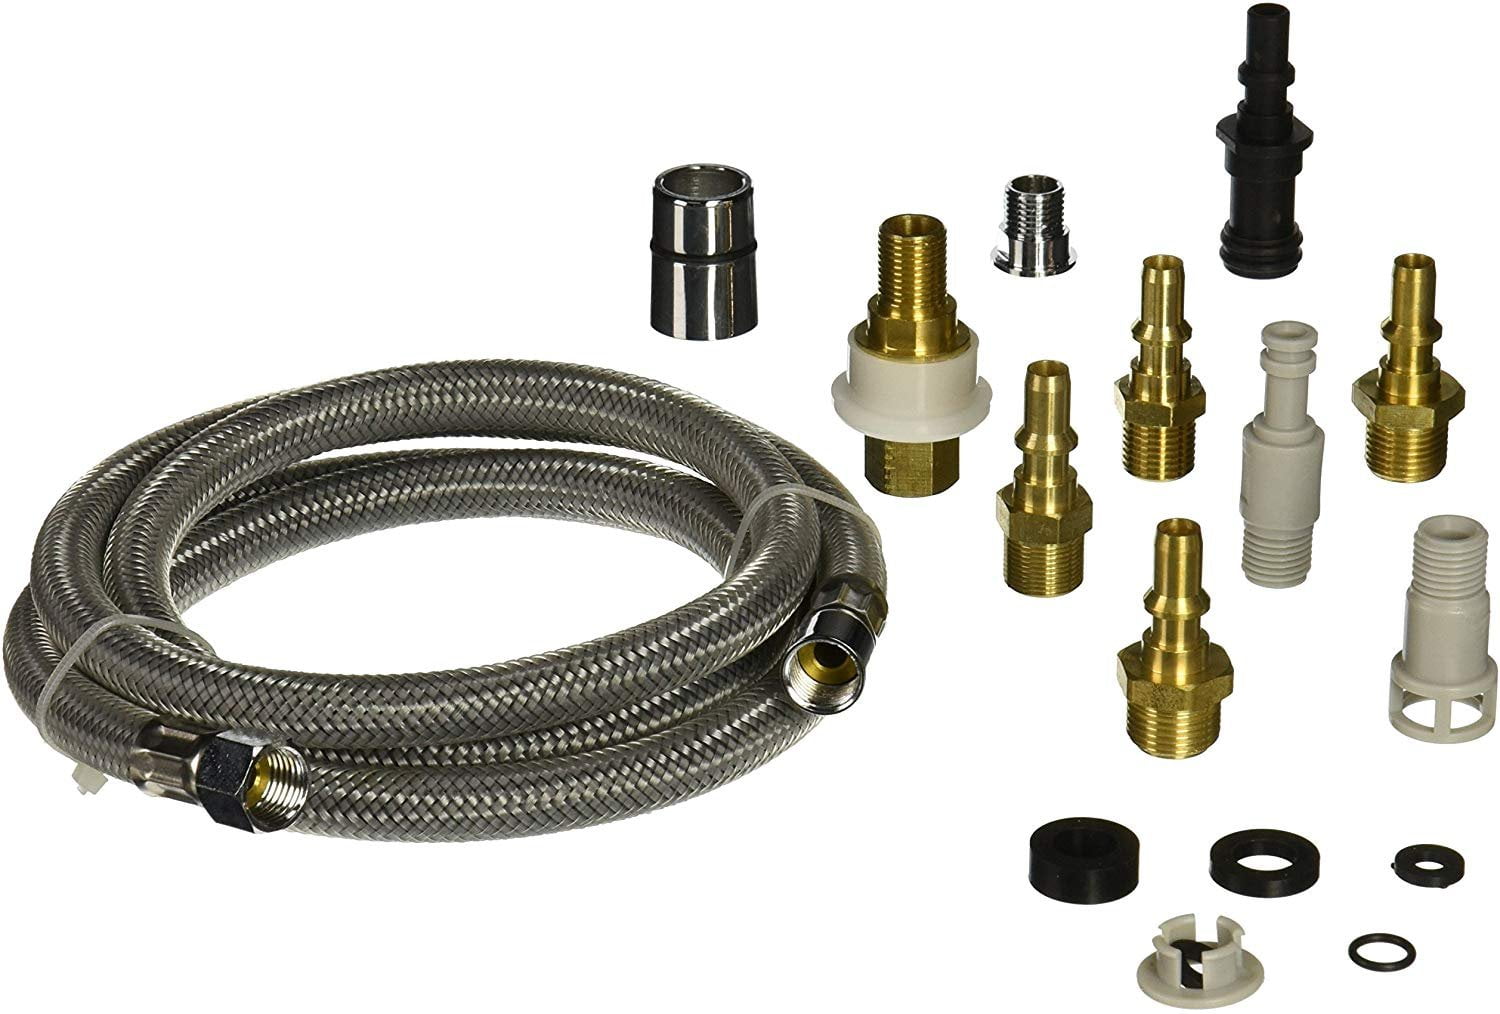
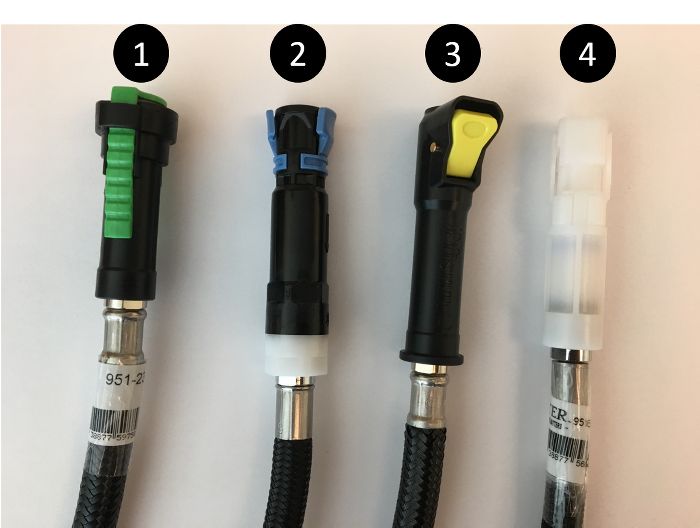
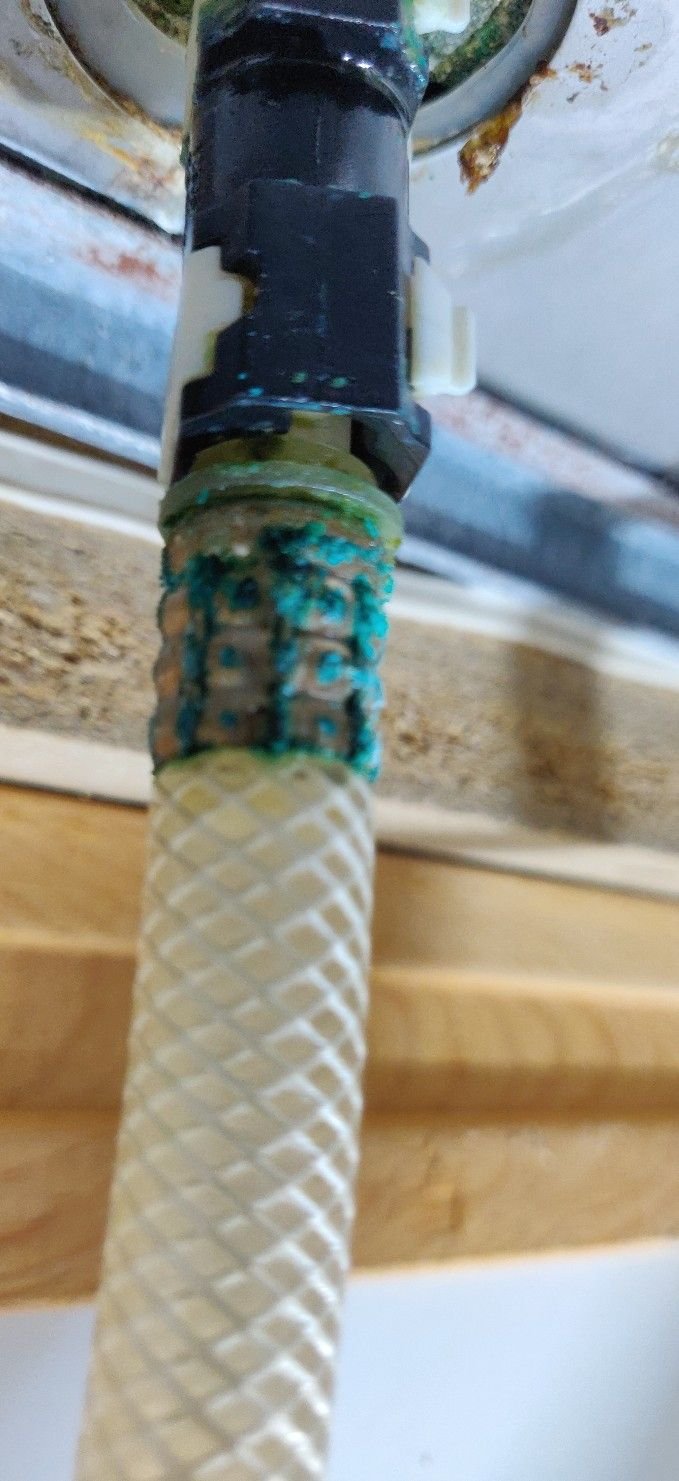
If you've never replaced a kitchen sink sprayer nozzle before, there are a few things you should know before you get started: 1. Know the type of sprayer nozzle you need: Before purchasing a new sprayer nozzle, make sure to check the brand and model of your current nozzle. This will ensure that you get the correct replacement that will fit and function properly. 2. Be careful when removing the old nozzle: The old nozzle may be stuck or difficult to remove. Use caution and proper tools, such as pliers, to avoid damaging the hose or other parts of your sink. 3. Check for leaks: After installing the new nozzle, make sure to check for any leaks. If you notice any, tighten the connections or add more plumber's tape as needed. 4. Regularly clean your new nozzle: To keep your new nozzle working like new, make sure to regularly clean it and remove any buildup or debris.Replacing a Kitchen Sink Sprayer Nozzle: What You Need to Know


Replacing a Kitchen Sink Sprayer Nozzle: What You Need to Know


For those who prefer a more detailed guide, here is a step-by-step breakdown of the process for replacing a kitchen sink sprayer nozzle: Step 1: Gather all necessary tools and materials, including a new sprayer nozzle, a wrench, plumber's tape, and a cloth or rag. Step 2: Turn off the water supply to the sink by shutting off the water valves under the sink. Step 3: Disconnect the old sprayer nozzle from the hose by unscrewing it using a wrench. Step 4: Clean the hose and the connection point where the old nozzle was attached. Step 5: Wrap plumber's tape around the threads of the new sprayer nozzle. Step 6: Screw the new sprayer nozzle onto the hose, making sure it is tight and secure. Step 7: Turn the water supply back on and test the new nozzle by spraying water into the sink. Step 8: Clean up any excess water and debris and enjoy your newly functioning kitchen sink sprayer.Step-by-Step Guide for Replacing a Kitchen Sink Sprayer Nozzle

Step-by-Step Guide for Replacing a Kitchen Sink Sprayer Nozzle


Here are a few tips and tricks to keep in mind when replacing a kitchen sink sprayer nozzle: 1. Use plumber's tape: This will help create a tight seal and prevent any leaks. 2. Clean the nozzle regularly: This will help prevent buildup and keep your nozzle working like new. 3. Be patient: Take your time and follow the steps carefully to avoid any mistakes or accidents.Replacing a Kitchen Sink Sprayer Nozzle: Tips and Tricks

Replacing a Kitchen Sink Sprayer Nozzle: Tips and Tricks


/25089301983_c5145fe85d_o-58418ef15f9b5851e5f392b5.jpg)
With just five easy steps, you can replace your kitchen sink sprayer nozzle and have your sink working like new: Step 1: Turn off the water supply to the sink. Step 2: Disconnect the old nozzle from the hose. Step 3: Clean the hose and connection point. Step 4: Wrap plumber's tape around the new nozzle. Step 5: Screw the new nozzle onto the hose and test for any leaks.How to Replace a Kitchen Sink Sprayer Nozzle in 5 Easy Steps

How to Replace a Kitchen Sink Sprayer Nozzle in 5 Easy Steps
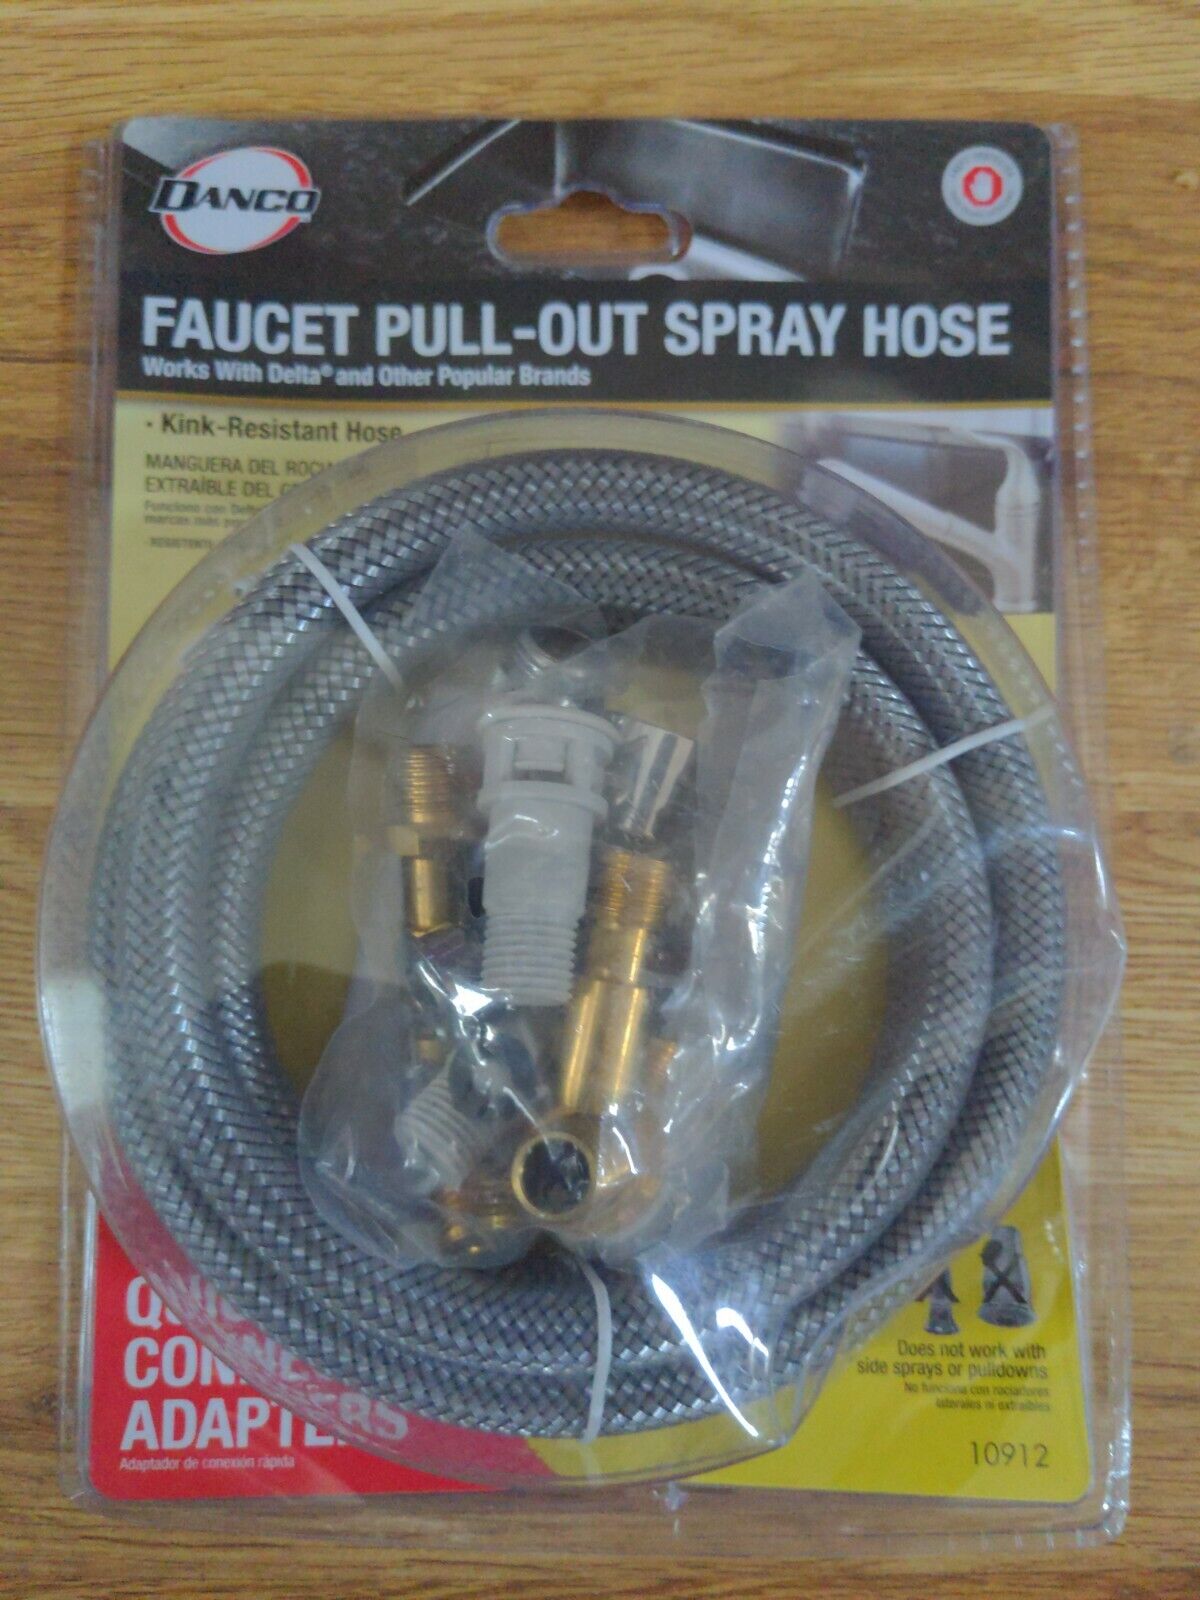
When replacing a kitchen sink sprayer nozzle, it's important to avoid these common mistakes: 1. Using the wrong type of nozzle: Make sure to check the brand and model of your current nozzle before purchasing a replacement. 2. Forgetting to turn off the water supply: This can lead to water leaks and make the process messier and more difficult. 3. Not cleaning the nozzle: Over time, buildup and debris can clog the nozzle and affect its performance.Replacing a Kitchen Sink Sprayer Nozzle: Common Mistakes to Avoid
Replacing a Kitchen Sink Sprayer Nozzle: Common Mistakes to Avoid

With this comprehensive guide, you now have all the information you need to successfully replace a kitchen sink sprayer nozzle on your own. Whether you're a seasoned DIY-er or a first-timer, this task is simple and can save you time and money in the long run. Just remember to take your time, gather all the necessary tools and materials, and follow the steps carefully. Happy fixing!DIY Kitchen Sink Sprayer Nozzle Replacement: A Comprehensive Guide

DIY Kitchen Sink Sprayer Nozzle Replacement: A Comprehensive Guide

Replacing a Kitchen Sink Sprayer Nozzle: A Quick and Easy Solution for a New Look
Why Replace Your Kitchen Sink Sprayer Nozzle?
 Replacing your kitchen sink sprayer nozzle can be a simple and cost-effective way to update the look of your kitchen. Over time, the nozzle can become clogged with mineral deposits or worn out, making it less efficient and aesthetically pleasing. Not only that, a faulty nozzle can lead to water wastage and increase your water bill. By replacing your kitchen sink sprayer nozzle, you can not only improve the functionality of your sink but also give your kitchen a fresh look.
Step-by-Step Guide to Replacing Your Kitchen Sink Sprayer Nozzle
 Step 1: Gather Your Tools
Before starting the replacement process, make sure you have all the necessary tools. You will need an adjustable wrench, a new sprayer nozzle, and plumber's tape.
Step 2: Turn Off the Water Supply
Locate the shut-off valve for your kitchen sink and turn it off. This will prevent any water from flowing while you work on replacing the nozzle.
Step 3: Remove the Old Nozzle
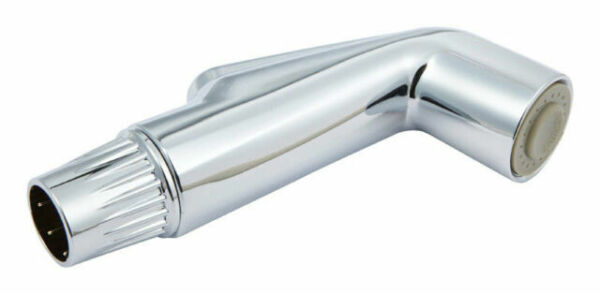
Using an adjustable wrench, loosen the nut that connects the old nozzle to the hose. Once the nut is loose, you can remove the old nozzle.
Step 4: Prepare the New Nozzle
Before installing the new nozzle, wrap plumber's tape around the threading to prevent any leaks.
Step 5: Install the New Nozzle
Carefully screw the new nozzle onto the hose and tighten the nut with your adjustable wrench.
Step 6: Test the New Nozzle
Turn on the water supply and test the new nozzle to make sure it is working properly. Adjust the water pressure as needed.
Step 1: Gather Your Tools
Before starting the replacement process, make sure you have all the necessary tools. You will need an adjustable wrench, a new sprayer nozzle, and plumber's tape.
Step 2: Turn Off the Water Supply
Locate the shut-off valve for your kitchen sink and turn it off. This will prevent any water from flowing while you work on replacing the nozzle.
Step 3: Remove the Old Nozzle
Using an adjustable wrench, loosen the nut that connects the old nozzle to the hose. Once the nut is loose, you can remove the old nozzle.
Step 4: Prepare the New Nozzle
Before installing the new nozzle, wrap plumber's tape around the threading to prevent any leaks.
Step 5: Install the New Nozzle
Carefully screw the new nozzle onto the hose and tighten the nut with your adjustable wrench.
Step 6: Test the New Nozzle
Turn on the water supply and test the new nozzle to make sure it is working properly. Adjust the water pressure as needed.
Final Thoughts
 Replacing your kitchen sink sprayer nozzle can be a simple and affordable way to update your kitchen. By following these easy steps, you can have a new and improved sprayer nozzle in no time. Don't forget to properly dispose of the old nozzle and enjoy the refreshed look and functionality of your kitchen sink.