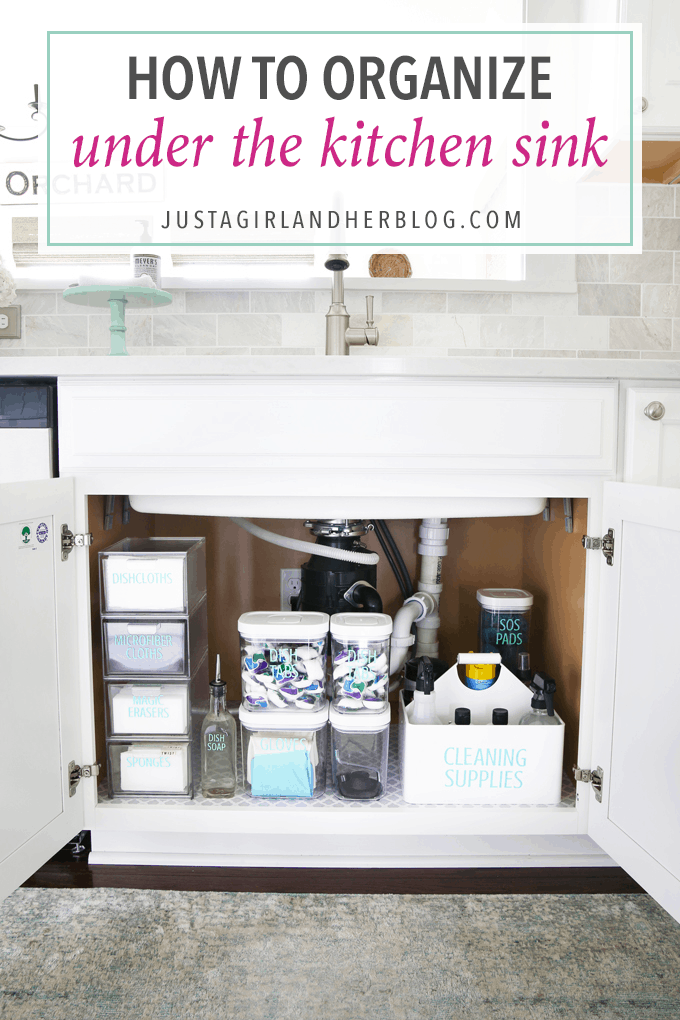
Tiling under a kitchen sink may seem like a daunting task, but with the right materials and techniques, it can be a simple and rewarding DIY project. Not only does tiling under your kitchen sink add a clean and polished look to your kitchen, but it also provides protection against water damage. In this article, we will guide you through the process of tiling under a kitchen sink.How to Tile Under a Kitchen Sink


How to Tile Under a Kitchen Sink


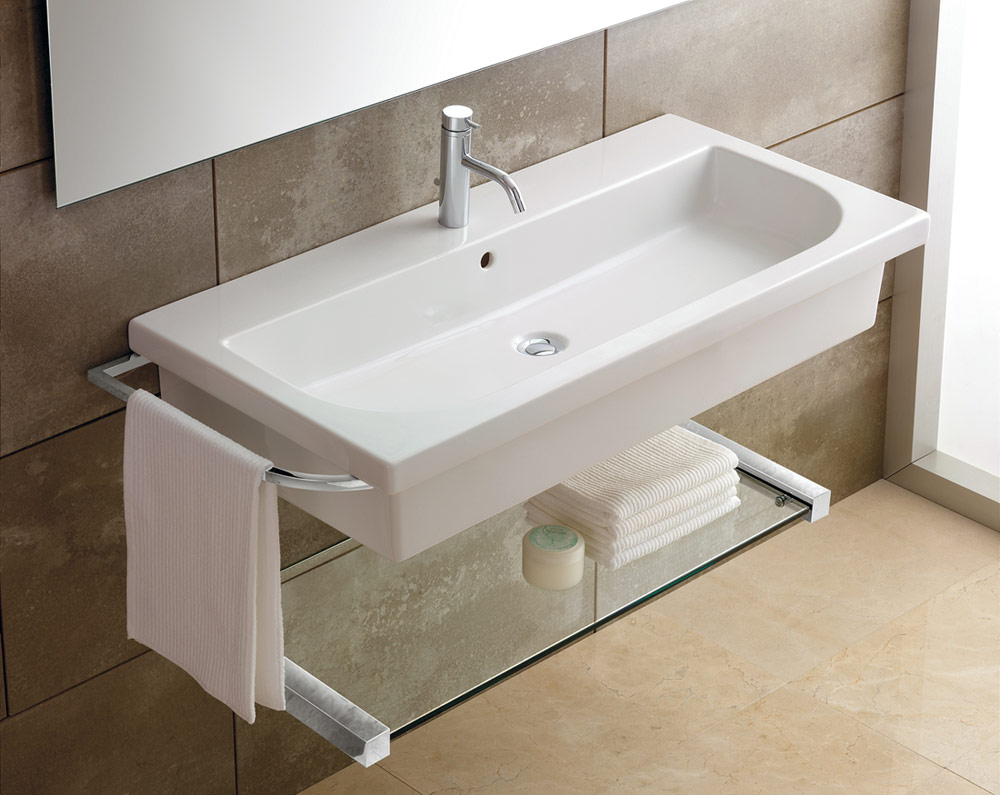
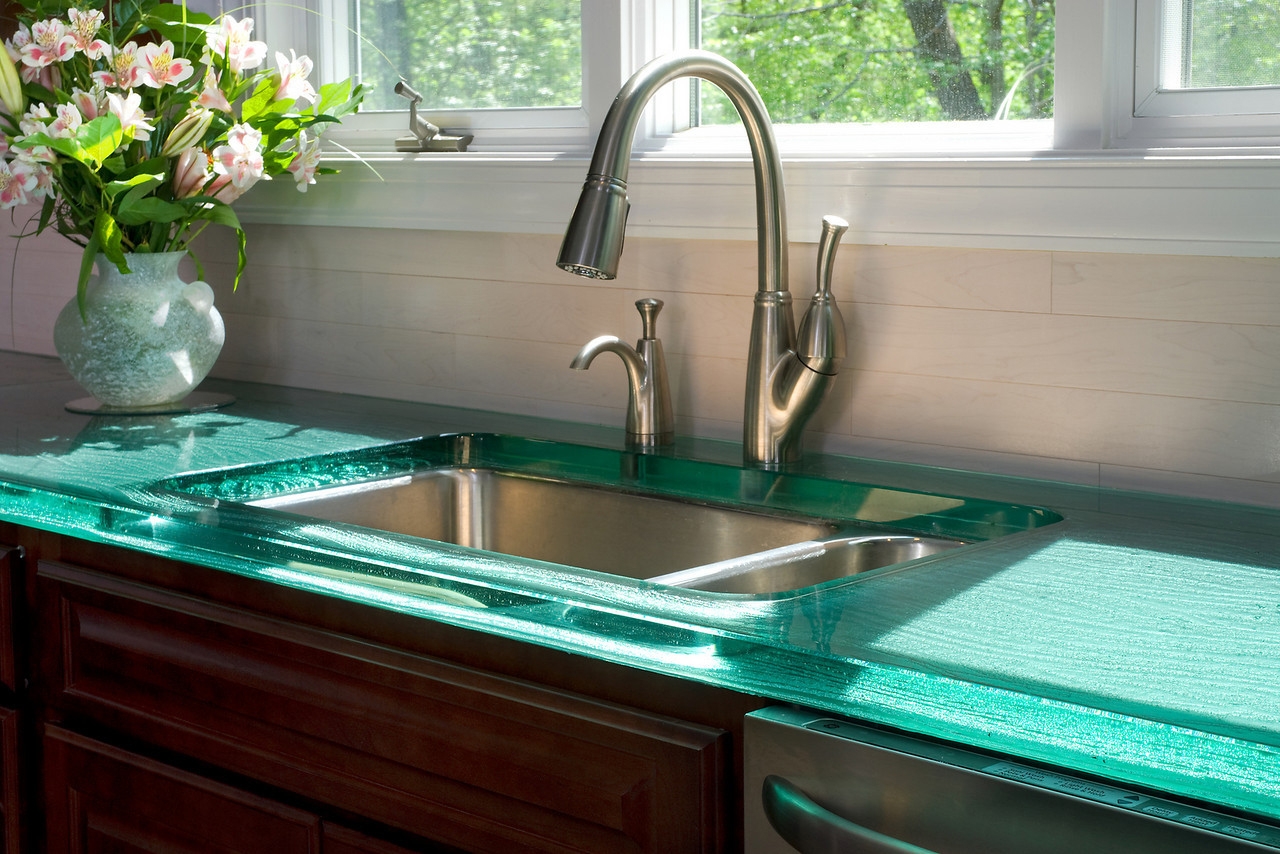
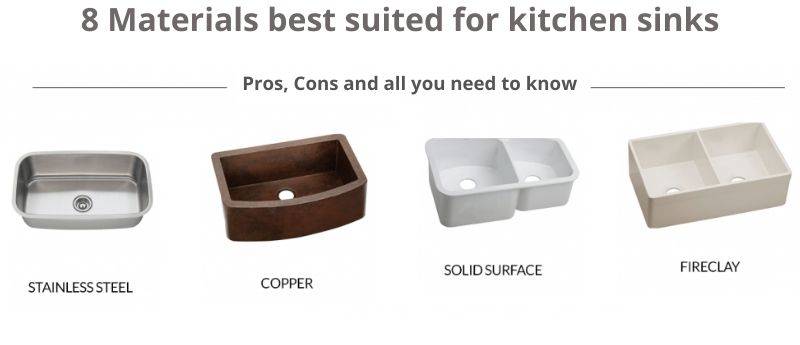
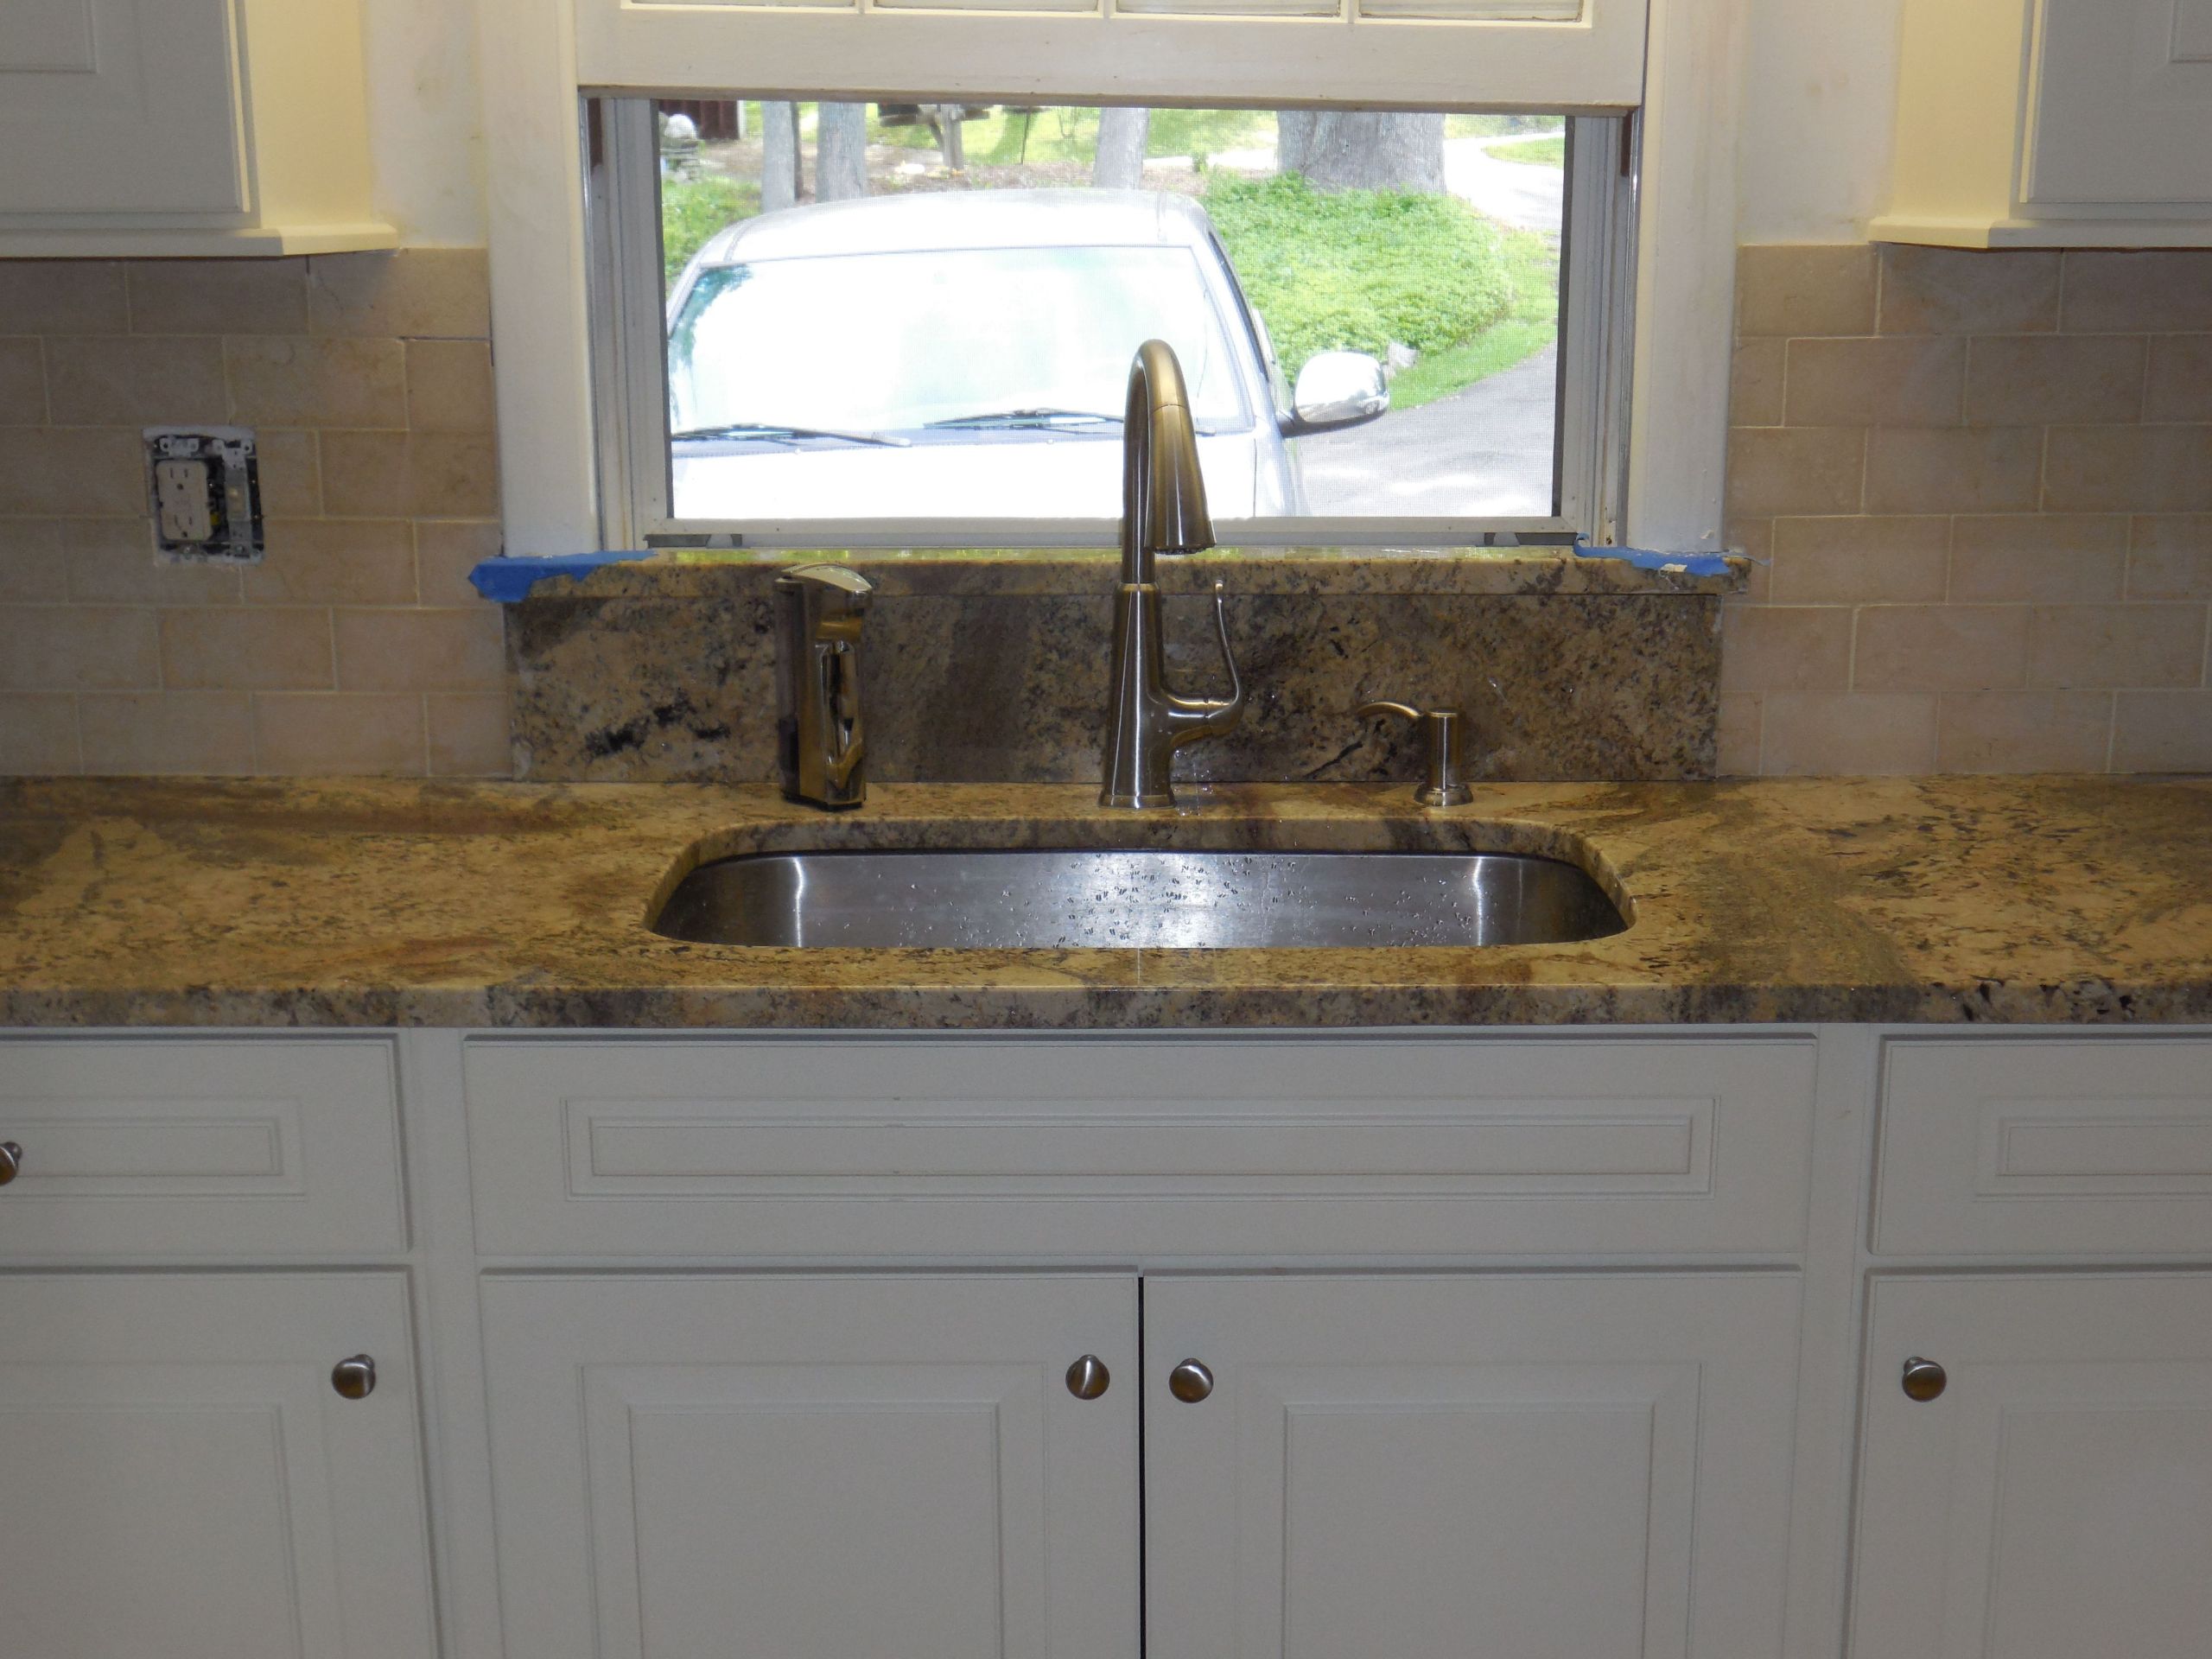
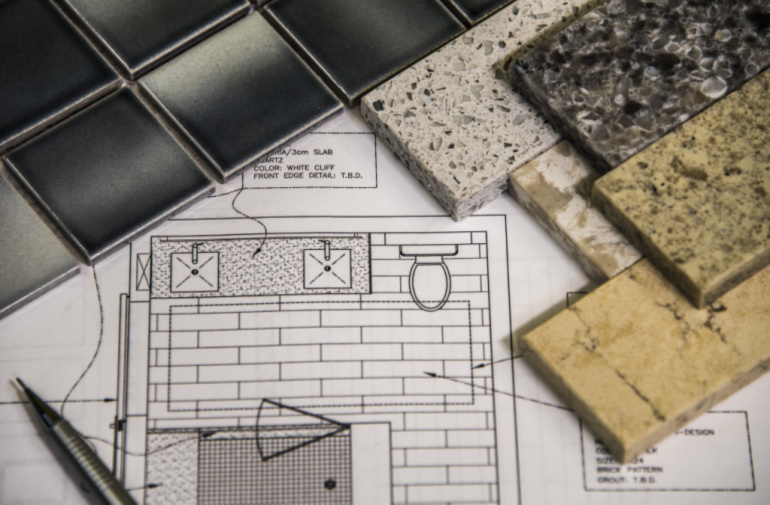
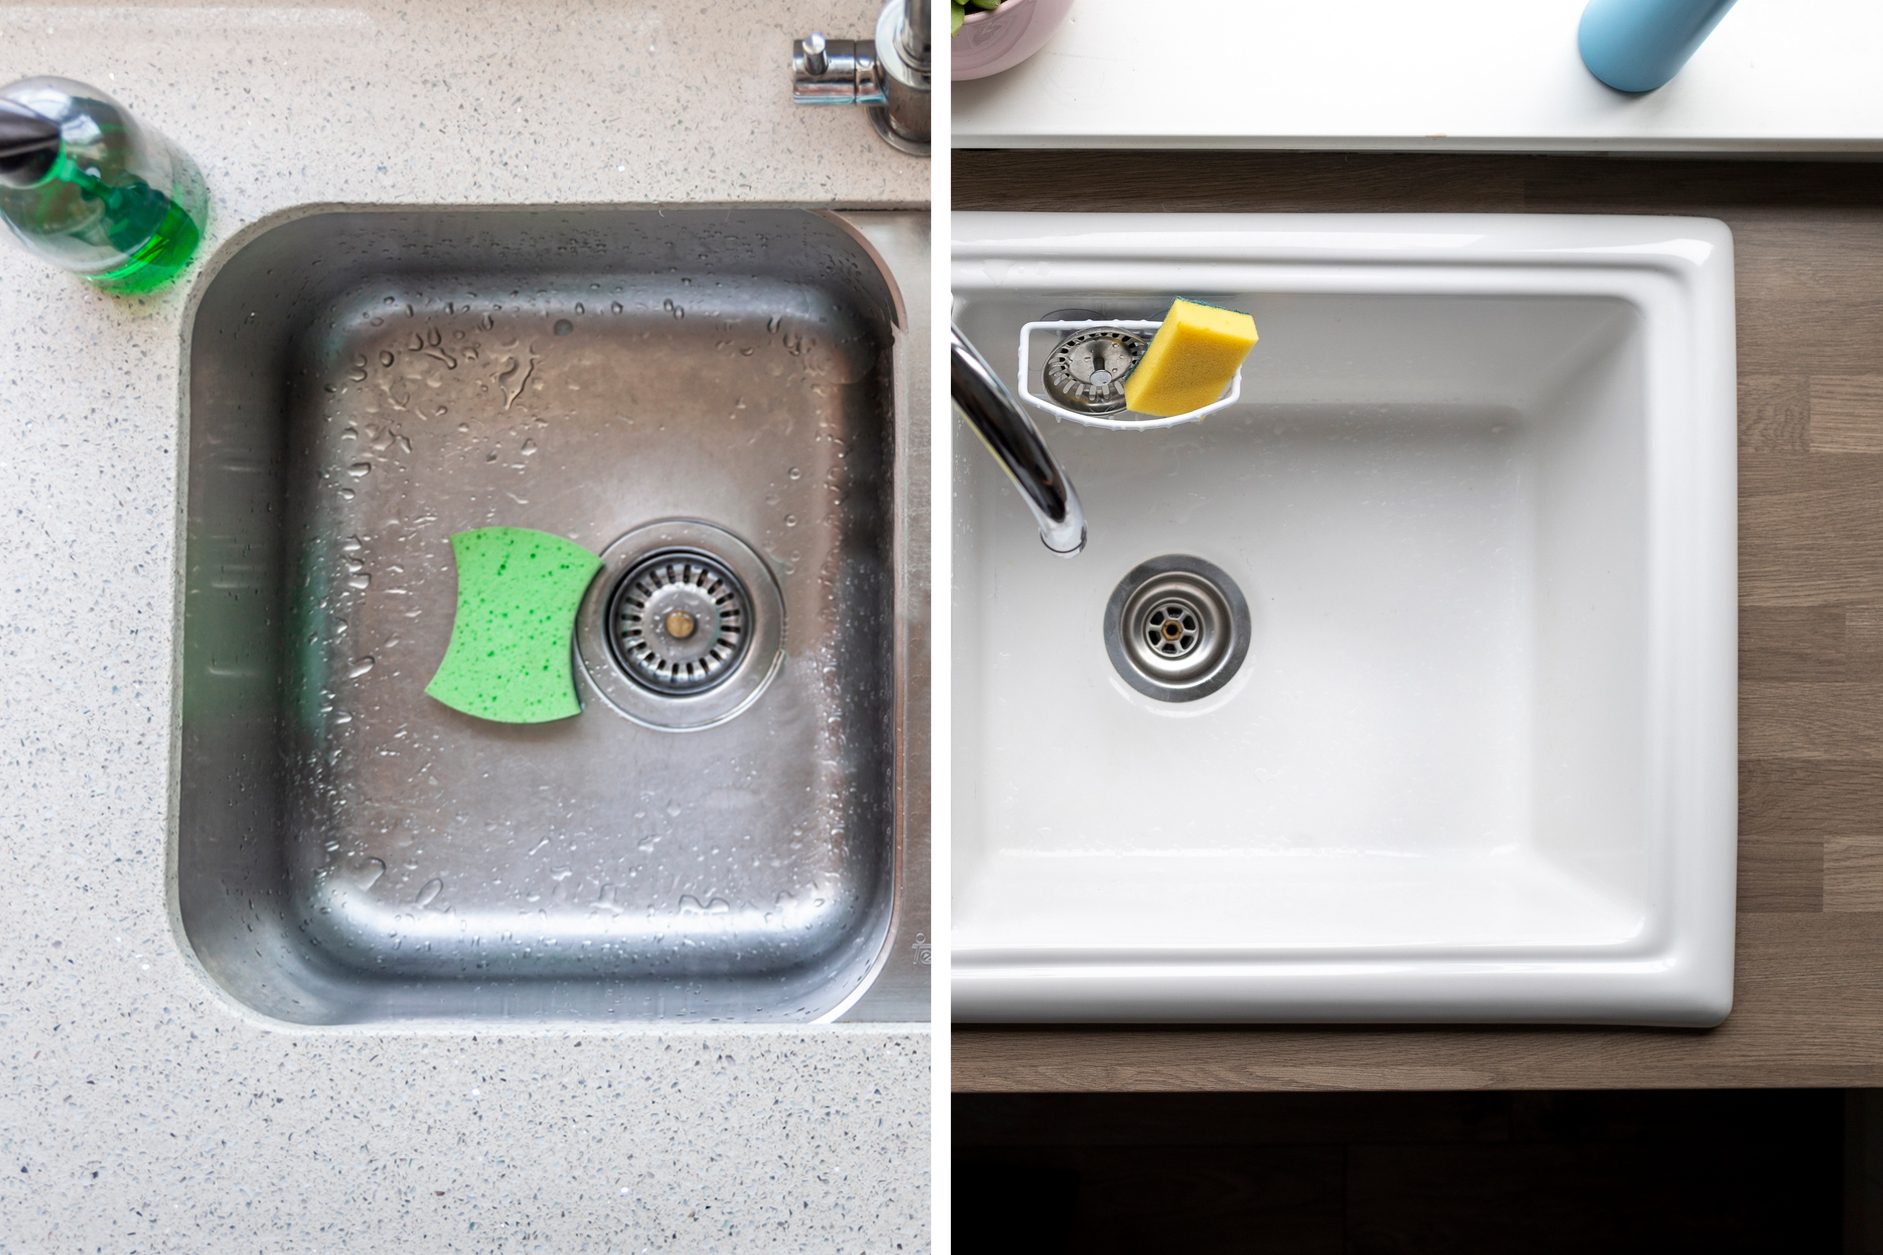
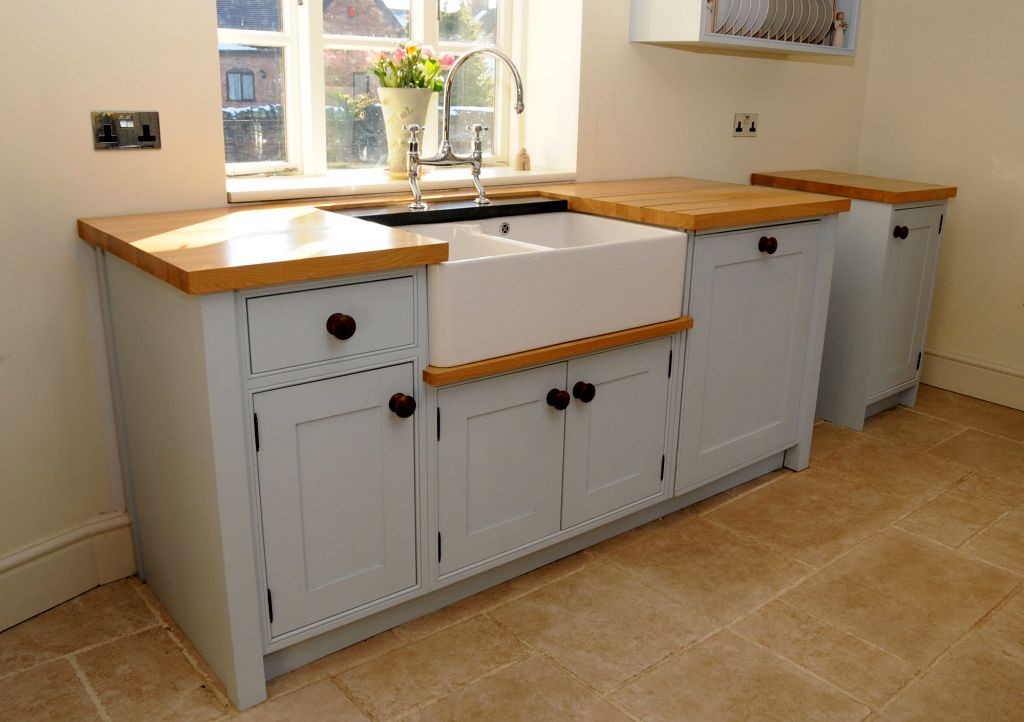
There are various materials that can be used for tiling under a kitchen sink, but the most commonly used are ceramic or porcelain tiles. These tiles are durable, water-resistant, and come in various sizes, colors, and patterns to suit any kitchen design. Other options include natural stone tiles, such as marble or granite, but these can be more expensive and require more maintenance.Best Materials for Tiling Under a Kitchen Sink


Best Materials for Tiling Under a Kitchen Sink


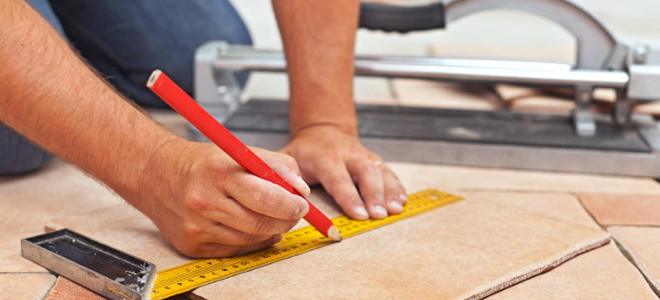
Before starting, make sure to protect your countertops and cabinets by covering them with a drop cloth. Here is a step-by-step guide to tiling under a kitchen sink: Step 1: Measure the area under your kitchen sink and purchase enough tiles to cover the space. It's always a good idea to buy a few extra tiles in case of any mistakes or future repairs. Step 2: Prepare the surface by cleaning it thoroughly and sanding down any rough spots. This will ensure that the tiles adhere properly. Step 3: Apply a layer of thin-set adhesive to the area using a notched trowel, making sure to create a smooth and even layer. Step 4: Place the tiles onto the adhesive, starting from one corner and working your way outwards. Use tile spacers to create even gaps between the tiles. Step 5: Once the tiles are in place, allow the adhesive to dry completely according to the manufacturer's instructions. Step 6: Once the adhesive is dry, remove the tile spacers and apply grout using a grout float. Make sure to fill in all the gaps between the tiles. Step 7: Wipe off any excess grout with a damp sponge and let it dry for 24 hours. Step 8: Apply a sealant over the grout to protect it from stains and water damage.Step-by-Step Guide for Tiling Under a Kitchen Sink


Step-by-Step Guide for Tiling Under a Kitchen Sink
:no_upscale()/cdn.vox-cdn.com/uploads/chorus_asset/file/19495086/drain_0.jpg)


Tiling under a kitchen sink may seem like a straightforward task, but there are a few tips that can make the process easier and ensure a professional-looking result: Tip 1: Use a tile cutter or wet saw to cut tiles to fit around any pipes or fixtures under the sink. Tip 2: Make sure to use waterproof adhesive and grout to prevent any water damage. Tip 3: Use a level to ensure that the tiles are straight and even. Tip 4: Seal the edges of the tiled area with silicone caulk to prevent water from seeping in.Tips for Tiling Under a Kitchen Sink


Tips for Tiling Under a Kitchen Sink

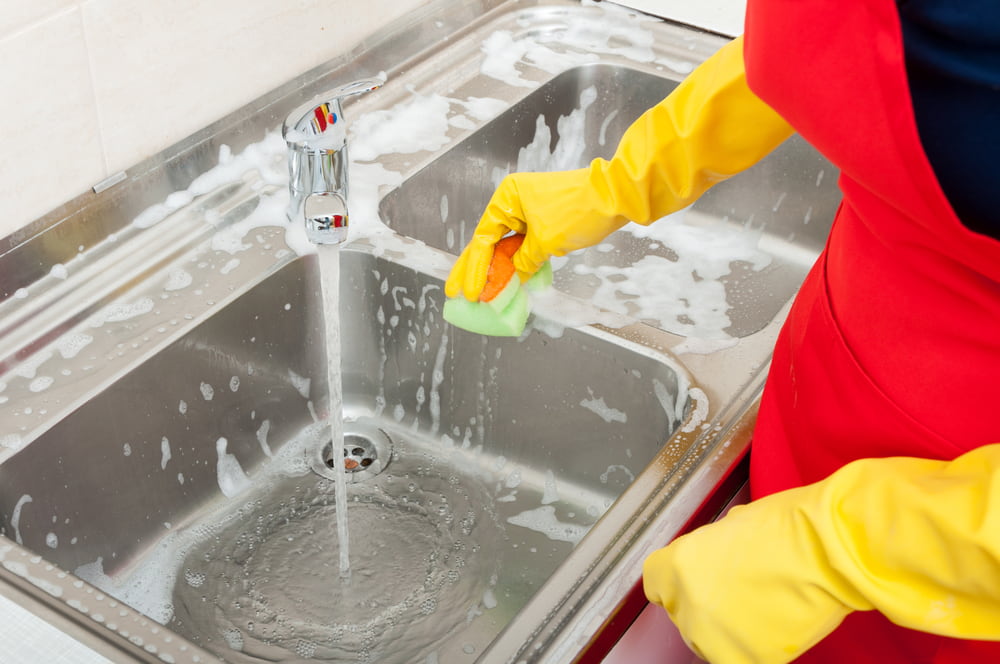
While tiling under a kitchen sink may seem like a simple task, there are a few common mistakes that can easily be avoided: Mistake #1: Not properly preparing the surface before tiling, resulting in tiles that don't stick properly. Mistake #2: Using regular adhesive and grout instead of waterproof ones, causing water damage and mold growth. Mistake #3: Not allowing the adhesive and grout to dry completely, resulting in a weak and unstable tiled area.Common Mistakes When Tiling Under a Kitchen Sink


Common Mistakes When Tiling Under a Kitchen Sink


The cost of tiling under a kitchen sink will depend on the materials used and the size of the area. On average, it can cost between $200-$500 for materials and installation.Cost of Tiling Under a Kitchen Sink

Cost of Tiling Under a Kitchen Sink


There are both pros and cons to tiling under a kitchen sink: Pros: Tiling provides a clean and polished look, protects against water damage, and is easy to clean and maintain. Cons: Tiling can be expensive, takes time and effort to install, and can be prone to cracks or chips if not installed correctly.Pros and Cons of Tiling Under a Kitchen Sink


Pros and Cons of Tiling Under a Kitchen Sink

:max_bytes(150000):strip_icc()/GettyImages-174841379-5a85d100ba61770036d9f06c.jpg)


:max_bytes(150000):strip_icc()/Low-DivideKitchenSink-5a763707119fa8003735e84a.jpg)

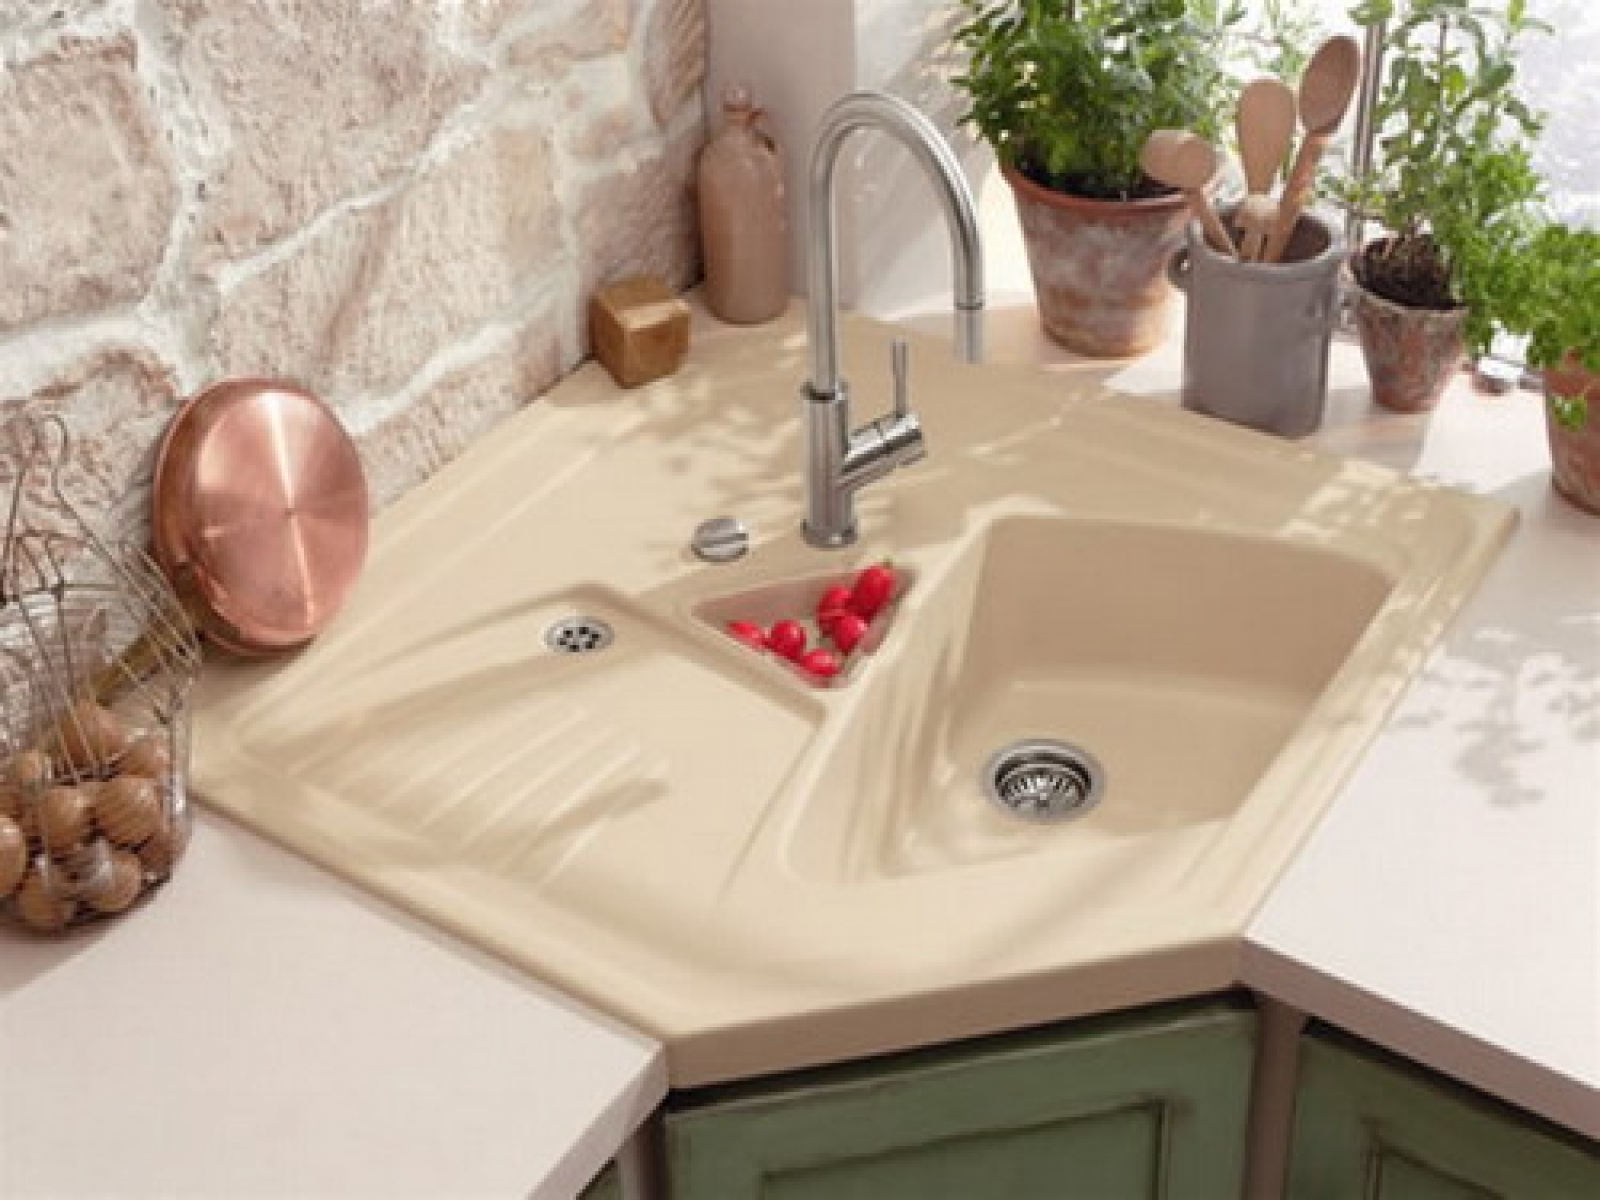
If tiling is not the right option for you, there are alternative options to consider: Option 1: Use peel-and-stick vinyl tiles for a budget-friendly and easy-to-install alternative. Option 2: Install a waterproof mat or liner under the sink to protect the area from water damage.Alternative Options to Tiling Under a Kitchen Sink

Alternative Options to Tiling Under a Kitchen Sink


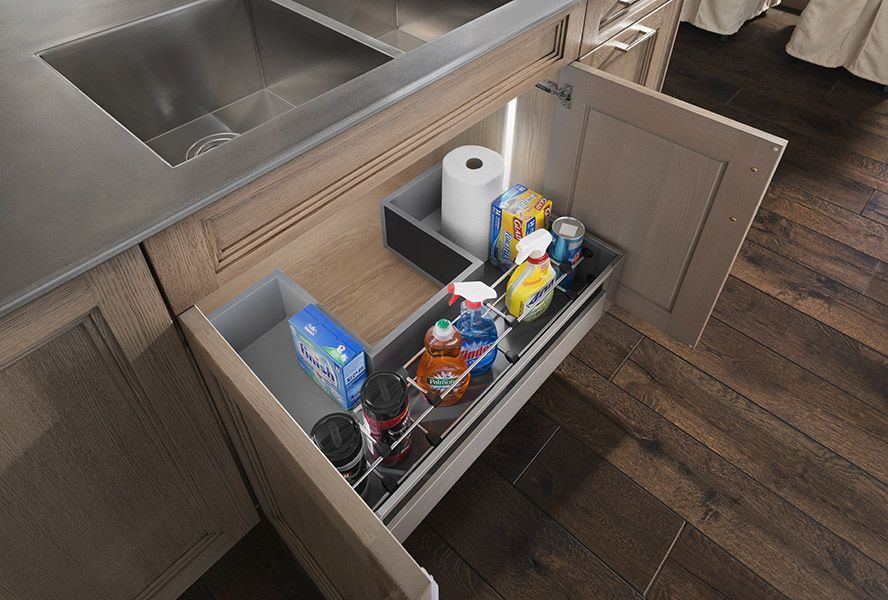
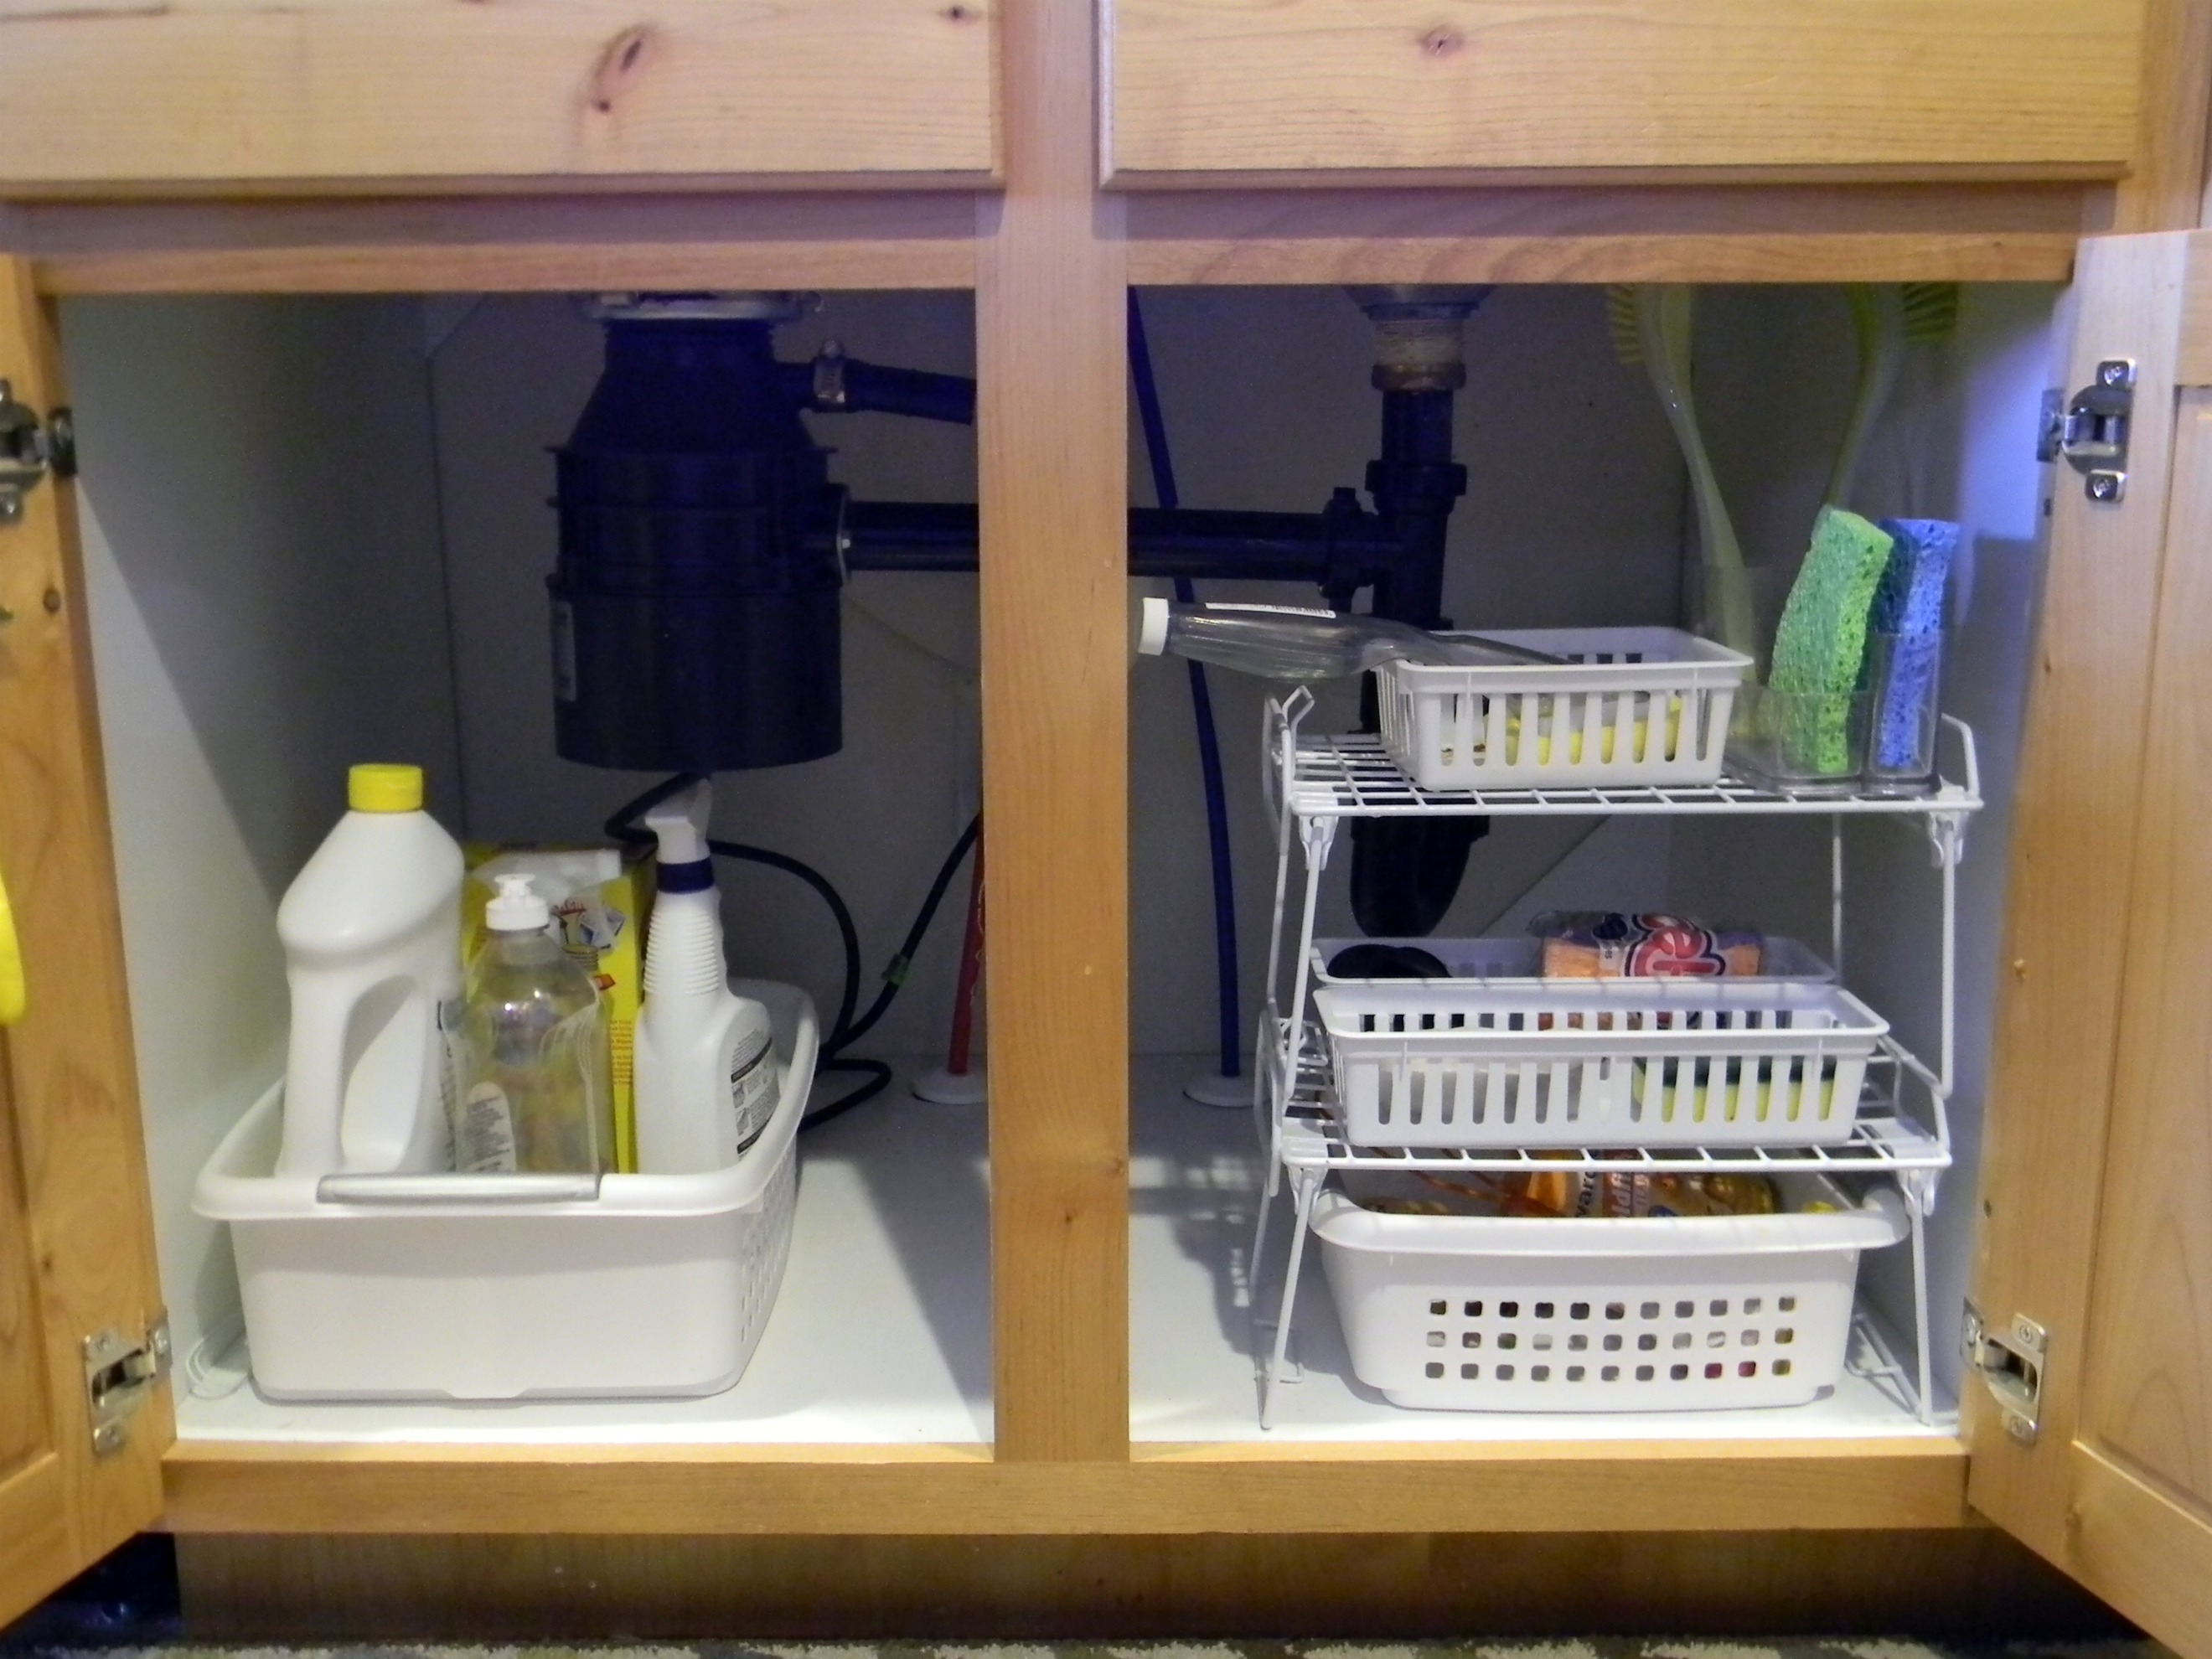
The key to keeping your tiled area under the kitchen sink clean and well-maintained is regular maintenance. Here are a few tips: Tip 1: Wipe down the tiles with a mild cleaner and warm water regularly to prevent any buildup of dirt or grime. Tip 2: Avoid using harsh chemicals or abrasive cleaners on the tiles to prevent damage. Tip 3: Seal the grout every year to keep it protected and looking new.How to Clean and Maintain Tiled Area Under a Kitchen Sink


How to Clean and Maintain Tiled Area Under a Kitchen Sink


Looking for inspiration for tiling under your kitchen sink? Check out home renovation websites and magazines for design ideas and inspiration. You can also browse online for different tile patterns and colors to find the perfect fit for your kitchen. Now that you have all the information you need, it's time to start tiling under your kitchen sink! With the right materials and techniques, you can create a beautiful and functional tiled area that will last for years to come.Inspiration for Tiling Under a Kitchen Sink


Inspiration for Tiling Under a Kitchen Sink


Tiling Under the Kitchen Sink: A Functional and Stylish Addition to Your Home
 When it comes to designing a functional and stylish kitchen, every detail matters. From the countertops to the backsplash, every element plays a crucial role in creating a cohesive and visually appealing space. One area that is often overlooked but is essential to the overall design of a kitchen is the area under the sink. Tiling this space not only adds to the aesthetic appeal of your kitchen but also serves a practical purpose. In this article, we will explore the benefits of tiling under the kitchen sink and provide some tips on how to do it effectively.
The Benefits of Tiling Under the Kitchen Sink
 Tiling under the kitchen sink has become a popular trend in modern kitchen design, and for good reason. Here are some of the benefits of incorporating this design element into your home:
1. Protection against water damage:
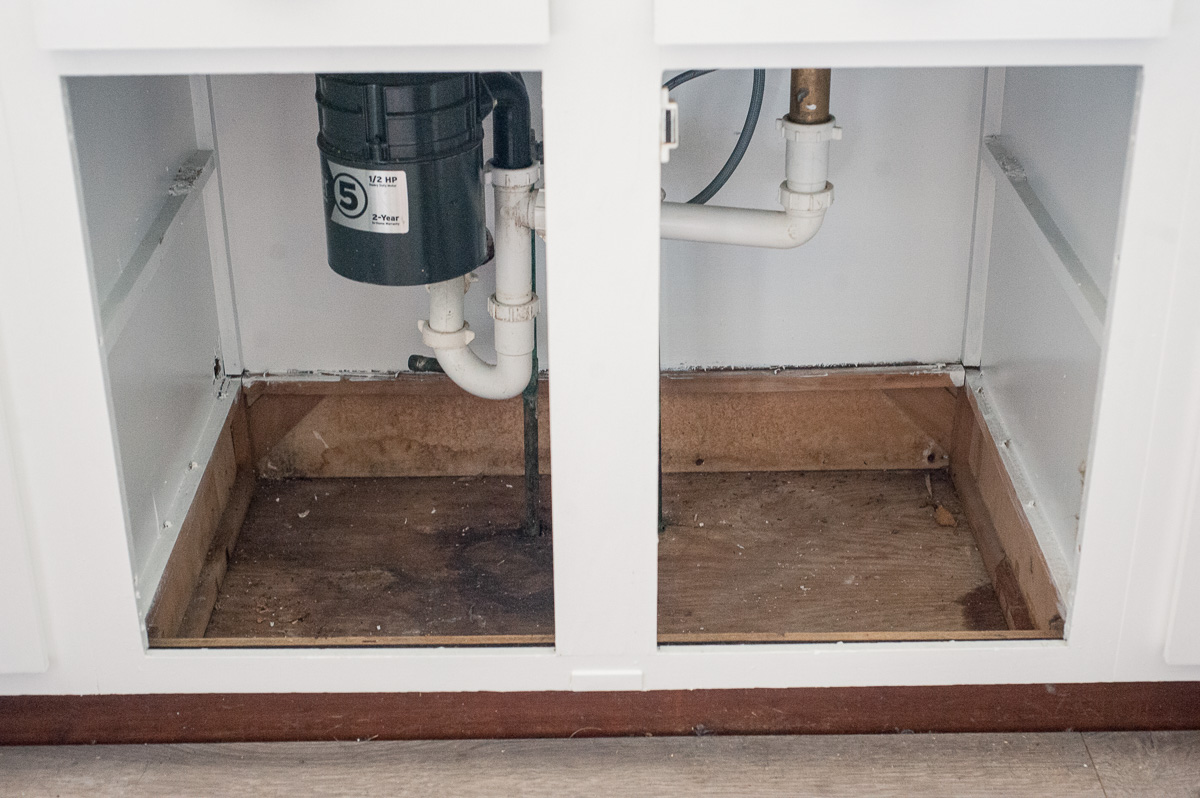
The area under the kitchen sink is prone to water spillage and leaks, which can cause damage to the underlying surface. By tiling this area, you create a waterproof barrier that protects your cabinets and floors from any potential water damage.
2. Easy to clean:
Let's face it, the area under the kitchen sink can get dirty and messy. Tiling this space makes it much easier to clean up any spills or stains, as tiles are non-porous and can be wiped clean with ease.
3. Adds to the overall design:
Tiling under the kitchen sink can add a touch of style and sophistication to your kitchen. With a wide range of tile options available, you can choose a design that complements the rest of your kitchen and ties the whole space together.
Tiling under the kitchen sink has become a popular trend in modern kitchen design, and for good reason. Here are some of the benefits of incorporating this design element into your home:
1. Protection against water damage:
The area under the kitchen sink is prone to water spillage and leaks, which can cause damage to the underlying surface. By tiling this area, you create a waterproof barrier that protects your cabinets and floors from any potential water damage.
2. Easy to clean:
Let's face it, the area under the kitchen sink can get dirty and messy. Tiling this space makes it much easier to clean up any spills or stains, as tiles are non-porous and can be wiped clean with ease.
3. Adds to the overall design:
Tiling under the kitchen sink can add a touch of style and sophistication to your kitchen. With a wide range of tile options available, you can choose a design that complements the rest of your kitchen and ties the whole space together.
Tips for Tiling Under the Kitchen Sink
 Now that you know the benefits of tiling under the kitchen sink, here are some tips to keep in mind when undertaking this project:
1. Choose the right tiles:
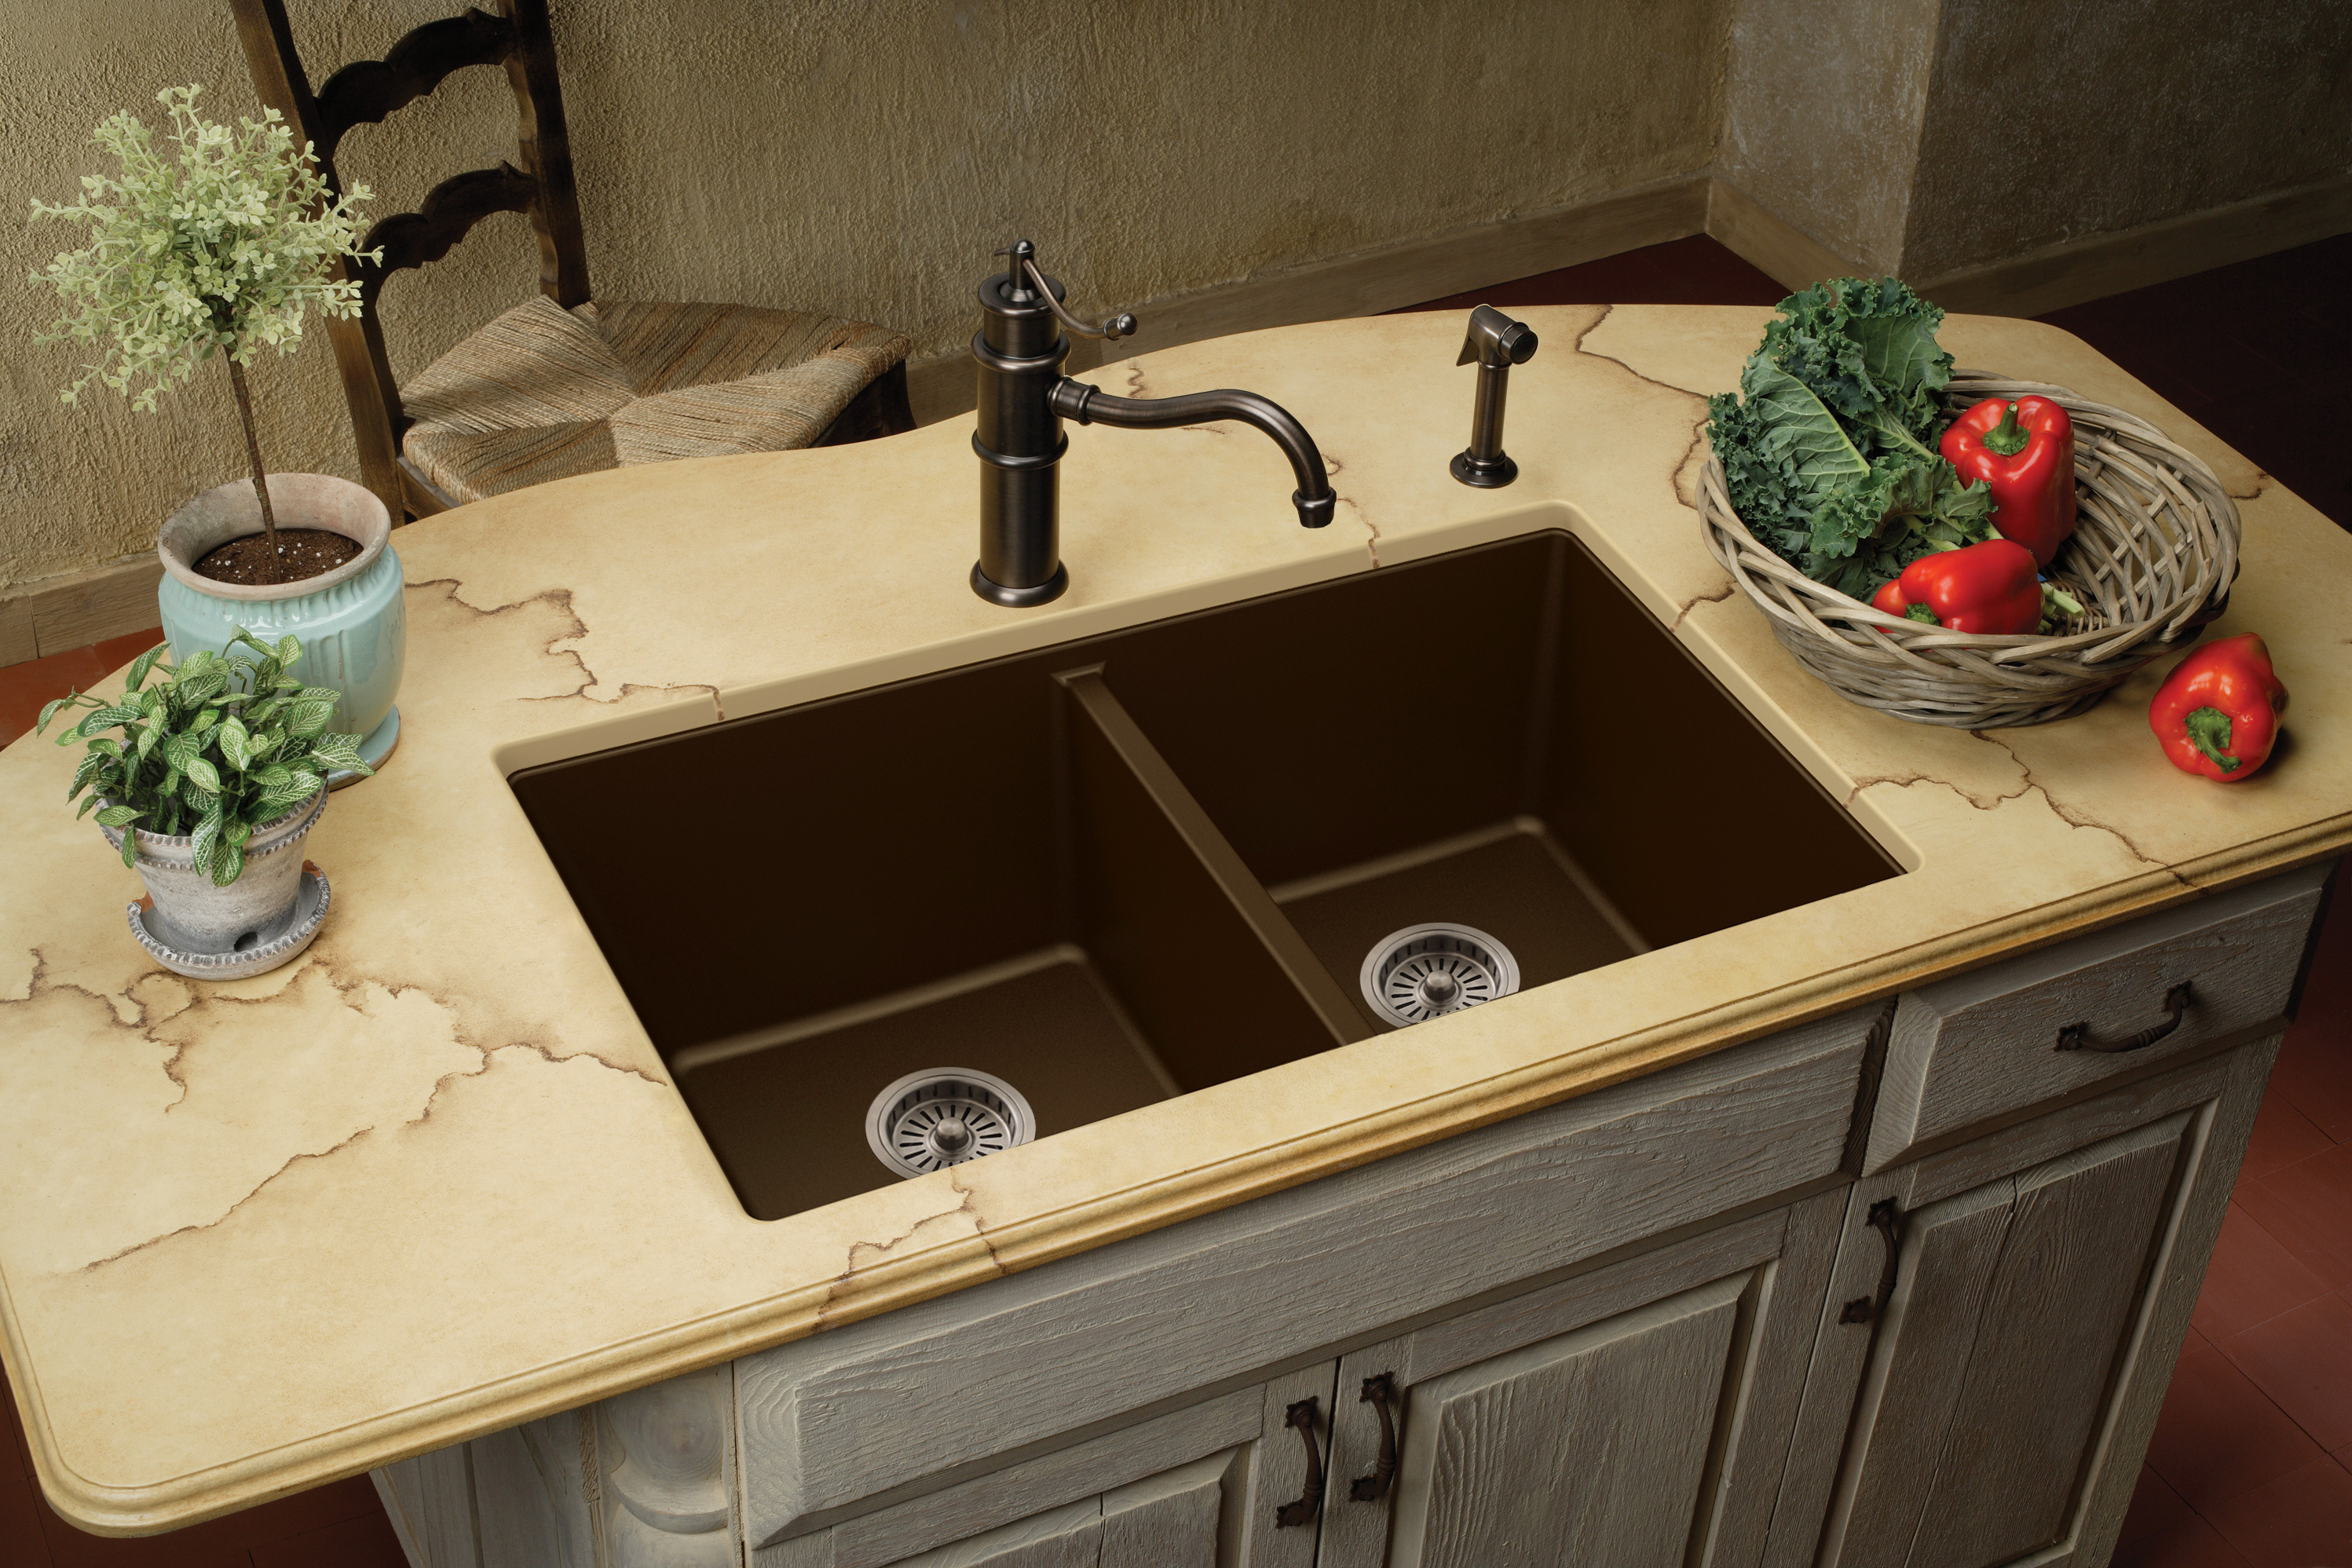
When choosing tiles for this area, it's important to consider the material and finish. Since this area is prone to water exposure, it's best to opt for tiles that are waterproof, such as porcelain or ceramic. You can also choose a textured or matte finish to prevent any slips or falls.
2. Plan the design:
Before starting the tiling process, it's essential to plan out the design. Measure the area under the sink and determine how many tiles you will need. You can also get creative with the layout, such as using different tile shapes or creating a mosaic pattern.
3. Proper installation:
Properly installing the tiles is crucial for long-lasting results. Be sure to use the correct adhesive and grout and follow the manufacturer's instructions carefully. It may also be helpful to hire a professional if you are not confident in your tiling skills.
In conclusion, tiling under the kitchen sink is a functional and stylish addition to any home. It not only protects your kitchen from water damage but also adds to the overall design. With the right tiles and proper installation, you can create a beautiful and practical space that will elevate your kitchen's design. Happy tiling!
Now that you know the benefits of tiling under the kitchen sink, here are some tips to keep in mind when undertaking this project:
1. Choose the right tiles:
When choosing tiles for this area, it's important to consider the material and finish. Since this area is prone to water exposure, it's best to opt for tiles that are waterproof, such as porcelain or ceramic. You can also choose a textured or matte finish to prevent any slips or falls.
2. Plan the design:
Before starting the tiling process, it's essential to plan out the design. Measure the area under the sink and determine how many tiles you will need. You can also get creative with the layout, such as using different tile shapes or creating a mosaic pattern.
3. Proper installation:
Properly installing the tiles is crucial for long-lasting results. Be sure to use the correct adhesive and grout and follow the manufacturer's instructions carefully. It may also be helpful to hire a professional if you are not confident in your tiling skills.
In conclusion, tiling under the kitchen sink is a functional and stylish addition to any home. It not only protects your kitchen from water damage but also adds to the overall design. With the right tiles and proper installation, you can create a beautiful and practical space that will elevate your kitchen's design. Happy tiling!