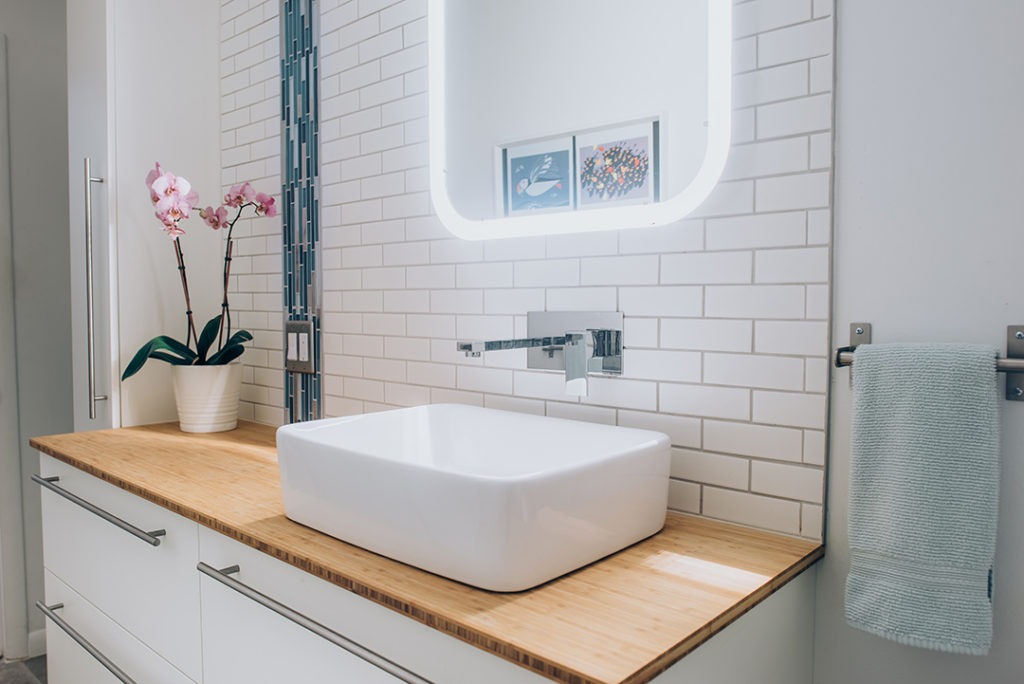
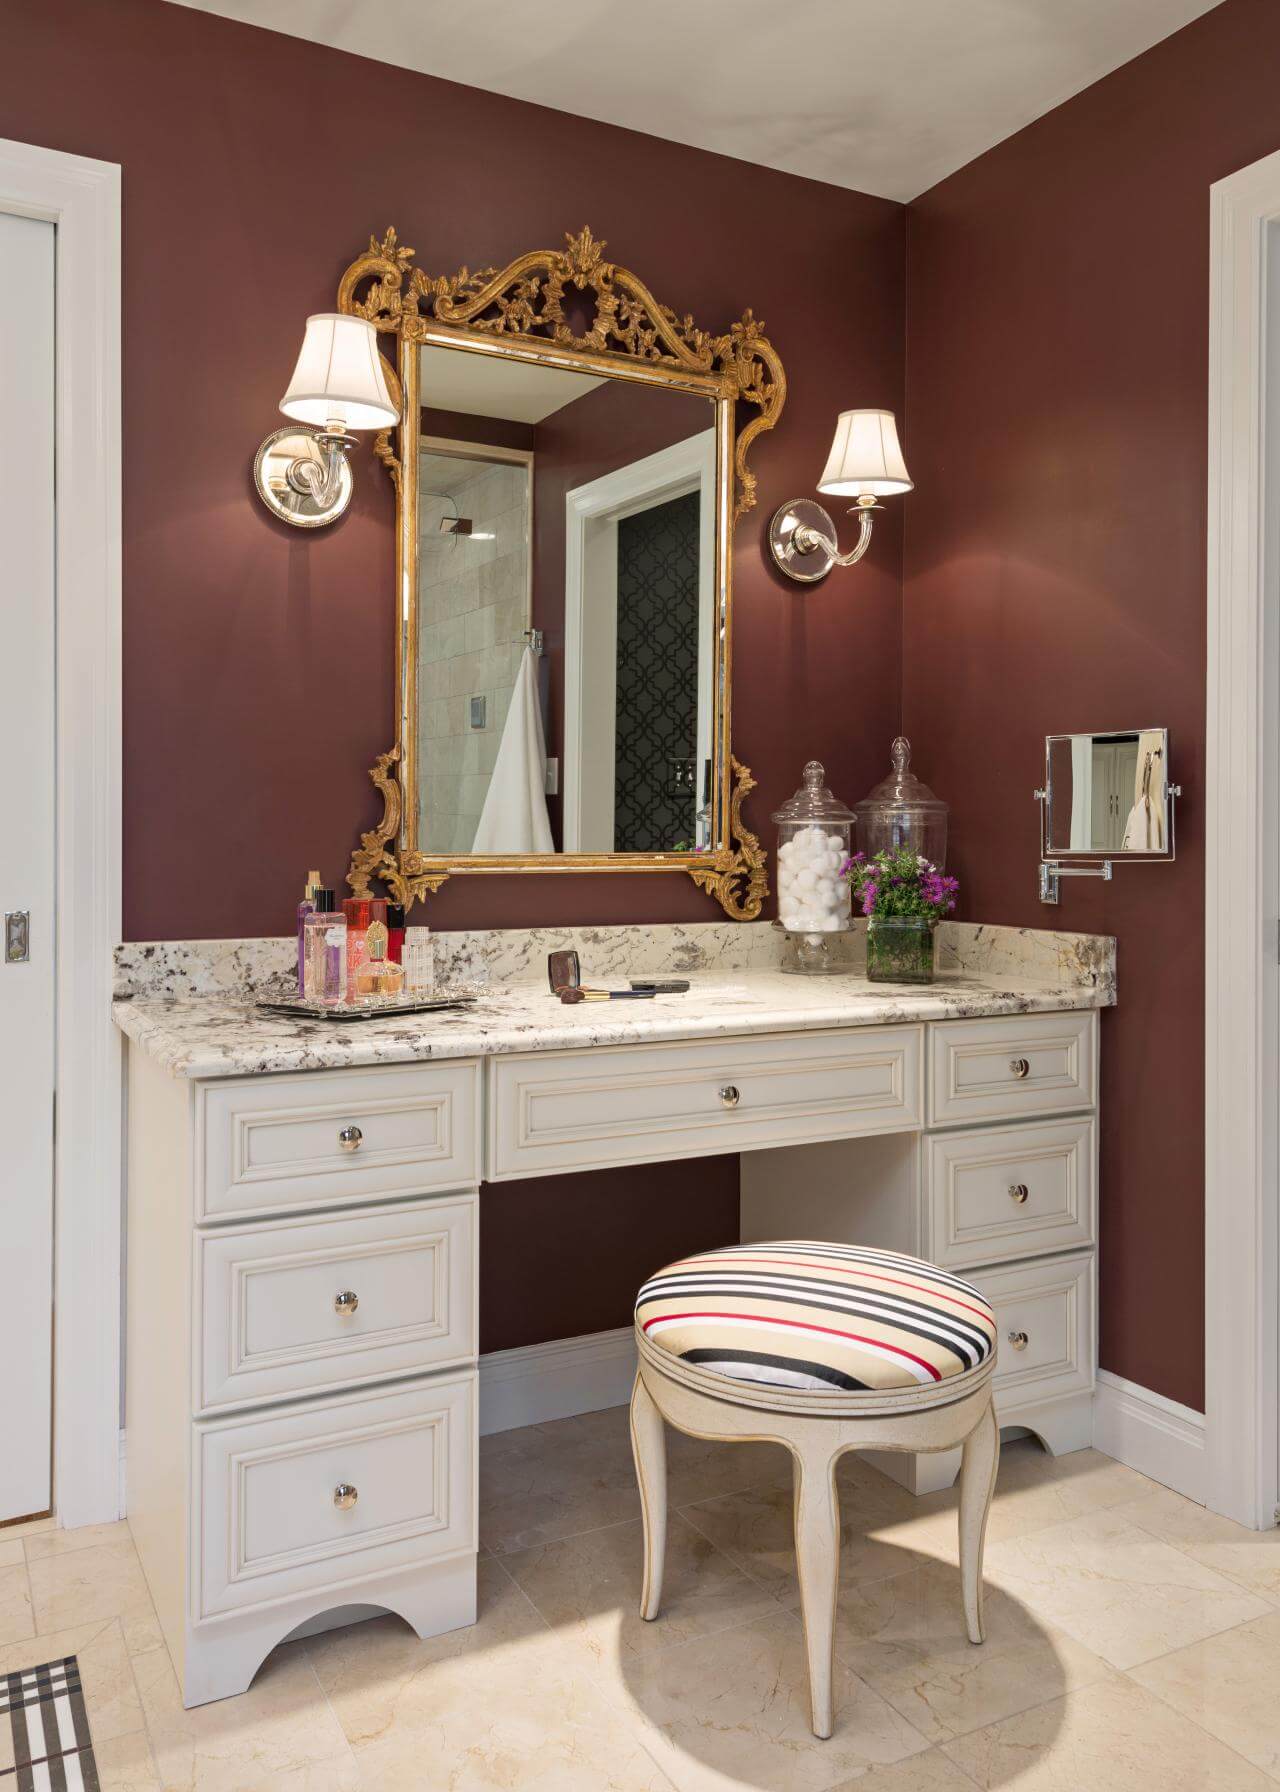
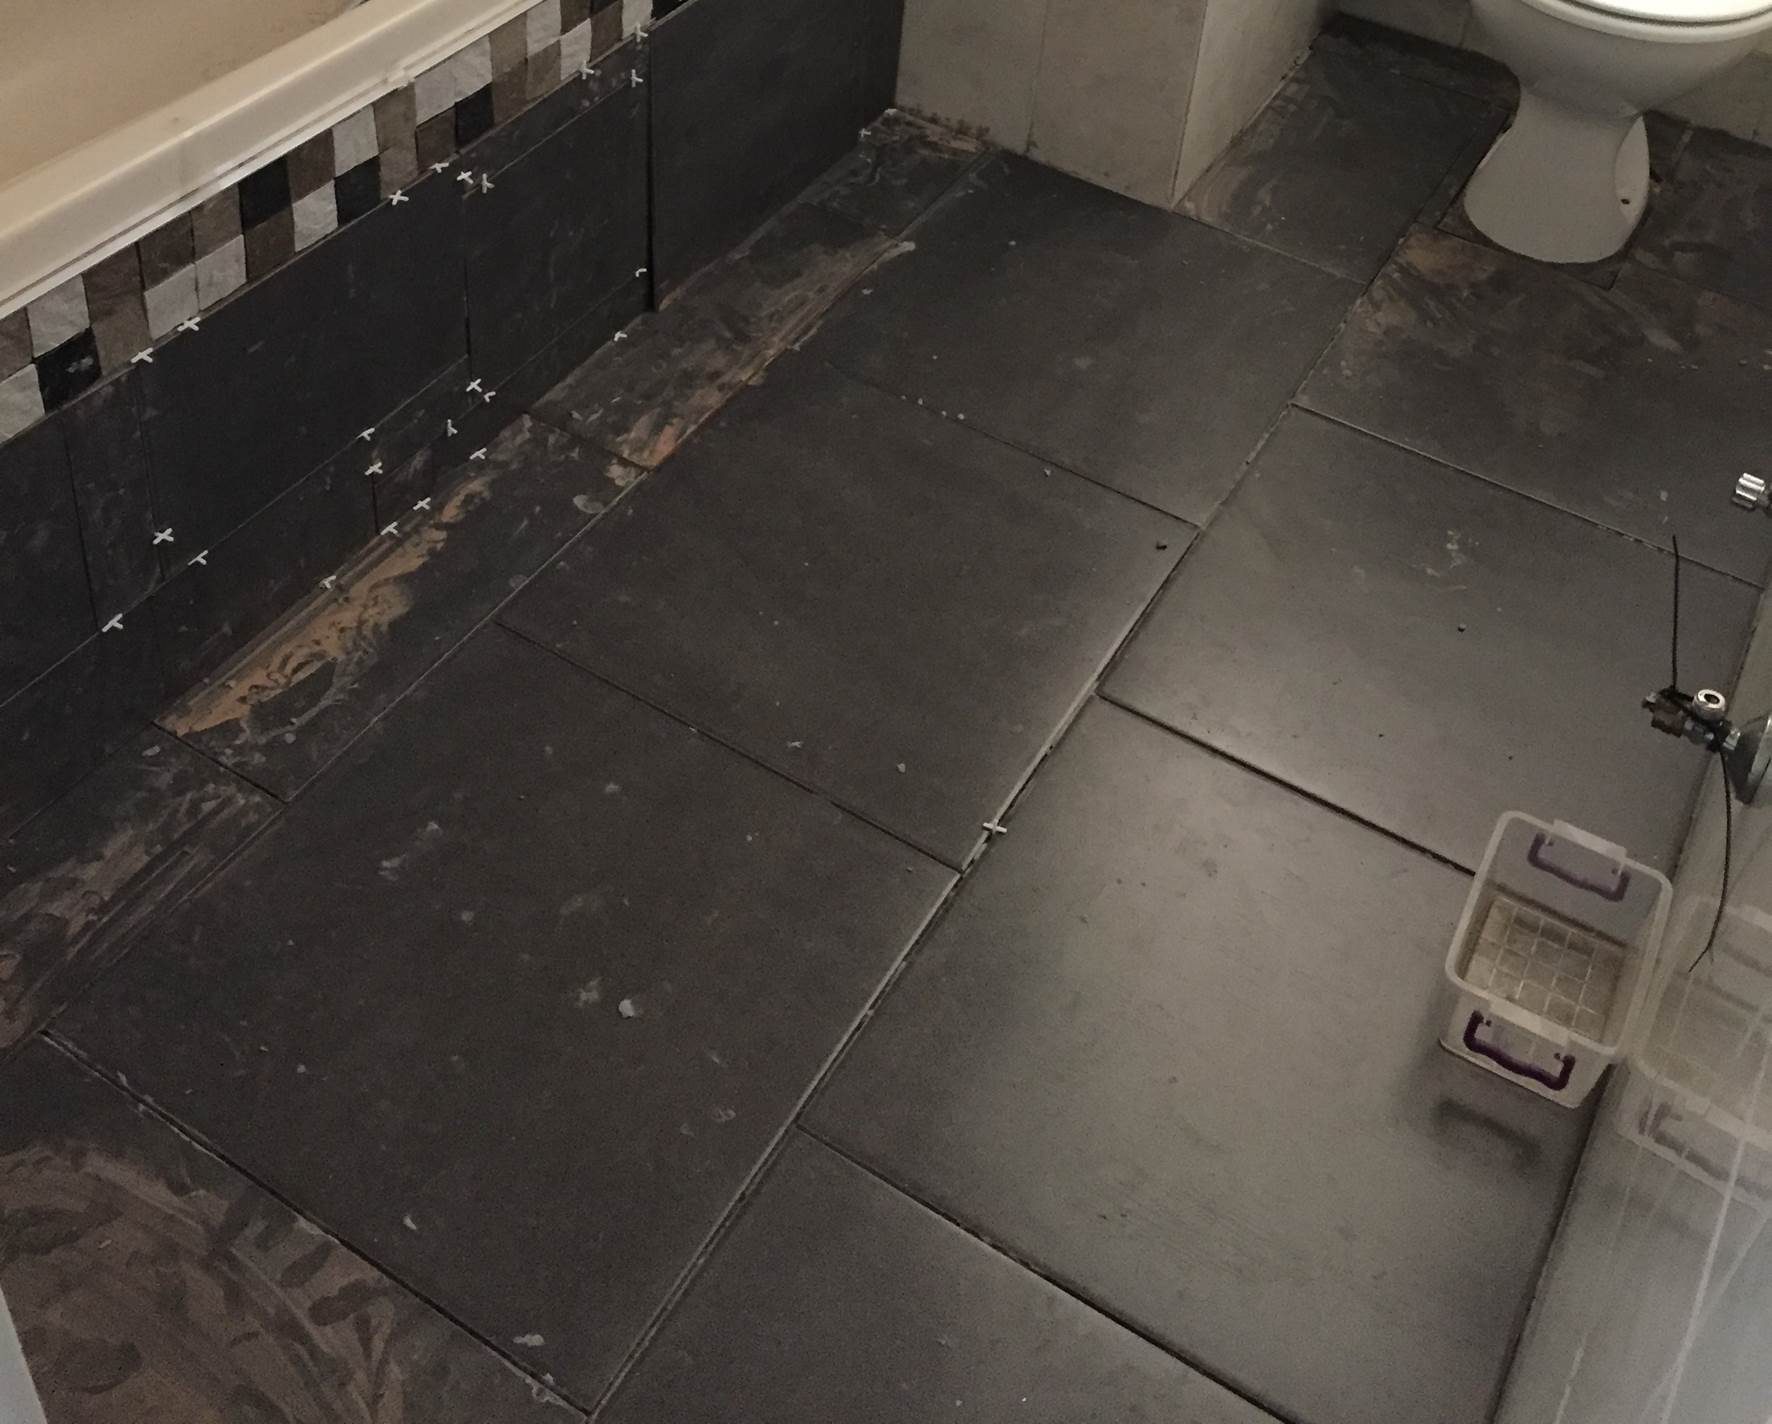
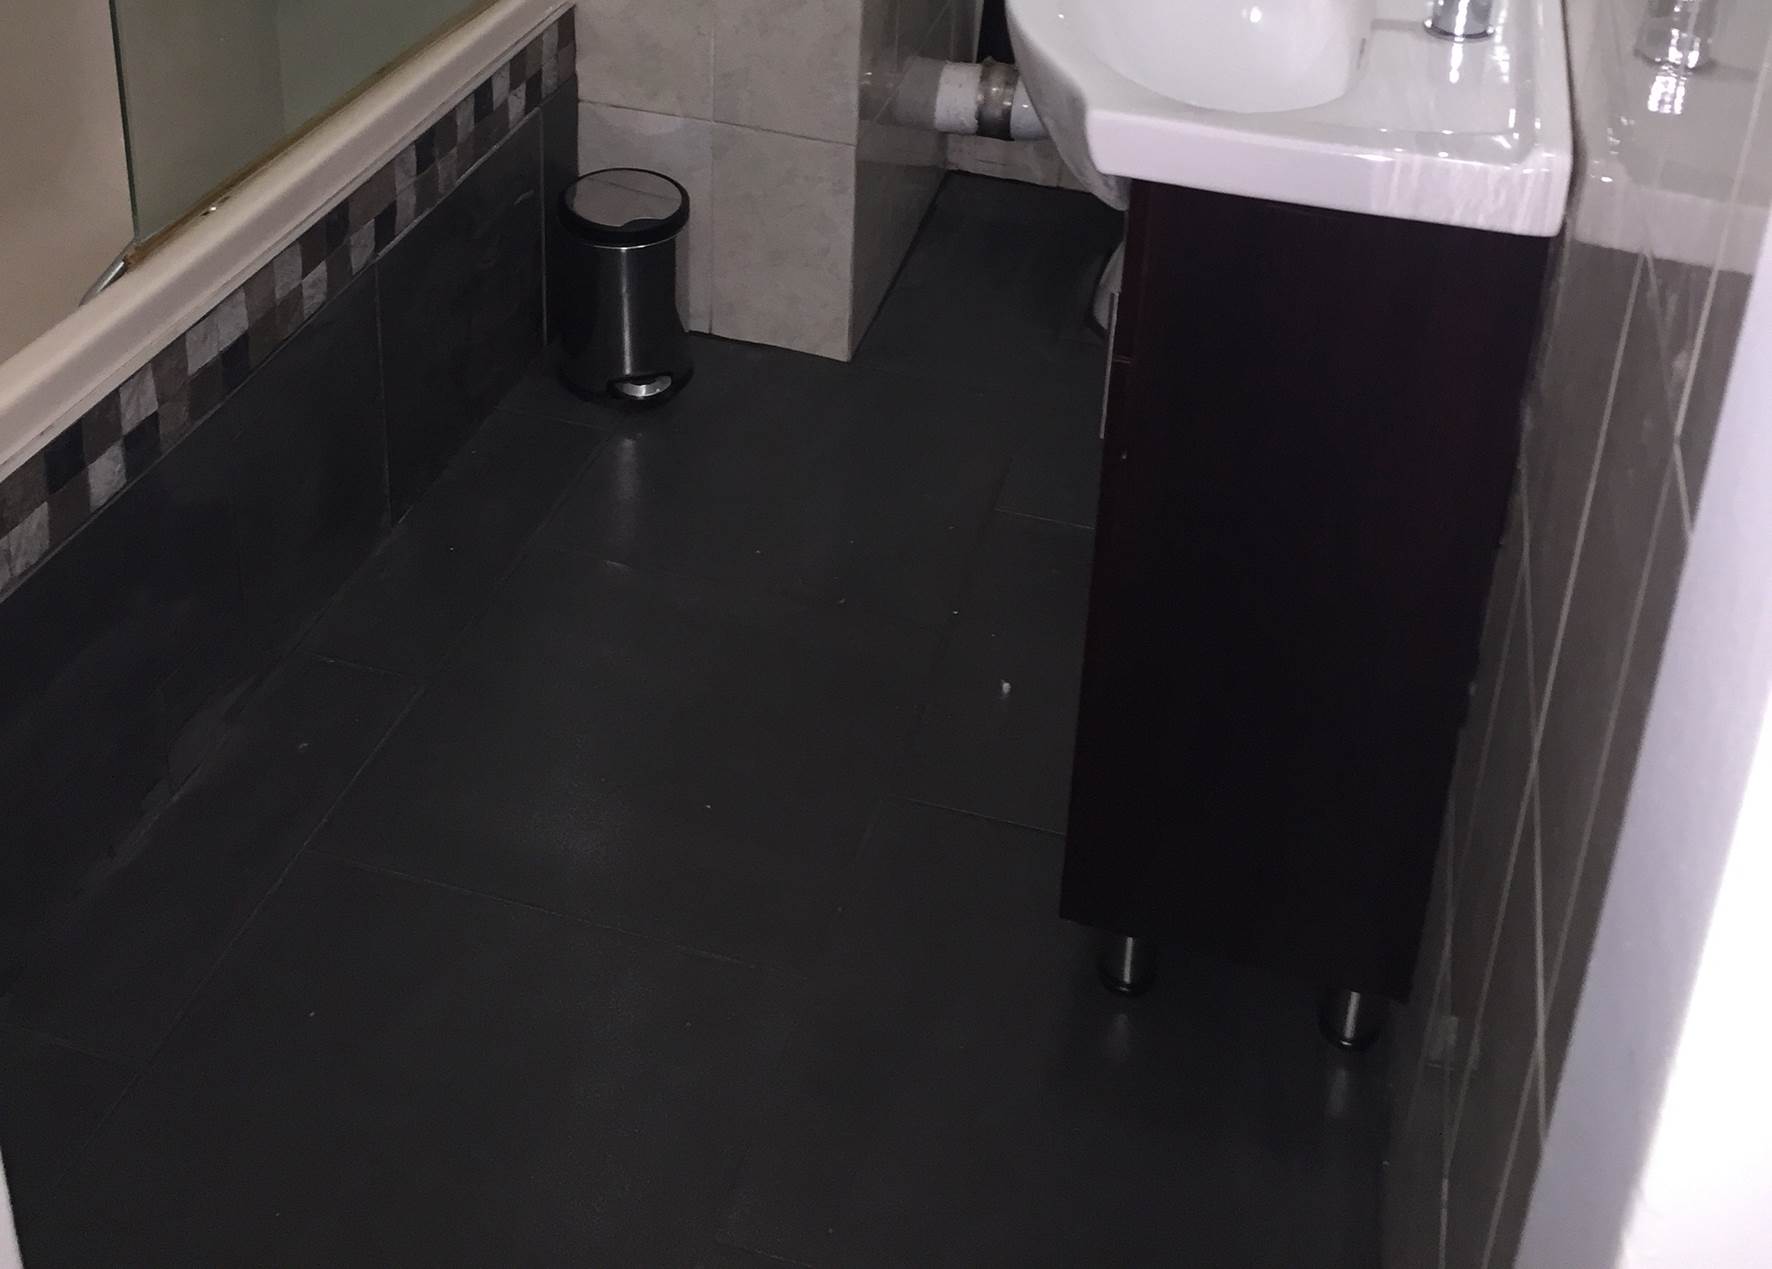
Are you tired of looking at your outdated built in bathroom vanity? Do you want to give your bathroom a fresh new look without spending a fortune on a complete renovation? Look no further, because tiling over your built in bathroom vanity is the perfect solution. Not only will it give your bathroom a modern and stylish touch, but it is also a cost-effective and easy DIY project. In this guide, we will walk you through the process of tiling over your built in bathroom vanity and provide some tips and tricks to help you achieve a professional and flawless finish. Tiling Over Built In Bathroom Vanity: A Guide to Transforming Your Bathroom
Before you start tiling over your built in bathroom vanity, make sure you have all the necessary materials on hand. Here is a list of what you will need: - Tiles: Choose the style and size of tiles that best fit your bathroom design. Make sure to purchase a few extra tiles in case of any mistakes or breakages during the installation process. - Tile adhesive: This is used to secure the tiles to the vanity surface. Make sure to choose a high-quality adhesive that is suitable for both your tiles and the vanity material. - Grout: Grout is used to fill the gaps between the tiles and give your vanity a polished look. Opt for a color that complements your tiles and overall bathroom design. - Tile cutter: You will need a tile cutter to cut the tiles to fit around the edges and corners of your vanity. - Tile spacers: These small plastic pieces help to keep the tiles evenly spaced and give your vanity a professional finish. - Trowel: A trowel is used to spread the tile adhesive evenly on the vanity surface. - Sponge: You will need a sponge to clean any excess adhesive or grout from the tiles during the installation process. Tiling Over Vanity: Materials You Will Need
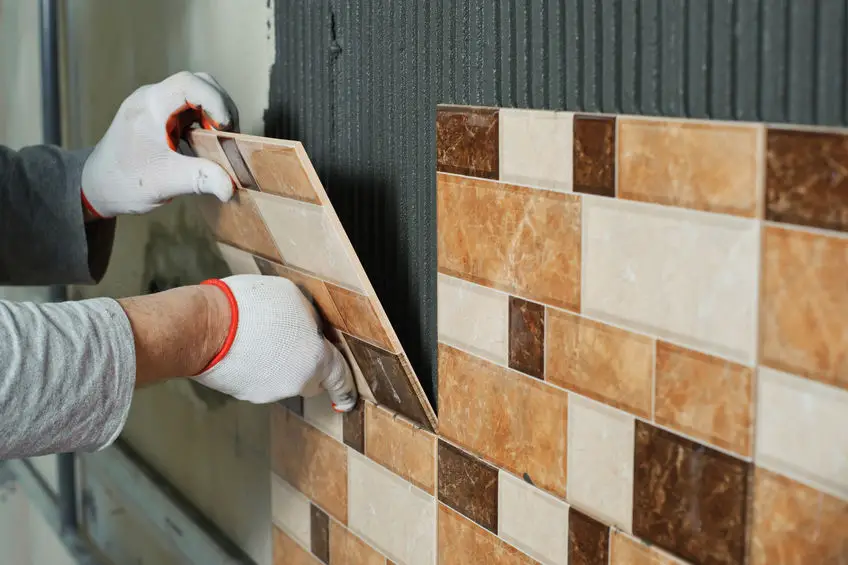
Now that you have all the necessary materials, it's time to start tiling over your built in bathroom vanity. Follow these steps for a successful and seamless installation: Step 1: Prepare the Vanity Surface - Before you start tiling, make sure the surface of your vanity is clean, dry, and free of any debris. Sand down any rough spots or imperfections to ensure a smooth and even surface for the tiles. Step 2: Measure and Cut the Tiles - Using a tape measure, carefully measure the surface of your vanity and mark the measurements on your tiles. Use a tile cutter to cut the tiles to the desired size and shape. Step 3: Apply the Tile Adhesive - Using a trowel, spread a thin layer of tile adhesive on the back of the tile. Make sure to cover the entire surface evenly. Step 4: Place the Tiles - Carefully place the tiles on the surface of your vanity, starting from the bottom and working your way up. Use tile spacers to keep the tiles evenly spaced and create a clean and professional look. Step 5: Clean off Excess Adhesive - Use a damp sponge to clean off any excess adhesive from the tiles. Make sure to do this before the adhesive dries, as it will be harder to remove later on. Step 6: Grout the Tiles - Once the tiles are securely in place, it's time to grout. Use a grout float to spread the grout over the tiles, making sure to fill in all the gaps. Step 7: Remove Excess Grout - Use a damp sponge to wipe away any excess grout from the tiles. Rinse the sponge frequently to avoid spreading the grout around. Step 8: Let it Dry - Allow the grout to dry completely before using your vanity. This can take anywhere from 24-48 hours, depending on the type of grout used. Bathroom Vanity Tiling: Step by Step Guide
Tiling over your built in bathroom vanity may seem like a daunting task, but with these tips and tricks, you can achieve a professional and flawless finish: - Plan it Out: Before you start tiling, plan out the layout of your tiles to avoid any mistakes or uneven cuts. - Take Your Time: Tiling is a process that requires patience and attention to detail. Take your time to ensure each tile is placed correctly and evenly. - Use a Level: Make sure to use a level to ensure your tiles are straight and even. This will give your vanity a polished and professional look. - Clean as you Go: It's important to clean off any excess adhesive or grout as you work. This will save you time and effort in the long run. - Seal the Grout: Once the grout has dried, it's recommended to seal it to protect it from moisture and stains. Built In Vanity Tiling: Tips and Tricks
Congratulations, you have successfully tiled over your built in bathroom vanity and transformed your bathroom into a modern and stylish space. Don't forget to add some finishing touches such as new hardware or a fresh coat of paint to complete the look. Now sit back, relax, and enjoy your beautiful new bathroom! Tiling Over Bathroom Vanity: The Final Touch
Tiling over your built in bathroom vanity is a great way to give your bathroom a budget-friendly makeover. It's a simple and easy DIY project that can be completed in a weekend and will instantly update the look of your bathroom. So why wait? Start planning your vanity tiling project today and give your bathroom the transformation it deserves! Vanity Tiling: A Cost-Effective and Easy DIY Project
Tiling over your built in bathroom vanity not only adds a stylish touch to your bathroom, but it also has functional benefits. Tiles are durable and water-resistant, making them the perfect choice for a bathroom vanity. They are also easy to clean, making maintenance a breeze. So not only will your vanity look great, but it will also stand the test of time. Tiling Over Built In Vanity: A Beautiful and Functional Upgrade
Hiring a professional to renovate your bathroom vanity can be expensive. Tiling over it yourself not only saves you money, but it also gives you the satisfaction of completing a DIY project and achieving professional results. Follow our guide and tips for a successful and cost-effective bathroom vanity tile installation. Bathroom Vanity Tile Installation: Professional Results at a Fraction of the Cost
Tiling over your built in bathroom vanity is the perfect weekend project for those looking to update their bathroom without the hassle and expense of a full renovation. It's a simple and easy process that can be completed in a few days and will give your bathroom a whole new look. So what are you waiting for? Grab your tools and start tiling! Tiling Over Vanity Cabinet: The Perfect Weekend Project
Tiling Over Built-In Bathroom Vanity: A Stylish and Practical Design Solution

When it comes to designing a bathroom, every inch of space matters. This is especially true for smaller bathrooms where maximizing storage and functionality is crucial. Built-in bathroom vanities are a popular choice for homeowners looking to save space and create a seamless look in their bathroom. However, what if you want to add a touch of style and personality to your vanity area? Tiling over a built-in bathroom vanity is a practical and trendy solution that can transform your bathroom into a unique and functional space.
Why tile over your built-in bathroom vanity?
/Workman-Tiling-a-Shower-499630724-56a4a1a33df78cf7728353cc.jpg)
There are several reasons why tiling over a built-in bathroom vanity is a great design choice. Firstly, it allows you to add a pop of color or pattern to an otherwise plain and utilitarian piece of furniture. This can instantly elevate the look of your bathroom and make it more visually appealing. Additionally, tiling over a built-in vanity can also help protect the surface from water damage and wear and tear, as well as make it easier to clean.
Choosing the right tiles for your vanity

When it comes to tiling over a built-in bathroom vanity, the options are endless. You can choose from a variety of materials, such as ceramic, porcelain, or natural stone, each with their own unique characteristics and benefits. Marble or granite tiles can add a touch of luxury and sophistication to your vanity, while mosaic tiles can create a fun and vibrant look. It's important to consider the style and feel of your bathroom when selecting your tiles to ensure they complement the overall design.
Practical considerations

Before starting the tiling process, it's important to properly prepare your built-in vanity. This may involve removing any existing tiles, sanding down the surface, and applying a waterproof membrane. It's also essential to measure and plan the layout of your tiles carefully to ensure a seamless and professional finish. Hiring a professional is recommended for this project, as they have the expertise and tools necessary to complete the job effectively and efficiently.
Final thoughts
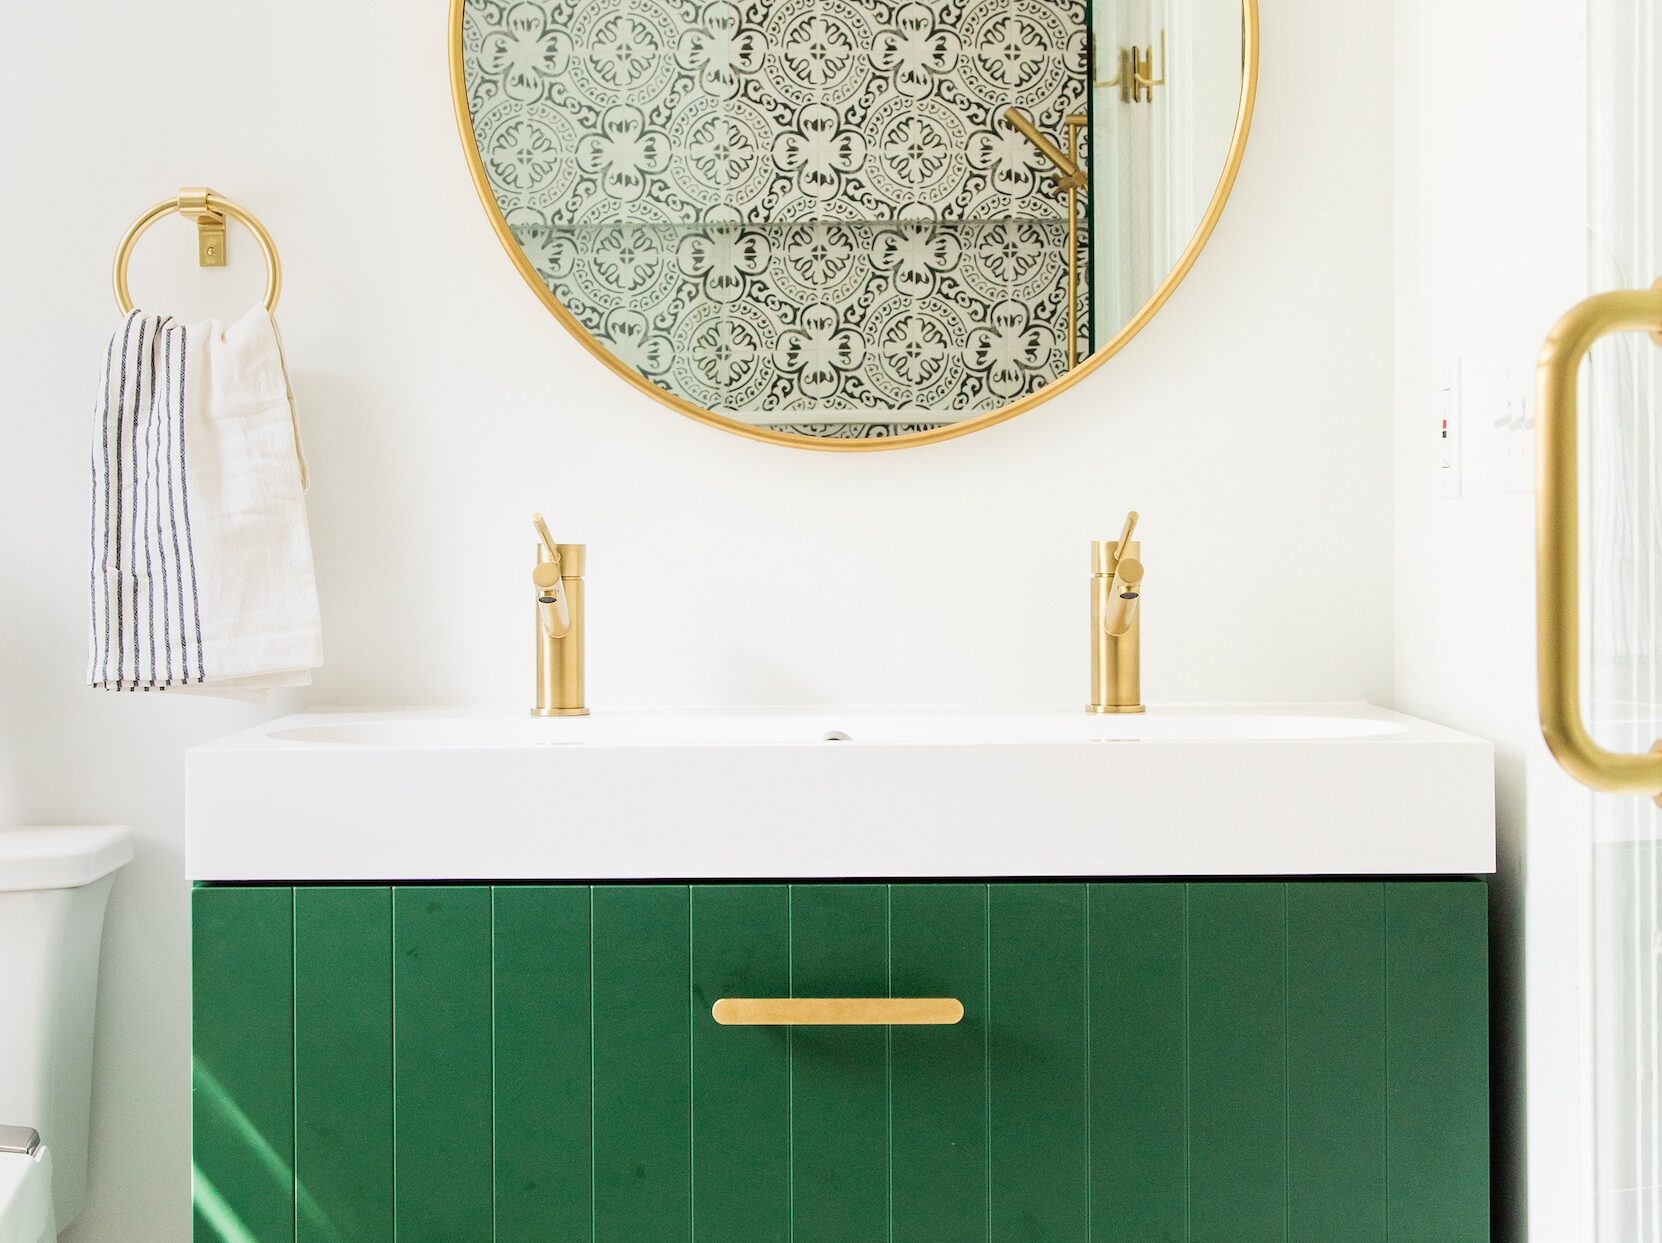
Tiling over a built-in bathroom vanity is a stylish and practical design solution that can transform your bathroom into a functional and visually appealing space. With a wide range of tile options available, you can choose a style that suits your personal taste and complements the overall design of your bathroom. By properly preparing and hiring a professional, you can achieve a beautiful and long-lasting result that will enhance your bathroom for years to come.


