1. How to Tile a Kitchen Table Top
Transforming your kitchen table top with a new set of tiles can make a huge difference in the overall look and feel of your space. Not only does it add a touch of style and personality, but it also provides a durable and easy-to-clean surface for your everyday meals and activities.
Tiling a kitchen table top may seem like a daunting task, but with the right tools and techniques, it can be a fun and rewarding DIY project. Here's a step-by-step guide on how to tile your kitchen table top and achieve professional-looking results.
2. DIY Tiling for Kitchen Table Tops
Why spend a fortune on a new kitchen table when you can easily give your old one a makeover with some tiles? DIY tiling is a budget-friendly option that allows you to customize your kitchen table top to your liking. Plus, it can be a great way to unleash your creativity and add a unique touch to your home decor.
With a little bit of patience and effort, you can achieve stunning results and impress your family and friends with your DIY skills. So, roll up your sleeves and let's get started on transforming your kitchen table top!
3. Best Tiles for Kitchen Table Tops
Choosing the right tiles for your kitchen table top is crucial in achieving the desired look and functionality. There are various options available in the market, each with its own unique features and benefits.
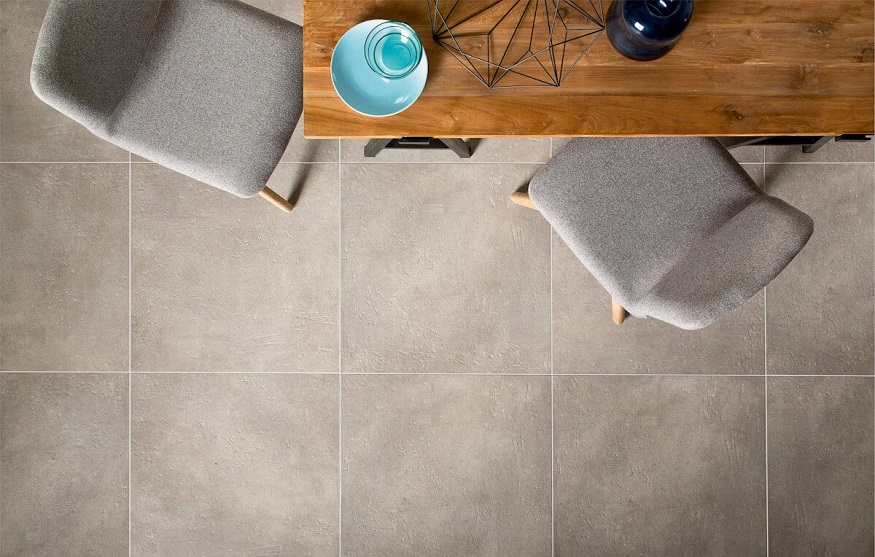
Ceramic and porcelain tiles are popular choices for their durability and water resistance, making them ideal for kitchen use. Natural stone tiles, such as marble or granite, add a touch of elegance and sophistication to your kitchen. And for a more budget-friendly option, you can opt for vinyl or laminate tiles that mimic the look of natural materials.
4. Tiling a Kitchen Table Top: Step-by-Step Guide
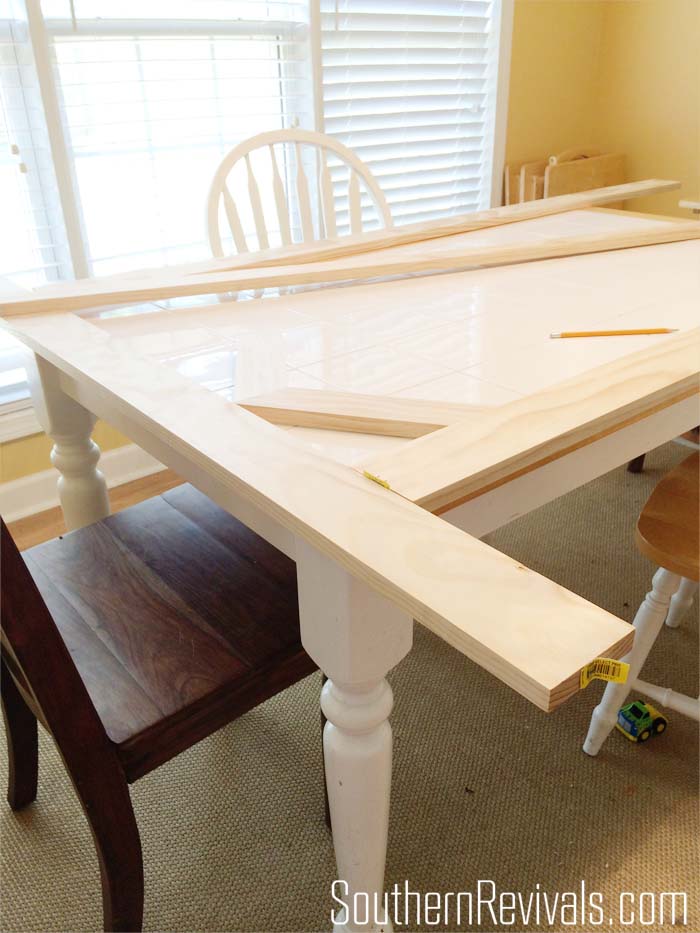
Before starting the tiling process, make sure to prepare your kitchen table by cleaning and sanding the surface to ensure proper adhesion. Next, measure and mark the center of your table to use as a starting point for laying the tiles.
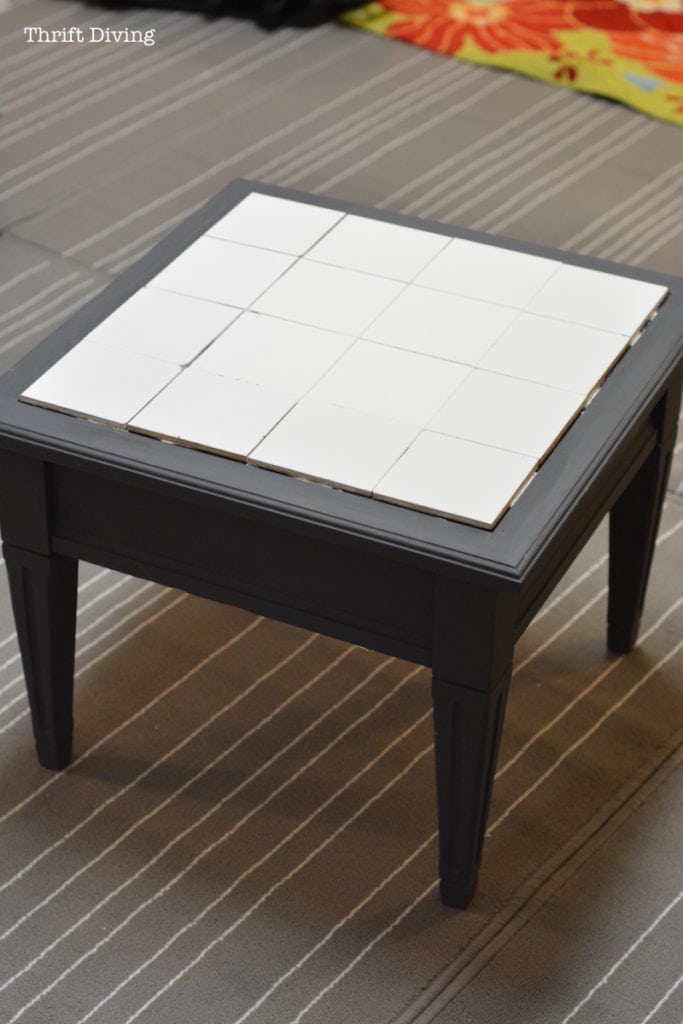
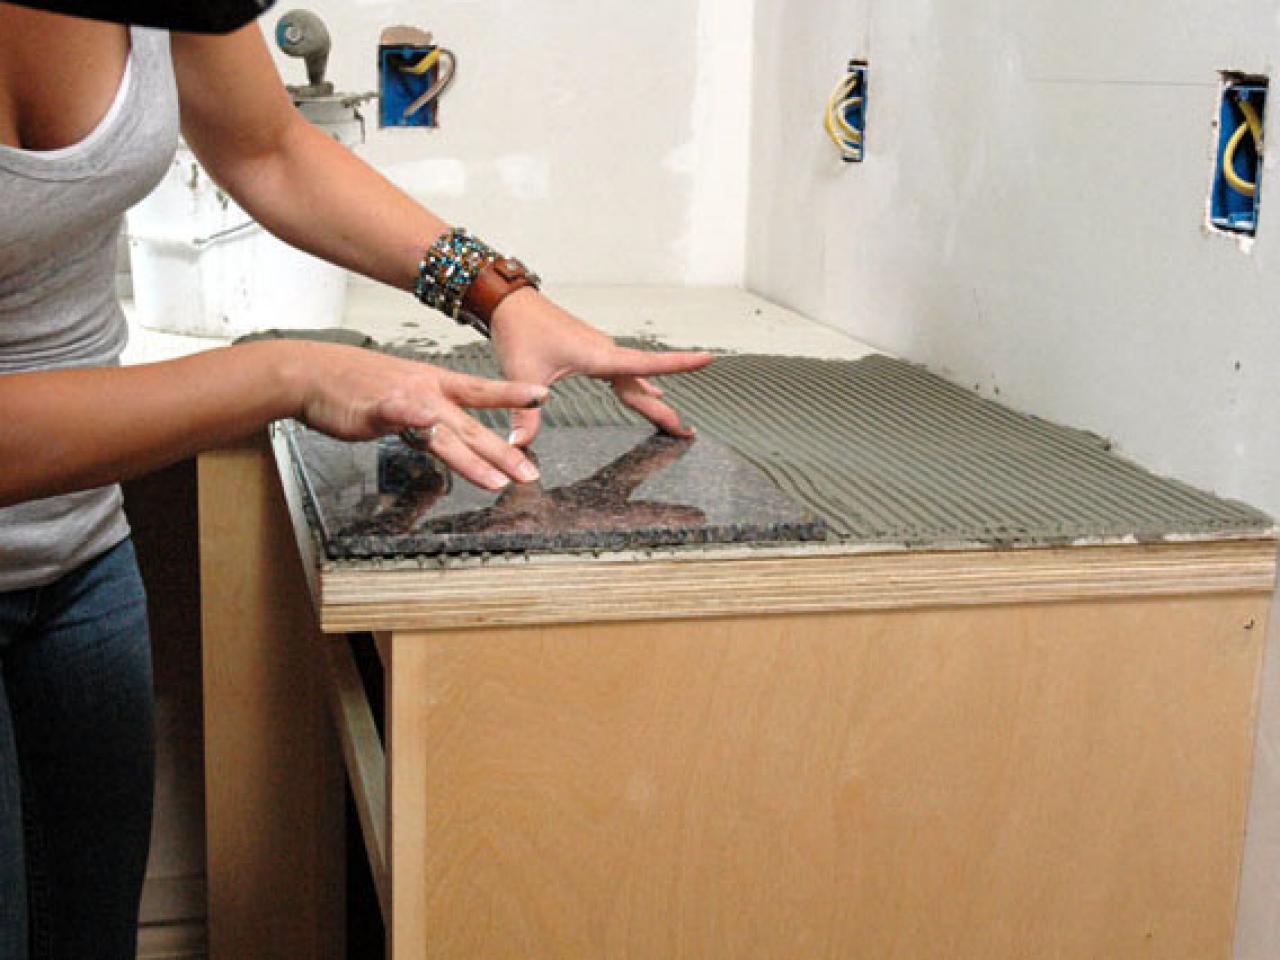
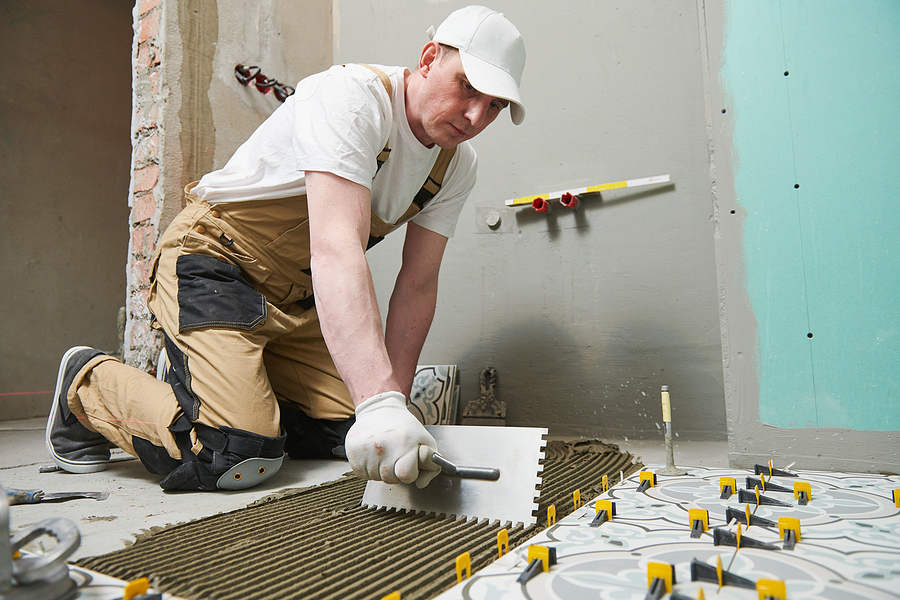
Using a notched trowel, apply a layer of thin-set mortar on the table surface, and start laying the tiles from the center, working your way outwards. Use tile spacers to ensure even spacing between tiles, and a tile cutter or wet saw to cut tiles to fit around edges or corners.
Once all the tiles are in place, let the mortar dry for 24 hours, then remove the spacers and apply grout using a grout float. Wipe off any excess grout with a damp sponge, and let it dry for another 24 hours. Finally, seal the grout to prevent staining and add extra protection to your tiled table top.
5. Creative Ideas for Tiling a Kitchen Table Top
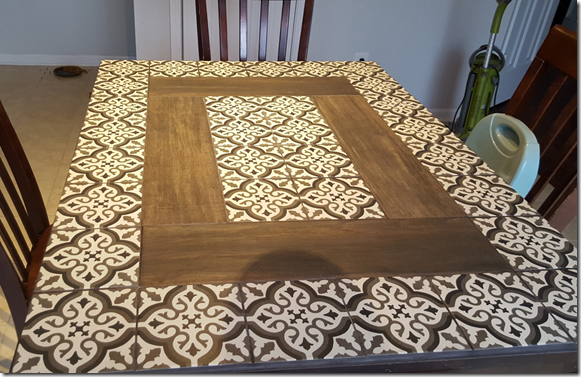
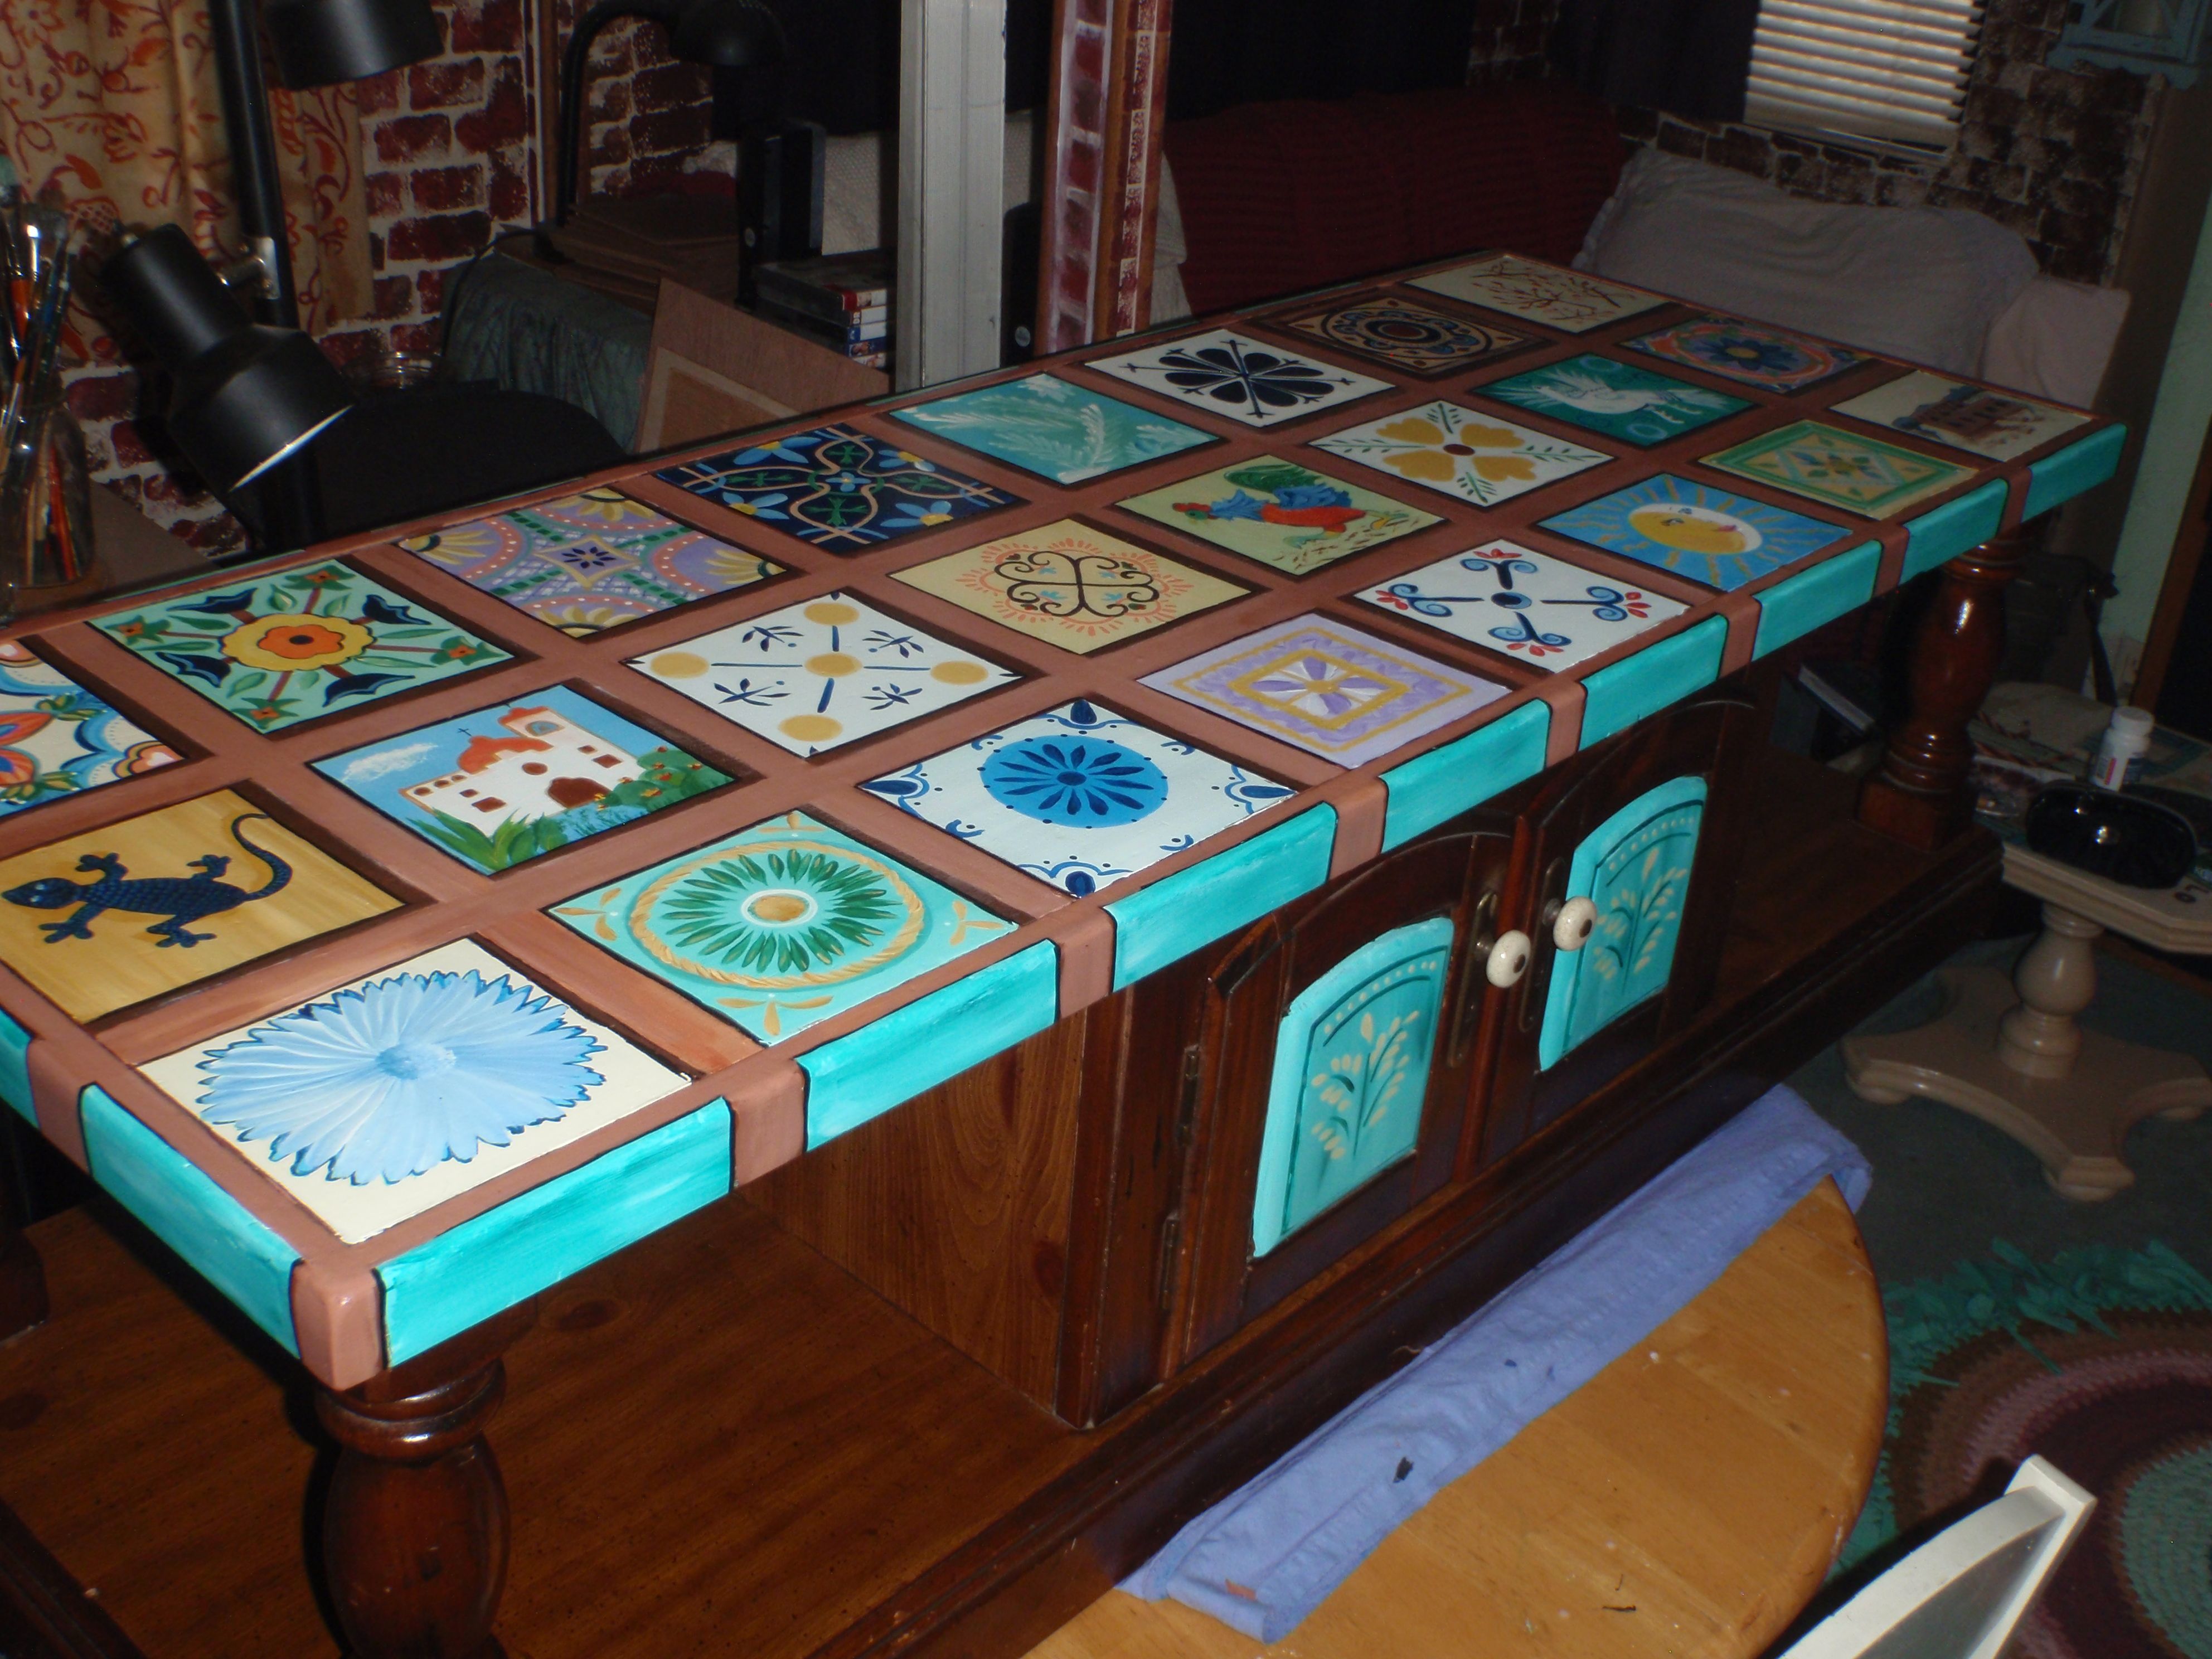
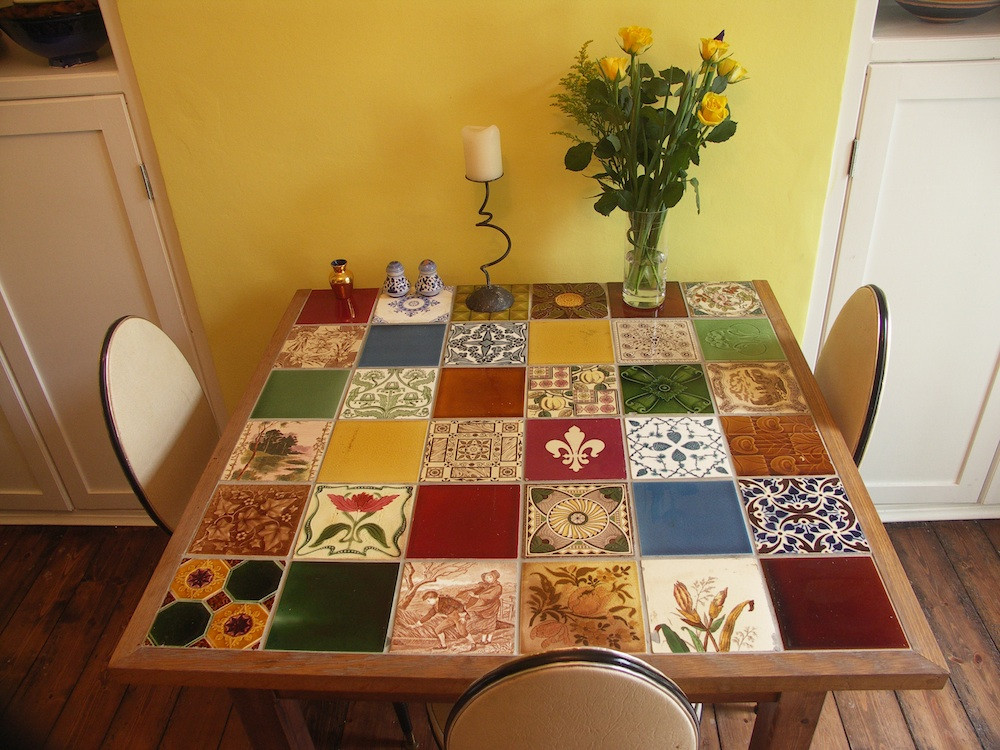
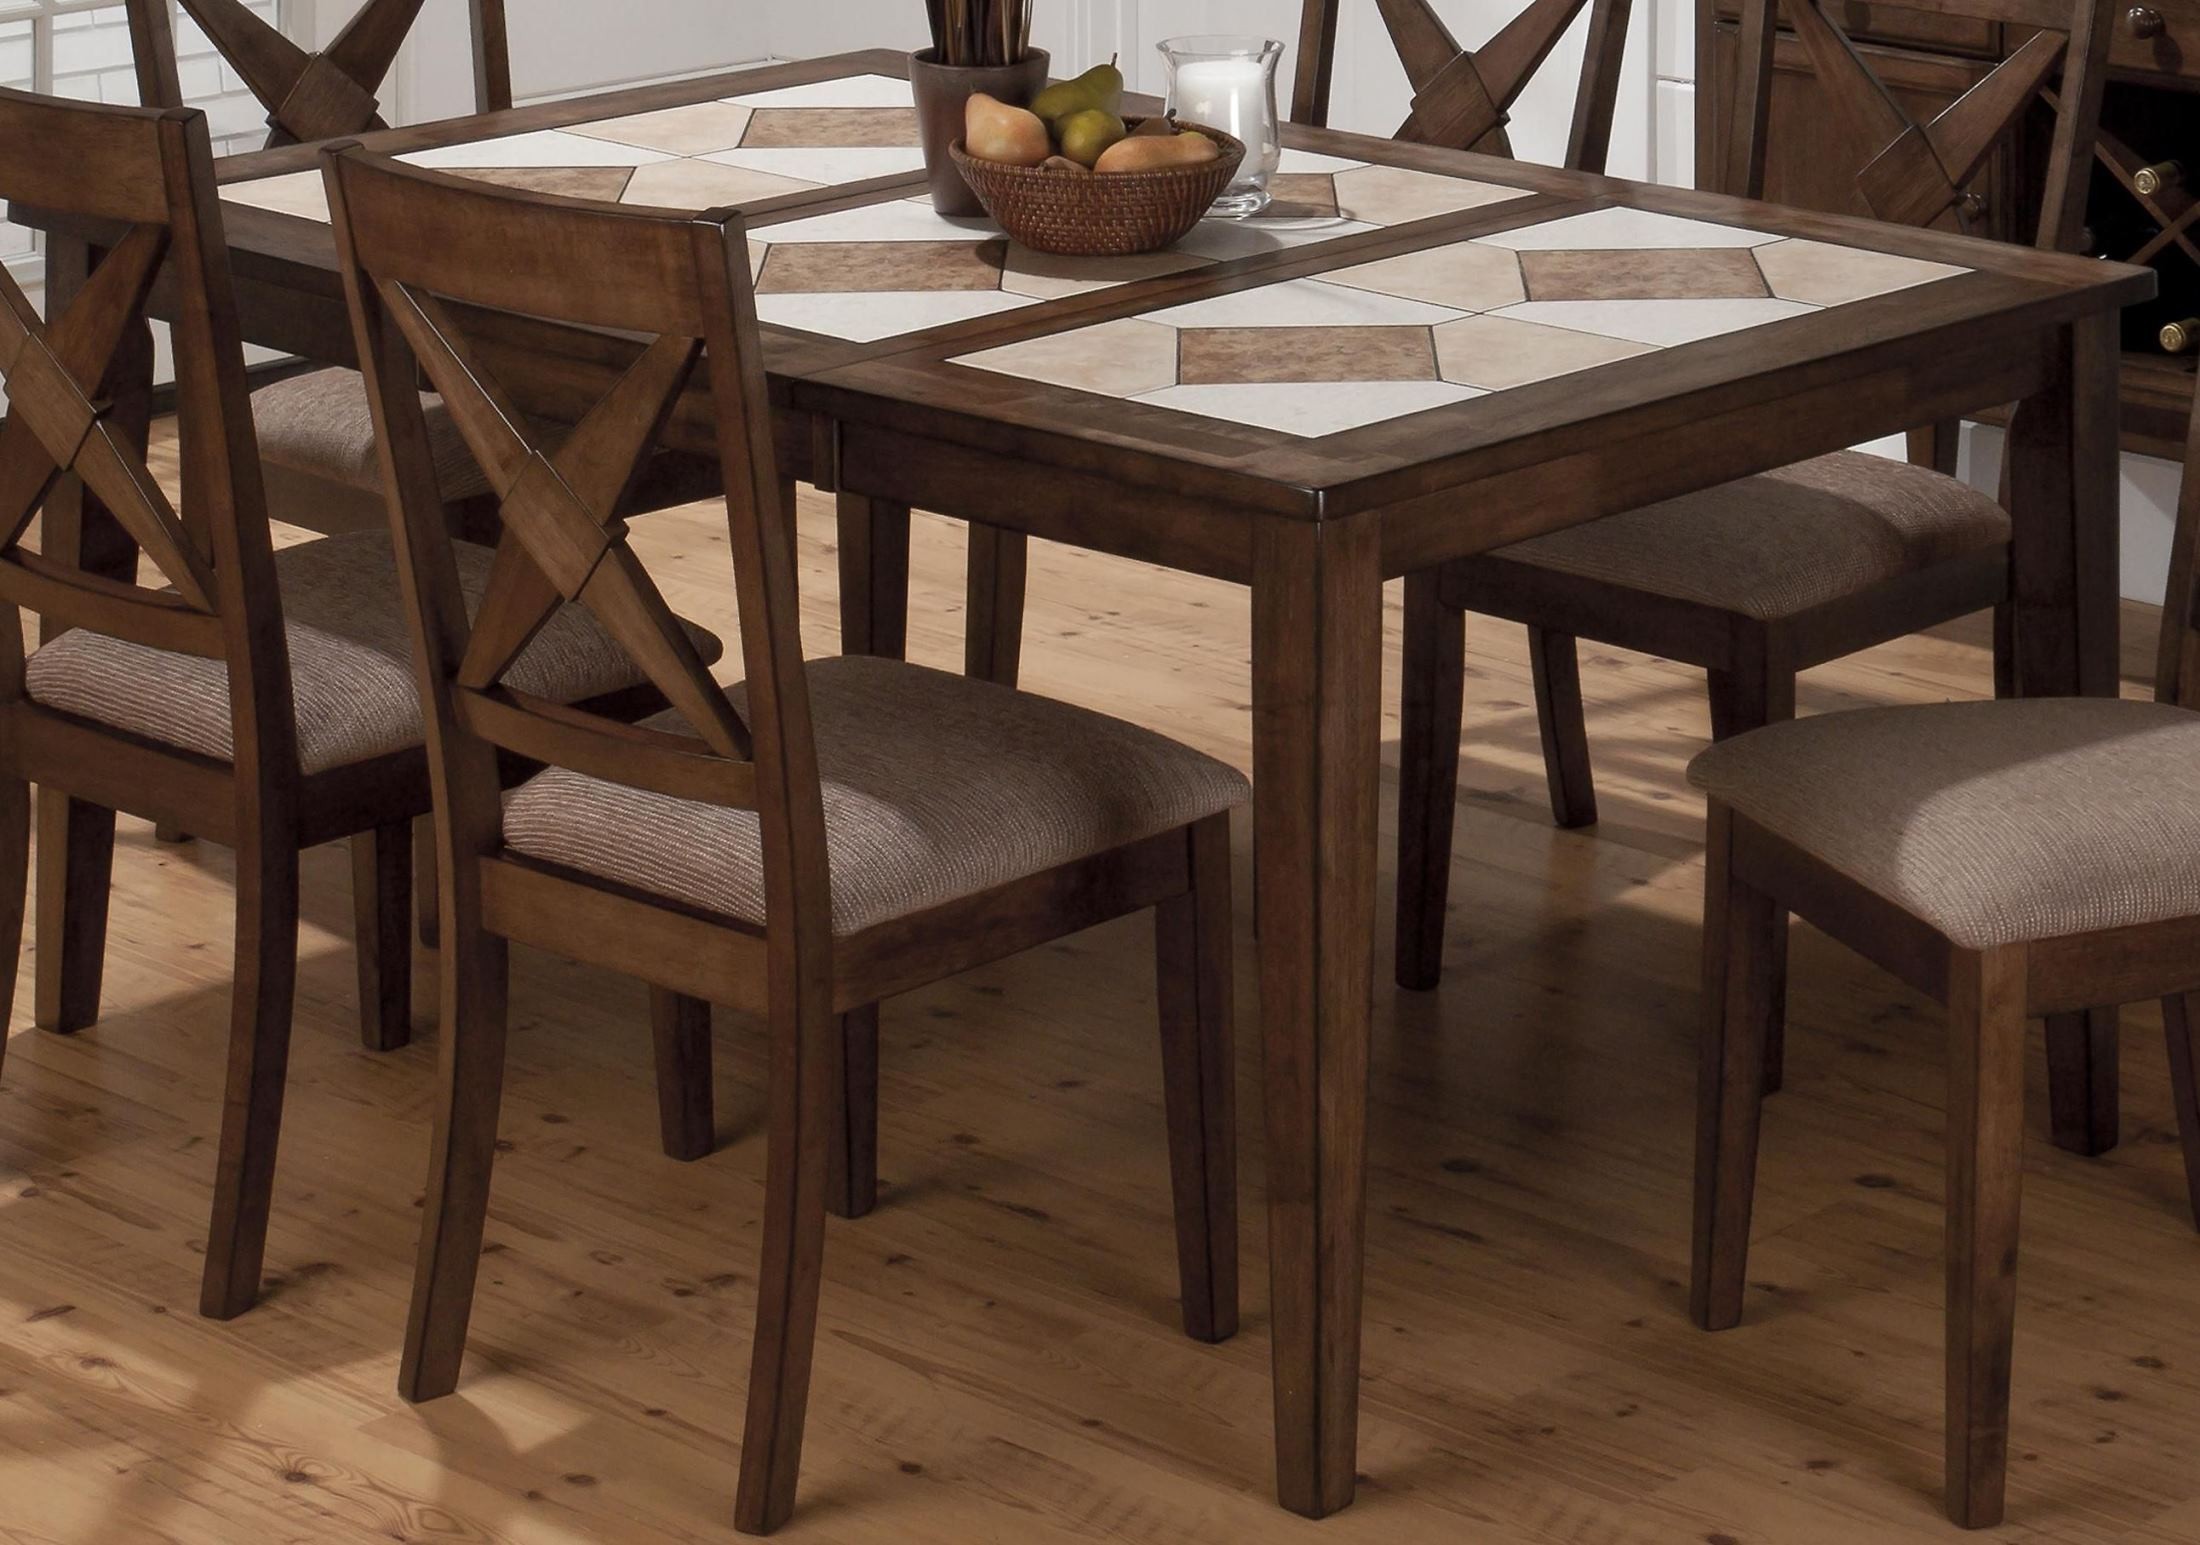
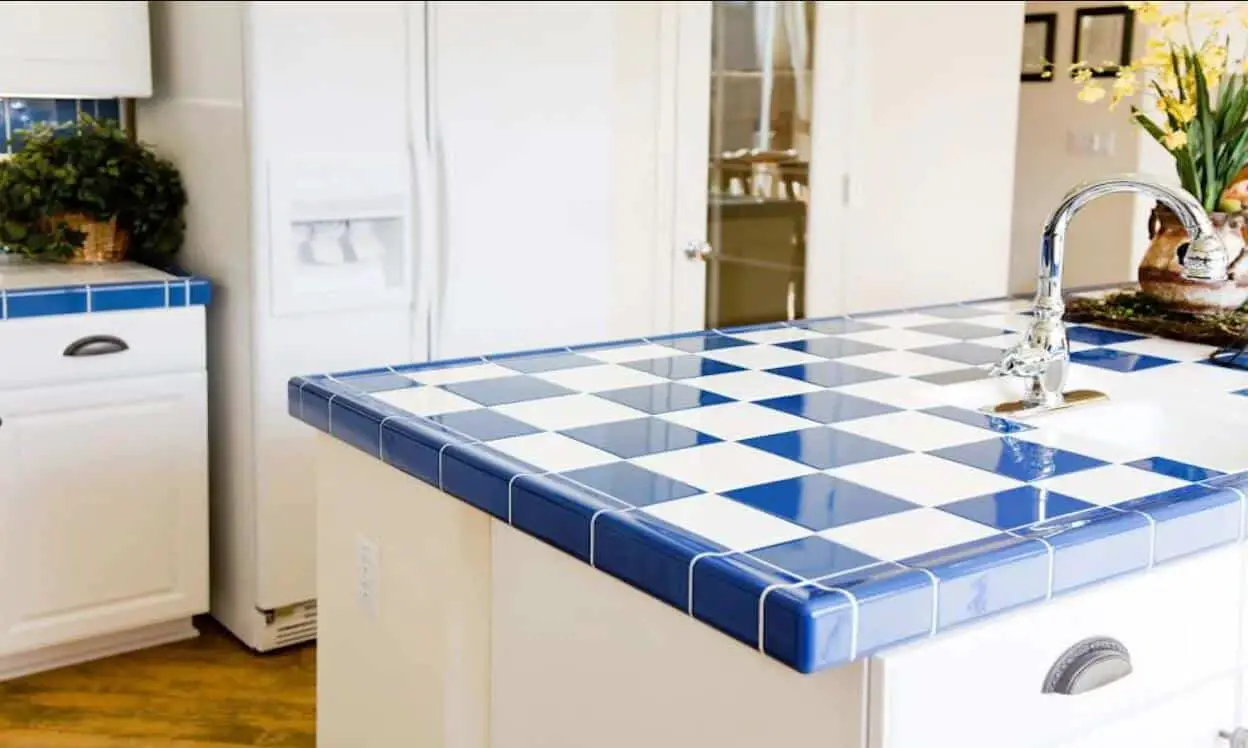
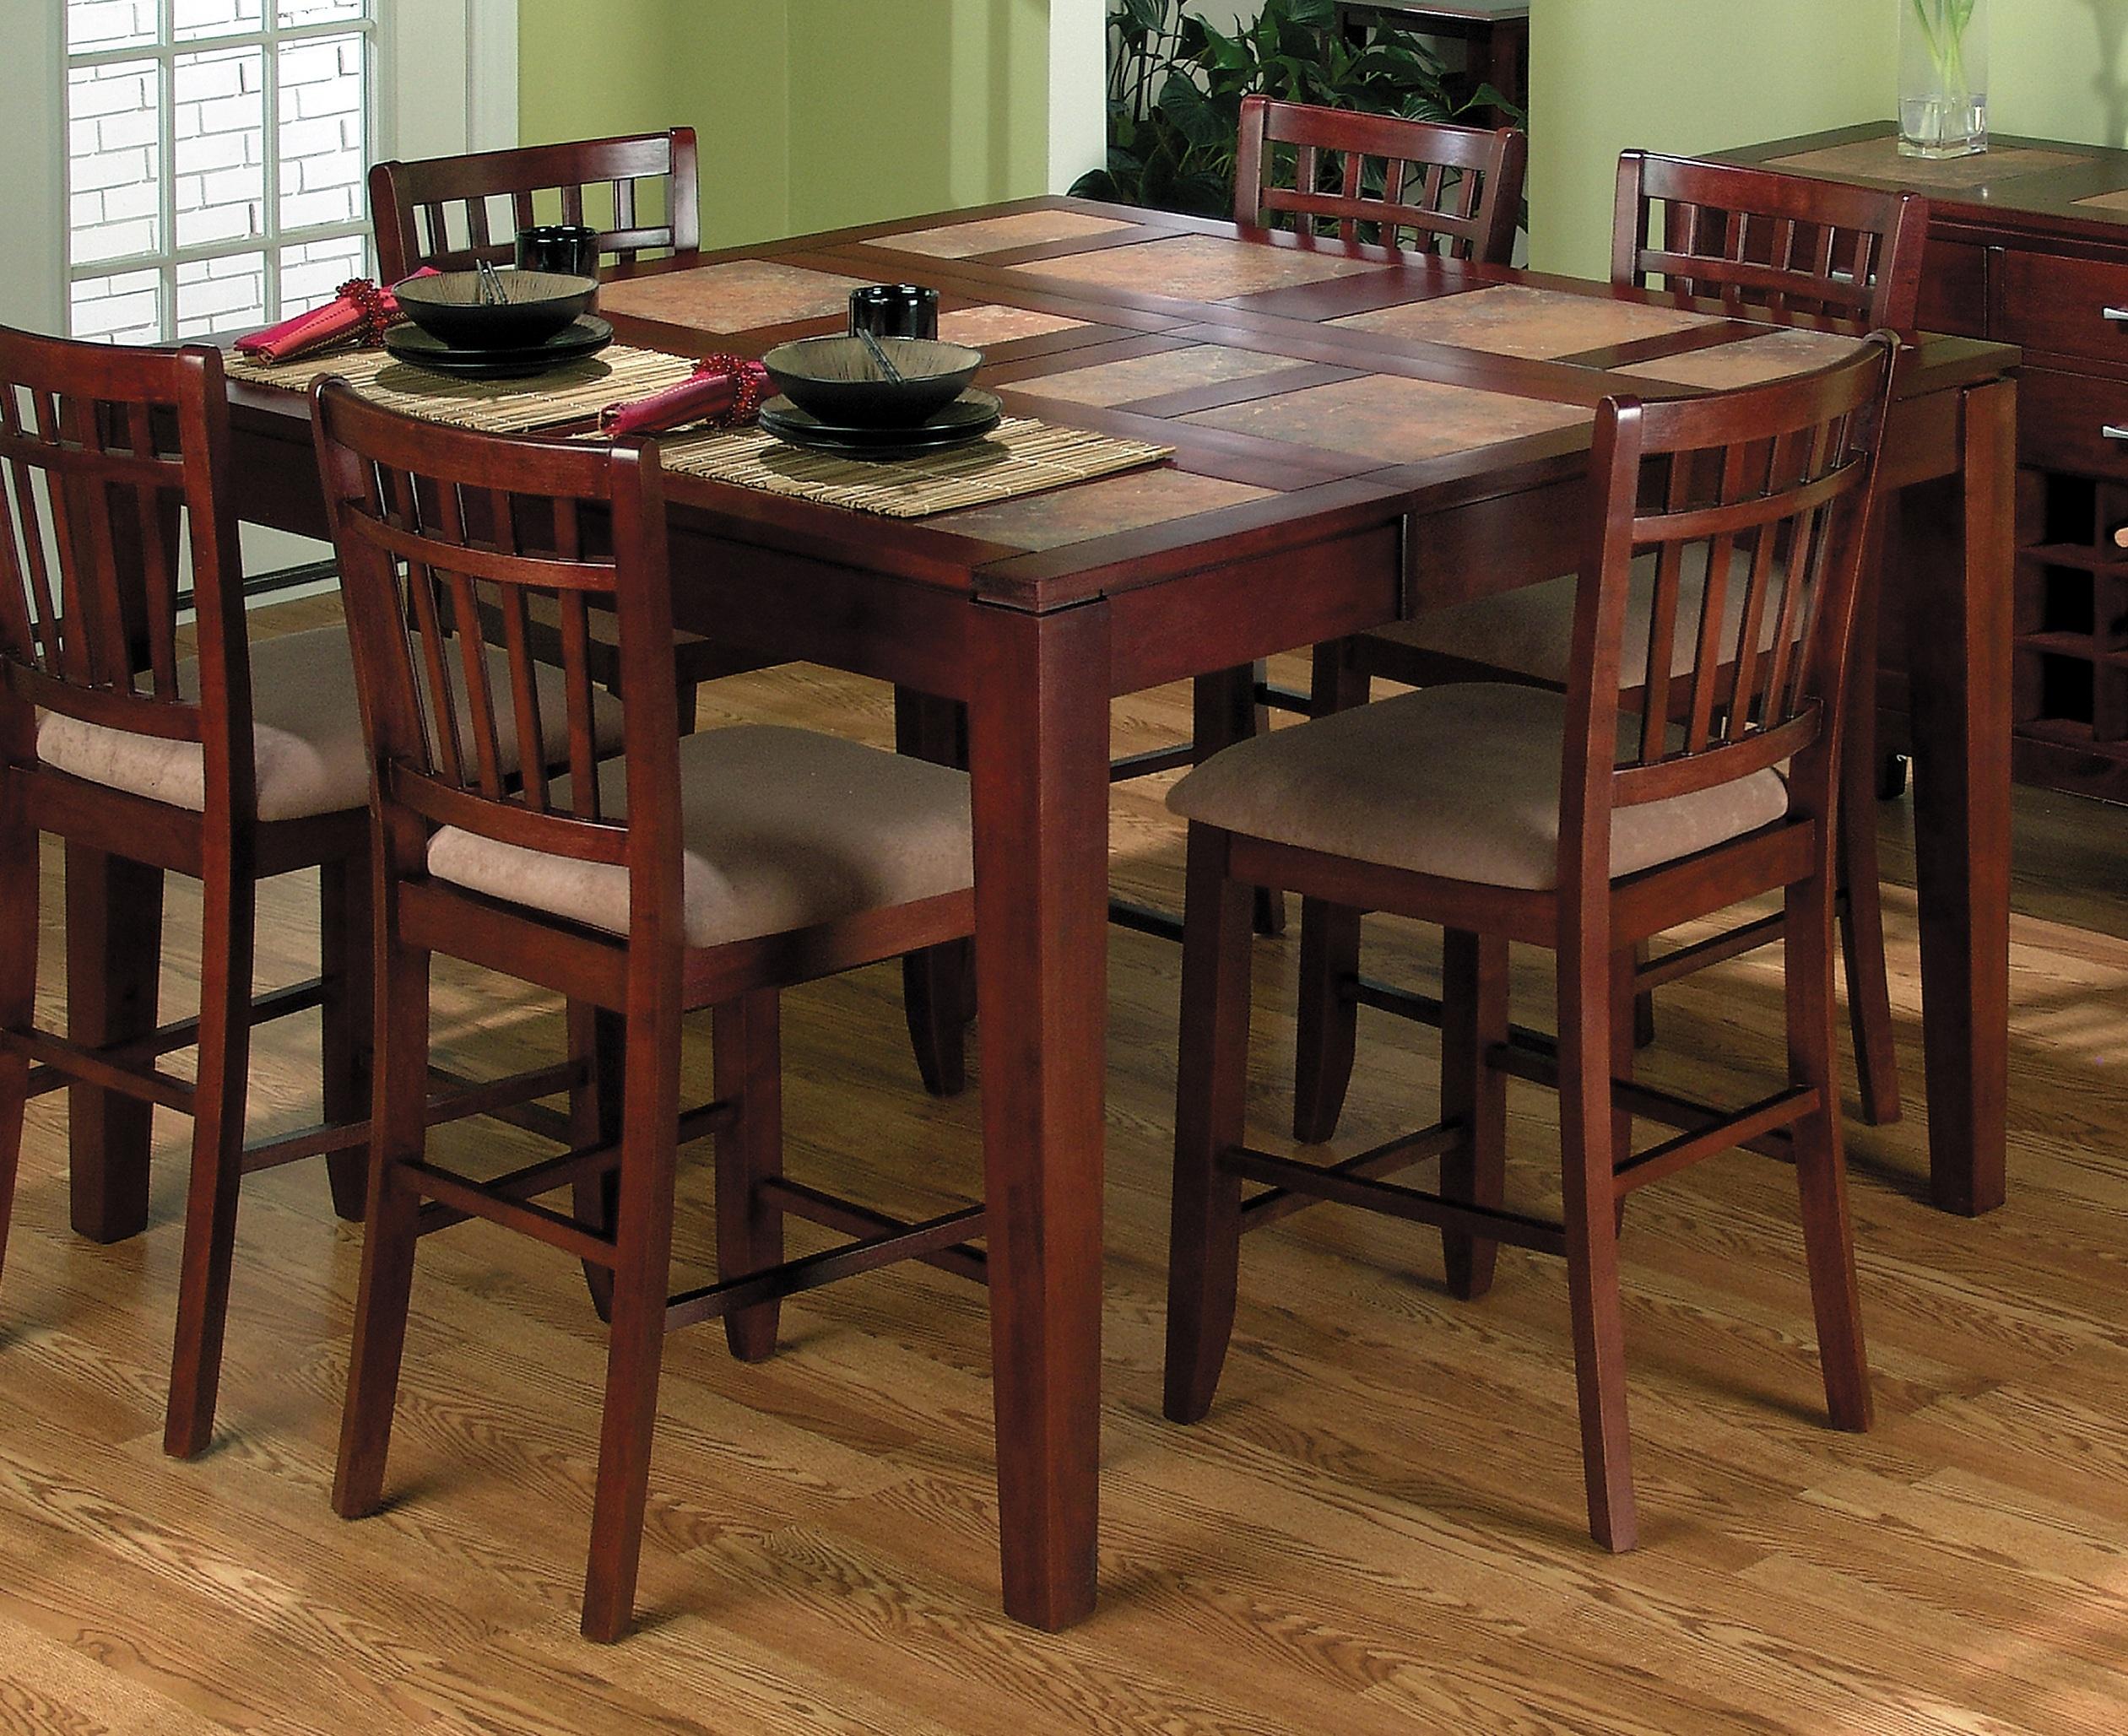
Tiling your kitchen table top doesn't have to be limited to a simple square or rectangular design. Get creative and add a personal touch by using different colors, shapes, and patterns of tiles.
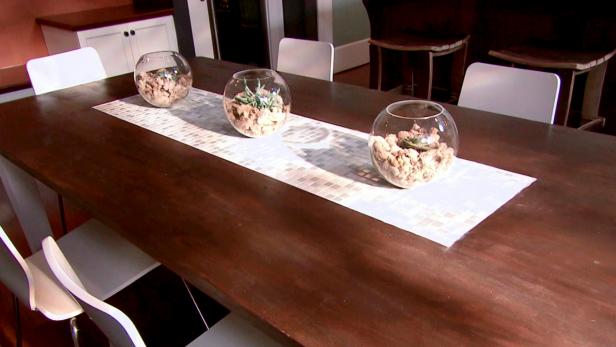
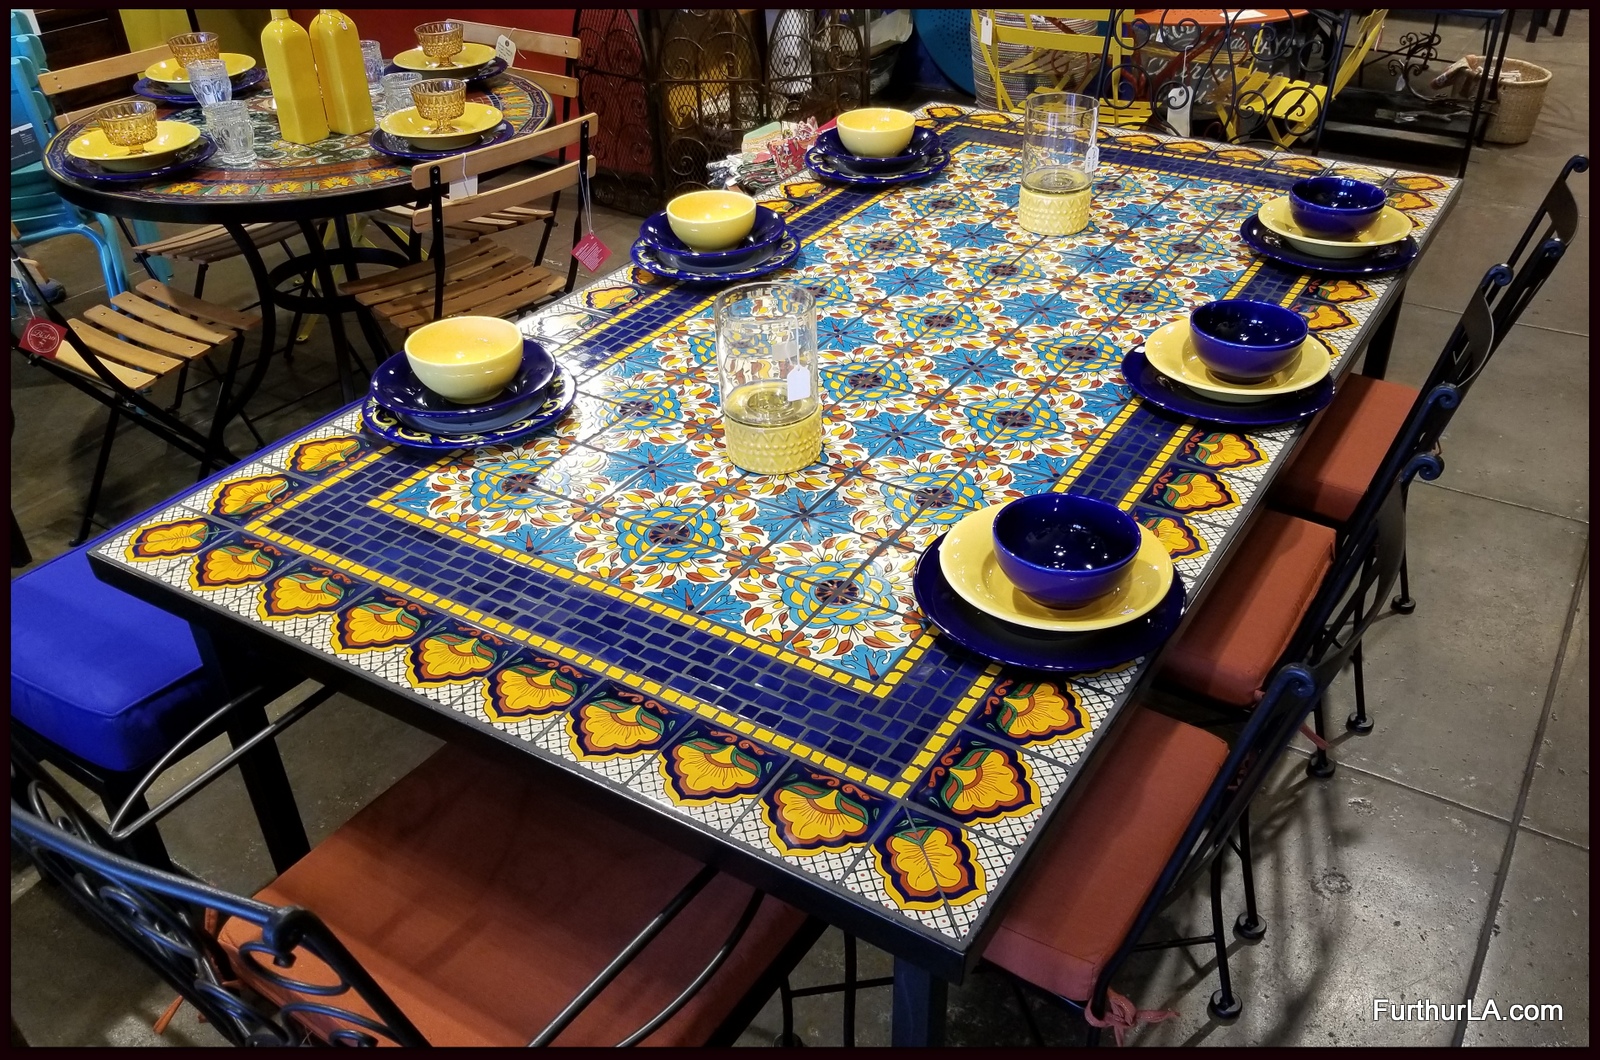
You can create a mosaic design by using small tiles in different colors to form a picture or pattern. Or, you can mix and match different sizes of tiles to create a unique and eye-catching design. The possibilities are endless, so let your imagination run wild!
6. Tips for Choosing the Right Tiles for Your Kitchen Table Top
When selecting tiles for your kitchen table top, keep in mind the style and color scheme of your kitchen to ensure a cohesive look. Consider the size and shape of your table as well, as this can affect the overall design and layout of the tiles.
Choose tiles that are durable and easy to clean, as your kitchen table will likely be subjected to spills and messes on a daily basis. And don't be afraid to mix and match different types of tiles to create a unique and personalized look.
7. How to Prep Your Kitchen Table for Tiling
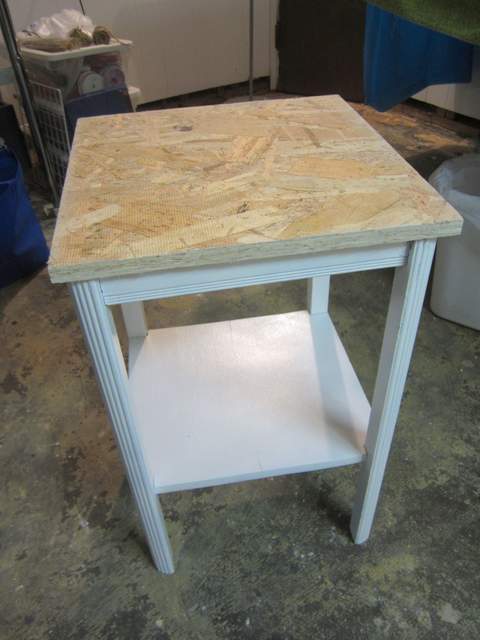
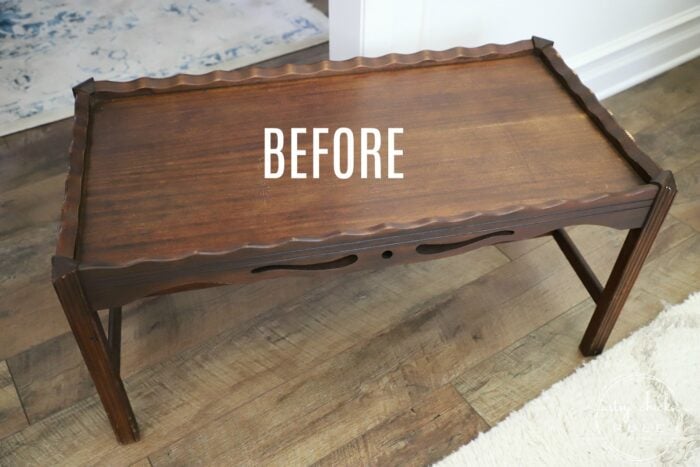
Preparation is key to a successful tiling project. Make sure your kitchen table is clean and free of any debris or residue before starting. Sanding the surface lightly will also help the tiles adhere better.
If your table has a glossy surface, it's recommended to prime it with a bonding agent to help the mortar adhere better. And if you're working with a wooden table, make sure to seal the wood with a waterproof sealant before tiling.
8. Tiling a Kitchen Table Top: Common Mistakes to Avoid
While tiling a kitchen table top may seem like a straightforward process, there are some common mistakes that DIYers make. One of the most important things to remember is to measure and plan carefully before starting, to avoid ending up with uneven or crooked tiles.
It's also crucial to use the right type of tiles and adhesive for your project, as not all tiles are suitable for kitchen use. And don't rush the process – take your time and make sure each tile is properly placed before moving on to the next one.
9. How to Grout and Seal a Tiled Kitchen Table Top
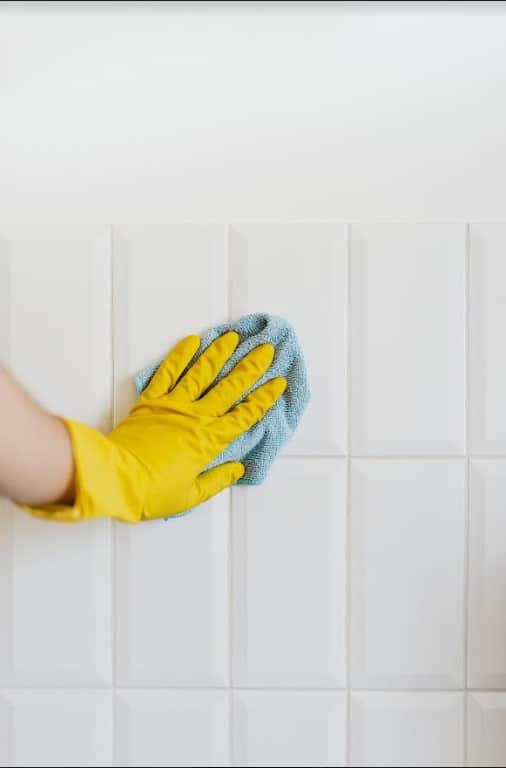
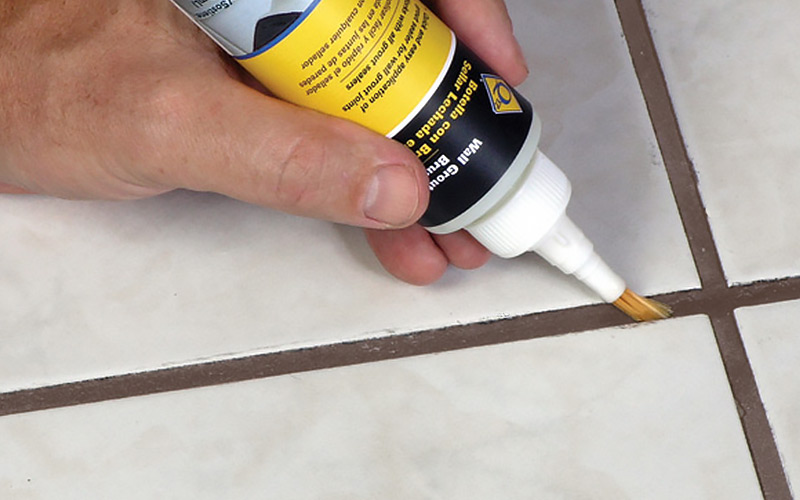
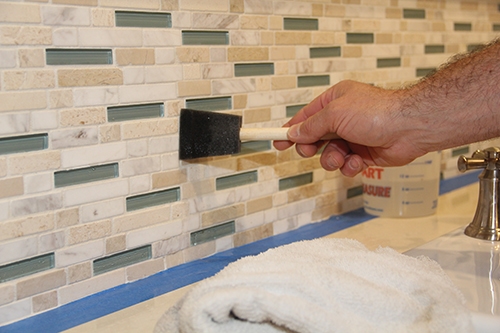
Grouting is the final step in tiling a kitchen table top. It not only fills in the gaps between tiles but also adds strength and stability to the surface. To achieve a clean and professional-looking finish, make sure to apply the grout evenly and wipe off any excess with a damp sponge.
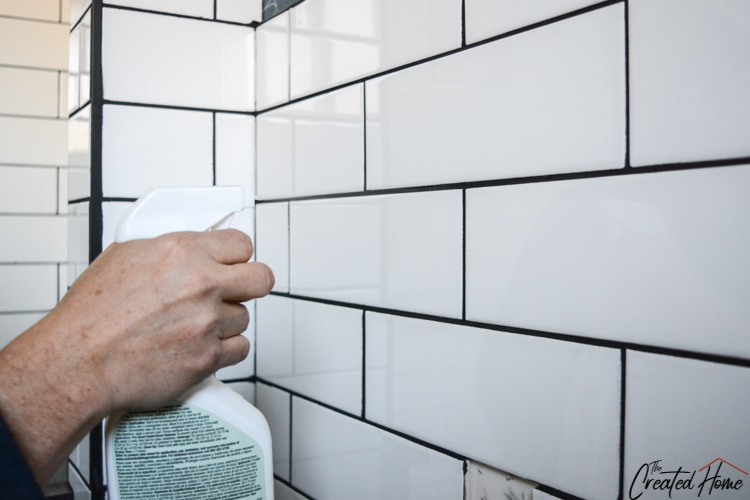
Once the grout has dried, it's important to seal it to prevent staining and protect the tiles. Apply a sealant according to the manufacturer's instructions, and your newly tiled kitchen table top is ready to use!
10. Tiling a Kitchen Table Top: Pros and Cons
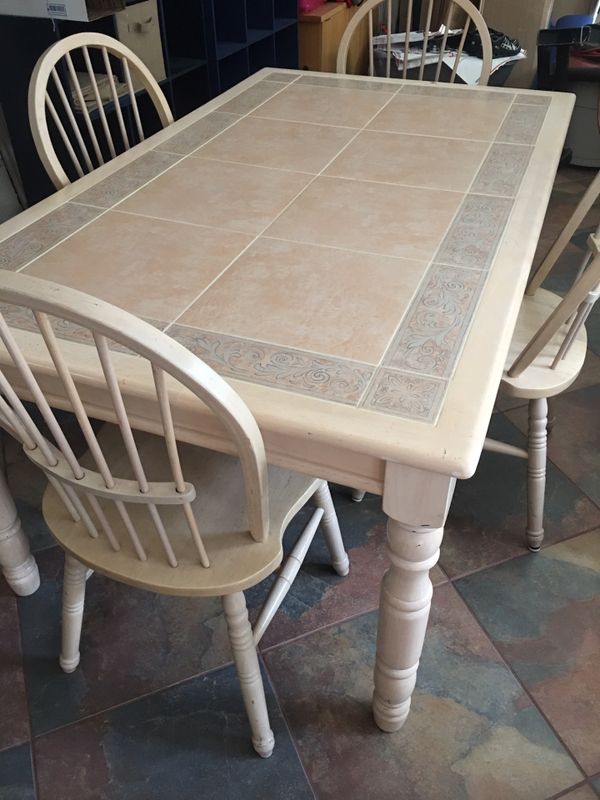
Tiling a kitchen table top has numerous benefits, such as durability, easy maintenance, and the ability to customize the design. It can also add value to your home and save you money compared to purchasing a new table.
However, it's important to consider the potential downsides, such as the time and effort required for the project, the possibility of making mistakes, and the cost of materials. Ultimately, the decision to tile your kitchen table top should be based on your personal preferences and needs.
In conclusion, tiling a kitchen table top is a great way to refresh and upgrade your kitchen without breaking the bank. With the right tools, materials, and techniques, you can achieve a beautiful and functional surface that will last for years to come. So, why not give it a try and unleash your inner DIY expert?
Tiling Kitchen Table Top: A Modern Twist on Kitchen Design

Why Tiling Your Kitchen Table Top is a Great Idea
 Tiling your kitchen table top is a creative and modern way to spruce up your kitchen design. Not only does it add a unique and personalized touch to your space, but it also has practical benefits. With the right type of tiles, a tiled kitchen table top can be durable, easy to clean, and resistant to heat and stains. Plus, with a wide variety of tile options available, you can easily find the perfect style to match your kitchen's aesthetic.
Types of Tiles to Consider
 When it comes to tiling your kitchen table top, there are a few different types of tiles to consider.
Ceramic
and
porcelain
tiles are popular choices due to their durability and resistance to heat and stains. For a more luxurious look,
marble
or
granite
tiles can add a touch of elegance to your kitchen. If you want to add some color and personality,
mosaic
tiles come in a variety of designs and patterns. Consider the overall look and feel of your kitchen when choosing the type of tiles for your table top.
How to Tile Your Kitchen Table Top
 Tiling your kitchen table top may seem like a daunting task, but with the right tools and techniques, it can be a fun and rewarding DIY project. First, make sure your table top is clean and free of any debris. Then, measure and mark out the area to be tiled. Next, mix the tile adhesive according to the manufacturer's instructions and spread it evenly on the table top. Carefully place the tiles on the adhesive, making sure they are evenly spaced. Once the adhesive has dried, apply grout between the tiles and wipe off any excess. Finally, seal the tiles with a sealant to protect them from stains and water damage.
Incorporating Tiled Kitchen Table Top into Your Design
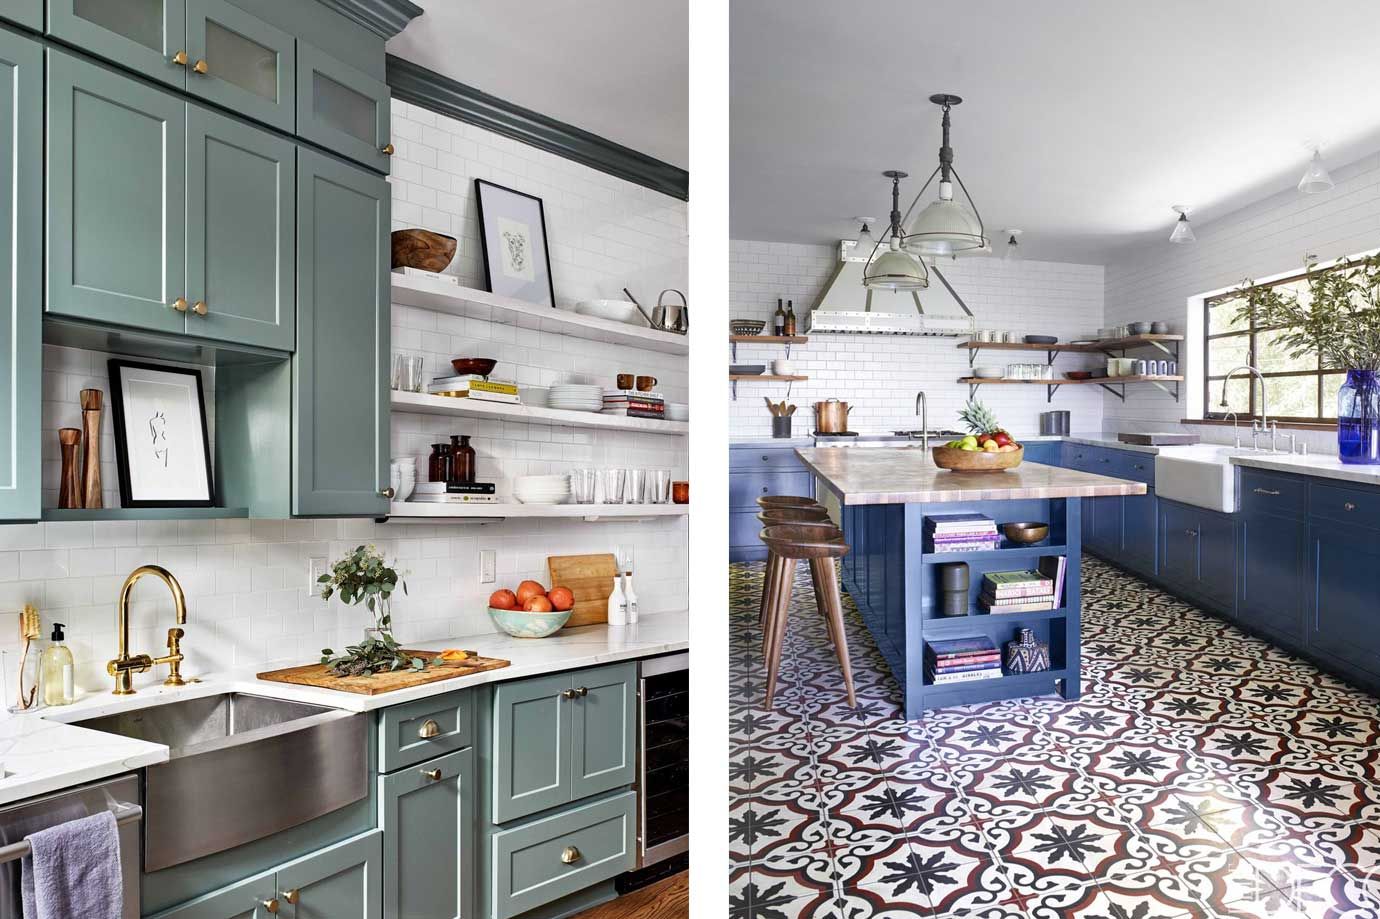
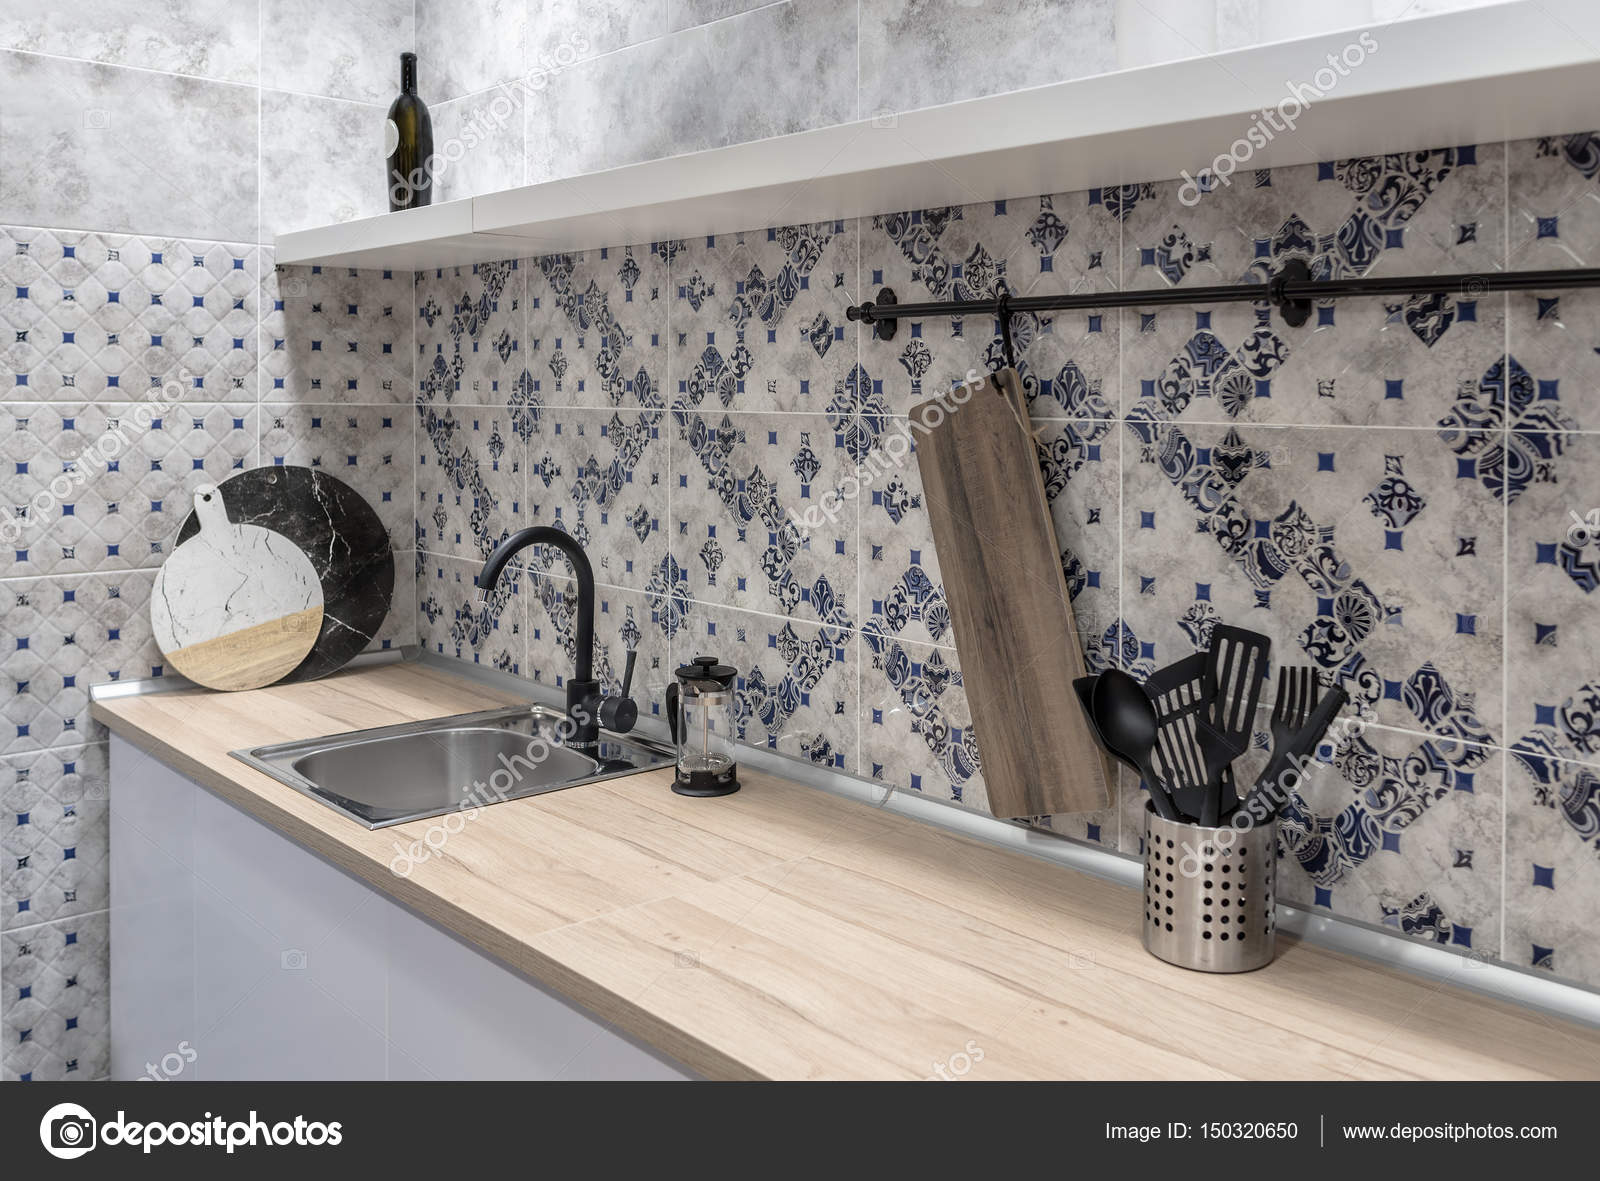
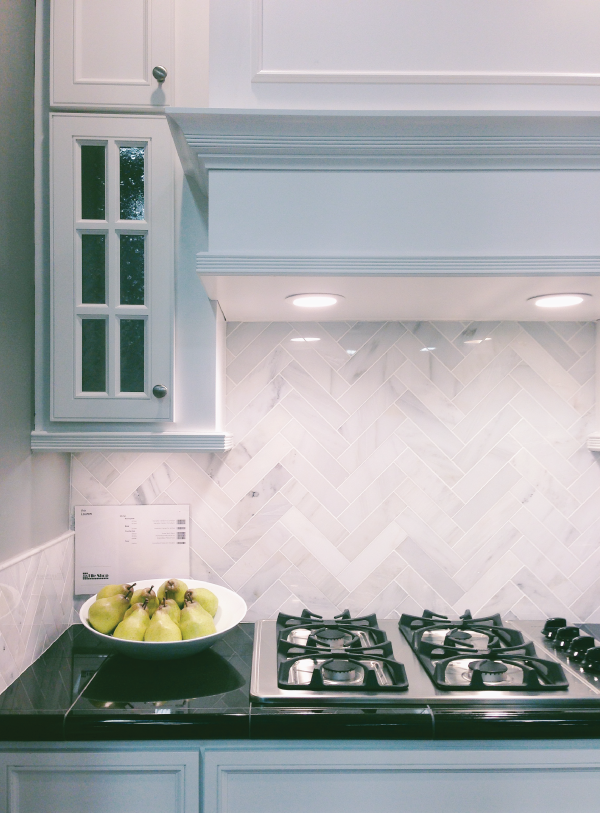
 A tiled kitchen table top can be a great focal point in your kitchen, but it's important to incorporate it into your overall design seamlessly. Consider the colors and patterns of your tiles and how they will complement your kitchen cabinets and countertops. If you have a small kitchen, a tiled table top can make the space look larger and more open. For a cohesive look, you can also use the same tiles on your backsplash or floor.
Conclusion
 Tiling your kitchen table top is a great way to add a unique and modern touch to your kitchen design. With the right type of tiles and proper installation, your table top can be durable, easy to clean, and aesthetically pleasing. So why not give your kitchen a makeover and get creative with tiling your table top? It's a simple and cost-effective way to elevate your kitchen's style.
































:max_bytes(150000):strip_icc()/how-to-grout-ceramic-wall-tile-1824821-06-72b09cdc12a64231bbd72fd0dd4a8b28.jpg)


