Tiling a kitchen sink may seem like a daunting task, but with the right materials and techniques, it can be a DIY project that will give your kitchen a whole new look. Here is a step-by-step guide to help you successfully tile your kitchen sink area.How to Tile a Kitchen Sink: A Step-by-Step Guide


How to Tile a Kitchen Sink: A Step-by-Step Guide
:max_bytes(150000):strip_icc()/Idealprojects-kitchen-01-700x531-bd33e60ae364434db6132005d99b90c5.jpg)


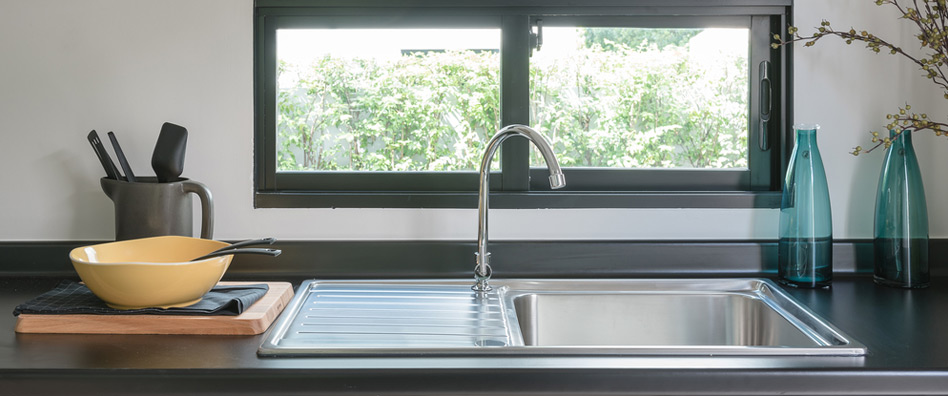
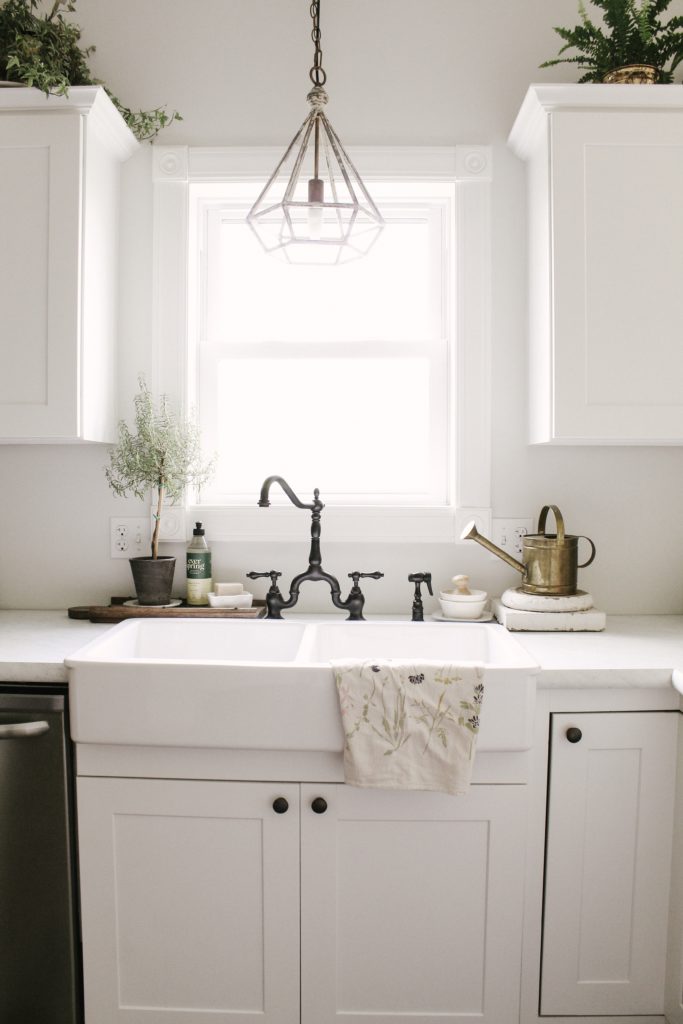
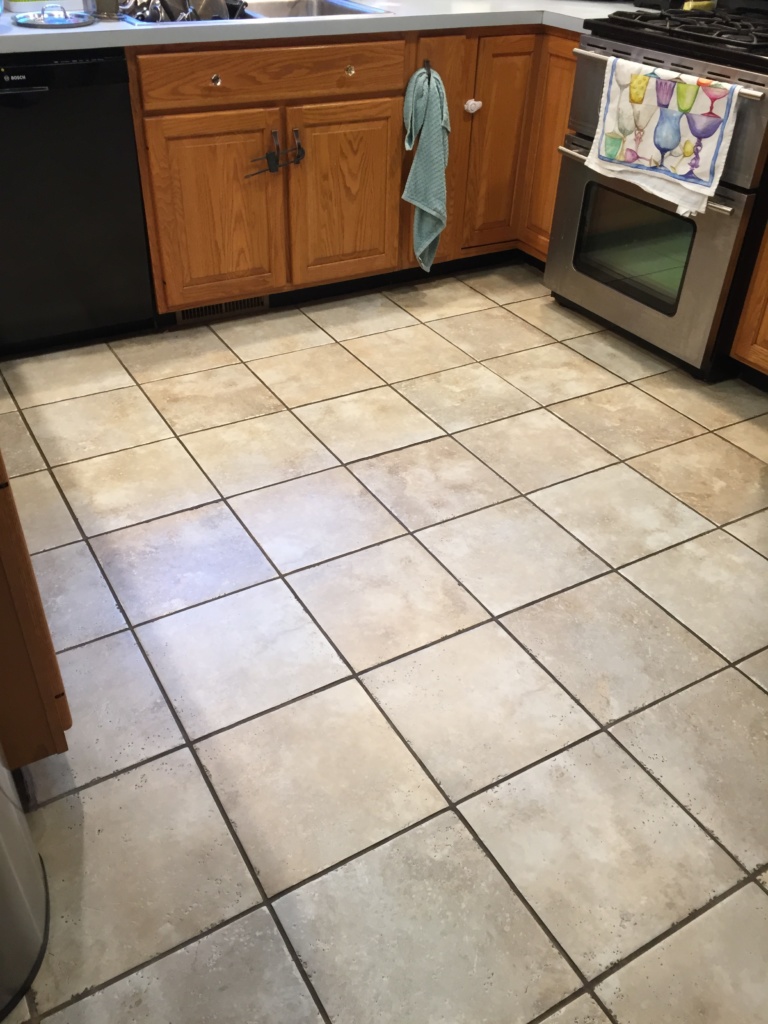
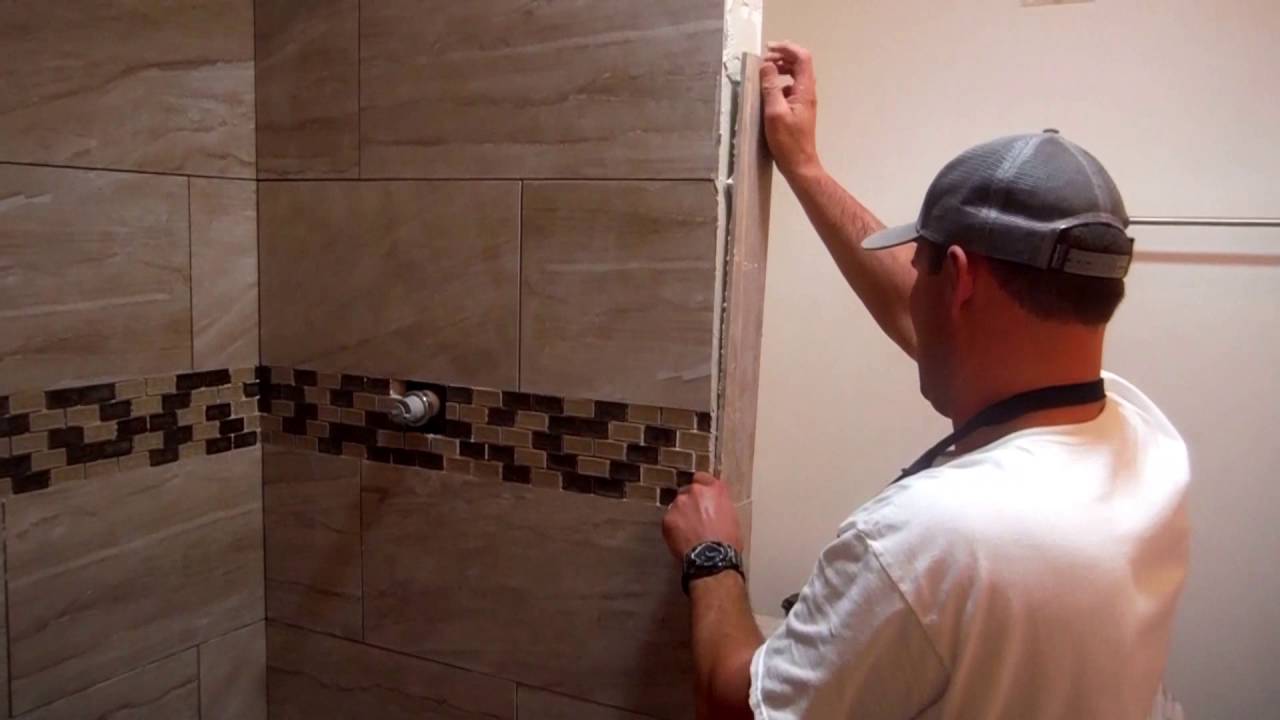
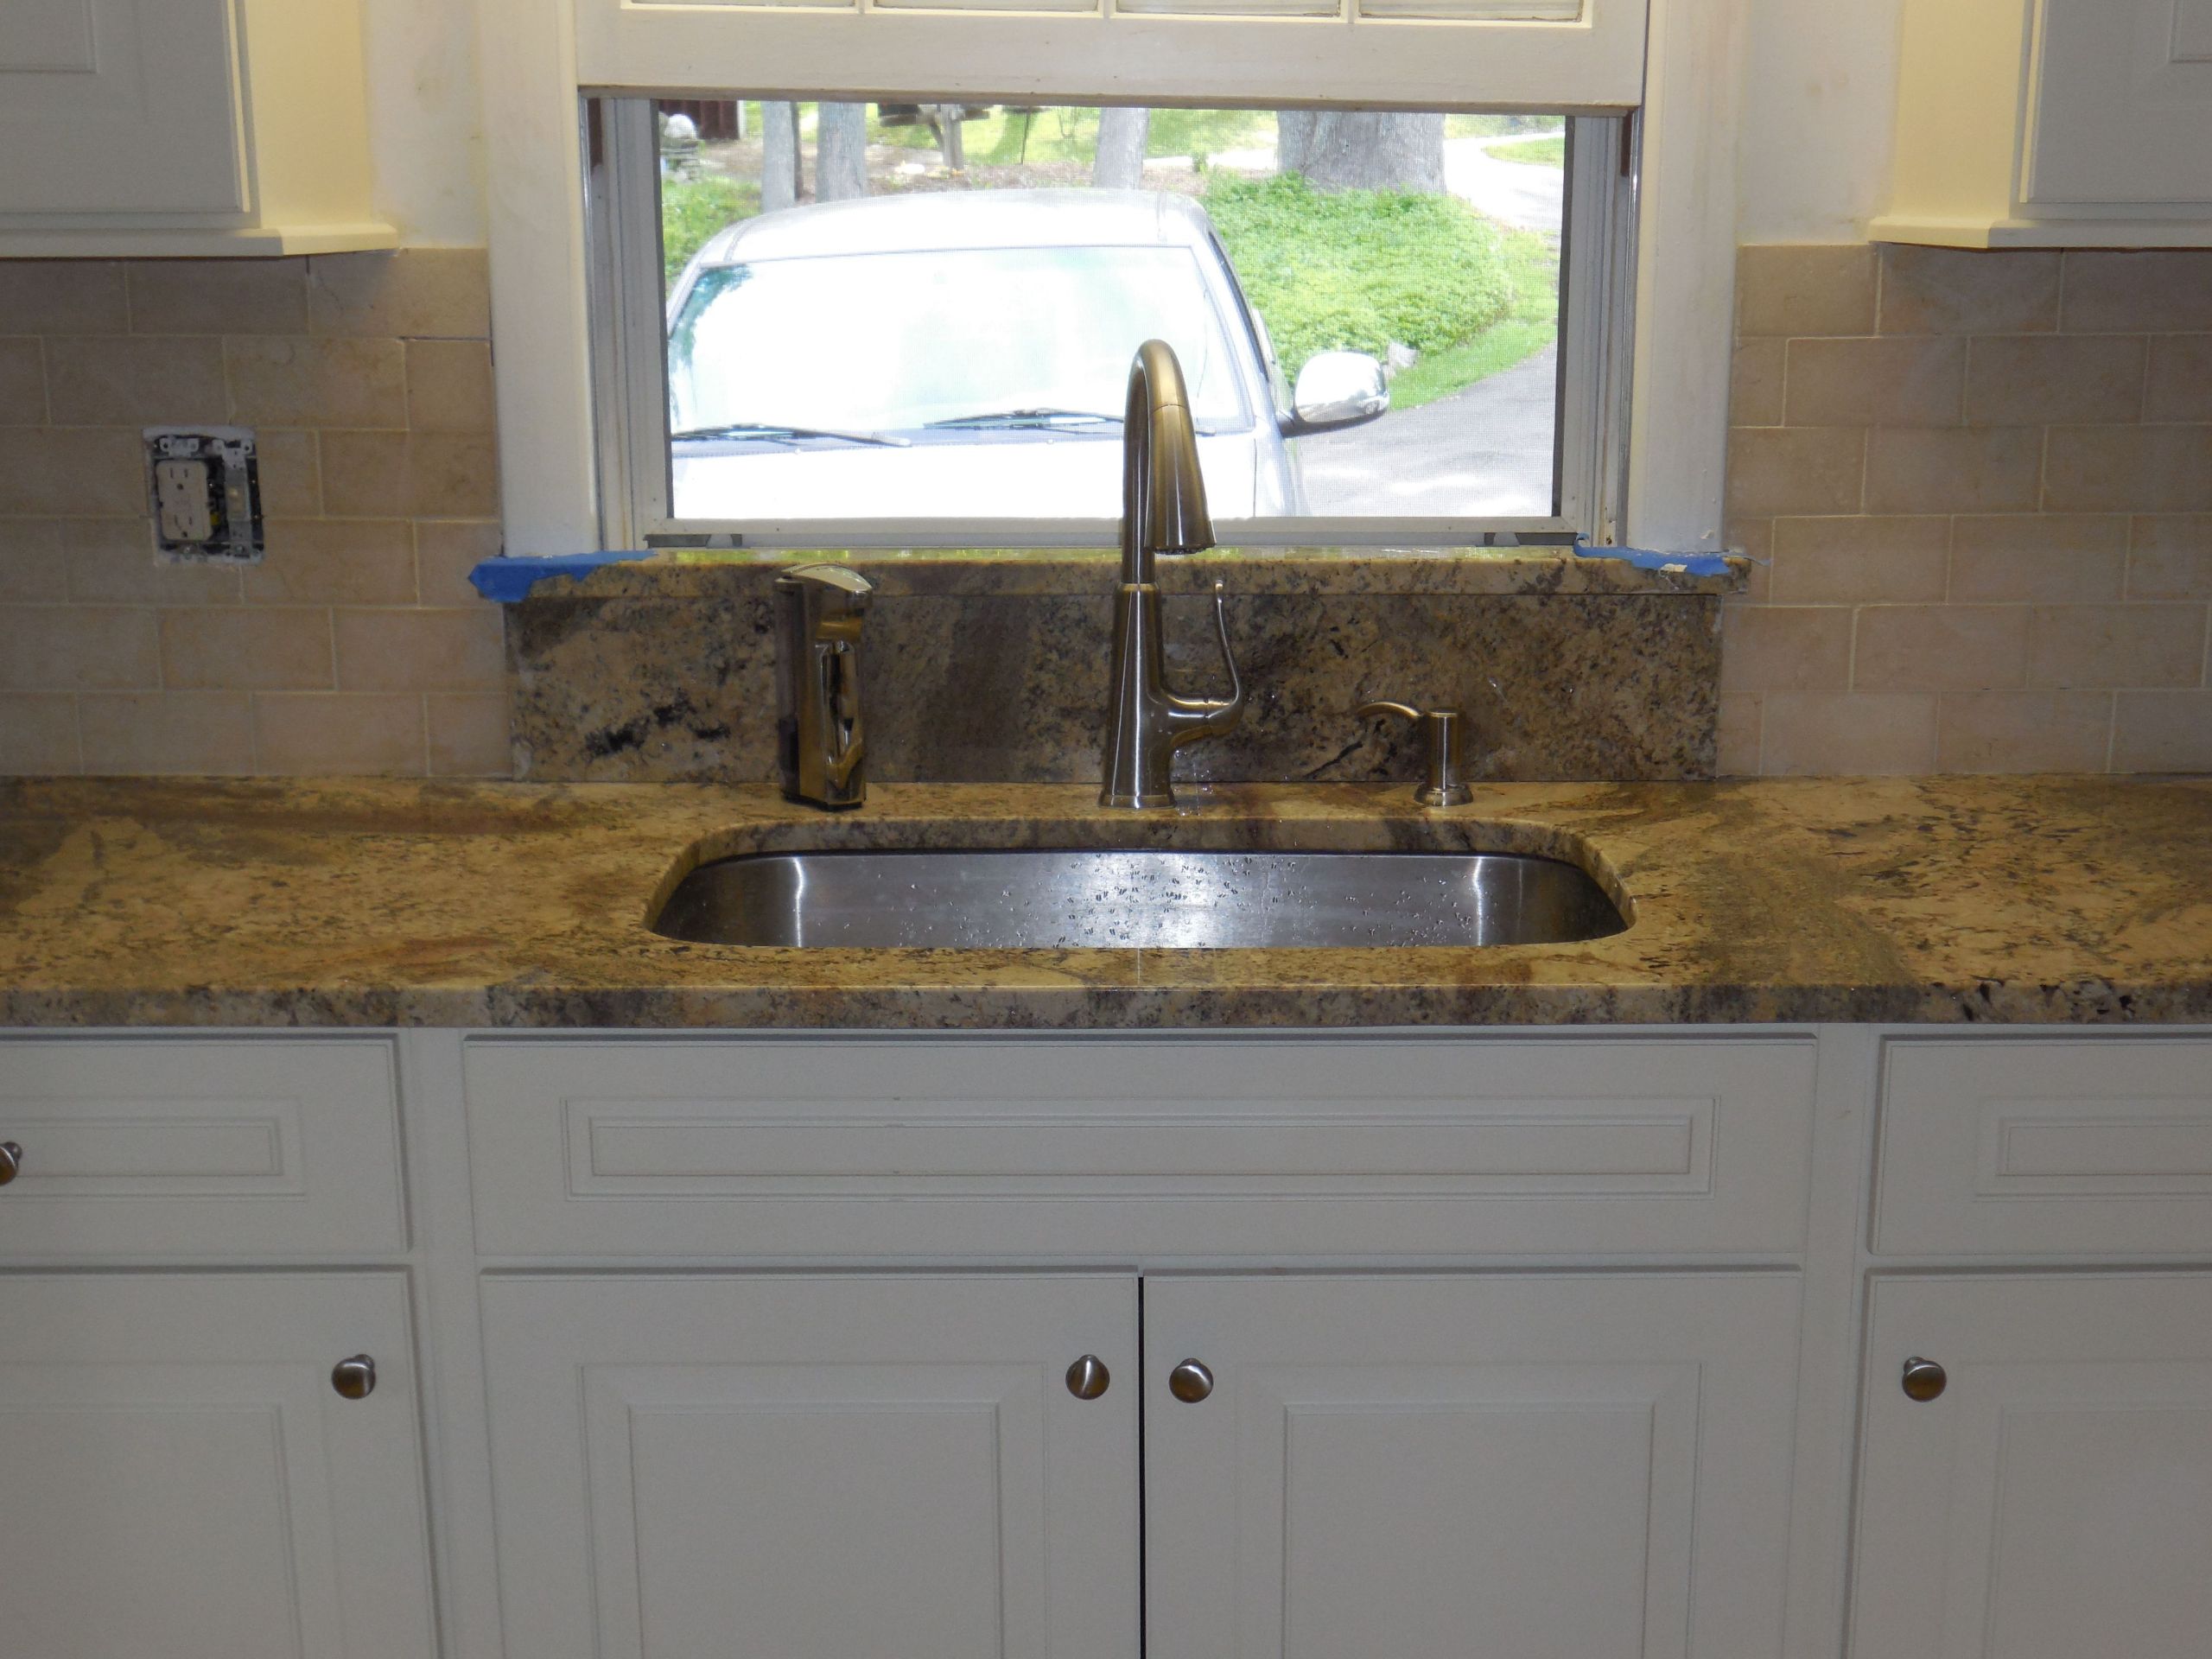
Before you begin tiling your kitchen sink, you'll need to decide if you want to tile just the area behind the sink (the backsplash) or the entire wall. Tiling the backsplash is a great way to add some color and texture to your kitchen without the need for a complete renovation. Plus, it's a smaller area to tackle, making it a perfect project for beginners.How to Tile a Kitchen Sink Backsplash


How to Tile a Kitchen Sink Backsplash


Tiling a kitchen sink is a project that can be done by anyone with a little bit of patience and some basic DIY skills. The first step is to gather all the necessary materials, including tiles, tile adhesive, grout, tile spacers, and tile cutters. You can also rent a tile cutter from your local hardware store if you don't want to invest in one.DIY Kitchen Sink Tile Installation


DIY Kitchen Sink Tile Installation


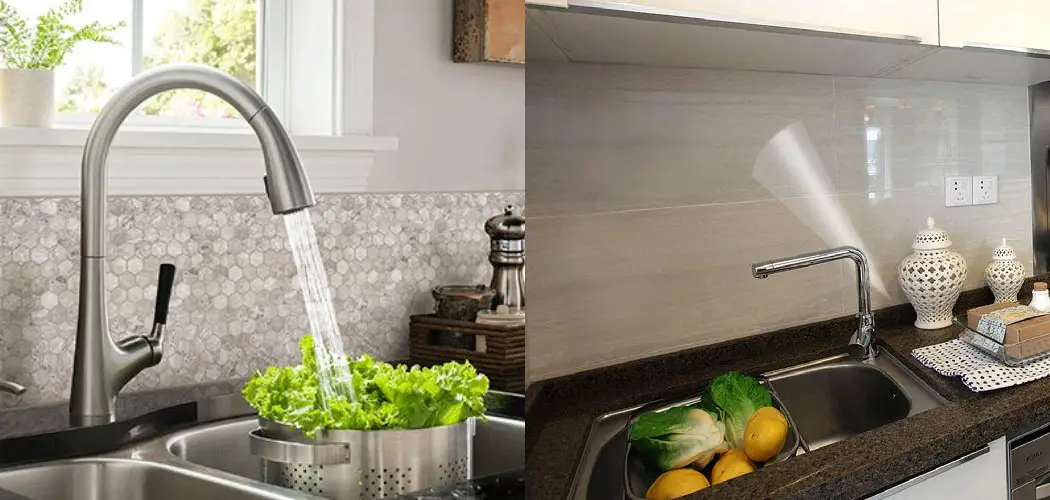
When choosing tiles for your kitchen sink area, it's important to consider both function and aesthetics. Your tiles need to be able to withstand water and frequent cleaning, while also complementing the overall design of your kitchen. Porcelain and ceramic tiles are popular choices for kitchen sinks, as they are durable and come in a variety of colors and patterns.Best Tiles for Kitchen Sink Area


Best Tiles for Kitchen Sink Area


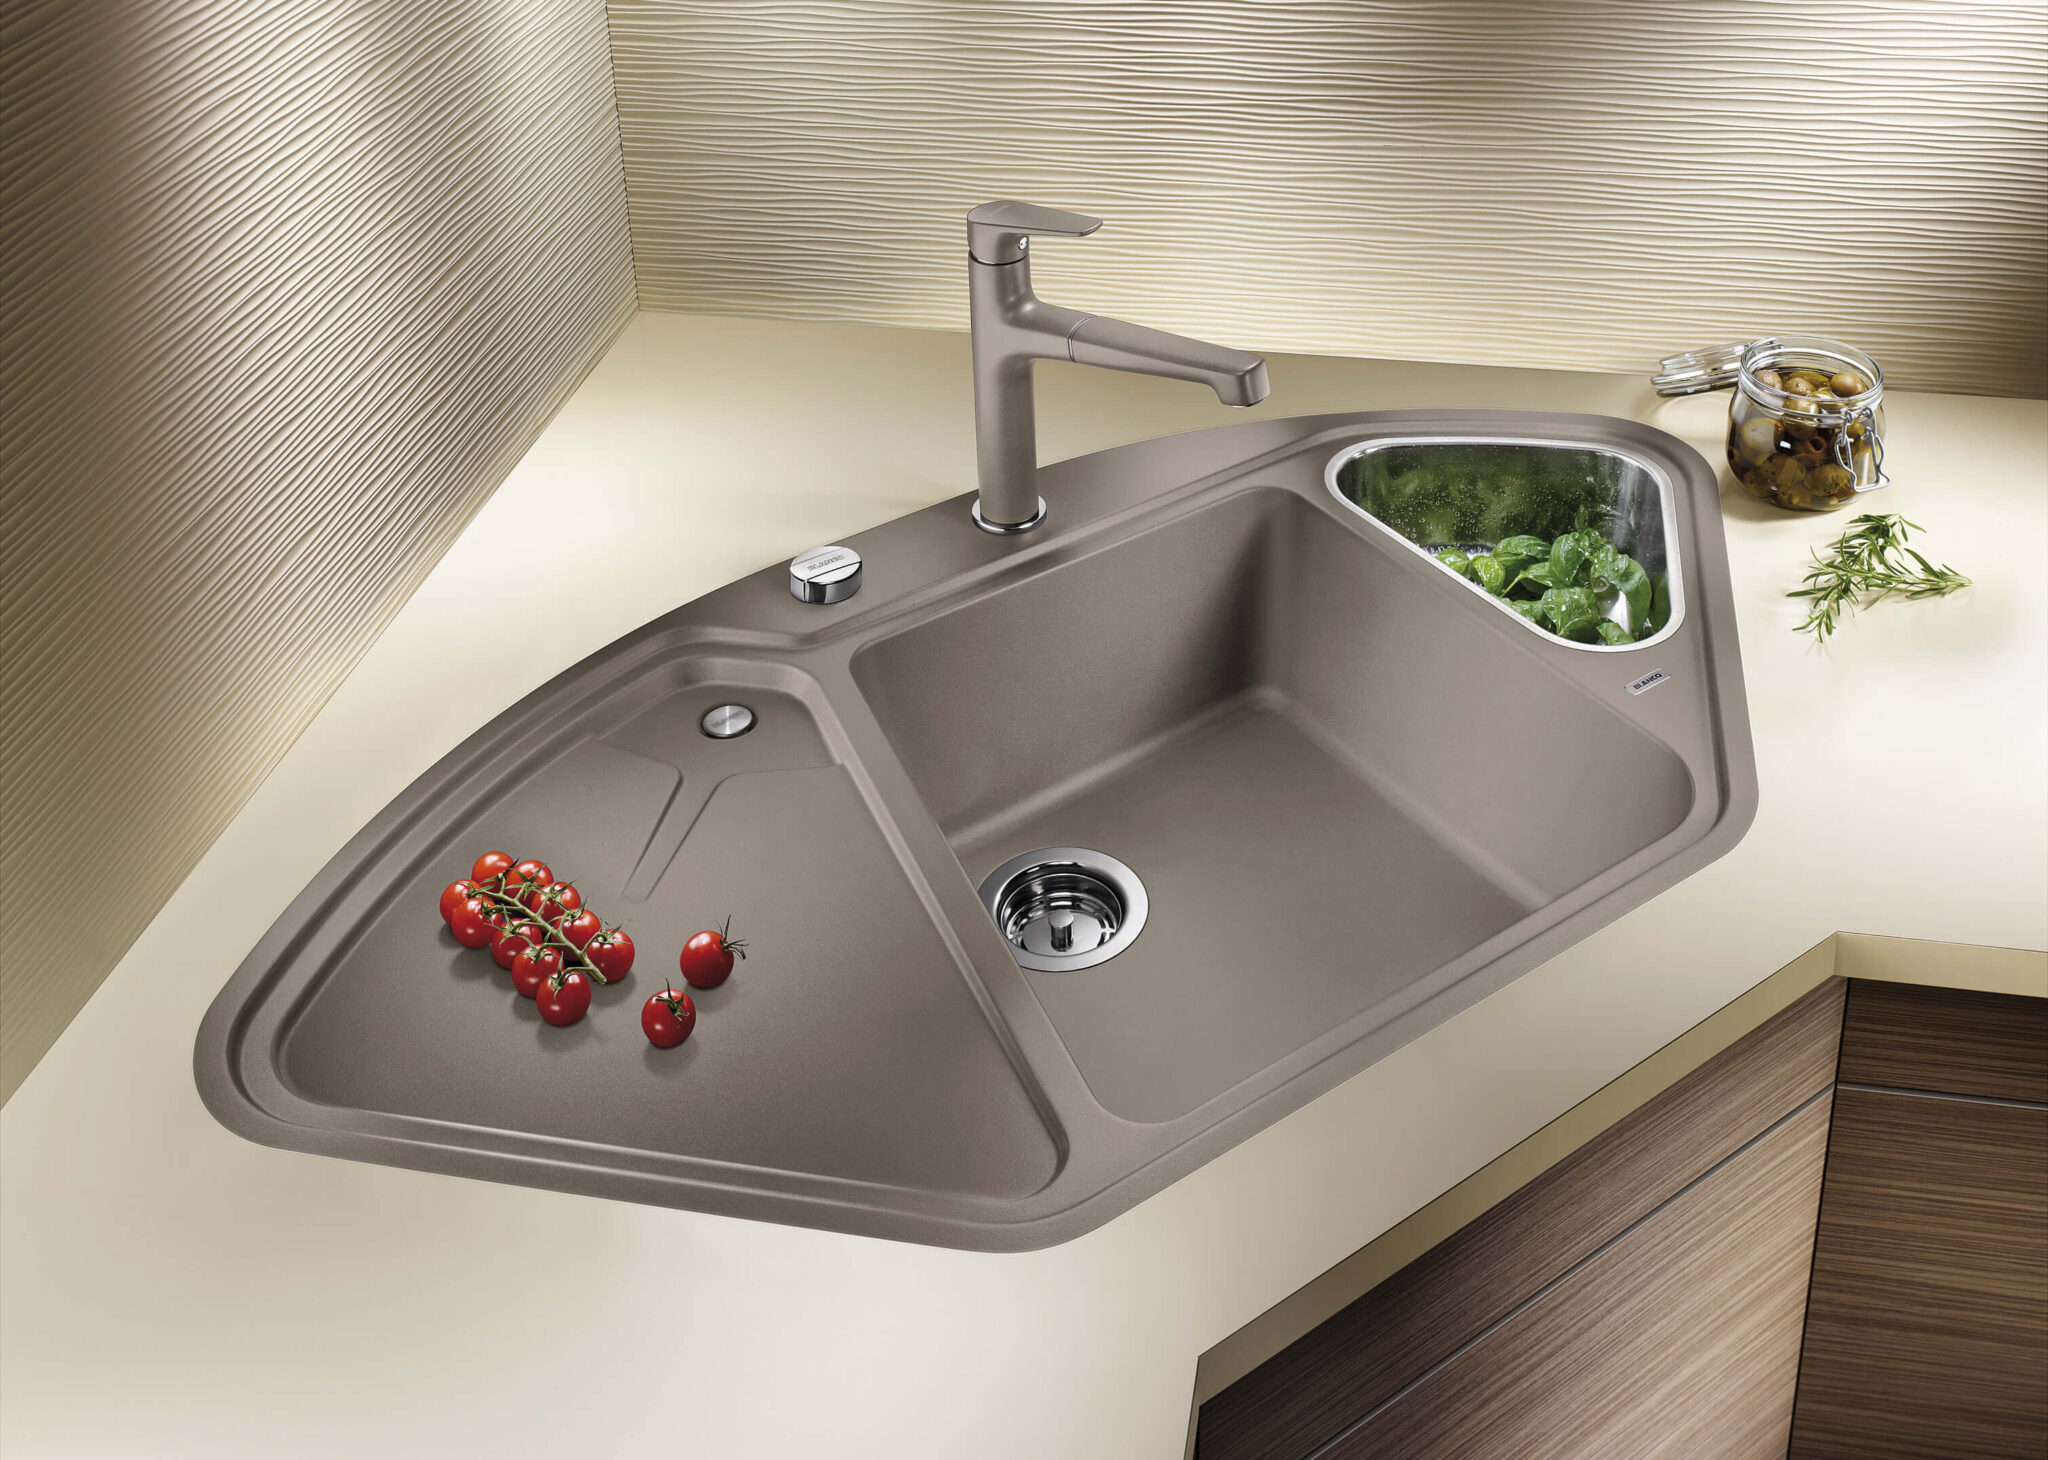
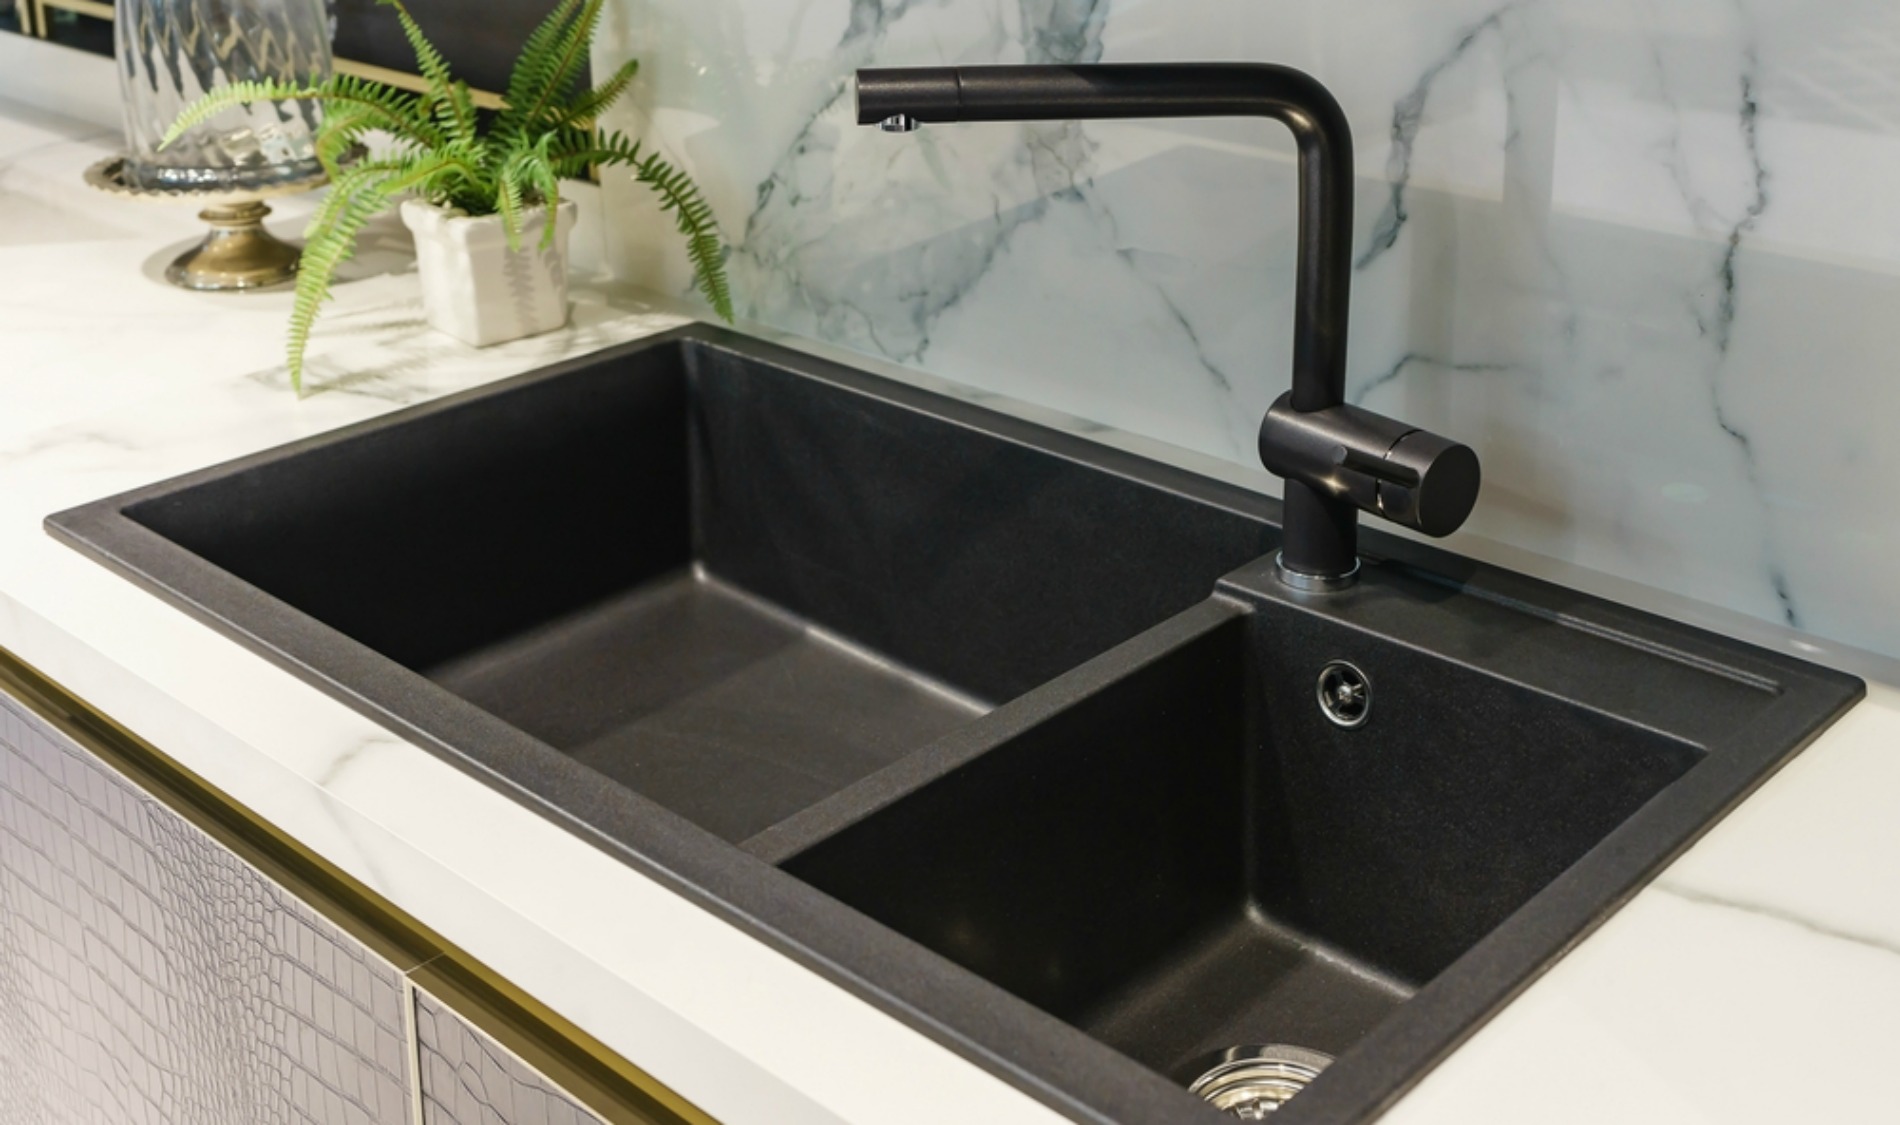
When deciding on the right tile for your kitchen sink, there are a few factors to keep in mind. Consider the size and shape of your sink, as well as the style and color of your kitchen cabinets and countertops. It's also a good idea to choose tiles that are easy to clean and maintain, especially in a high-traffic area like the kitchen sink.How to Choose the Right Tile for Your Kitchen Sink


How to Choose the Right Tile for Your Kitchen Sink


:max_bytes(150000):strip_icc()/Basic-kitchen-sink-types-1821207_color_rev-0b539306b9ef4236a136624ad2a89a4c.jpg)
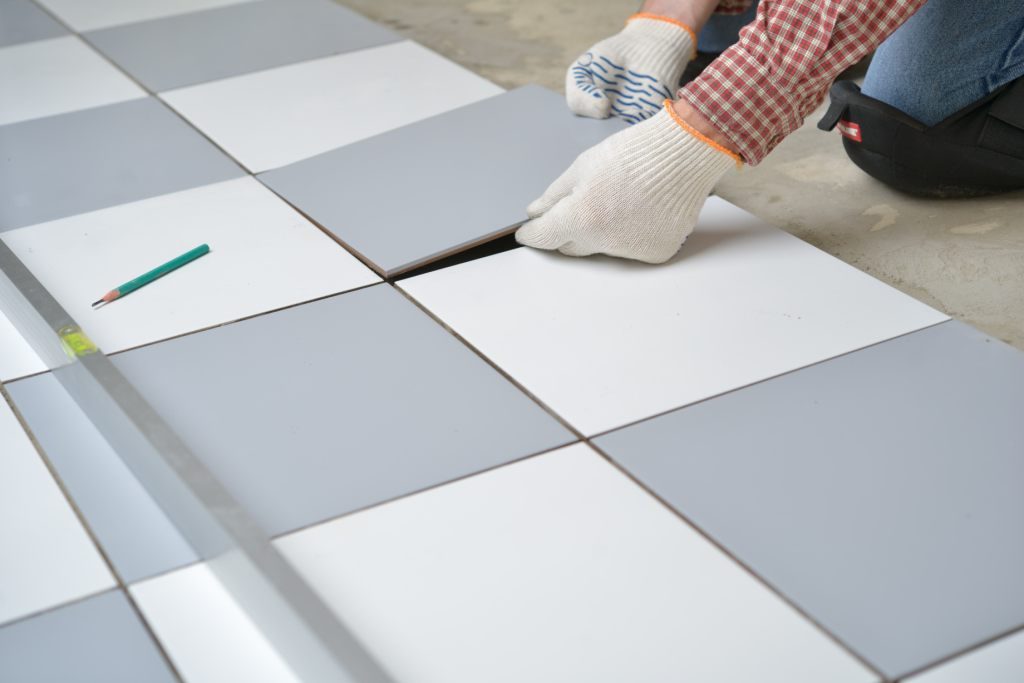
Tiling around a kitchen sink can be tricky, but there are a few tips that can make the process smoother. First, make sure to measure and plan out your tile placement before applying any adhesive. It's also helpful to start from the center of the sink and work your way outwards, using tile spacers to ensure even spacing between tiles.Tips for Tiling Around a Kitchen Sink


Tips for Tiling Around a Kitchen Sink


One common mistake when tiling a kitchen sink is not properly preparing the surface before tiling. Make sure to clean the area thoroughly and use a primer if needed. Another mistake is not using enough adhesive, which can cause tiles to become loose or fall off completely. It's also important to use the correct type of grout for your specific tiles.Common Mistakes to Avoid When Tiling a Kitchen Sink


Common Mistakes to Avoid When Tiling a Kitchen Sink


Grouting is the final step in tiling a kitchen sink and is crucial for ensuring that your tiles are sealed and waterproof. After allowing the adhesive to dry, mix and apply the grout according to the manufacturer's instructions. Use a grout float to spread the grout evenly and a damp sponge to wipe away any excess. Let the grout dry completely before sealing it.How to Grout a Kitchen Sink Tile


How to Grout a Kitchen Sink Tile


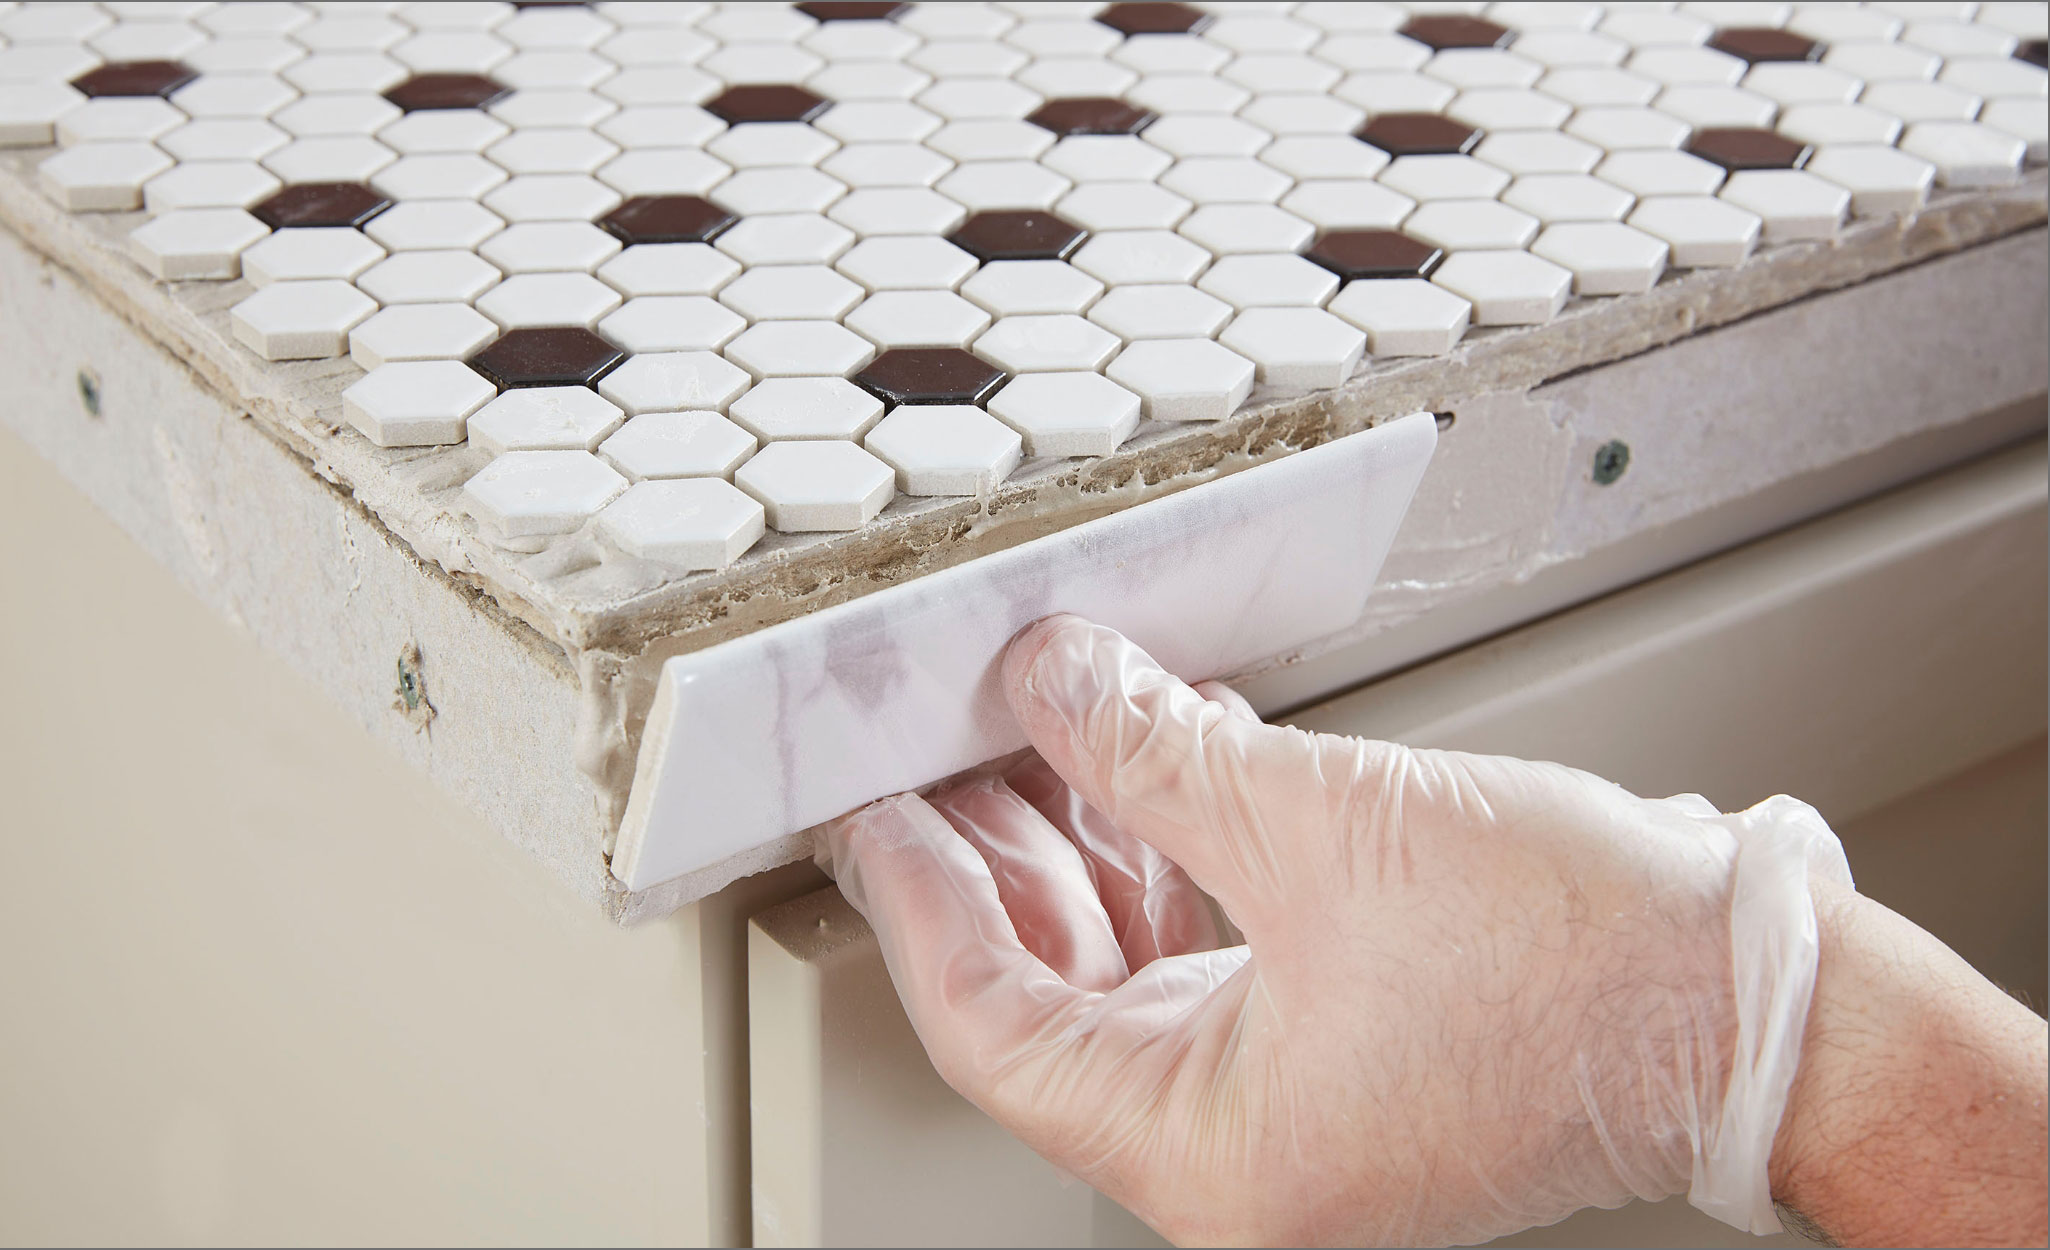
To achieve a polished and professional look, consider using tile trim to finish the edges of your kitchen sink. This can be in the form of bullnose tiles, which have one rounded edge, or metal trim pieces that can be cut to fit. These trim pieces not only add a decorative touch, but they also protect the exposed edges of your tiles.Using Tile Trim to Finish the Edges of a Kitchen Sink


Using Tile Trim to Finish the Edges of a Kitchen Sink


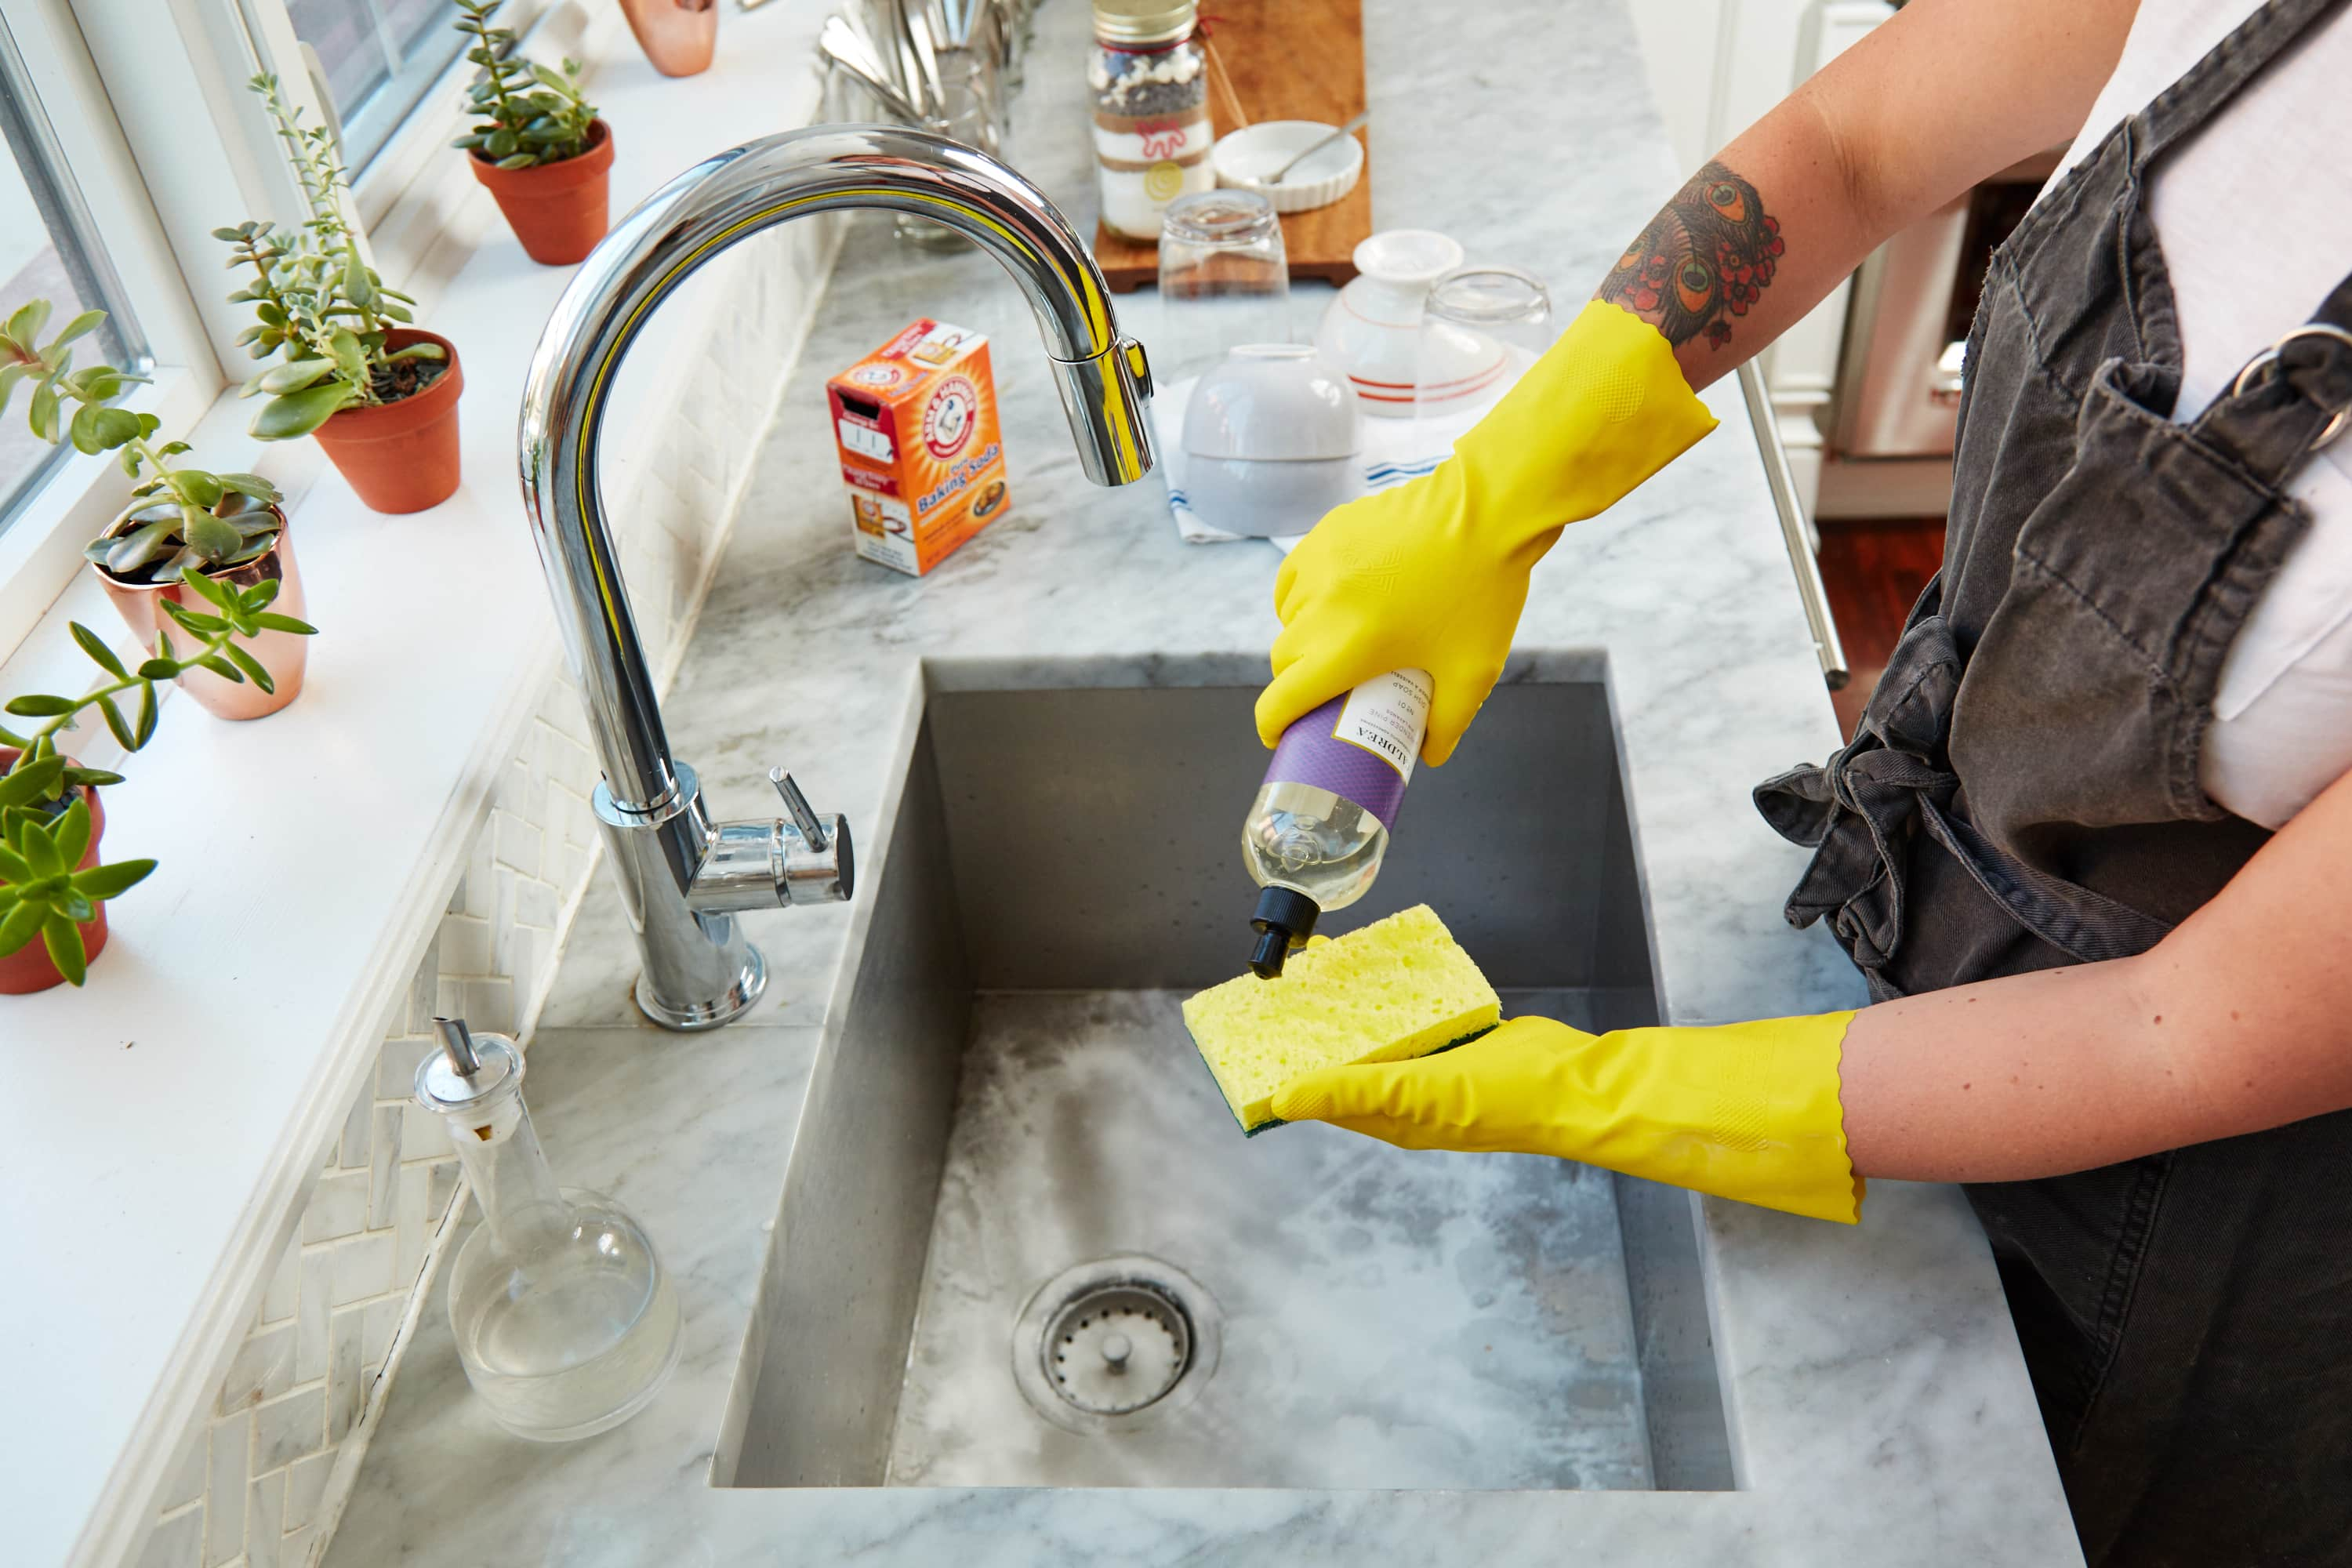
To keep your newly tiled kitchen sink looking its best, it's important to clean and maintain it regularly. Use a non-abrasive cleaner and a soft cloth to wipe down the tiles and grout on a weekly basis. For tougher stains, you can use a mixture of baking soda and water or a specialized grout cleaner. It's also a good idea to reseal the grout every year to prevent water damage.How to Clean and Maintain Tiled Kitchen Sink


How to Clean and Maintain Tiled Kitchen Sink


Tiling a Kitchen Sink: A Step-by-Step Guide

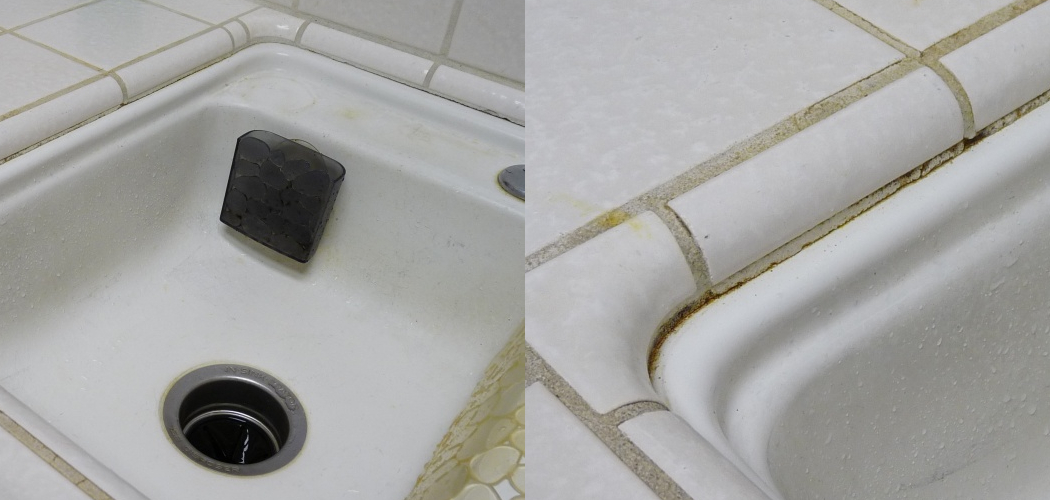
Preparing the Surface
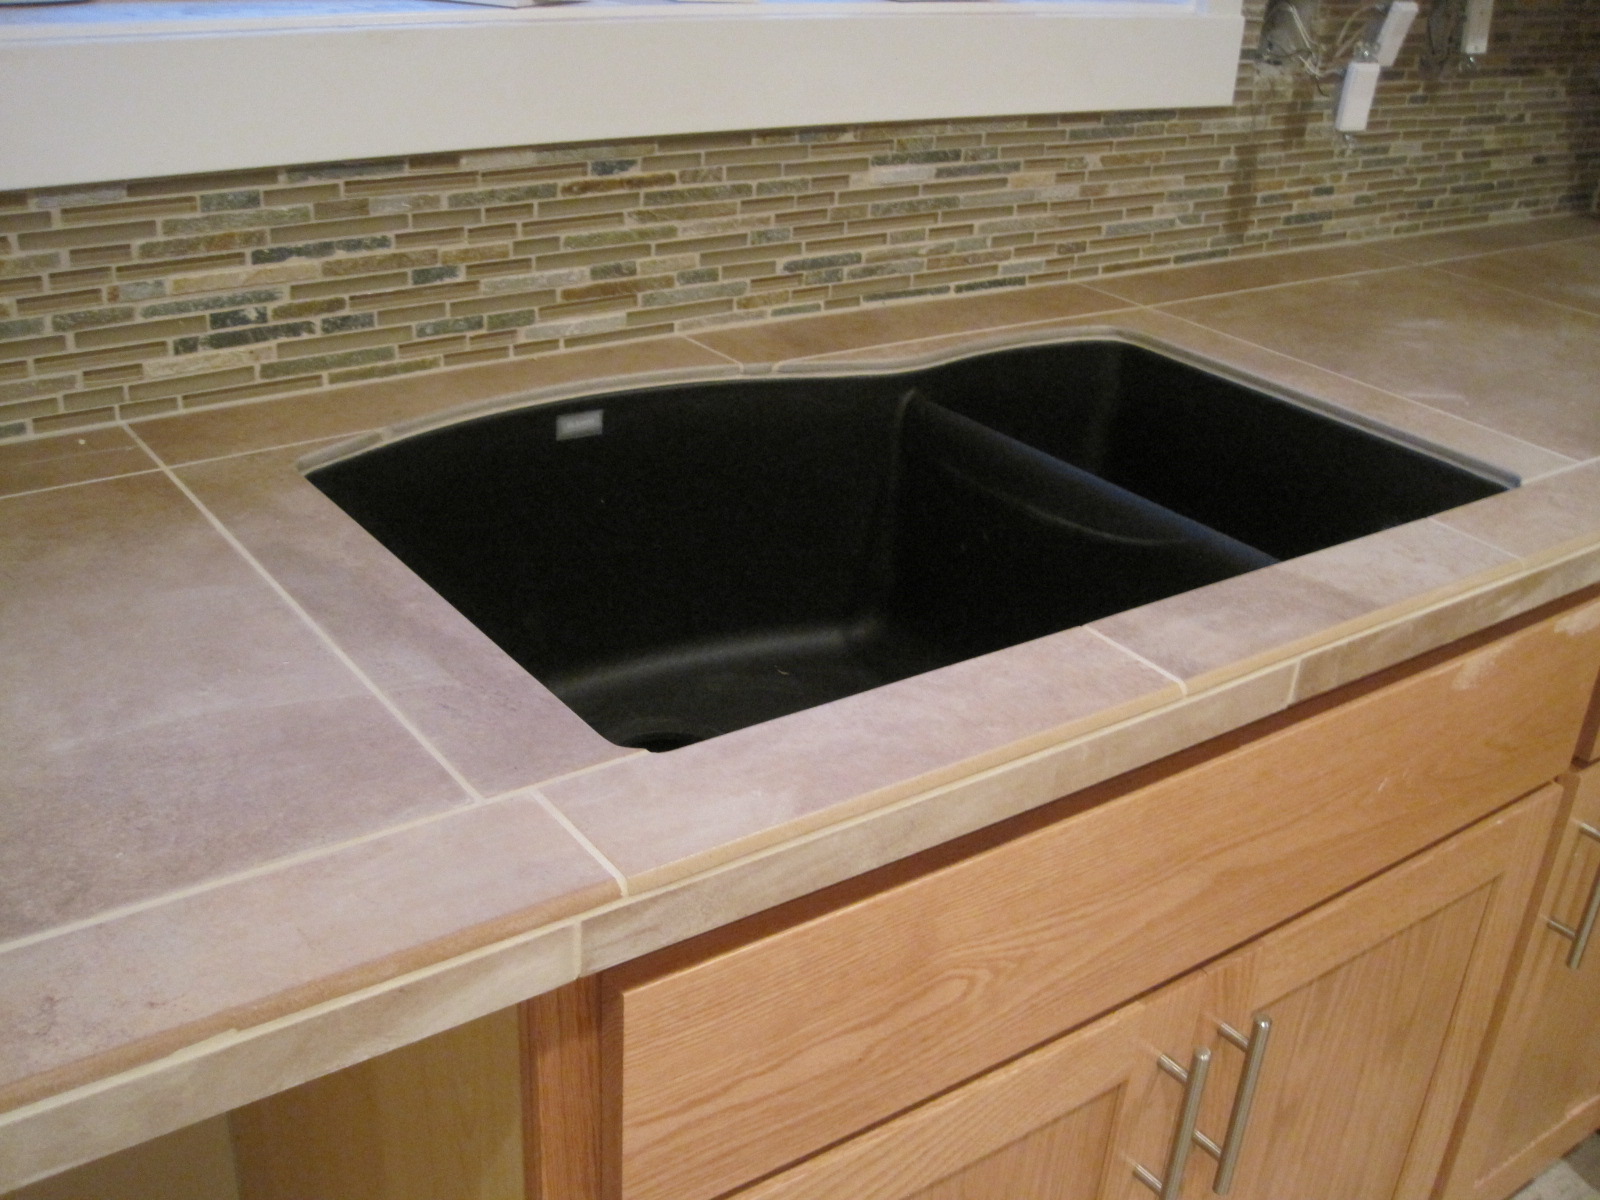
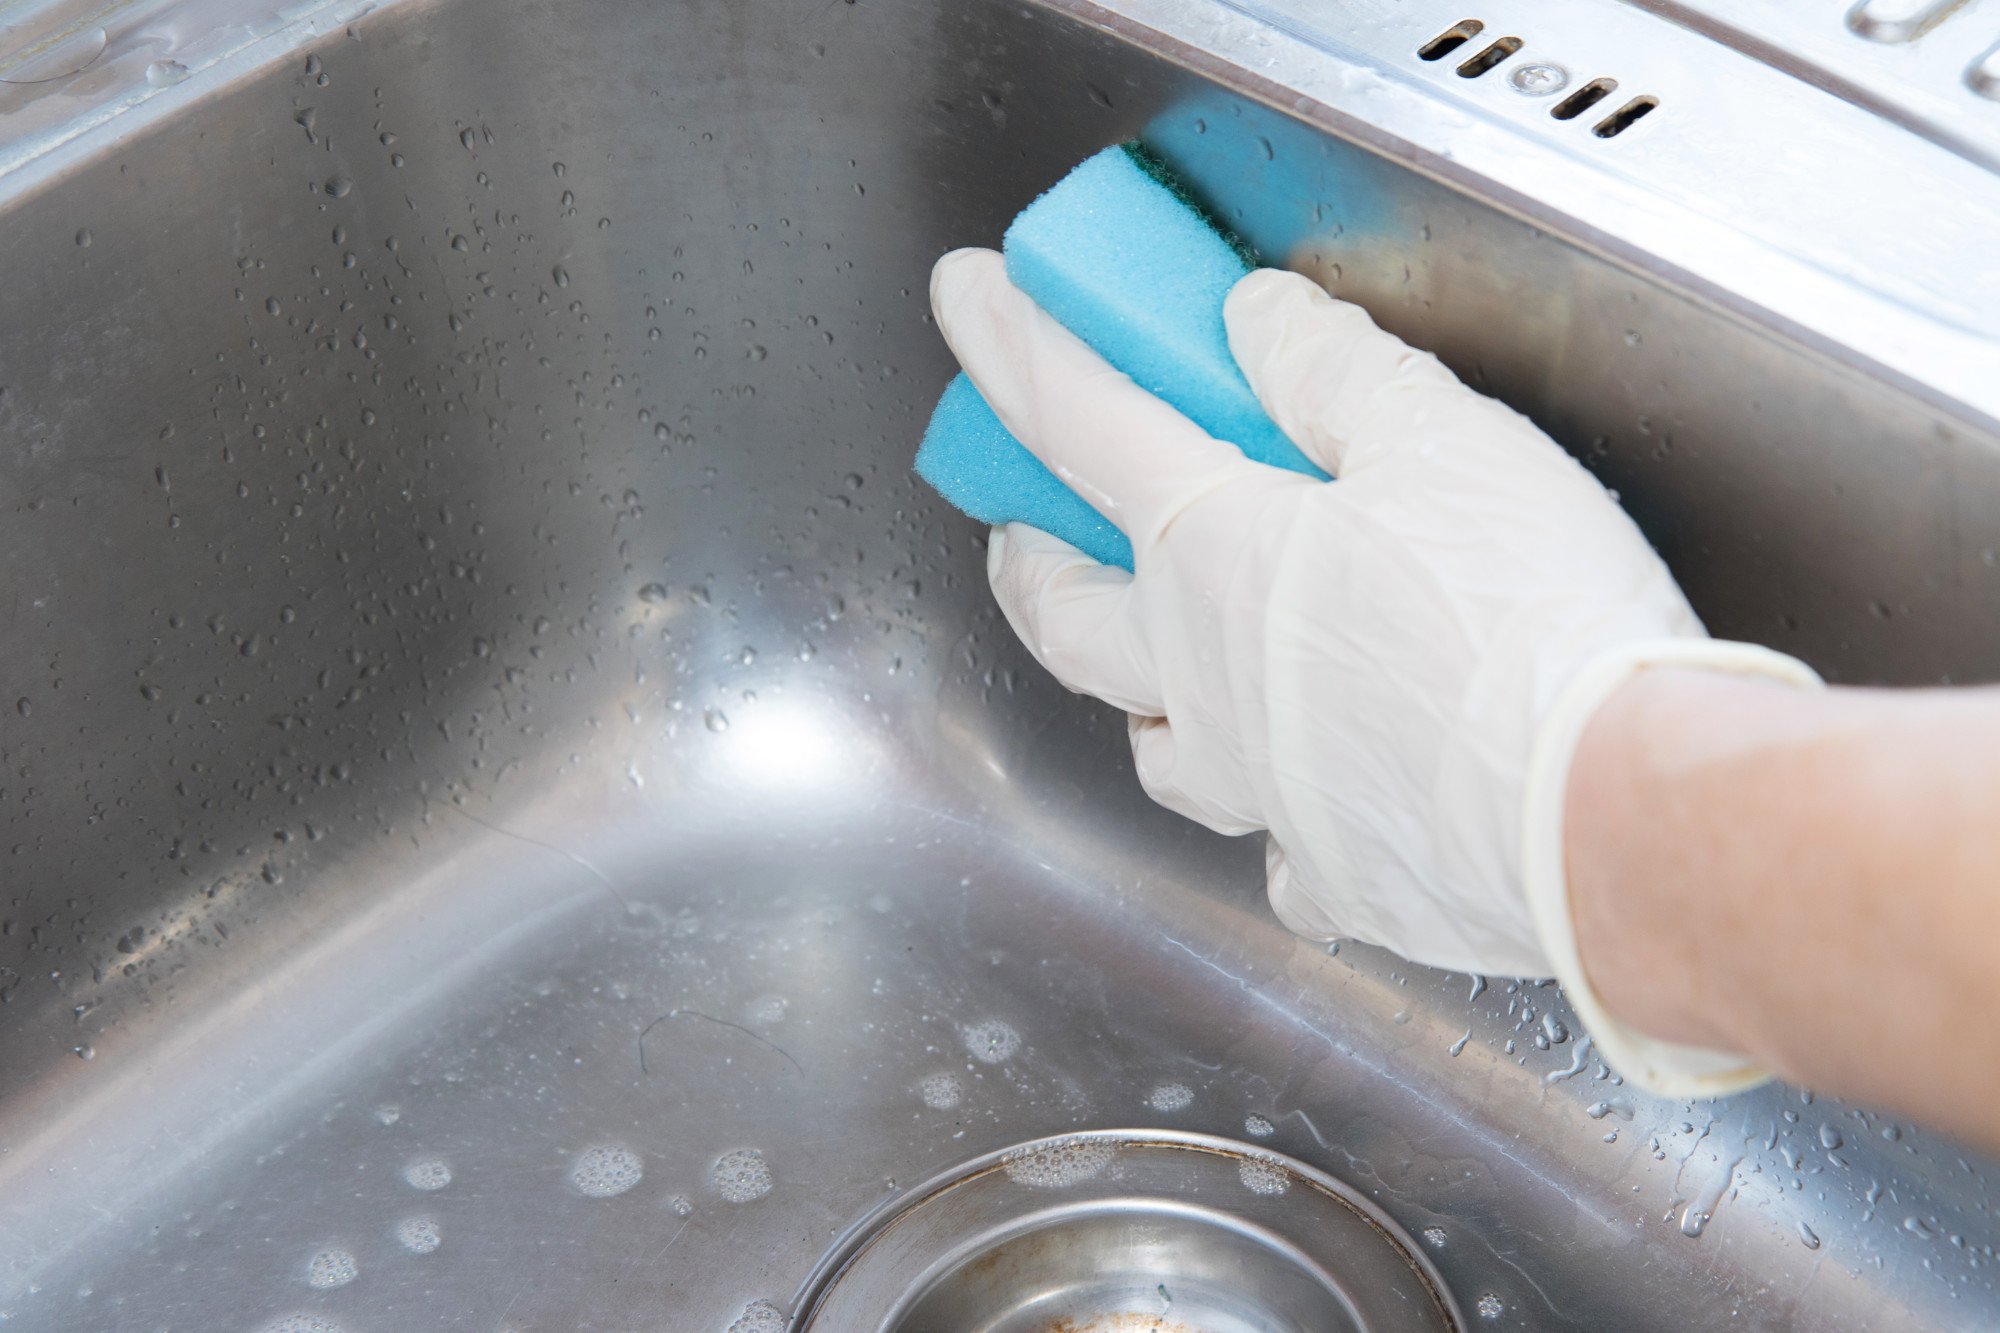
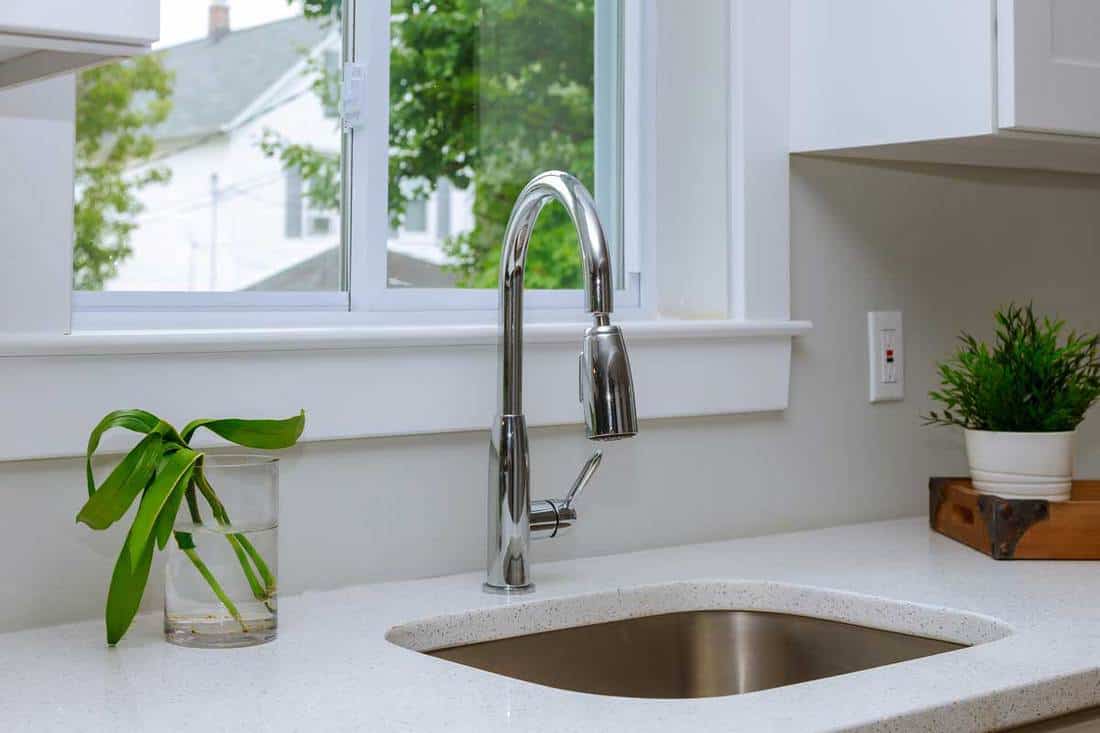
 When it comes to tiling a kitchen sink, proper preparation is crucial. Before beginning the tiling process, make sure the surface is clean, dry, and free of any debris. This will ensure that the tiles adhere properly and prevent any potential damage in the future. Use a degreaser to remove any stubborn stains or residue, and then sand the surface lightly to create a rough texture for better tile adhesion.
Pro Tip:
If you have an older sink with a glossy finish, use a tile adhesive primer to increase adhesion.
When it comes to tiling a kitchen sink, proper preparation is crucial. Before beginning the tiling process, make sure the surface is clean, dry, and free of any debris. This will ensure that the tiles adhere properly and prevent any potential damage in the future. Use a degreaser to remove any stubborn stains or residue, and then sand the surface lightly to create a rough texture for better tile adhesion.
Pro Tip:
If you have an older sink with a glossy finish, use a tile adhesive primer to increase adhesion.
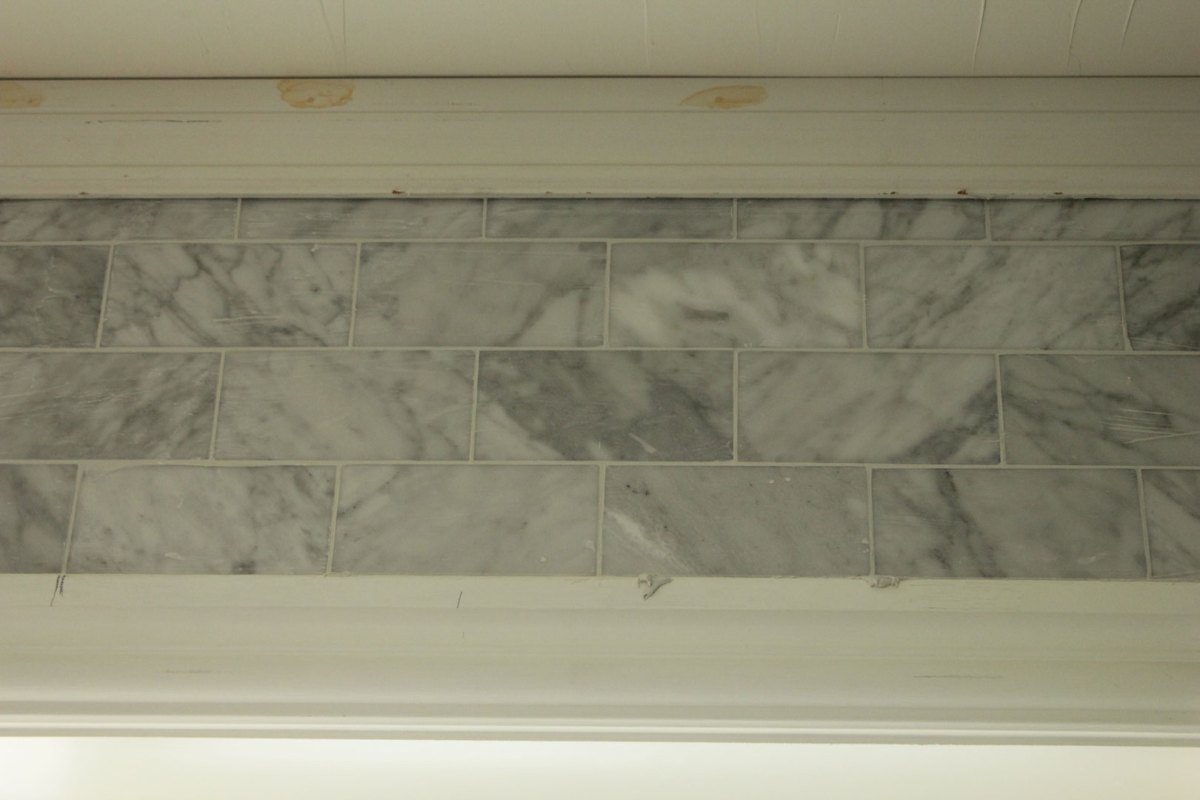
Choosing the Right Tiles
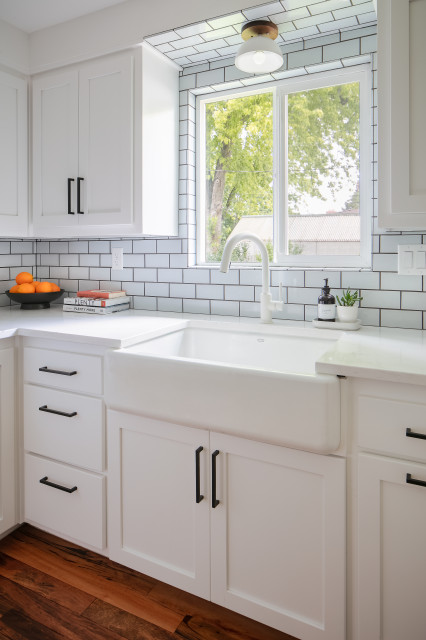
 The type of tiles you choose for your kitchen sink will greatly impact the overall design and functionality. Porcelain and ceramic tiles are popular choices due to their durability and water resistance. However, natural stone tiles such as granite or marble can add a luxurious touch to your sink area. Consider the size and shape of your tiles as well, as larger tiles can make a smaller sink area feel more spacious.
Featured Keywords:
Tiling a Kitchen Sink, Kitchen Sink, Tiles, Porcelain, Ceramic, Natural Stone, Granite, Marble
The type of tiles you choose for your kitchen sink will greatly impact the overall design and functionality. Porcelain and ceramic tiles are popular choices due to their durability and water resistance. However, natural stone tiles such as granite or marble can add a luxurious touch to your sink area. Consider the size and shape of your tiles as well, as larger tiles can make a smaller sink area feel more spacious.
Featured Keywords:
Tiling a Kitchen Sink, Kitchen Sink, Tiles, Porcelain, Ceramic, Natural Stone, Granite, Marble
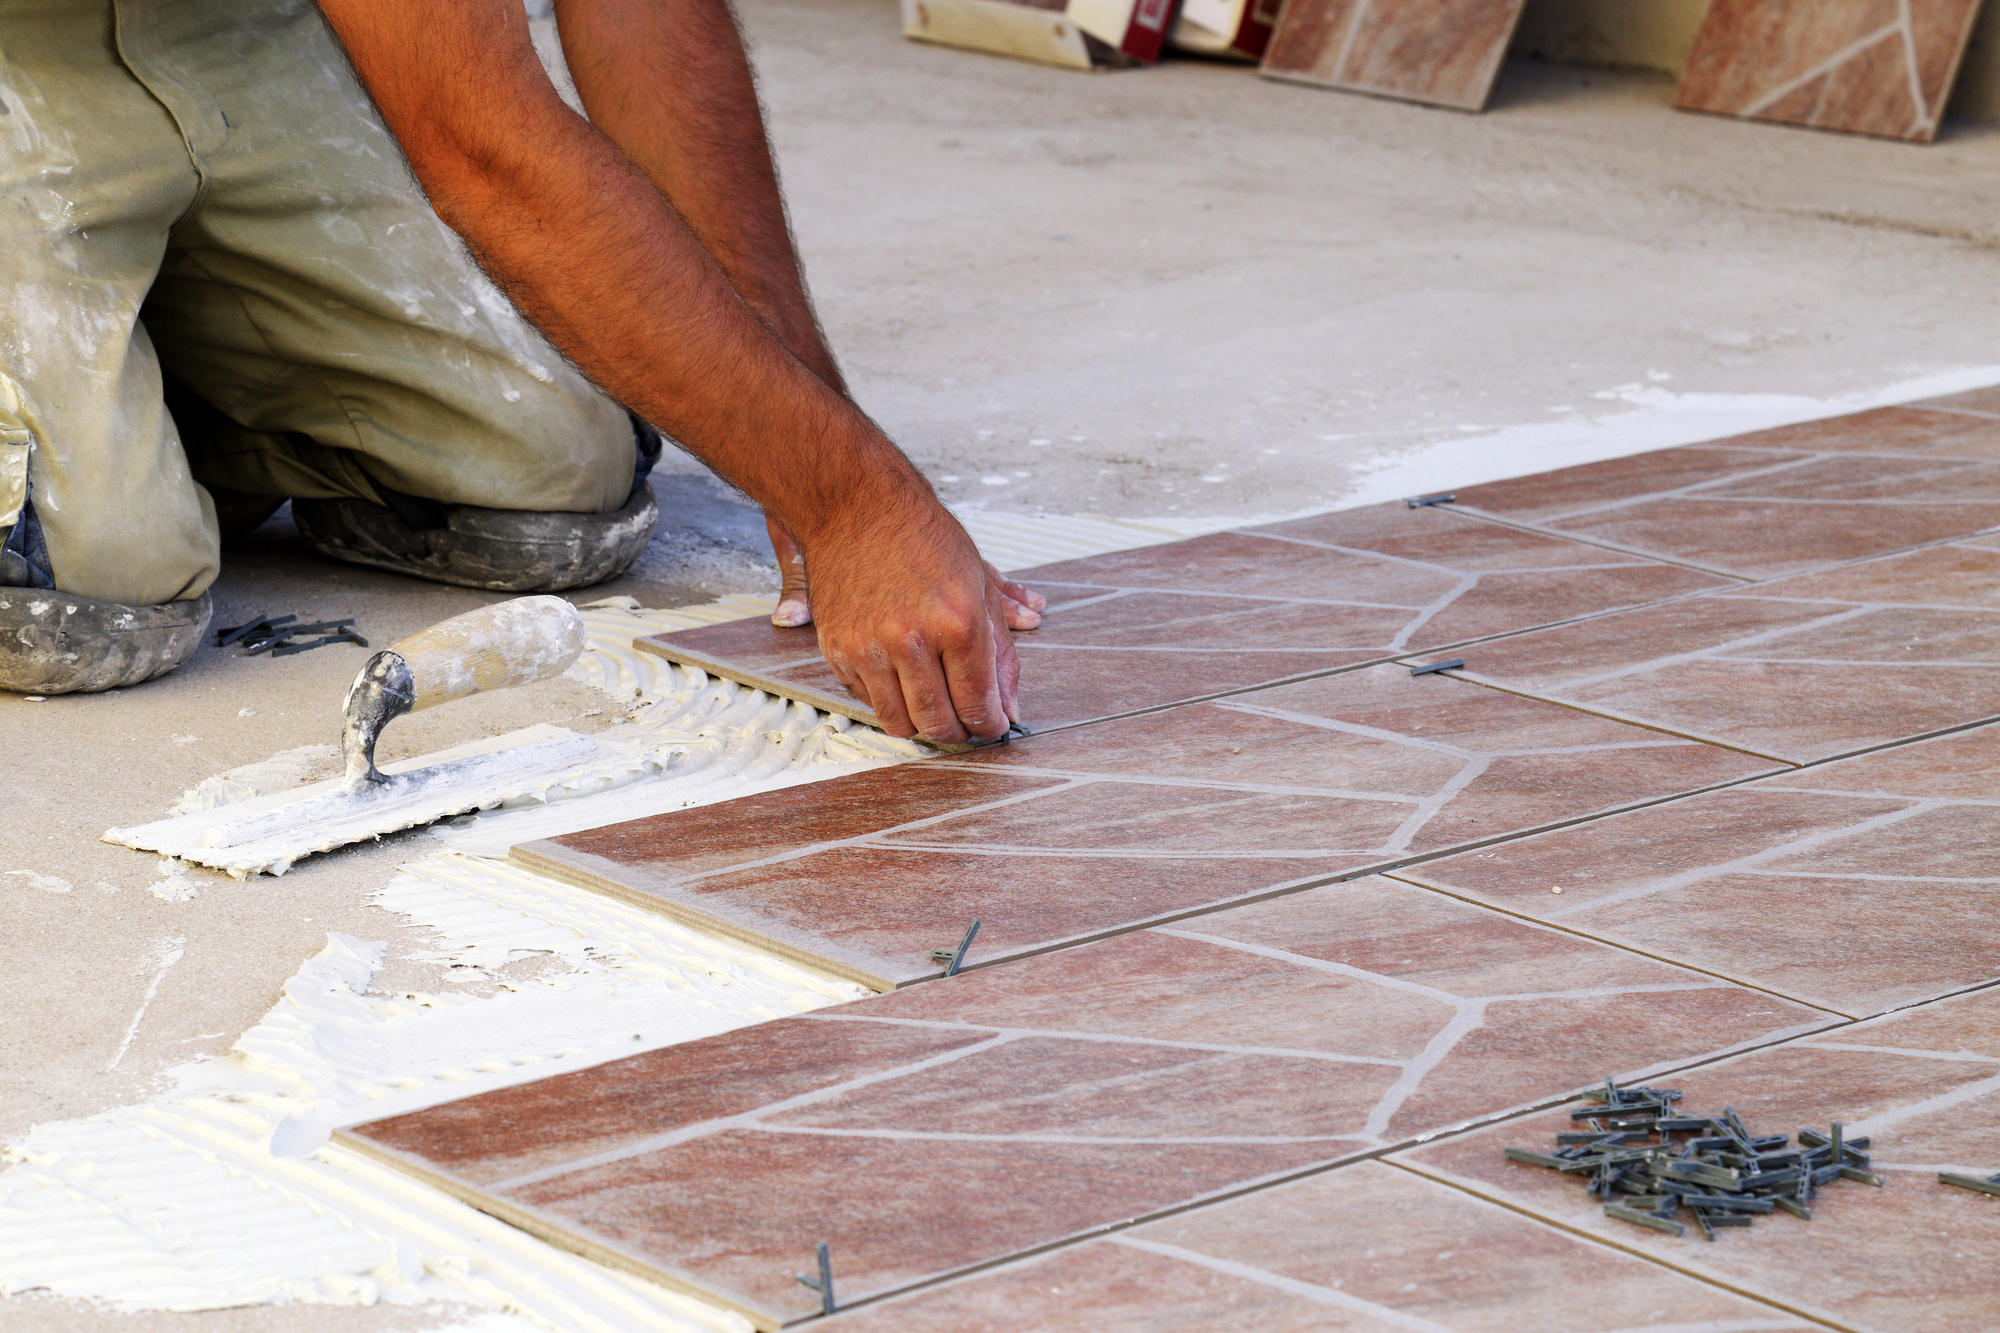
Measuring and Cutting the Tiles
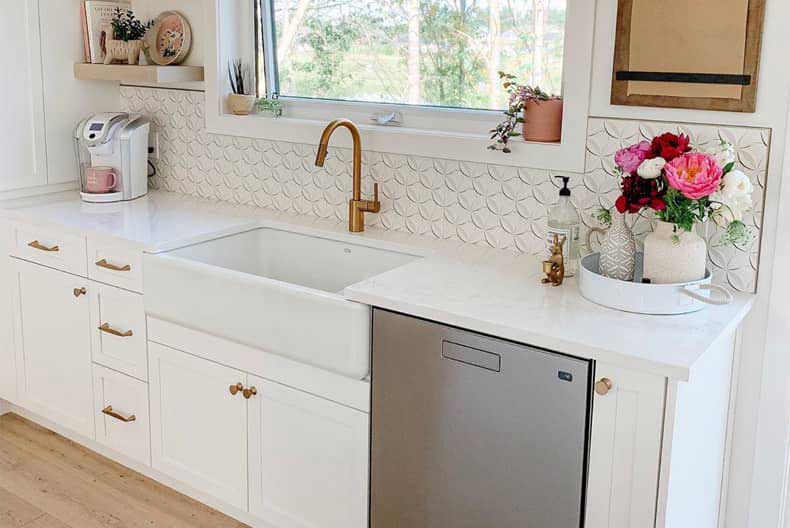
:max_bytes(150000):strip_icc()/marble-countertop-hack-how-to-tile-over-laminate-countertop-countertops-how-to-kitchen-design-5bad532b4cedfd002687ed53.jpg) Measure the area around your sink carefully and use those measurements to determine the number of tiles needed. It's always a good idea to purchase a few extra tiles in case of any mistakes or future replacements. To ensure a clean and precise finish, use a tile cutter or wet saw to cut the tiles as needed. Remember to always wear protective gear when cutting tiles to prevent any injuries.
Pro Tip:
Use a tile nipper to make small cuts or intricate shapes in the tiles.
Measure the area around your sink carefully and use those measurements to determine the number of tiles needed. It's always a good idea to purchase a few extra tiles in case of any mistakes or future replacements. To ensure a clean and precise finish, use a tile cutter or wet saw to cut the tiles as needed. Remember to always wear protective gear when cutting tiles to prevent any injuries.
Pro Tip:
Use a tile nipper to make small cuts or intricate shapes in the tiles.
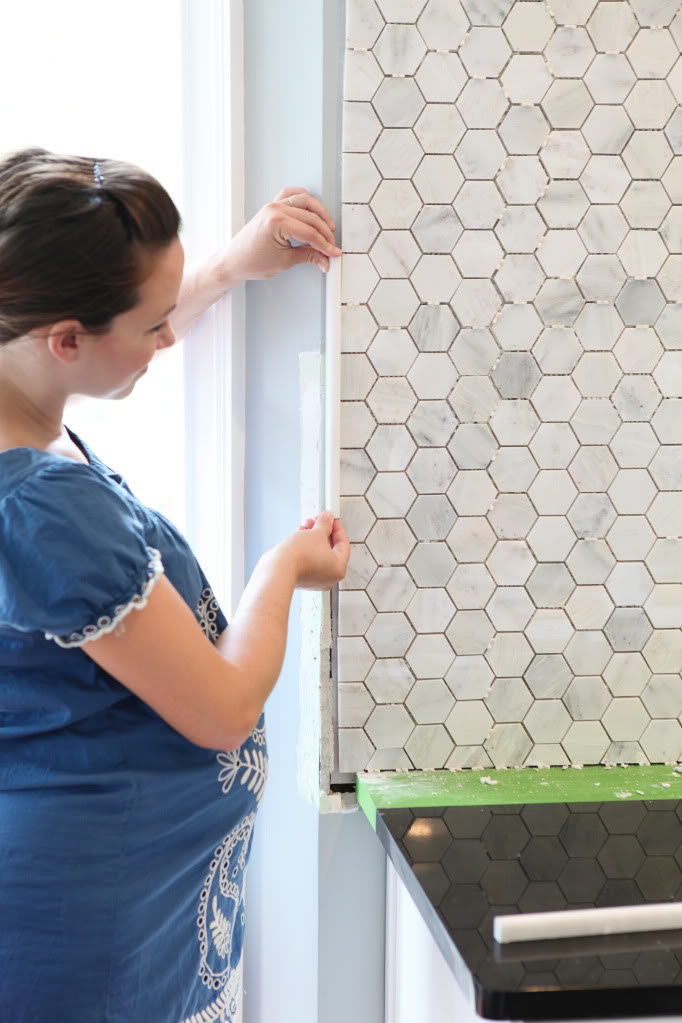
Applying the Tile Adhesive
 Once your tiles are cut and ready, it's time to apply the adhesive. Use a notched trowel to spread the adhesive evenly over the surface, making sure to cover the entire area. Then, gently press each tile into place, using tile spacers to ensure even spacing between each tile. Allow the adhesive to dry for at least 24 hours before moving on to the next step.
Featured Keywords:
Tile Adhesive, Notched Trowel, Tile Spacers, Even Spacing
Once your tiles are cut and ready, it's time to apply the adhesive. Use a notched trowel to spread the adhesive evenly over the surface, making sure to cover the entire area. Then, gently press each tile into place, using tile spacers to ensure even spacing between each tile. Allow the adhesive to dry for at least 24 hours before moving on to the next step.
Featured Keywords:
Tile Adhesive, Notched Trowel, Tile Spacers, Even Spacing
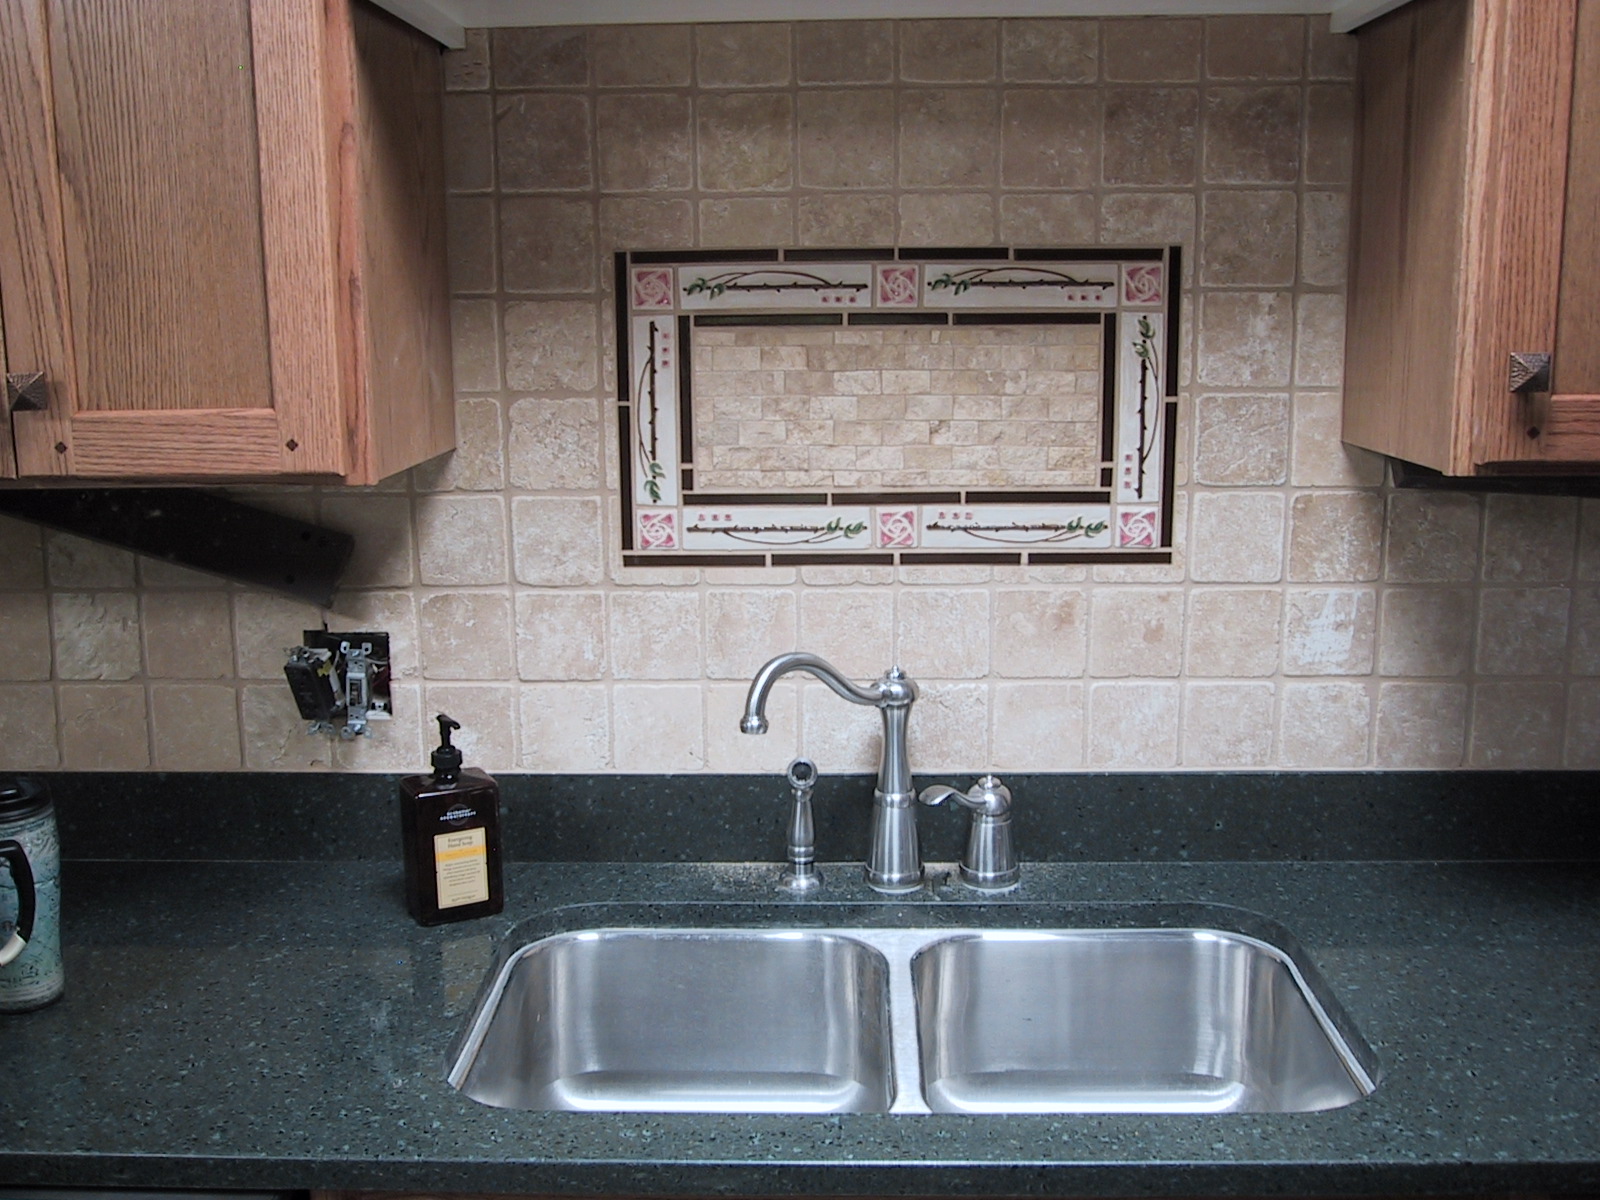
Grouting and Sealing
 After the adhesive has dried, it's time to grout the tiles. Mix the grout according to the manufacturer's instructions and use a grout float to spread it over the tiles, making sure to fill in all the gaps. Once the grout has set, use a damp sponge to wipe away any excess grout and smooth out the surface. Finally, seal the grout with a grout sealer to protect it from water and stains.
Pro Tip:
Use a grout colorant to change the color of your grout and give your sink a unique look.
After the adhesive has dried, it's time to grout the tiles. Mix the grout according to the manufacturer's instructions and use a grout float to spread it over the tiles, making sure to fill in all the gaps. Once the grout has set, use a damp sponge to wipe away any excess grout and smooth out the surface. Finally, seal the grout with a grout sealer to protect it from water and stains.
Pro Tip:
Use a grout colorant to change the color of your grout and give your sink a unique look.
Final Thoughts
 Tiling a kitchen sink can be a rewarding and cost-effective way to update your kitchen's design. With the right preparation, tools, and materials, you can achieve a professional and stylish finish that will last for years to come. Remember to take your time and follow these steps carefully for a successful tiling project.
Related Main Keywords:
Kitchen Design, Update, Tools, Materials, Professional, Stylish Finish
Tiling a kitchen sink can be a rewarding and cost-effective way to update your kitchen's design. With the right preparation, tools, and materials, you can achieve a professional and stylish finish that will last for years to come. Remember to take your time and follow these steps carefully for a successful tiling project.
Related Main Keywords:
Kitchen Design, Update, Tools, Materials, Professional, Stylish Finish