How to Tighten a Kitchen Sink Drain
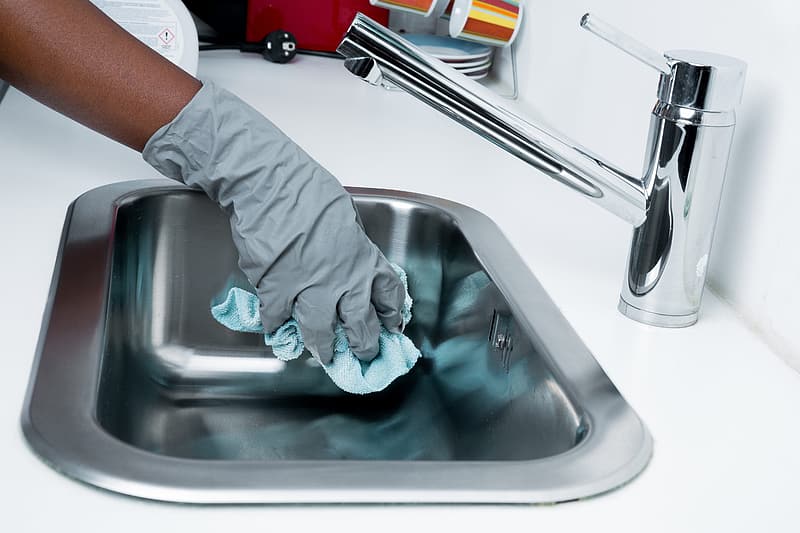
If your kitchen sink drain is feeling loose and wobbly, it's important to take action before it becomes a bigger problem. A loose sink drain can lead to leaks, drainage issues, and even damage to your countertop and cabinets. Luckily, tightening a kitchen sink drain is a fairly simple DIY task that can save you time and money in the long run. Here's how to get your sink drain back in tip-top shape.


How to Tighten a Kitchen Sink Drain


How to Fix a Loose Kitchen Sink Drain
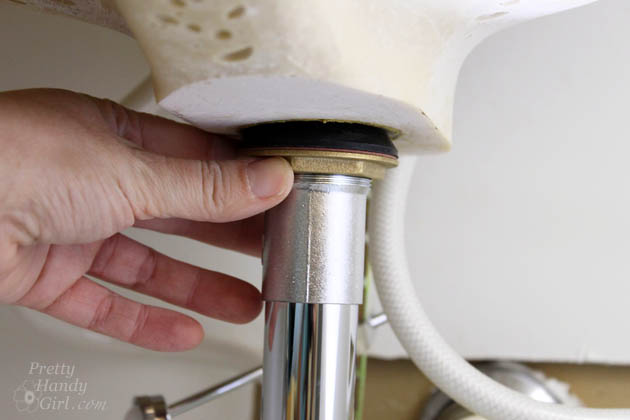
The first step in tightening a kitchen sink drain is to identify the source of the problem. In most cases, a loose drain is caused by loose mounting nuts or a worn-out gasket. To fix this issue, you'll need to remove the drain and tighten or replace the necessary parts.
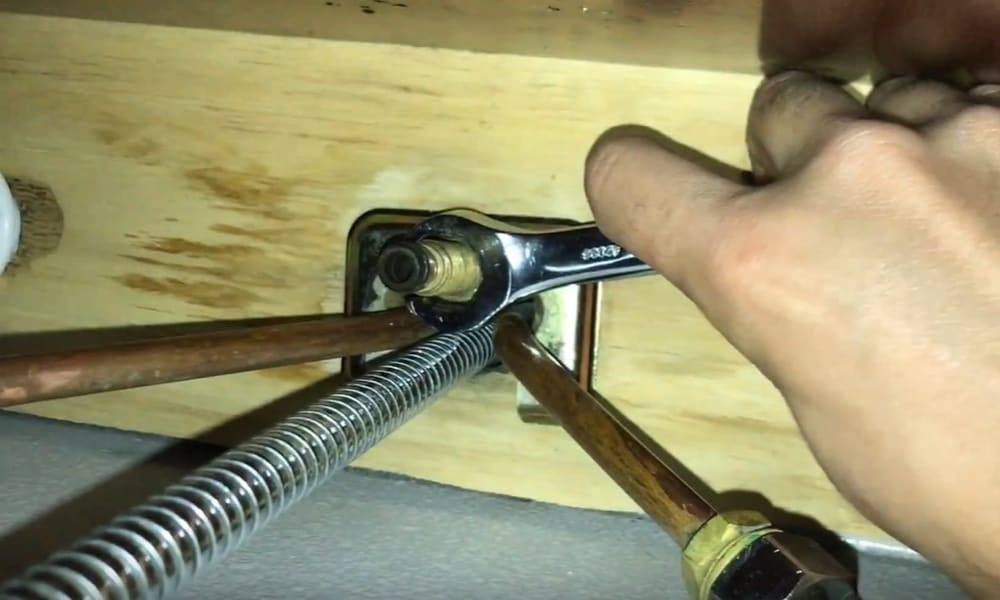
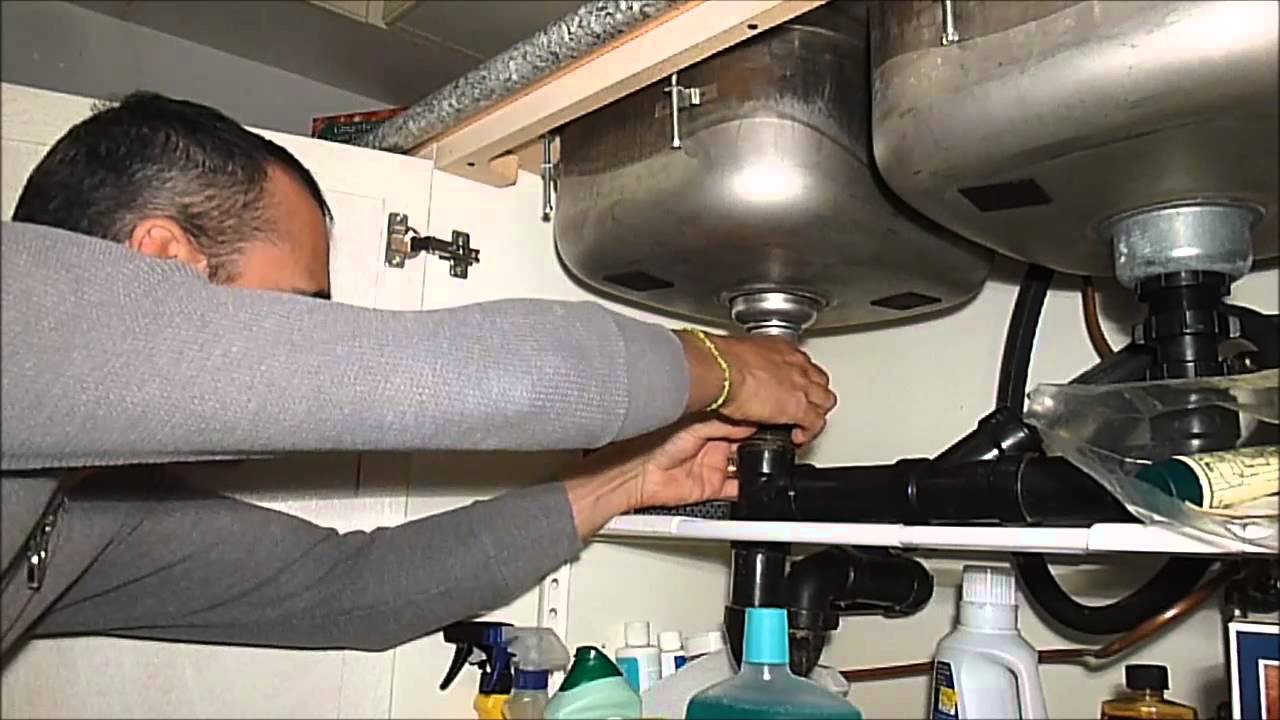
To remove the drain, start by turning off the water supply to your sink. Then, use pliers or a wrench to loosen the mounting nuts located under the sink. Once the nuts are loose, you can lift the drain out of the sink and access the mounting hardware.


How to Fix a Loose Kitchen Sink Drain


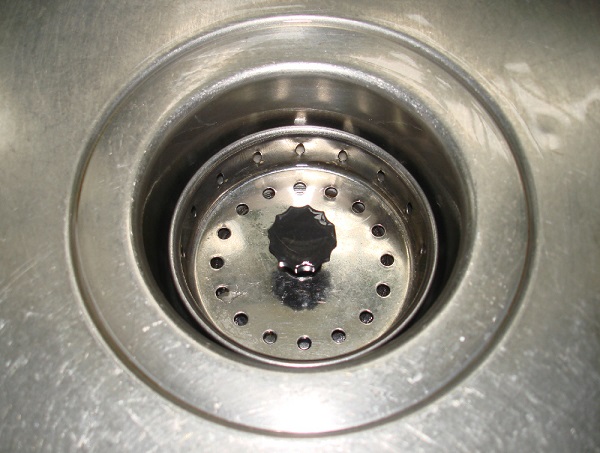
DIY Kitchen Sink Drain Tightening
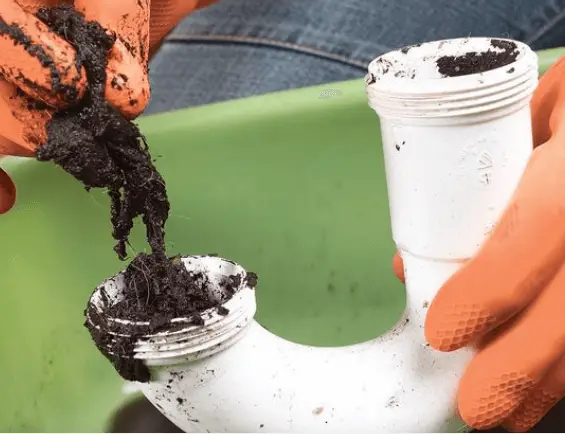
Once you have the drain removed, you can easily tighten or replace any loose or worn parts. If the mounting nuts are loose, simply tighten them with pliers or a wrench. If the gasket is worn or damaged, you can easily replace it with a new one. Make sure to clean any debris or buildup from the drain before re-installing it.
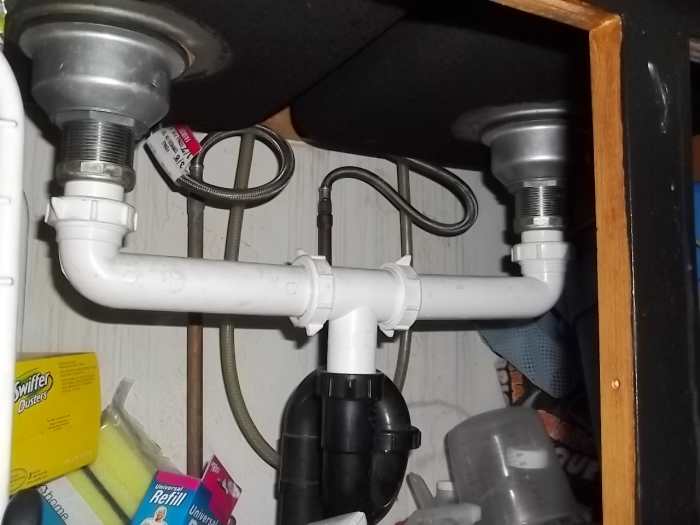
If your sink drain is still feeling loose after tightening or replacing parts, you may need to check the pipes and connections underneath the sink. Make sure all pipes are securely connected and tighten any loose fittings. If you're still experiencing issues, it may be time to call a professional plumber.


DIY Kitchen Sink Drain Tightening


:max_bytes(150000):strip_icc()/how-to-install-a-sink-drain-2718789-hero-24e898006ed94c9593a2a268b57989a3.jpg)


Steps for Tightening a Kitchen Sink Drain
1. Turn off the water supply to your sink.
2. Loosen the mounting nuts under the sink with pliers or a wrench.
3. Lift the drain out of the sink and access the mounting hardware.
4. Tighten or replace any loose or worn parts.
5. Clean any debris or buildup from the drain.
6. Re-install the drain and tighten the mounting nuts.
7. Check the pipes and connections under the sink for any loose fittings.
8. If necessary, call a professional plumber for further assistance.


Steps for Tightening a Kitchen Sink Drain


:no_upscale()/cdn.vox-cdn.com/uploads/chorus_asset/file/19495086/drain_0.jpg)
Tools Needed for Tightening a Kitchen Sink Drain
- Pliers or wrench
- Replacement gasket (if needed)
- Cleaning supplies (if needed)


Tools Needed for Tightening a Kitchen Sink Drain


Common Issues with Kitchen Sink Drain Tightening
Some common issues you may run into when tightening a kitchen sink drain include stripped or rusted mounting nuts, a damaged gasket, or loose fittings in the pipes under the sink. These issues can usually be easily fixed with the right tools and replacement parts.

Common Issues with Kitchen Sink Drain Tightening


Tips for Tightening a Kitchen Sink Drain
- Regularly check and tighten the mounting nuts on your sink drain to prevent future issues.
- Use a pair of pliers or a wrench to securely tighten the nuts.
- If the gasket is damaged, replace it with a new one to ensure a tight seal.
- Clean any debris or buildup from the drain before re-installing it.

Tips for Tightening a Kitchen Sink Drain


When to Call a Professional for Kitchen Sink Drain Tightening
If you're not comfortable or confident in your DIY skills, it's always best to call a professional plumber for help with tightening a kitchen sink drain. They have the experience and tools necessary to fix the issue properly and prevent any further damage or complications.


When to Call a Professional for Kitchen Sink Drain Tightening

Preventing Loose Kitchen Sink Drains
The best way to prevent a loose kitchen sink drain is to regularly check and tighten the mounting nuts and fittings. You can also avoid putting heavy or excessive weight on the sink, as this can cause strain on the drain and lead to loosening over time.

Preventing Loose Kitchen Sink Drains


/how-to-install-a-sink-drain-2718789-hero-b5b99f72b5a24bb2ae8364e60539cece.jpg)
Importance of Regularly Tightening Kitchen Sink Drains
Regularly tightening your kitchen sink drain is important for maintaining the overall health and functionality of your sink. A loose drain can lead to leaks, water damage, and costly repairs. By taking the time to tighten your sink drain, you can save yourself from bigger problems down the road.


Importance of Regularly Tightening Kitchen Sink Drains


Tightening Kitchen Sink Drain: A Simple Solution for a Common Household Problem

Introduction
 A properly functioning kitchen sink drain is essential for any household. It allows us to easily wash dishes, dispose of food scraps, and keep our kitchen clean and hygienic. However, over time, the drain can become loose and start to leak, causing frustration and potential damage. If you're experiencing this problem, don't worry, as there is a simple solution – tightening the kitchen sink drain. In this article, we will discuss the steps you can take to tighten your kitchen sink drain and prevent any further issues.
Identify the Problem
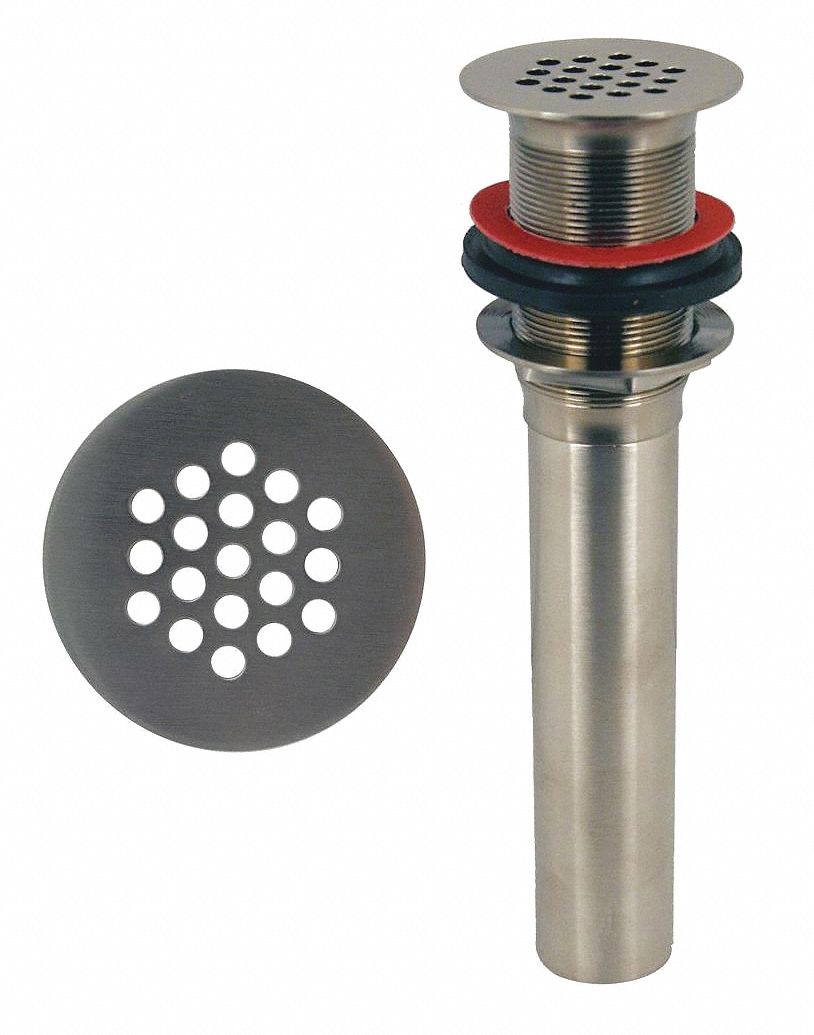
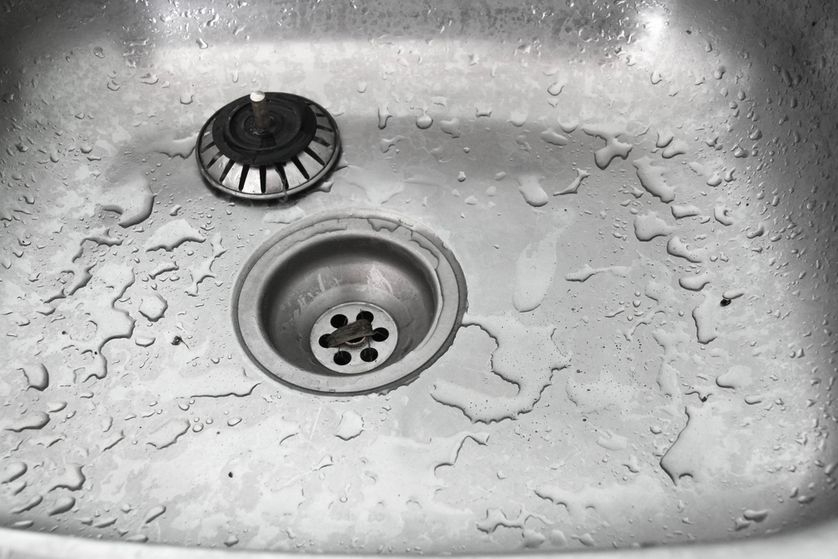
 Before you can tighten your kitchen sink drain, you need to determine which part is causing the issue. There are two main types of drains – a basket strainer and a pop-up drain. The basket strainer is a removable basket that catches food scraps and prevents them from clogging the pipes, while a pop-up drain has a stopper that opens and closes to allow water to drain. Both types can become loose over time, causing leaks.
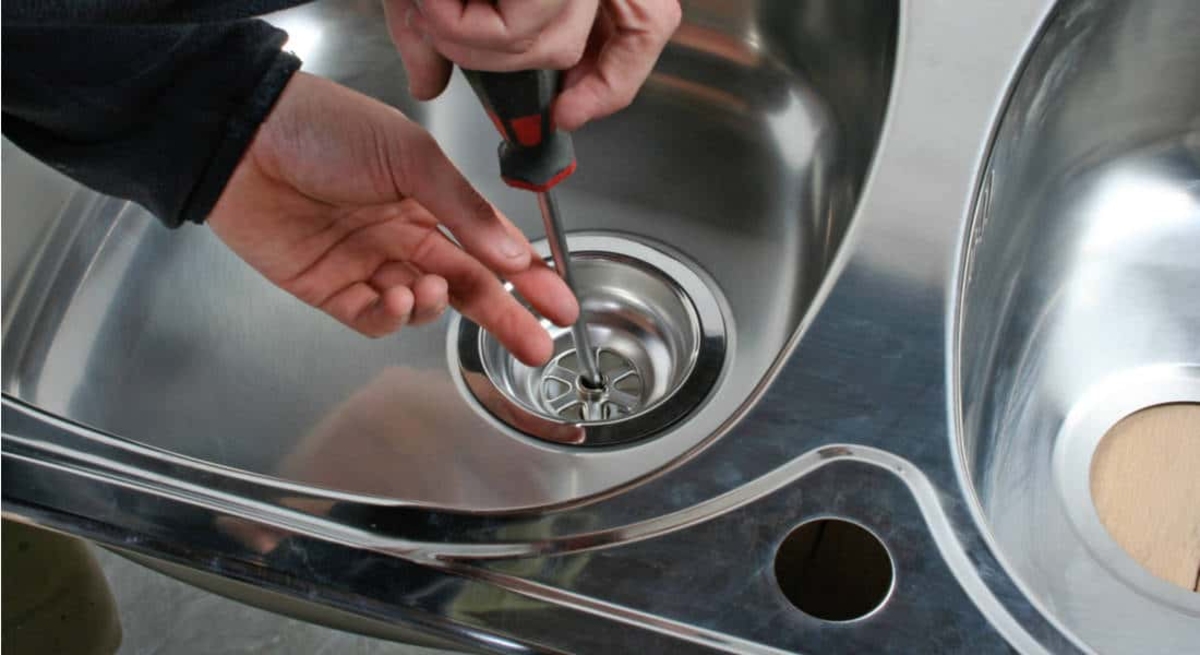
Tightening a Basket Strainer
 If you have a basket strainer, you will need a few tools to tighten it – a screwdriver, pliers, and plumber's putty. Start by removing the basket strainer by unscrewing the retaining nut underneath the sink. Once the strainer is removed, clean the area around the drain and apply a thin layer of plumber's putty before reattaching the strainer. Hold the strainer in place and tighten the retaining nut with pliers. This should secure the strainer and prevent any leaks.
Tightening a Pop-Up Drain
 Tightening a pop-up drain is a bit more complicated, but still manageable. You will need a pair of pliers, an adjustable wrench, and some plumber's putty. First, remove the stopper by unscrewing the retaining nut on the back of the drain. Once the stopper is removed, clean the area around the drain and apply a thin layer of plumber's putty. Reattach the stopper and tighten the retaining nut with pliers. Next, use the adjustable wrench to tighten the pivot rod located behind the drain pipe. This will secure the stopper and prevent any leaks.
Conclusion
 In conclusion, a loose kitchen sink drain can be a nuisance, but it is a common household problem that can be easily fixed. By following the steps outlined in this article, you can tighten your kitchen sink drain and prevent any further issues. Remember to regularly check and maintain your kitchen sink drain to keep it functioning properly. If you encounter any difficulties or the problem persists, it is always best to consult a professional plumber for assistance. Don't let a loose kitchen sink drain disrupt your daily routine – take action and tighten it today!

:max_bytes(150000):strip_icc()/SleeponLatex-b287d38f89374e4685ab0522b2fe1929.jpeg)