The walls of your kitchen are a blank canvas waiting to be transformed into a focal point of your home. And what better way to add character and depth to your kitchen walls than with textured paint? But with so many options available, it can be overwhelming to choose the right type of textured paint for your kitchen. In this guide, we'll take you through the different types of textured paint and help you pick the perfect one for your space.1. Textured Paint for Kitchen Walls: A Guide to Choosing the Right Type
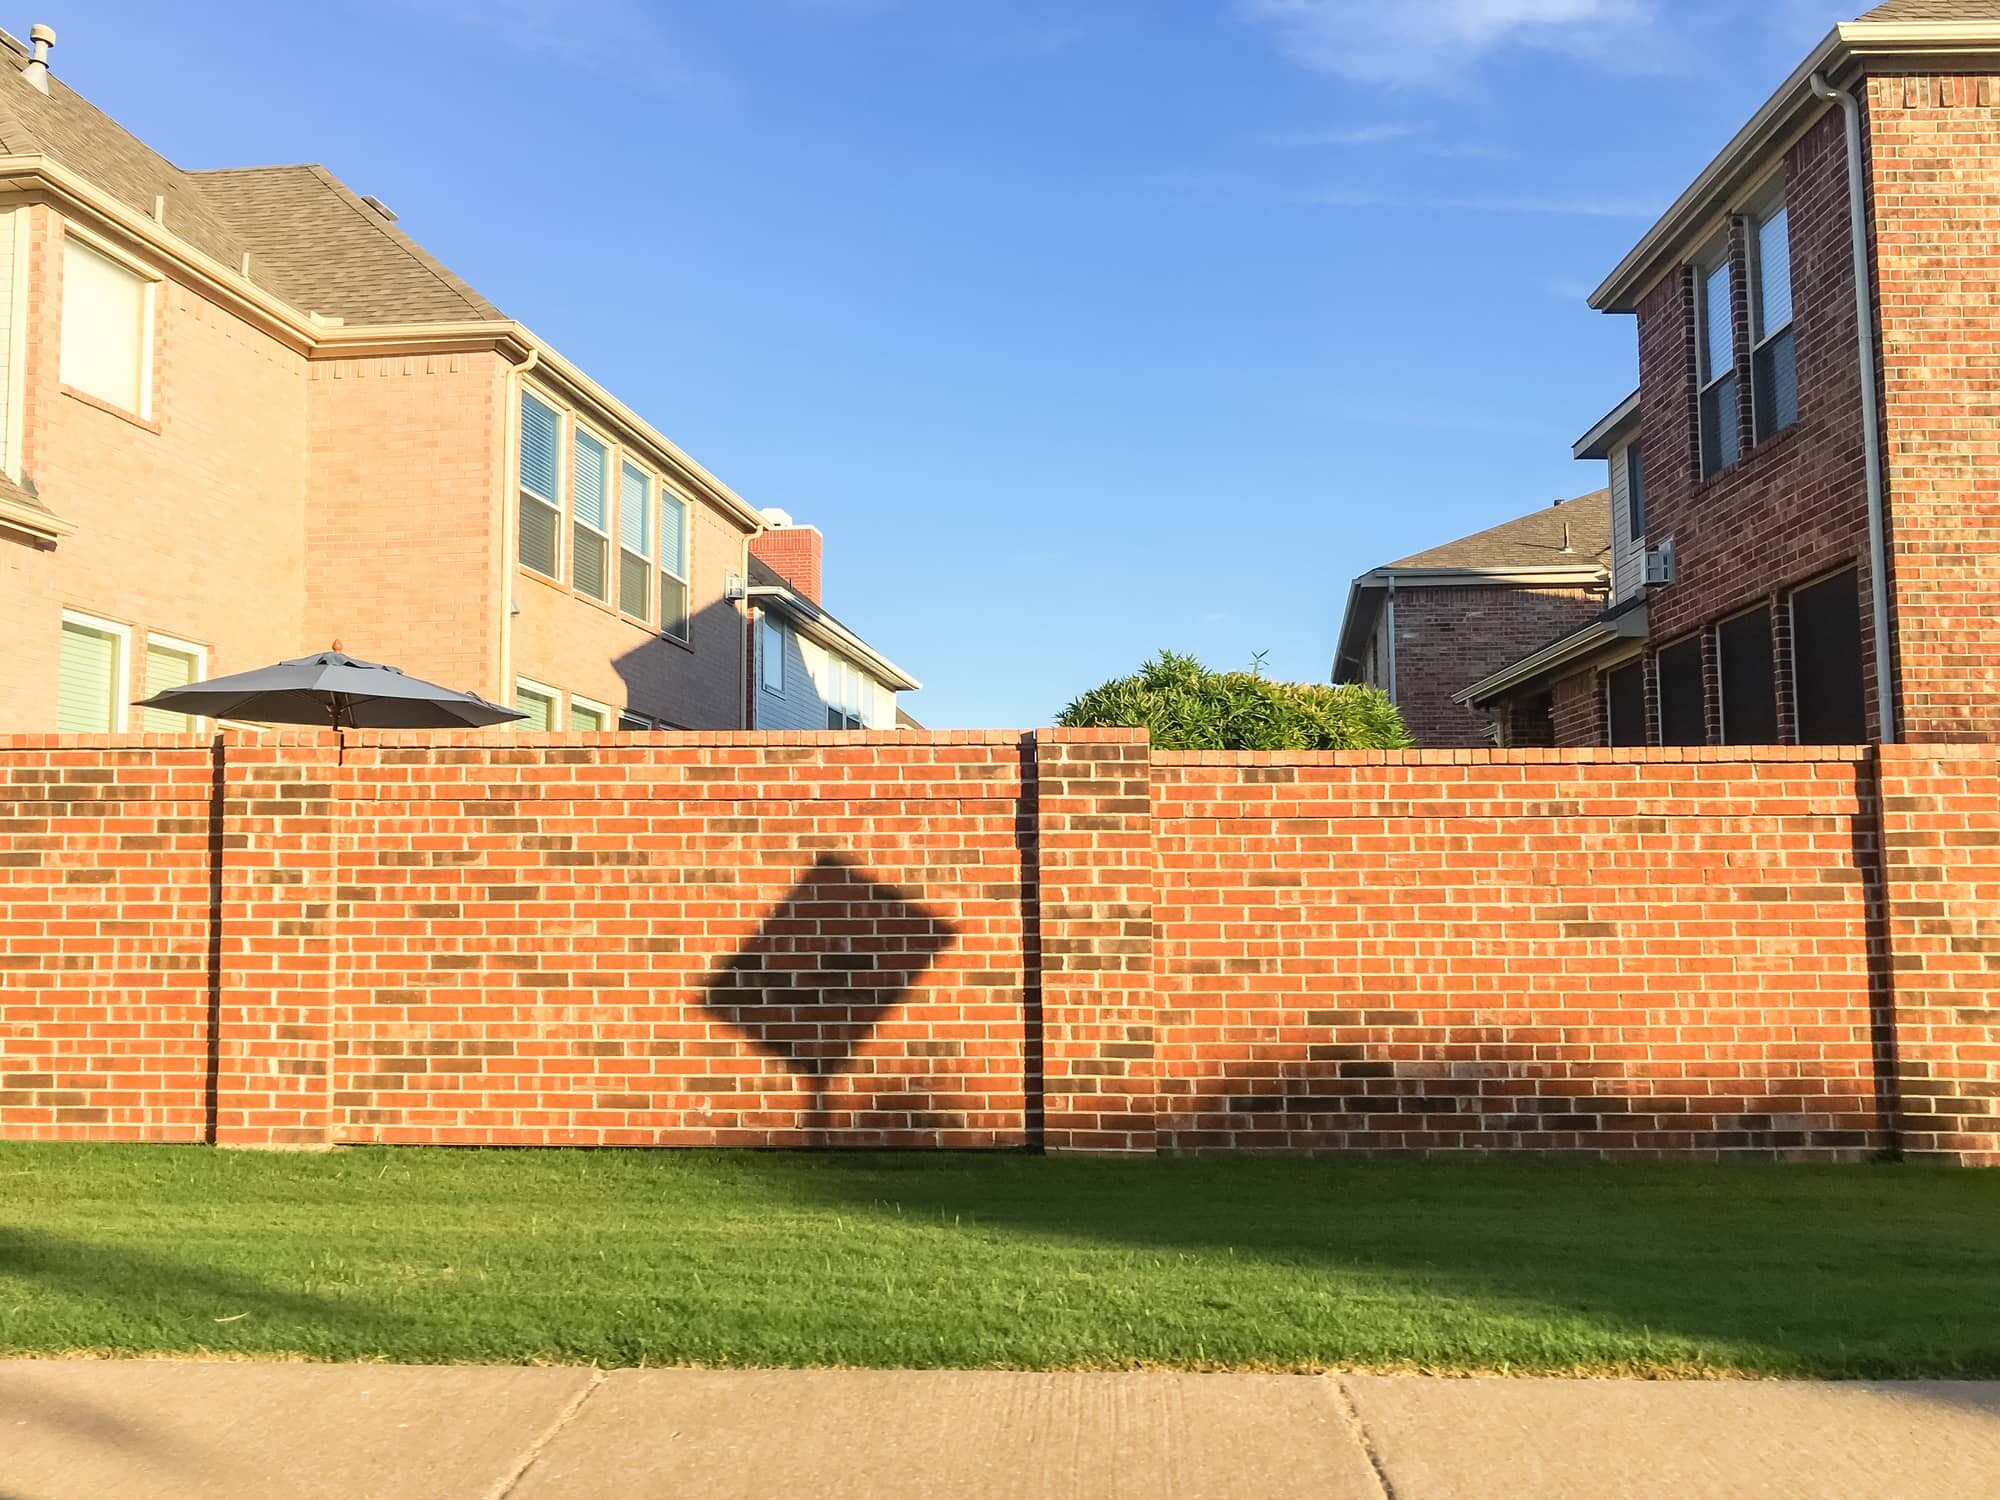
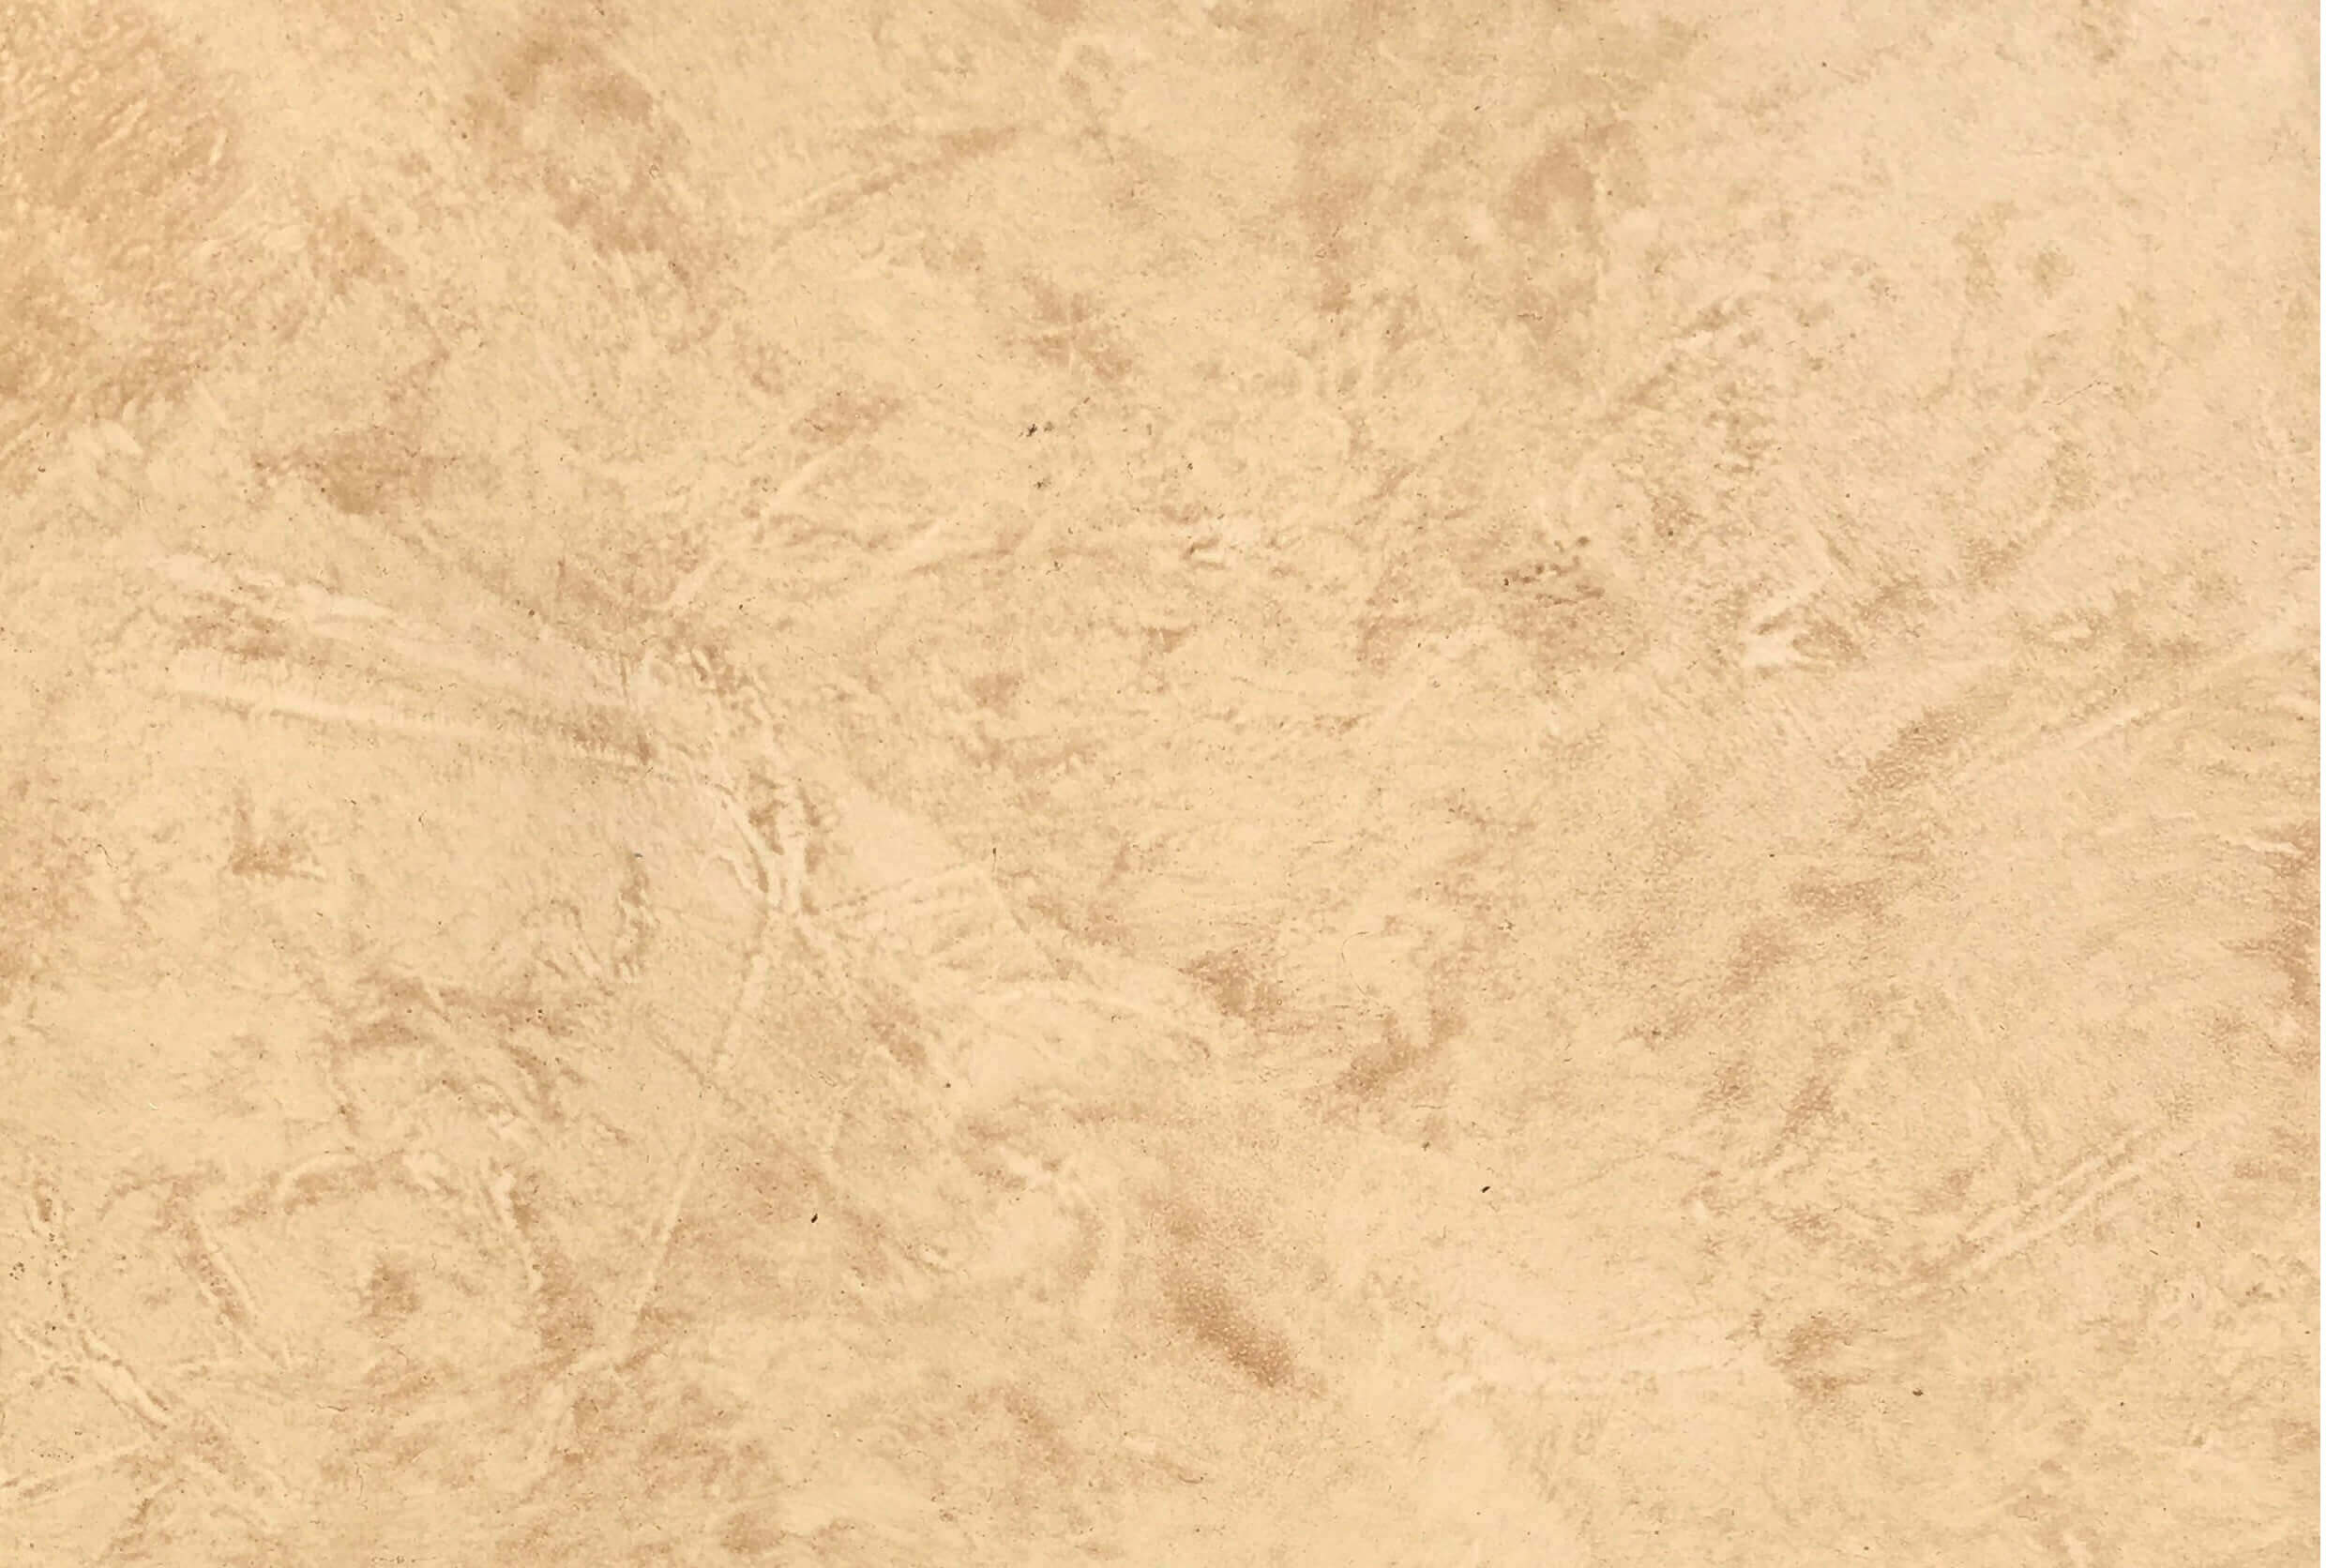
Textured paint can instantly change the look and feel of your kitchen. From rustic to modern, there are endless possibilities when it comes to using textured paint in your kitchen. Create a brick wall effect, add a subtle texture, or go bold with a stucco finish. The choice is yours! Check out design magazines and websites for inspiration and decide which type of textured paint will best suit your kitchen's style and theme.2. Transform Your Kitchen with Textured Paint: Ideas and Inspiration
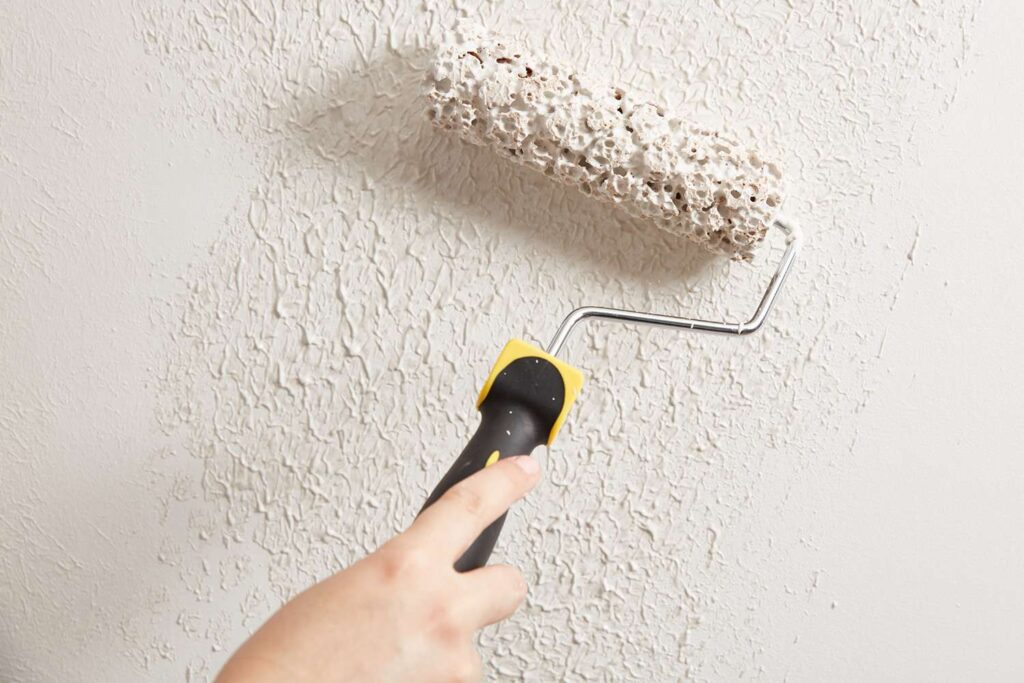
Applying textured paint to your kitchen walls is not as complicated as it may seem. With the right tools and techniques, you can achieve a professional-looking finish. Start by preparing your walls, filling in any cracks or holes and sanding down any rough areas. Next, apply a base coat in a color that will complement your chosen textured paint. Once the base coat is dry, use a roller or brush to apply the textured paint, following the instructions on the product. Don't be afraid to experiment with different techniques to create the desired effect.3. How to Apply Textured Paint to Your Kitchen Walls
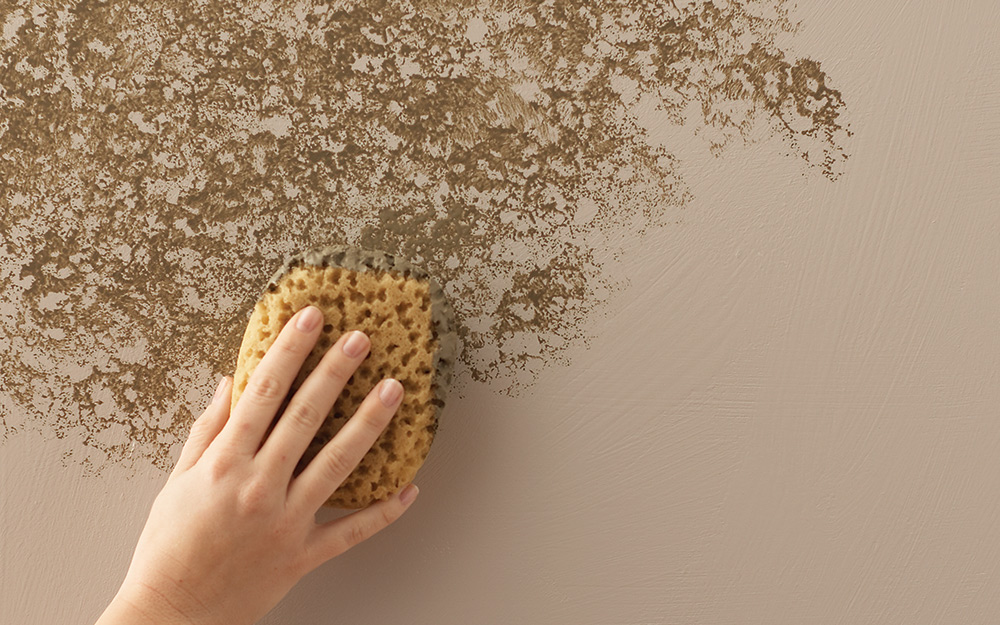
Looking for some ideas to get you started? Here are our top 10 textured paint ideas for your kitchen walls: 1. Brick effect: Create an industrial feel with a brick effect textured paint. 2. Stucco finish: Add a touch of Mediterranean charm with a stucco finish. 3. Subtle texture: For a more understated look, opt for a paint with a subtle texture. 4. Ombre effect: Use different shades of the same color to create an ombre effect on your walls. 5. Geometric patterns: Get creative and use textured paint to create geometric patterns on your walls. 6. Metallic finish: Add a touch of glamour to your kitchen with a metallic finish textured paint. 7. Faux finish: Use textured paint to create a faux finish, such as a marble or wood effect. 8. Sponge painting: Use a sponge to create a textured effect on your walls. 9. Striped walls: Combine different textures and colors to create striped walls in your kitchen. 10. Stone effect: Bring the outdoors in with a stone effect textured paint.4. Top 10 Textured Paint Ideas for Your Kitchen Walls
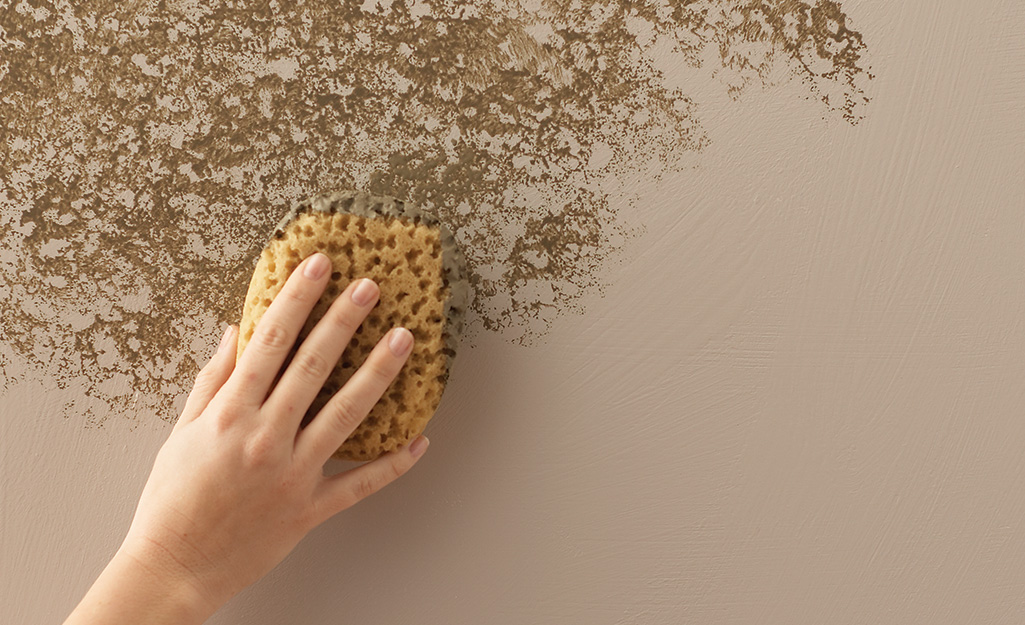
As mentioned earlier, there are various techniques you can use to apply textured paint to your kitchen walls. Here's a step-by-step guide to two popular techniques: 1. Sponge painting: Step 1: Prepare your walls by filling in any holes or cracks and sanding down any rough areas. Step 2: Apply a base coat in a color that will complement your textured paint. Step 3: Dip a natural sea sponge into your textured paint and dab it onto the wall in a random pattern. Step 4: Continue dabbing until the entire wall is covered, blending the edges for a seamless finish. Step 5: Let the paint dry and add another layer if desired. 2. Faux finish: Step 1: Prepare your walls by filling in any holes or cracks and sanding down any rough areas. Step 2: Apply a base coat in a color that will complement your textured paint. Step 3: Apply the textured paint with a trowel, using long, even strokes. Step 4: Use a dry brush or rag to create the desired effect, such as a marble or wood grain pattern. Step 5: Let the paint dry and add another layer if desired.5. Textured Paint Techniques for Kitchen Walls: Step-by-Step Guide
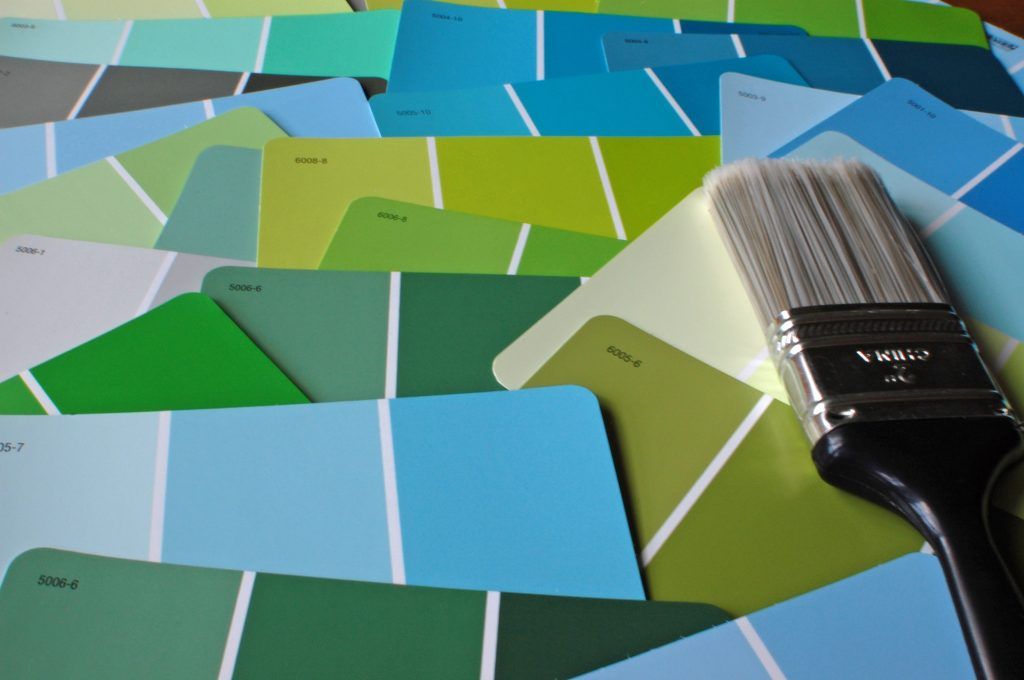
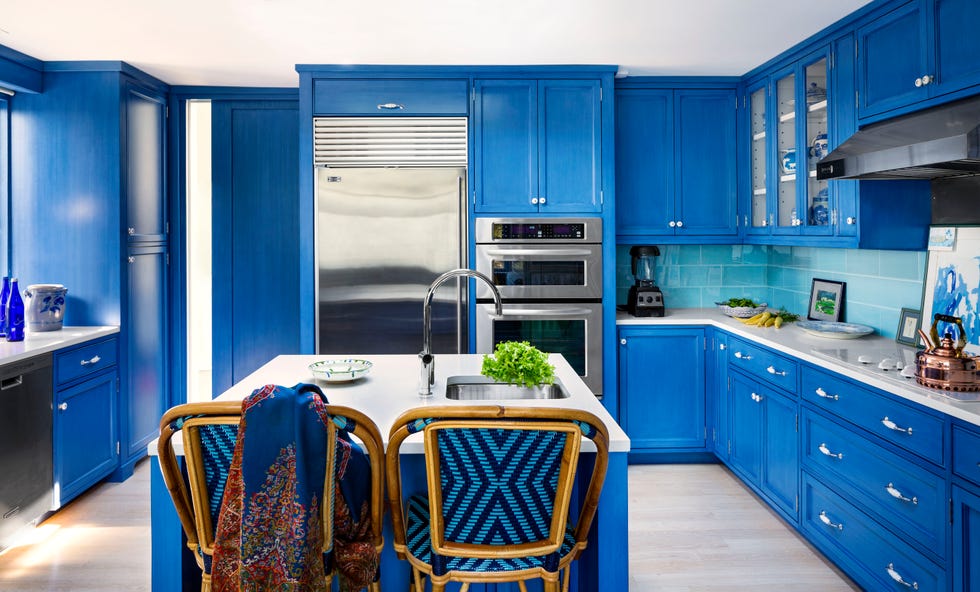
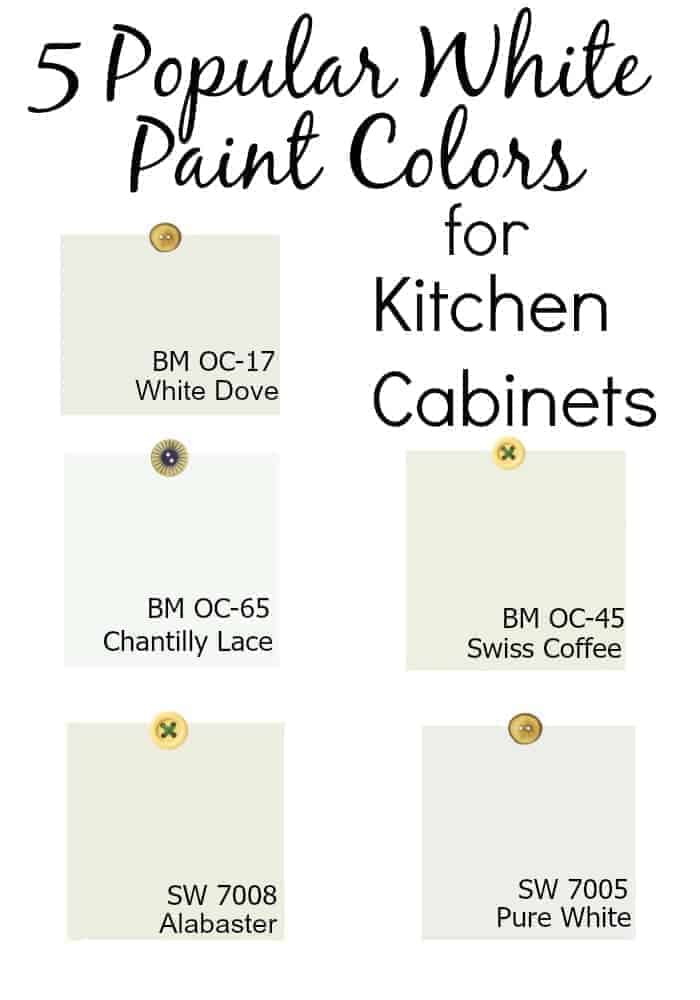
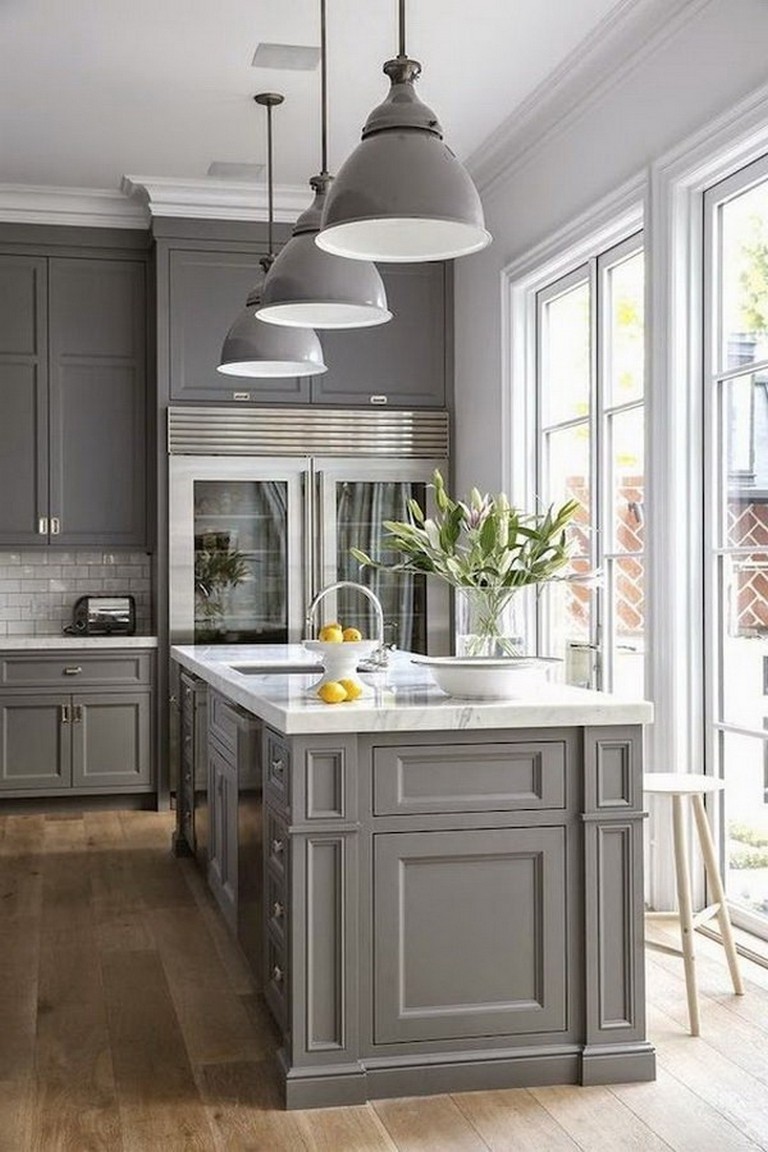
The color you choose for your textured paint can have a significant impact on the overall look of your kitchen. If you're going for a bold, statement-making look, consider using a bright or dark color. For a more subtle effect, opt for neutral tones or shades of white. Keep in mind the color of your cabinets, countertops, and flooring when choosing the color of your textured paint to ensure they all complement each other.6. Choosing the Best Color for Textured Paint in Your Kitchen
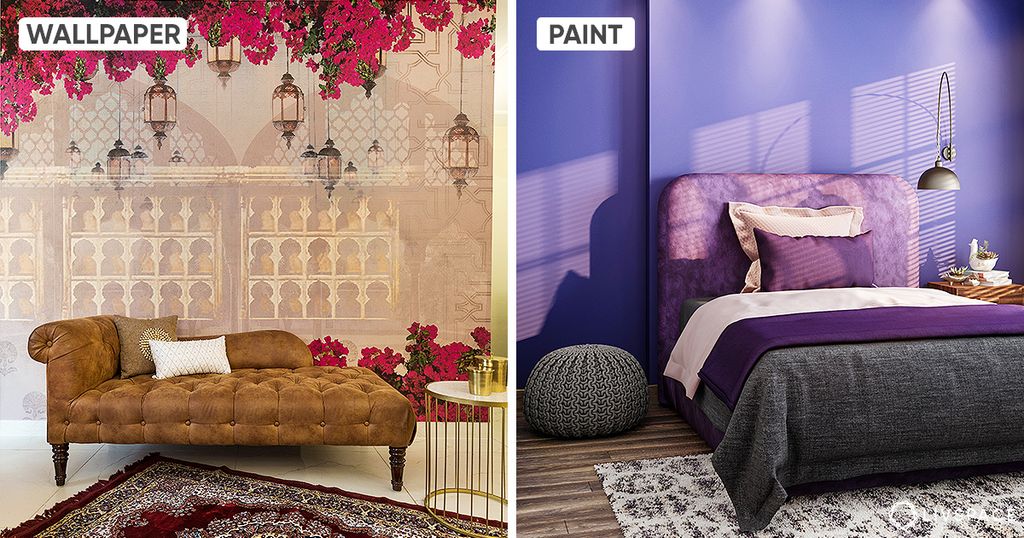
When it comes to adding texture to your kitchen walls, you may be torn between using textured paint or wallpaper. Both have their pros and cons, and it ultimately comes down to personal preference and the look you want to achieve. Here are some pros and cons of each: Textured Paint: Pros: - Can be applied to almost any surface - Can be customized to your desired effect - Can be easily repaired and maintained Cons: - Can be time-consuming to apply - Limited color options - May not cover imperfections on walls as well as wallpaper Wallpaper: Pros: - Wide range of colors and patterns available - Can cover imperfections on walls - Quick and easy to apply Cons: - Can only be applied to smooth and flat surfaces - Difficult to repair if damaged - May be more costly than textured paint7. Textured Paint vs. Wallpaper for Kitchen Walls: Pros and Cons
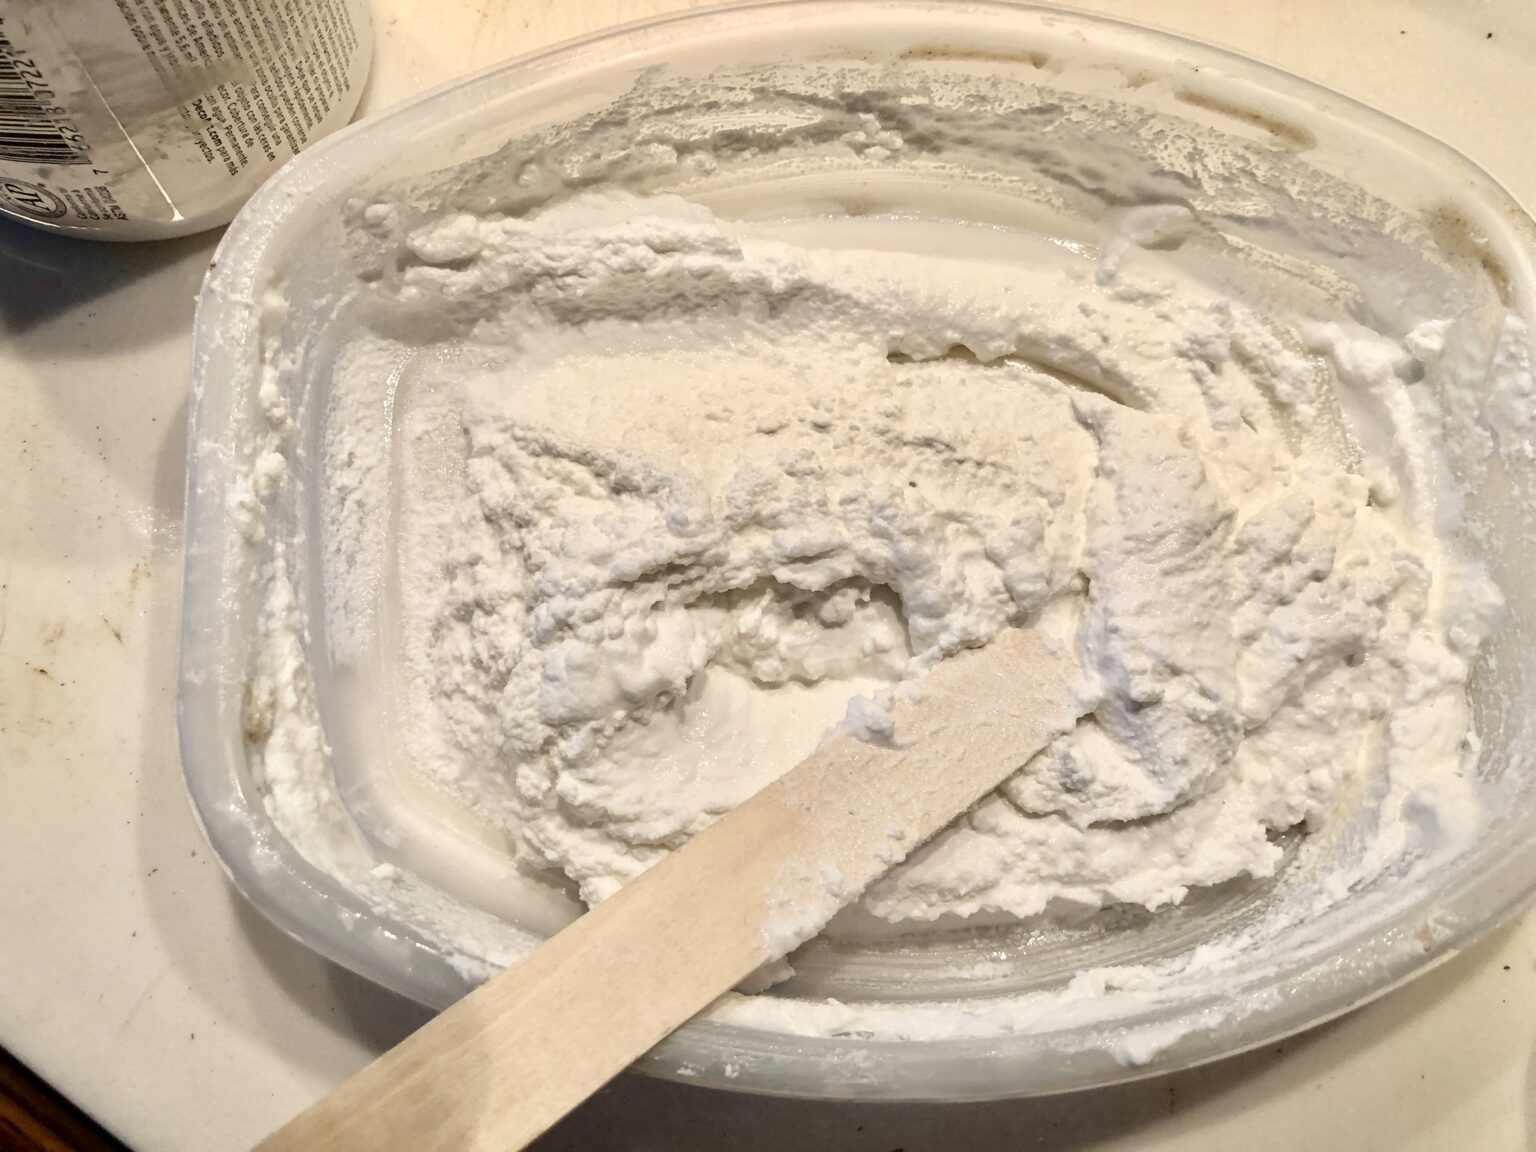
If you're on a budget or enjoy getting creative, you may want to consider making your own textured paint for your kitchen walls. Here are two DIY options that are easy and affordable: 1. Sand-textured paint: Step 1: Mix one part of fine sand with one part of paint in a container. Step 2: Add a small amount of water to create a thick paste. Step 3: Apply the mixture to your walls using a roller or brush. 2. Textured paint with joint compound: Step 1: Mix equal parts of paint and joint compound in a container. Step 2: Use a trowel to apply the mixture to your walls, creating the desired texture. Step 3: Let it dry and add another layer if desired.8. DIY Textured Paint for Kitchen Walls: Easy and Affordable Options
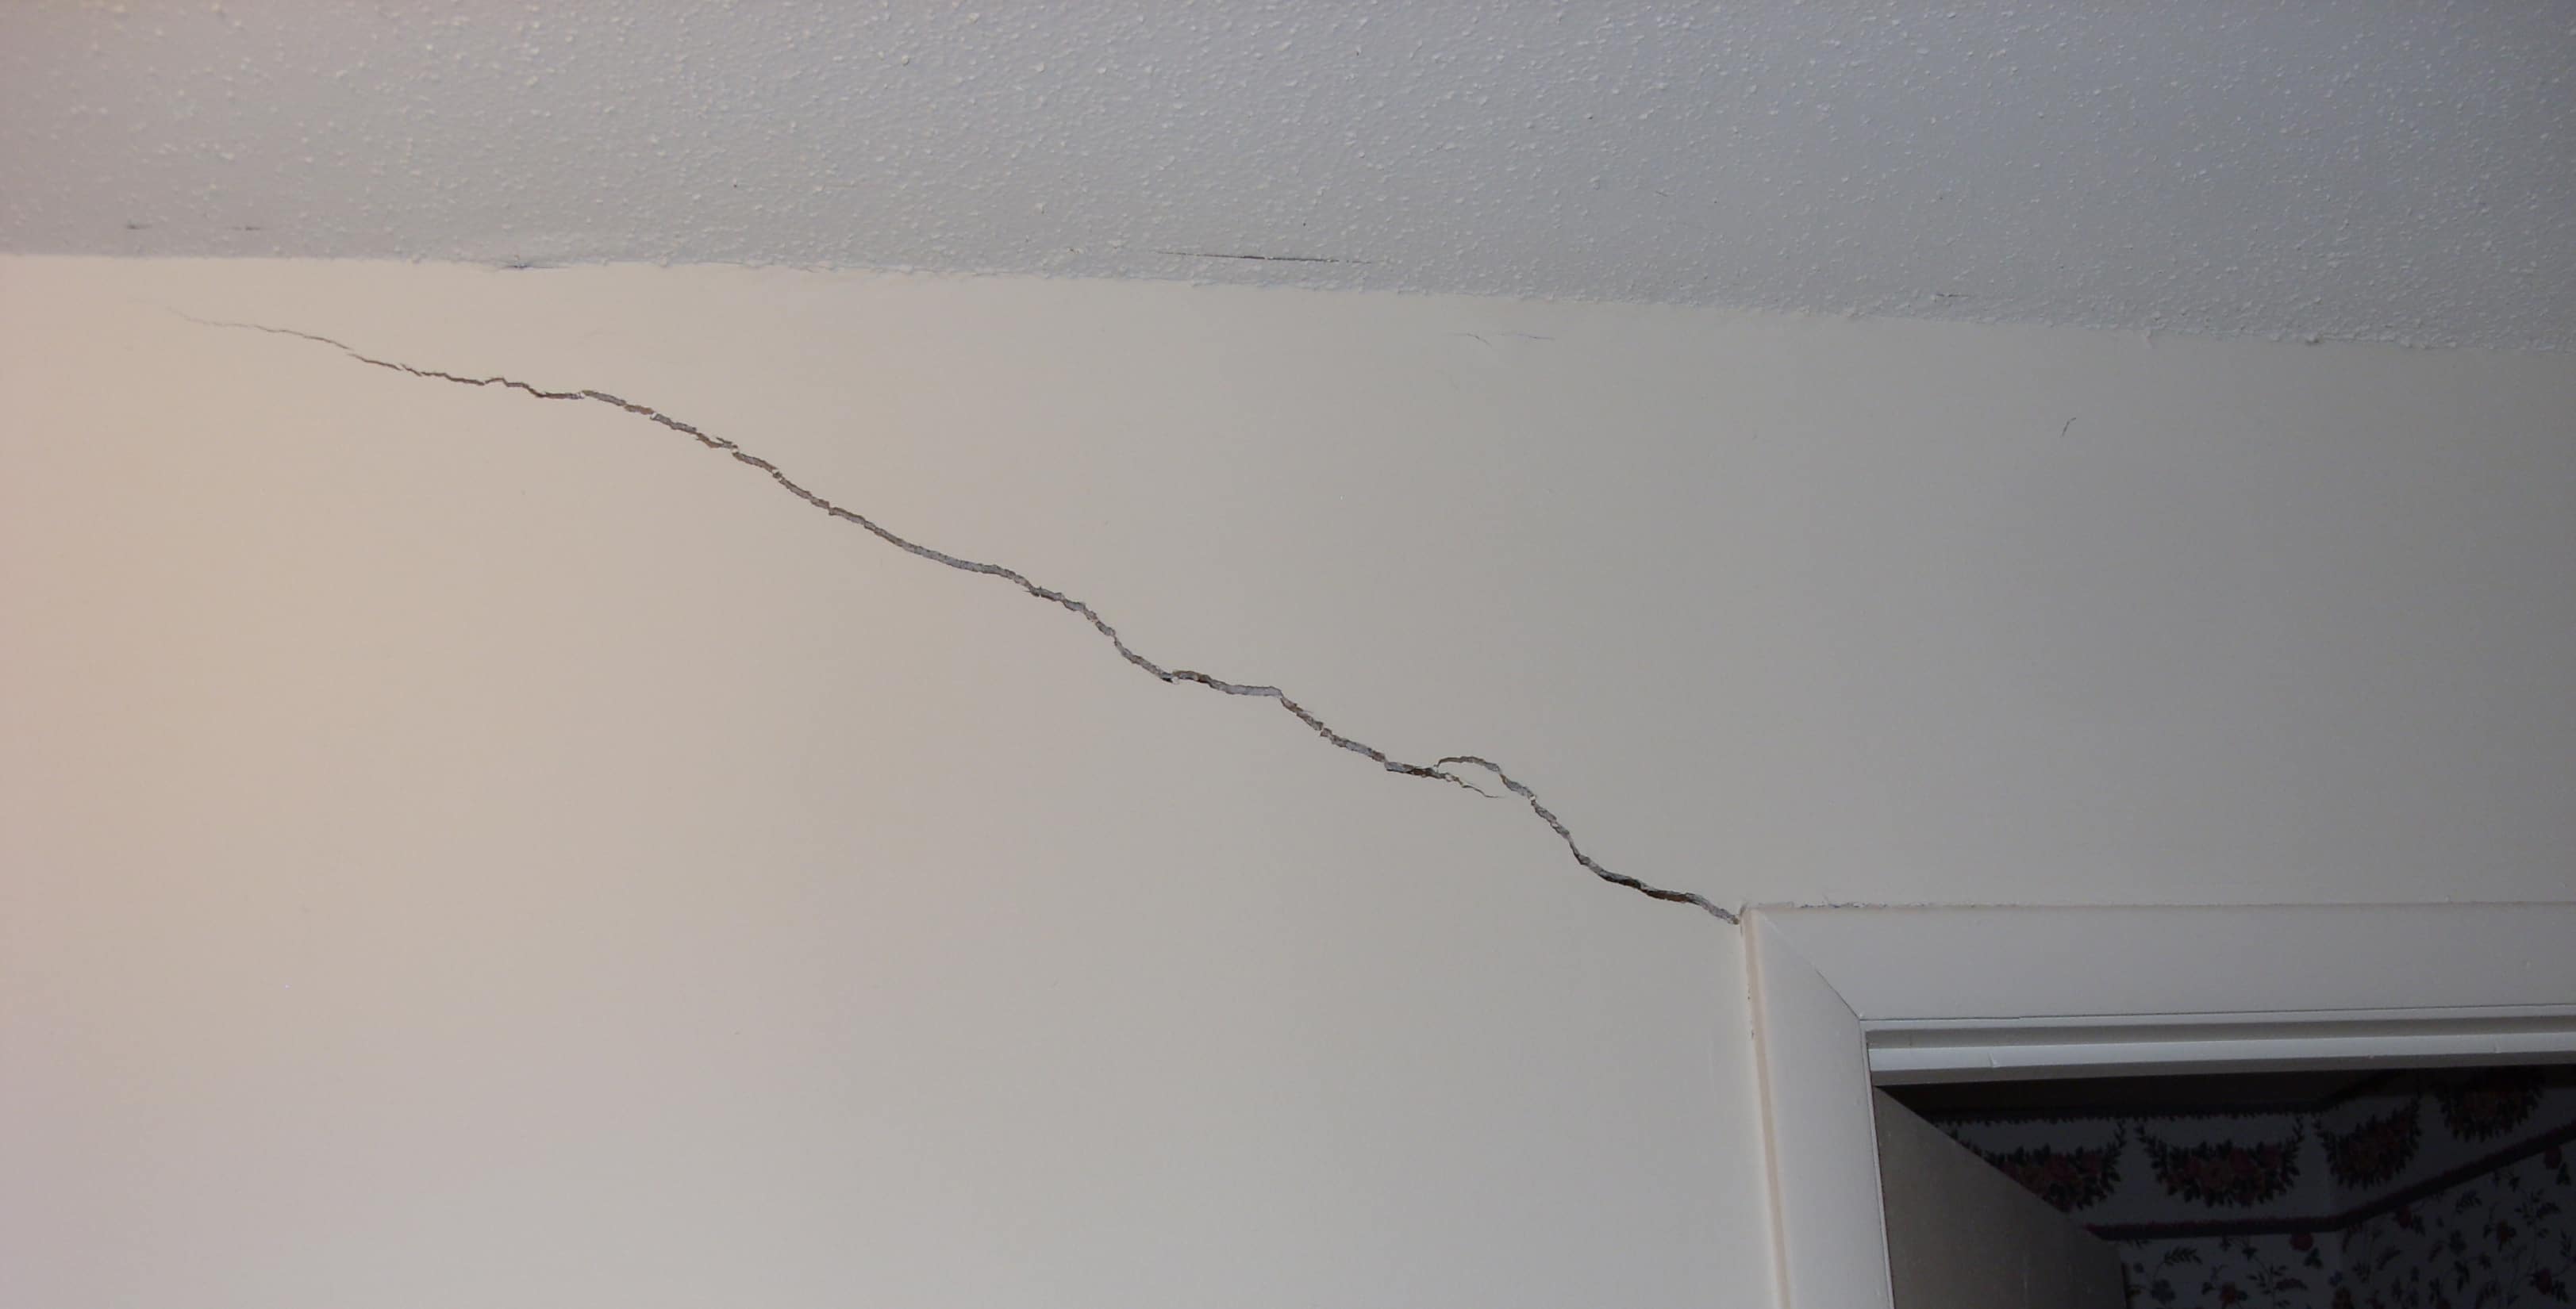
Textured paint is relatively easy to maintain, and any repairs can be done with minimal effort. If your walls get dirty, simply use a damp cloth or sponge to wipe them down. Avoid using harsh chemicals or abrasive cleaners as they can damage the paint's texture. For any minor cracks or chips, use a small amount of textured paint to fill them in and blend it with the existing paint. If the damage is more extensive, you may need to apply a fresh coat of textured paint.9. How to Repair and Maintain Textured Paint on Kitchen Walls
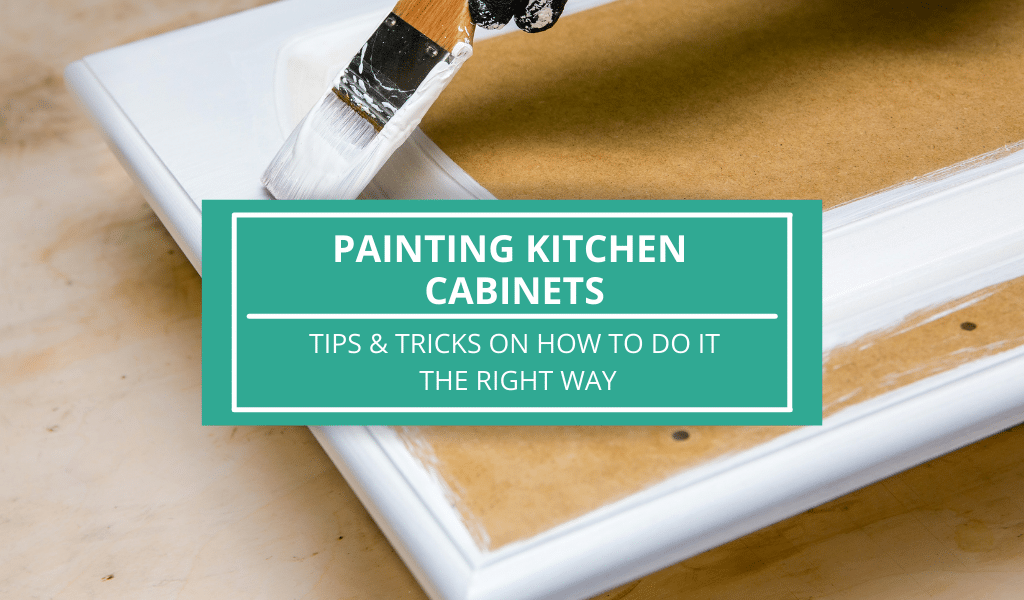
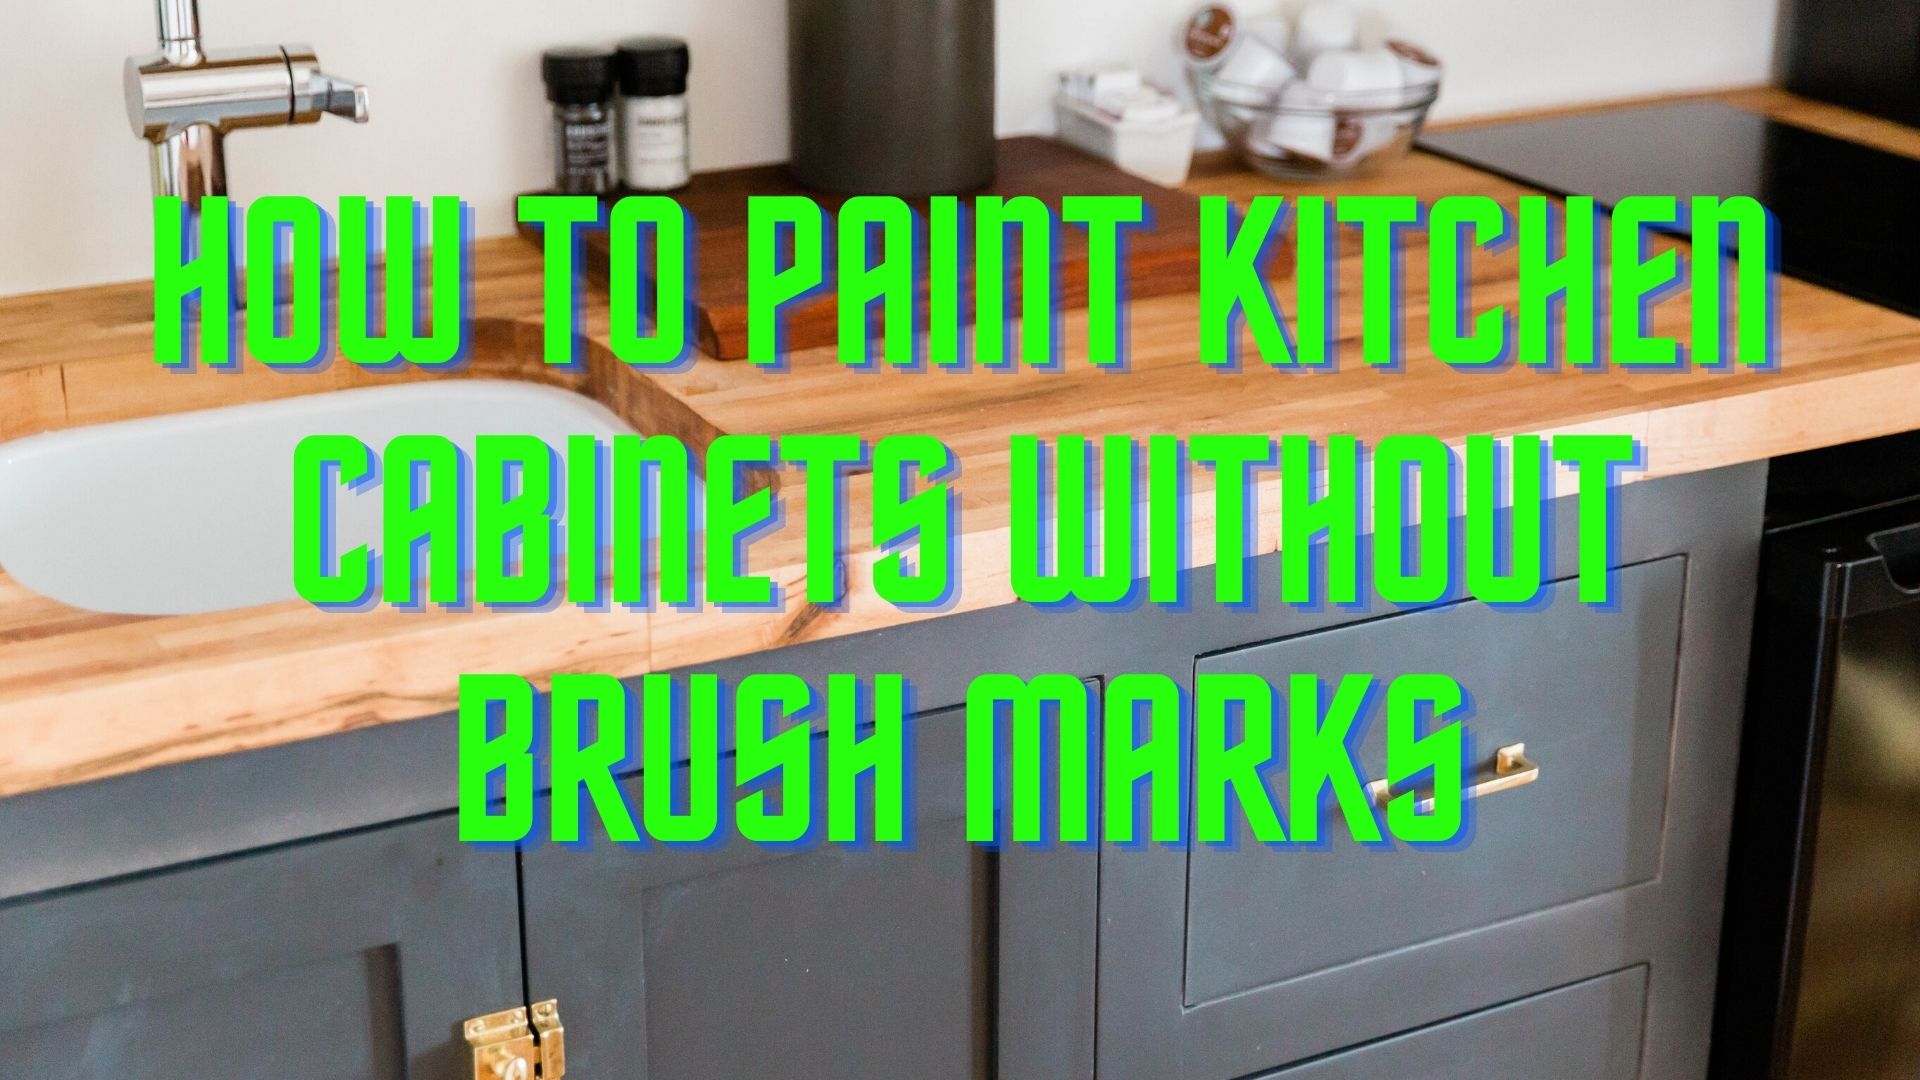
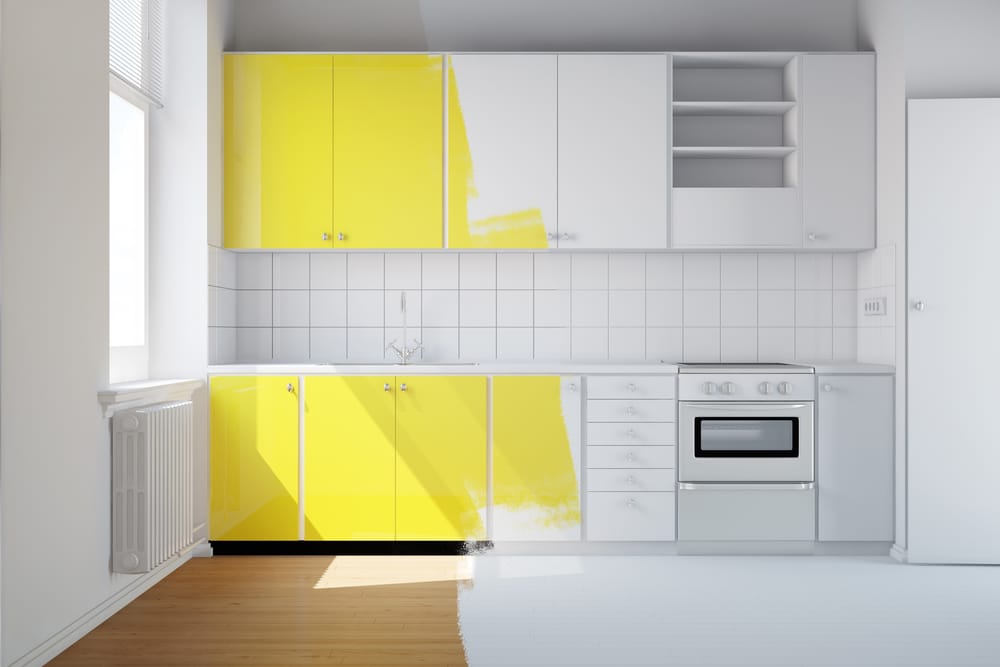
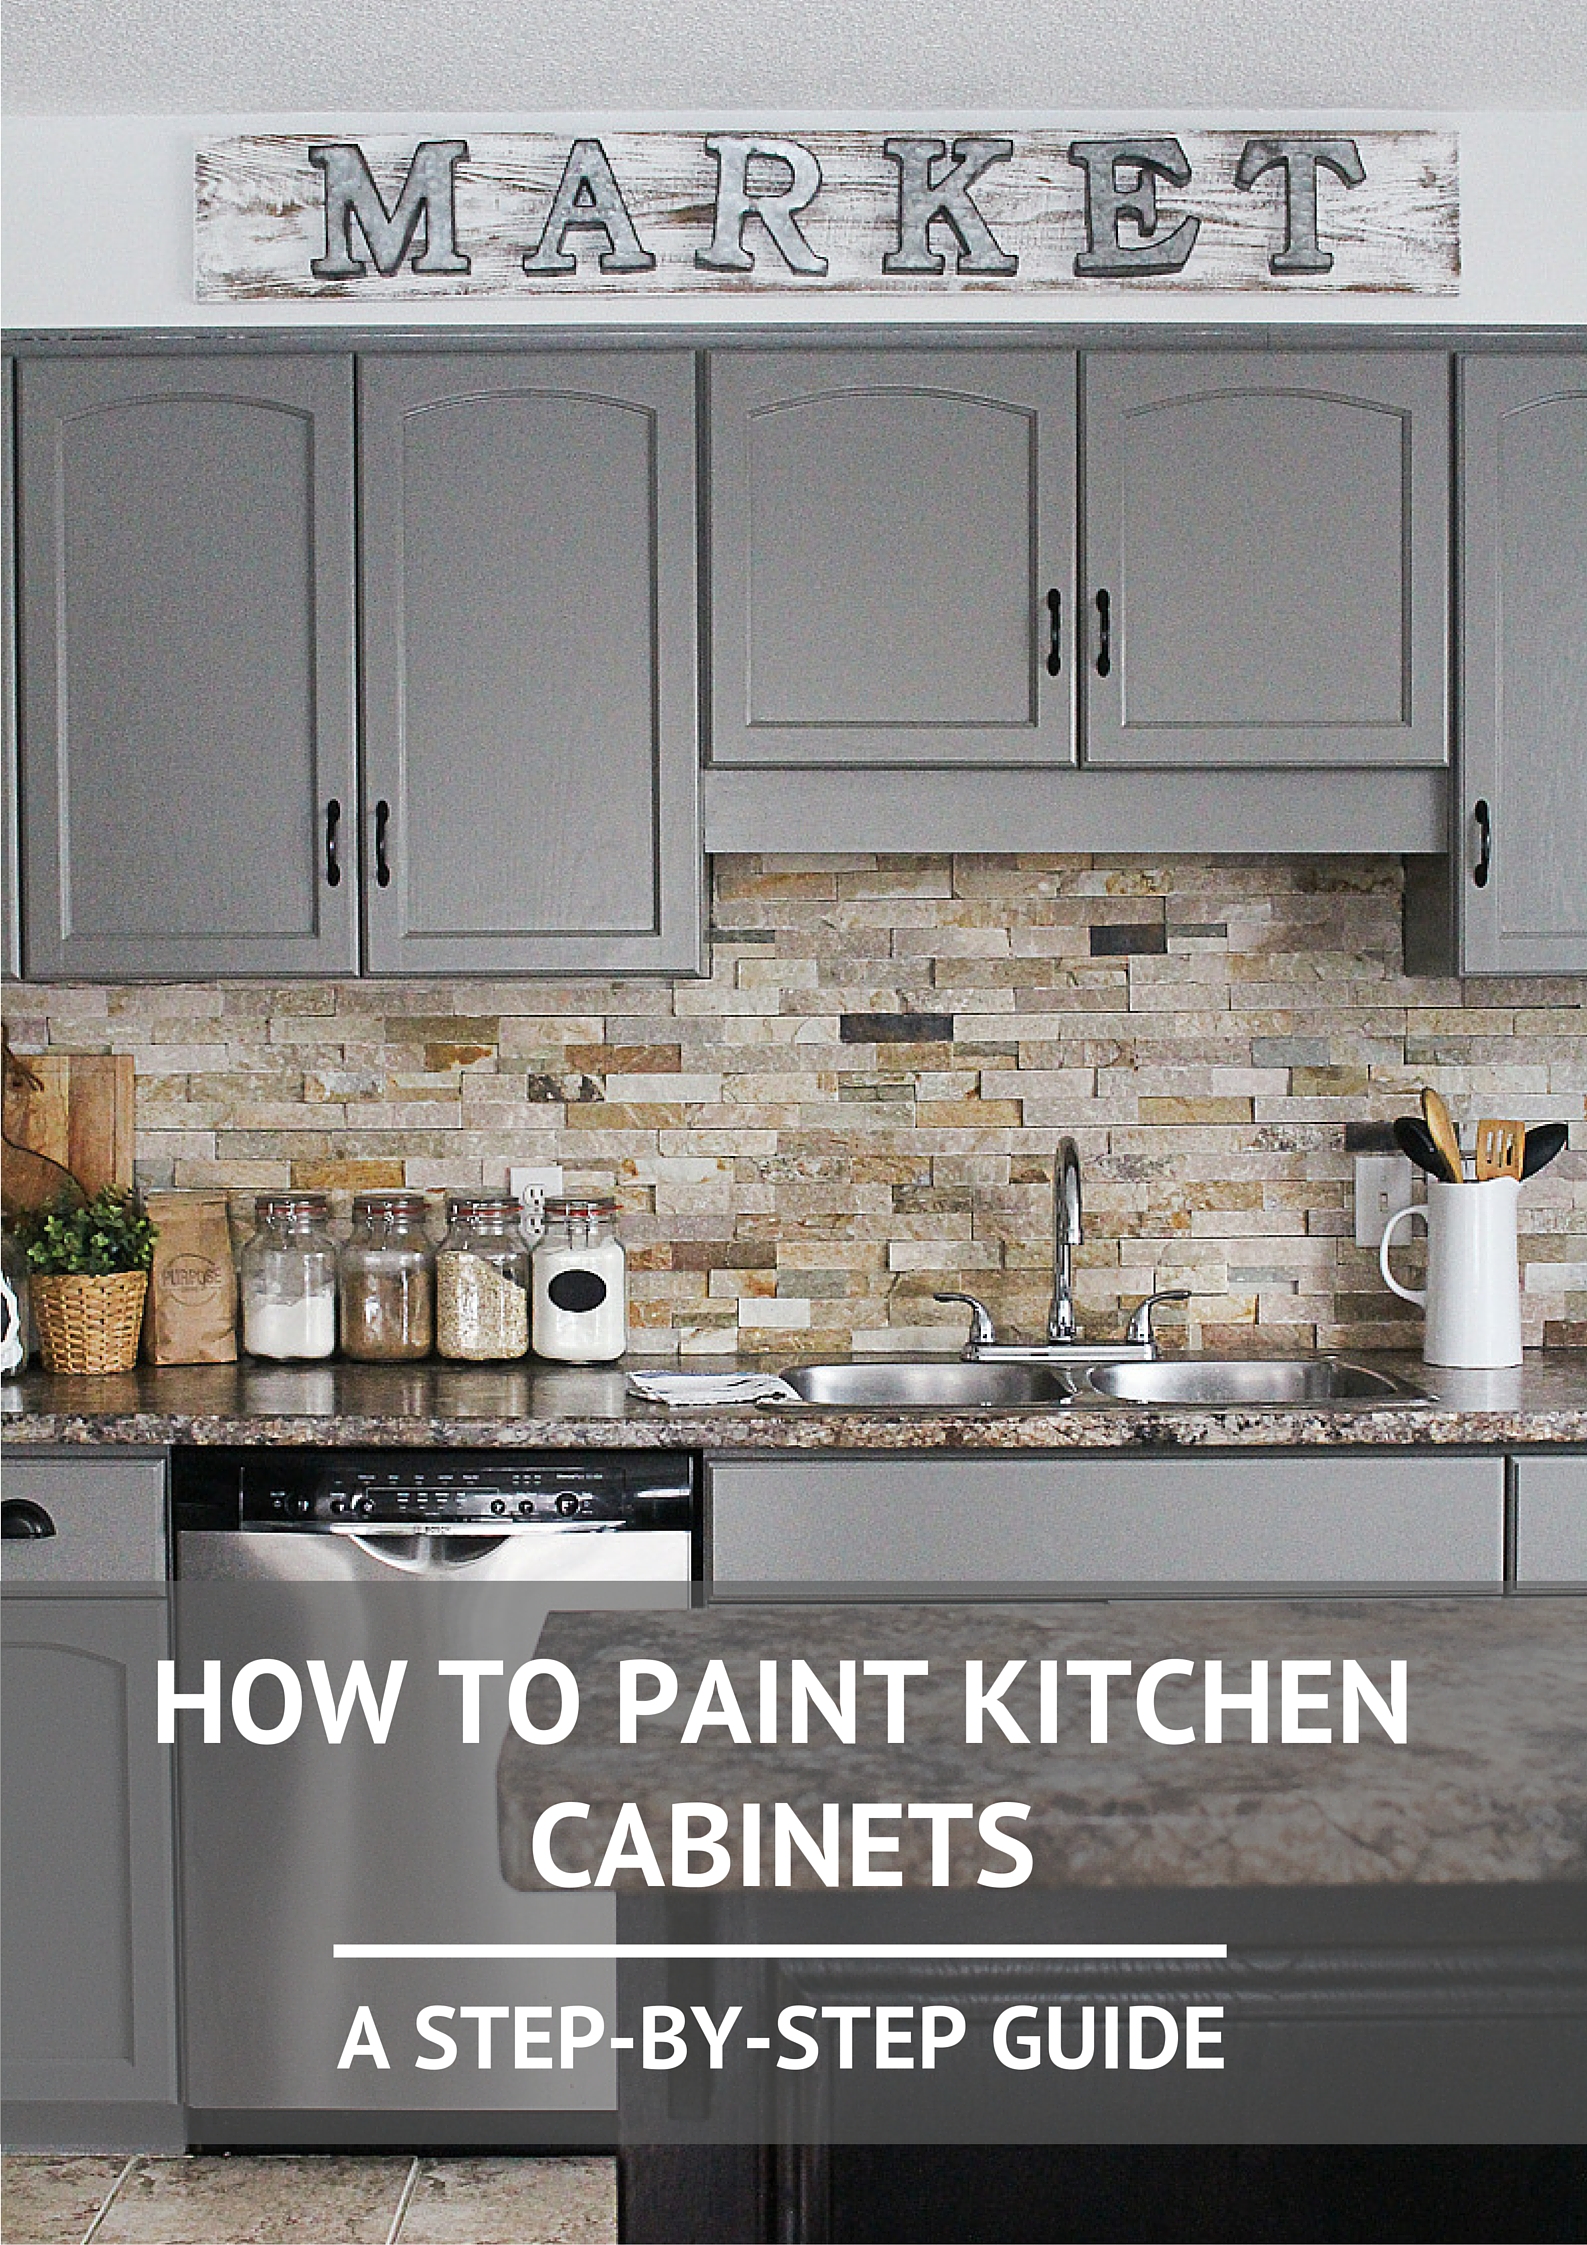
Don't limit textured paint to just your walls! You can also use it to update your kitchen cabinets. This is a fantastic way to add character and a unique touch to your kitchen. Use the same textured paint as your walls for a cohesive look, or mix and match for a more eclectic feel. You can also use textured paint to cover up any imperfections or scratches on your cabinets, giving them a new lease on life. Now that you have a better understanding of textured paint for kitchen walls, it's time to get creative and transform your space into a stunning and textured masterpiece. Use these ideas and tips to help you choose the right type of textured paint and create a one-of-a-kind look in your kitchen. Happy painting!10. Textured Paint for Kitchen Cabinets: A Creative Way to Update Your Space
The Benefits of Using Textured Paint for Kitchen Walls

Adding Texture to Your Kitchen
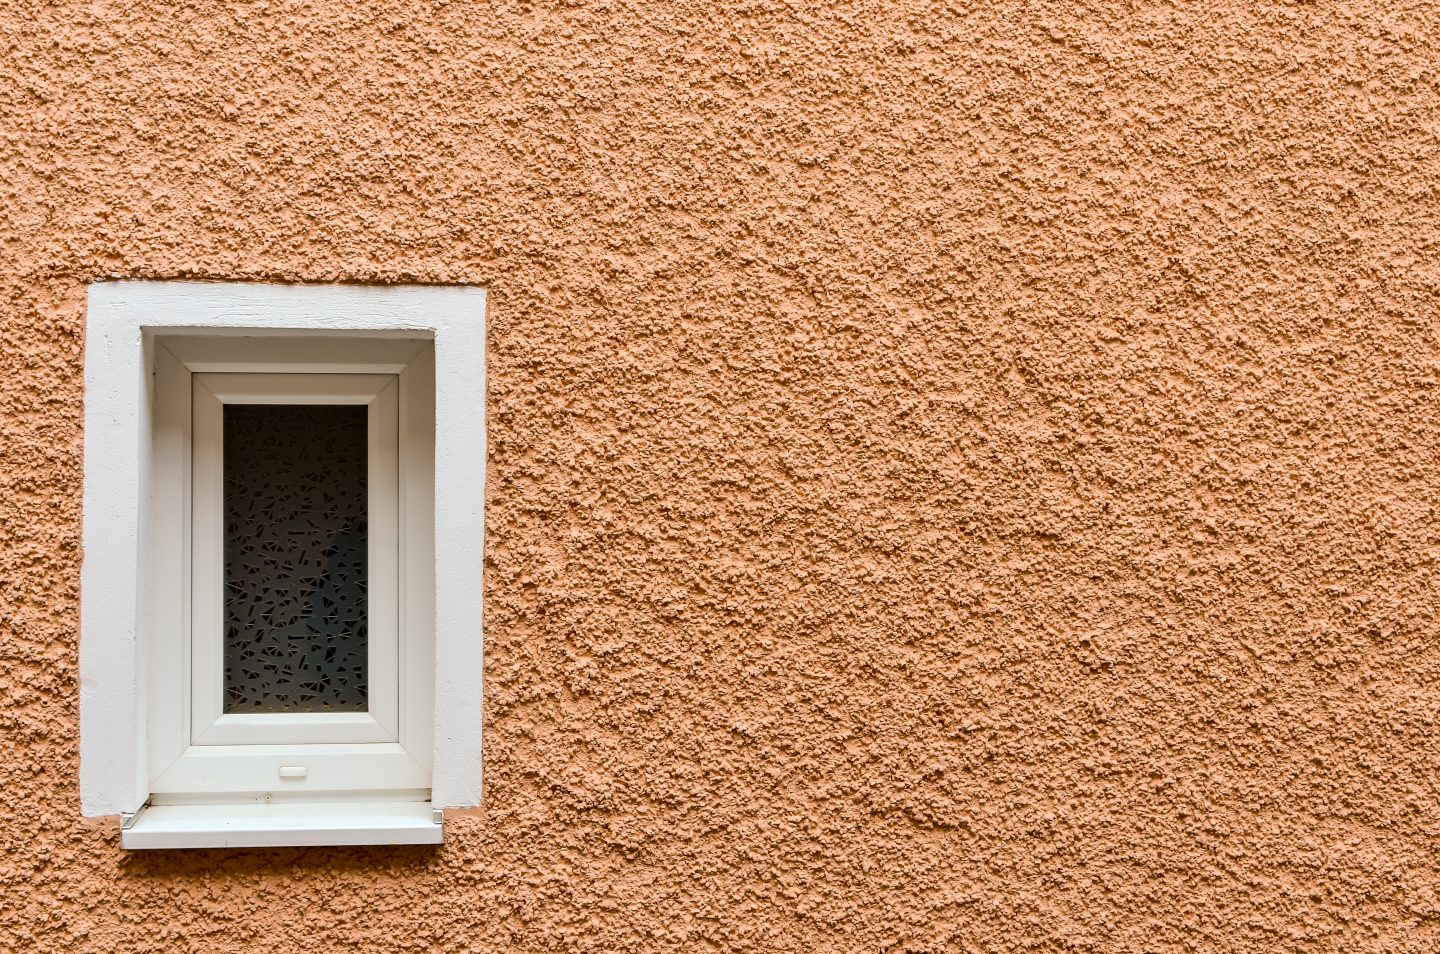 When it comes to designing your kitchen, the walls are often overlooked. Many homeowners focus on the cabinets, countertops, and appliances, but neglect the walls. However, the walls are a crucial element in creating a cohesive and aesthetically pleasing kitchen design. This is where textured paint comes in, offering a unique and creative way to add dimension and character to your kitchen walls.
Enhancing Visual Appeal
 One of the main benefits of using textured paint for kitchen walls is the enhanced visual appeal it brings. The texture adds depth and interest to an otherwise plain and flat surface. It can also create a focal point in your kitchen, drawing the eye and making a statement. With the right texture and color combination, you can transform your kitchen into a warm and inviting space.
Related keyword: textured paint
Concealing Imperfections
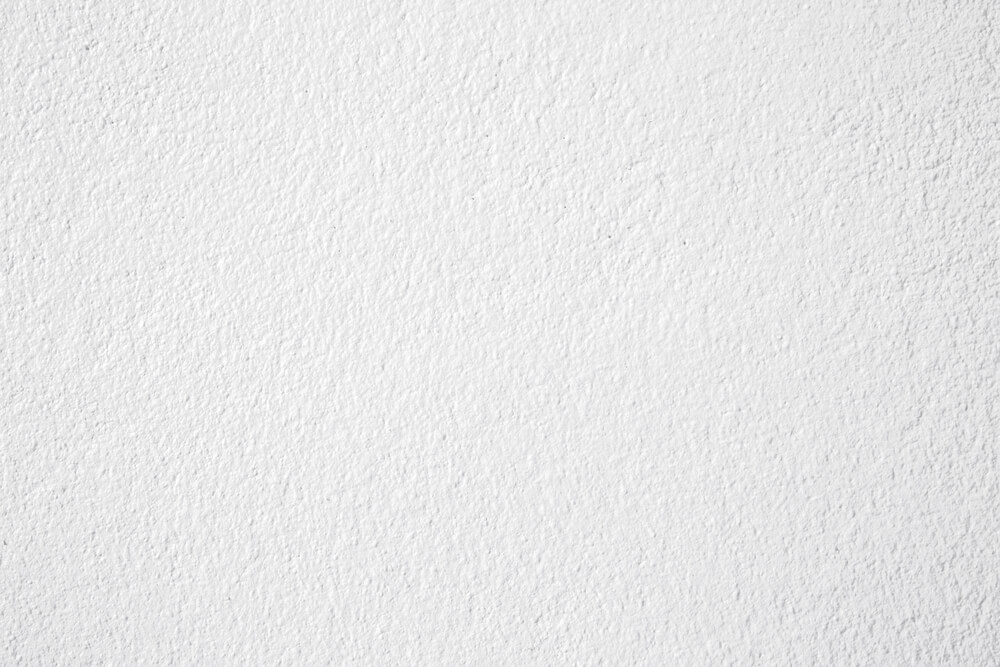
 Another advantage of textured paint is its ability to hide imperfections on your walls. Whether it's small dents, scratches, or uneven surfaces, the texture can help camouflage them, giving your walls a smooth and flawless appearance. This is especially useful for older homes where the walls may have some wear and tear. It also eliminates the need for extensive wall preparation before painting, saving you time and effort.
Easy Maintenance
 Featured keyword: kitchen design
Maintaining your kitchen walls can be a daunting task, especially when it comes to cleaning. Textured paint, however, is relatively low maintenance. The texture helps to hide any dirt or stains, making it easier to clean and maintain. Additionally, textured paint is more durable than traditional flat paint, making it less prone to chipping or peeling. This means your kitchen walls will look pristine for longer, saving you from having to repaint frequently.
Adding Value to Your Home
 Using textured paint for your kitchen walls is not only aesthetically pleasing but can also add value to your home. A well-designed and visually appealing kitchen is a major selling point for potential buyers. The unique texture of the walls can make your kitchen stand out and leave a lasting impression, potentially increasing the value of your home.
Related keyword: house design
Conclusion
 In conclusion, textured paint is a versatile and practical choice for your kitchen walls. It adds dimension, conceals imperfections, requires low maintenance, and can increase the value of your home. With a variety of textures and colors to choose from, you can easily achieve your desired kitchen design. So why settle for plain and boring walls when you can add some texture and elevate your kitchen's overall look and feel? Consider using textured paint for your kitchen walls and see the difference it can make.

















:max_bytes(150000):strip_icc()/hide-flaws-with-stipple-texture-4121027_hero-c88911f8621a48f9bb03e6556ecf6670.jpg)


