Taking apart a bathroom sink may seem like a daunting task, but with the right tools and knowledge, it can be a DIY project that anyone can tackle. Whether you're replacing an old sink or fixing a leak, disassembling a bathroom sink is a necessary step in the process. In this guide, we will walk you through the steps of taking apart a bathroom sink, from start to finish.How to Take Apart a Bathroom Sink


How to Take Apart a Bathroom Sink


Before you begin, make sure you have all the necessary tools and supplies. These include a wrench, pliers, screwdriver, and a bucket or towel to catch any water. It's also a good idea to wear gloves and eye protection for safety. Step 1: Shut off the water supply. Before you start taking apart the sink, turn off the water supply by closing the valves under the sink or shutting off the main water supply to your home. Step 2: Remove the drain stopper. If your sink has a pop-up drain stopper, you will need to remove it first. Use pliers to loosen the nut on the back of the sink and then pull out the stopper. Step 3: Disconnect the water supply lines. Using a wrench, loosen the nuts on the water supply lines and disconnect them from the faucet. Make sure to have a bucket or towel handy to catch any remaining water. Step 4: Remove the faucet. Depending on the type of faucet you have, you may need to unscrew it or use a wrench to loosen the nuts holding it in place. Once the faucet is removed, set it aside. Step 5: Take out the sink. With the faucet and drain stopper removed, you can now carefully lift the sink out of its place. It may be helpful to have someone assist you in this step, as sinks can be heavy. Step 6: Disconnect the drain assembly. Underneath the sink, you will find the drain assembly. Use pliers to loosen the locknut and then twist and pull to remove the entire assembly. Step 7: Remove the sink from the vanity or countertop. If your sink is attached to a vanity or countertop, you will need to unscrew it or use a pry bar to lift it off. Step 8: Clean and prepare for reassembly. Once you have the sink disassembled, it's a good idea to clean all the parts and the area where the sink will be reinstalled. You can also take this time to make any necessary repairs or upgrades.Step-by-Step Guide for Disassembling a Bathroom Sink


Step-by-Step Guide for Disassembling a Bathroom Sink


Now that you know the steps for taking apart a bathroom sink, you may be wondering if it's a task you can do yourself. The answer is yes! With the right tools and a little bit of patience, removing a bathroom sink is a DIY project that anyone can tackle. In addition to saving money on hiring a professional, taking apart a bathroom sink yourself can also give you a sense of accomplishment and satisfaction.Removing a Bathroom Sink: A DIY Tutorial


Removing a Bathroom Sink: A DIY Tutorial


While removing a bathroom sink may seem straightforward, there are a few tips and tricks that can make the process easier and more efficient. - Turn off the water supply before starting to avoid any leaks. - Place a towel or bucket underneath the sink to catch any water that may drip out. - Take pictures of the sink before disassembling it to help you remember how it goes back together. - Label or organize the parts as you remove them to make reassembly easier. - If you encounter any stubborn or rusted parts, use a lubricant or penetrating oil to help loosen them.Disassembling a Bathroom Sink: Tips and Tricks


Disassembling a Bathroom Sink: Tips and Tricks


- Wrench - Pliers - Screwdriver - Bucket or towel - Gloves - Eye protectionTools You'll Need to Take Apart a Bathroom Sink


Tools You'll Need to Take Apart a Bathroom Sink


Before you start disassembling your bathroom sink, it's important to take some precautions to ensure your safety and prevent any damage. - Turn off the water supply to avoid any leaks or flooding. - Wear gloves and eye protection to protect your hands and eyes from any sharp or hazardous materials. - Use caution when handling heavy or fragile parts. - Keep children and pets away from the work area.Precautions to Take Before Taking Apart a Bathroom Sink


Precautions to Take Before Taking Apart a Bathroom Sink


While taking apart a bathroom sink may seem like a simple task, there are some common mistakes that can be easily avoided. - Forgetting to turn off the water supply before starting. - Not having the right tools on hand. - Rushing the process and potentially causing damage to the sink or yourself. - Not labeling or organizing the parts as you remove them, leading to confusion during reassembly.Common Mistakes to Avoid When Disassembling a Bathroom Sink


Common Mistakes to Avoid When Disassembling a Bathroom Sink


After you have completed any necessary repairs or upgrades, it's time to put your bathroom sink back together. Reassembling a bathroom sink is essentially the same steps as taking it apart, but in reverse order. - Place the sink back onto the vanity or countertop. - Reattach the drain assembly and tighten the locknut. - Set the faucet back into place and secure it with the appropriate nuts or screws. - Reconnect the water supply lines and tighten the nuts. - Put the drain stopper back in and secure it with the nut at the back of the sink. - Turn the water supply back on and check for any leaks.How to Reassemble a Bathroom Sink After Taking it Apart


How to Reassemble a Bathroom Sink After Taking it Apart


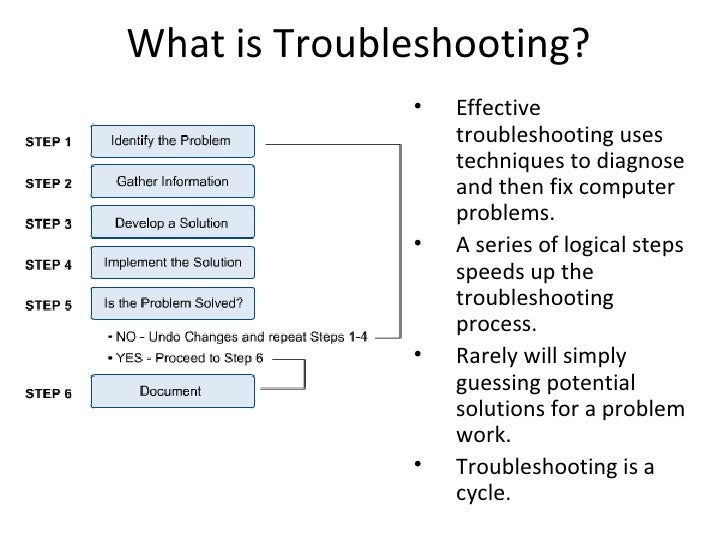
Even with the best preparation and precautions, you may encounter some problems while disassembling your bathroom sink. Here are some common issues and how to troubleshoot them. - Leaks: If you notice any leaks while taking apart the sink, turn off the water supply immediately and check all connections and pipes for any damage or loose parts. - Rust or corrosion: If you encounter rusted or corroded parts, use a lubricant or penetrating oil to help loosen them. If the damage is severe, you may need to replace the parts. - Difficulty removing the sink: If the sink is stuck or difficult to remove, try using a pry bar or lubricant to help loosen it. If it still won't budge, you may need to call a professional for assistance.Troubleshooting: What to Do if You Encounter Problems While Taking Apart a Bathroom Sink

Troubleshooting: What to Do if You Encounter Problems While Taking Apart a Bathroom Sink


To ensure a successful and smooth disassembly of your bathroom sink, here are some expert tips to keep in mind. - Make sure to have all the necessary tools and supplies before starting. - Take your time and be patient, rushing can lead to mistakes or damage. - Label or organize the parts as you remove them to make reassembly easier. - If you encounter any problems, don't hesitate to call a professional for assistance. With this step-by-step guide and expert tips, you now have all the information you need to successfully take apart a bathroom sink. Remember to take your time, be safe, and don't be afraid to ask for help if needed. With the right tools and knowledge, you can tackle this DIY project with confidence.Expert Tips for Successfully Taking Apart a Bathroom Sink


Expert Tips for Successfully Taking Apart a Bathroom Sink


Taking Apart Bathroom Sink: A Step-by-Step Guide for Easy Renovation
Introduction
 Renovating a bathroom can be a daunting task, especially when it comes to taking apart the bathroom sink. However, with the right tools and techniques, this process can be made much easier. Whether you are remodeling your bathroom or simply replacing an old sink, this step-by-step guide will walk you through the process of taking apart your bathroom sink.
Gather Your Tools and Materials
 Before beginning the process, it is important to gather all the necessary tools and materials. This will save you time and frustration in the long run. You will need a
plumber's wrench
,
screwdriver
,
adjustable wrench
,
bucket
, and
old towels
to catch any water that may spill out during the process. It is also a good idea to have a
pair of gloves
to protect your hands.
Before beginning the process, it is important to gather all the necessary tools and materials. This will save you time and frustration in the long run. You will need a
plumber's wrench
,
screwdriver
,
adjustable wrench
,
bucket
, and
old towels
to catch any water that may spill out during the process. It is also a good idea to have a
pair of gloves
to protect your hands.
Turn Off the Water Supply
 The first step in taking apart your bathroom sink is turning off the water supply. This can usually be done by turning the
shut-off valves
located under the sink in a clockwise direction. If you do not have shut-off valves, you will need to turn off the main water supply to your house. It is important to do this to avoid any water damage or accidents during the process.
The first step in taking apart your bathroom sink is turning off the water supply. This can usually be done by turning the
shut-off valves
located under the sink in a clockwise direction. If you do not have shut-off valves, you will need to turn off the main water supply to your house. It is important to do this to avoid any water damage or accidents during the process.
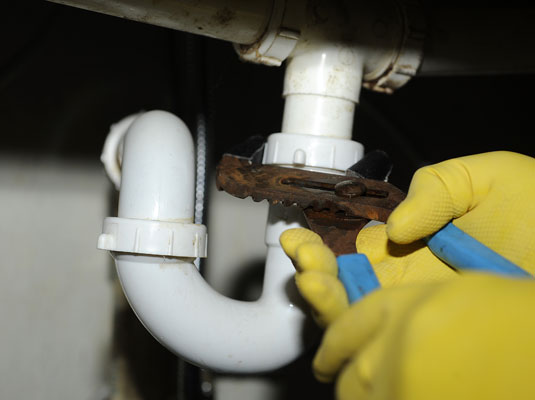
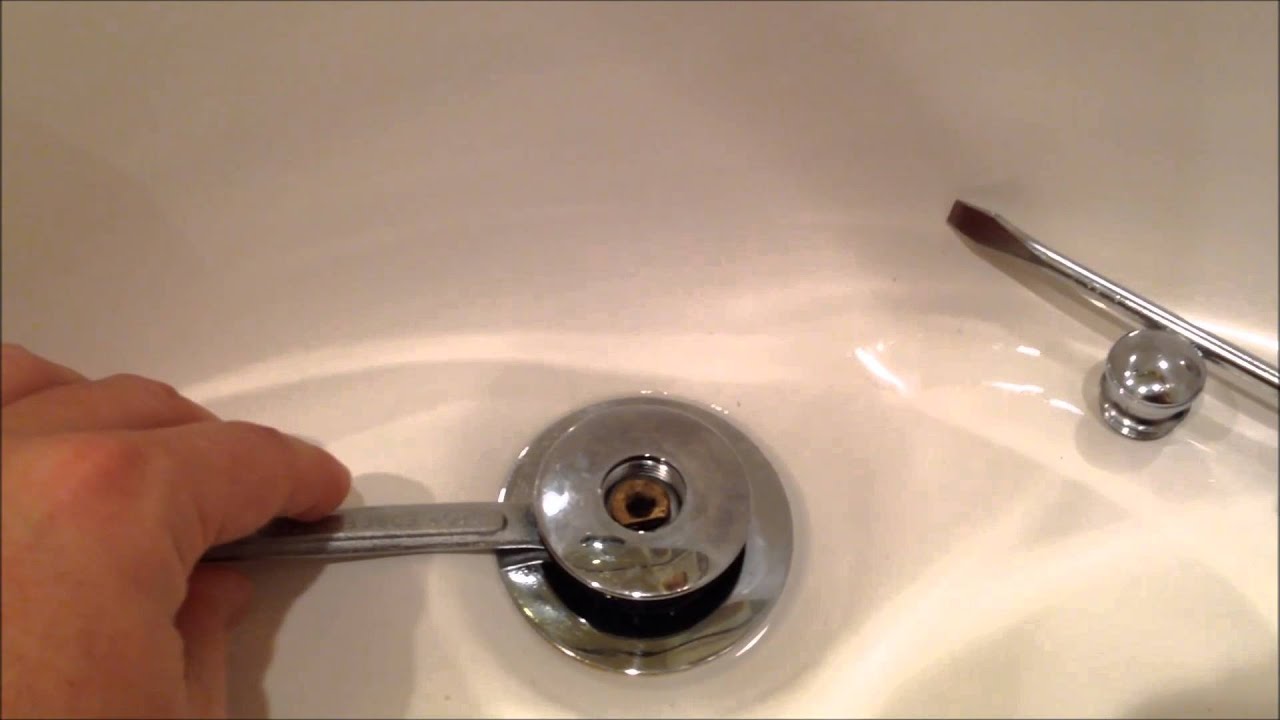
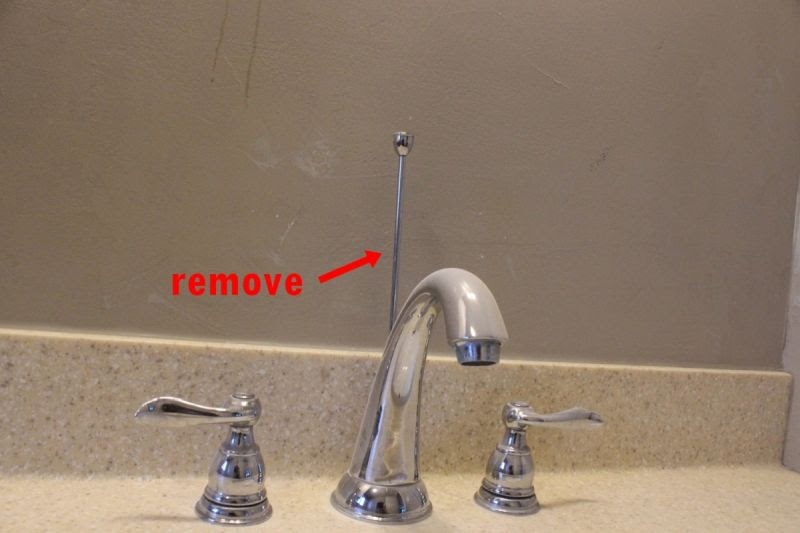
Remove the Drain
 Next, you will need to remove the drain from the sink. This is usually done by unscrewing the
drain plug
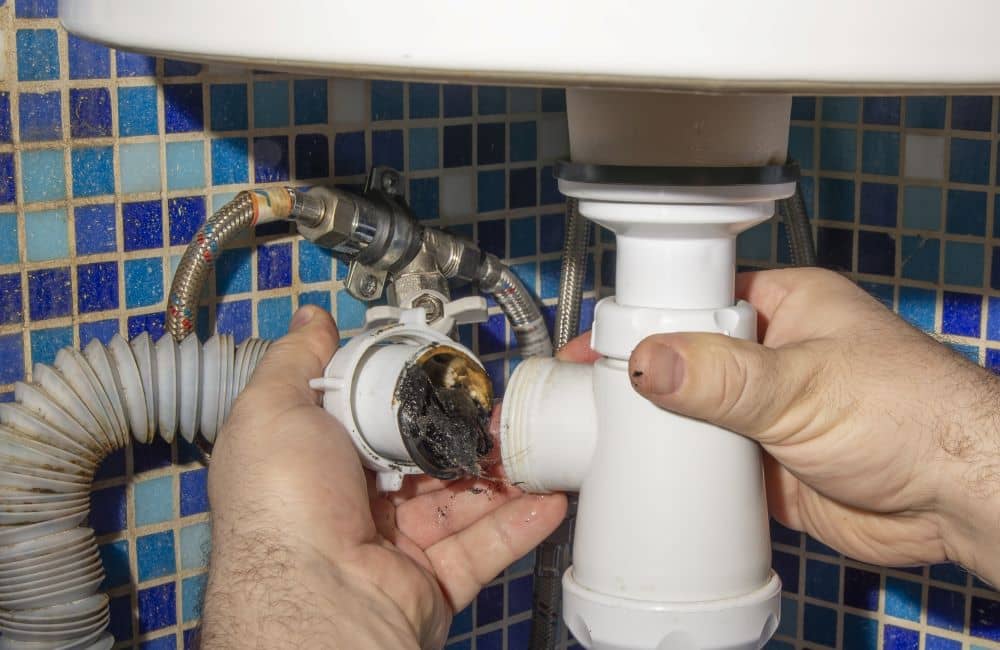
located at the bottom of the sink using a screwdriver or pliers. Once the plug is removed, use the pliers to loosen the
locking nut
and remove the drain assembly from the sink.
Next, you will need to remove the drain from the sink. This is usually done by unscrewing the
drain plug
located at the bottom of the sink using a screwdriver or pliers. Once the plug is removed, use the pliers to loosen the
locking nut
and remove the drain assembly from the sink.
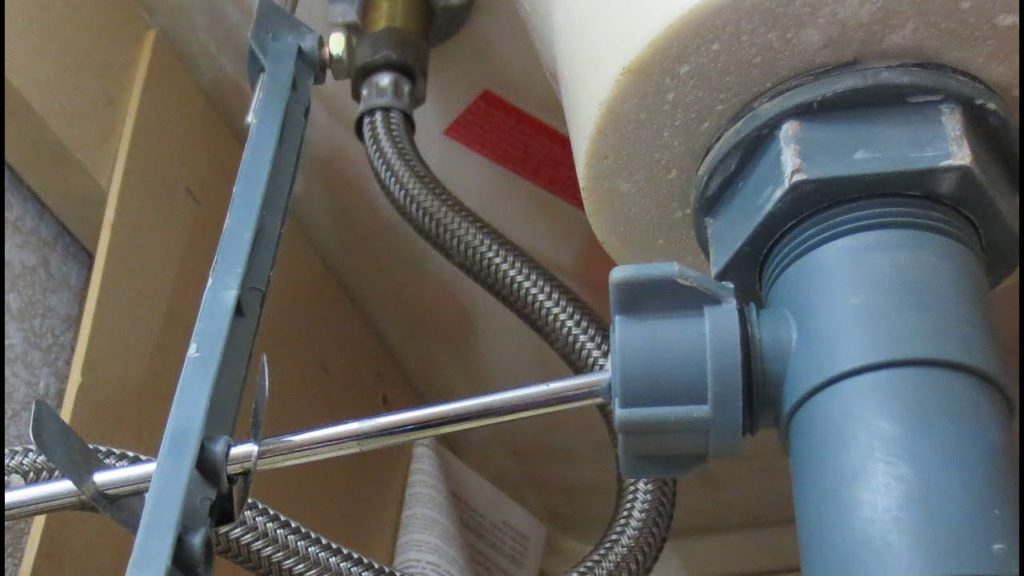
Disconnect the Water Supply Lines
 Using an adjustable wrench, disconnect the
water supply lines
from the bottom of the faucet. Make sure to have a bucket and old towels handy to catch any water that may come out. If the supply lines are too tight, you can use a plumber's wrench to loosen them.
Using an adjustable wrench, disconnect the
water supply lines
from the bottom of the faucet. Make sure to have a bucket and old towels handy to catch any water that may come out. If the supply lines are too tight, you can use a plumber's wrench to loosen them.
Remove the Faucet
 The final step is to remove the faucet from the sink. This can be done by unscrewing the
mounting nuts
located under the sink using a plumber's wrench. Once the nuts are removed, the faucet can be lifted out of the sink.
The final step is to remove the faucet from the sink. This can be done by unscrewing the
mounting nuts
located under the sink using a plumber's wrench. Once the nuts are removed, the faucet can be lifted out of the sink.
Conclusion
 By following these simple steps, you can easily take apart your bathroom sink without any hassle. Remember to gather all necessary tools and materials, turn off the water supply, and be cautious of any potential water spills. With a little bit of patience and the right tools, your bathroom sink will be ready for a fresh new look in no time.