If you're looking to upgrade your bathroom sink and give it a more modern and convenient touch, then installing a push button bathroom sink drain is the way to go. This stylish and functional upgrade not only adds a sleek look to your sink, but also makes draining water easier with just the push of a button. In this guide, we'll take you through the step-by-step process of installing a push button bathroom sink drain.Stylewise Push Button Bathroom Sink Drain Installation


Stylewise Push Button Bathroom Sink Drain Installation


The installation process for a push button bathroom sink drain may seem intimidating, but with the right tools and instructions, it can be a simple and quick DIY project. Here's what you'll need:How to Install a Push Button Bathroom Sink Drain


How to Install a Push Button Bathroom Sink Drain


Now that you have all the necessary tools and materials, let's dive into the installation process.Step-by-Step Guide for Installing a Push Button Bathroom Sink Drain


Step-by-Step Guide for Installing a Push Button Bathroom Sink Drain


If you're replacing an old drain, start by removing it. Begin by placing a bucket or container under the sink to catch any water that may spill out. Then, use a screwdriver to loosen and remove the drain from the bottom of the sink. Once the old drain is removed, clean the area around the drain hole thoroughly.Step 1: Remove the Old Drain

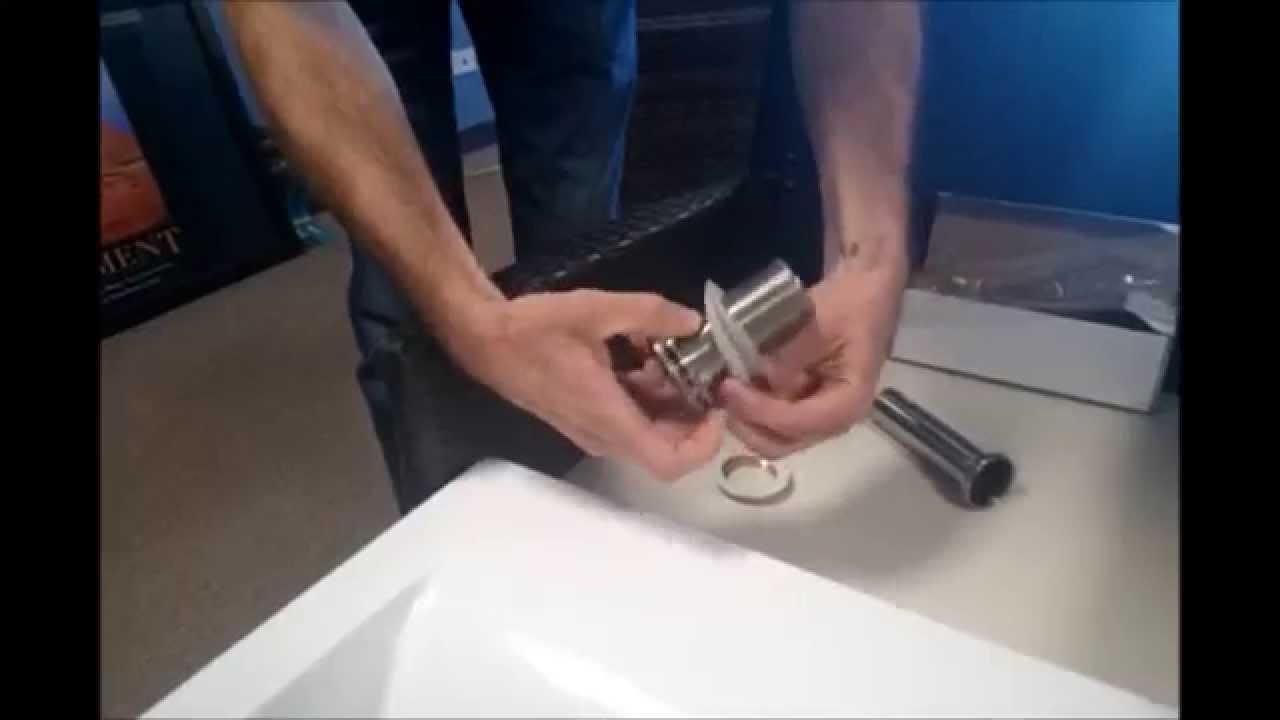
Push Button Bathroom Sink Drain Installation Tutorial


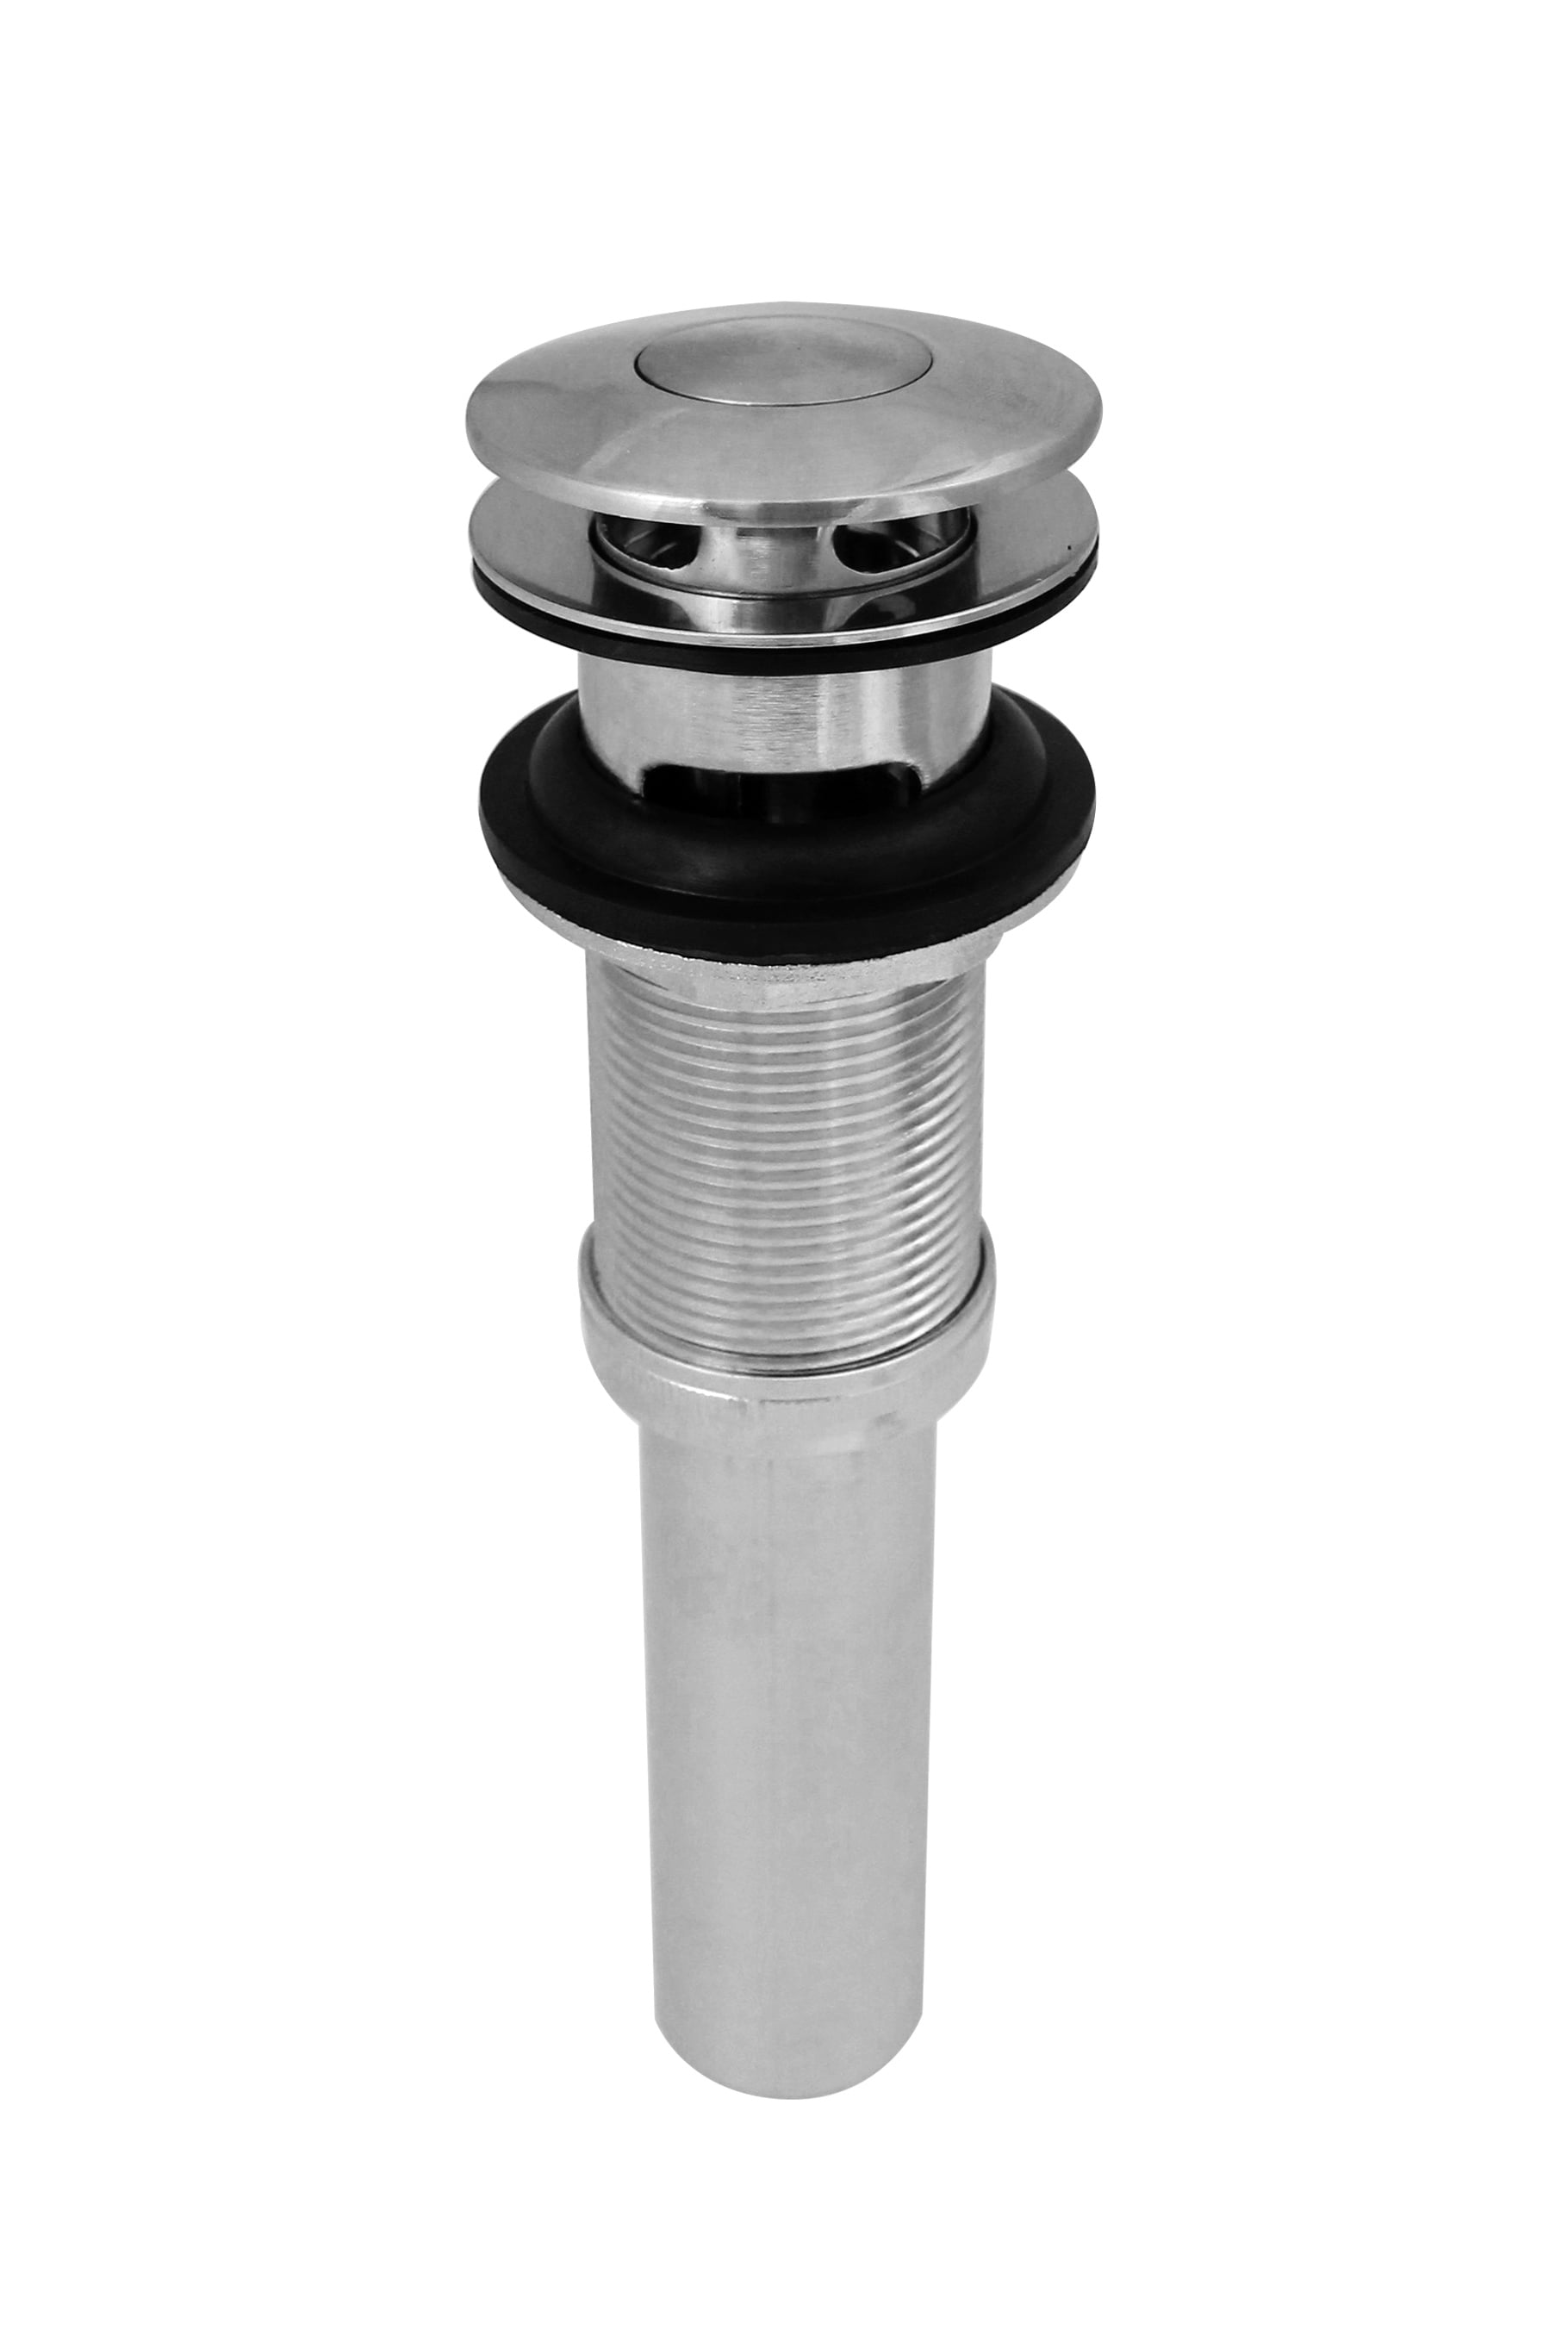
Take a small amount of plumber's putty and roll it into a thin string. Apply the putty around the underside of the new drain flange and then press it onto the sink hole. Make sure the drain is centered and press down firmly to create a watertight seal.Step 2: Apply Plumber's Putty

DIY Push Button Bathroom Sink Drain Installation


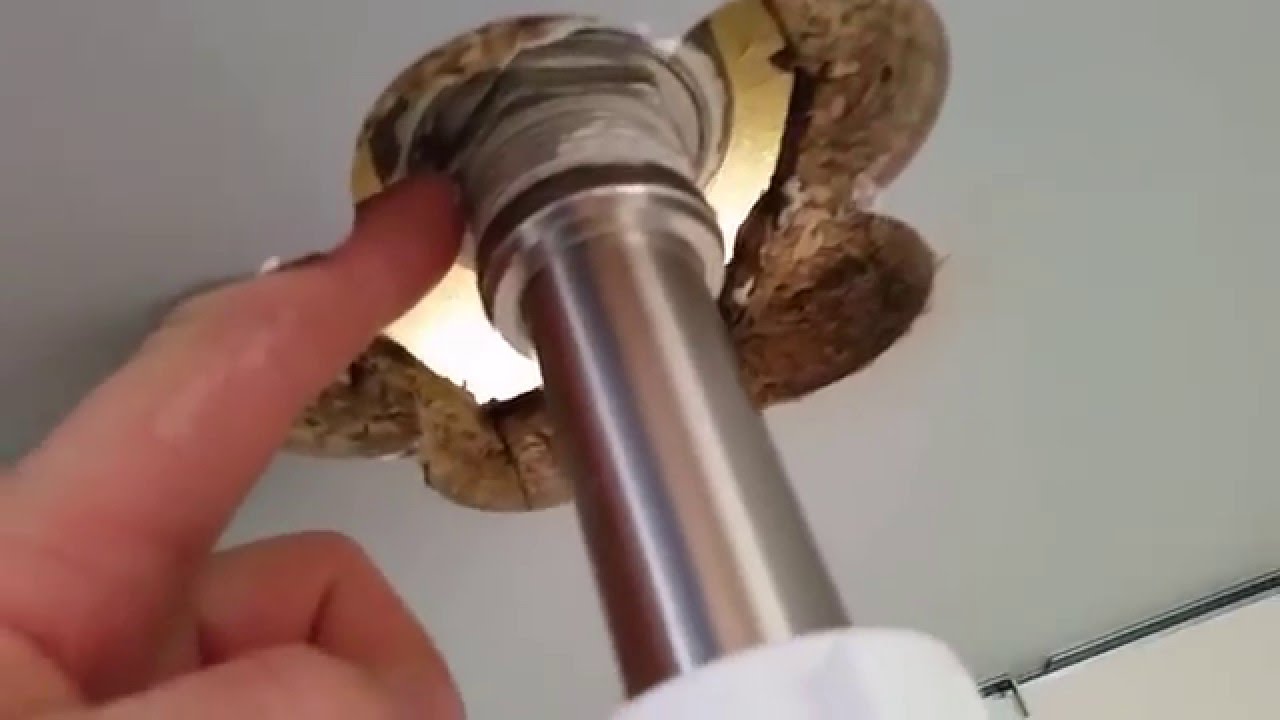
Take the rubber gasket and place it over the drain under the sink. Then, screw on the lock nut until it is hand tight. Use the adjustable wrench to tighten the lock nut further, making sure the drain is secure.Step 3: Install the Drain

Quick and Easy Push Button Bathroom Sink Drain Installation


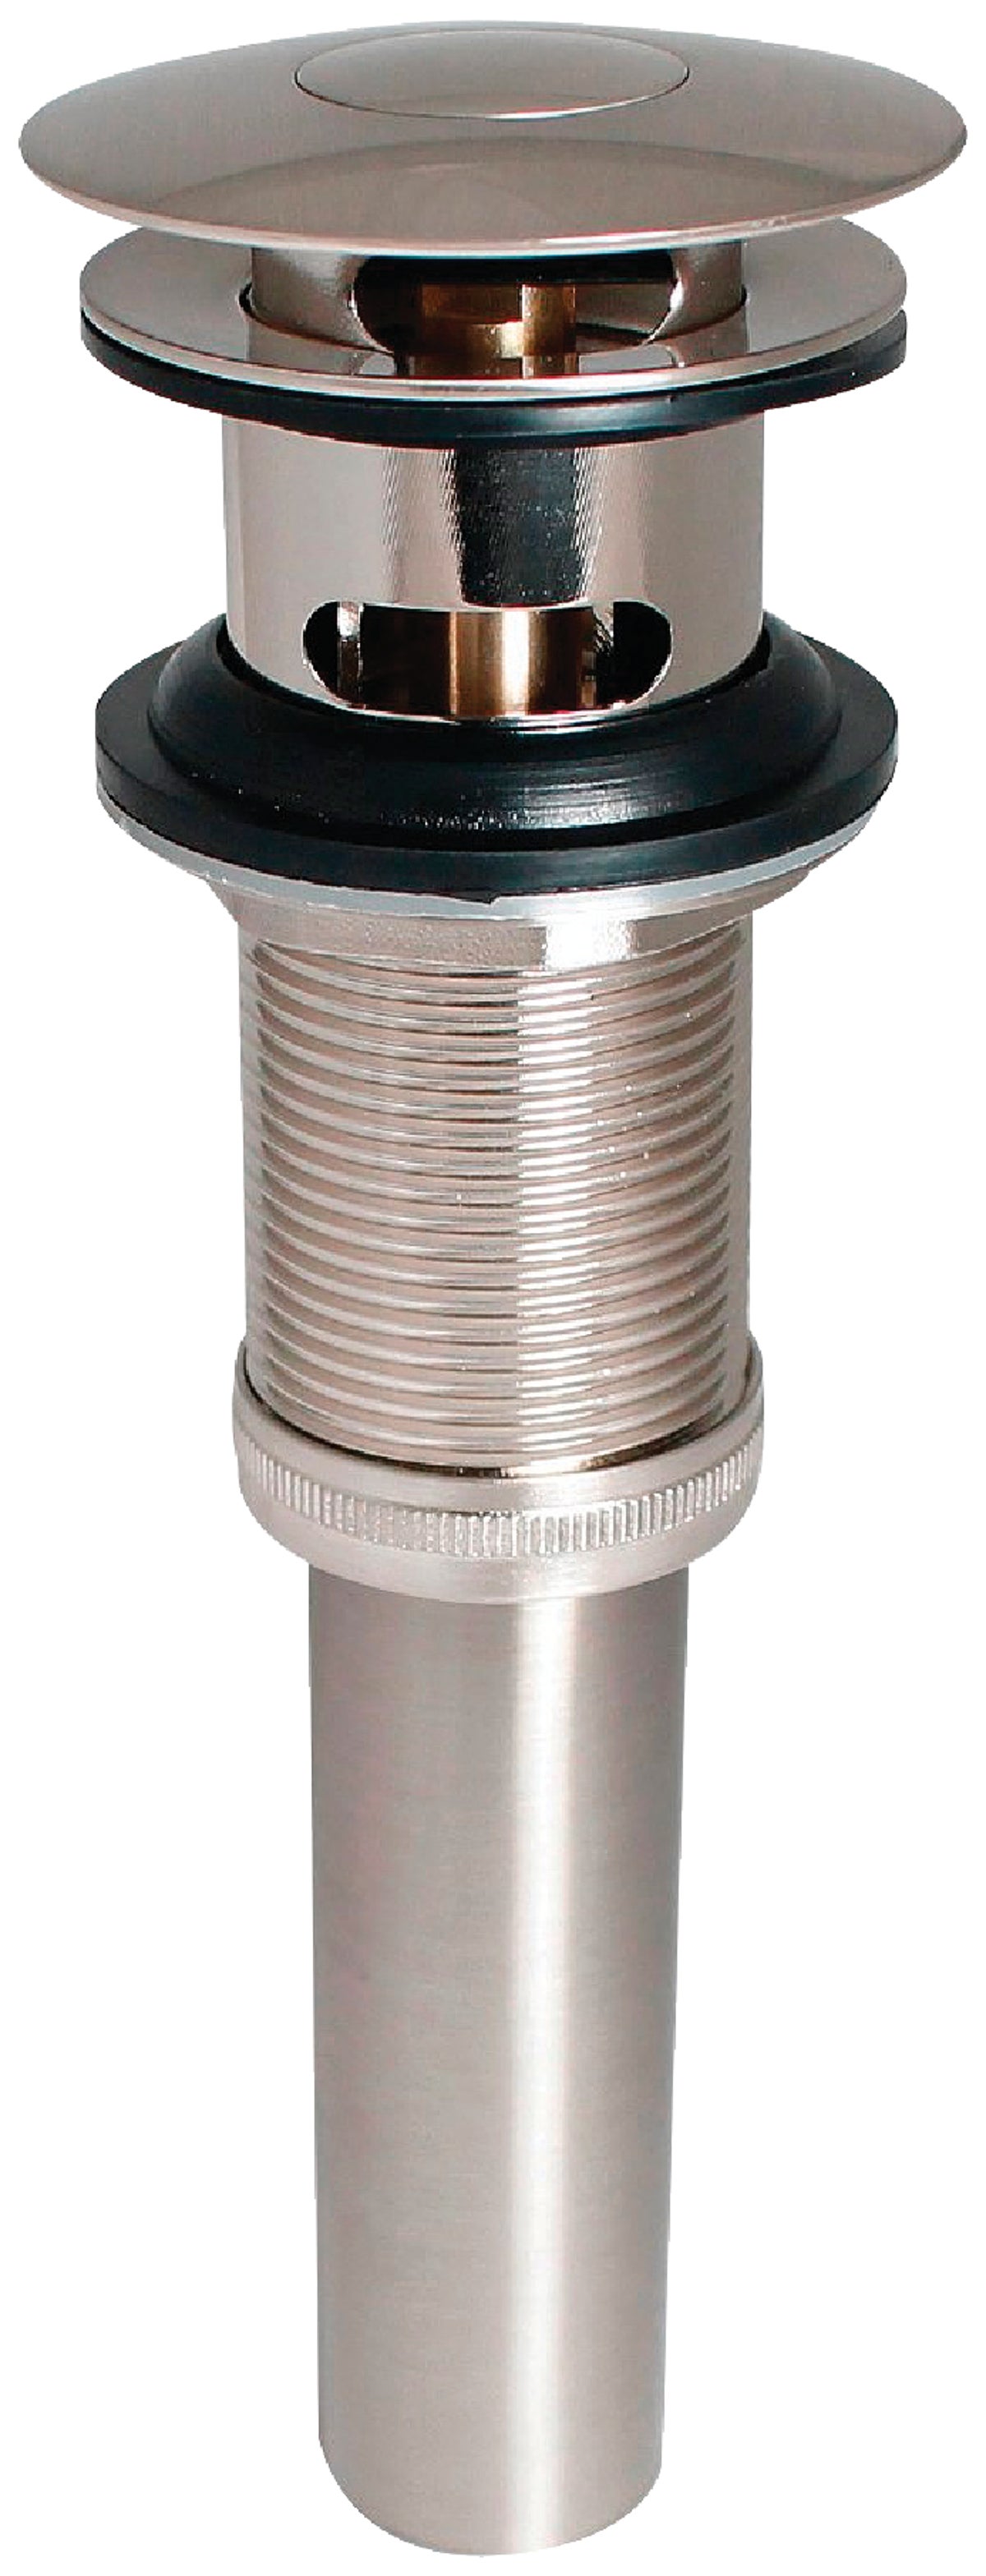
Take the push button assembly and insert it into the drain opening on top of the sink. From under the sink, screw on the plastic mounting nut to hold the assembly in place. Use the adjustable wrench to tighten the nut if necessary.Step 4: Connect the Drain to the Sink


Top Tips for Installing a Push Button Bathroom Sink Drain


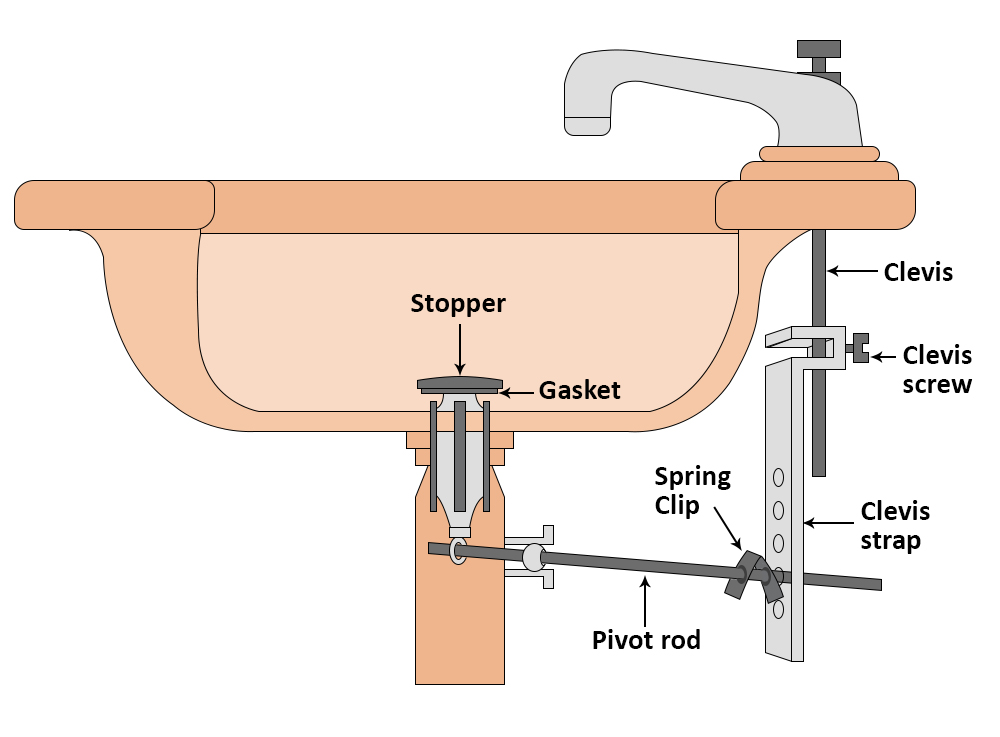
Take the drain rod and insert it into the hole on the back of the drain assembly. Then, connect it to the pop-up assembly, making sure it is secure. Test the push button to see if the drain opens and closes smoothly.Step 5: Install the Drain Rod

Push Button Bathroom Sink Drain Installation: What You Need to Know

/bathroom-sink-drain-installation-2718843-01-4955fe1f576b447a91abe51c126d220b.jpg)

If you're also installing a new faucet, wrap the threads of the drain with Teflon tape to create a better seal. Then, connect the water supply lines to the faucet and turn on the water to test for any leaks.Step 6: Apply Teflon Tape and Connect Water Supply


Common Mistakes to Avoid When Installing a Push Button Bathroom Sink Drain


For a visual guide, you can also follow along with a push button bathroom sink drain installation tutorial. There are plenty of video tutorials available online that can help you through the process step-by-step.Push Button Bathroom Sink Drain Installation Tutorial

Expert Advice for Installing a Push Button Bathroom Sink Drain


Why Choose a Stylewise Push Button Bathroom Sink Drain Installation?

Elevate Your Bathroom Design
 When it comes to designing your dream bathroom, every detail matters. From the tiles on the walls to the faucet on your sink, each element plays a crucial role in creating a cohesive and stylish space. That's why choosing the right
stylewise push button bathroom sink drain installation
is essential.
Not only does it add a modern touch to your bathroom, but it also offers practical benefits. With a push button drain, you can easily open and close your sink without having to fiddle with a traditional drain stopper. This not only saves you time and effort but also eliminates the need for unsightly chains or knobs.
When it comes to designing your dream bathroom, every detail matters. From the tiles on the walls to the faucet on your sink, each element plays a crucial role in creating a cohesive and stylish space. That's why choosing the right
stylewise push button bathroom sink drain installation
is essential.
Not only does it add a modern touch to your bathroom, but it also offers practical benefits. With a push button drain, you can easily open and close your sink without having to fiddle with a traditional drain stopper. This not only saves you time and effort but also eliminates the need for unsightly chains or knobs.
Effortless Installation
 One of the main advantages of a
stylewise push button bathroom sink drain installation
is its ease of installation. Traditional drains can be complicated and time-consuming to install, often requiring the expertise of a professional plumber. However, with a push-button drain, installation is quick and straightforward, making it a perfect DIY project for any homeowner.
One of the main advantages of a
stylewise push button bathroom sink drain installation
is its ease of installation. Traditional drains can be complicated and time-consuming to install, often requiring the expertise of a professional plumber. However, with a push-button drain, installation is quick and straightforward, making it a perfect DIY project for any homeowner.
Durable and Low Maintenance
 Not only is a
stylewise push button bathroom sink drain installation
easy to install, but it is also built to last. Made from high-quality materials, these drains are durable and can withstand daily use without rusting or corroding. Plus, their simple design makes them easy to clean and maintain.
Not only is a
stylewise push button bathroom sink drain installation
easy to install, but it is also built to last. Made from high-quality materials, these drains are durable and can withstand daily use without rusting or corroding. Plus, their simple design makes them easy to clean and maintain.
Customizable Options
 With a variety of styles and finishes available, a
stylewise push button bathroom sink drain installation
allows you to customize your bathroom to fit your unique aesthetic. Whether you prefer a sleek and modern look or a more traditional design, there is a push-button drain option that will complement your bathroom perfectly.
In conclusion, a
stylewise push button bathroom sink drain installation
is an excellent choice for elevating your bathroom design. Its effortless installation, durability, and customizable options make it a practical and stylish addition to any bathroom. So, why settle for a traditional drain when you can upgrade to a modern push-button option? Transform your bathroom into a stylish oasis today with a stylewise push button bathroom sink drain installation.
With a variety of styles and finishes available, a
stylewise push button bathroom sink drain installation
allows you to customize your bathroom to fit your unique aesthetic. Whether you prefer a sleek and modern look or a more traditional design, there is a push-button drain option that will complement your bathroom perfectly.
In conclusion, a
stylewise push button bathroom sink drain installation
is an excellent choice for elevating your bathroom design. Its effortless installation, durability, and customizable options make it a practical and stylish addition to any bathroom. So, why settle for a traditional drain when you can upgrade to a modern push-button option? Transform your bathroom into a stylish oasis today with a stylewise push button bathroom sink drain installation.