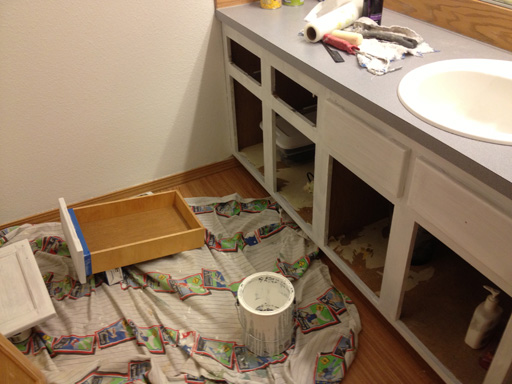
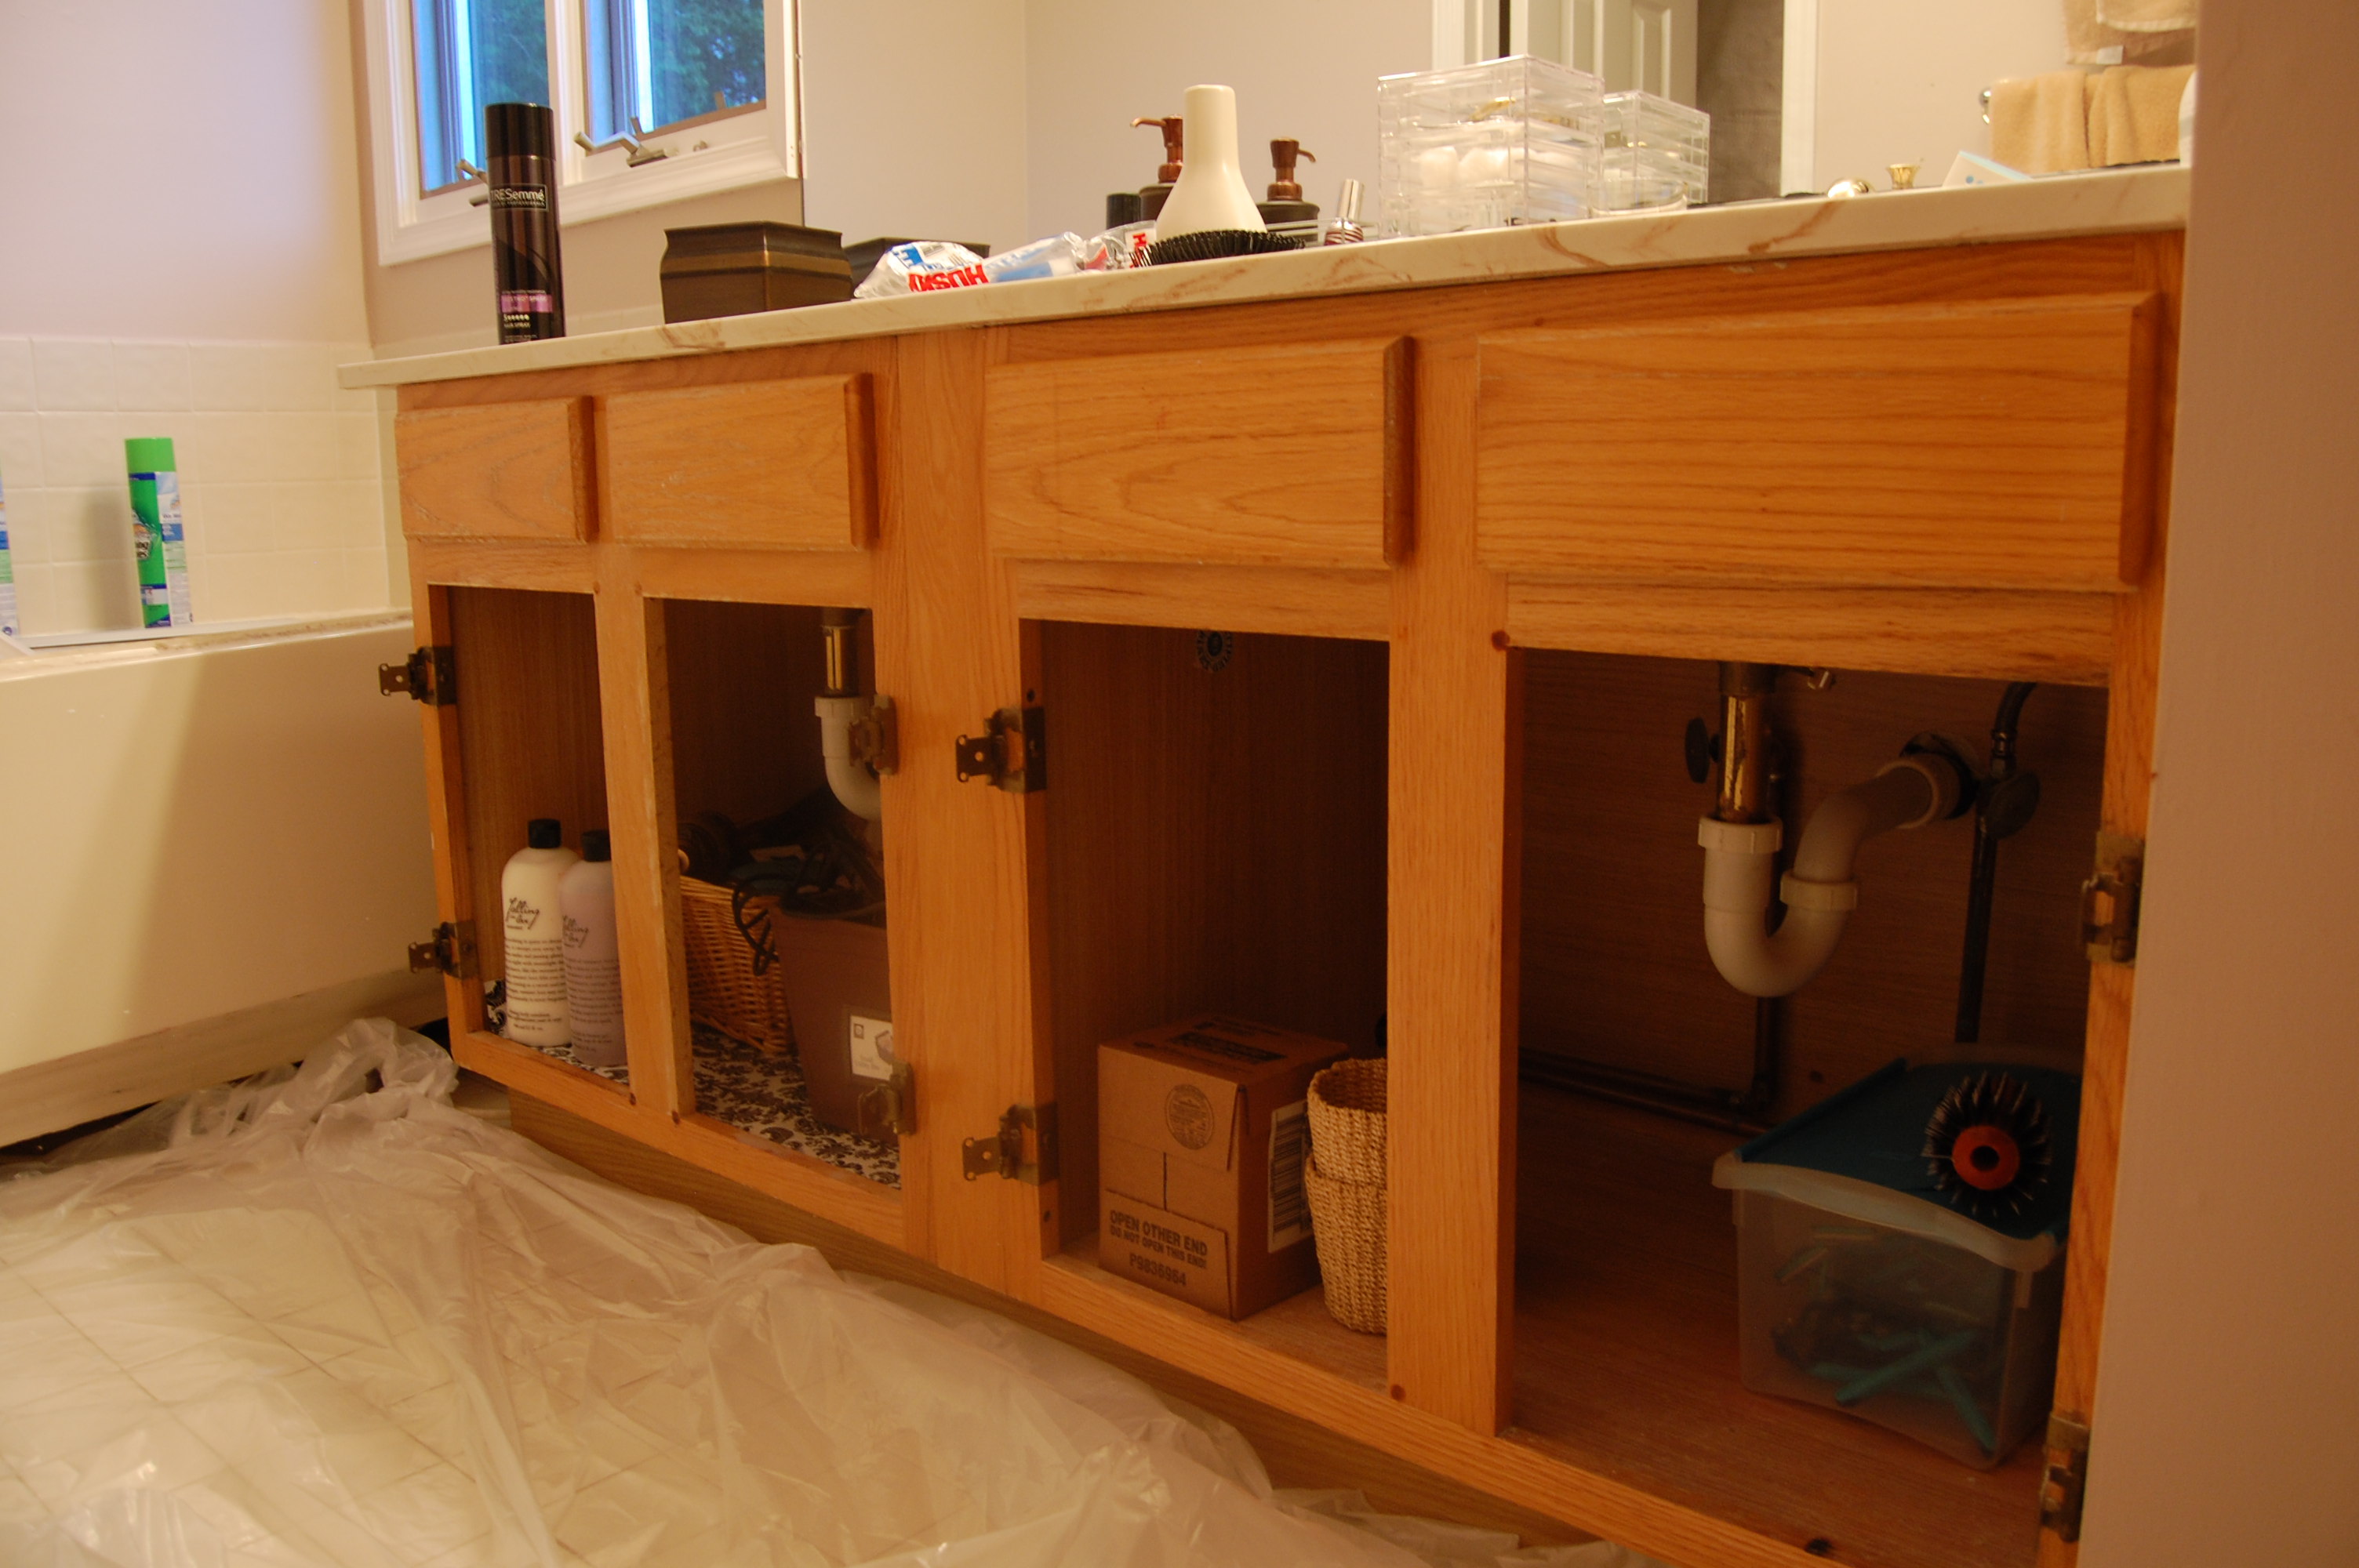
Before you start painting your bathroom vanity, it's important to properly prepare the surface. Start by removing any items from the vanity, such as toiletries or decorations. Cover the surrounding area with a drop cloth to protect it from paint splatters. Use painter's tape to cover any areas you don't want to get paint on, such as the walls or countertop. Next, clean the vanity thoroughly with a mild cleaner and water. This will remove any dirt, grime, or grease that could prevent the paint from adhering properly. If there are any cracks or holes in the vanity, fill them with wood filler and sand them smooth.Preparation
Before you begin painting, make sure you have all the necessary supplies. This will save you from having to run to the store in the middle of your project. Here are the supplies you will need:Supplies Needed
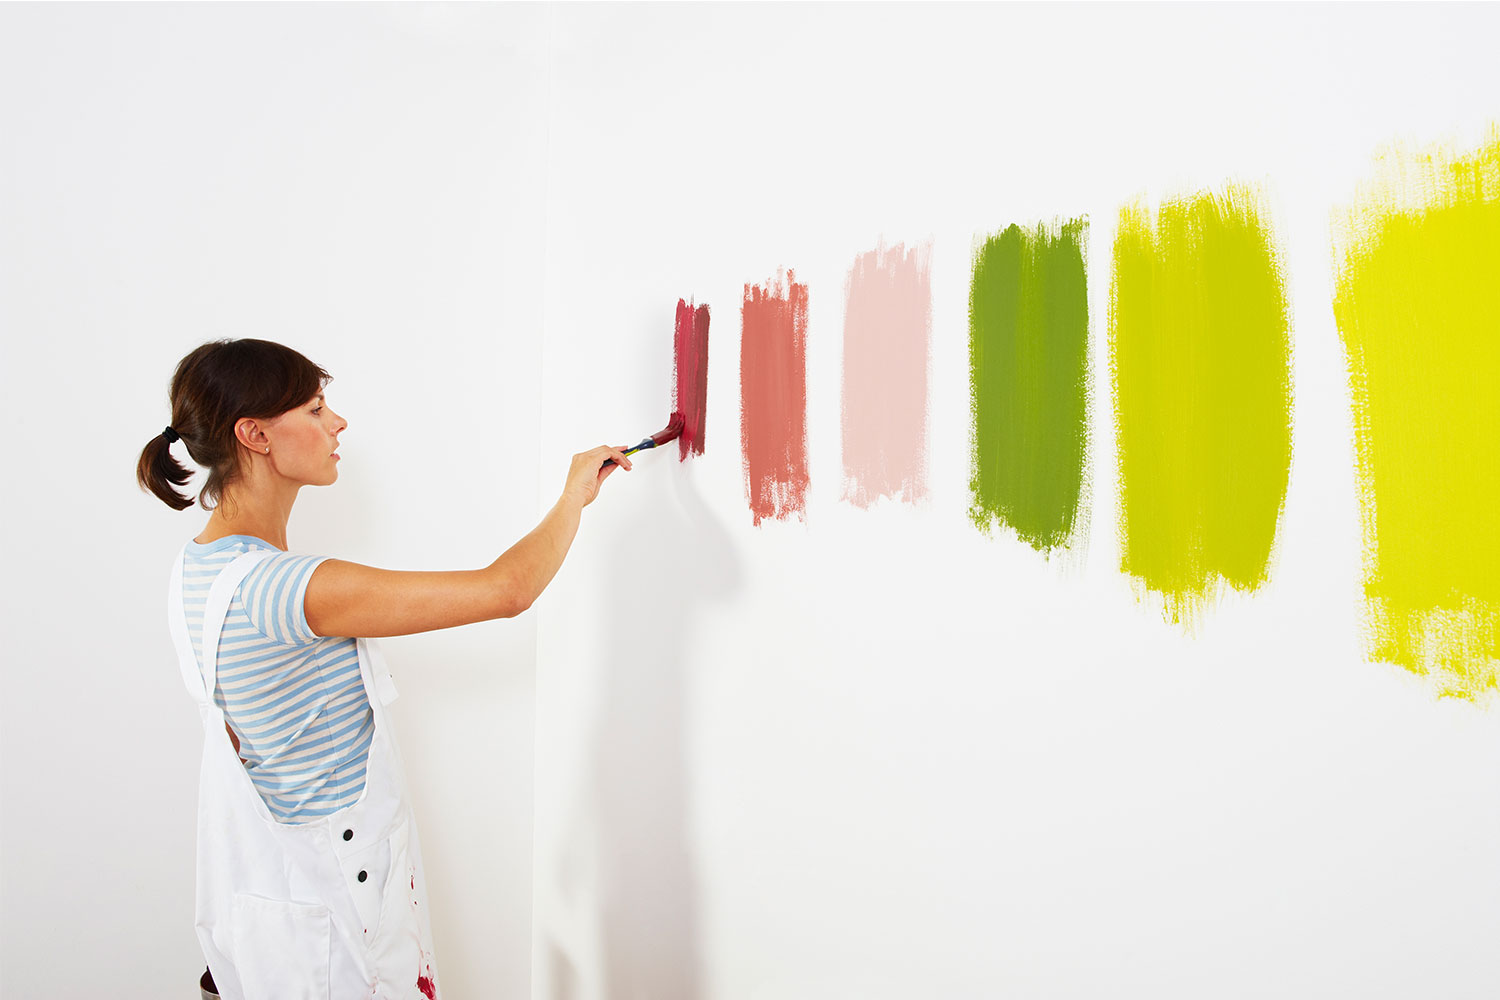
When it comes to painting a bathroom vanity, it's important to choose the right type of paint. Bathrooms can be high-moisture areas, so it's important to choose a paint that can withstand these conditions. Look for paints that are specifically labeled for bathrooms or kitchens, as they are designed to resist moisture and humidity. Also, consider the color of the paint and how it will complement your bathroom's overall design.Choosing the Right Paint
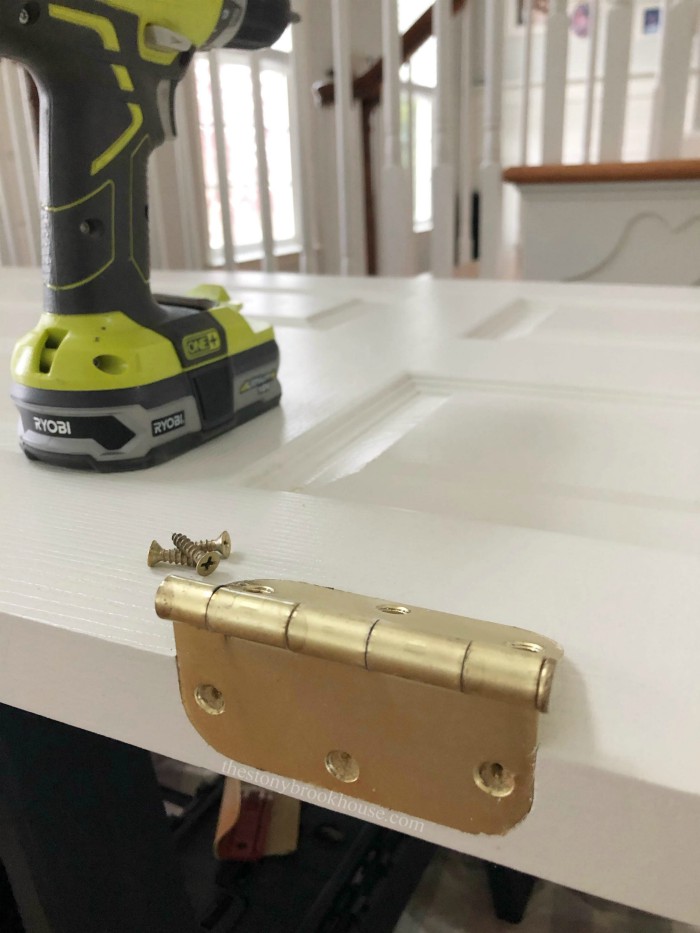
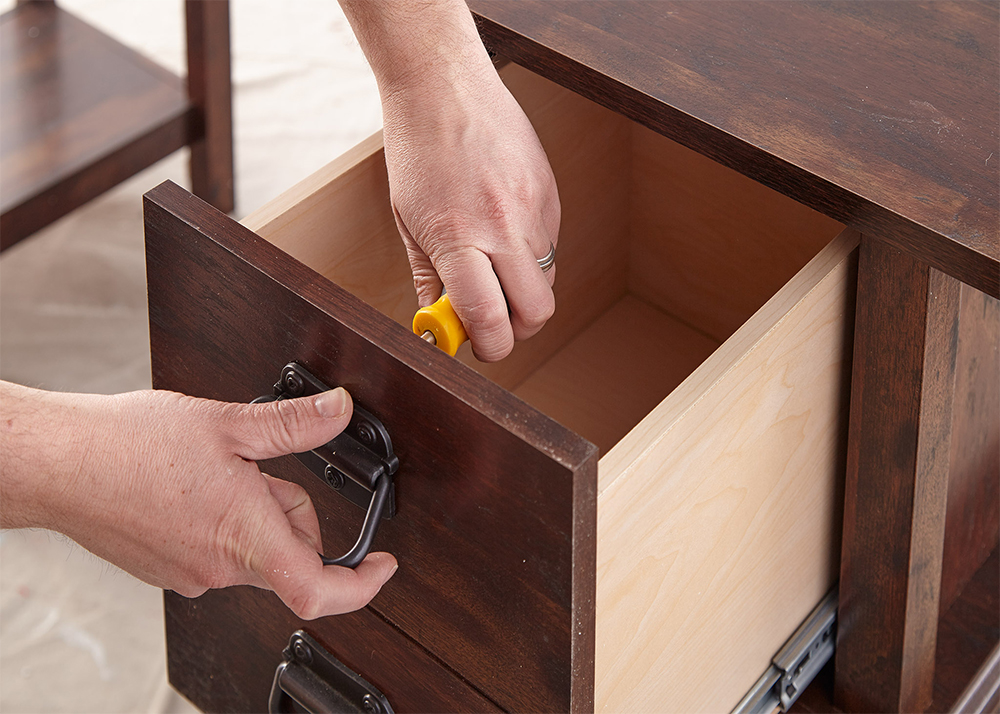
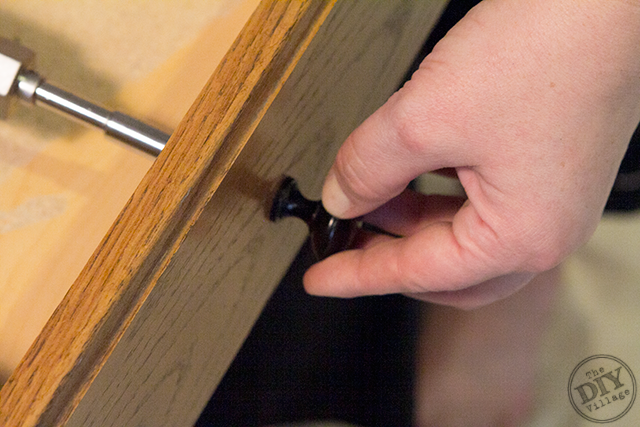
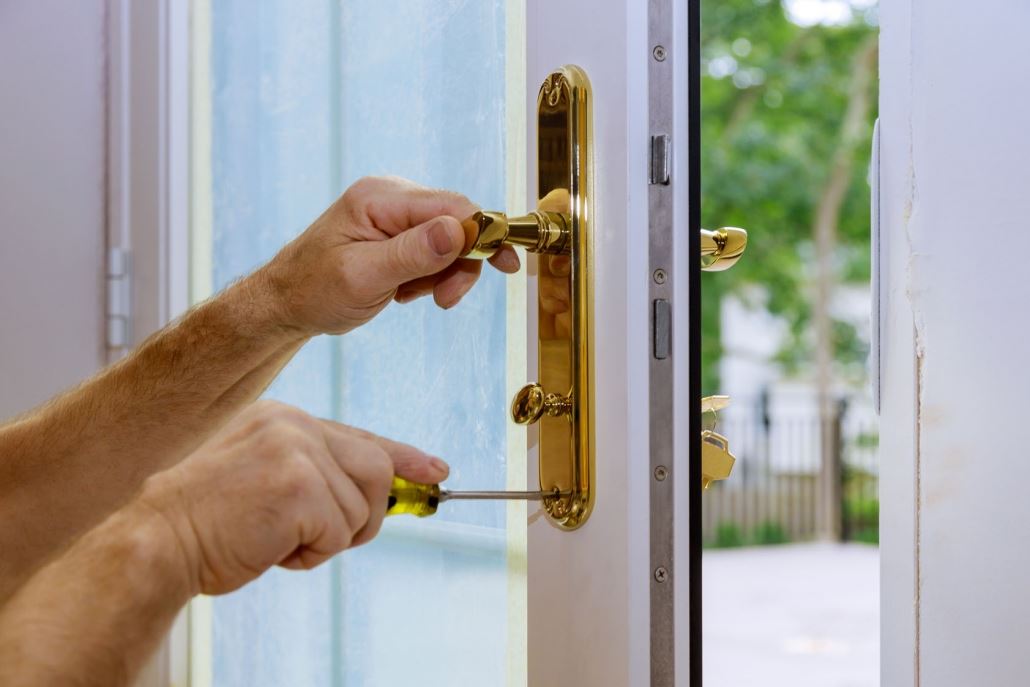
Before you start painting, it's important to remove any hardware or doors from the vanity. Use a screwdriver to carefully remove any knobs, handles, or hinges. This will make it easier to paint the vanity without getting any paint on the hardware. If you plan to replace the hardware, now is the time to do so.Removing Hardware and Doors
Before you can start painting, you'll need to sand the vanity to create a smooth surface for the paint to adhere to. Use a fine-grit sandpaper to lightly sand the entire surface of the vanity. This will help remove any gloss or finish and create a rough surface for the paint to stick to. Be sure to also sand any areas where you have filled in cracks or holes with wood filler.Sanding the Vanity
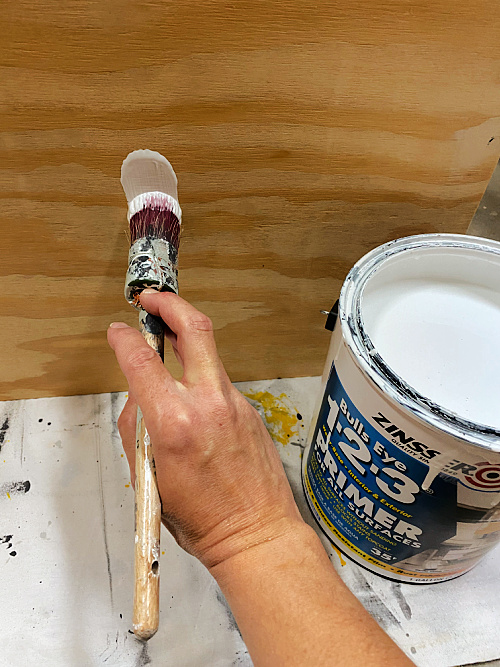
If your vanity has a glossy or dark finish, it's important to use a primer before painting. This will help the paint adhere better and prevent any bleeding through of the old color. Use a small paintbrush to apply the primer in a thin, even layer. Let the primer dry completely before moving on to the next step.Priming the Vanity
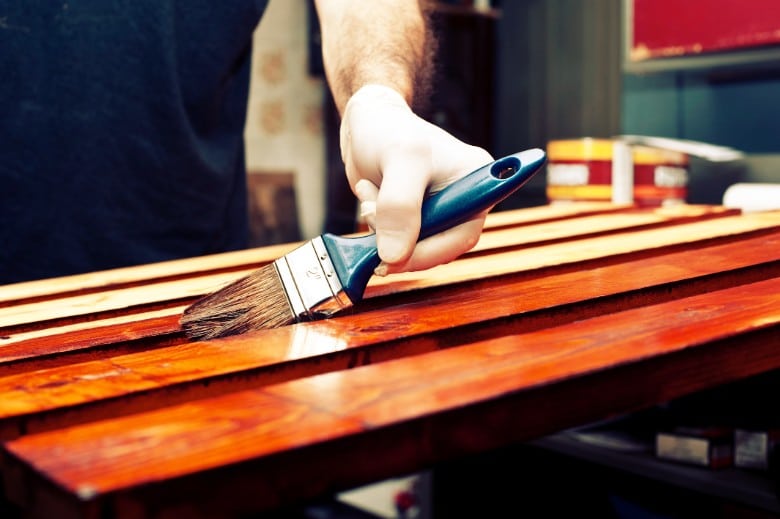
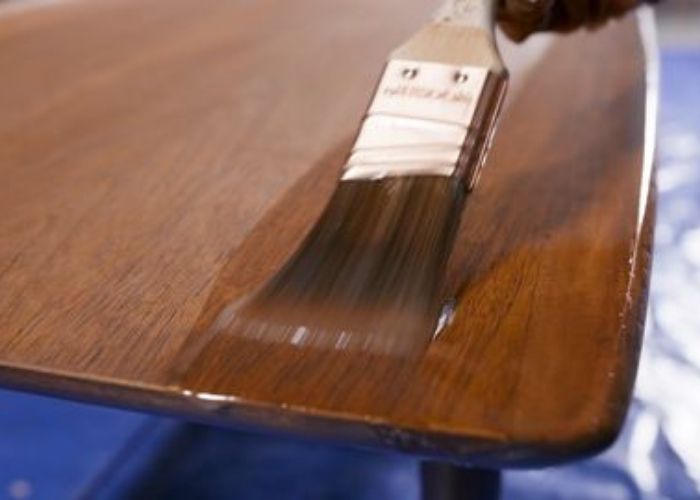
Now it's time to start painting your bathroom vanity! Use a small paintbrush to carefully paint the edges and corners of the vanity. Then, use a small roller to paint the larger surfaces. Make sure to use even strokes and apply a thin layer of paint. You may need to apply multiple coats to achieve your desired color and coverage.Painting the Vanity
Once the first coat of paint is completely dry, you can apply a second coat for a more even and polished finish. Use the same method as before, using a paintbrush for the edges and corners and a roller for the larger surfaces. Be sure to let the second coat dry completely before moving on to the next step.Applying a Second Coat
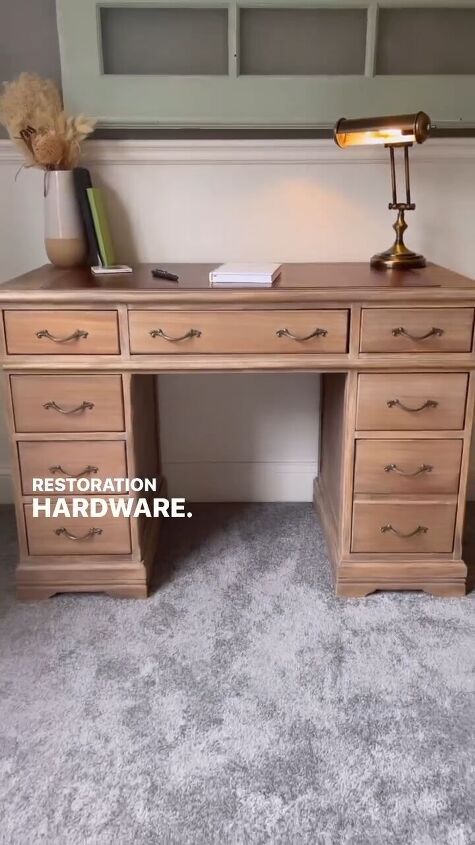
Once the paint is completely dry, you can reattach the hardware and doors to your newly painted vanity. Use a screwdriver to carefully reattach the knobs, handles, and hinges. Make sure they are securely attached and aligned properly.Reattaching Hardware and Doors
Now that your bathroom vanity is beautifully painted, it's time for the finishing touches. You can add a clear coat of sealant to protect the paint and give it a glossy finish. You can also add new knobs or handles for a fresh look. Finally, clean up any paint drips or spills and remove the painter's tape. Step back and admire your newly painted bathroom vanity!Finishing Touches
How to Transform Your Bathroom Vanity with a Fresh Coat of Paint

Why Paint Your Bathroom Vanity?
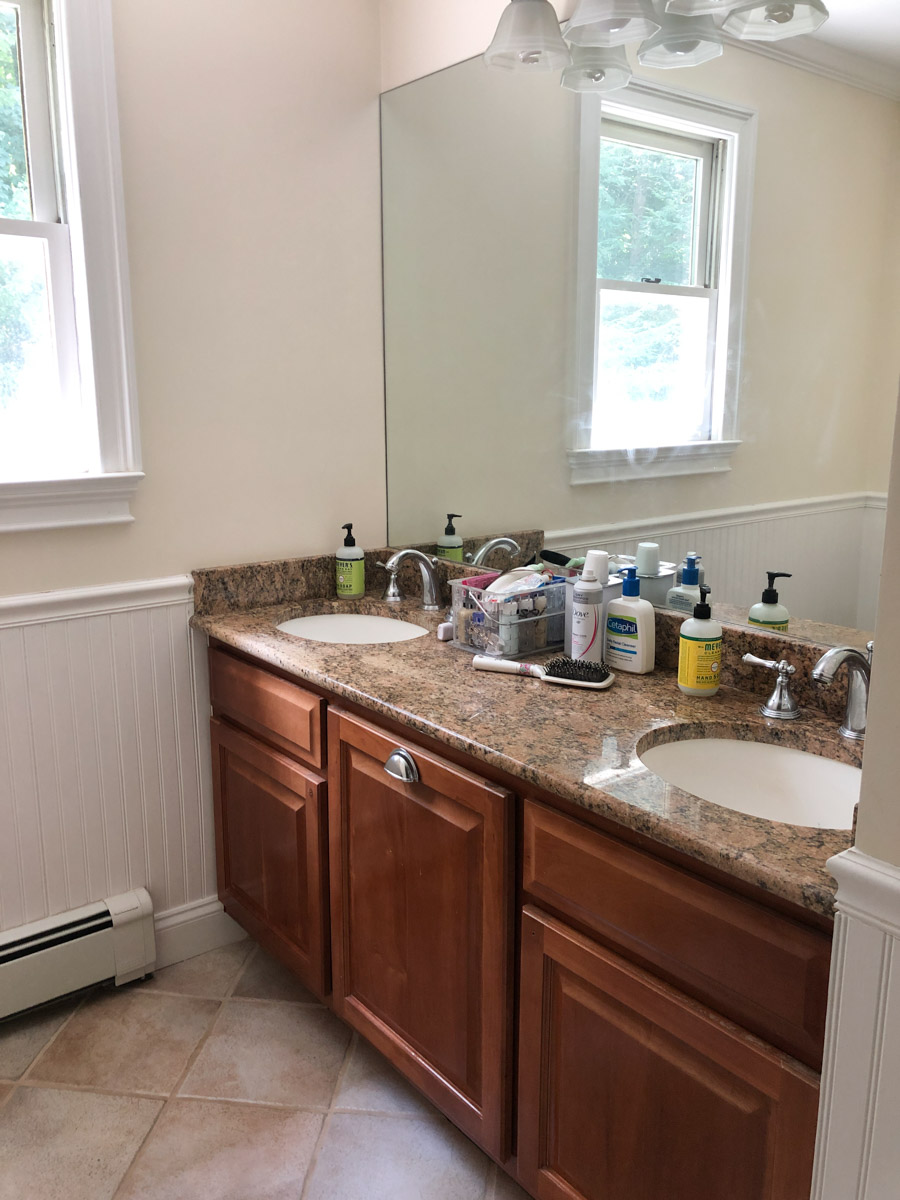
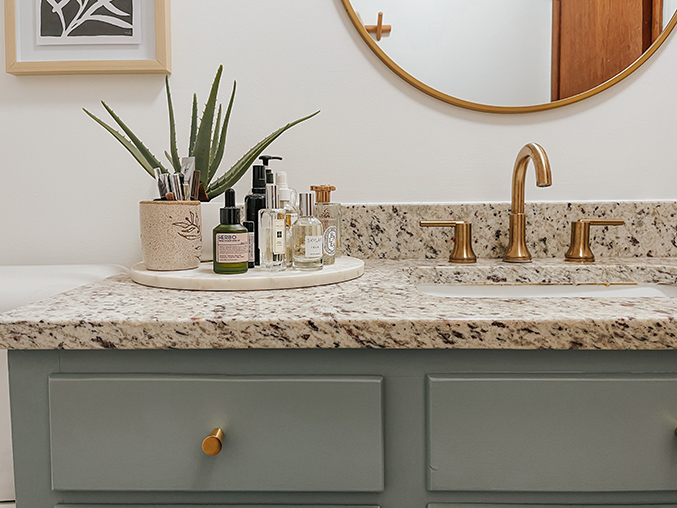 Painting your bathroom vanity is a great way to give your bathroom a fresh and updated look without breaking the bank. It is a simple and cost-effective way to transform your bathroom and add a personal touch to your house design. With just a few supplies and some easy steps, you can completely change the look and feel of your bathroom vanity.
Step 1: Choose Your Paint
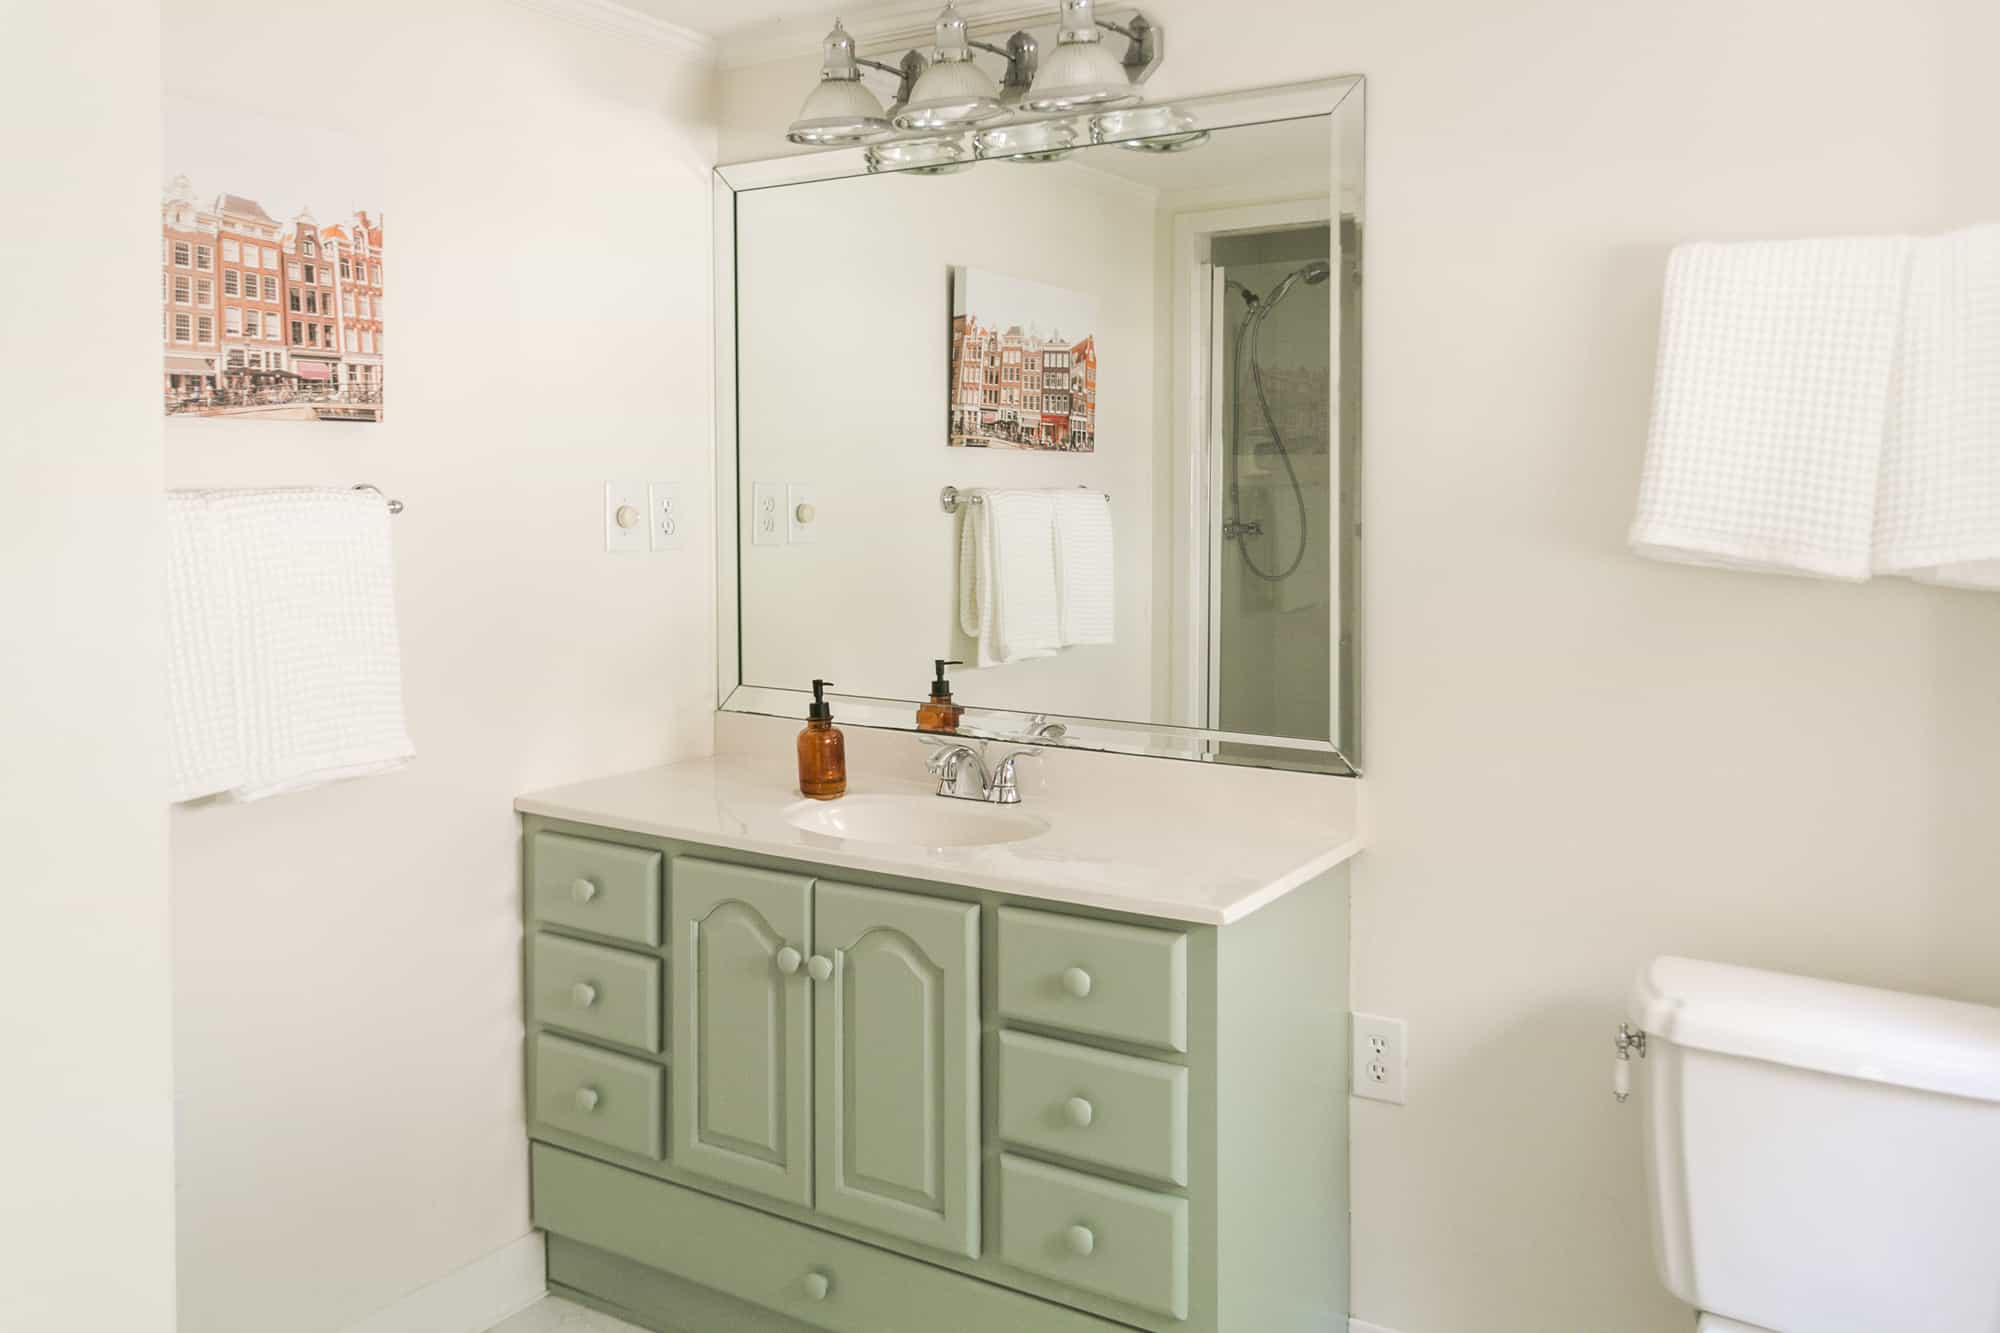 The first step in painting your bathroom vanity is to choose the right paint for the job. It is important to use a paint that is specifically designed for bathroom and kitchen surfaces, as these areas are prone to moisture and humidity.
Semi-gloss or high-gloss paint
is a good choice for bathroom vanities as they are durable and easy to clean. Make sure to also choose a color that complements the rest of your bathroom design.
Step 2: Prepare the Surface
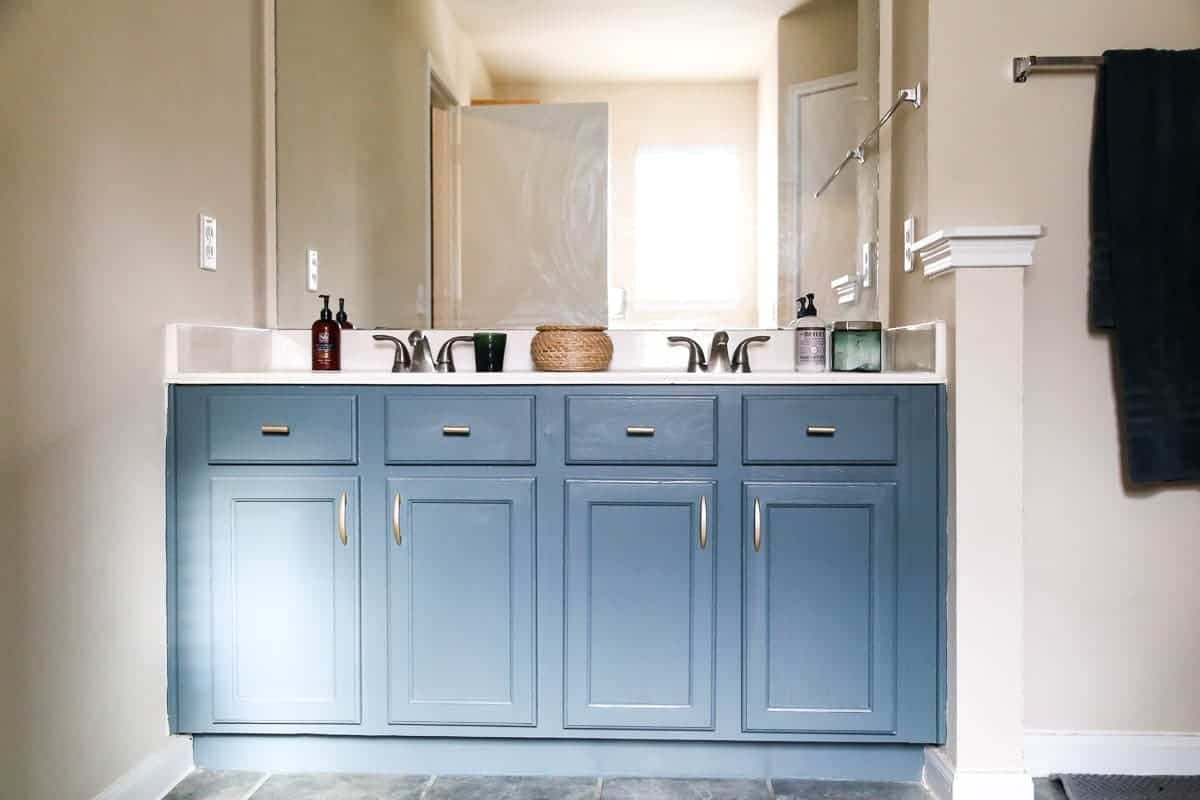 Before you start painting, it is important to properly prepare the surface of your bathroom vanity. This includes removing any hardware, such as handles and knobs, and giving the vanity a thorough cleaning. Use a degreaser to remove any built-up grime and sand the surface to create a smooth and even base for the paint to adhere to.
Step 3: Prime the Vanity
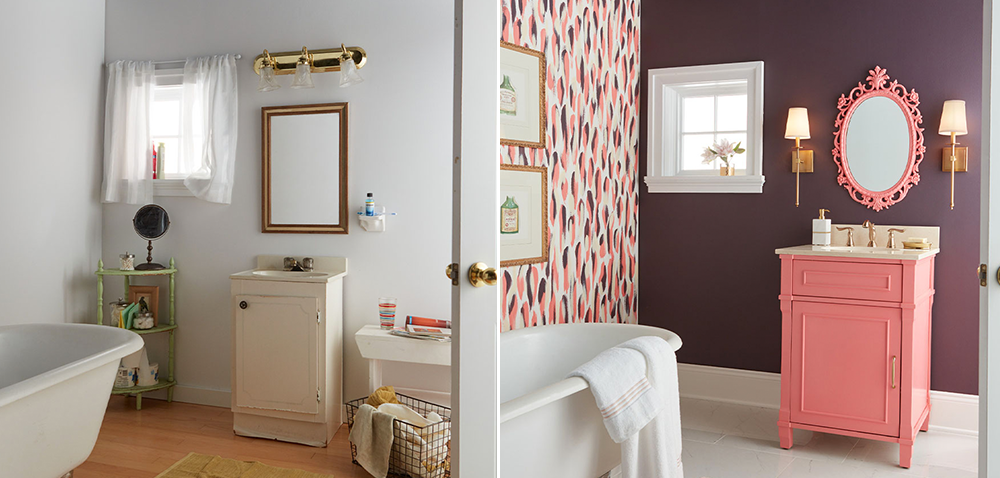 Priming your vanity is an essential step in achieving a professional and long-lasting finish. A good quality primer will help the paint adhere better and prevent any stains or discoloration from showing through. Apply the primer evenly with a brush or roller, making sure to cover all areas of the vanity.
Step 4: Paint the Vanity
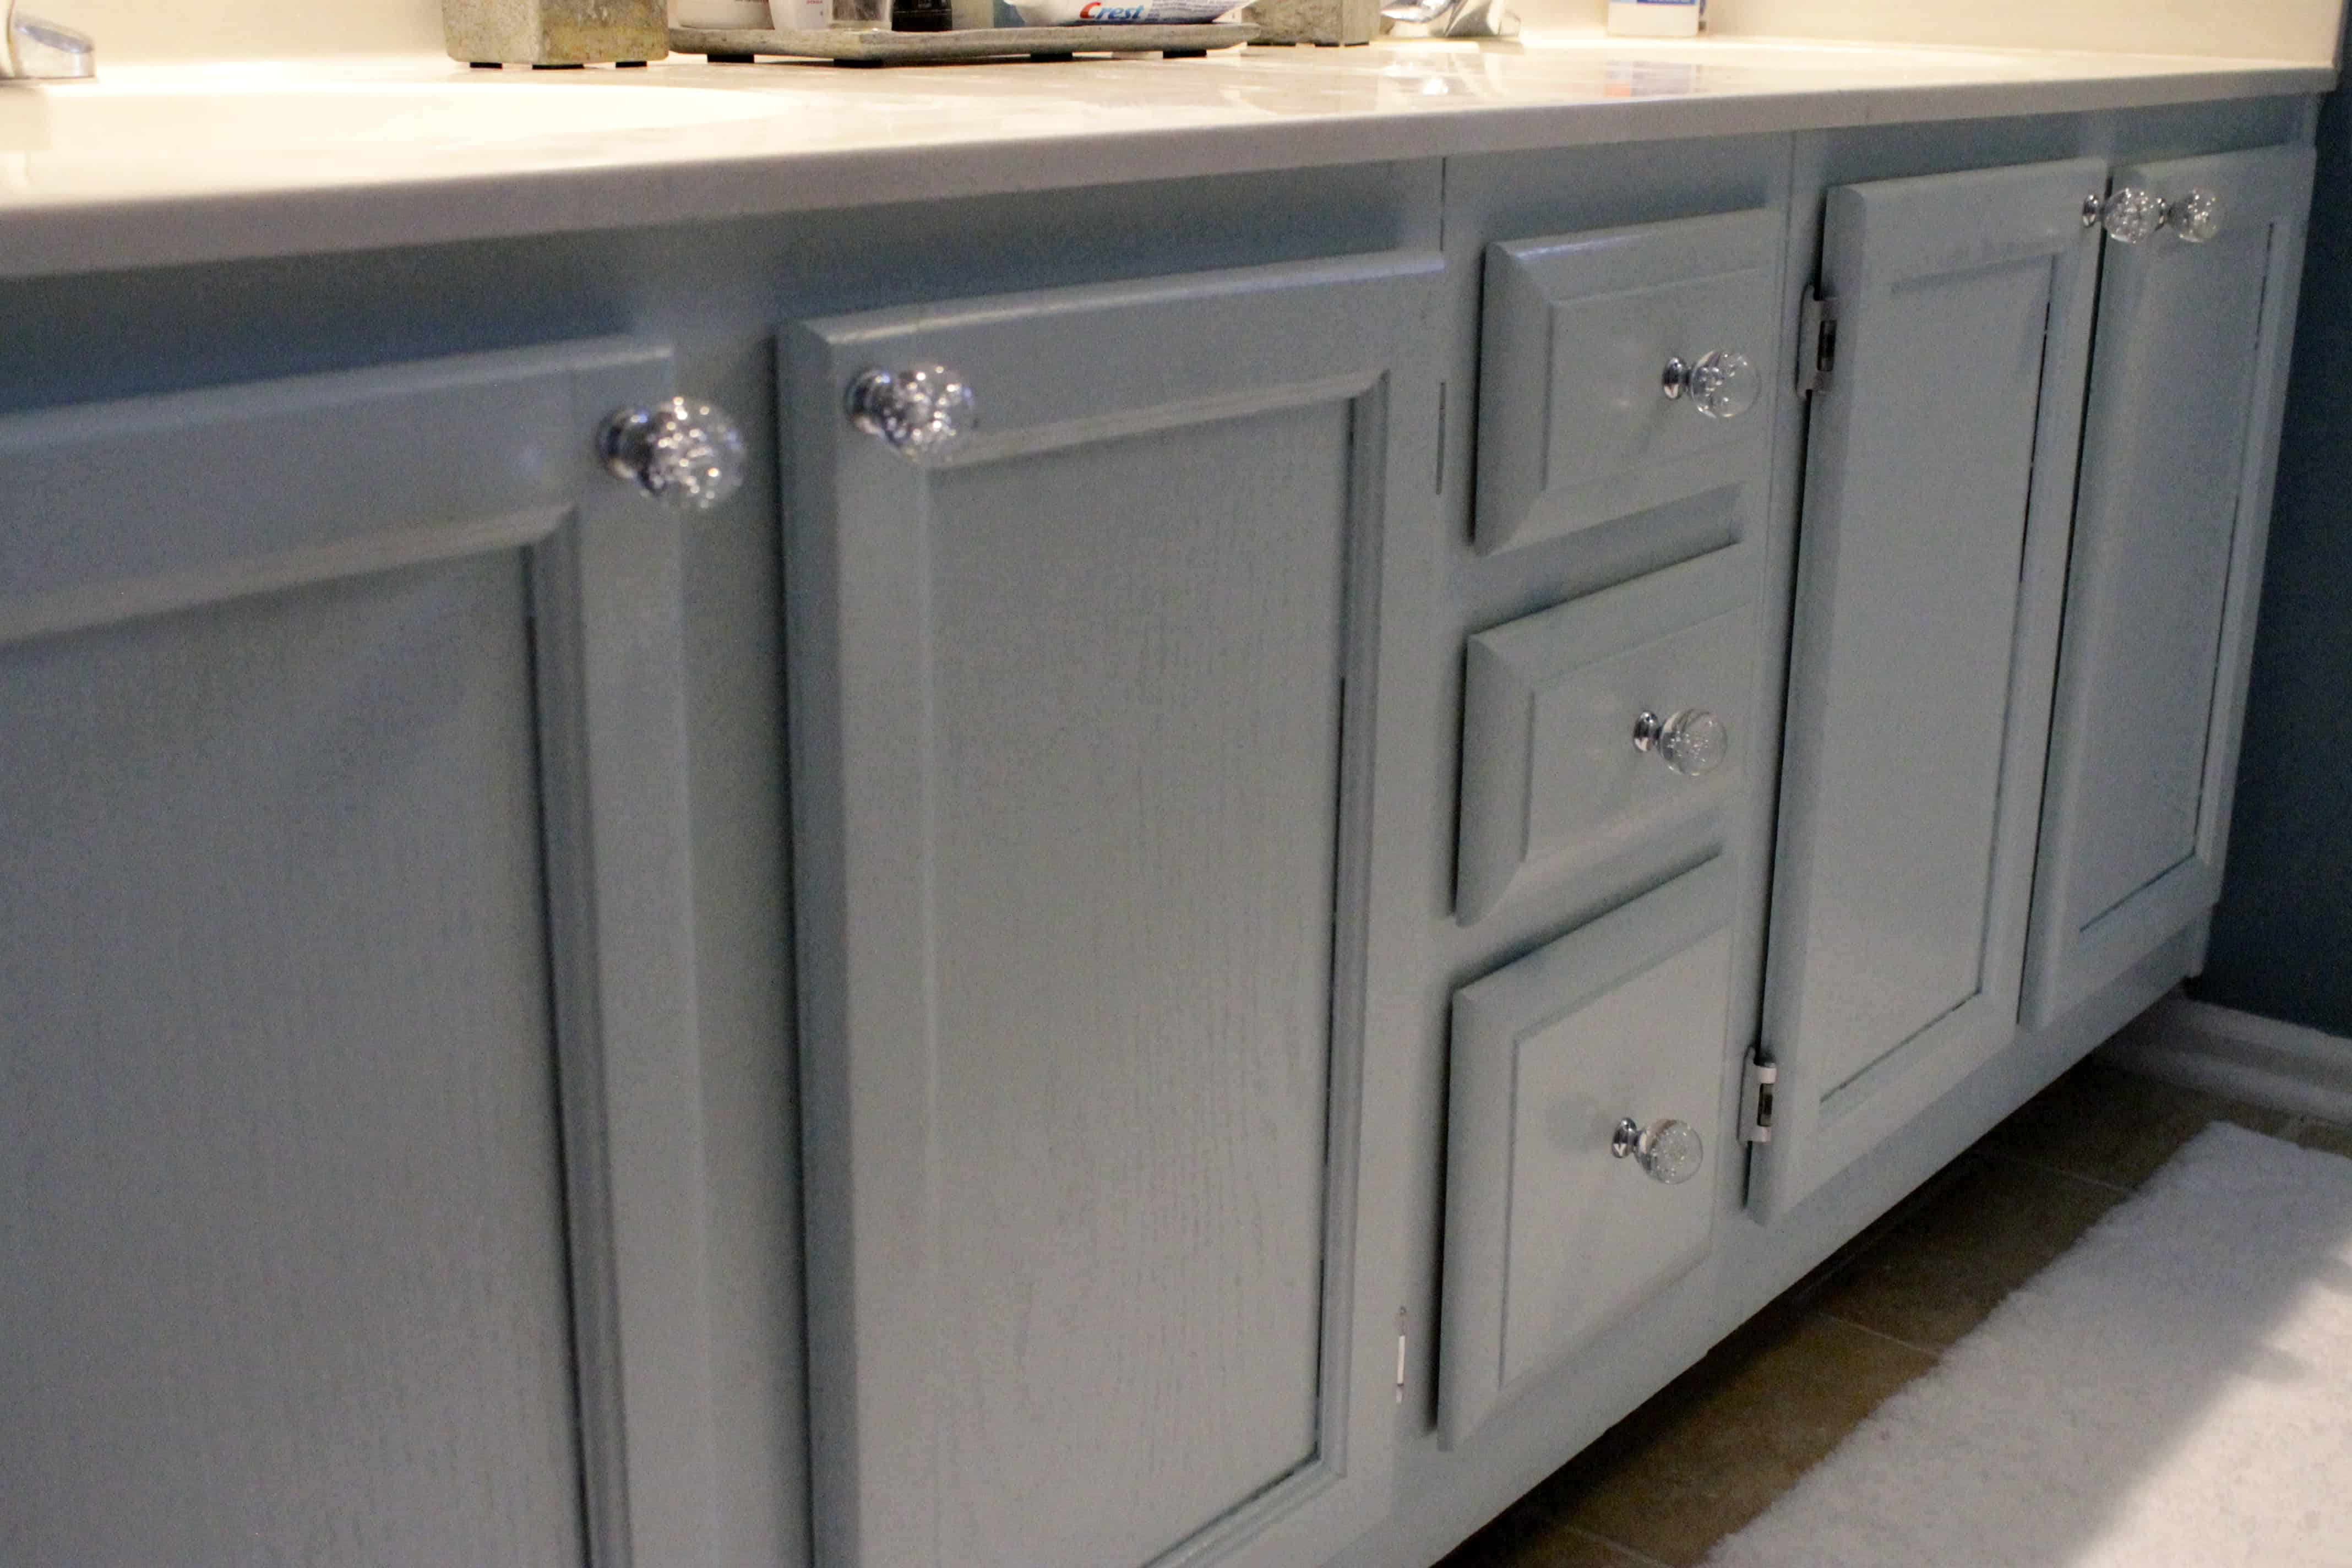 Now comes the fun part – painting your bathroom vanity! Use a
high-quality paintbrush
to apply the paint in long, even strokes. Start with the edges and corners and then move on to the larger surfaces. Apply at least two coats of paint, allowing each coat to dry completely before applying the next.
Step 5: Add Finishing Touches
 Once the paint is completely dry, you can reattach the hardware and add any
decorative touches
to your bathroom vanity, such as a new faucet or drawer pulls. This is also a good time to touch up any areas that may need it and make sure the paint is evenly applied.
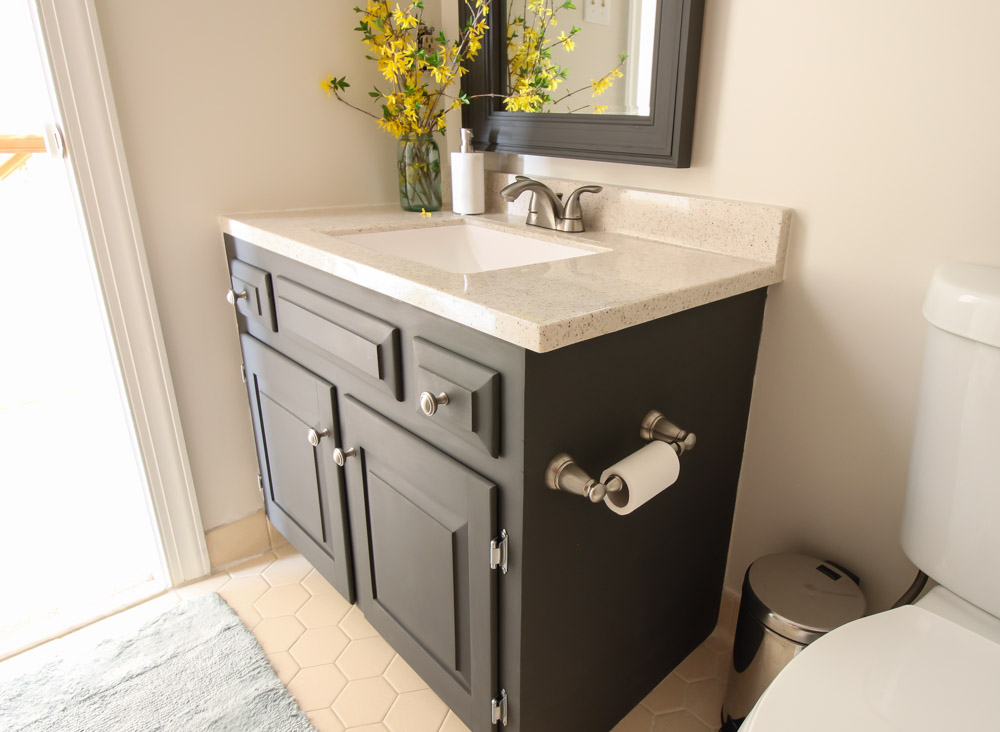
By following these steps, you can easily and affordably transform your bathroom vanity and give your bathroom a fresh and updated look. With a little bit of time and effort, you can achieve a professional and stylish house design that reflects your personal taste and style. So what are you waiting for? Grab your paintbrush and start painting your way to a beautiful bathroom!































/175811576-56a0c7f13df78cafdaa4fa04.jpg)

