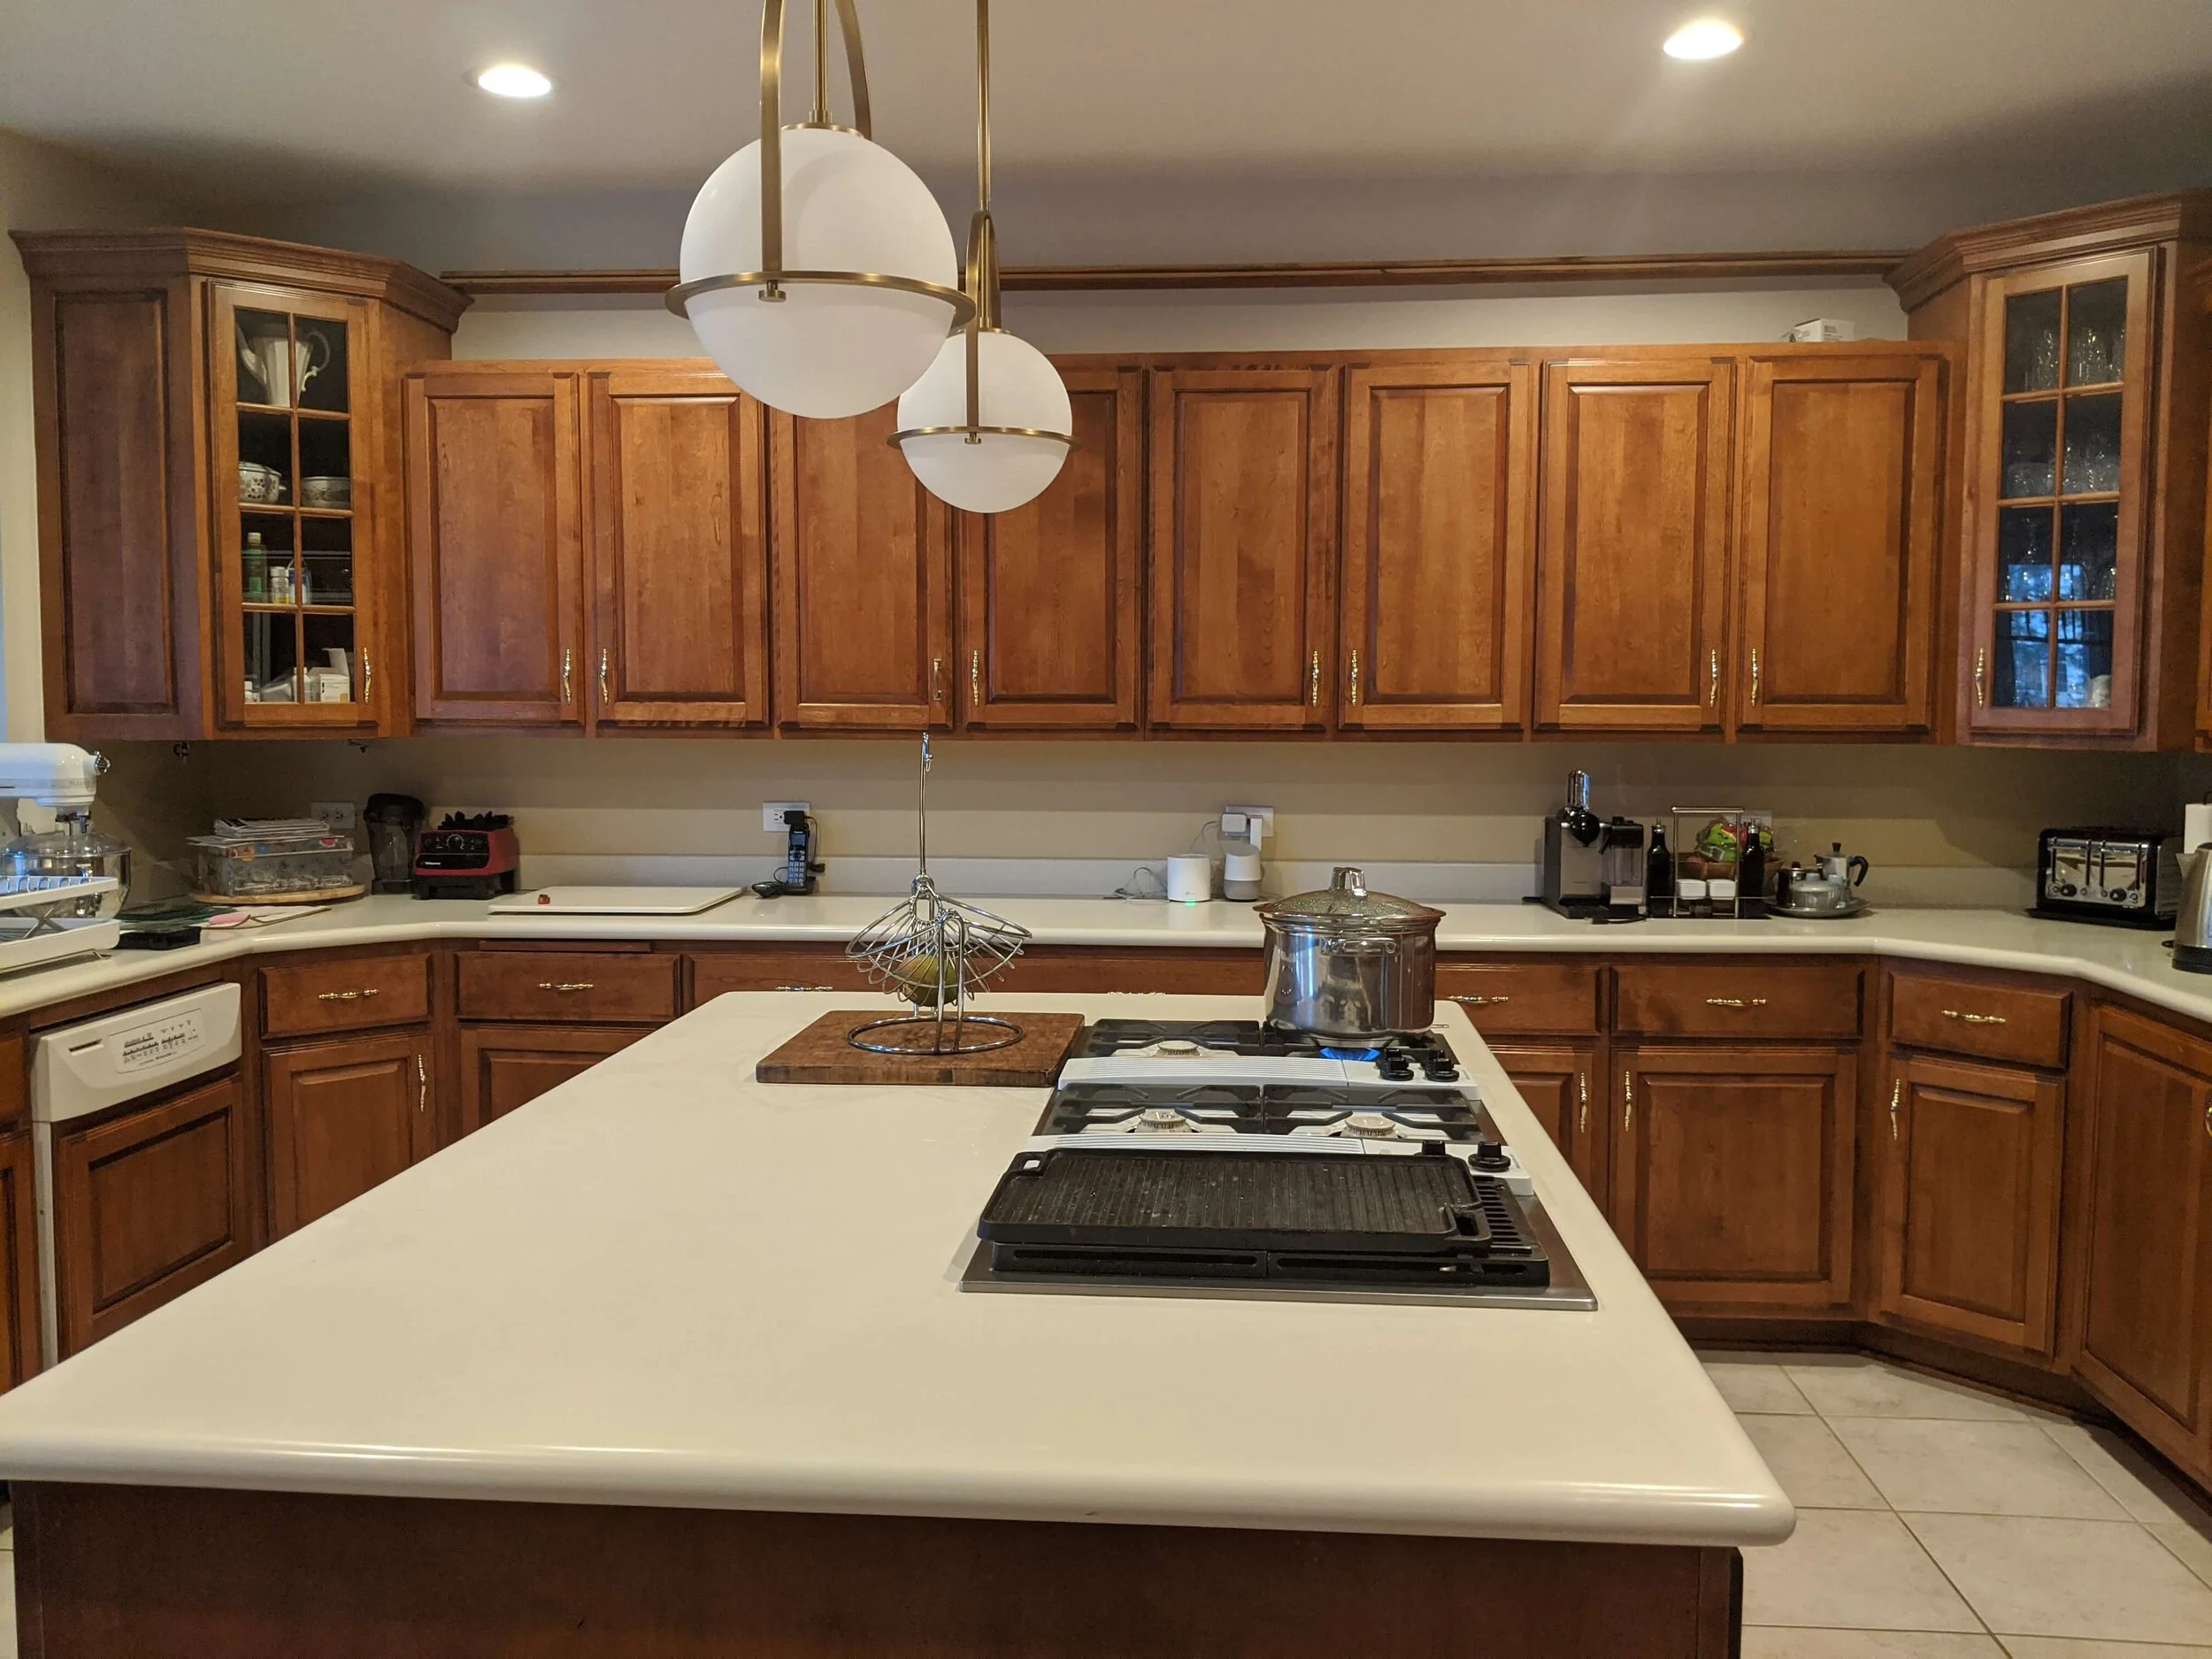
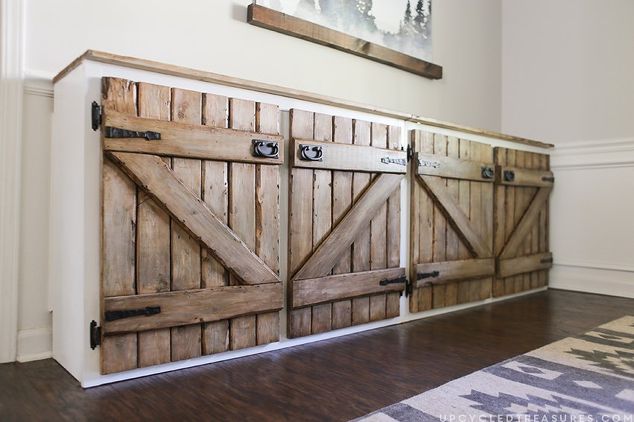
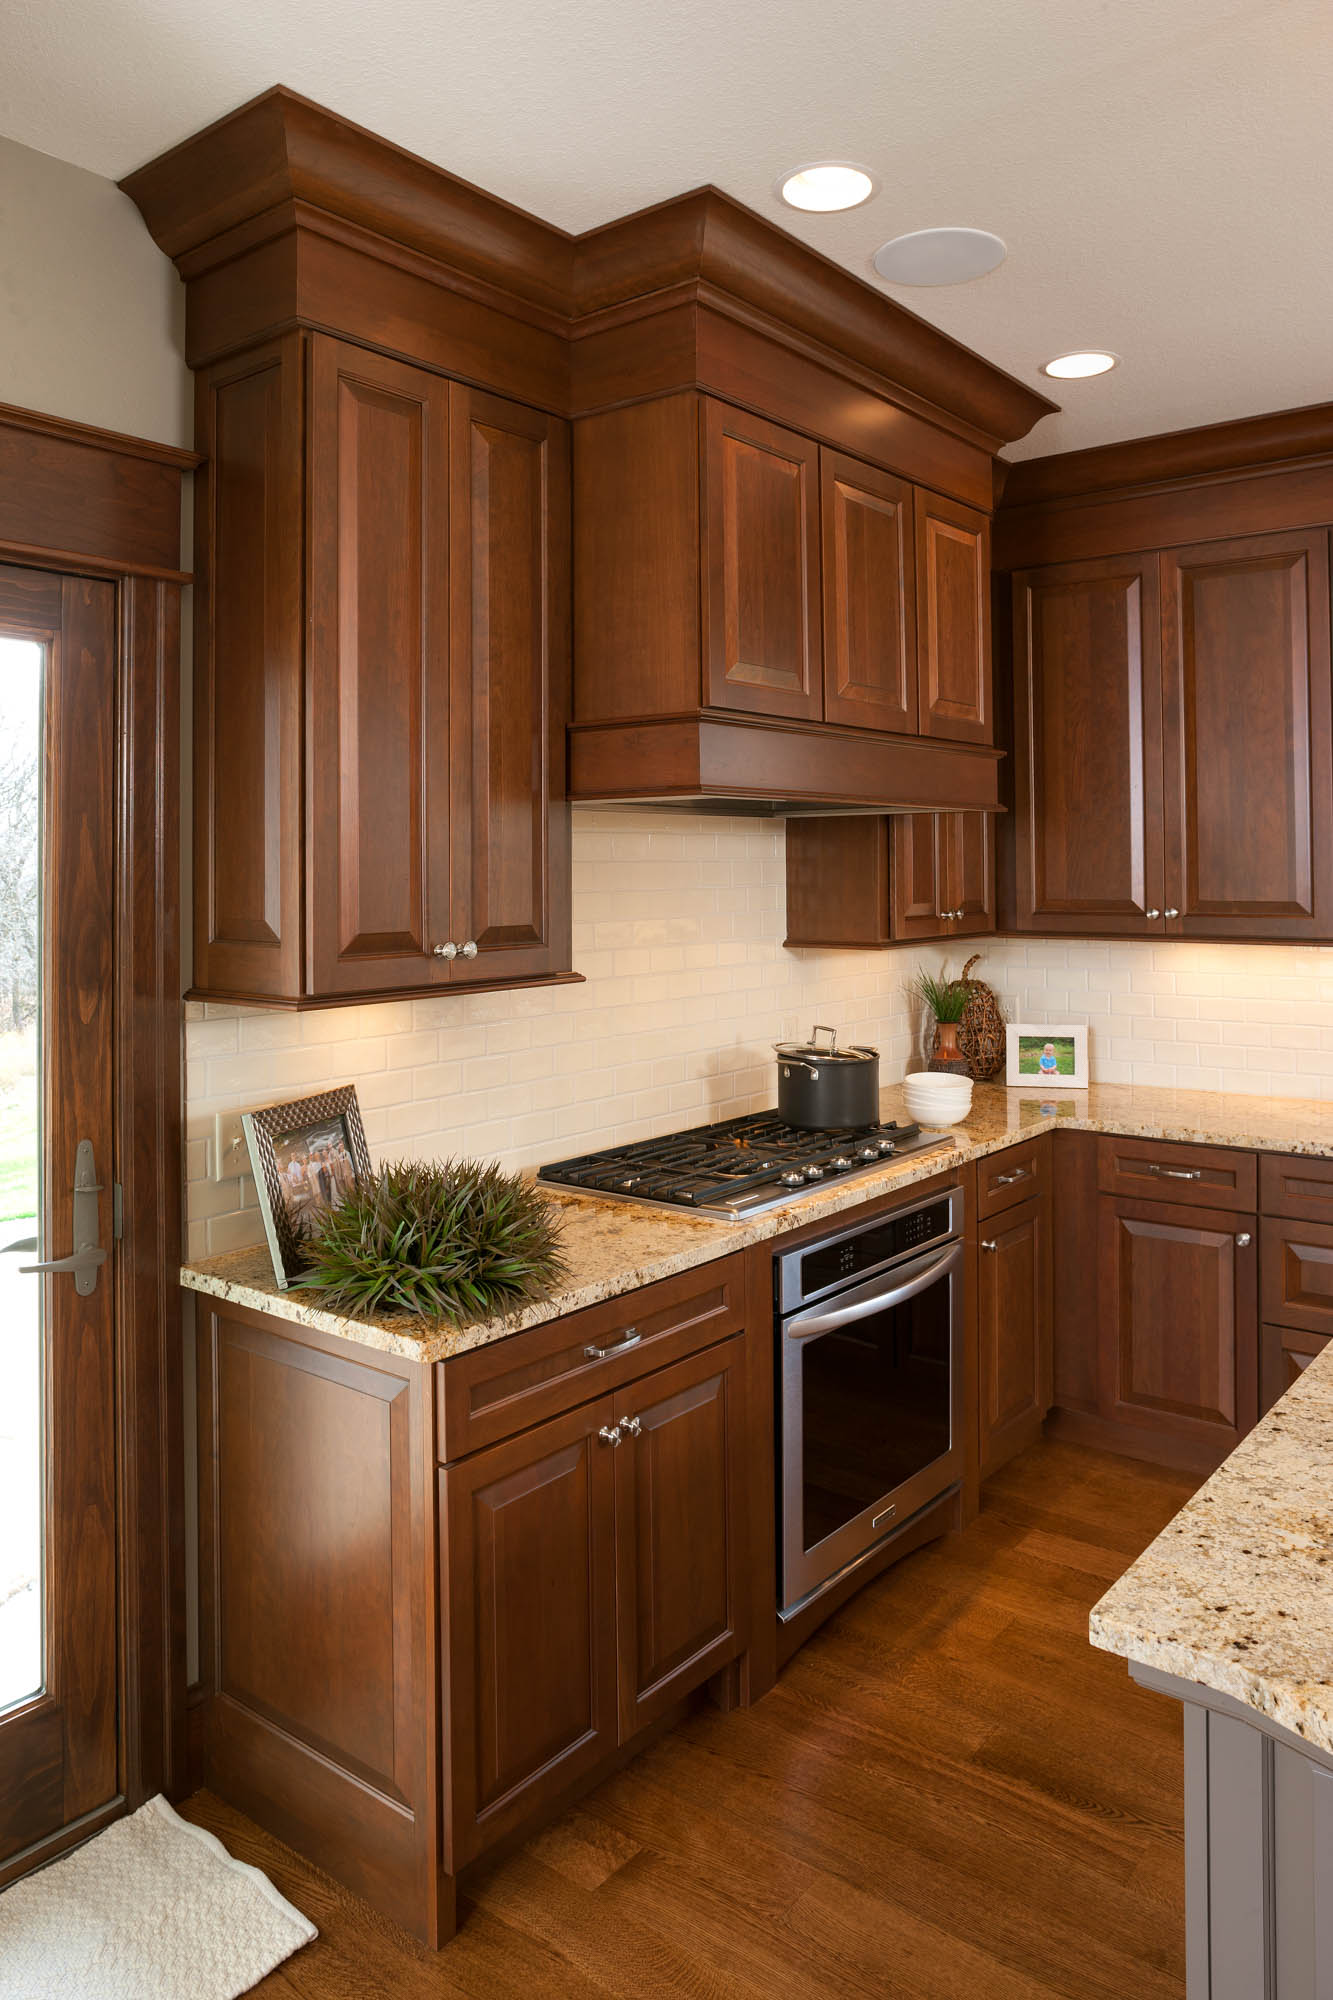
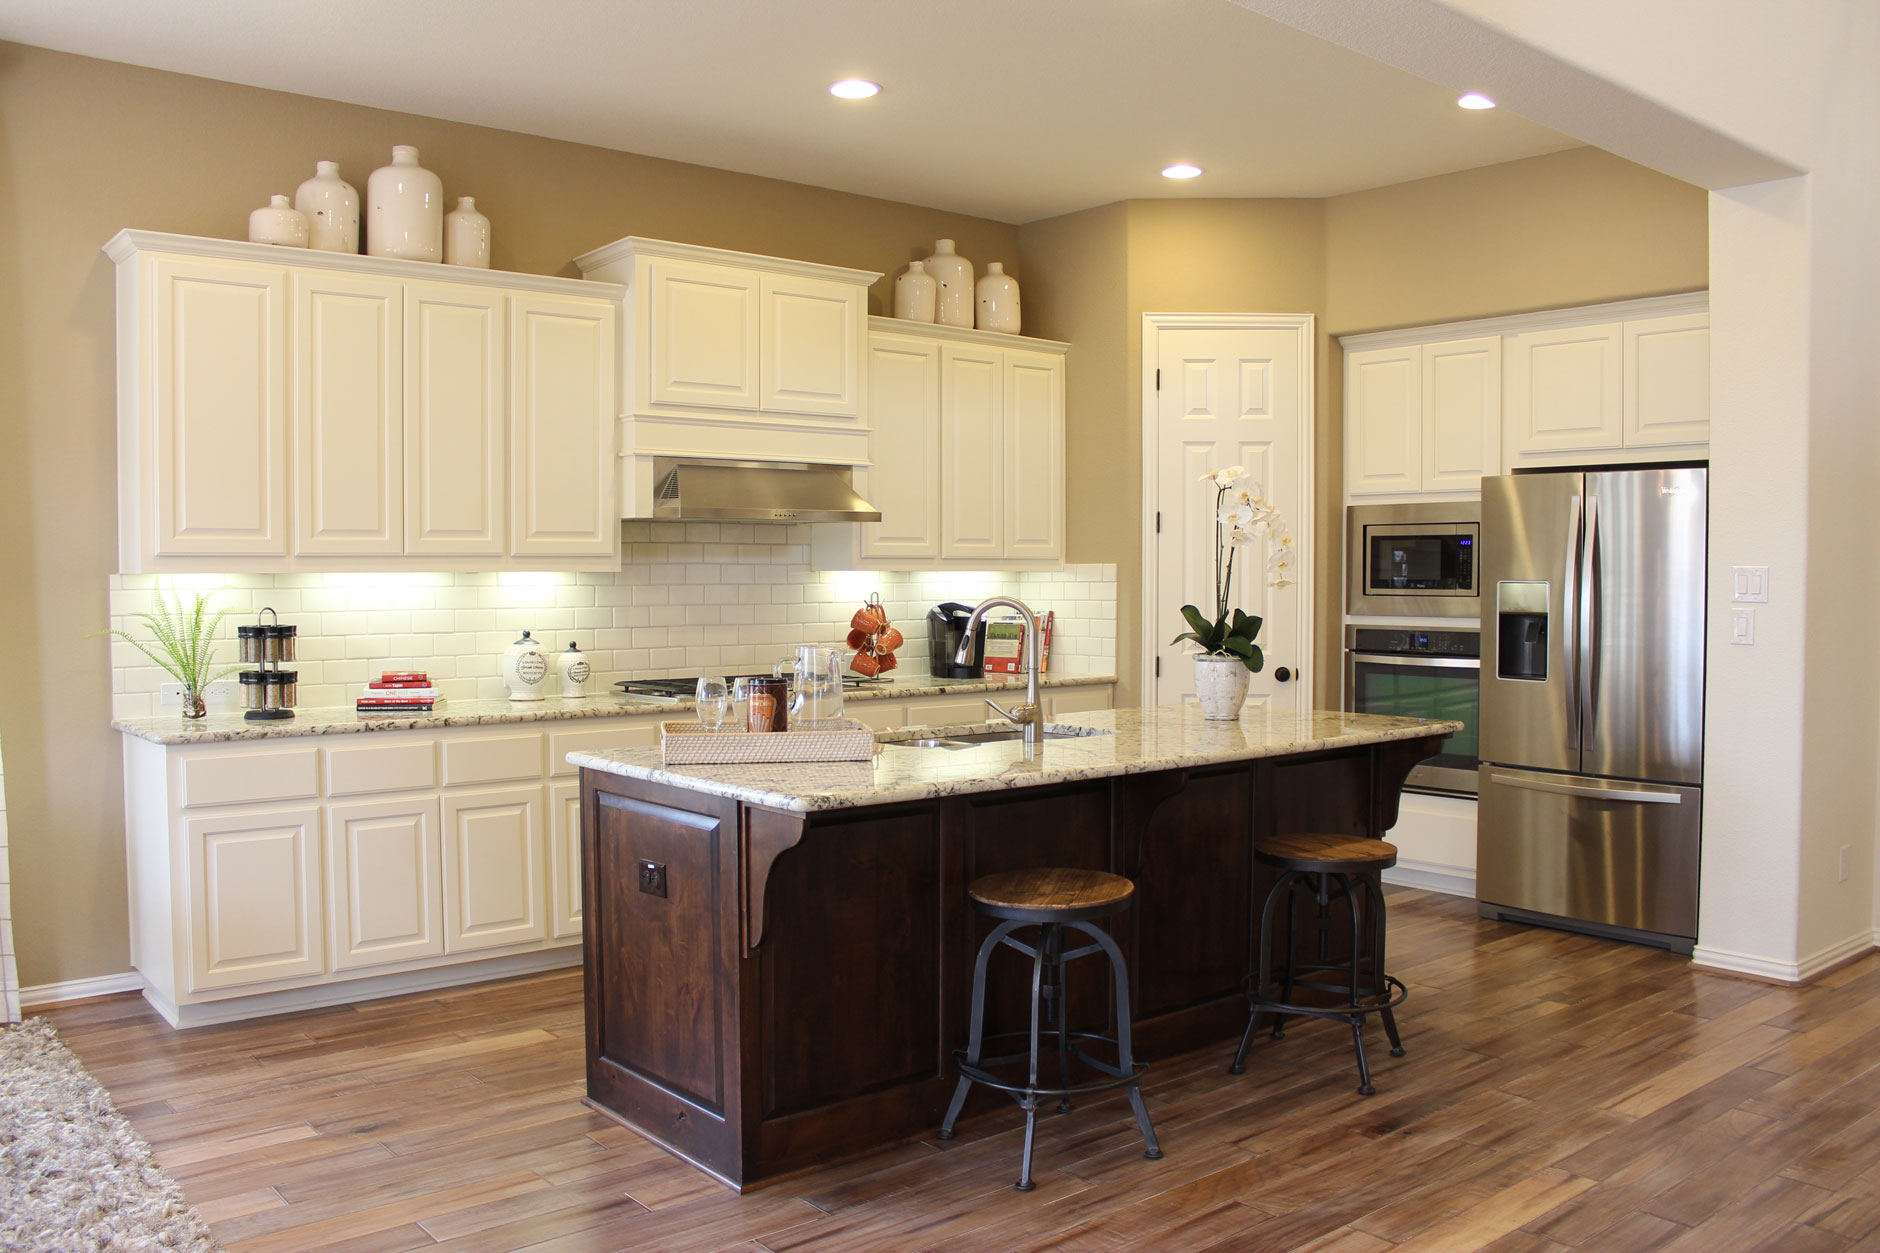
If you're tired of the dark and dated look of your kitchen cabinets, a simple solution is to stain them a lighter color. Not only will this give your kitchen a fresh and modern look, but it can also save you money compared to replacing the cabinets entirely. Follow this step-by-step guide to learn how to successfully stain your kitchen cabinets a lighter color and transform the look of your entire kitchen.How to Stain Kitchen Cabinets a Lighter Color


How to Stain Kitchen Cabinets a Lighter Color


:max_bytes(150000):strip_icc()/designersbuildersinc_119435621_173557914265817_3339330568184216681_n-ee0c803d12614d058ba1c65fd145e93b.jpg)
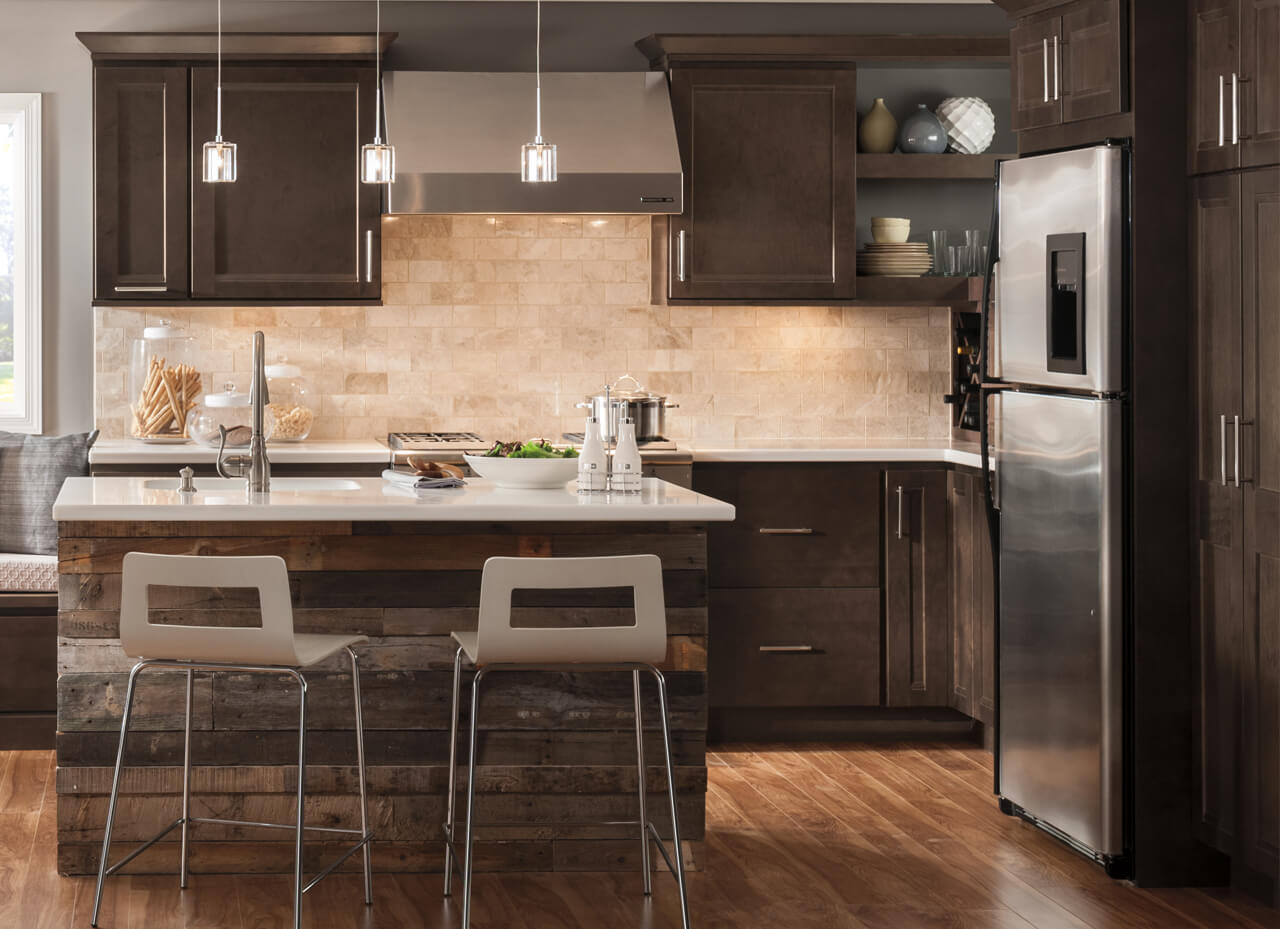
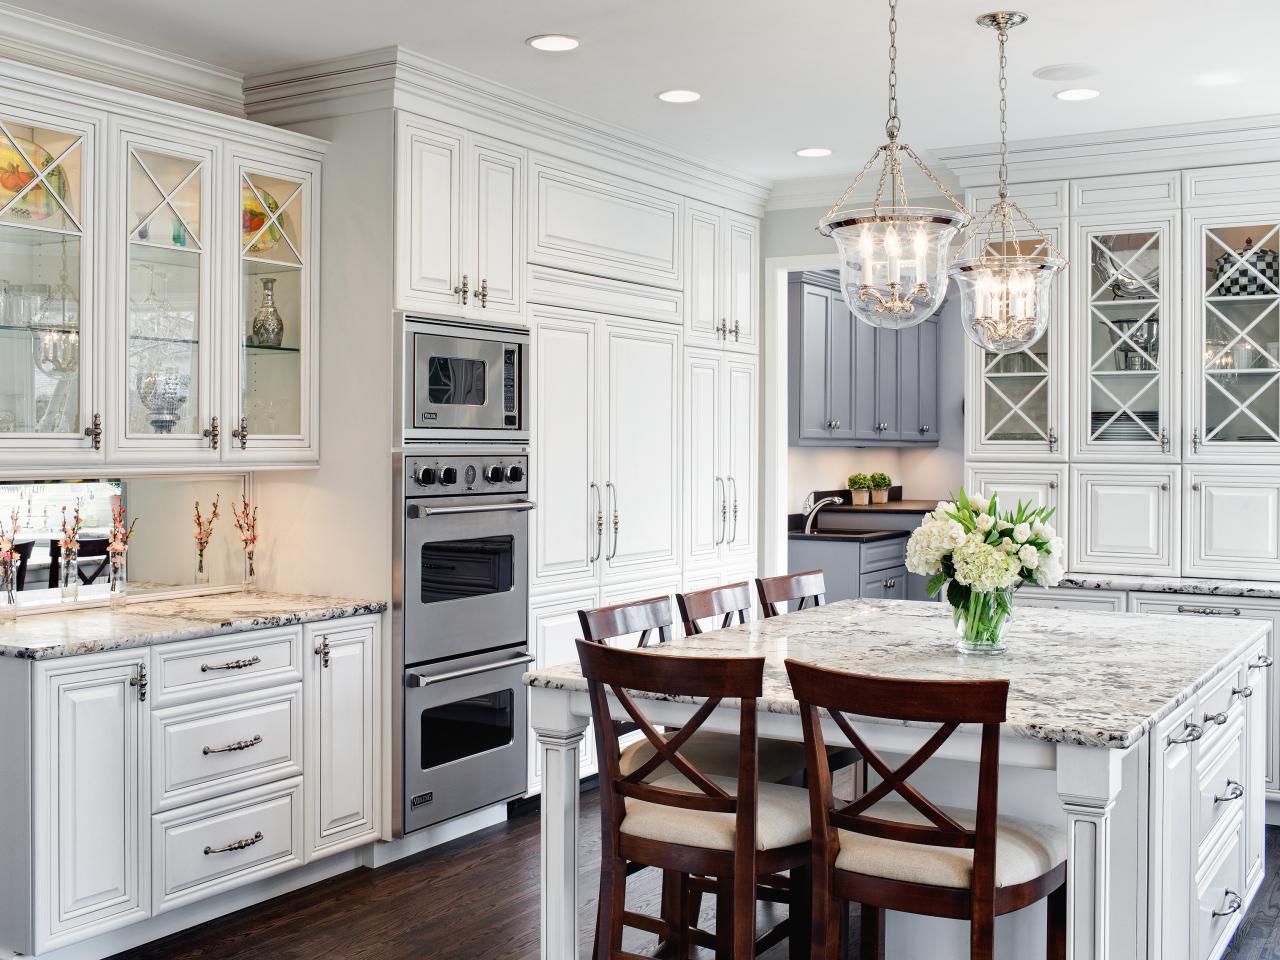
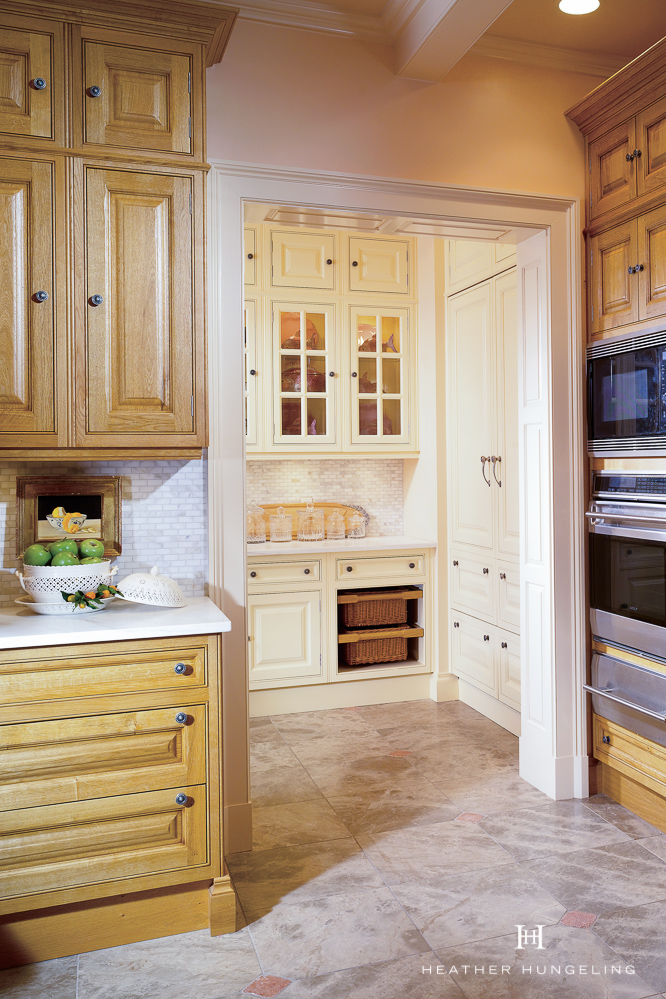
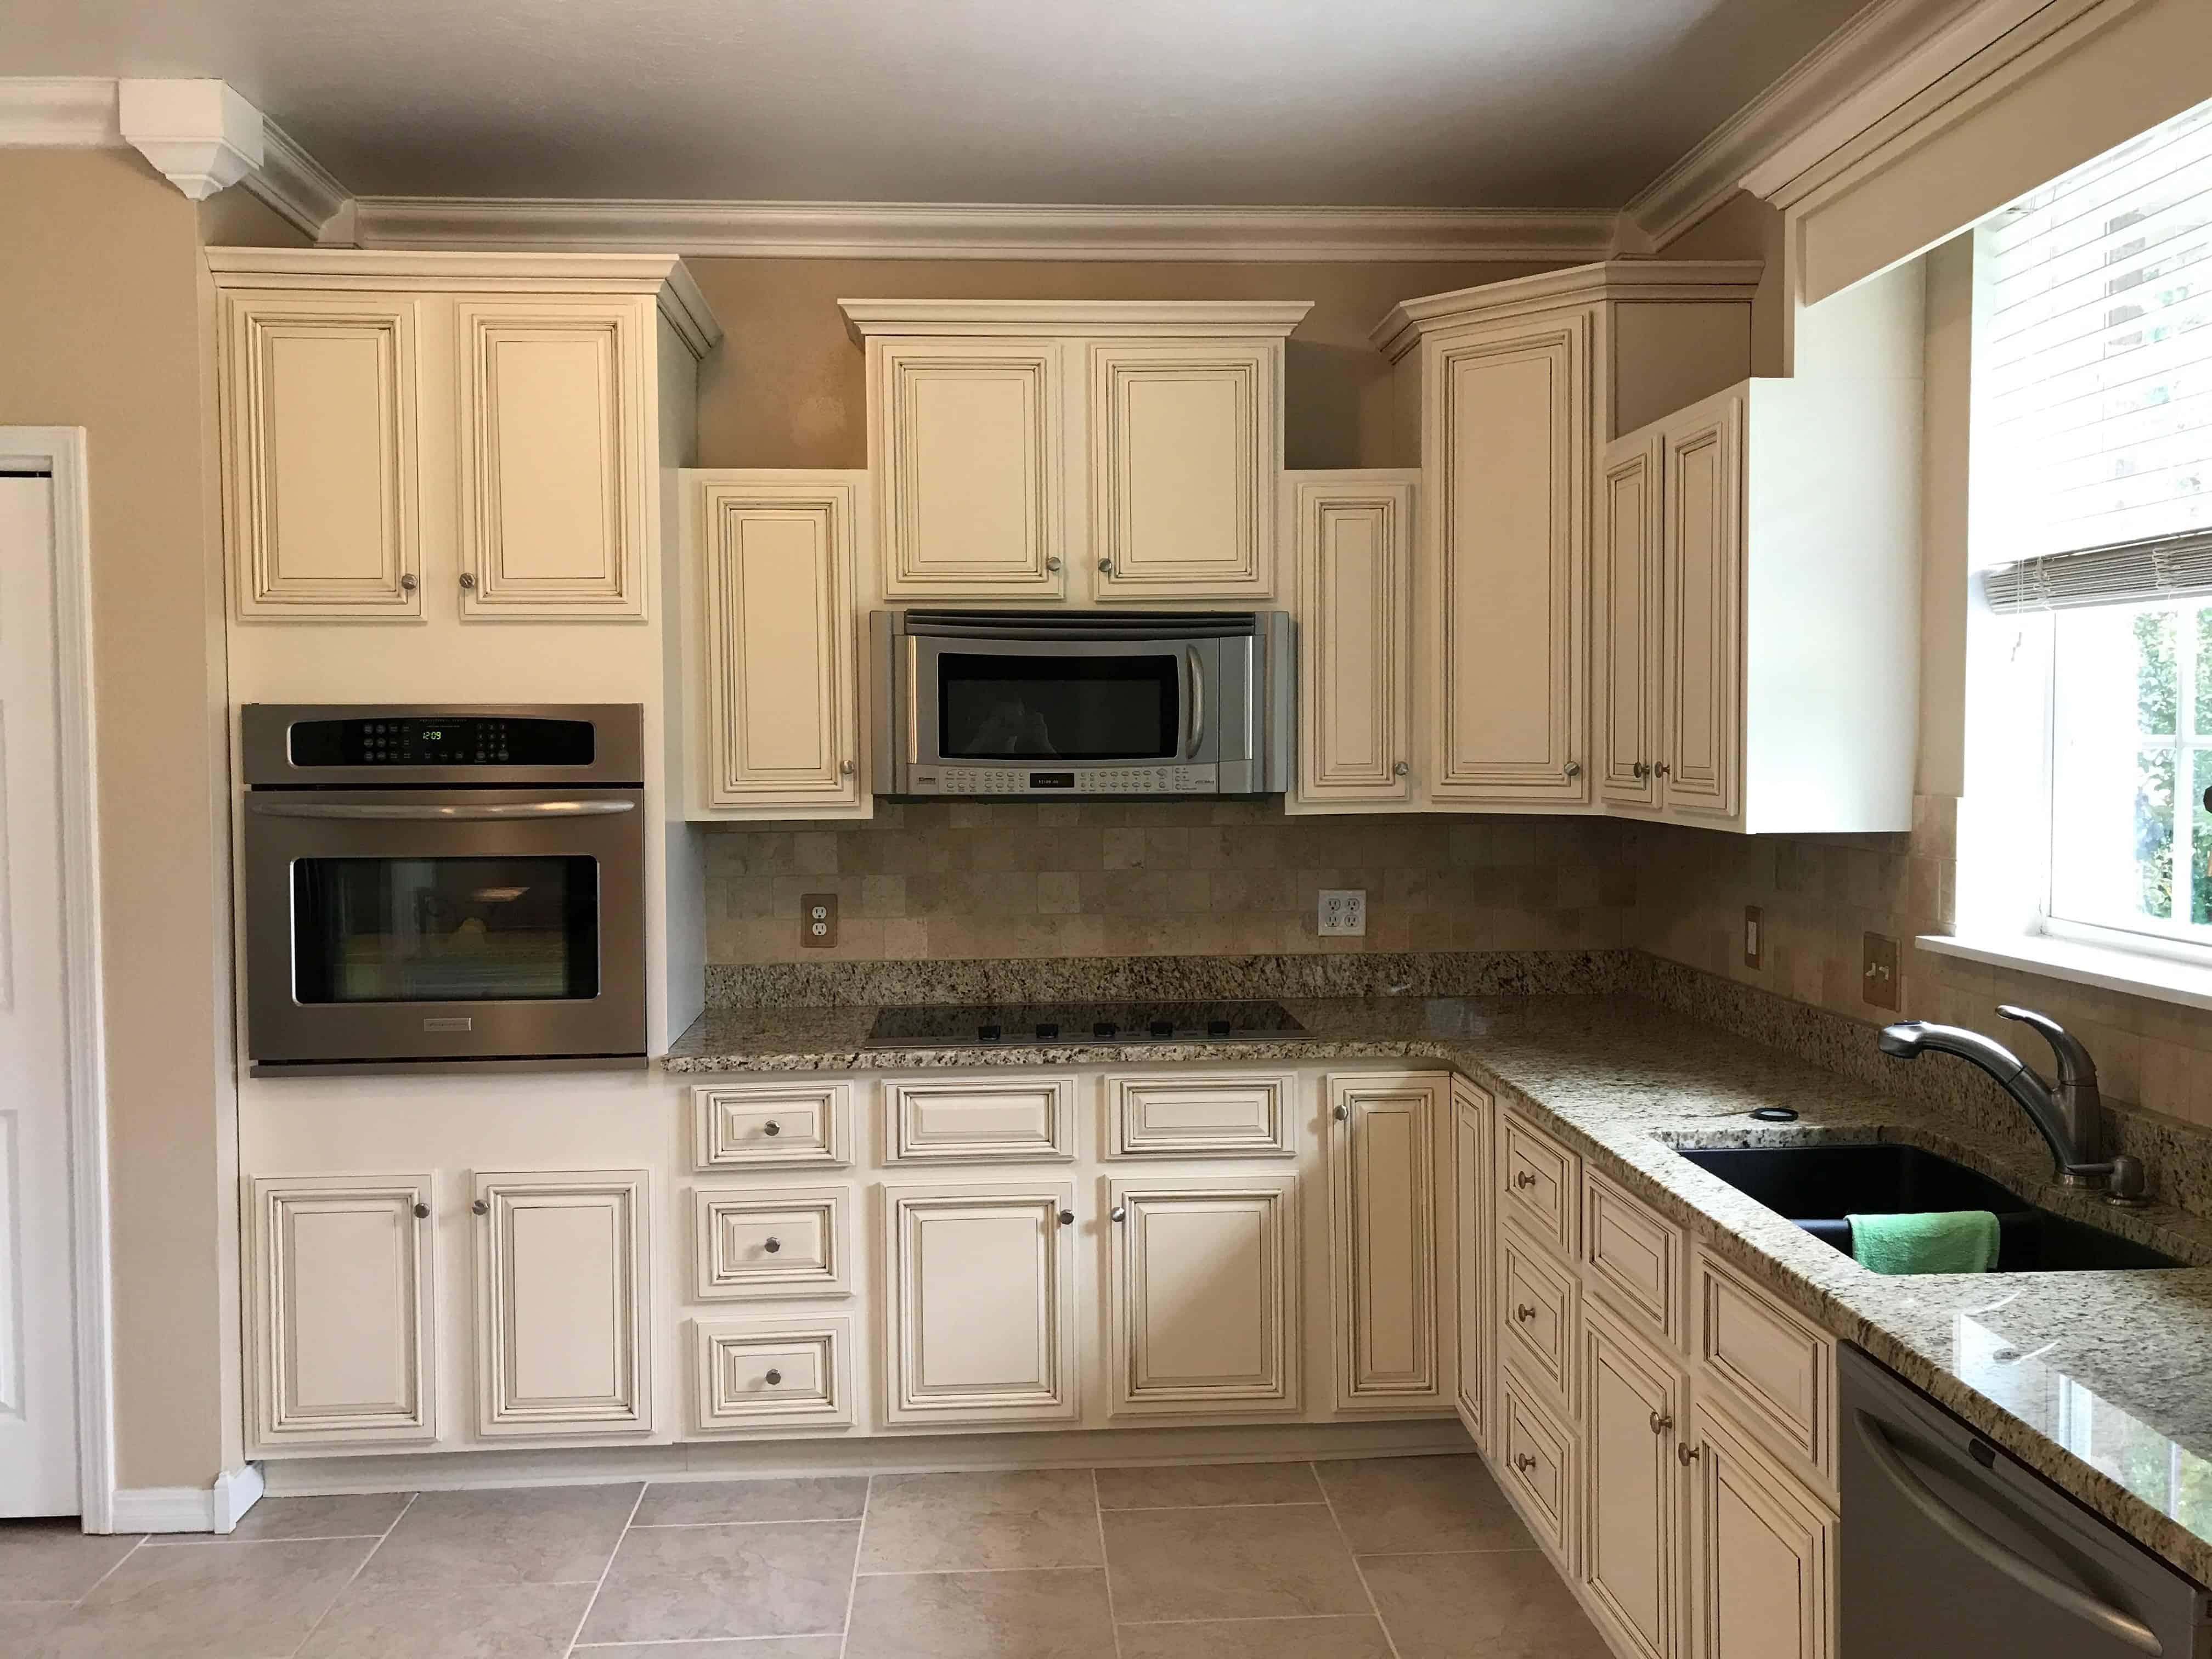
Lightening stained kitchen cabinets may seem like a daunting task, but with the right tools and techniques, it can be a simple and rewarding DIY project. The first step is to choose the right stain color for your cabinets. Consider the overall style and color scheme of your kitchen to determine what will work best. For a bright and airy feel, opt for a light gray, white, or even a pastel color. If you want to maintain a warm and traditional look, a light oak or cherry stain may be the way to go.How to Lighten Stained Kitchen Cabinets

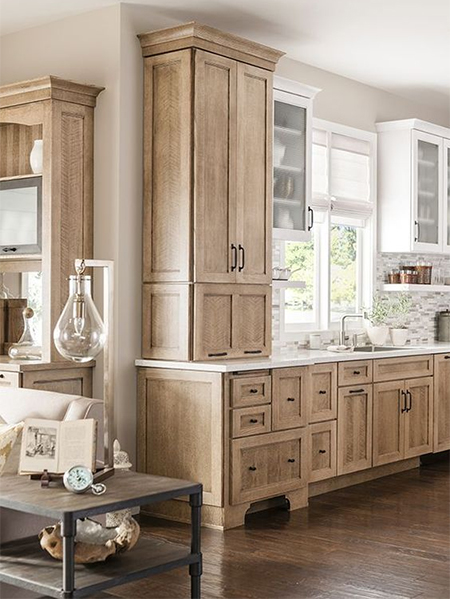

How to Lighten Stained Kitchen Cabinets


Before you begin, make sure you have all the necessary supplies. This includes sandpaper, wood conditioner, stain, brushes, and a sealant. Start by removing all cabinet doors and hardware, and clean the cabinets thoroughly. Sand the surfaces with a fine-grit sandpaper to remove any existing finish and create a smooth surface for the stain to adhere to. Follow this with a coat of wood conditioner to ensure an even stain application.DIY Kitchen Cabinet Staining Tutorial


DIY Kitchen Cabinet Staining Tutorial


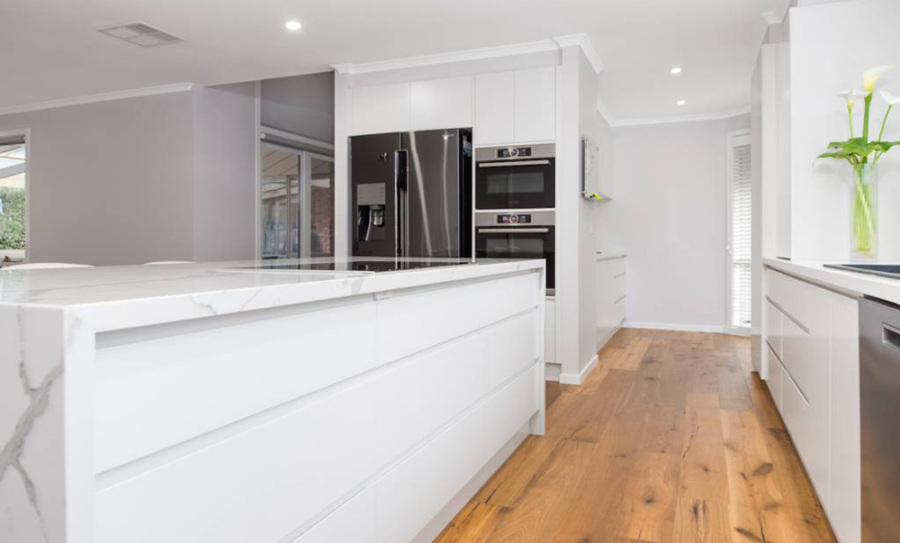
When choosing a stain for your kitchen cabinets, it's important to select a high-quality product for the best results. Look for stains that have a sealant included, as this will save you time and effort in the long run. For a natural and eco-friendly option, consider using a water-based stain. They are low in odor and easy to clean up, making the staining process less of a hassle.Best Products for Staining Kitchen Cabinets


Best Products for Staining Kitchen Cabinets
:max_bytes(150000):strip_icc()/designersbuildersinc_119435621_173557914265817_3339330568184216681_n-ee0c803d12614d058ba1c65fd145e93b.jpg)


Now it's time to start staining your cabinets. Begin by applying the stain in long, even strokes, following the direction of the wood grain. Work in small sections, and be sure to blend the edges of each section to avoid any noticeable lines. Once you have evenly covered all surfaces, wipe off any excess stain with a clean cloth. Allow the stain to dry completely before applying a second coat for a deeper color or a sealant for added protection.Step-by-Step Guide to Lightening Cabinet Stain


Step-by-Step Guide to Lightening Cabinet Stain


Choosing the right stain color can be overwhelming, but keep in mind that it's all about balance. If you have a lot of natural light in your kitchen, you can go for a darker stain without making the space feel too heavy. For smaller or darker kitchens, a lighter stain will help brighten up the room. Don't be afraid to experiment with different colors and shades to find the perfect fit for your kitchen.Tips for Choosing the Right Stain Color for Your Kitchen Cabinets


Tips for Choosing the Right Stain Color for Your Kitchen Cabinets


Proper preparation is key to achieving a professional-looking stain on your kitchen cabinets. As mentioned before, make sure to thoroughly clean and sand the surfaces before applying the stain. Cover any areas you don't want to stain, such as countertops and floors, and protect your work area with drop cloths. It's also a good idea to label the doors and drawers to ensure they go back in the correct place after staining.How to Prep Your Kitchen Cabinets for Staining

How to Prep Your Kitchen Cabinets for Staining


Staining kitchen cabinets is a delicate process, and there are a few common mistakes to watch out for. One of the most important things to remember is to always work in a well-ventilated area. Stains can be strong and harmful if inhaled, so make sure to open windows and use a fan if possible. Additionally, don't rush the process. Take your time and be patient to achieve the best results. Lastly, make sure to follow the instructions on the stain product carefully to avoid any mishaps.Common Mistakes to Avoid When Staining Kitchen Cabinets
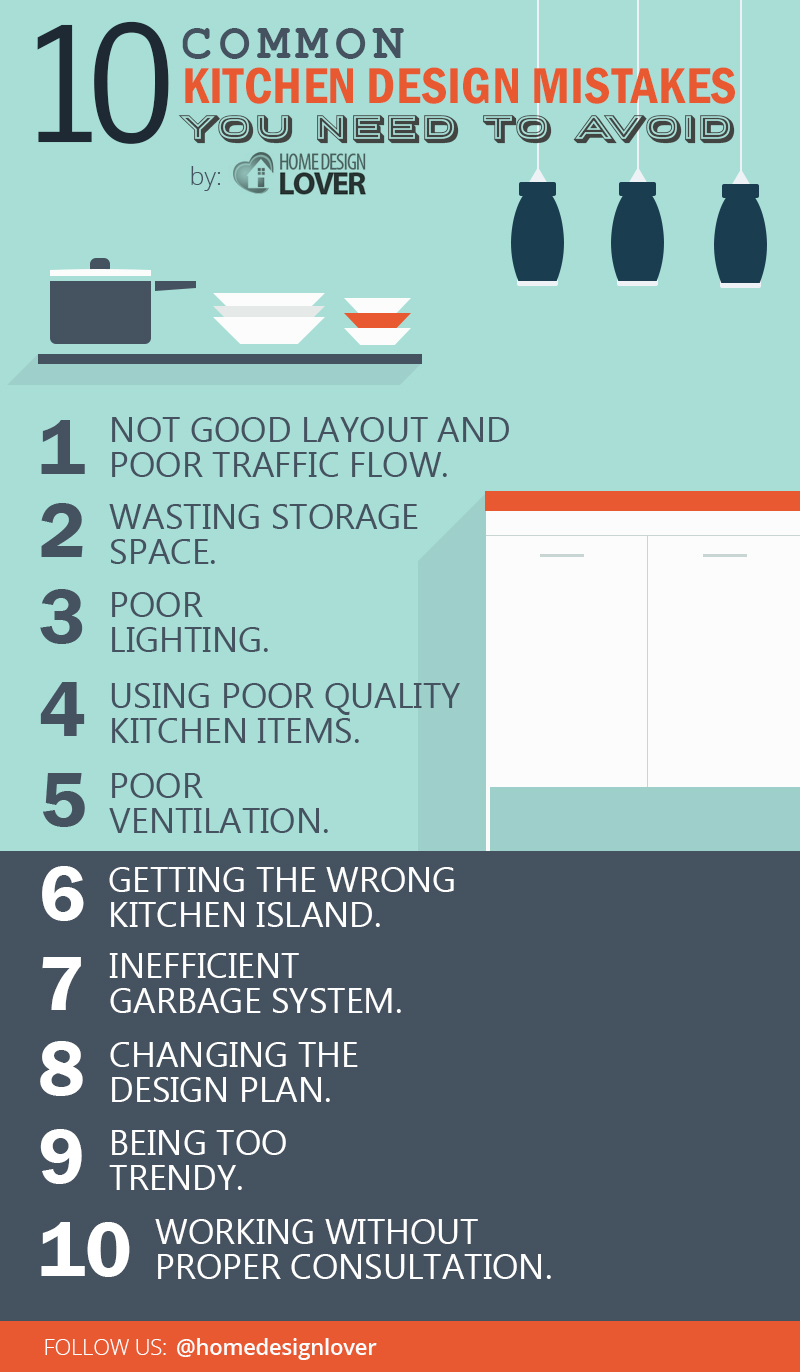


Common Mistakes to Avoid When Staining Kitchen Cabinets


With the right techniques and products, you can achieve a professional-looking stain on your kitchen cabinets. One tip is to apply the stain in thin layers, rather than one thick coat. This will prevent drips and uneven coloring. It's also important to wipe off any excess stain with a clean cloth after each coat to ensure an even and consistent color. Lastly, apply a sealant to protect the stain and give your cabinets a shiny finish.How to Achieve a Professional-Looking Stain on Kitchen Cabinets

How to Achieve a Professional-Looking Stain on Kitchen Cabinets


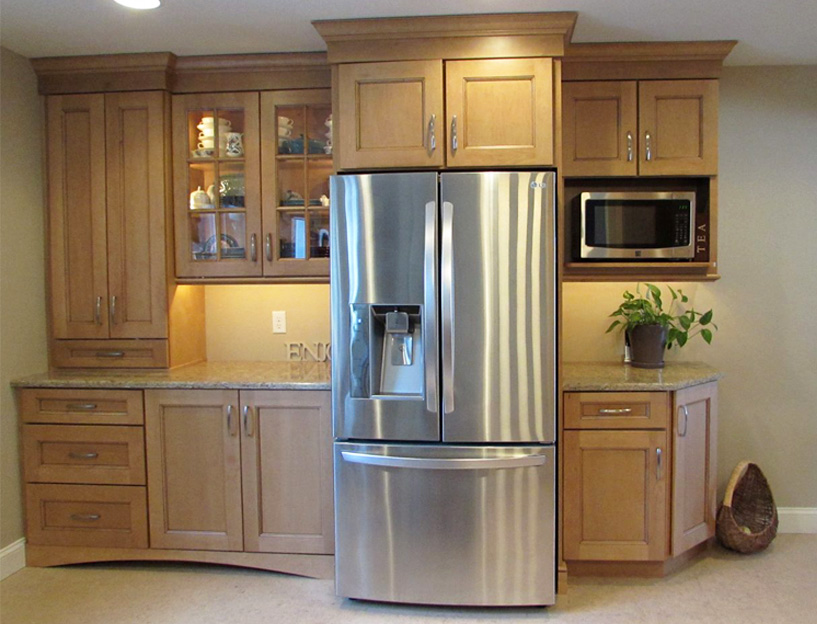
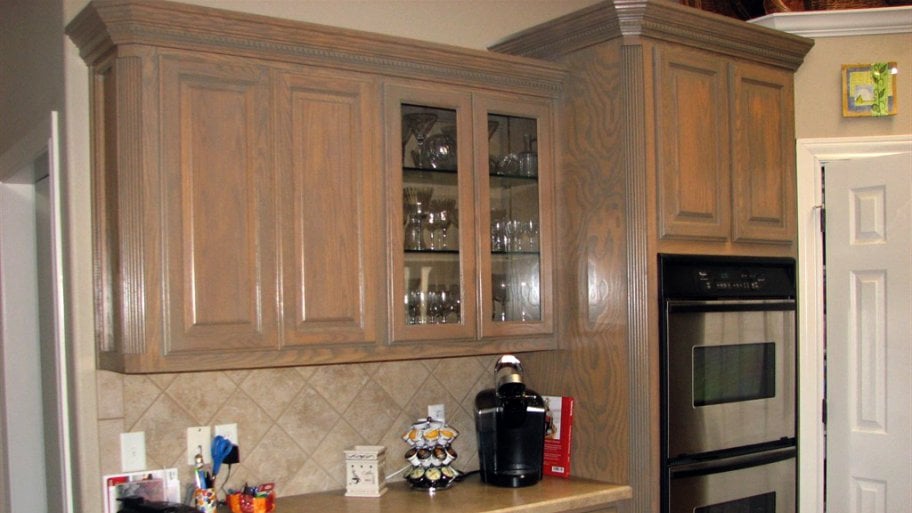
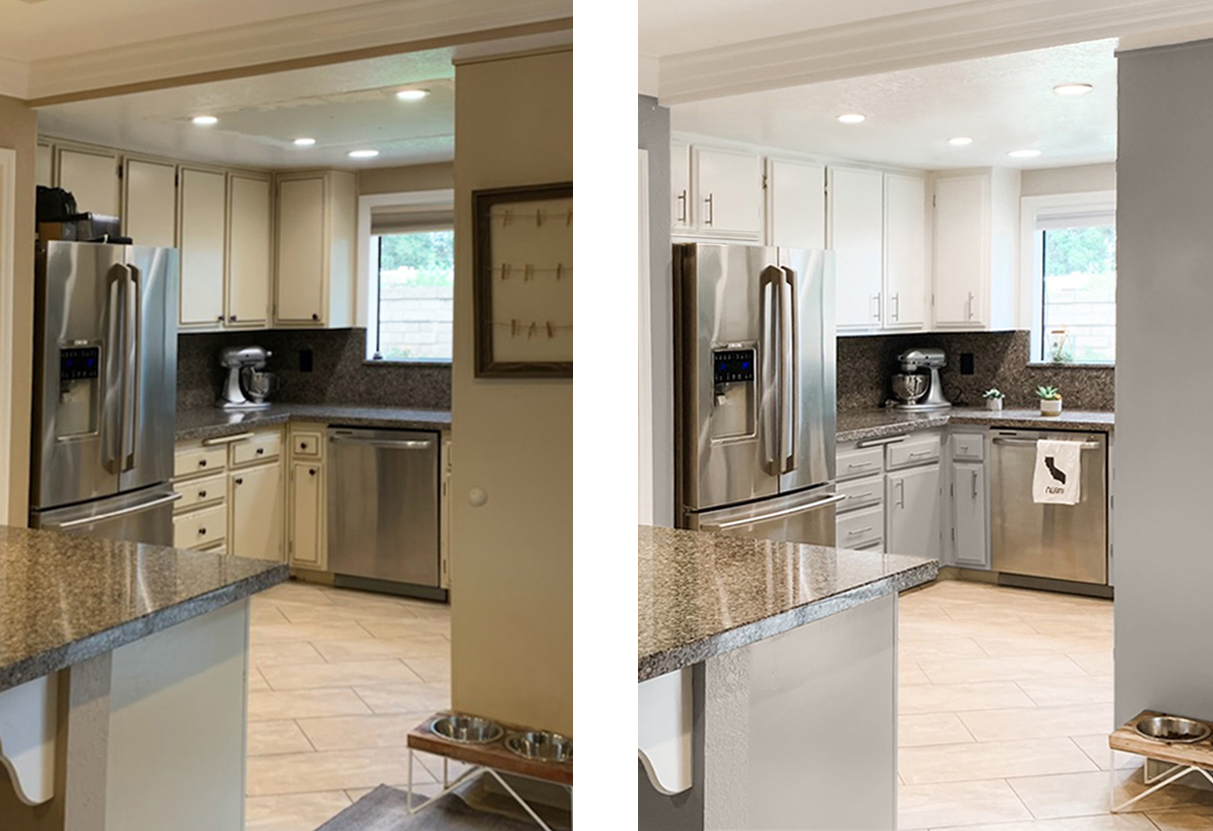
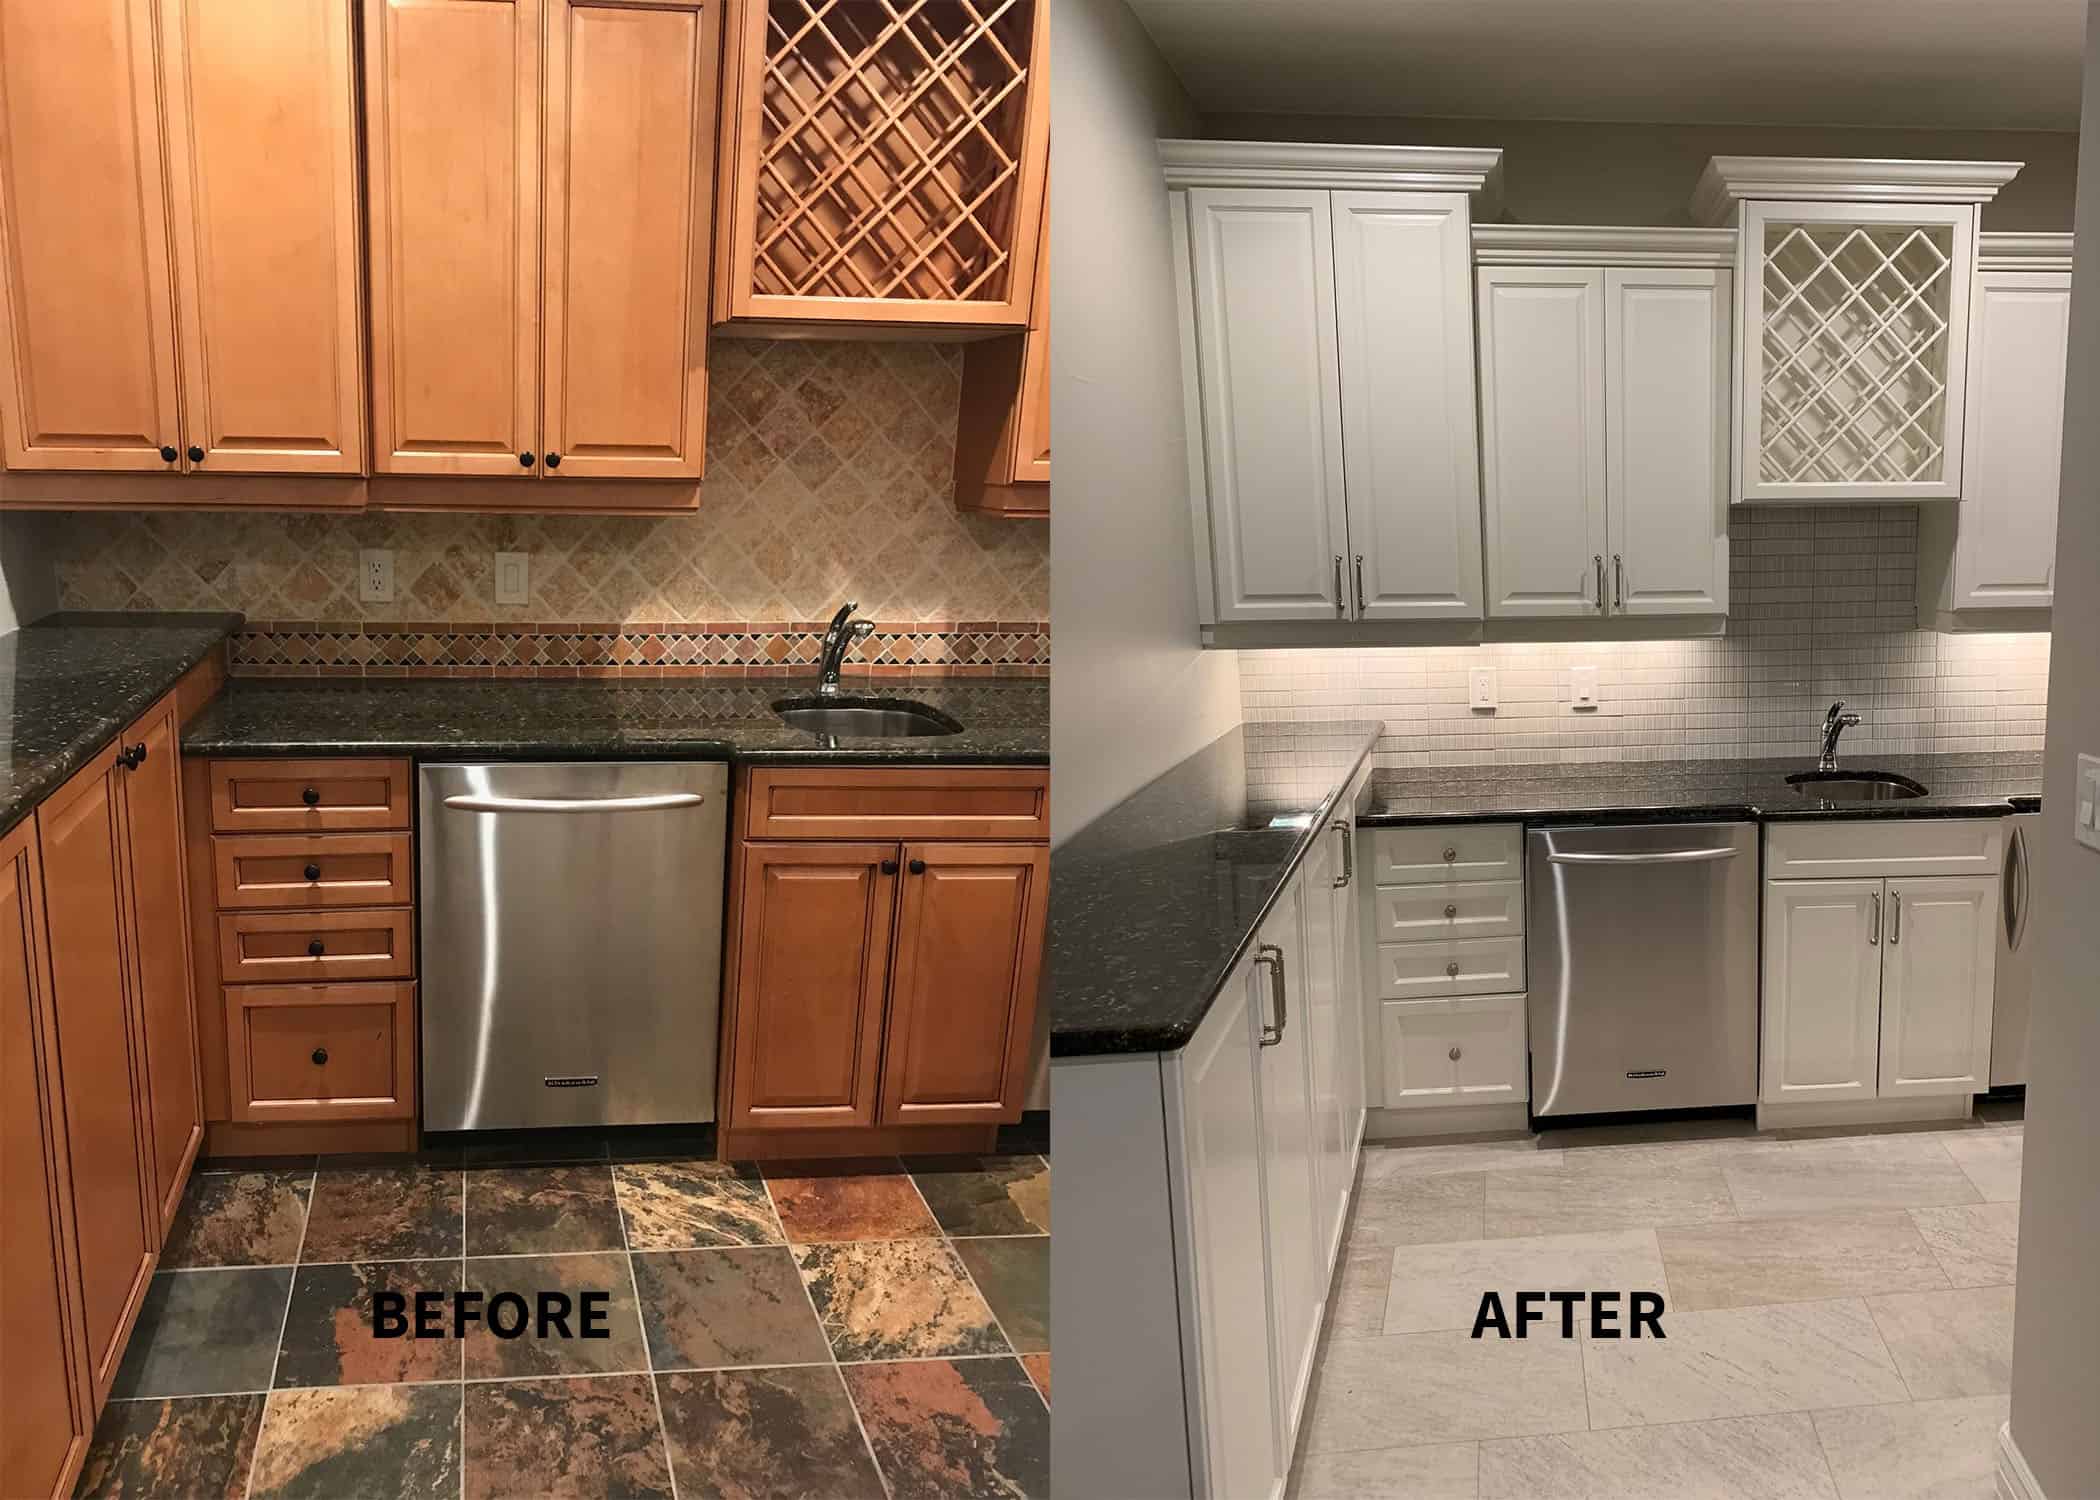
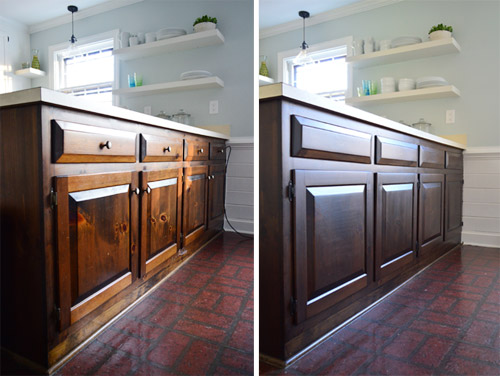
The final step is to admire your newly stained kitchen cabinets and enjoy the before and after transformation. The lighter color will give your kitchen a fresh and modern look, and you'll be amazed at how much of a difference it makes. Plus, you can take pride in knowing that you achieved this beautiful update through your own hard work and DIY skills.Before and After: Staining Kitchen Cabinets a Lighter Color


Before and After: Staining Kitchen Cabinets a Lighter Color


Why Staining Kitchen Cabinets a Lighter Color is a Great Design Choice

Transforming Your Kitchen with a Fresh Coat of Stain
 If you're looking to give your kitchen a fresh and updated look, one of the best ways to do so is by
staining your kitchen cabinets a lighter color
. This simple yet effective home improvement project can completely transform the look and feel of your kitchen, making it more modern, bright, and inviting. In this article, we will discuss why staining kitchen cabinets a lighter color is a great design choice and how to go about it in a professional and organized manner.
If you're looking to give your kitchen a fresh and updated look, one of the best ways to do so is by
staining your kitchen cabinets a lighter color
. This simple yet effective home improvement project can completely transform the look and feel of your kitchen, making it more modern, bright, and inviting. In this article, we will discuss why staining kitchen cabinets a lighter color is a great design choice and how to go about it in a professional and organized manner.
The Benefits of Staining Kitchen Cabinets a Lighter Color
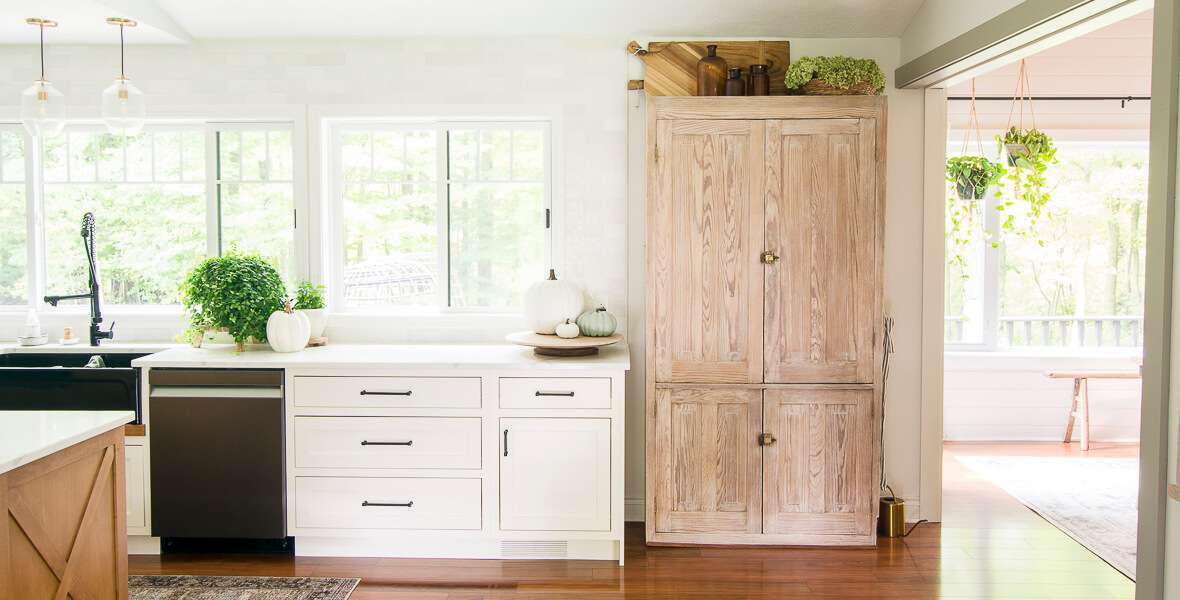
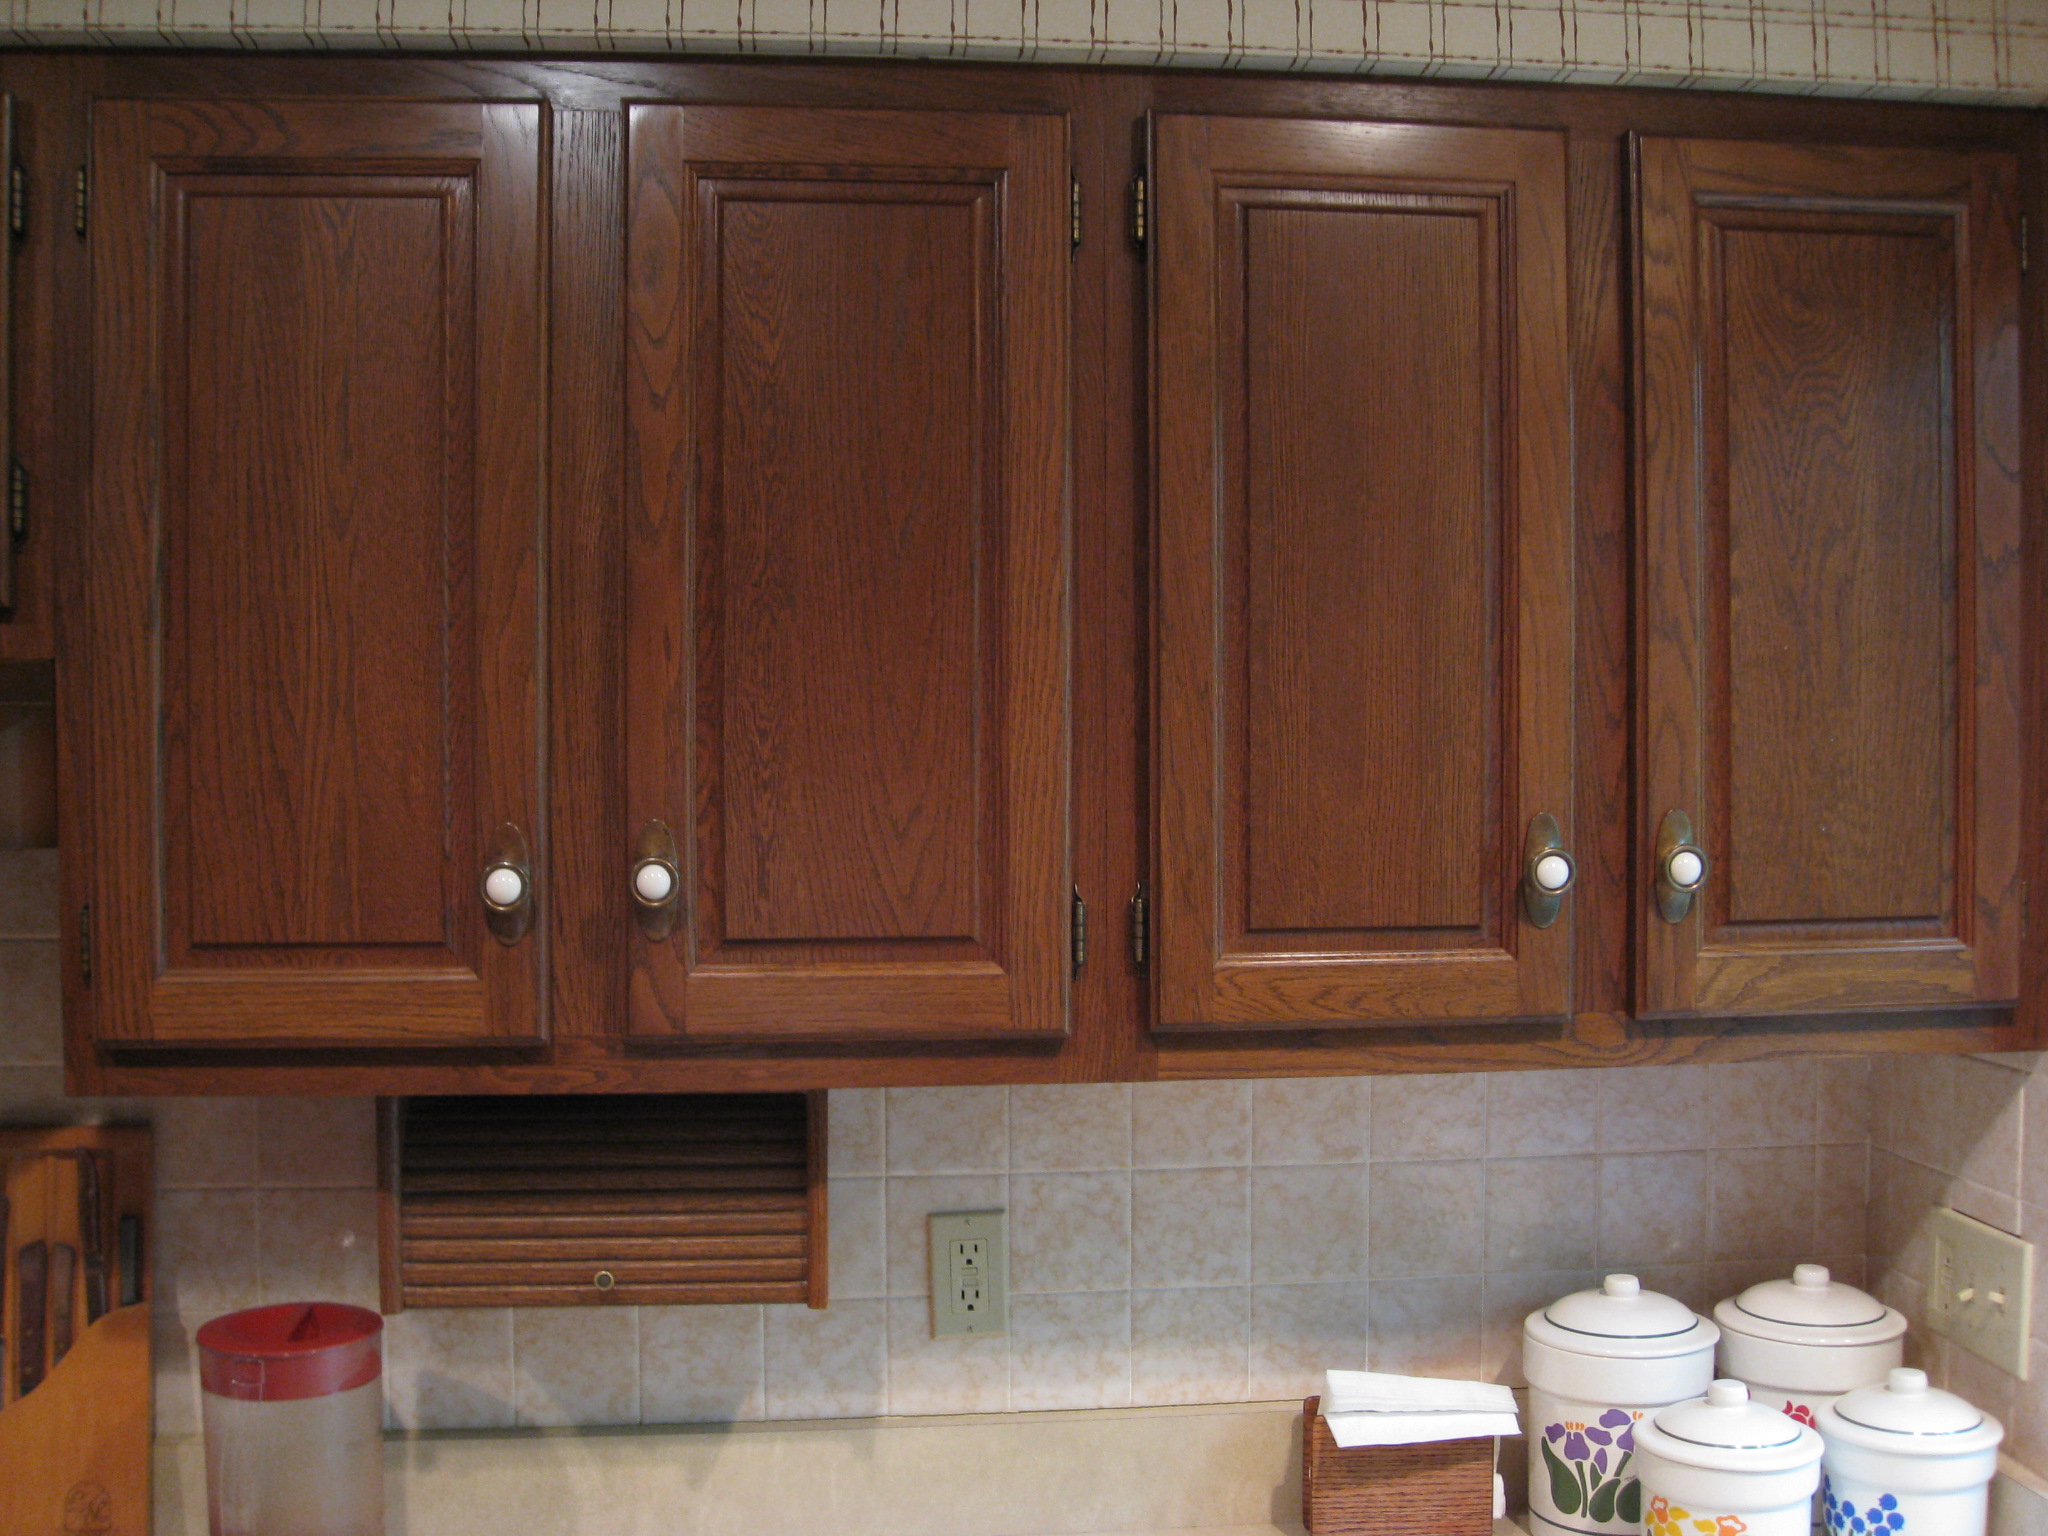
 Enhances Natural Light:
One of the main benefits of staining kitchen cabinets a lighter color is that it can enhance the natural light in your kitchen. Lighter cabinets reflect light better, making the room appear bigger and brighter.
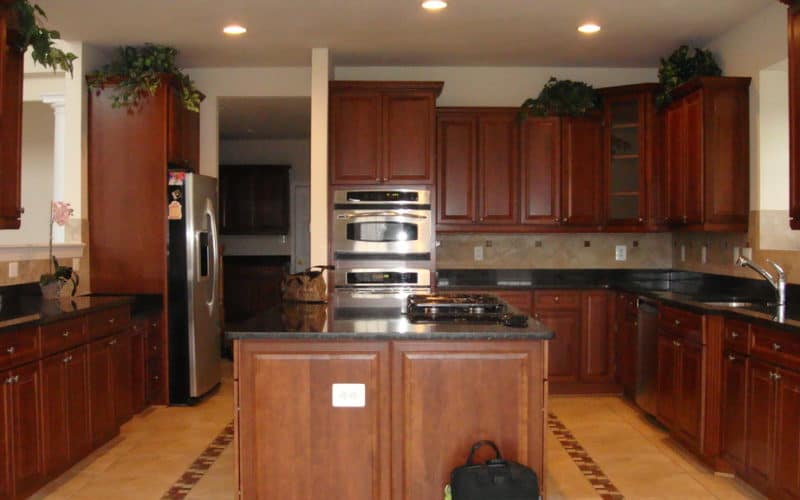
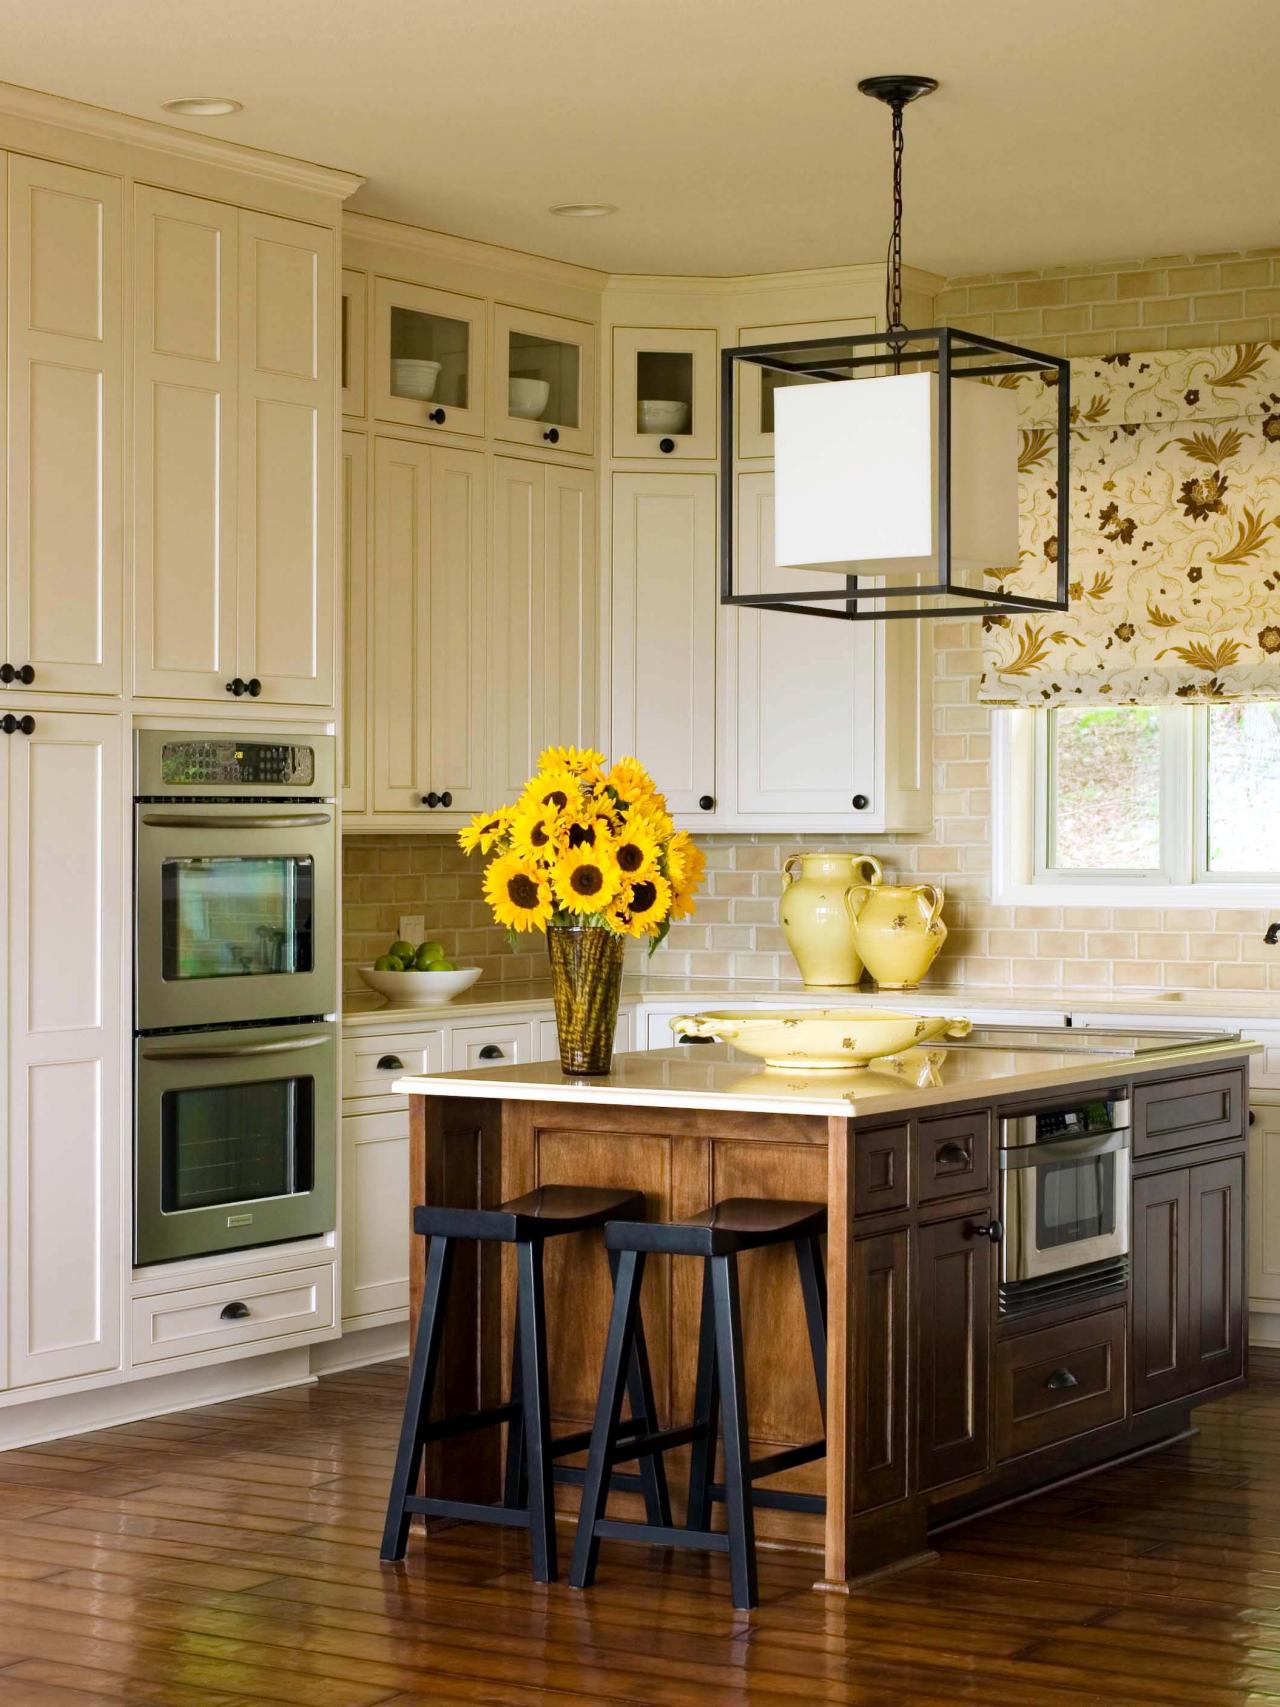
Modernizes the Space:
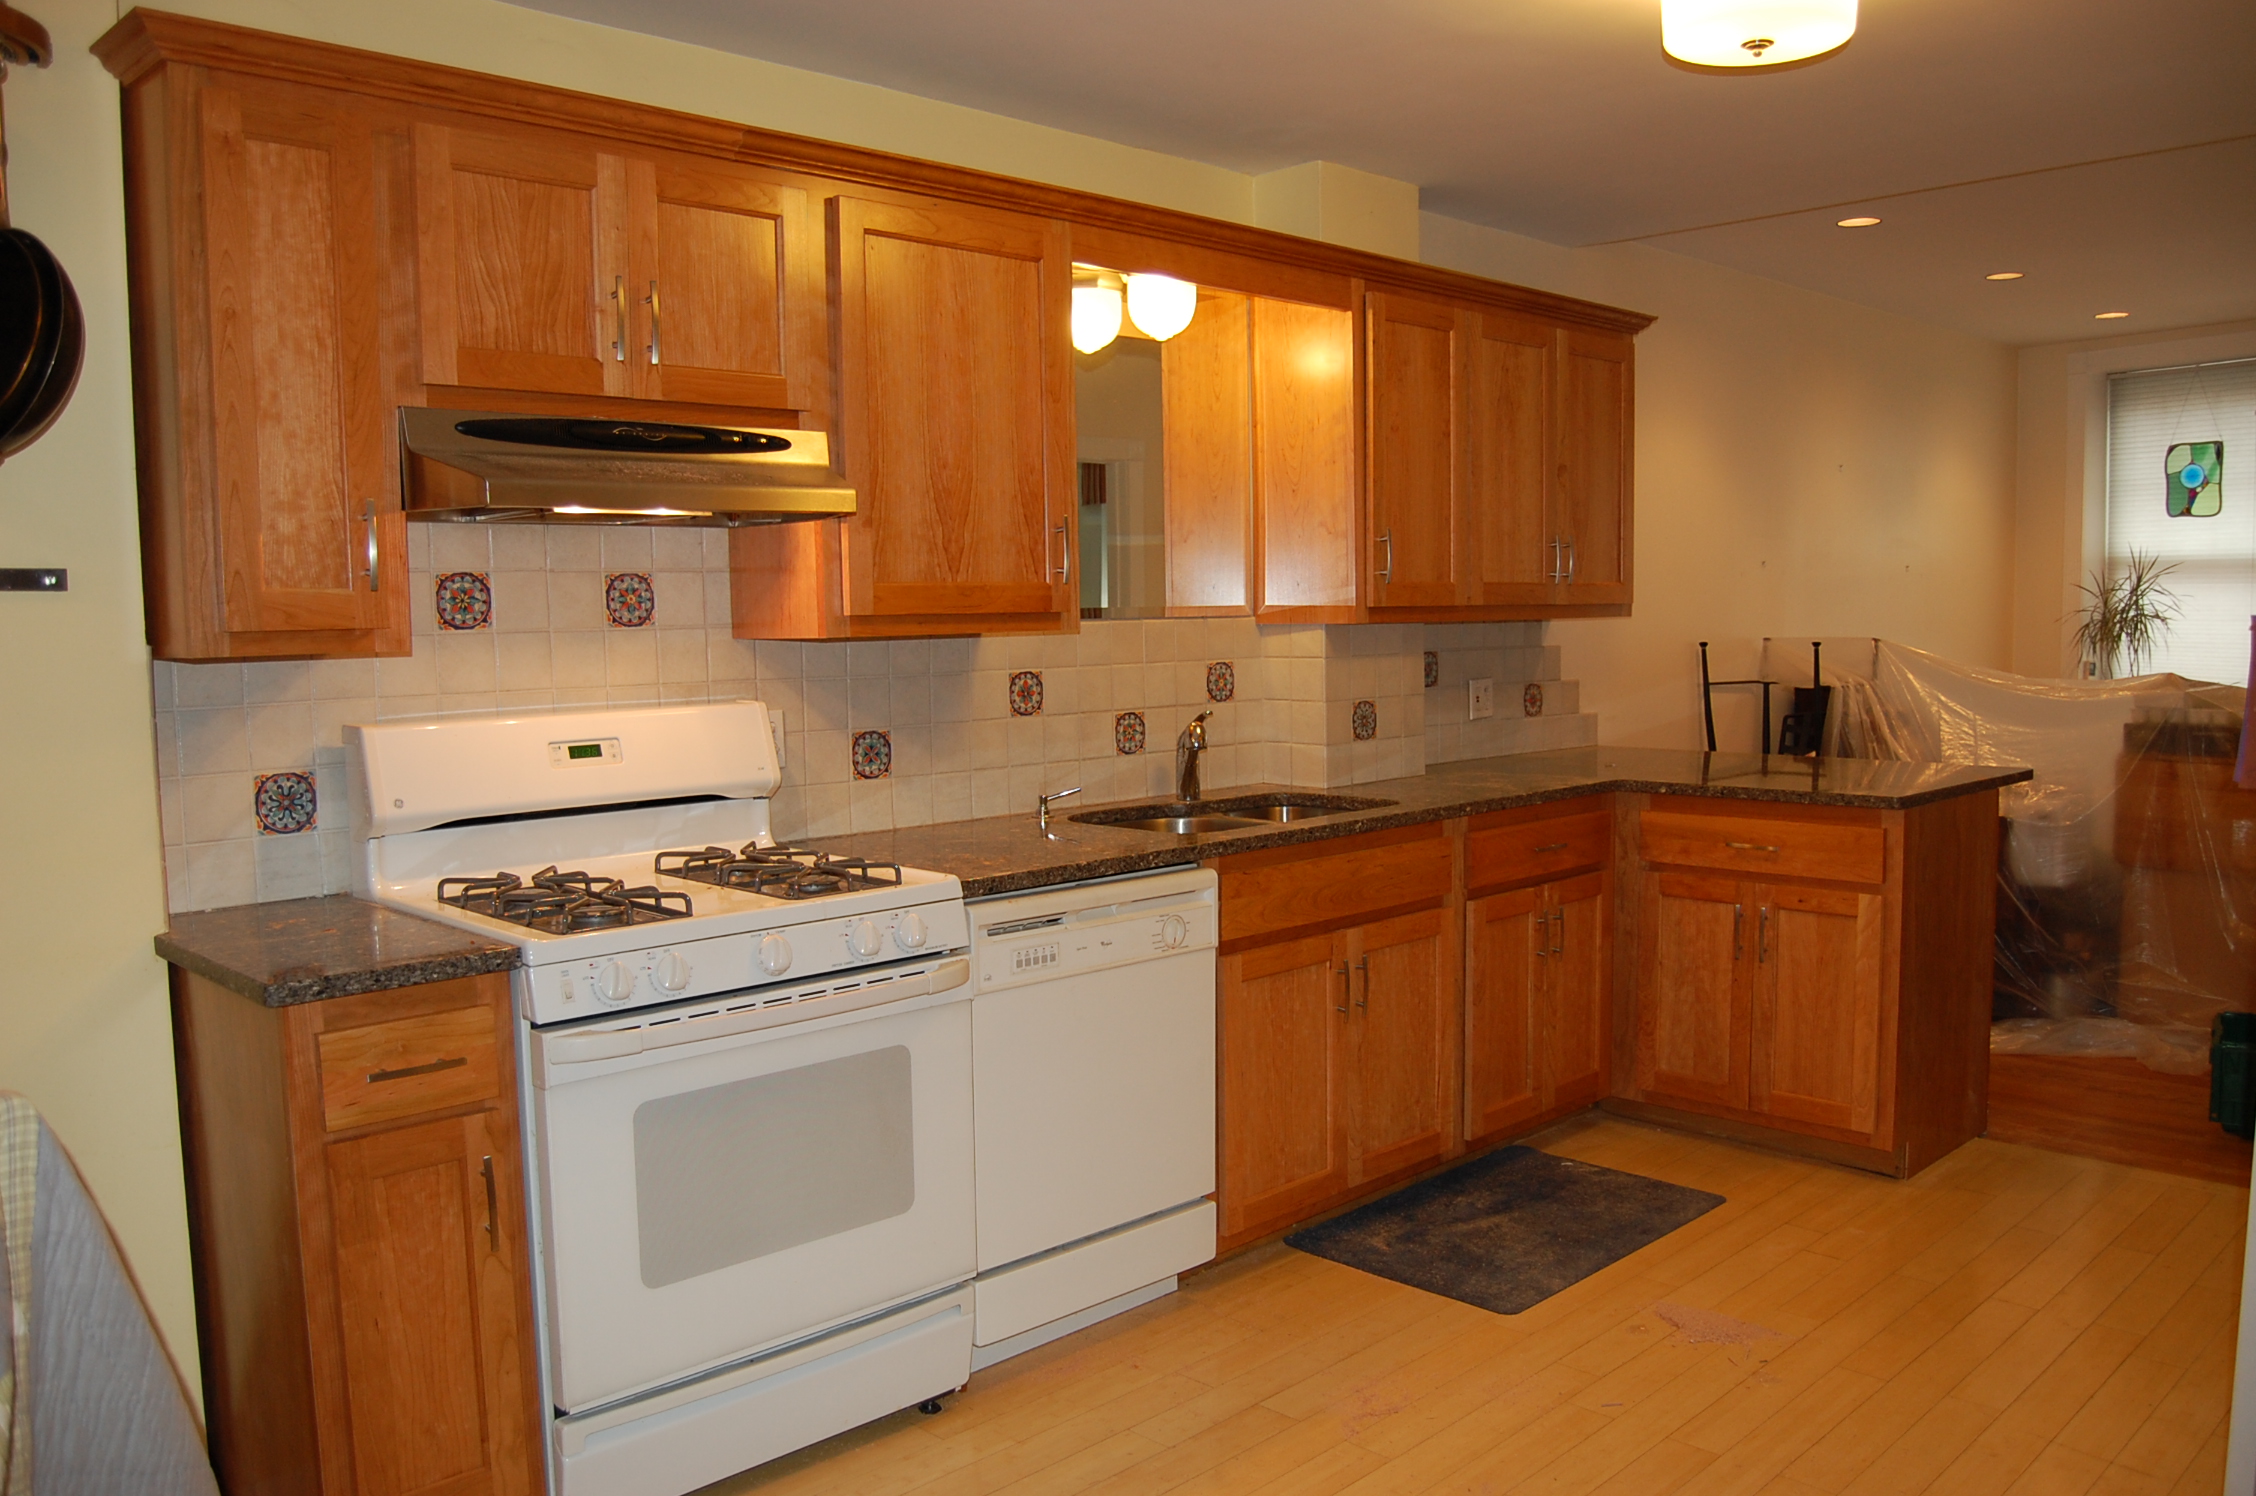
Dark kitchen cabinets can make a space feel outdated and closed off. By
staining them a lighter color
, you can instantly modernize the look of your kitchen, giving it a fresh and contemporary feel.
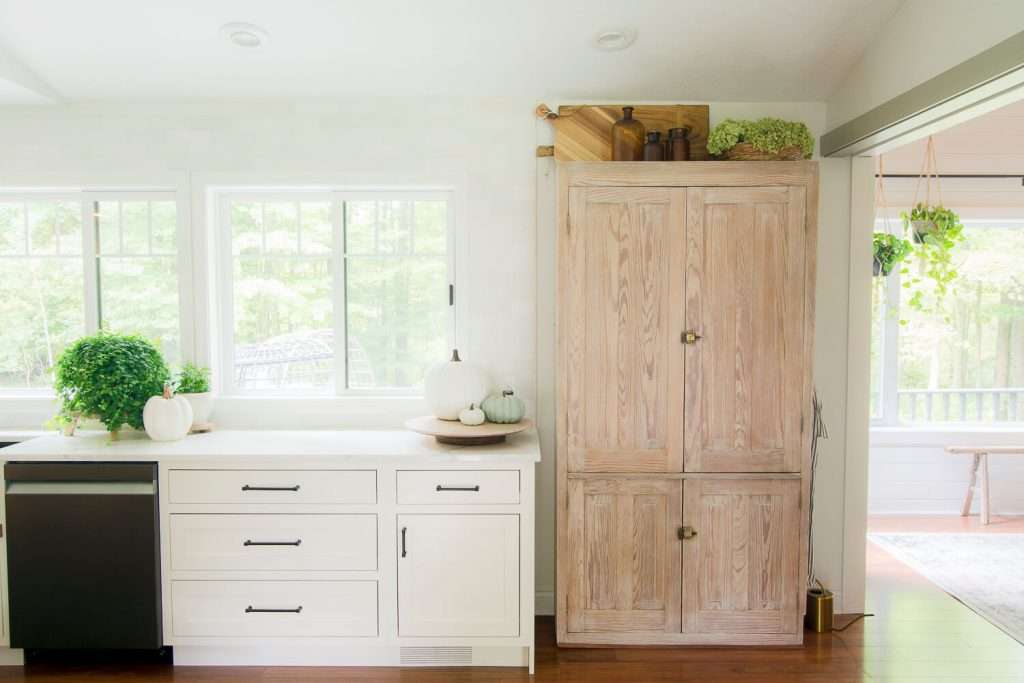
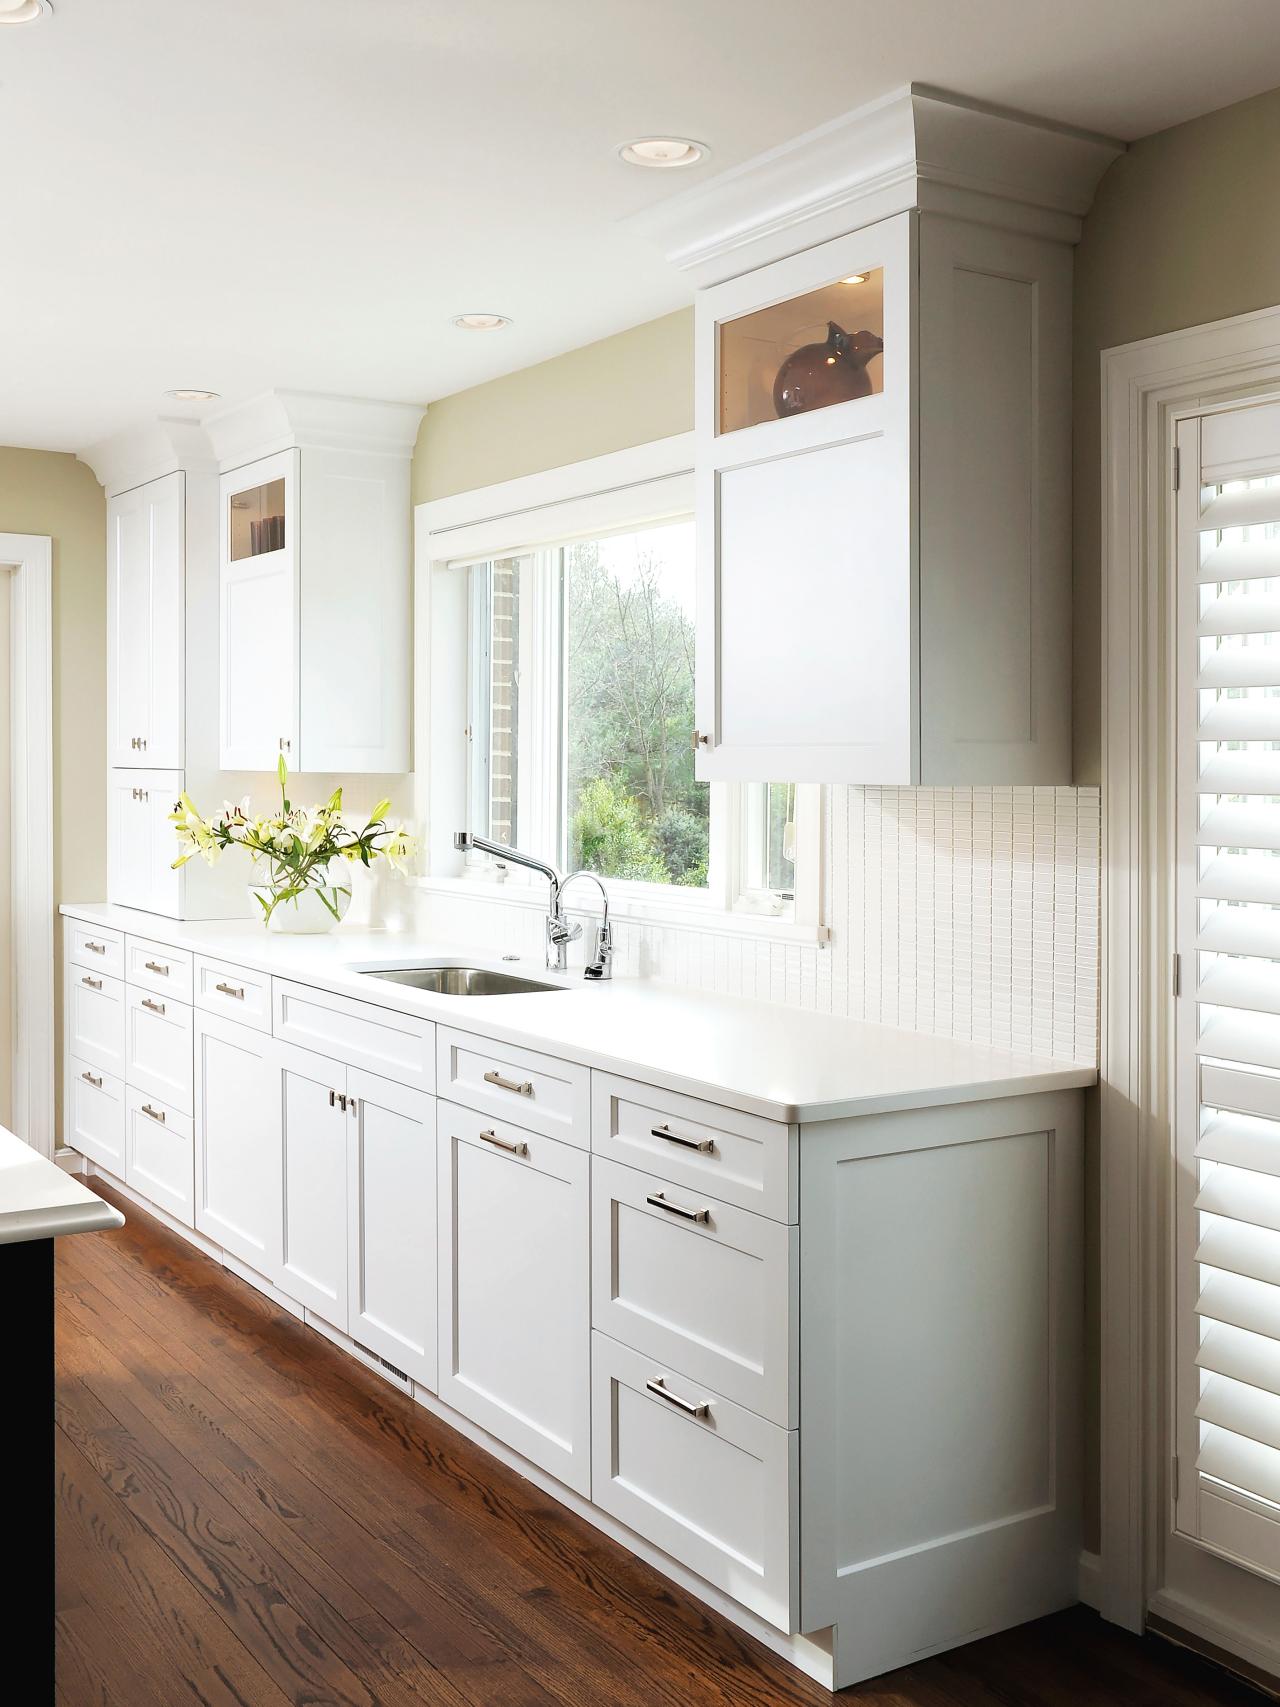
Creates a Clean and Fresh Look:
Lighter cabinets can make a space feel clean and fresh. They add a sense of brightness and cleanliness to the room, making it a more inviting and welcoming space.
Enhances Natural Light:
One of the main benefits of staining kitchen cabinets a lighter color is that it can enhance the natural light in your kitchen. Lighter cabinets reflect light better, making the room appear bigger and brighter.
Modernizes the Space:
Dark kitchen cabinets can make a space feel outdated and closed off. By
staining them a lighter color
, you can instantly modernize the look of your kitchen, giving it a fresh and contemporary feel.
Creates a Clean and Fresh Look:
Lighter cabinets can make a space feel clean and fresh. They add a sense of brightness and cleanliness to the room, making it a more inviting and welcoming space.
Steps to Staining Kitchen Cabinets a Lighter Color
 Gather Materials:
The first step in
staining your kitchen cabinets a lighter color
is to gather all the necessary materials. This includes sandpaper, wood stain, paintbrushes, and a polyurethane sealer.
Prepare the Cabinets:
Before you start staining, you'll need to prepare your cabinets by removing all hardware and giving them a good sanding. This will help the stain adhere better to the surface of your cabinets.
Apply the Stain:
Using a paintbrush, apply the stain in long, even strokes, following the direction of the wood grain. Let the first coat dry completely before applying a second coat for a deeper color.
Seal the Cabinets:
Once the stain has dried, seal the cabinets with a polyurethane sealer to protect the wood and give it a smooth finish.
Gather Materials:
The first step in
staining your kitchen cabinets a lighter color
is to gather all the necessary materials. This includes sandpaper, wood stain, paintbrushes, and a polyurethane sealer.
Prepare the Cabinets:
Before you start staining, you'll need to prepare your cabinets by removing all hardware and giving them a good sanding. This will help the stain adhere better to the surface of your cabinets.
Apply the Stain:
Using a paintbrush, apply the stain in long, even strokes, following the direction of the wood grain. Let the first coat dry completely before applying a second coat for a deeper color.
Seal the Cabinets:
Once the stain has dried, seal the cabinets with a polyurethane sealer to protect the wood and give it a smooth finish.
In Conclusion
 Staining kitchen cabinets a lighter color is a great design choice that can completely transform the look and feel of your kitchen. By enhancing natural light, modernizing the space, and creating a clean and fresh look, lighter cabinets can make your kitchen a more inviting and enjoyable space. So why wait? Give your kitchen a fresh new look by
staining your cabinets a lighter color
today.
Staining kitchen cabinets a lighter color is a great design choice that can completely transform the look and feel of your kitchen. By enhancing natural light, modernizing the space, and creating a clean and fresh look, lighter cabinets can make your kitchen a more inviting and enjoyable space. So why wait? Give your kitchen a fresh new look by
staining your cabinets a lighter color
today.