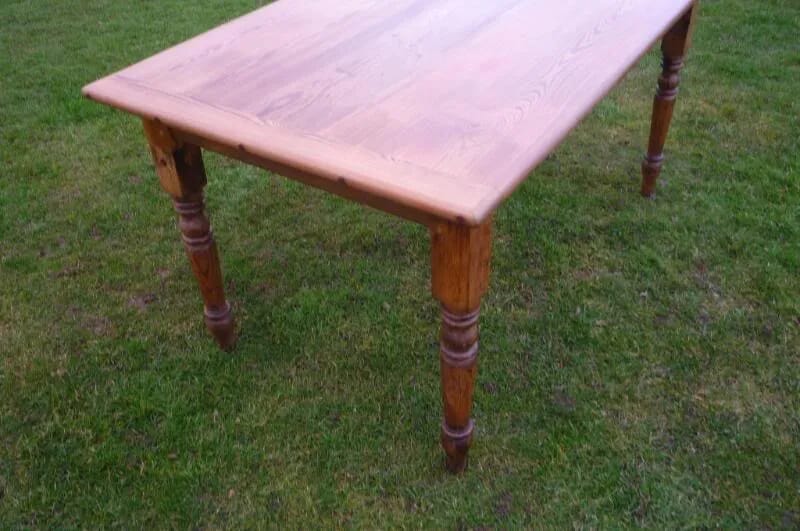
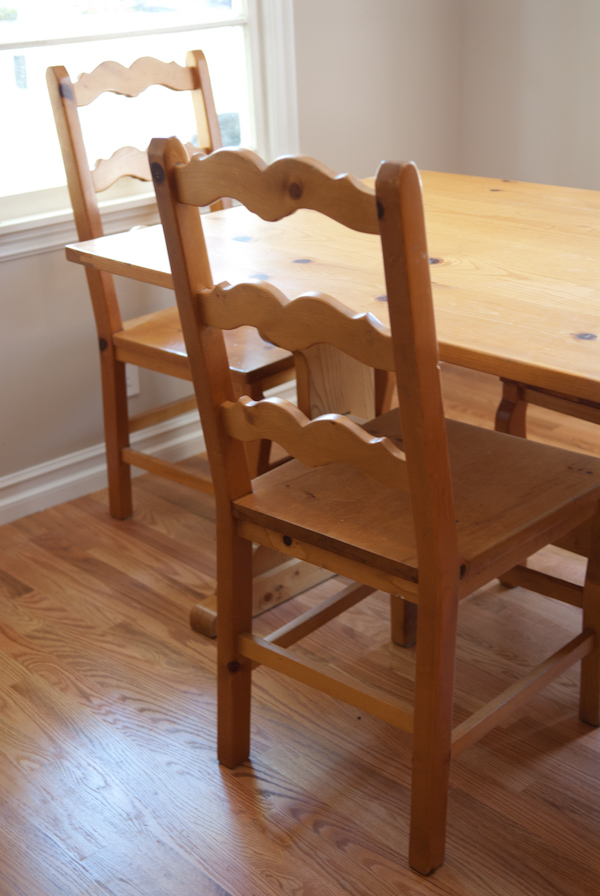
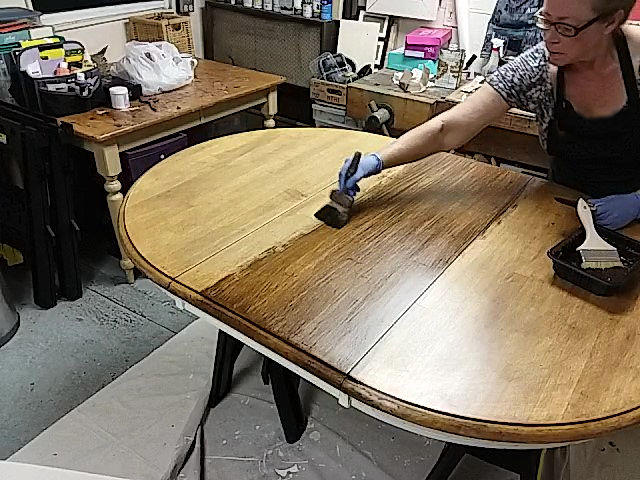
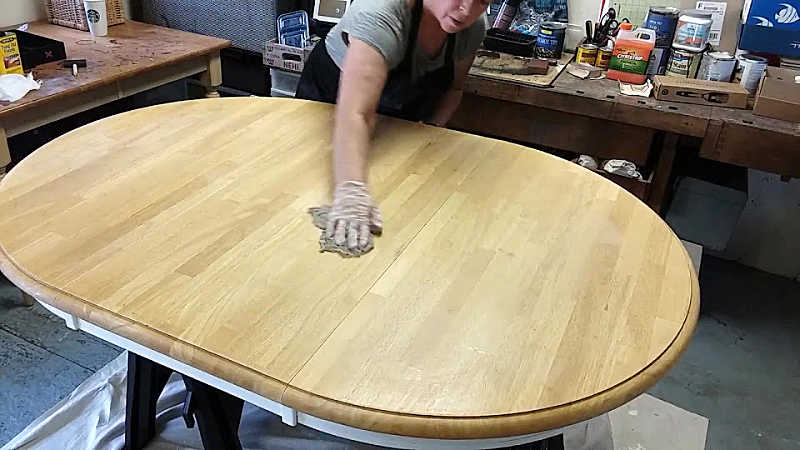
Staining a pine kitchen table is a great way to add warmth and character to your dining area. However, it can be a daunting task for those who are not familiar with the process. But don't worry, with the right materials and techniques, you can achieve a beautiful and professional-looking finish on your pine table. First, you'll need to prepare the table by sanding it down to remove any existing finish and to smooth out any imperfections. Make sure to sand in the direction of the grain to avoid creating scratches on the wood. Once the table is smooth, wipe it down with a damp cloth to remove any dust. Next, choose the right stain for your pine table. Pine is a softwood, which means it absorbs stain differently than hardwoods. It's important to choose a stain specifically made for softwoods, such as pine. This will ensure the color penetrates evenly and doesn't end up blotchy or uneven. Apply the stain with a brush or cloth, following the direction of the grain. Start with a thin coat and add more layers for a darker color. Make sure to wipe off any excess stain with a clean cloth before it dries to avoid a sticky finish. After the stain has dried, you can add a protective topcoat to your table. This can be a clear polyurethane or wax. The topcoat will not only protect the stain but also give the table a smooth and shiny finish. Apply the topcoat with a brush or cloth and let it dry completely before using the table.1. How to Stain a Pine Kitchen Table
When it comes to staining pine wood, not all stains are created equal. Some stains are specifically formulated for pine and other softwoods, while others are better suited for hardwoods. To achieve the best results, it's important to choose the right stain for your pine kitchen table. One of the best stains for pine is a gel stain. Gel stains are thicker and easier to control, making them ideal for softwoods like pine. They also tend to have a more consistent and even finish compared to traditional liquid stains. Gel stains come in a variety of colors, so you can choose the perfect shade for your table. Another great option for staining pine is using a water-based stain. These stains are environmentally friendly and have a low odor. They also dry faster than oil-based stains, making them a convenient choice for those who want to finish their project quickly. Water-based stains work well on pine as they don't raise the wood grain as much as oil-based stains do. Whichever stain you choose, make sure to read the label and make sure it is suitable for softwoods like pine. This will ensure the stain penetrates evenly and gives you the desired color on your kitchen table.2. Best Stains for Pine Wood
If you're a fan of DIY projects, staining a pine kitchen table is a great way to personalize and add character to your dining area. With the right tools and techniques, you can achieve a professional-looking finish on your table without breaking the bank. First, gather all the necessary materials, including sandpaper, stain, topcoat, brushes or cloth, and a drop cloth to protect your work surface. Start by sanding down the table to remove any existing finish and to smooth out the wood. As mentioned earlier, sand in the direction of the grain to avoid scratches. Once the table is smooth, wipe it down with a damp cloth to remove any dust. Then, apply the stain with a brush or cloth, following the direction of the grain. Start with a thin coat and add more layers for a darker color. Make sure to wipe off any excess stain before it dries to avoid a sticky finish. After the stain has dried, you can add a protective topcoat to your table. This will not only protect the stain but also give the table a smooth and shiny finish. Apply the topcoat with a brush or cloth and let it dry completely before using the table.3. DIY Pine Kitchen Table Staining Tutorial
Staining a pine table may seem like a straightforward task, but there are a few tips and tricks that can help you achieve the best results. First, make sure to sand the table thoroughly and properly. This is crucial to creating a smooth and even surface for the stain to adhere to. Use a fine-grit sandpaper and sand in the direction of the grain to avoid scratches. Choosing the right stain color is also important. If you want a darker color, don't apply too many coats of stain as it can lead to a blotchy finish. Instead, opt for a darker stain or let the first coat dry completely before adding another layer. It's also a good idea to test the stain on a small, inconspicuous area of the table before applying it to the entire surface. This will give you an idea of how the color will look and if you need to make any adjustments. Lastly, make sure to work in a well-ventilated area and wear protective gear, such as gloves and a mask, when working with stain and topcoat.4. Tips for Staining a Pine Table
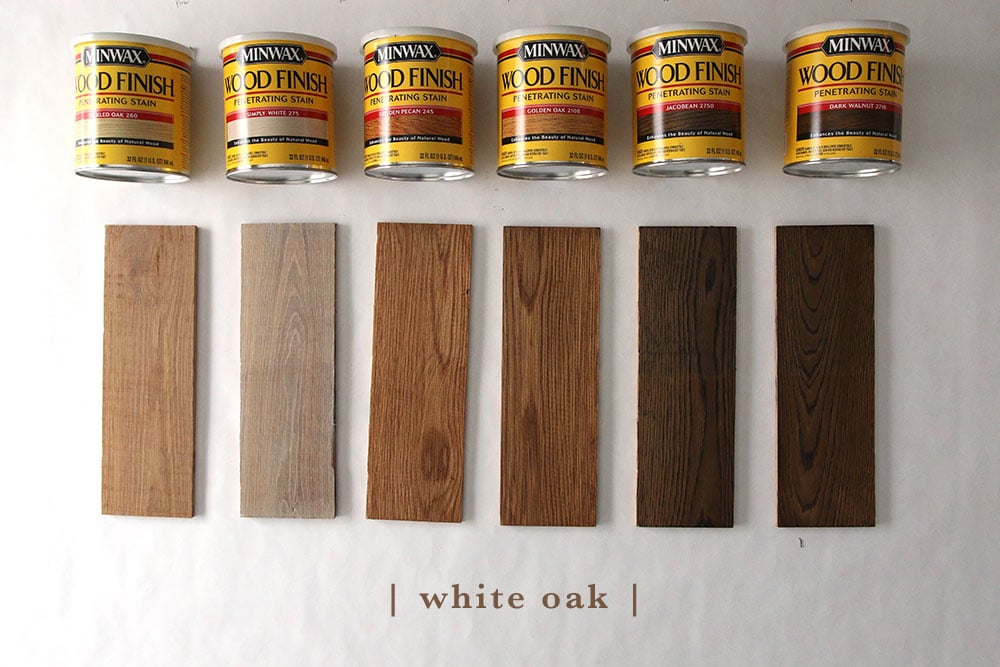
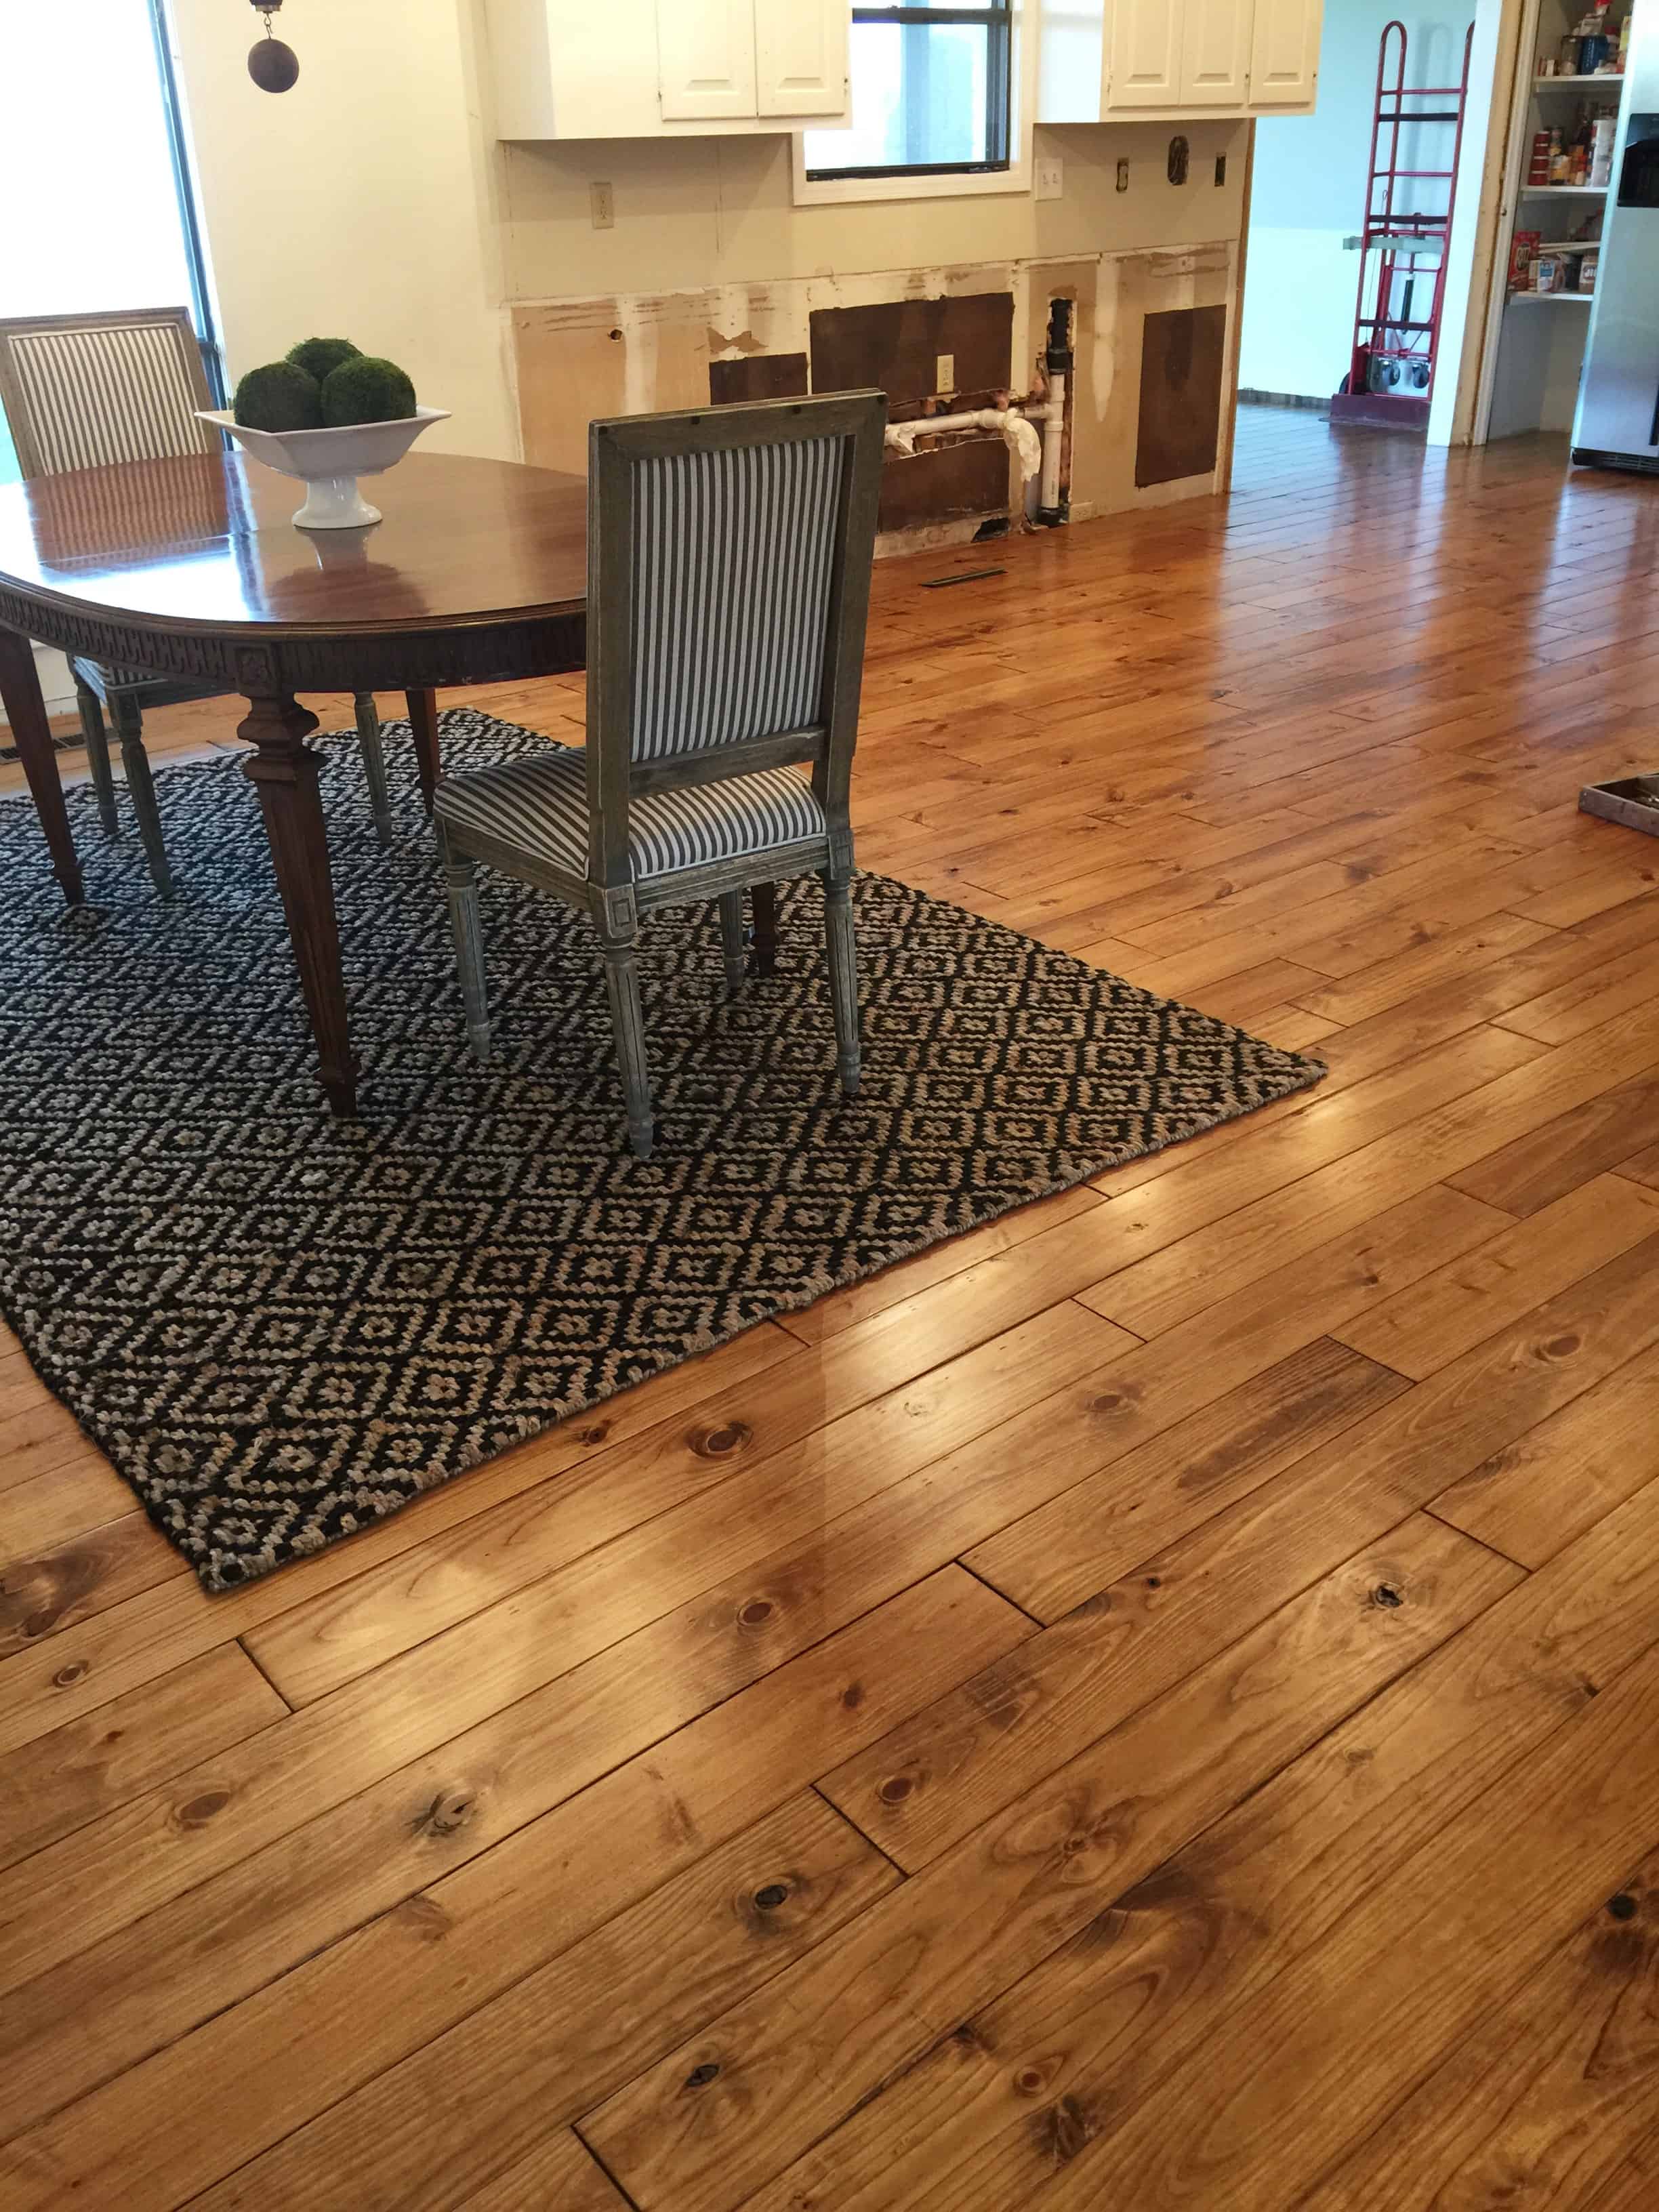
Choosing the right stain color for your pine kitchen table can be overwhelming with so many options available. Here are some popular stain colors that work well on pine wood. For a classic and timeless look, you can't go wrong with a warm, natural wood stain. This will enhance the natural beauty of pine and give your table a warm and inviting feel. If you want to add a touch of rustic charm, consider a darker stain, such as ebony or walnut. For a more modern and trendy look, consider a gray or white stain. These can give your pine table a sleek and contemporary feel. You can also experiment with different techniques, such as distressing or layering stains, to create a unique and personalized look for your table. When choosing a stain color, consider the overall aesthetic of your dining area and the other wood tones in the room. This will help you choose a stain that complements the existing décor.5. Pine Kitchen Table Stain Color Ideas
There are various staining techniques you can use to achieve different effects on your pine kitchen table. Here are a few to consider: Traditional staining: This is the most common technique, where you simply apply the stain with a brush or cloth and wipe off any excess before it dries. Layering stains: This involves applying multiple coats of different stains to create a unique and customized color for your table. You can also layer stains with a base color and a darker color on top to add depth and dimension to the wood. Distressing: Distressing involves using sandpaper or other tools to create worn and aged-looking areas on the wood. This technique works well with darker stains and can give your pine table a rustic and vintage feel. Color washing: This technique involves applying a thin layer of diluted stain to create a subtle and washed-out effect. It works well with lighter stains and can give your pine table a soft and muted look.6. Staining Techniques for a Pine Table
If your old pine kitchen table is looking dull and worn out, you can easily give it a new lease on life by refinishing it. Refinishing involves removing the old finish, sanding down the wood, and applying a new stain and topcoat. Start by removing the old finish using a chemical stripper or sandpaper. Once the wood is bare, sand it down to remove any imperfections and smooth out the surface. Then, follow the steps for staining a new pine table, making sure to choose a stain color that complements the rest of your dining area. Refinishing your pine kitchen table not only gives it a fresh and updated look, but it also helps to protect the wood and extend its lifespan.7. How to Refinish a Pine Kitchen Table
As mentioned earlier, not all stains are suitable for pine wood. When choosing a stain for your kitchen table, make sure to read the label and look for ones that are specifically made for softwoods like pine. This will ensure the best results and prevent any potential issues, such as a blotchy finish or color inconsistencies. You should also consider the type of stain, such as oil-based or water-based, and the color you want to achieve. It's always a good idea to test the stain on a small area of the table to see how it looks before applying it to the entire surface.8. Choosing the Right Stain for Your Pine Table
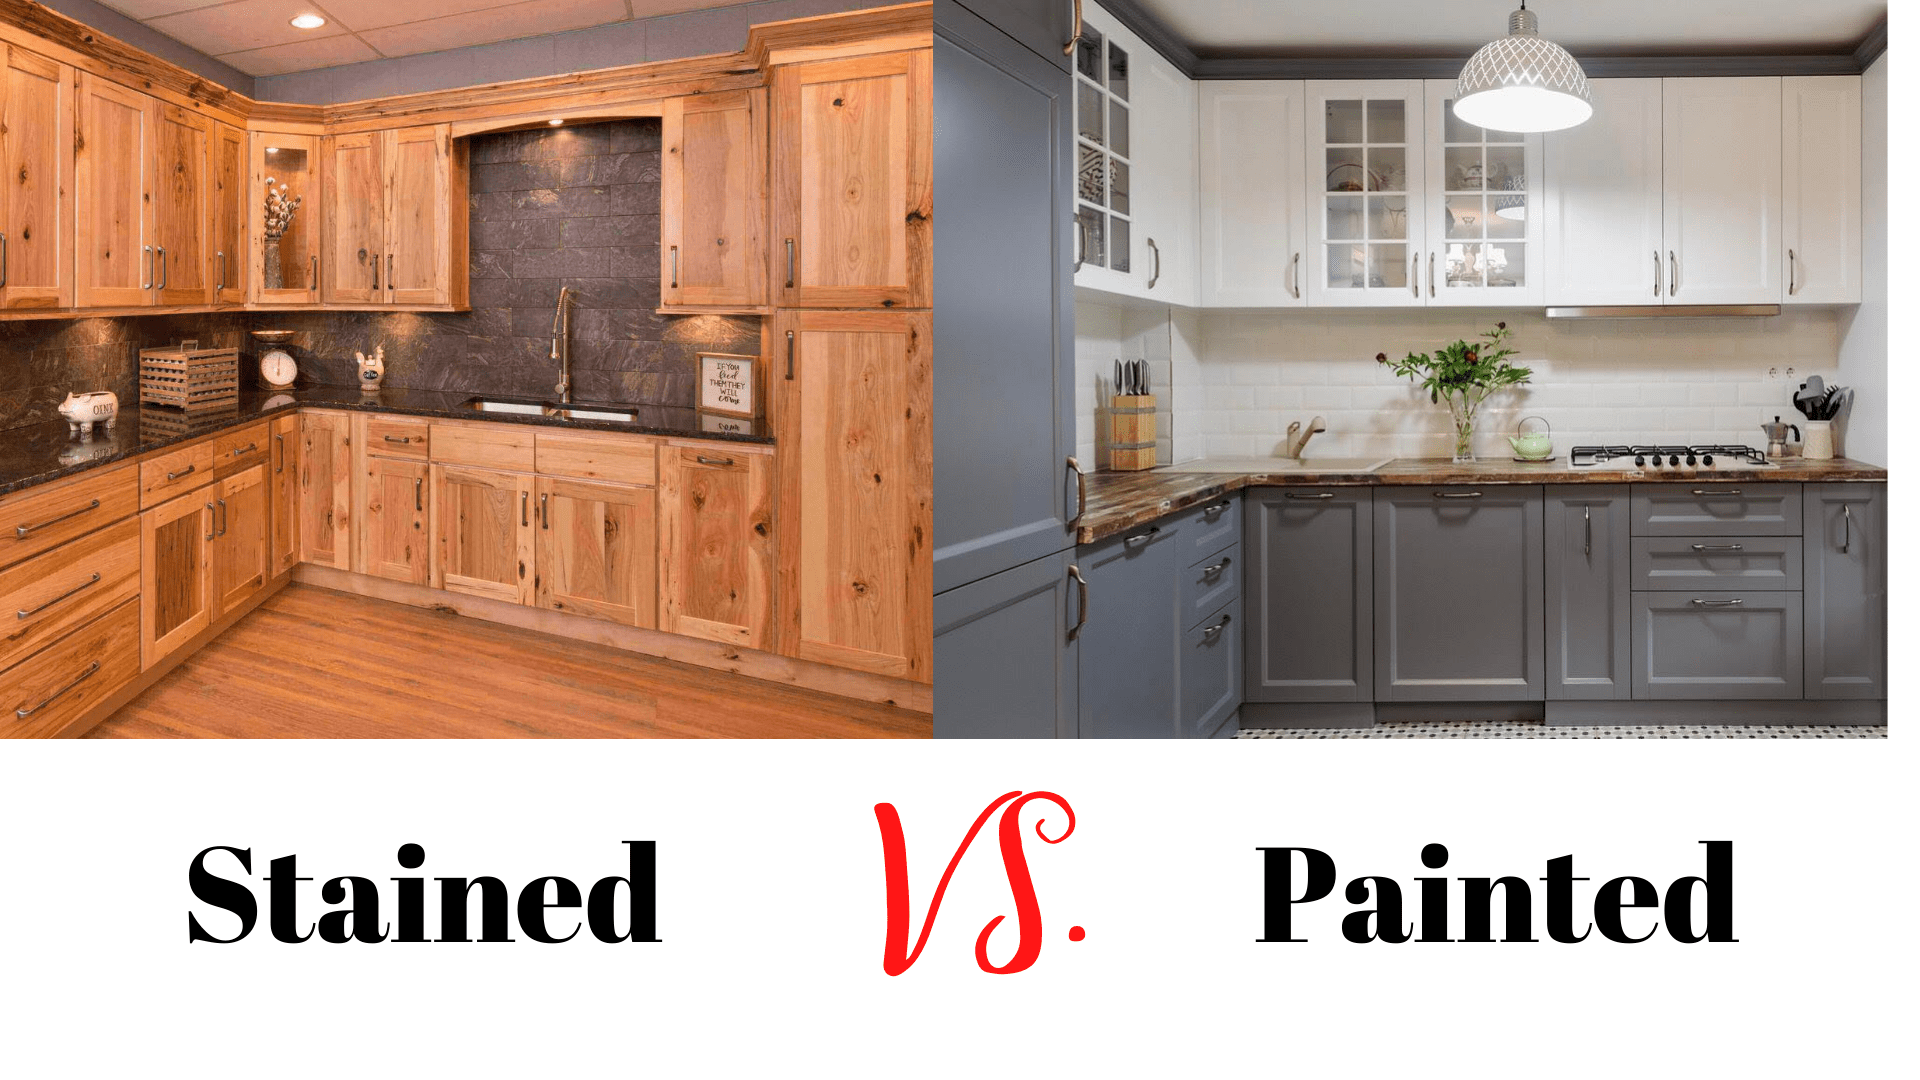
When it comes to updating your pine kitchen table, you may be torn between staining or painting it. Both options have their pros and cons, and it ultimately depends on your personal preference and the look you want to achieve. Staining is a great option for those who want to enhance the natural beauty of pine and add warmth and character to their table. It also allows the wood grain to show through, giving your table a more organic and natural look. On the other hand, painting a pine table can give it a completely new and different look. This is a great option if you want to add a pop of color or create a more modern and sleek aesthetic. However, keep in mind that painting will cover up the wood grain and may require more upkeep over time.9. Staining vs Painting a Pine Kitchen Table
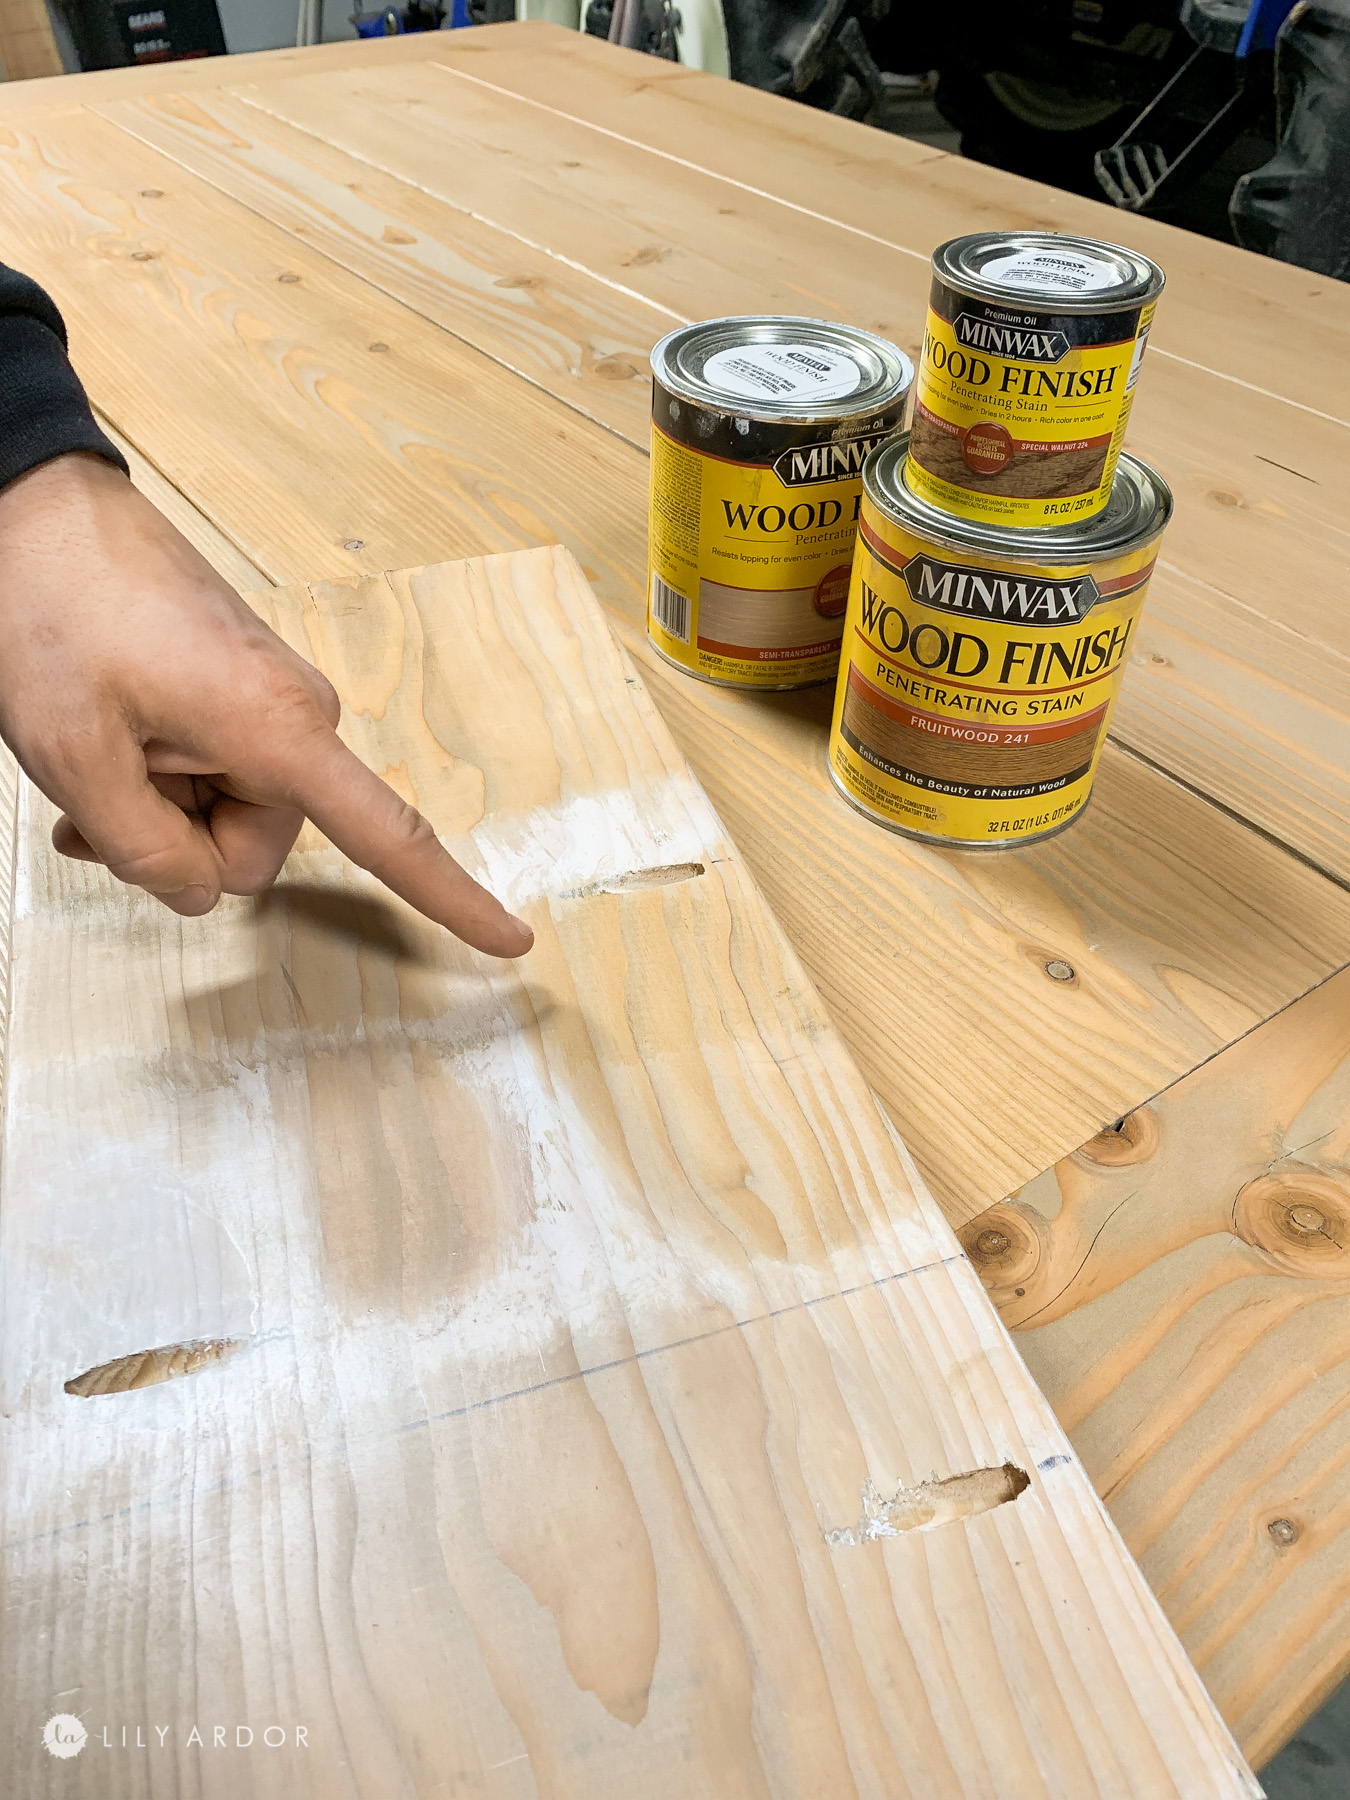
Staining a pine kitchen table may seem like a simple task, but there are a few common mistakes that can lead to less-than-desirable results. Here are some to avoid: Not sanding enough: As mentioned earlier, sanding is crucial to creating a smooth and even surface for the stain to adhere to. Make sure to sand thoroughly and properly to avoid any imperfections in the finish. Not wiping off excess stain: It's important to wipe off any excess stain before it dries to avoid a sticky and tacky finish. This can also lead to a blotchy appearance on the wood. Using the wrong type of stain: Make sure to choose a stain specifically made for softwoods like pine. Using the wrong type of stain can lead to an uneven or blotchy finish. Not testing the stain first: It's always a good idea to test the stain on a small, inconspicuous area of the table before applying it to the entire surface. This will give you an idea of how the color will look and if you need to make any adjustments. With these tips and techniques, you can successfully stain your pine kitchen table and achieve a beautiful and professional-looking finish. Whether you prefer a classic and natural look or want to experiment with different stain colors and techniques, staining a pine table is a great way to personalize your dining area and make it truly your own.10. Common Mistakes to Avoid When Staining a Pine Table
Why Staining Your Pine Kitchen Table Can Transform Your House Design
Enhance the Aesthetics of Your Kitchen
 A kitchen is the heart of a home, and what better way to elevate its design than with a
stained pine kitchen table
? This simple yet effective addition can completely transform the look and feel of your kitchen. With a wide variety of
stains
available in the market, you can choose one that complements your
kitchen's color scheme
and adds a touch of warmth and character to the space.
Add Durability and Longevity to Your Table
 A
stained pine kitchen table
not only enhances the aesthetics of your kitchen, but it also adds durability and longevity to your furniture. Pine is a softwood that is susceptible to scratches and dents. By staining your table, you are adding an extra layer of protection to the wood, making it more resistant to wear and tear. This means your
kitchen table
will last for years to come, saving you the hassle and cost of constantly replacing it.
Choose from a Variety of Stains
 When it comes to staining your
pine kitchen table
, the possibilities are endless. You can opt for a classic and elegant
dark stain
that adds depth and richness to the wood or a
lighter stain
that brings out the natural beauty and grain of the pine. For a more rustic and distressed look, you can even try a
weathered or whitewashed stain
. The choice is yours, and each stain will give your
kitchen table
a unique and personalized touch.
Easy to Maintain
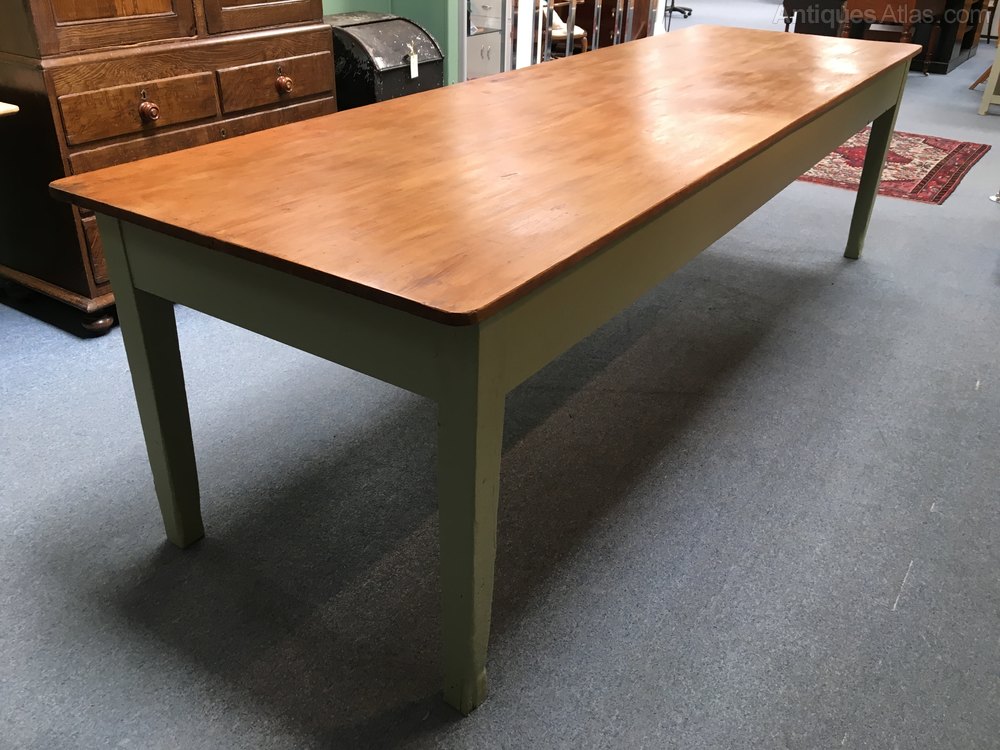 One of the best things about staining your
pine kitchen table
is that it is relatively easy to maintain. Unlike painted tables, which may chip or peel over time, a
stained table
will only require occasional cleaning and re-staining every few years. This makes it a practical and cost-effective option for those looking to upgrade their
kitchen design
without the hassle of constant maintenance.
Final Thoughts
 A
stained pine kitchen table
is a simple yet impactful addition that can completely transform the look and feel of your kitchen. With its ability to enhance the aesthetics, add durability, and offer a variety of options, it is no wonder that this trend has become so popular in house design. So why wait? Take the leap and add a touch of warmth and character to your kitchen with a
stained pine kitchen table
.








/GettyImages-98458433-b2f63c2945134b75b671af2719e6945f.jpg)


