How to Spray Paint a Bathroom Vanity Top
If you're tired of looking at your old, worn out bathroom vanity top, why not give it a fresh new look with a coat of spray paint? Not only is this a budget-friendly option, but it also allows you to customize the color and finish of your vanity top to match your bathroom decor. In this article, we'll guide you through the process of spray painting your bathroom vanity top, step by step.
DIY Spray Painting Bathroom Vanity Top
With the right materials and a little bit of patience, you can easily transform your bathroom vanity top into a stunning focal point in your bathroom. This is a great DIY project for those who love to get their hands dirty and see the results of their hard work. Plus, it's a much more affordable option than replacing the entire vanity top.
Best Paint for Bathroom Vanity Top
When it comes to choosing the best paint for your bathroom vanity top, there are a few factors to consider. First and foremost, you want to make sure that the paint is suitable for use in a high-moisture environment, such as a bathroom. Look for paints labeled as "bathroom paint" or "moisture-resistant." Additionally, you'll want to choose a paint that is specifically designed for use on non-porous surfaces, such as laminate or cultured marble.
Step-by-Step Guide for Spray Painting Bathroom Vanity Top
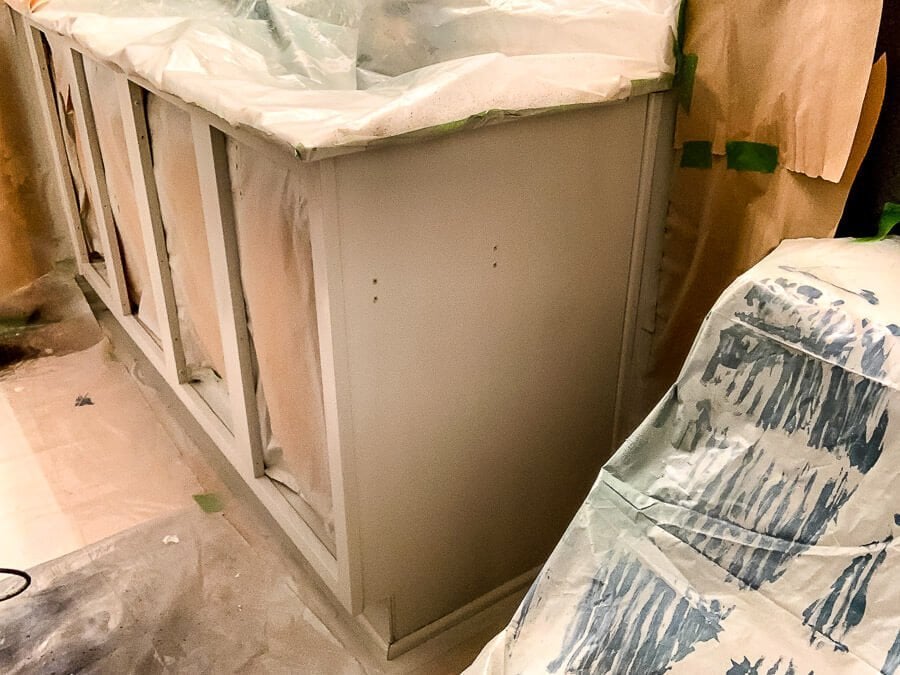
Before you begin the spray painting process, make sure to thoroughly clean and dry your vanity top. Any dirt or debris left on the surface can affect the finish of your paint. Next, you'll want to lightly sand the surface of the vanity top to create a rough texture for the paint to adhere to. Then, use painter's tape to protect any areas that you don't want to get paint on, such as the sink or backsplash.
Next, it's time to prime your vanity top. This step is crucial for ensuring that your paint adheres properly and creates a smooth finish. Use a spray primer specifically designed for non-porous surfaces, and apply it in thin, even coats. Let the primer dry completely before moving on to the next step.
Now it's time to paint! Choose a high-quality spray paint in the color of your choice. Hold the can about 8-12 inches away from the surface of your vanity top and apply the paint in thin, even coats. Be sure to follow the manufacturer's instructions for drying time between coats. Once you've achieved full coverage, let the paint dry completely before removing the painter's tape and using your newly painted vanity top.
Spray Painting Bathroom Vanity Top: Tips and Tricks
For a professional-looking finish, here are a few tips and tricks to keep in mind while spray painting your bathroom vanity top:
1. Prep is key: Make sure to clean and sand your vanity top before starting the painting process to ensure a smooth and long-lasting finish.
2. Choose the right paint: As mentioned earlier, be sure to choose a paint specifically designed for use on non-porous surfaces in high-moisture environments.
3. Use light, even coats: Applying thin, even coats of paint will help prevent drips and create a smooth finish.
4. Practice makes perfect: If you're new to spray painting, practice on a small, inconspicuous area first to get the hang of it.
5. Don't rush: Allow each coat of paint to dry completely before applying the next one. This will help prevent clumping and uneven coverage.
Transform Your Bathroom Vanity Top with Spray Paint
With just a can of spray paint and some elbow grease, you can completely transform the look of your bathroom vanity top. Whether you want to update the color or give it a new, modern finish, spray painting is a simple and cost-effective way to achieve a stunning makeover.
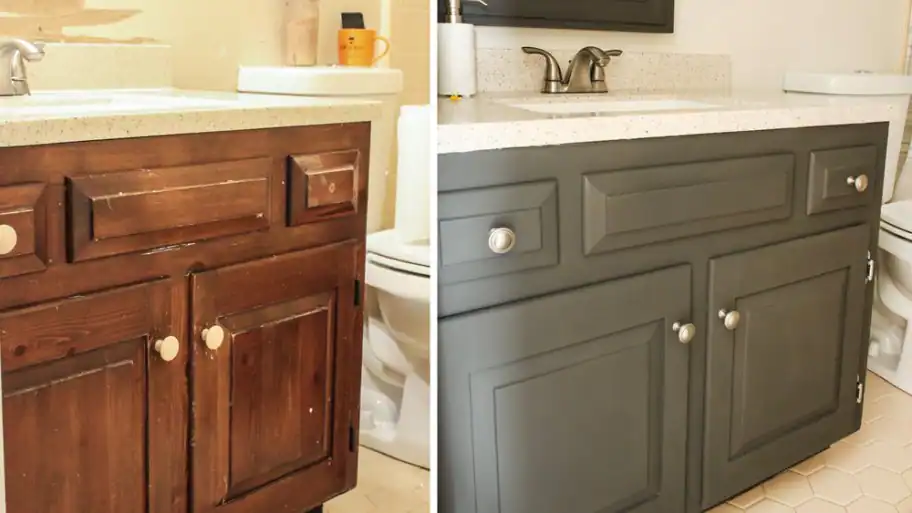
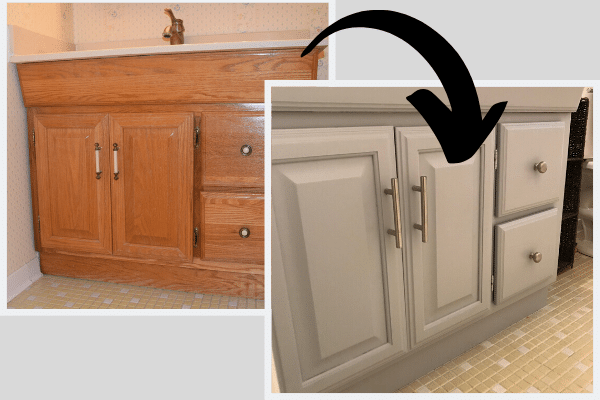
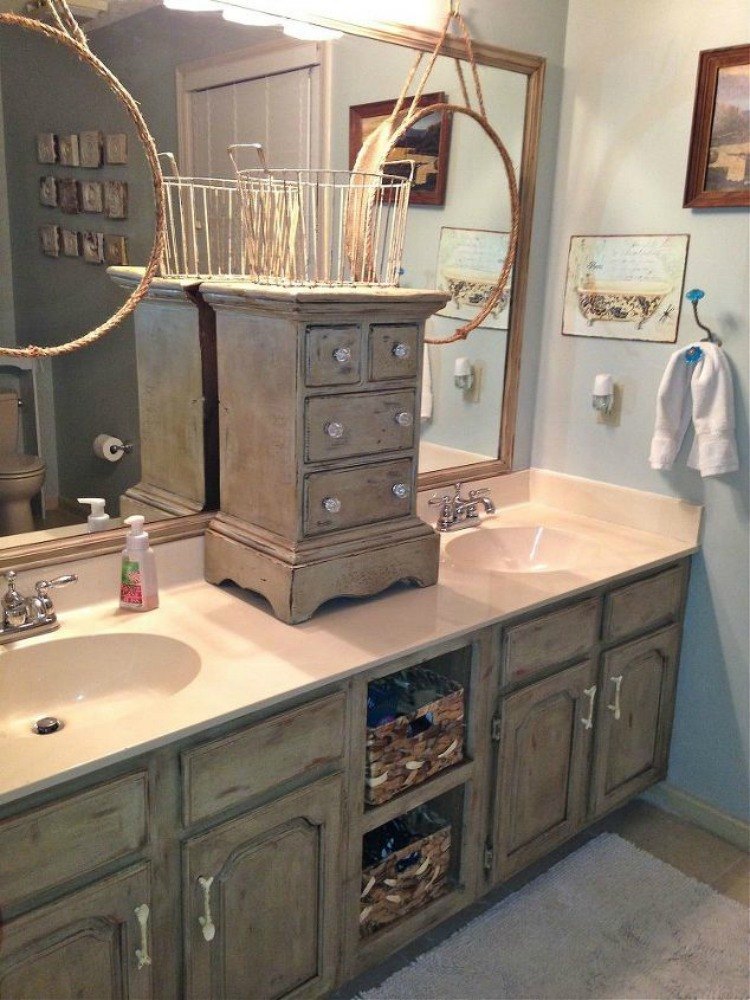
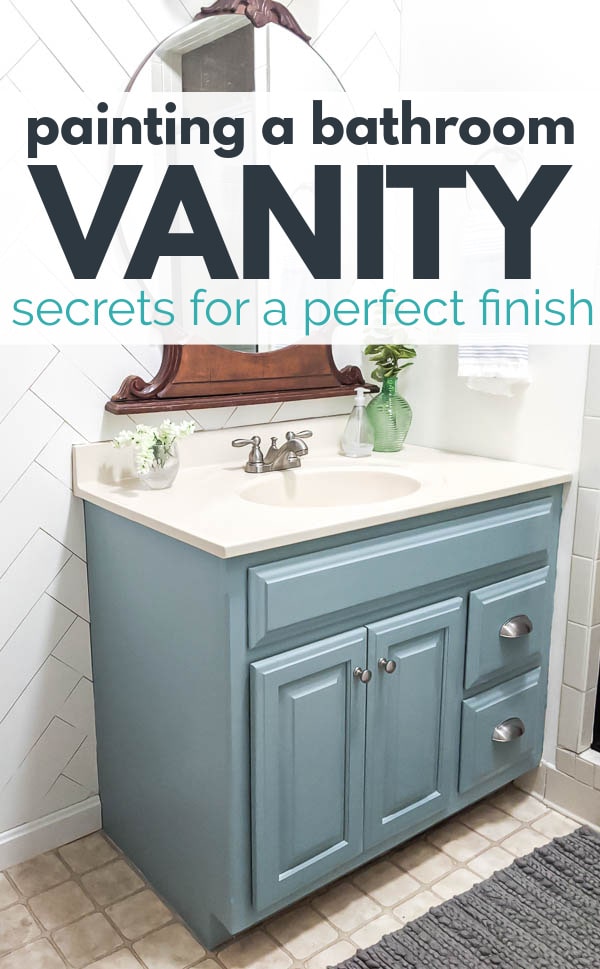
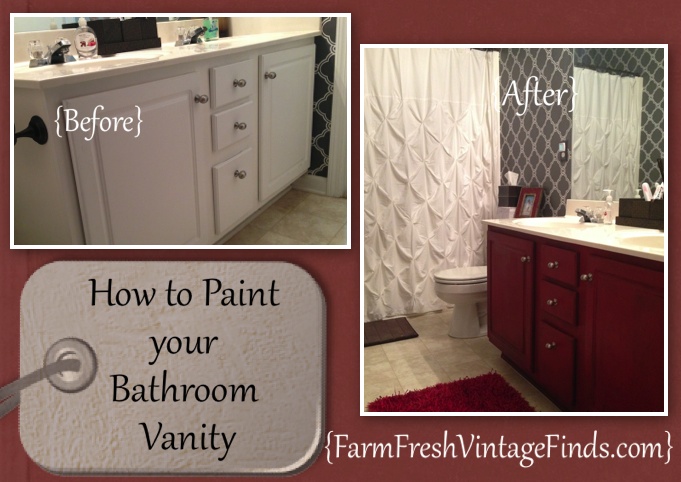
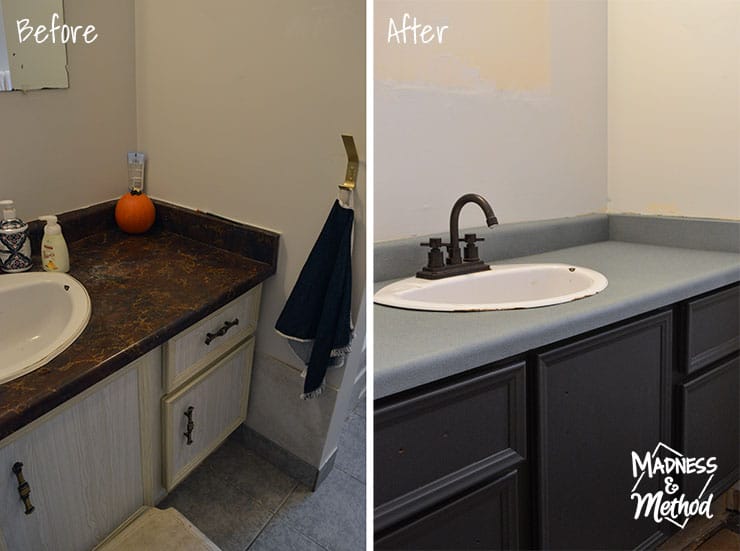
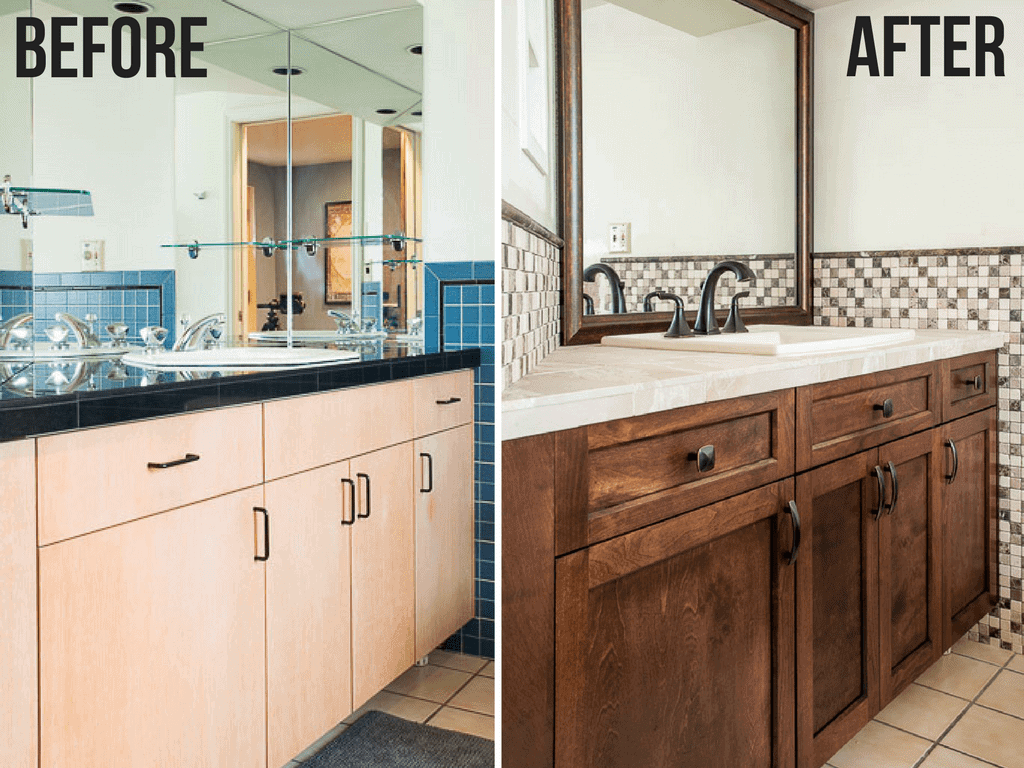
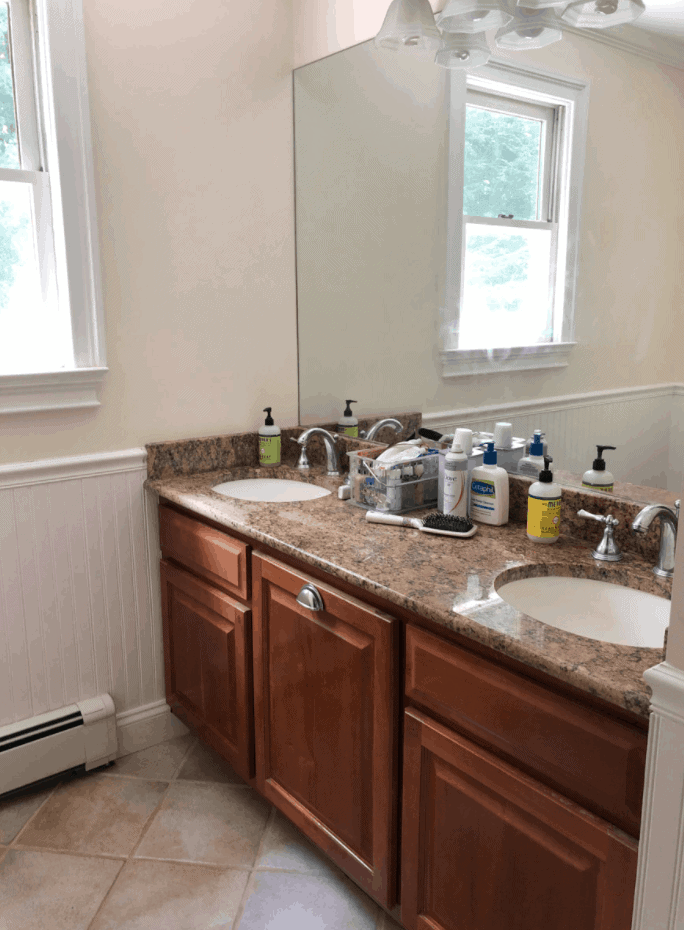
Spray Painting Bathroom Vanity Top: Before and After
Still not convinced? Check out some before and after photos of bathroom vanity tops that have been given new life with a coat of spray paint. The difference is truly remarkable and shows the power of this DIY project.
Budget-Friendly Bathroom Vanity Top Makeover with Spray Paint
Replacing a bathroom vanity top can be a costly project, but with spray paint, you can achieve a similar result for a fraction of the cost. This is a great option for those on a budget or looking to update their bathroom without breaking the bank.
How to Achieve a Professional Finish when Spray Painting Bathroom Vanity Top
If you want your bathroom vanity top to look like it was professionally painted, here are a few extra tips:
1. Sand between coats: For an extra smooth finish, lightly sand your vanity top between coats of paint.
2. Use a clear topcoat: Applying a clear topcoat will not only protect your paint job but also give it a glossy finish.
3. Take your time: While it may be tempting to rush through the process, taking your time and following the steps carefully will result in a better finish.
Spray Painting Bathroom Vanity Top: Common Mistakes to Avoid
As with any DIY project, there are a few common mistakes that can easily be avoided. These include:
1. Not prepping the surface properly: Skipping the cleaning and sanding steps can result in a poor paint finish.
2. Using the wrong type of paint: Using paint that is not suitable for high-moisture environments or non-porous surfaces will result in peeling and flaking.
3. Applying too thick of coats: Thick coats of paint can result in drips and an uneven finish. Stick to thin, even coats for the best results.
With these tips, you can easily achieve a professional finish when spray painting your bathroom vanity top. Give it a try and see the amazing transformation for yourself!
Transform Your Bathroom Vanity Top with a Fresh Coat of Spray Paint

Revamp Your Bathroom Design with a Simple DIY Project
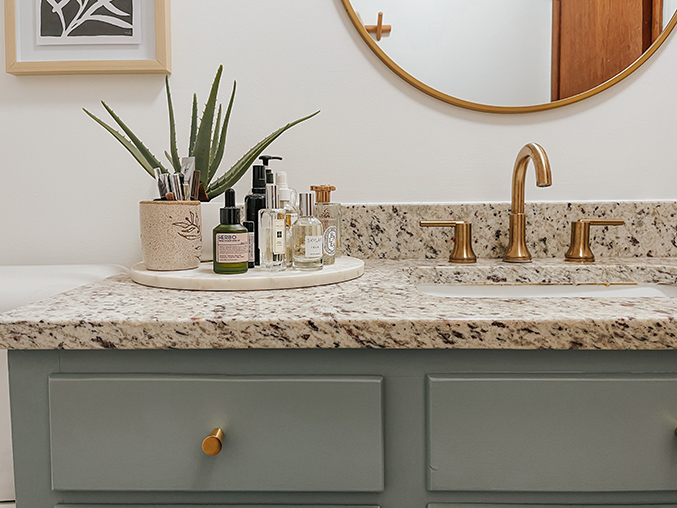 Is your bathroom vanity top looking dull and outdated? Are you tired of the same old look and want to give it a fresh new vibe? Look no further than spray painting! This simple and budget-friendly DIY project can transform your bathroom design and give it a whole new look. In this article, we'll guide you through the process of spray painting your bathroom vanity top, providing tips and tricks to achieve a professional and long-lasting finish.
Choose the Right Paint and Prep Your Vanity Top
 Before diving into the painting process, it's important to choose the right type of paint for your bathroom vanity top.
Oil-based paints
are the most durable and suitable for high-moisture areas like bathrooms. They also provide a smooth and glossy finish that is easy to clean.
Acrylic paints
are another option, but they may not hold up as well in a bathroom setting. Once you have chosen your paint, make sure to
thoroughly clean and sand
your vanity top to ensure a smooth and even surface for the paint to adhere to. Use a mild cleaner and a fine-grit sandpaper to remove any dirt, grime, or old paint.
Prime and Protect
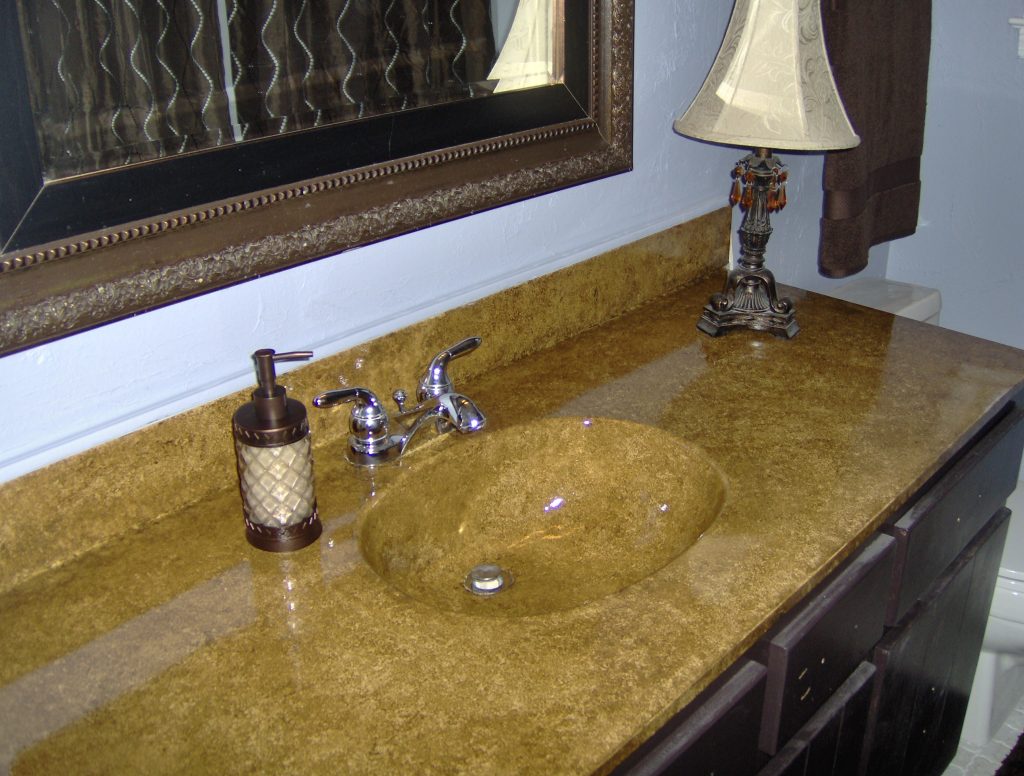 To ensure the paint sticks to the vanity top and lasts for a long time,
prime the surface
with a quality primer. This will also help to cover any imperfections and create a smooth base for the paint. After the primer has dried, it's time to protect your bathroom vanity top from any drips or spills. Use masking tape to cover any areas you don't want to get paint on, such as the walls or cabinets.
Start Painting
 Now comes the fun part – painting! Use a spray paint specifically designed for
bathroom and kitchen surfaces
, as they have better durability and resistance to moisture. Hold the can about 8-10 inches away from the surface and use smooth, even strokes to apply the paint. It's better to do several thin coats rather than one thick one to prevent drips and achieve a more even finish.
Don't forget to paint the edges
of the vanity top as well for a polished look.
Finishing Touches
 Once the paint has dried, remove the masking tape and assess if any touch-ups are needed. If you notice any imperfections or uneven spots, lightly sand them down and apply another coat of paint.
For added protection and a glossy finish
, you can also use a clear topcoat specifically designed for bathroom surfaces. This will also make it easier to clean and maintain your newly painted vanity top.
Enjoy Your Newly Transformed Bathroom Vanity Top
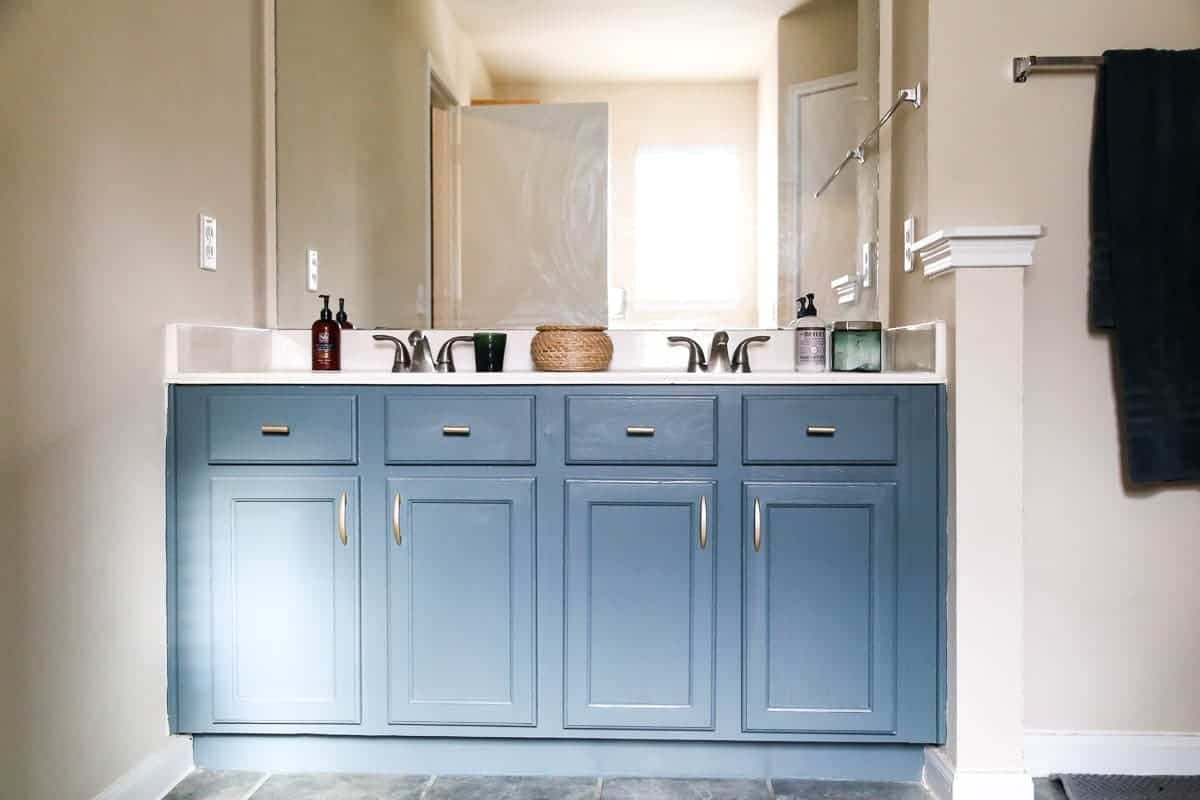 With just a few simple steps, you can give your bathroom vanity top a whole new look and upgrade your bathroom design. Spray painting is an easy and affordable way to revamp your space without breaking the bank. So why not give it a try and see the difference it can make in your bathroom? With the right supplies and techniques, you'll have a beautiful and durable vanity top in no time.



:max_bytes(150000):strip_icc()/build-something-diy-vanity-594402125f9b58d58ae21158.jpg)

/cherry-diy-bathroom-vanity-594414da5f9b58d58a099a36.jpg)
