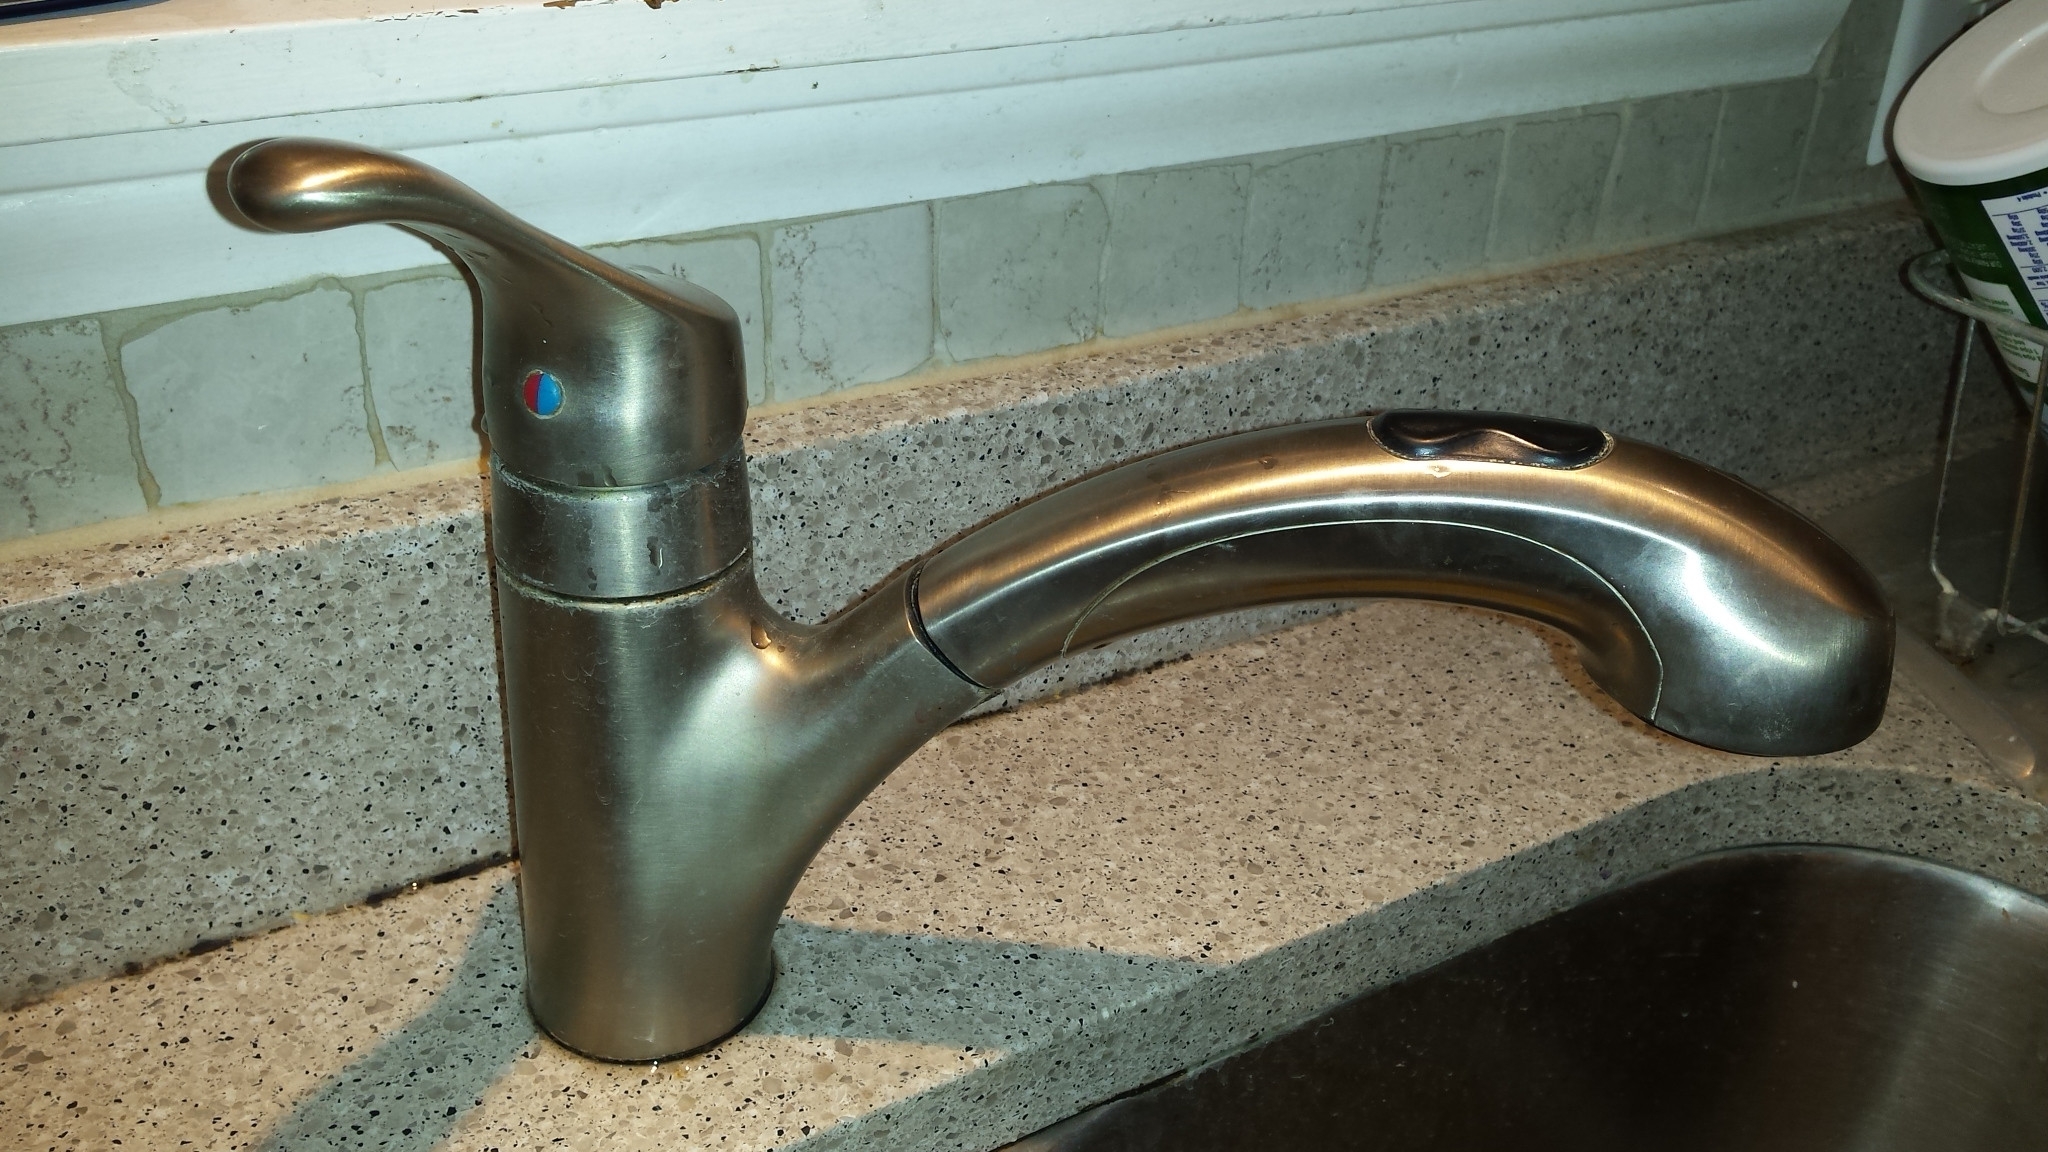
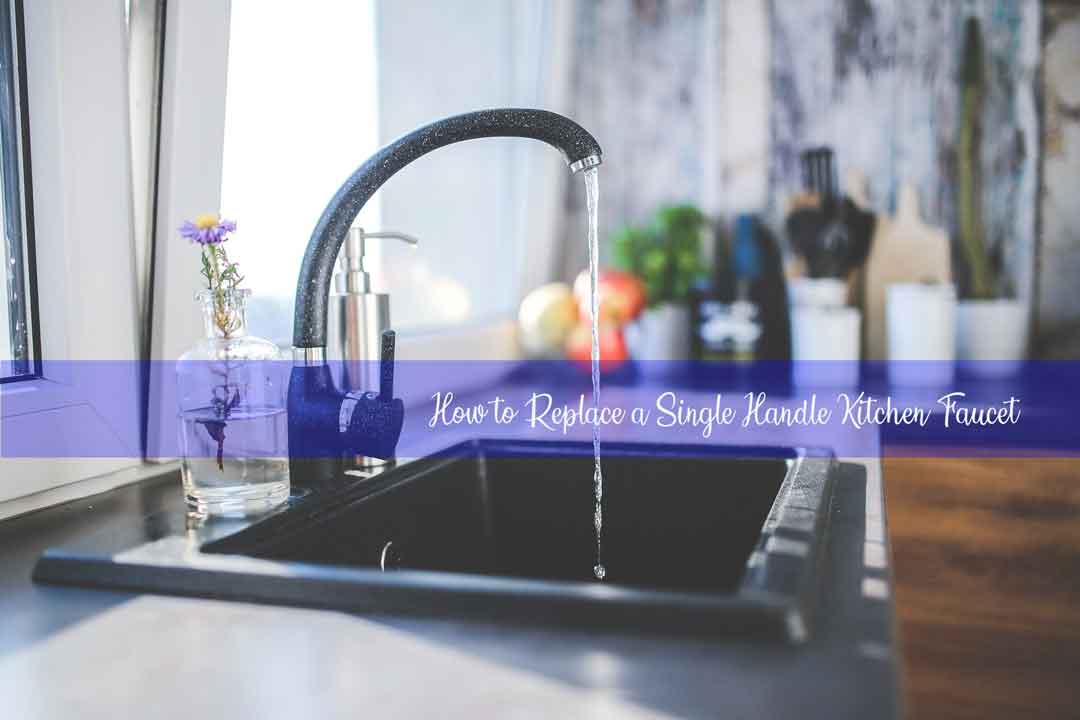
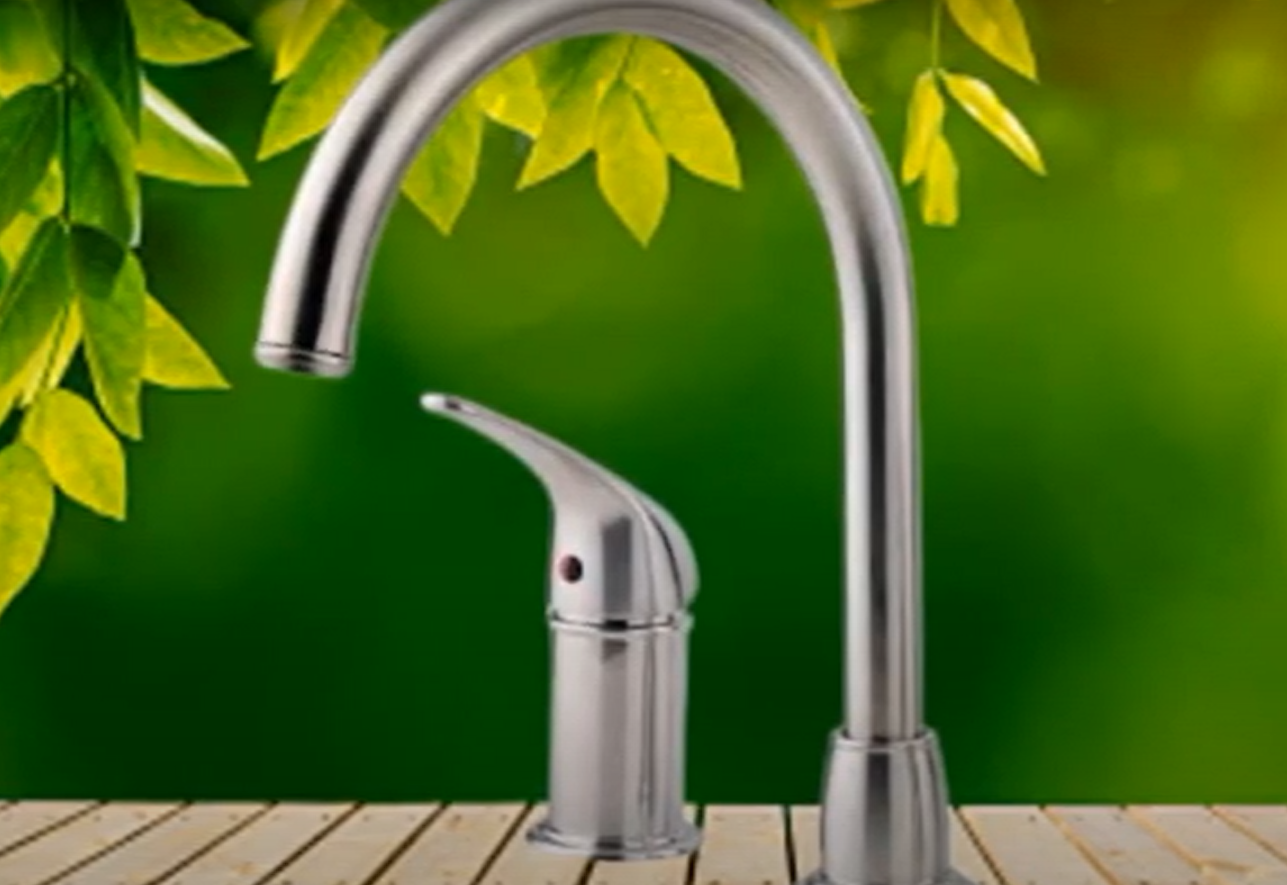
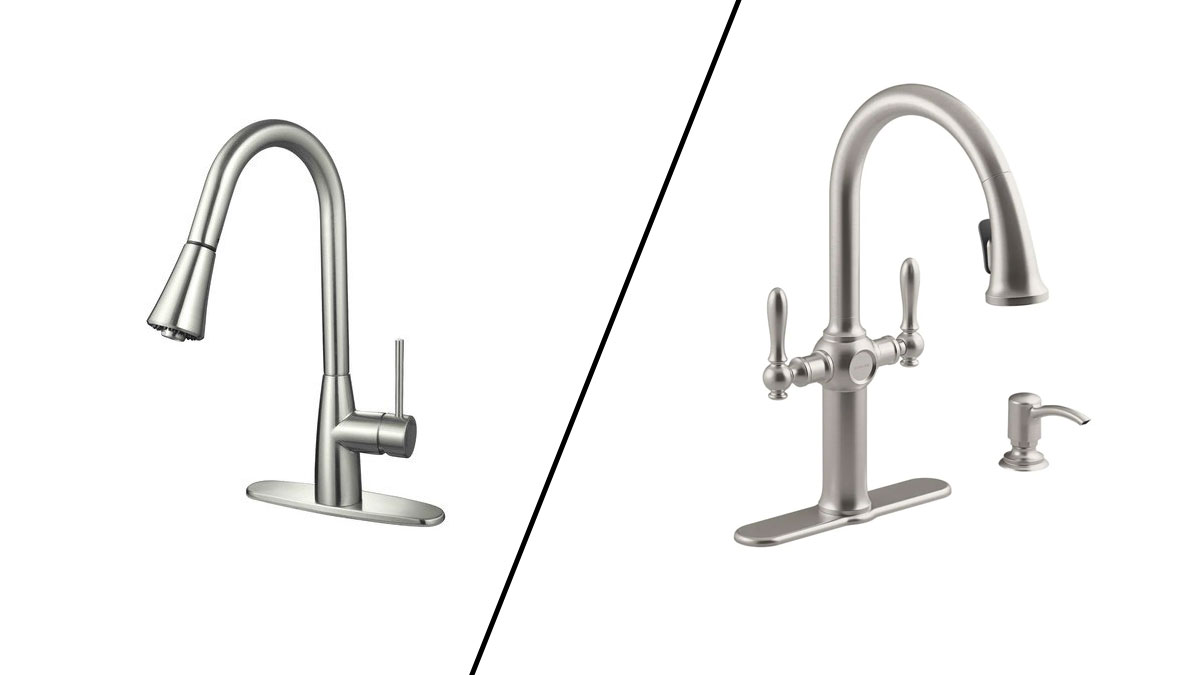
How to Repair a Single Handle Kitchen Sink Faucet
If you're experiencing issues with your single handle kitchen sink faucet, don't panic. There are several common problems that can occur with these types of faucets, but luckily, they can be easily repaired. In this article, we'll walk you through the steps to fix any issues you may be facing with your single handle kitchen sink faucet.

How to Repair a Single Handle Kitchen Sink Faucet


How to Fix a Leaky Single Handle Kitchen Faucet
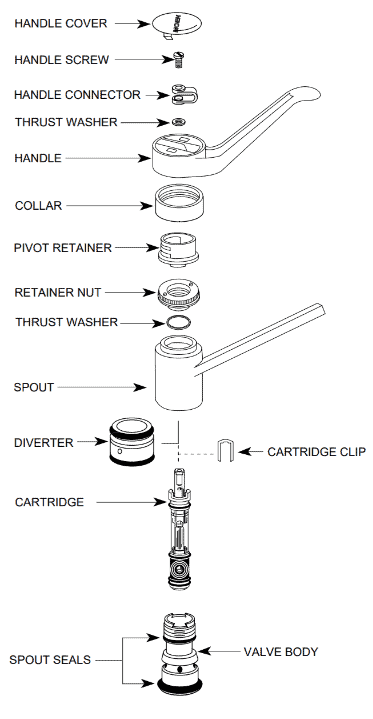
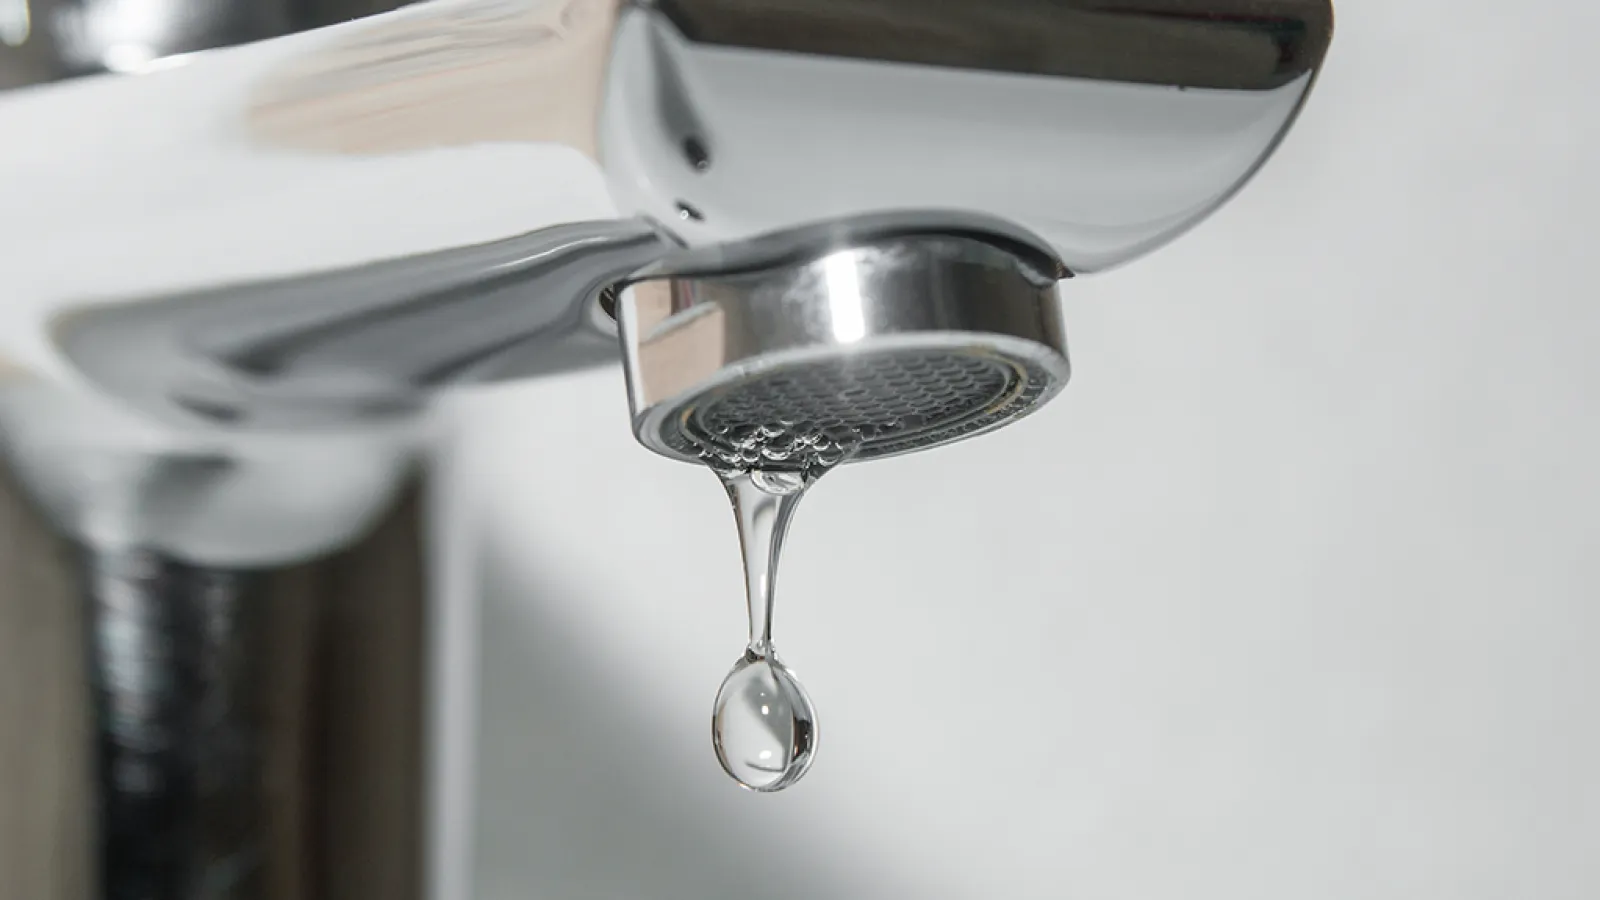
A leaky faucet is a common issue that many homeowners face. The constant dripping can not only be annoying, but it can also waste a significant amount of water and increase your water bill. To fix a leaky single handle kitchen faucet, start by shutting off the water supply. Then, use pliers to remove the faucet handle and screwdriver to remove the cartridge. Inspect the cartridge for any damage or wear and tear, and replace it if necessary. Reassemble the faucet and turn the water supply back on to test for any leaks.


How to Fix a Leaky Single Handle Kitchen Faucet

:max_bytes(150000):strip_icc()/repairing-a-single-handle-disk-faucet-1824878-hero-b3daee9af5174d8f9b9cb4a2582e7140.jpg)


Replacing a Single Handle Kitchen Faucet
If your single handle kitchen faucet is beyond repair, you may need to replace it. This may seem like a daunting task, but with the right tools and instructions, it can be a simple process. Start by shutting off the water supply and then removing the old faucet. Follow the instructions provided by the manufacturer to install the new faucet, and make sure to test for any leaks before using it regularly.

Replacing a Single Handle Kitchen Faucet


Common Kitchen Faucet Problems and Solutions
Aside from leaks and the need for replacement, there are several other common problems that can occur with a single handle kitchen faucet. These include low water pressure, a loose handle, and a clogged aerator. Each of these issues has a specific solution, and with a little bit of troubleshooting, you can get your faucet working properly again in no time.


Common Kitchen Faucet Problems and Solutions


Step-by-Step Guide to Repairing a Single Handle Kitchen Faucet
If you're new to repairing faucets, a step-by-step guide can be helpful to ensure you don't miss any important steps. First, determine the issue with your faucet, whether it's a leak, low water pressure, or something else. Then gather the necessary tools, such as pliers, screwdrivers, and a new cartridge if needed. Follow the steps outlined in the guide to fix the problem and get your faucet back to working order.


Step-by-Step Guide to Repairing a Single Handle Kitchen Faucet


/repairing-a-single-handle-disk-faucet-1824878-06-443e3063ba28420abd54f6e932c0fd6f.jpg)


Troubleshooting a Single Handle Kitchen Faucet
When facing issues with your single handle kitchen faucet, it's essential to troubleshoot the problem before attempting any repairs. This involves identifying the root cause of the issue and determining the best course of action to fix it. By troubleshooting, you can save time, money, and potential frustration in the long run.


Troubleshooting a Single Handle Kitchen Faucet


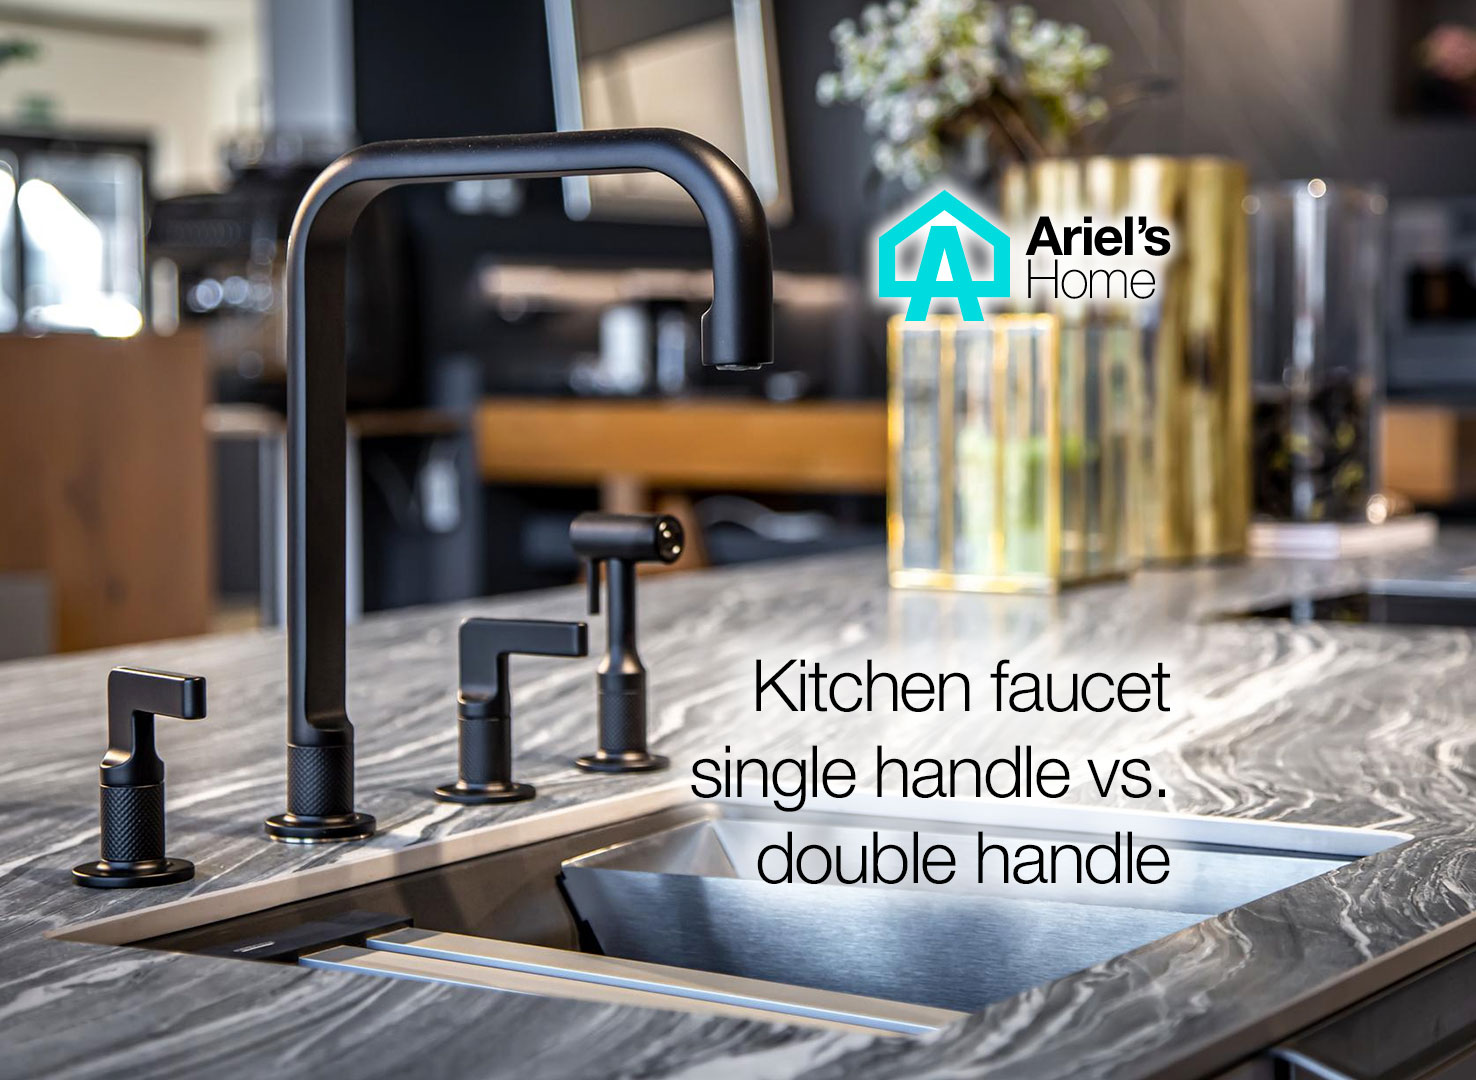
DIY Kitchen Faucet Repair: Single Handle vs. Double Handle
There are two types of kitchen faucets: single handle and double handle. While the general repair process for both is similar, there are some differences to keep in mind. For example, a single handle faucet may have a cartridge that needs replacing, while a double handle faucet may have a stem. Understanding these differences can help you successfully repair your faucet on your own.


DIY Kitchen Faucet Repair: Single Handle vs. Double Handle


How to Replace a Single Handle Kitchen Faucet Cartridge
The cartridge is the part of your single handle kitchen faucet that controls the flow of water. Over time, it can become worn or damaged, causing leaks or low water pressure. To replace the cartridge, start by shutting off the water supply and removing the handle and screw to access the cartridge. Carefully remove the old cartridge and replace it with a new one, then reassemble the faucet and test for any leaks.


How to Replace a Single Handle Kitchen Faucet Cartridge


Fixing a Loose Single Handle Kitchen Faucet
A loose handle can be a frustrating issue to deal with, but luckily, it can be an easy fix. Start by removing the handle and inspecting the locking nut. If it's loose, tighten it with pliers. If the nut is already tight, you may need to replace the screw or handle altogether. Once the handle is secure, test for any looseness and make any necessary adjustments.


Fixing a Loose Single Handle Kitchen Faucet


Single Handle Kitchen Faucet Repair: Tips and Tricks
When it comes to repairing your single handle kitchen faucet, there are a few tips and tricks that can make the process smoother. For example, always shut off the water supply before attempting any repairs. Keep all parts organized and follow instructions carefully. If you're unsure about a repair, don't hesitate to call a professional for assistance.
In conclusion, dealing with a malfunctioning single handle kitchen sink faucet doesn't have to be a daunting task. By following these tips and tricks and using the right tools, you can easily repair any issues and get your faucet back to working properly. Remember to always troubleshoot and follow instructions carefully to avoid any further complications. With a little bit of effort and patience, you can save money and successfully repair your single handle kitchen sink faucet.

Single Handle Kitchen Faucet Repair: Tips and Tricks

How to Repair a Single Handle Kitchen Sink Faucet

Understanding the Basics
 When it comes to kitchen design, the sink faucet plays a vital role. It not only adds to the aesthetic appeal of the space, but it also serves as a functional element in our daily lives. However, like any other fixture in our home, the kitchen sink faucet can also experience wear and tear over time. One of the most common issues homeowners face is a leaky single handle kitchen sink faucet. Not only is it annoying, but it can also lead to higher water bills and potential damage to your kitchen cabinets. But fear not, with a few simple steps, you can easily repair your single handle kitchen sink faucet and save yourself the hassle and expense of calling a plumber.
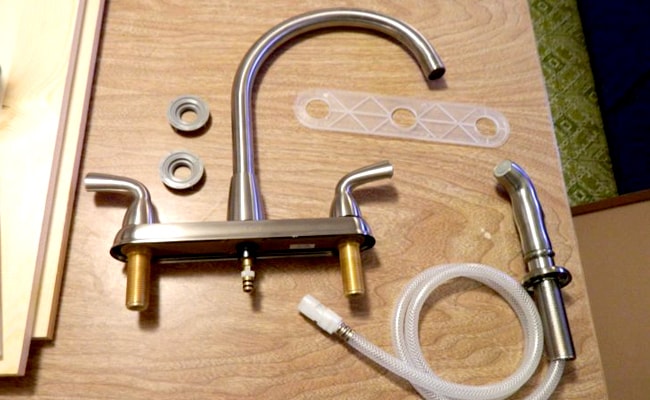
Tools and Materials You Will Need
 Before you begin your repair project, it's essential to gather all the necessary tools and materials. This will save you time and frustration in the long run. The tools you will need include an adjustable wrench, a screwdriver, and pliers. As for materials, you may need a new cartridge, O-ring, or washer, depending on the issue with your faucet. Make sure to check your faucet's model number to ensure you have the correct replacement parts.
Step-by-Step Guide for Repairing a Single Handle Kitchen Sink Faucet
 Step 1: Turn off the water supply
Before you start working on your faucet, make sure to turn off the water supply to avoid any accidents or water damage. You can usually find the shut-off valve under the sink.
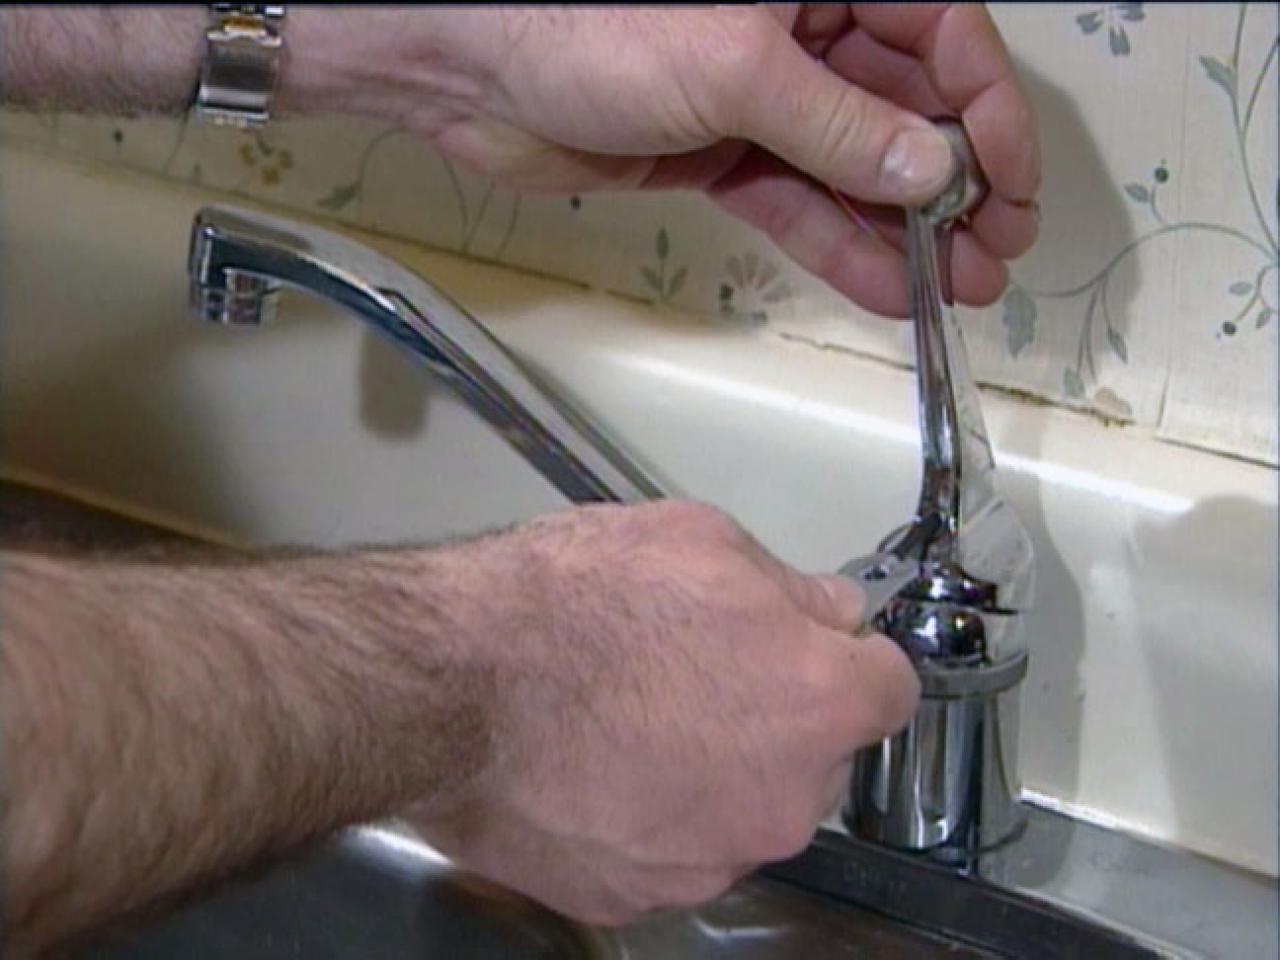
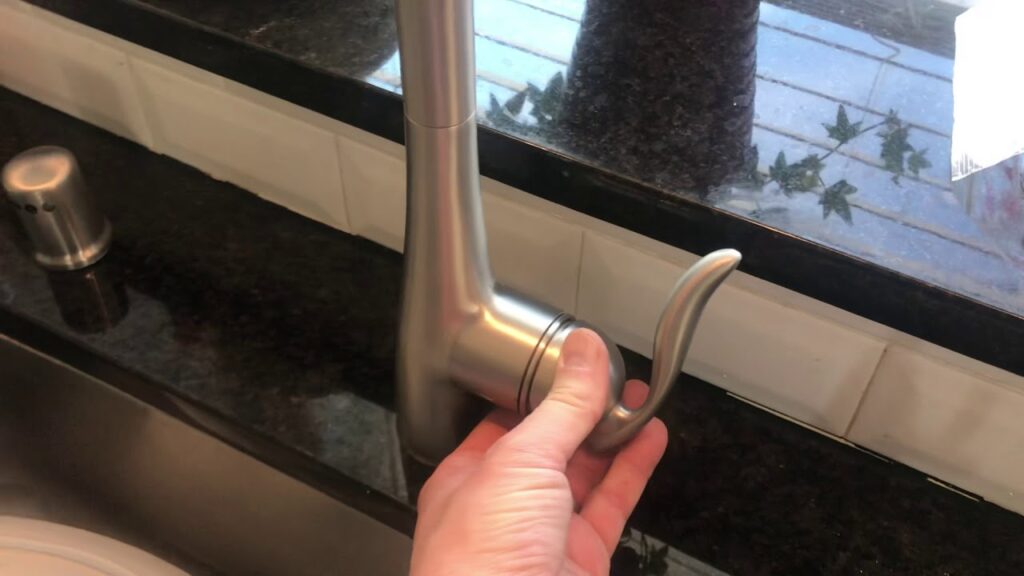
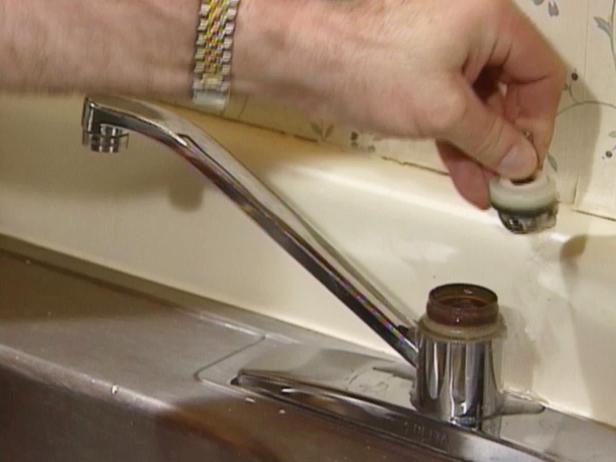
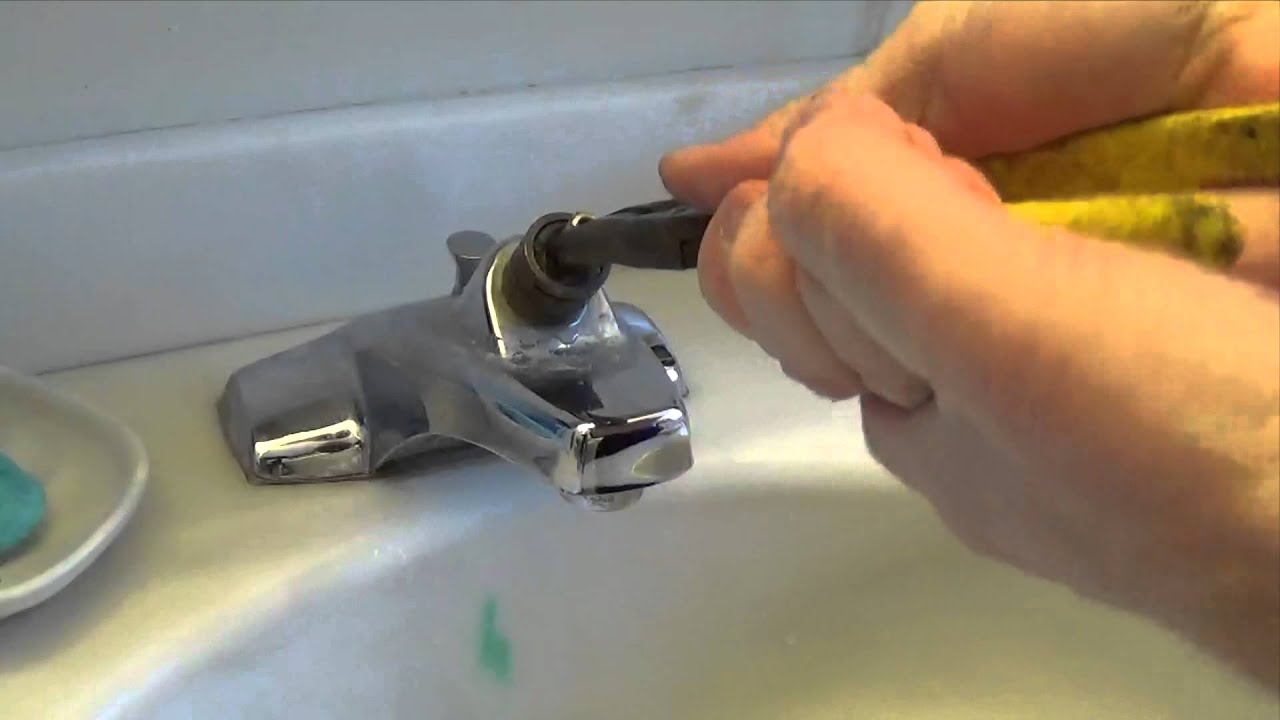
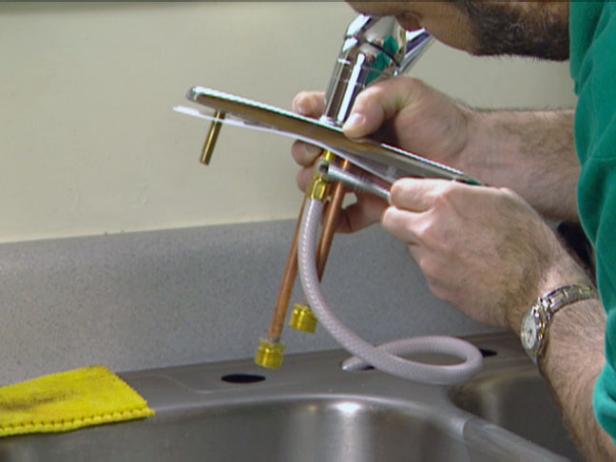
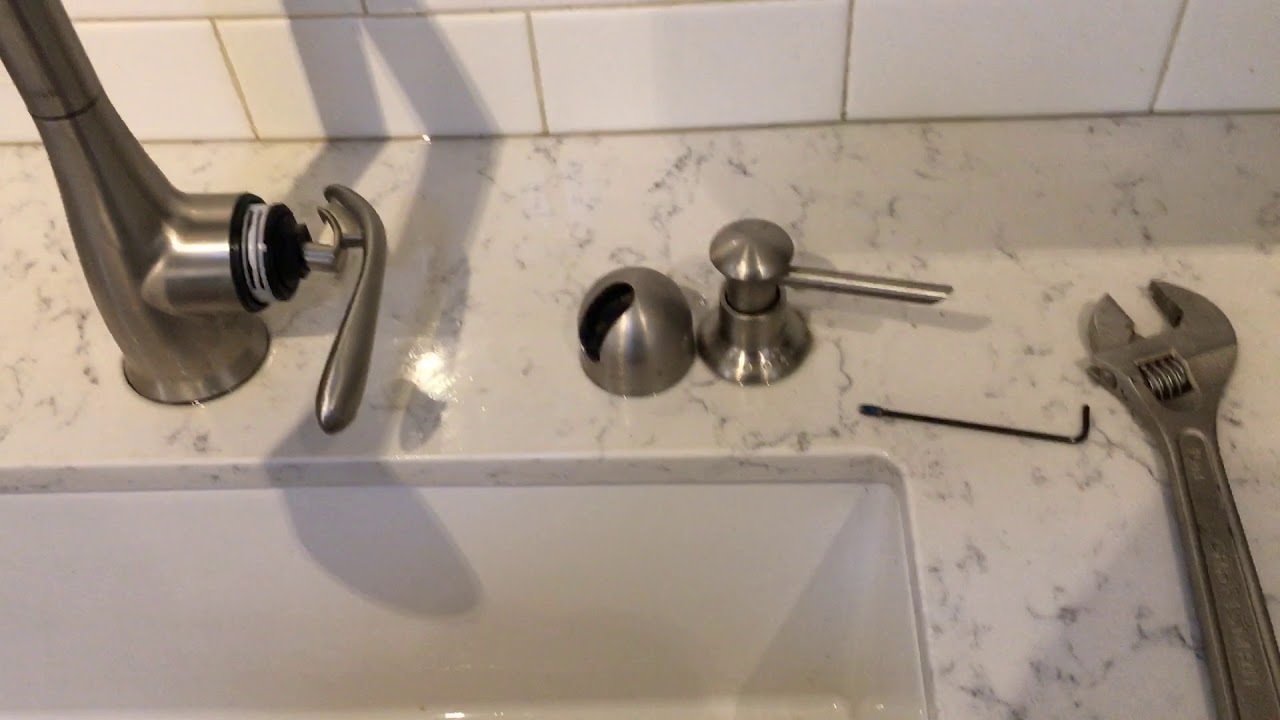
Step 2: Remove the handle
Use your screwdriver to remove the handle's screw and then gently pull off the handle. You may need to use pliers to remove it if it's stuck.
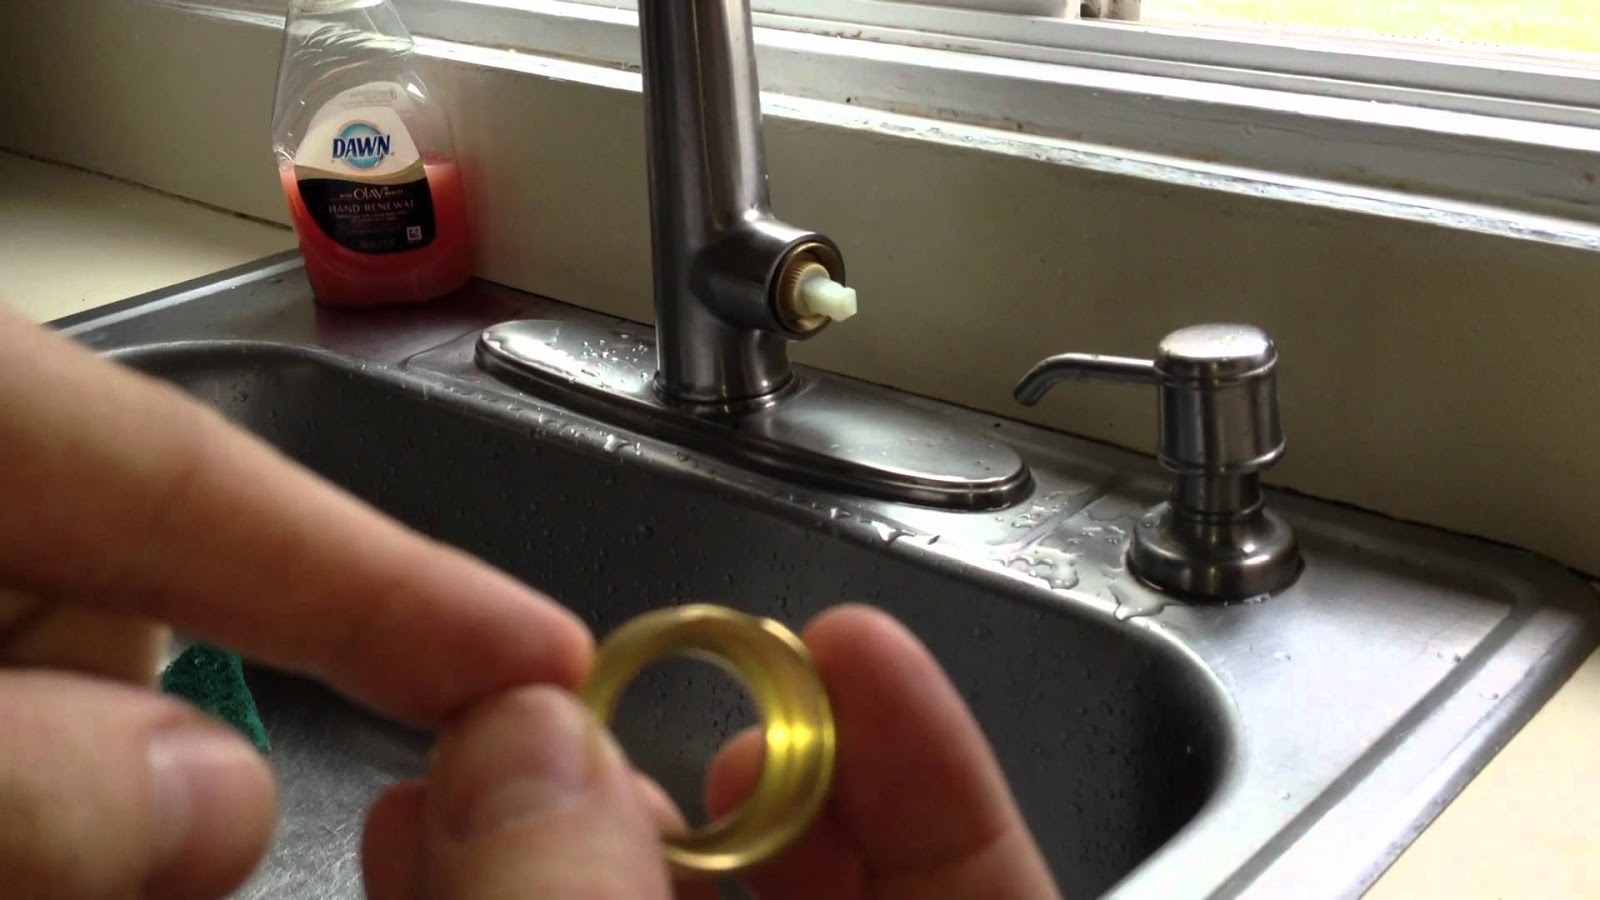
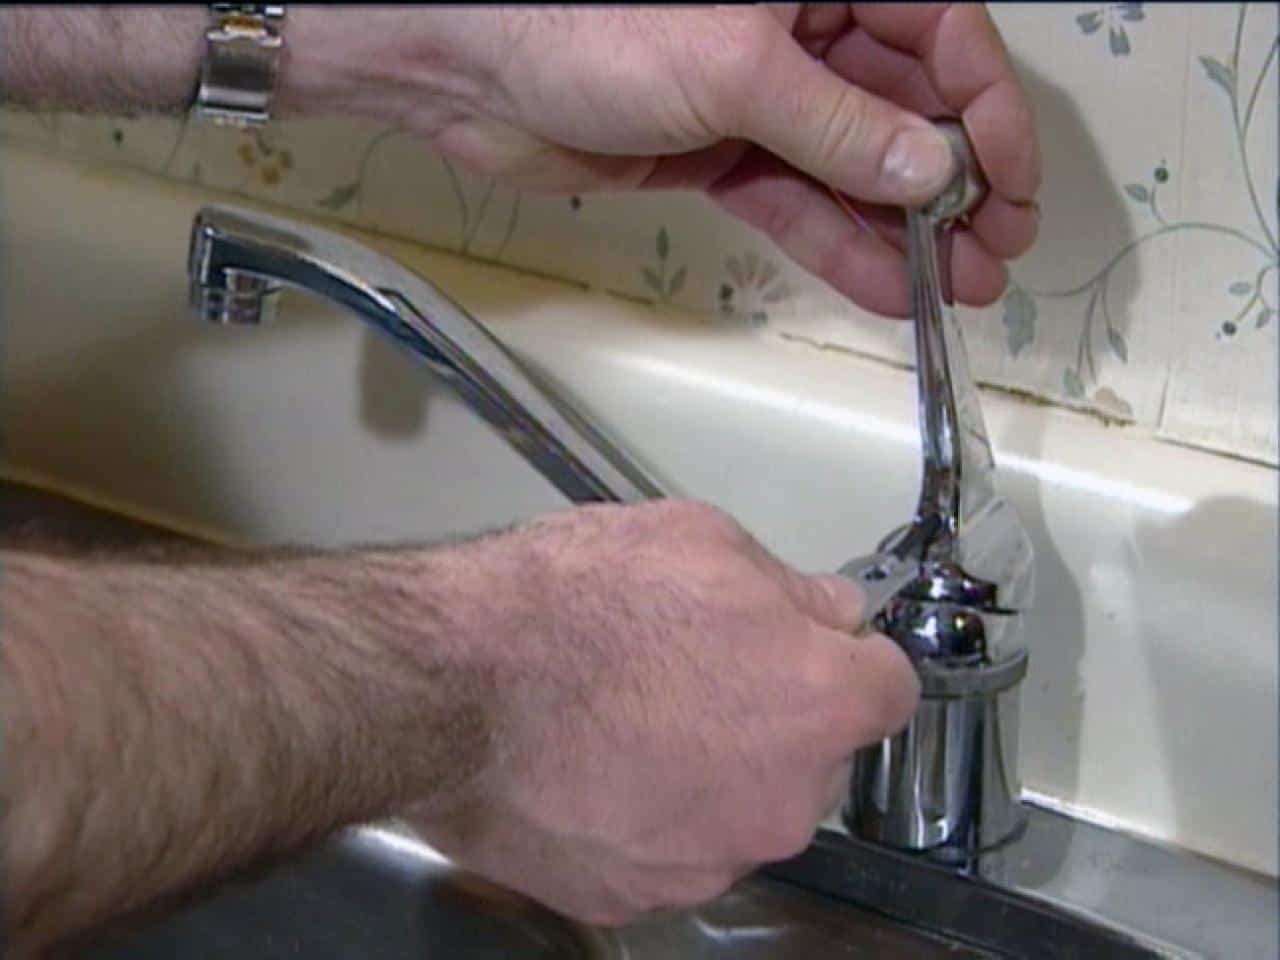
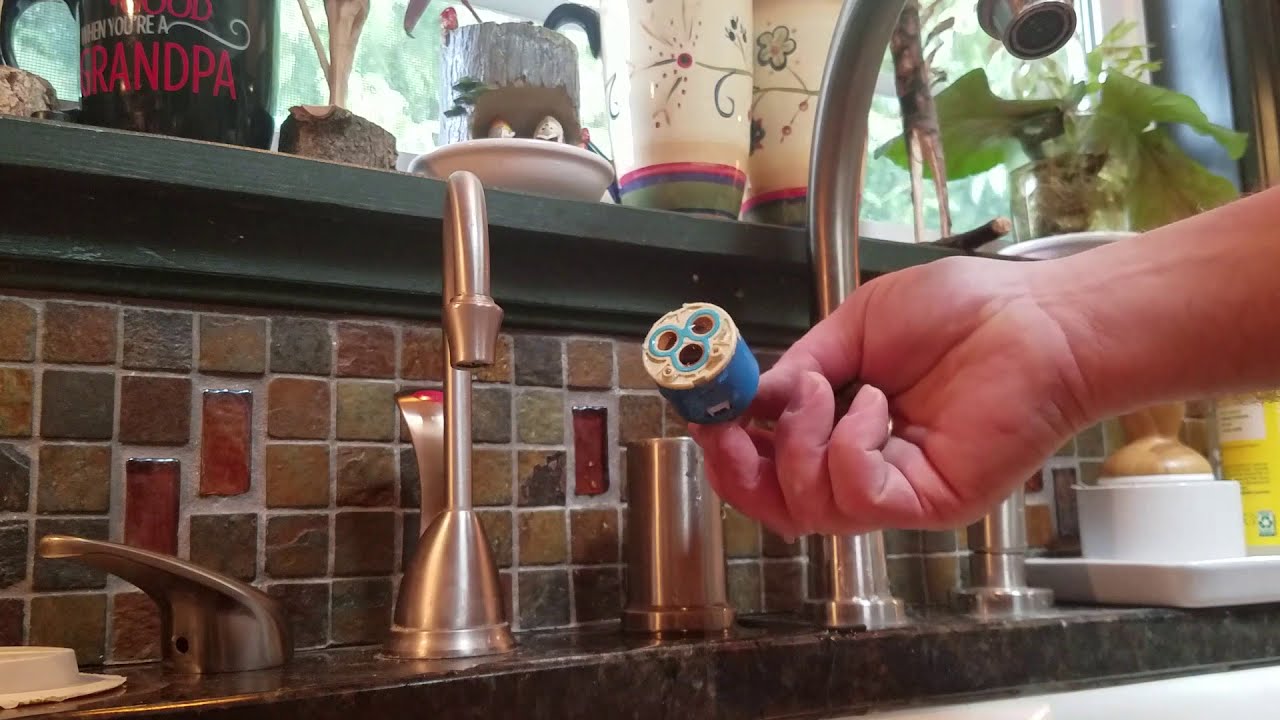
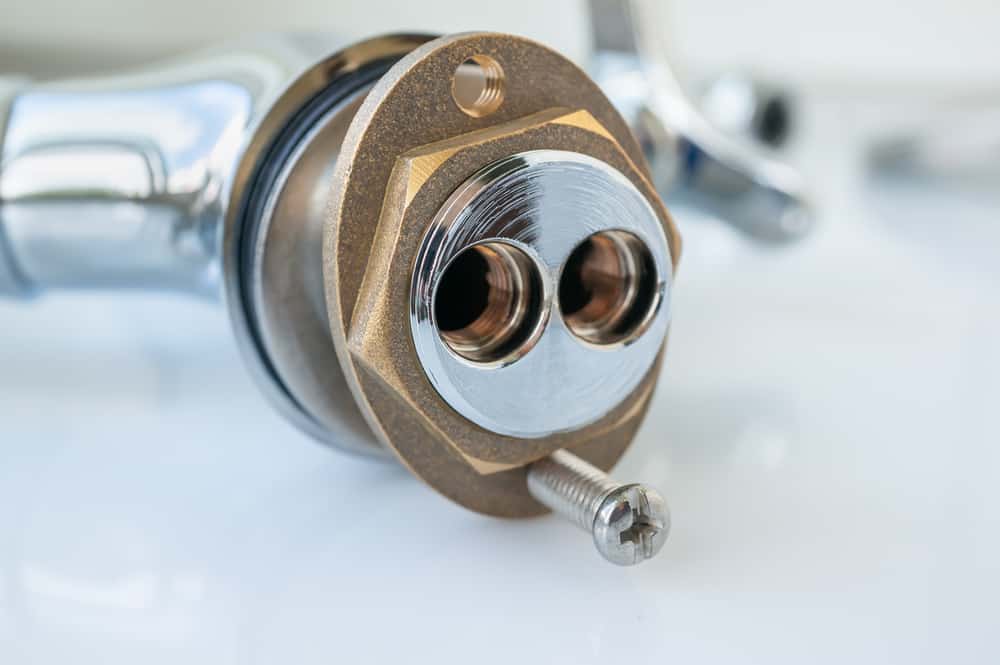
Step 3: Inspect the cartridge
Once the handle is removed, you will see the cartridge. Inspect it for any cracks, wear, or build-up of mineral deposits. This is usually the cause of a leaky faucet.
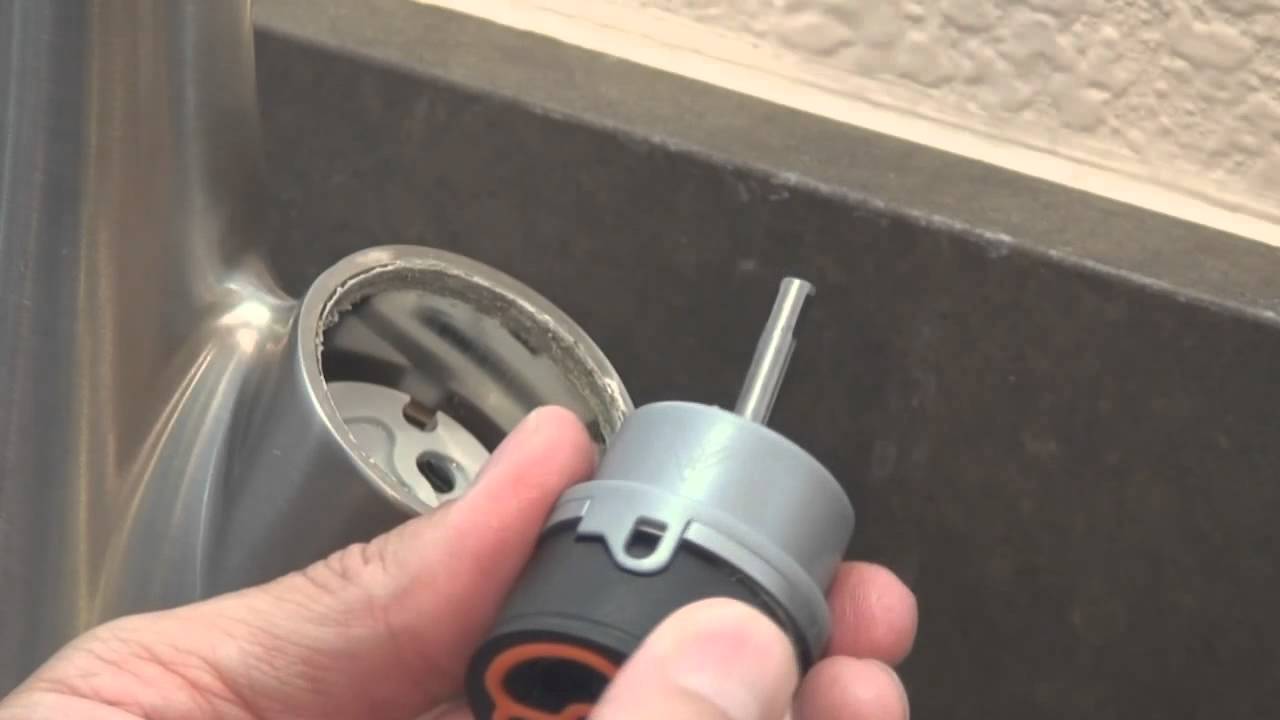
Step 4: Replace the cartridge
If the cartridge is damaged, it's time to replace it with a new one. Use your adjustable wrench to loosen and remove the old cartridge. Then insert the new one and tighten it with the wrench.
Step 5: Replace the O-ring or washer
If your faucet is still leaking after replacing the cartridge, the O-ring or washer may be the culprit. Remove and replace these parts if they are worn or damaged.
Step 6: Reassemble the faucet
Once all the necessary parts have been replaced, reassemble the faucet in the reverse order you took it apart.
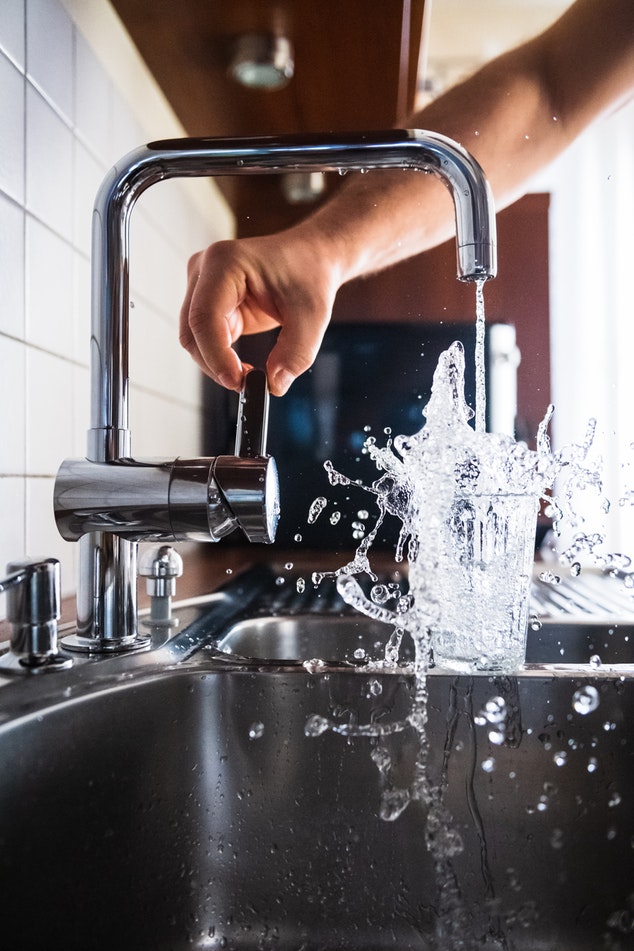
Step 7: Turn on the water supply
Finally, turn the water supply back on and test your faucet for any leaks. If there are no leaks, congratulations, you have successfully repaired your single handle kitchen sink faucet!
Step 1: Turn off the water supply
Before you start working on your faucet, make sure to turn off the water supply to avoid any accidents or water damage. You can usually find the shut-off valve under the sink.
Step 2: Remove the handle
Use your screwdriver to remove the handle's screw and then gently pull off the handle. You may need to use pliers to remove it if it's stuck.
Step 3: Inspect the cartridge
Once the handle is removed, you will see the cartridge. Inspect it for any cracks, wear, or build-up of mineral deposits. This is usually the cause of a leaky faucet.
Step 4: Replace the cartridge
If the cartridge is damaged, it's time to replace it with a new one. Use your adjustable wrench to loosen and remove the old cartridge. Then insert the new one and tighten it with the wrench.
Step 5: Replace the O-ring or washer
If your faucet is still leaking after replacing the cartridge, the O-ring or washer may be the culprit. Remove and replace these parts if they are worn or damaged.
Step 6: Reassemble the faucet
Once all the necessary parts have been replaced, reassemble the faucet in the reverse order you took it apart.
Step 7: Turn on the water supply
Finally, turn the water supply back on and test your faucet for any leaks. If there are no leaks, congratulations, you have successfully repaired your single handle kitchen sink faucet!
Final Thoughts
 Repairing a single handle kitchen sink faucet may seem daunting, but with the right tools and a little know-how, it can be a simple and cost-effective DIY project. Remember to turn off the water supply before starting and always double-check for any leaks after completing the repair. By following these steps, you can keep your kitchen looking and functioning at its best. Happy fixing!