How to Apply Silicone Sealant to a Kitchen Sink
Applying silicone sealant to a kitchen sink may seem like a daunting task, but with the right tools and techniques, it can be a simple and effective way to ensure your sink is properly sealed and protected. Here are the steps to follow for a successful application.
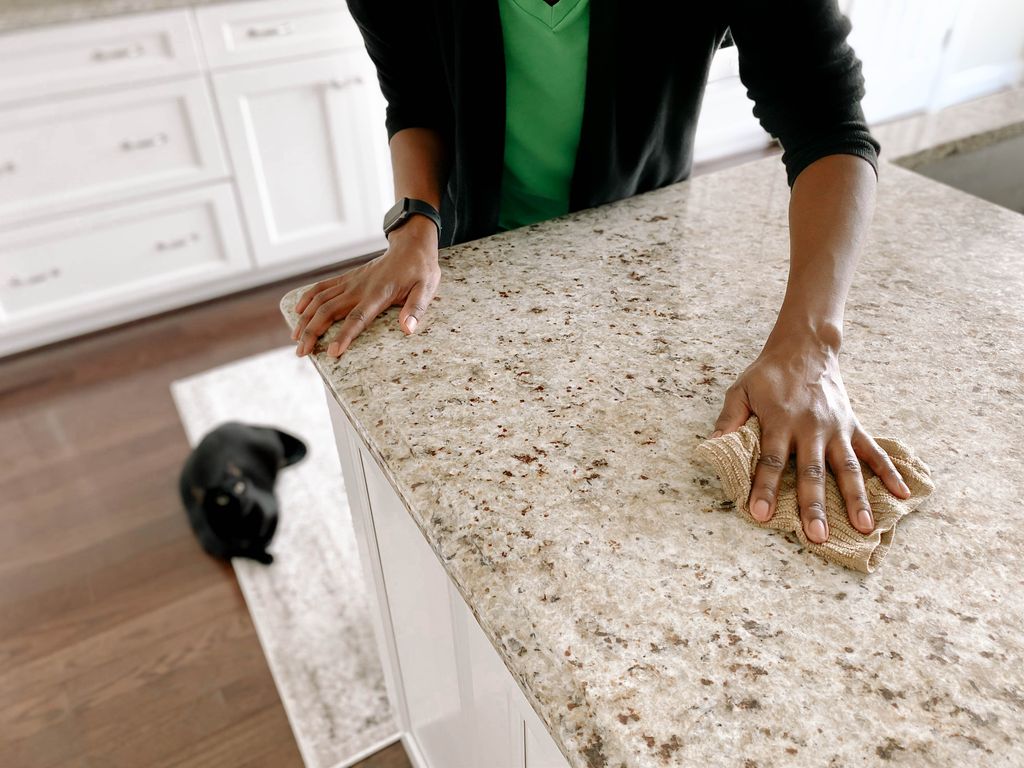
Step 1: Clean the surface - Before applying any sealant, it's important to thoroughly clean the surface of your sink and countertop. Use a mild cleaner and a non-abrasive sponge to remove any dirt, grime, or residue that may prevent the sealant from adhering properly.
Step 2: Dry the surface - After cleaning, make sure to dry the surface completely with a clean cloth or paper towel. Any excess moisture can affect the adhesion of the sealant and lead to an uneven application.
Step 3: Cut the tip of the sealant tube - Using a utility knife, carefully cut the tip of the sealant tube at a 45-degree angle. This will allow for a smooth and precise application.
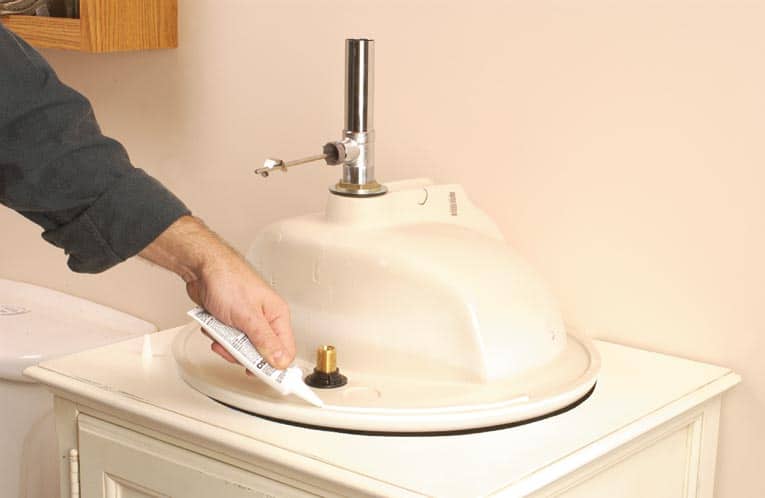
Step 4: Apply the sealant - Squeeze the sealant onto the edges of the sink where it meets the countertop. Use a steady and even pressure to create a consistent bead of sealant. Make sure to cover the entire edge and fill any gaps or cracks.
Step 5: Smooth out the sealant - Using a damp finger or a caulk smoothing tool, press and smooth out the sealant to create a neat and even finish. Wipe away any excess sealant with a damp cloth.
Step 6: Let it dry - Allow the sealant to dry completely before using your sink or running any water over it. This can take anywhere from 24-48 hours depending on the type of sealant used.
How to Seal a Sink to a Countertop
Sealing your sink to your countertop is an important step in maintaining a clean and functional kitchen. Here's how to seal a sink to a countertop in a few simple steps.
Step 1: Prepare the area - Before starting, make sure the area is clean and dry. Remove any old caulk or sealant and wipe down the surface with a mild cleaner.
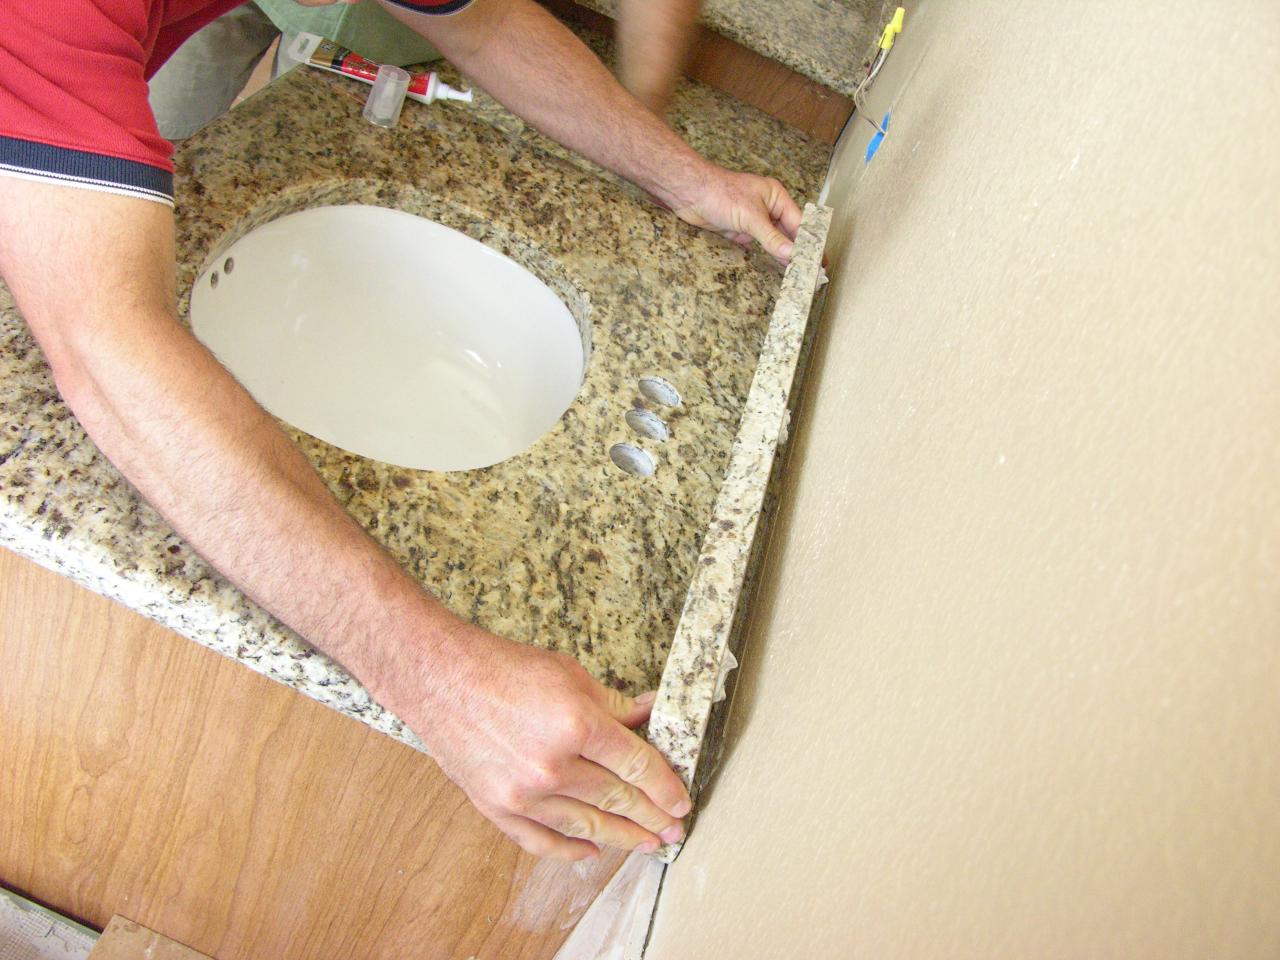
Step 2: Apply the sealant - Using a caulk gun, apply a thin bead of silicone sealant around the edge of the sink where it meets the countertop. Make sure to cover any gaps or cracks.
Step 3: Smooth out the sealant - Use a damp finger or a caulk smoothing tool to smooth out the sealant and create a neat finish. Wipe away any excess with a damp cloth.
Step 4: Let it dry - Allow the sealant to dry completely before using your sink or running any water over it. This can take anywhere from 24-48 hours depending on the type of sealant used.
Step 5: Optional second coat - If desired, a second coat of sealant can be applied for added protection and a more secure seal. Follow the same steps as above.
Best Silicone for Kitchen Sink to Granite
Choosing the right silicone for your kitchen sink to granite is crucial for a long-lasting and effective seal. Here are some of the best options to consider.
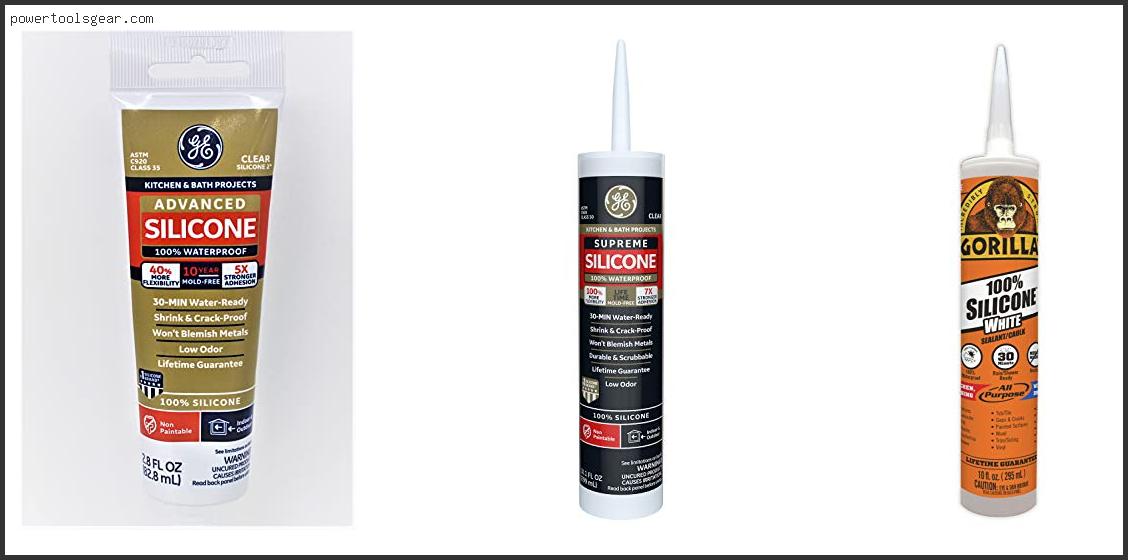
1. GE Silicone II Kitchen and Bath Sealant - This sealant is specifically designed for use in high-moisture areas such as kitchens and bathrooms. It is mold and mildew resistant and offers excellent adhesion to both granite and sink materials.
2. Dap 100% Silicone Sealant - This silicone is waterproof, flexible, and dries quickly, making it a great choice for sealing a kitchen sink to granite. It is also resistant to heat and cold, making it suitable for all types of weather conditions.
3. Loctite Clear Silicone Waterproof Sealant - This clear sealant is ideal for use on granite surfaces as it won't leave behind any unsightly residue. It also offers strong adhesion and flexibility for a durable seal.
4. Gorilla 100% Silicone Sealant - This heavy-duty sealant is perfect for sealing a kitchen sink to granite, as it can withstand extreme temperatures and is resistant to water and mold. It also has a strong bond and can be painted over for a seamless finish.
5. Red Devil Premium Kitchen and Bath Siliconized Acrylic Caulk - This caulk offers the benefits of both silicone and acrylic, providing a strong and flexible seal that is also paintable. It is ideal for filling in gaps and cracks around a kitchen sink and is resistant to water and mildew.
How to Remove Silicone Caulk from Granite Countertops
If you need to remove silicone caulk from your granite countertops, there are a few methods you can try. Here's how to do it effectively without damaging your countertops.
Method 1: Using a caulk remover - There are specific caulk removers available that are designed to soften and loosen silicone caulk. Follow the instructions on the product and use a plastic scraper to gently remove the caulk from the granite surface.
Method 2: Using a razor blade - For small amounts of caulk, a razor blade can be used to carefully scrape it off the surface. Be very gentle and use light pressure to avoid scratching the granite.
Method 3: Using vinegar - Vinegar is a natural and safe way to remove silicone caulk from granite. Soak a cloth in white vinegar and place it over the caulk for a few hours. The vinegar will soften the caulk, making it easier to scrape off with a plastic scraper.
Method 4: Using heat - Using a hairdryer or heat gun, gently heat the caulk for a few seconds to soften it. Then, use a plastic scraper to remove the caulk from the granite surface.
Silicone Caulk for Kitchen Sink Installation
When installing a new kitchen sink, it's important to use the right type of silicone caulk to ensure a secure and long-lasting seal. Here's what to look for when choosing a silicone caulk for kitchen sink installation.
1. Waterproof - Make sure the caulk you choose is waterproof and suitable for use in high-moisture areas such as sinks.
2. Flexible - Flexibility is key when it comes to sealing a kitchen sink. Look for a caulk that is specifically designed for kitchen and bath use, as these are more flexible and can withstand movement and temperature changes.
3. Adhesion - The caulk should have strong adhesion to both the sink and the countertop to create a tight and secure seal.
4. Drying time - Consider how long the caulk takes to dry before it can be used. Some may require up to 48 hours, while others may dry in just a few hours.
5. Mold and mildew resistant - To prevent the growth of mold and mildew, choose a caulk that is specifically formulated to resist these types of microorganisms.
How to Seal a Sink Drain to a Granite Countertop
Properly sealing a sink drain to a granite countertop is essential for preventing water damage and maintaining a clean and hygienic kitchen. Here's how to do it effectively.
Step 1: Clean the area - Make sure the area around the sink drain is clean and dry before starting the sealing process.
Step 2: Apply silicone sealant - Using a caulk gun, apply a small amount of silicone sealant around the edge of the sink drain where it meets the granite countertop.
Step 3: Press firmly - Use your finger or a caulk smoothing tool to press the sealant firmly into place, making sure it is evenly spread and there are no gaps or cracks.
Step 4: Wipe away excess - Use a damp cloth to wipe away any excess sealant around the drain. This will create a neat and tidy finish.
Step 5: Let it dry - Allow the sealant to dry completely before using the sink or running any water over it. This can take anywhere from 24-48 hours depending on the type of sealant used.
Silicone Adhesive for Kitchen Sink to Granite
When it comes to securing a kitchen sink to a granite countertop, using a silicone adhesive is a smart choice. Here's why.
1. Strong bond - Silicone adhesive is specifically designed to create a strong and secure bond between two surfaces, making it ideal for securing a sink to a granite countertop.
2. Waterproof - Like silicone caulk, silicone adhesive is waterproof and can withstand exposure to water and moisture without losing its strength.
3. Flexible - Flexibility is crucial when securing a sink to a countertop, as there may be slight movements or shifts over time. Silicone adhesive is flexible enough to accommodate these movements without compromising the bond.
4. Heat-resistant - Granite countertops can become hot when exposed to heat, but silicone adhesive is heat-resistant and will not lose its bond or integrity.
5. Easy to apply - Using a caulk gun, silicone adhesive can be easily applied in a thin and even layer, ensuring a secure and stable bond between the sink and countertop.
How to Clean and Maintain a Granite Sink
Granite sinks are not only beautiful, but they are also durable and easy to maintain. Here are some tips for cleaning and maintaining your granite sink.
1. Use a gentle cleaner - Avoid using harsh chemicals or abrasive cleaners on your granite sink, as these can damage the surface. Instead, use a mild cleaner and a soft sponge or cloth to wipe down the sink after each use.
2. Rinse thoroughly - After cleaning, make sure to rinse the sink thoroughly with warm water to remove any residue from the cleaner.
3. Dry completely - To prevent water spots and mineral deposits, make sure to dry the sink completely with a clean cloth after each use.
4. Avoid leaving standing water - Standing water can lead to staining and damage to the granite surface. Make sure to wipe away any excess water and dry the sink after use.
5. Use a granite sealer - Applying a granite sealer to your sink every 6-12 months can help protect the surface and maintain its shine and luster.
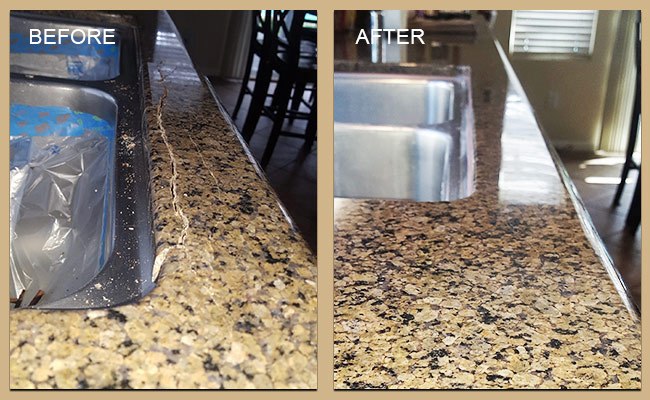
How to Repair a Cracked Granite Sink
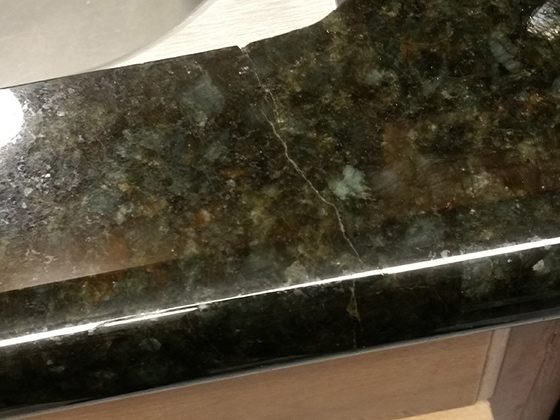
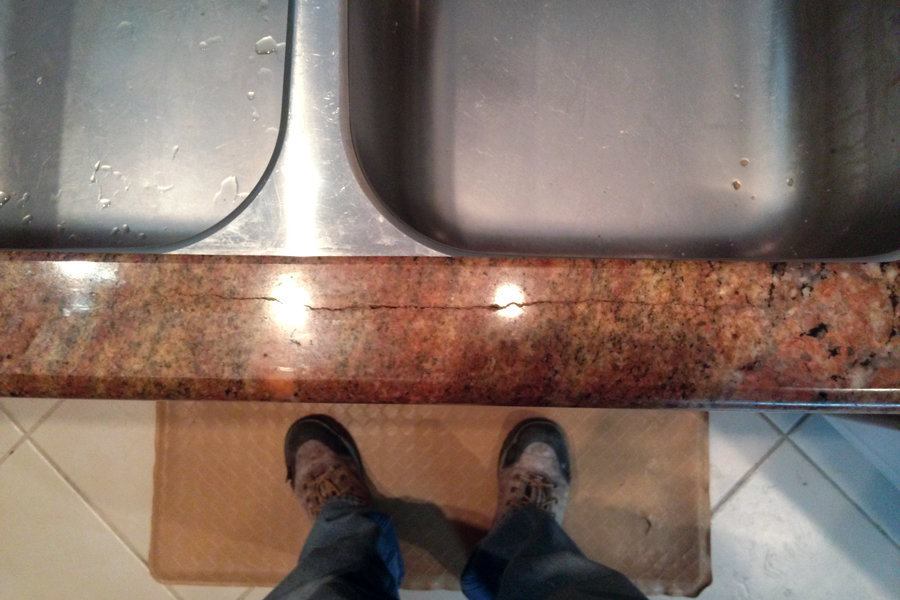
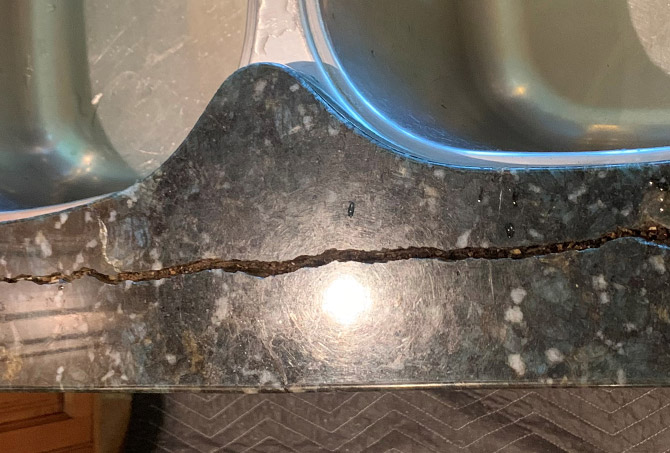
While granite sinks are known for their durability, they can still become cracked or chipped over time. Here's how to repair a cracked granite sink.
Step 1: Clean the area - Before starting the repair process, make sure the area is clean and dry.
Step 2: Fill the crack - Use a granite repair epoxy to fill the crack in the sink. Make sure to follow the instructions on the product for the best results.
Step 3: Smooth out the epoxy - Use a putty knife to smooth out the epoxy and create a flat and even surface. Wipe away any excess with a damp cloth.
Step 4: Let it dry - Allow the epoxy to dry completely before using the sink. This can take anywhere from 24-48 hours depending on the product used.
Step 5: Sand and polish - Once the epoxy is dry, use fine-grit sandpaper to smooth out any rough edges or bumps. Then, use a polishing compound to restore the shine and luster of the sink.
Silicone Caulk Remover for Granite Surfaces
If you need to remove silicone caulk from your granite surfaces, it's important to use a product that won't damage or stain the surface. Here are some silicone caulk removers that are safe to use on granite surfaces.
1. Goof Off FG675 Professional Strength Remover - This caulk remover is safe to use on granite surfaces and is effective at removing both silicone and acrylic caulks.
2. Goo Gone Pro-Power - Safe for use on granite, this caulk remover is powerful and can remove even the toughest silicone caulk without damaging the surface.
3. 3M Caulk Remover - 3M is a well-known brand in the adhesive and sealant industry and their caulk remover is safe for use on granite and other surfaces.
4. Krud Kutter Caulk Remover - This biodegradable caulk remover is safe to use on granite surfaces and is effective at removing old and stubborn caulk.
Silicone for Kitchen Sink to Granite: The Perfect Solution for a Modern Kitchen Design
When it comes to designing a modern and stylish kitchen, every detail matters. From the color scheme to the appliances, every element plays a crucial role in creating a cohesive and aesthetically pleasing space. And one essential aspect that often gets overlooked is the kitchen sink .
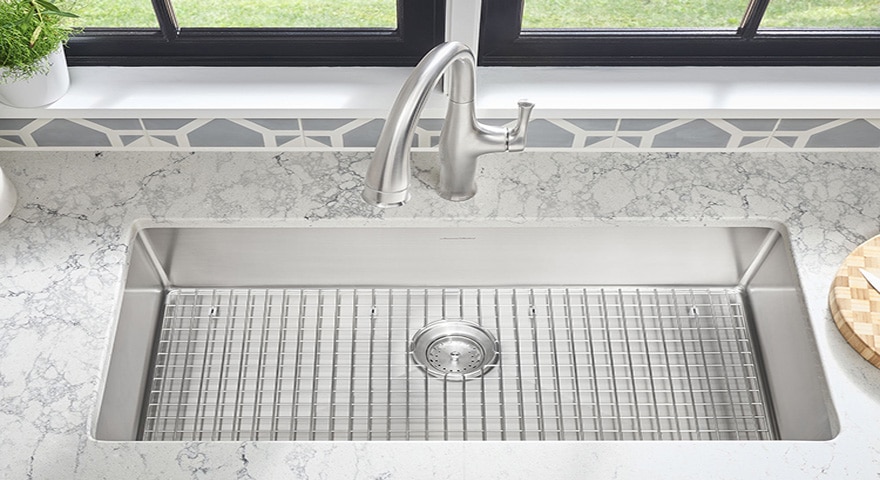
A sink not only serves a functional purpose but also adds to the overall design and aesthetic of the kitchen. And if you have a granite countertop , it is essential to choose the right type of silicone to seal the sink properly. Using the wrong silicone can not only compromise the look of your kitchen but also lead to potential water damage and mold growth.
Why Silicone is Important for Kitchen Sink to Granite
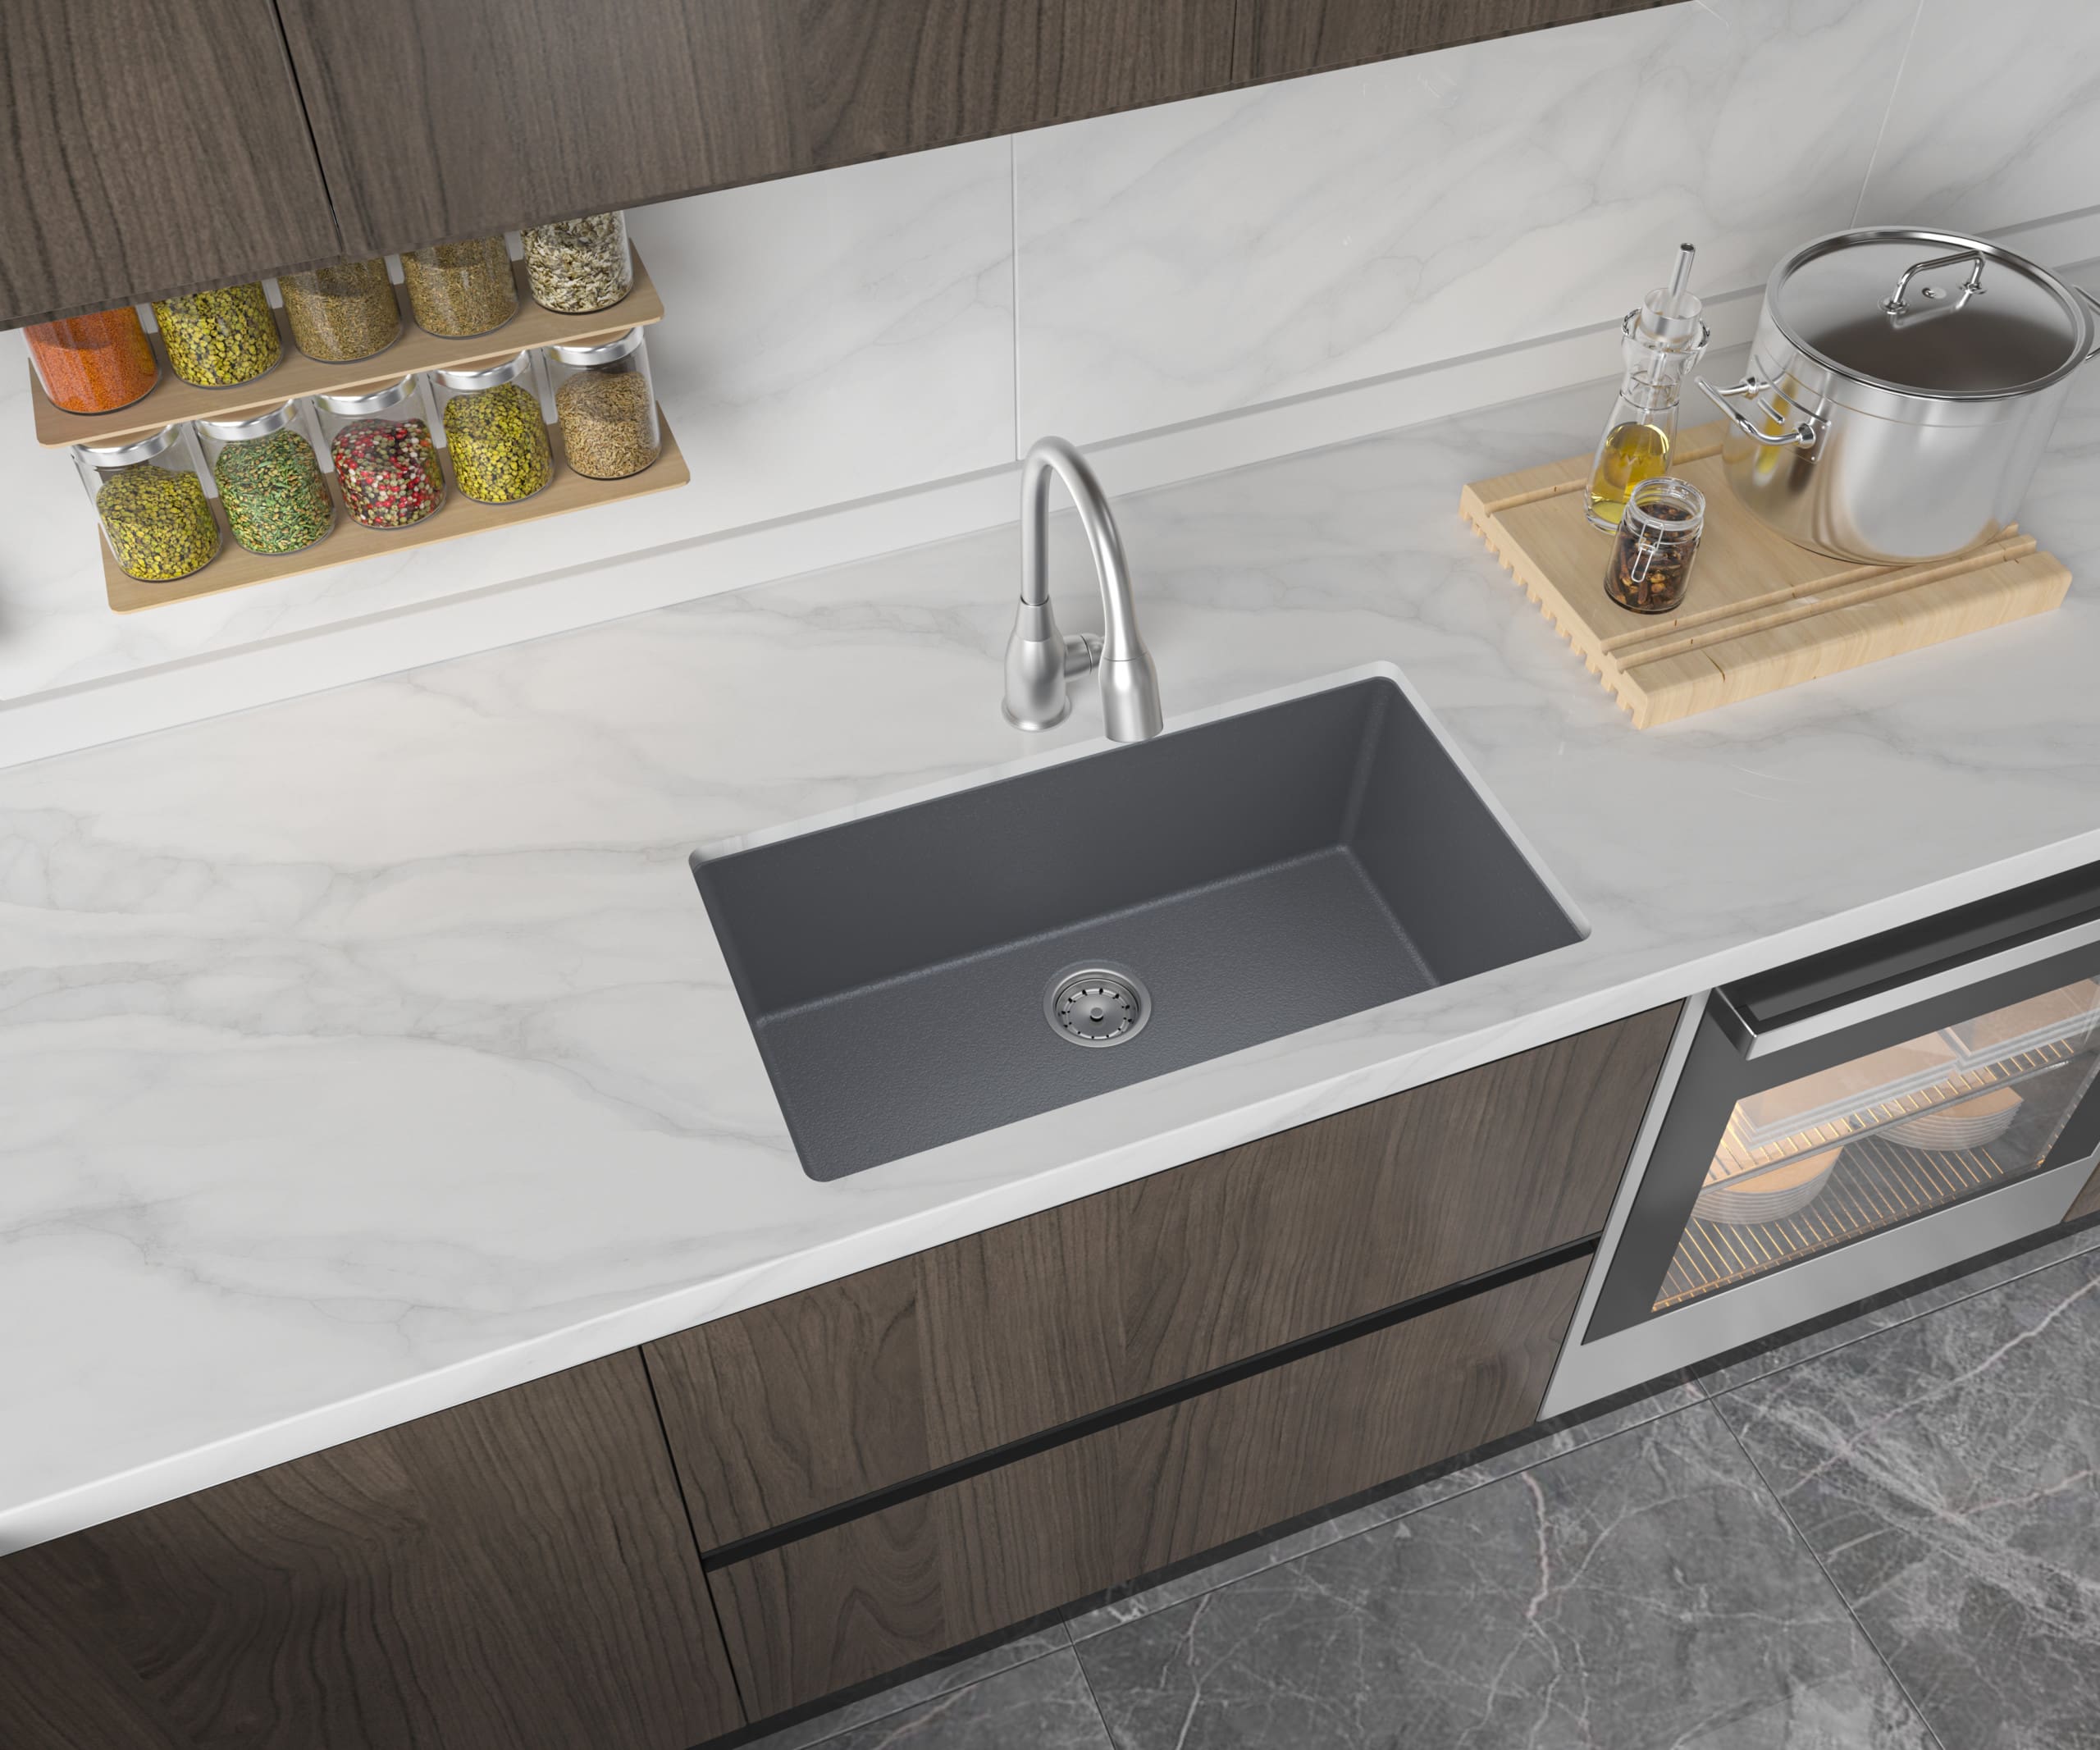
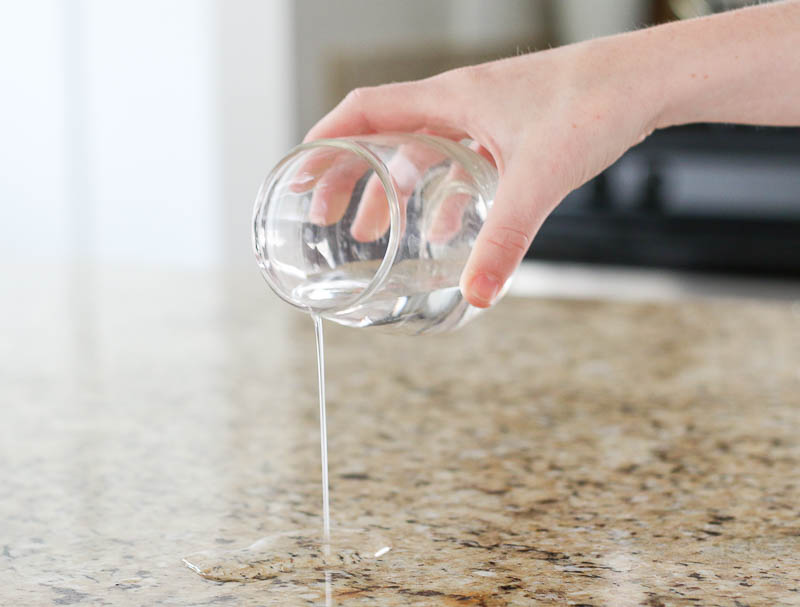
Granite is a popular choice for kitchen countertops due to its durability and natural beauty. However, it is a porous material, which means it is susceptible to water and stains. When installing a kitchen sink, it is crucial to seal the edges properly to prevent any water from seeping into the granite.
This is where silicone comes in. Silicone is a flexible, waterproof sealant that is perfect for sealing the edges of a kitchen sink to a granite countertop. It not only prevents water from seeping in but also creates a seamless and clean finish, enhancing the overall look of the kitchen.
The Benefits of Using Silicone for Kitchen Sink to Granite

Using silicone for your kitchen sink to granite has several benefits:
- Waterproof: Silicone is a waterproof material, making it the perfect choice for sealing a sink to a granite countertop.
- Flexible: Silicone is a flexible material that can withstand movement and vibration, making it a durable choice for kitchen sinks.
- Easy to Use: Silicone is easy to apply and can be molded to fit any shape, making it ideal for sealing the edges of a sink to a granite countertop.
- Aesthetically Pleasing: Silicone comes in a variety of colors, including clear, making it easy to match the color of your kitchen sink and granite countertop for a seamless finish.
How to Use Silicone for Kitchen Sink to Granite

Using silicone for your kitchen sink to granite is a simple process:
- Clean the edges of the sink and the granite countertop thoroughly to remove any dirt, debris, or old sealant.
- Apply a thin, even layer of silicone around the edge of the sink.
- Place the sink on top of the granite countertop and press down gently to ensure the silicone spreads evenly.
- Remove any excess silicone using a damp cloth.
- Allow the silicone to dry completely before using the sink.
Tip: It is essential to choose a high-quality silicone sealant that is specifically designed for use with kitchen sinks and granite countertops for the best results.
In Conclusion

When it comes to designing a modern and functional kitchen, every detail matters. And choosing the right silicone for your kitchen sink to granite is crucial in achieving a sleek and seamless look. With its waterproof and flexible properties, silicone is the perfect solution for sealing a sink to a granite countertop, ensuring both functionality and aesthetics in your kitchen design.

