Setting up a sink in your outdoor kitchen can greatly enhance your outdoor cooking and dining experience. Not only does it provide a convenient place to wash dishes and prepare food, but it also adds to the overall functionality and aesthetics of your outdoor space. In this article, we will discuss the top 10 tips and tricks for successfully setting up a sink in your outdoor kitchen.Outdoor Kitchen Sink Installation: Tips and Tricks
Before diving into the installation process, it is important to have a clear understanding of what is involved in setting up an outdoor kitchen sink. This will help you plan and prepare accordingly. Typically, the process involves selecting the location, installing the necessary plumbing and drainage systems, and connecting the sink to the main water supply. Let's explore these steps in more detail.How to Set Up a Sink in Your Outdoor Kitchen
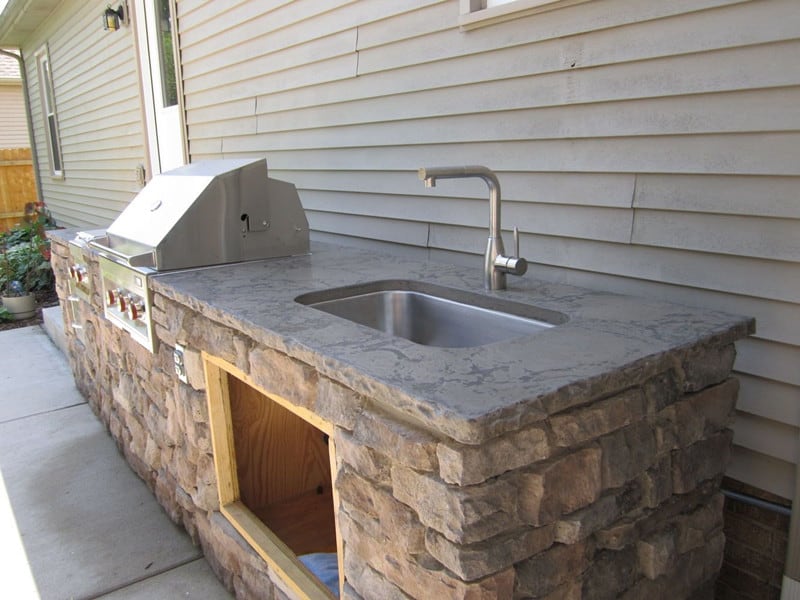
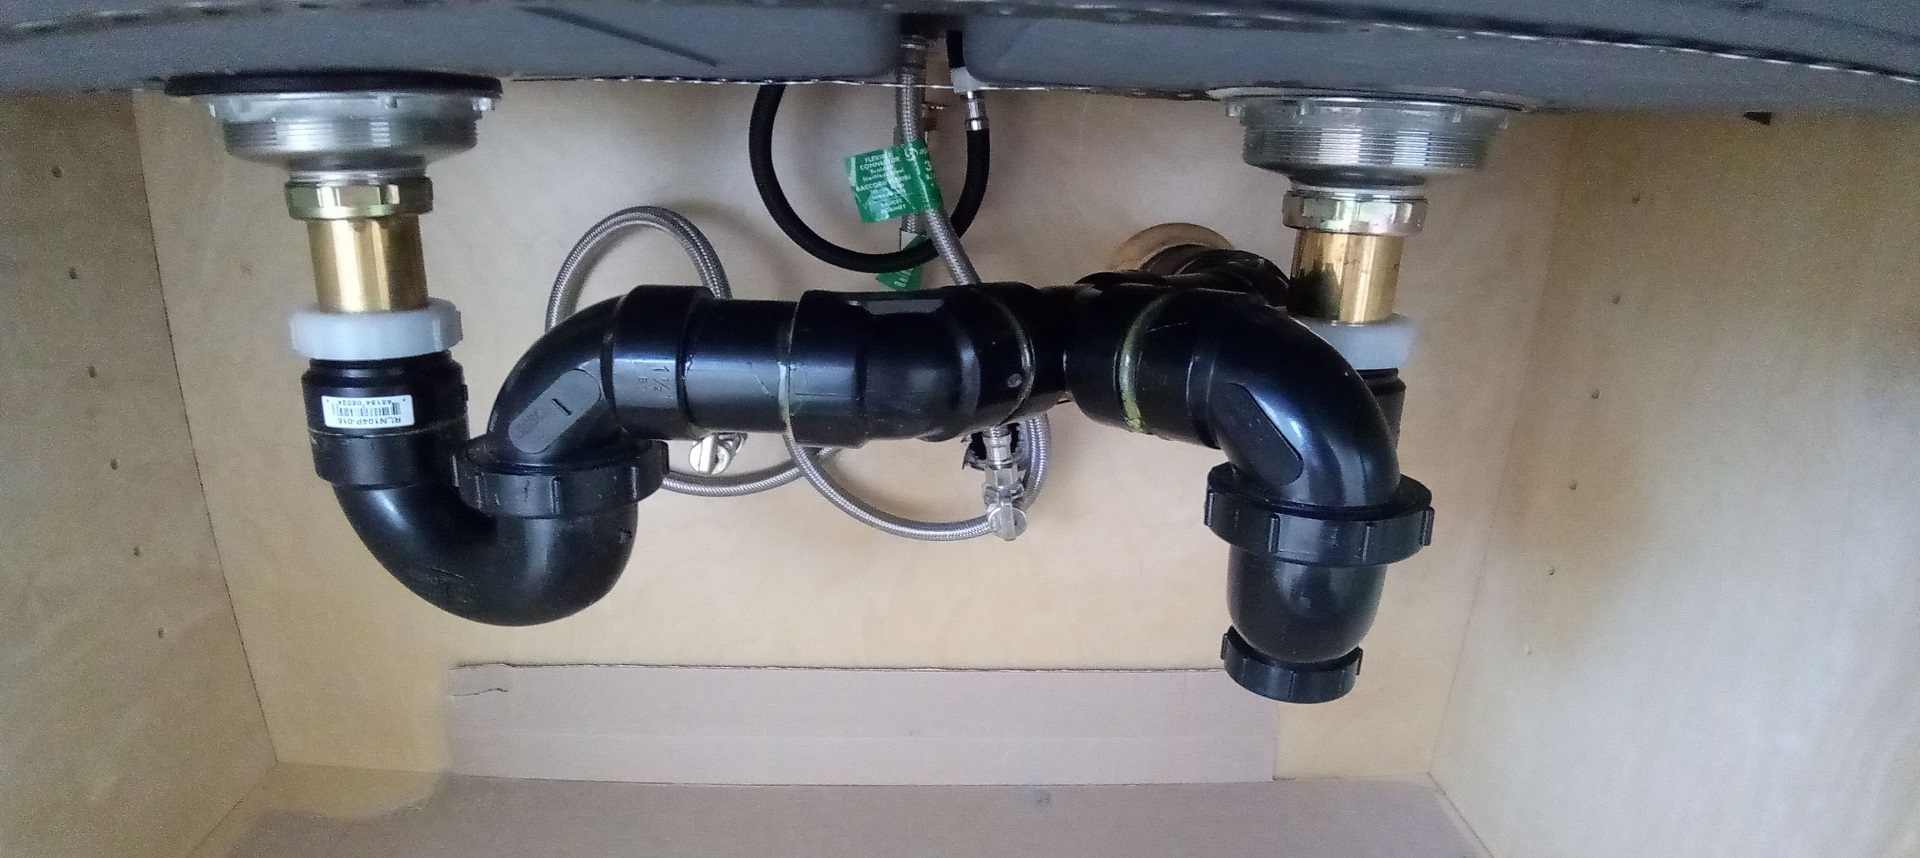
Step 1: Choose the Right Location The first step in setting up a sink in your outdoor kitchen is choosing the right location. You want to make sure that the sink is easily accessible from your cooking and dining area, but also consider the flow of foot traffic and potential splashing from the sink. It is also important to ensure that the location is close to a water source and has proper drainage. Step 2: Gather Essential Tools and Materials Once you have chosen the location, it's time to gather the necessary tools and materials for the installation. These may include a sink, faucet, drain, PVC pipes, and other plumbing supplies. It is important to make sure that all the components are compatible and of good quality to avoid any issues down the line. Step 3: Install the Plumbing and Drainage System The next step is to install the plumbing and drainage system for your outdoor kitchen sink. This may involve digging trenches for the pipes, connecting them to the main water supply and sewer line, and ensuring proper ventilation. It is recommended to hire a professional plumber for this step to ensure that everything is installed correctly and to code. Step 4: Connect the Sink to the Water Supply Once the plumbing and drainage system is in place, it's time to connect the sink to the main water supply. This can be done by installing the faucet and connecting it to the water lines. It is important to follow the manufacturer's instructions for a proper installation.Step-by-Step Guide for Installing an Outdoor Kitchen Sink
As mentioned earlier, setting up an outdoor kitchen sink requires specific tools and materials. Here are some of the essential items you will need for a successful installation: Tools: shovel, level, pipe cutter, adjustable wrench, screwdriver, pliers, tape measure, and caulking gun. Materials: sink, faucet, drain, PVC pipes, connectors, plumber's putty, silicone caulk, and Teflon tape.Essential Tools and Materials for Setting Up an Outdoor Kitchen Sink
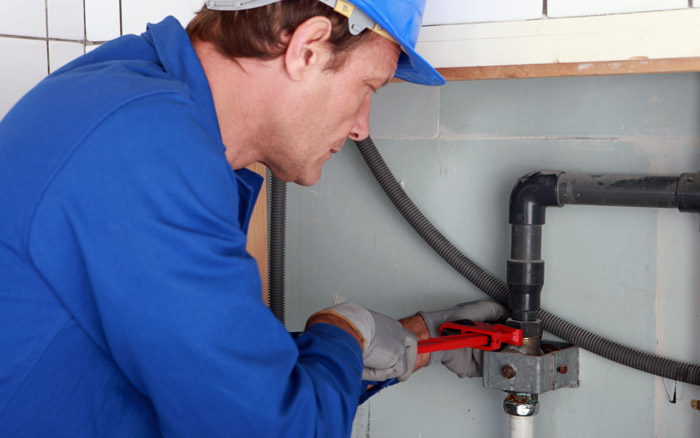
While it may be tempting to save money and install the outdoor kitchen sink yourself, it is highly recommended to hire a professional for this project. Plumbing can be complex and any mistakes made during installation can lead to costly repairs in the future. A professional plumber will have the necessary skills and knowledge to ensure that the sink is installed correctly and safely.DIY vs Hiring a Professional: Which is Best for Installing an Outdoor Kitchen Sink?
Choosing the right location for your outdoor kitchen sink is crucial for a functional and visually pleasing space. Consider the following factors when selecting the location: Proximity: The sink should be located near your cooking and dining area for convenience. Water Source: Make sure the location is close to a water source to avoid long plumbing runs. Drainage: The sink should be placed on a slight slope to ensure proper drainage. Splashing: Avoid placing the sink near seating areas to prevent splashing on guests.Choosing the Right Location for Your Outdoor Kitchen Sink
Proper plumbing is essential for the functionality and longevity of your outdoor kitchen sink. It is important to use high-quality materials and follow local building codes when installing the plumbing and drainage system. Hiring a professional plumber will ensure that the plumbing is done correctly and to code.Proper Plumbing for an Outdoor Kitchen Sink
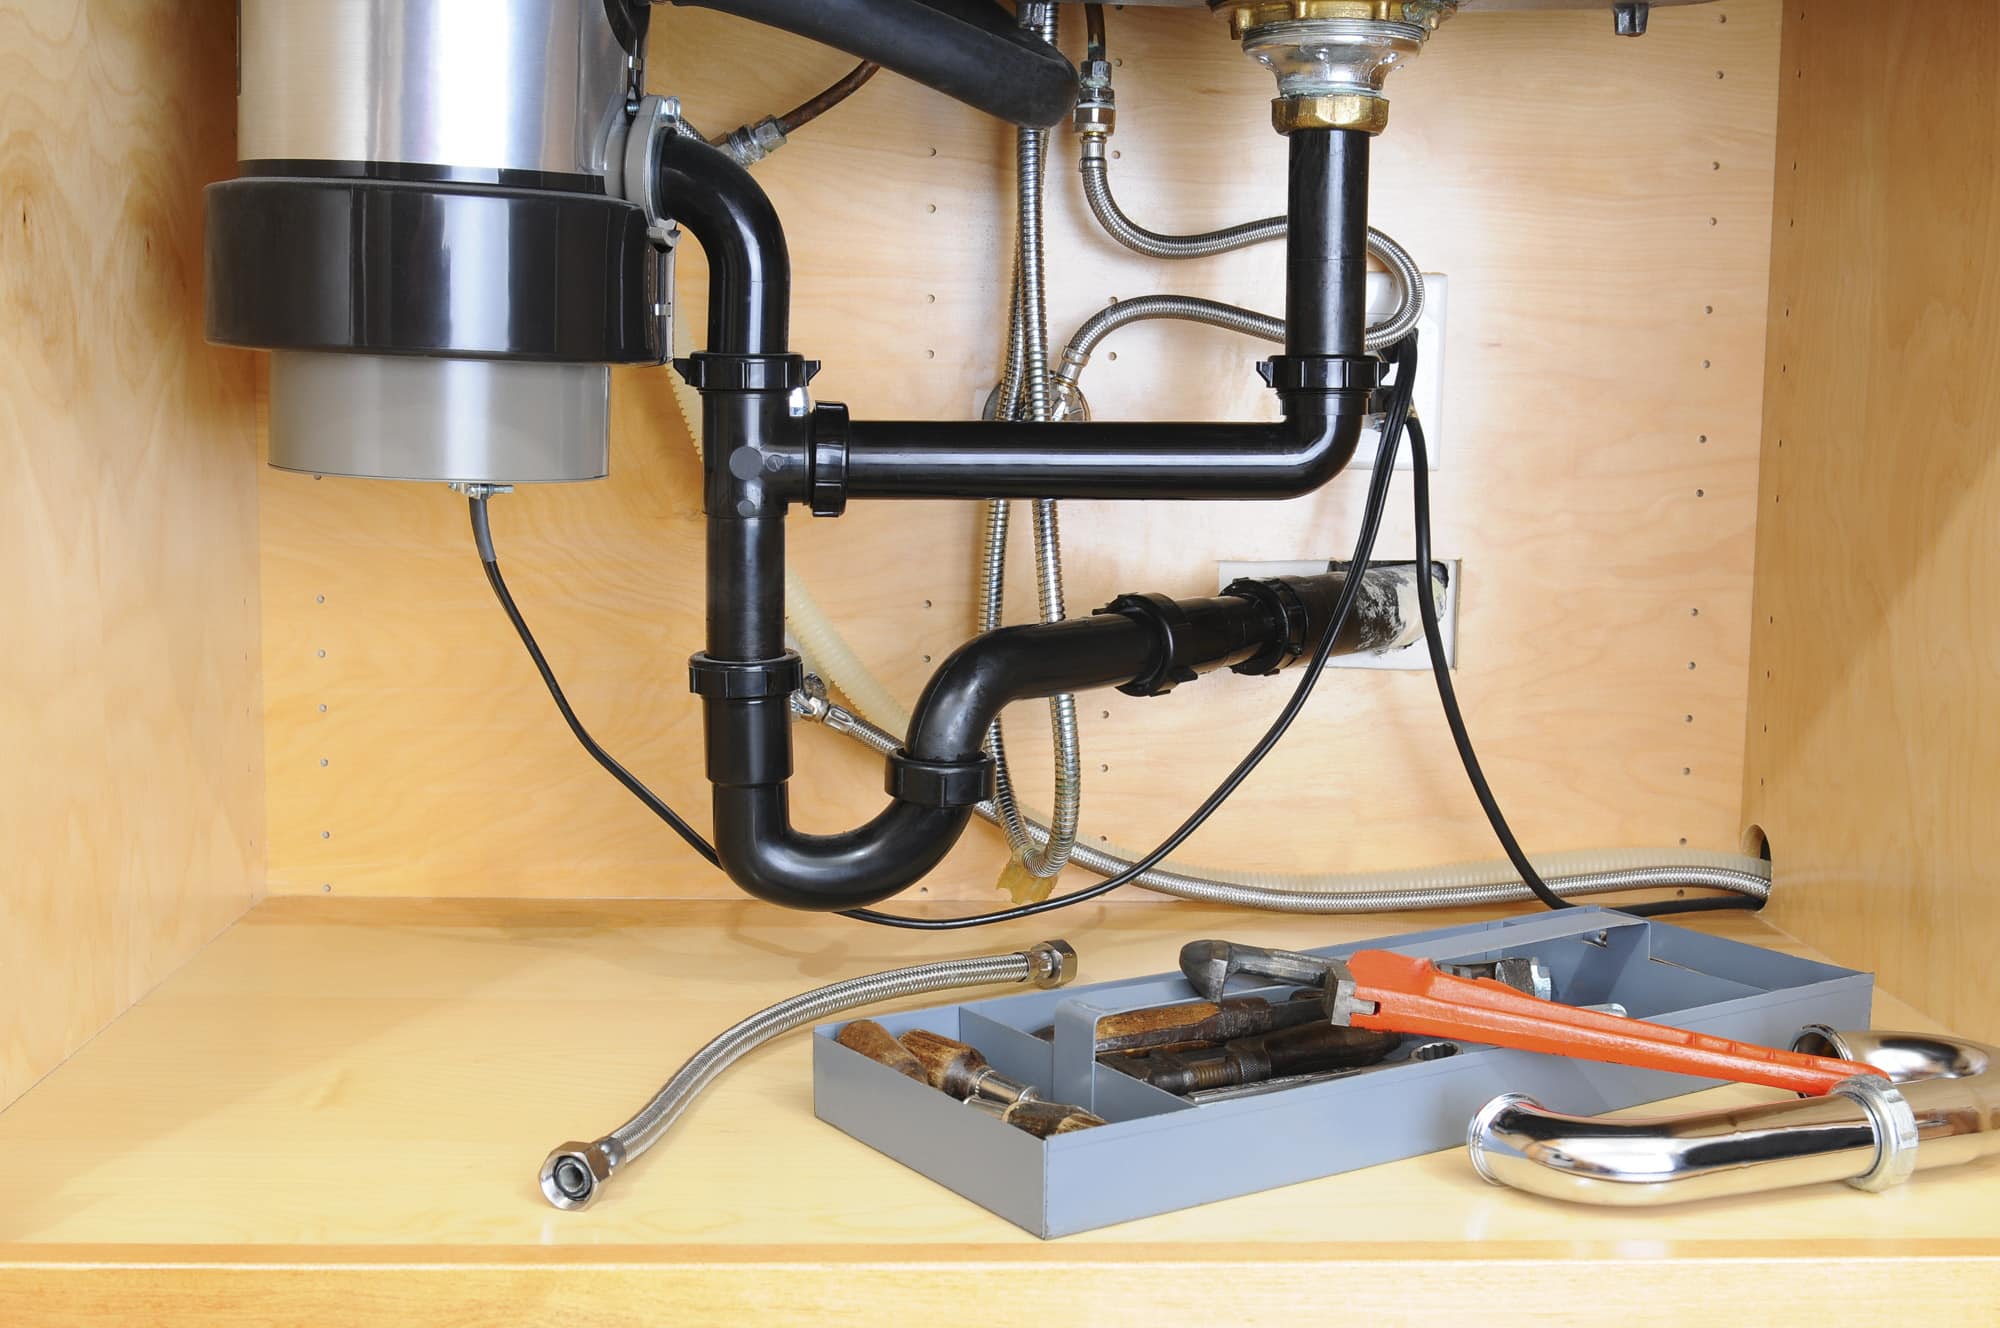
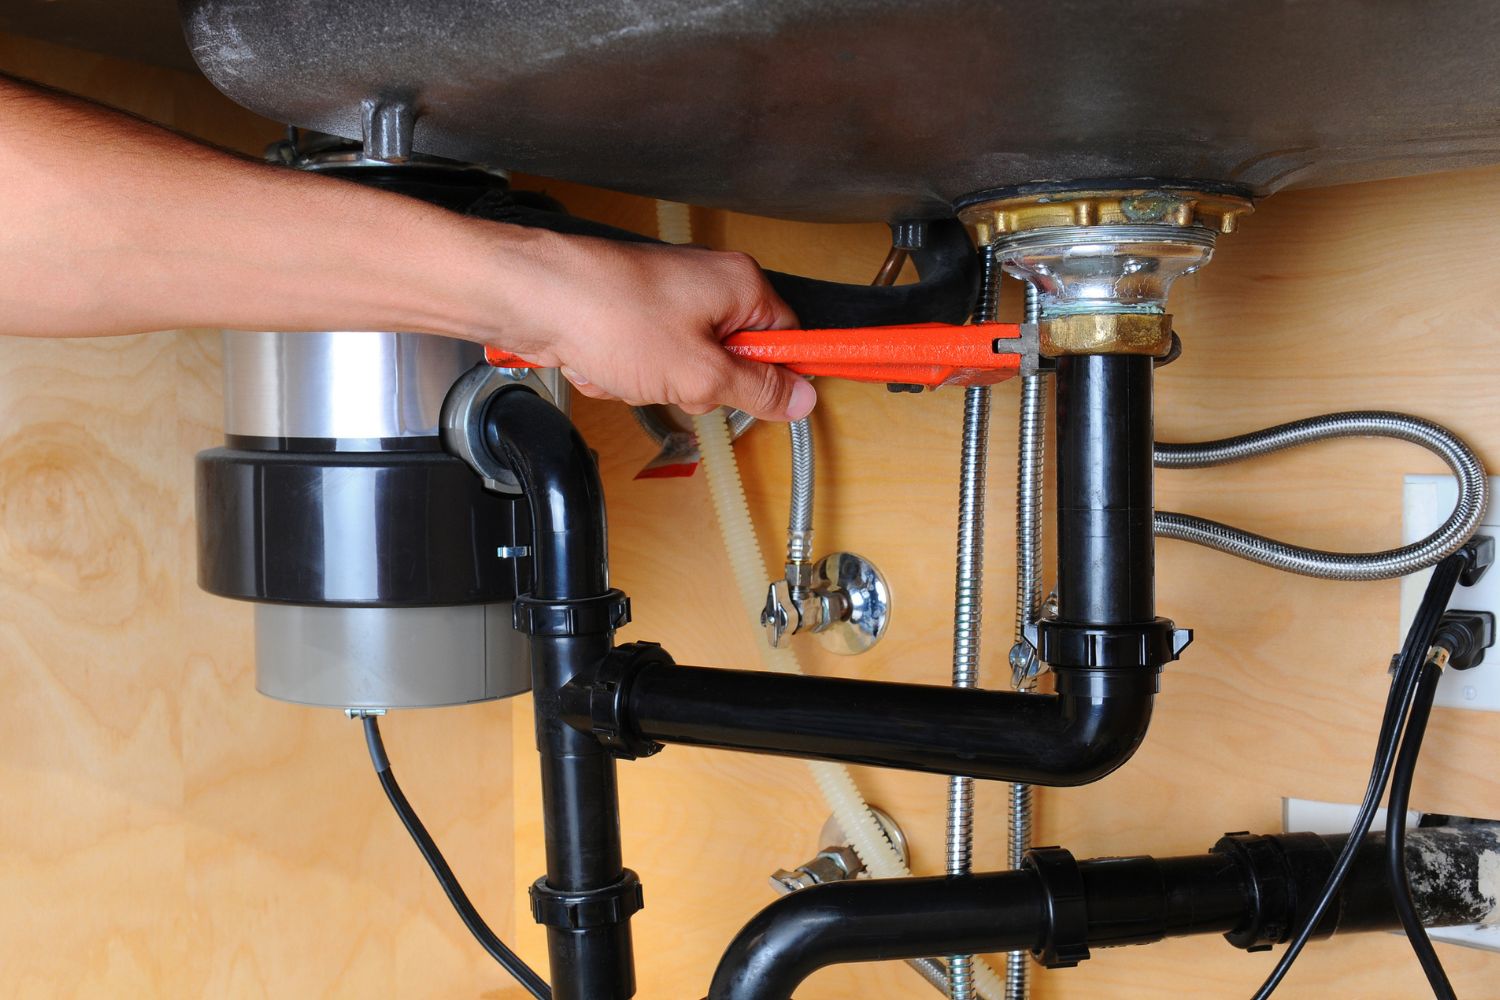
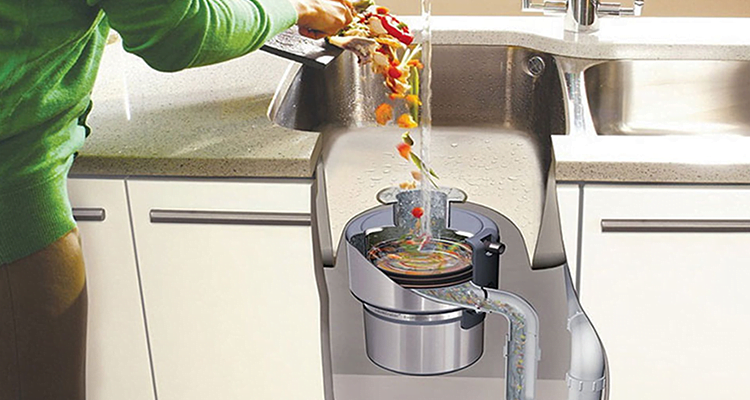
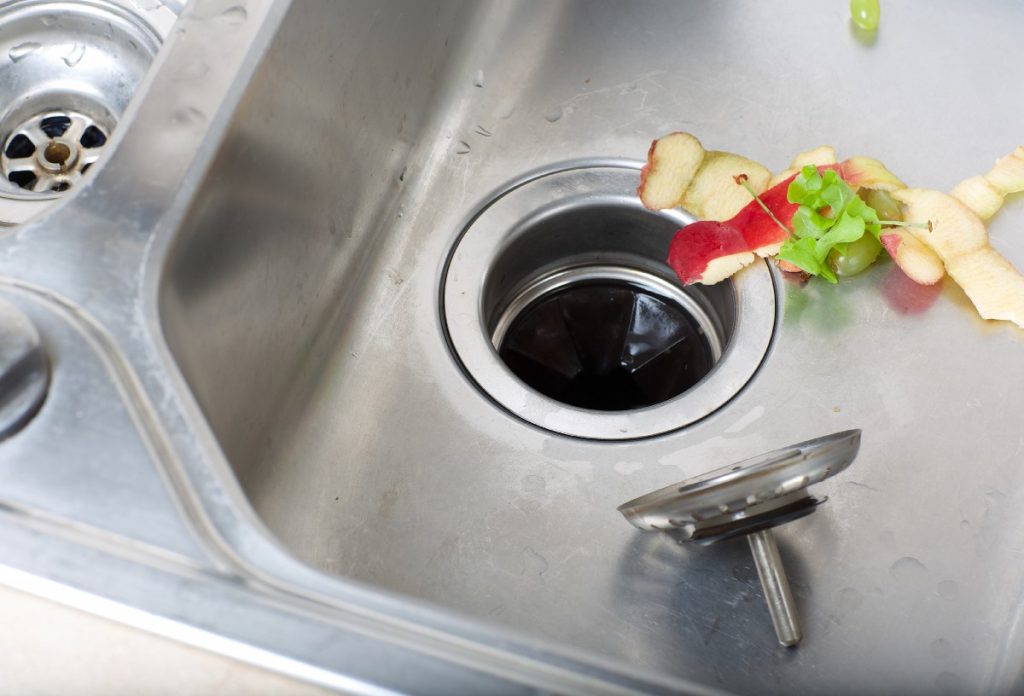
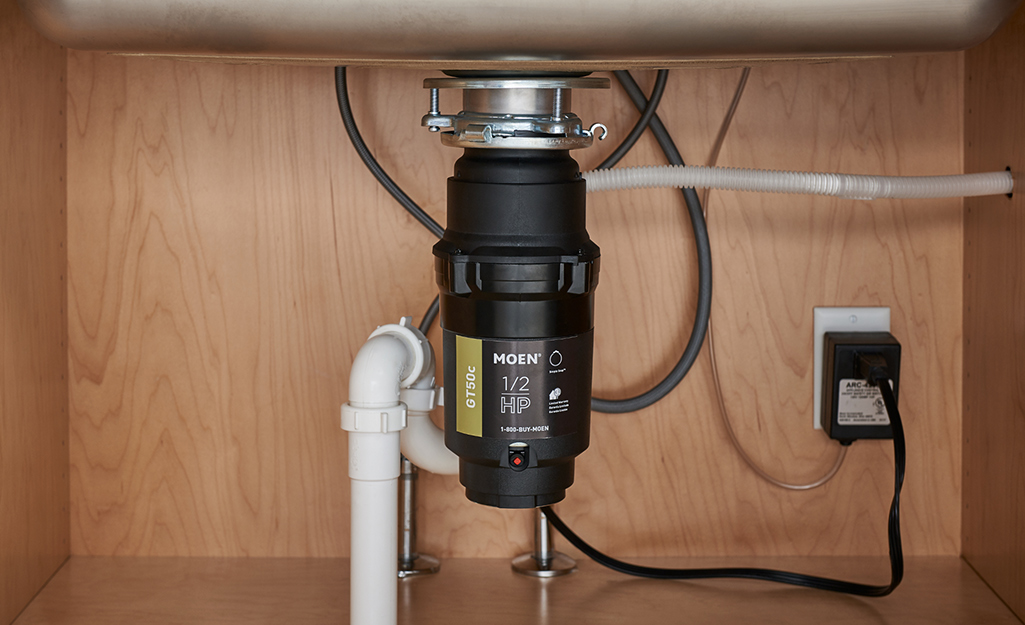
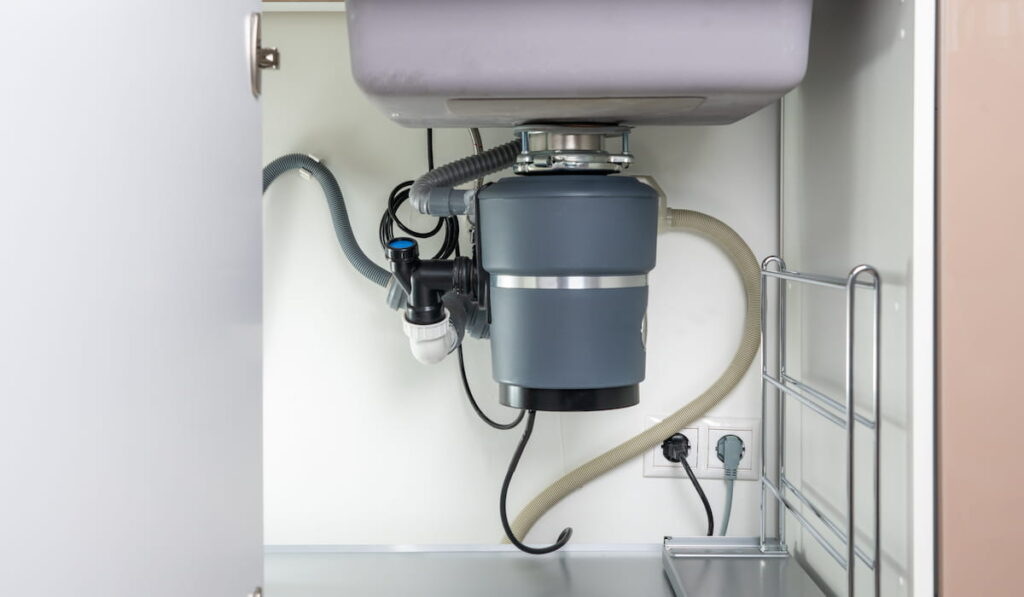
Adding a garbage disposal to your outdoor kitchen sink can make cleanup a breeze. However, it is important to consider the extra plumbing and electrical work that may be required. It is also recommended to invest in a heavy-duty garbage disposal that can handle outdoor cooking scraps.Adding a Garbage Disposal to Your Outdoor Kitchen Sink
To keep your outdoor kitchen sink in top condition, regular maintenance and care are necessary. This includes cleaning the sink and faucet regularly, checking for any leaks or clogs, and winterizing the sink during colder months. It is also important to use mild cleaners and avoid harsh chemicals that can damage the sink.Maintenance and Care for Your Outdoor Kitchen Sink
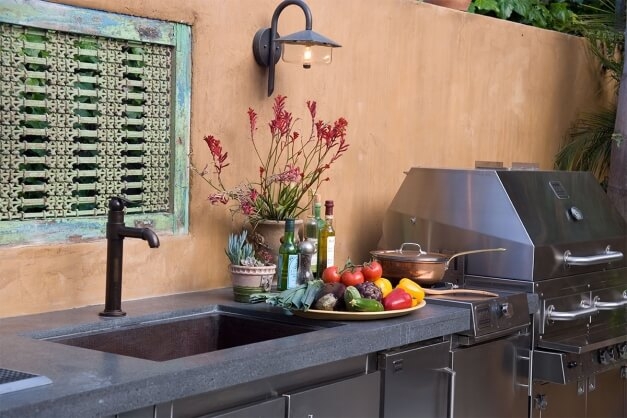
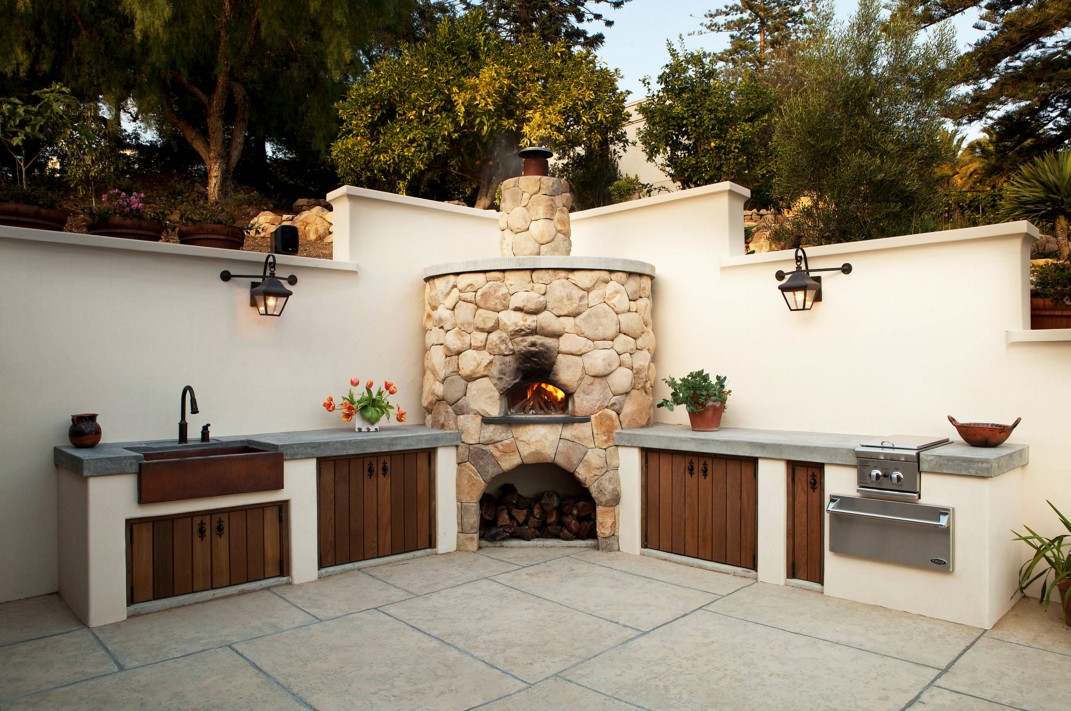
Last but not least, incorporating a sink into your outdoor kitchen design can add both functionality and style to your space. Consider the overall layout and design of your outdoor kitchen when selecting the sink and faucet. You can also add decorative elements such as a backsplash or stone surround to make the sink a focal point of your outdoor space. In conclusion, setting up a sink in your outdoor kitchen can greatly enhance your outdoor cooking and dining experience. By following these top 10 tips and tricks, you can ensure a successful installation and enjoy the benefits of a functional and stylish outdoor kitchen sink.Incorporating a Sink into Your Outdoor Kitchen Design
Why Include a Sink in Your Outdoor Kitchen?
Convenience and Efficiency
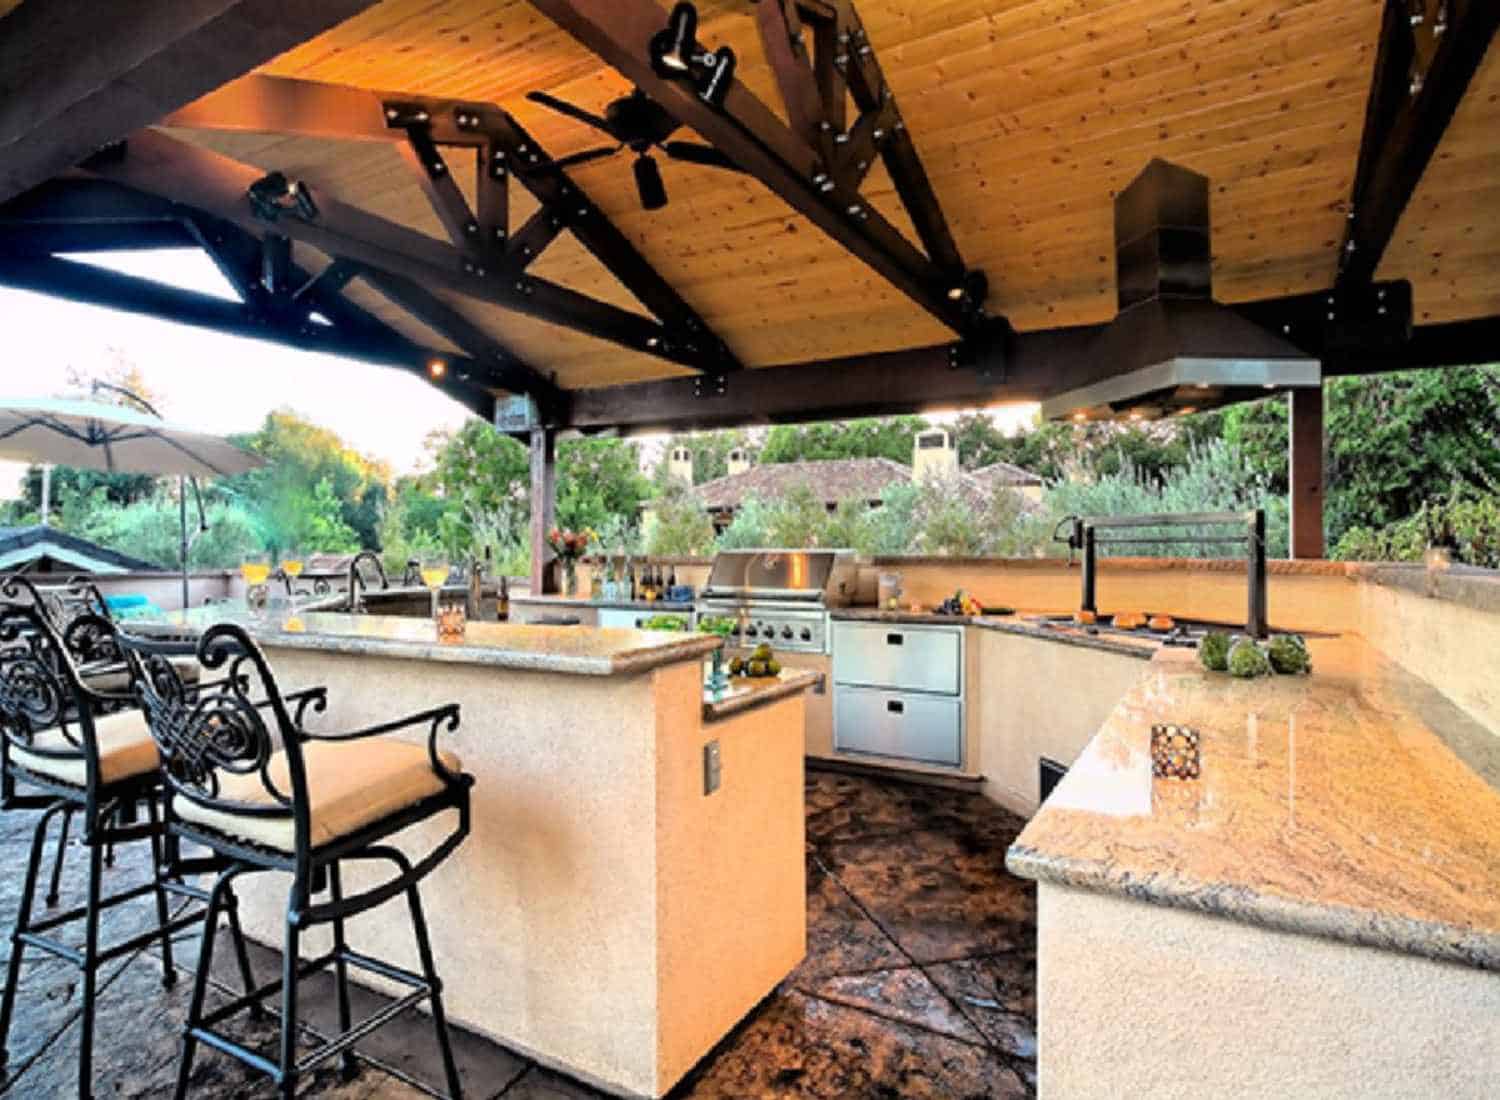
 When designing an outdoor kitchen, it's easy to focus on the fun and flashy elements such as a grill or a pizza oven. However, one essential and often overlooked feature is a sink.
Adding a sink to your outdoor kitchen allows for convenience and efficiency while cooking and entertaining.
No more running back and forth to the indoor kitchen for water or to wash your hands. With a sink right at your fingertips, you can easily rinse off produce, wash utensils, and keep your workspace clean.
Enhanced Entertaining
 An outdoor kitchen is meant to be a space for entertaining and bringing people together.
Having a sink in your outdoor kitchen can elevate your hosting game.
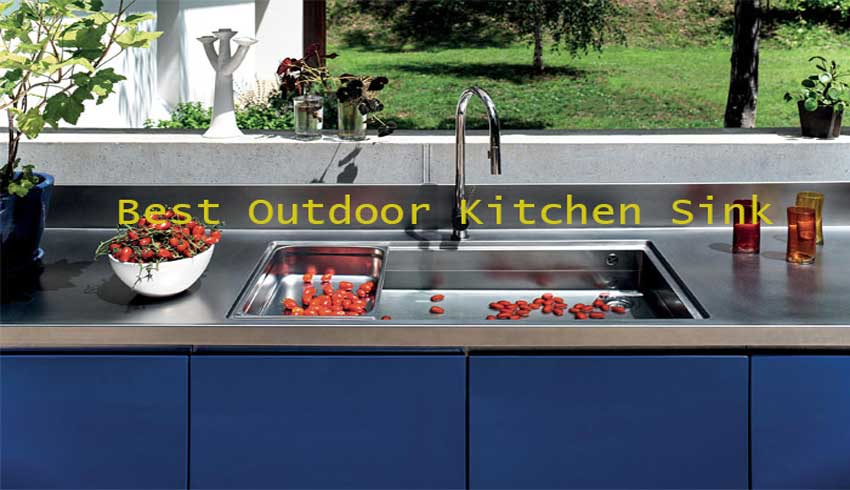
You can easily wash and refill glasses, rinse off plates and utensils, and clean up any spills or messes without having to go indoors. This keeps the party going and allows you to spend more time with your guests rather than being stuck in the kitchen.
Increased Functionality
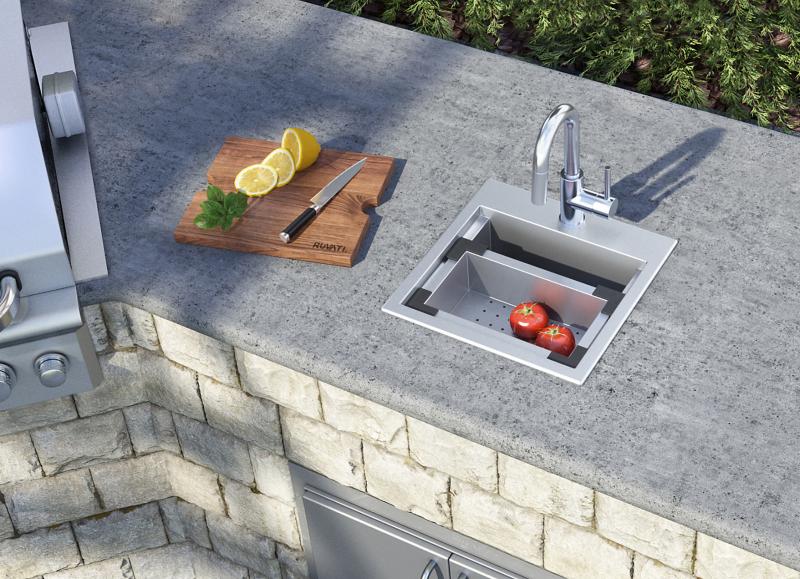 Adding a sink to your outdoor kitchen also increases its functionality.
You can use the sink for more than just cooking and cleaning purposes.
It can also serve as a place to fill up a bucket of water for gardening, to wash off dirty hands or tools, and even as a makeshift cooler for drinks. With a sink, your outdoor kitchen becomes a multi-purpose space that can adapt to your needs.
Design and Aesthetics
 Not only is a sink a practical addition to your outdoor kitchen, but it can also enhance the overall design and aesthetics of the space.
You can choose from a variety of sink styles and materials to complement your outdoor kitchen's design.
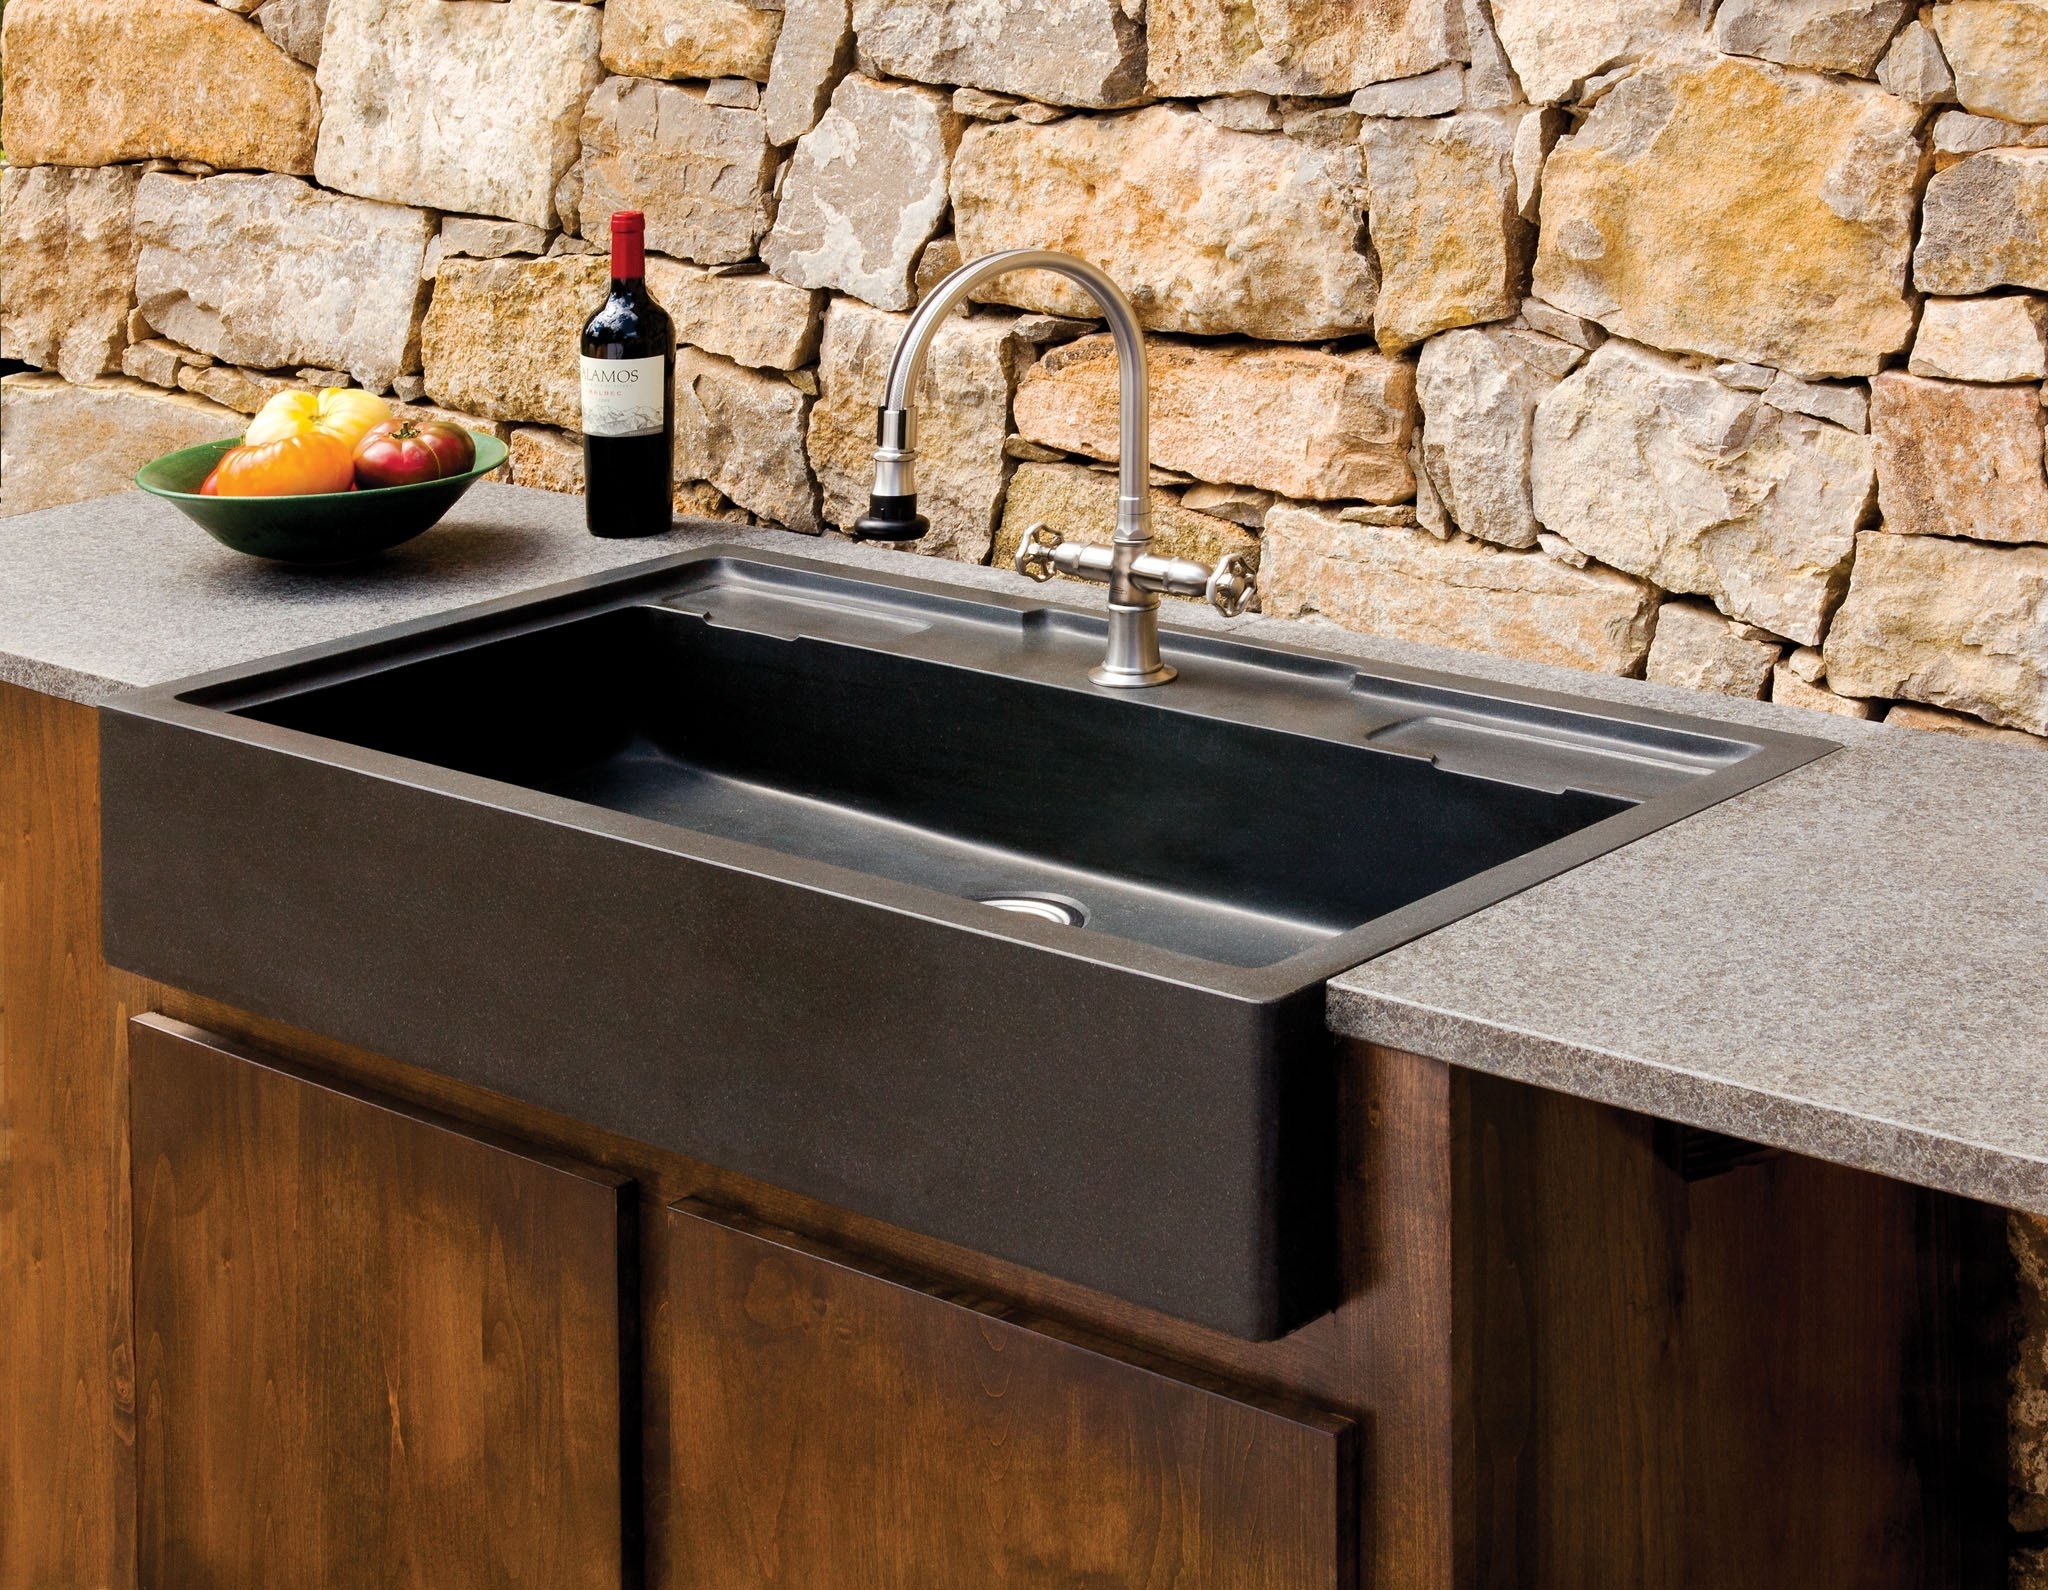
From sleek stainless steel to rustic stone, the sink can add a touch of elegance or charm to your outdoor space.
Conclusion
 Including a sink in your outdoor kitchen may seem like a small detail, but it can make a big difference in the functionality, convenience, and aesthetics of your space.
With a sink, you can enhance your outdoor cooking and entertaining experience while also adding a practical and stylish element to your design.
So when planning your outdoor kitchen, don't forget to consider the addition of a sink for a truly complete and efficient outdoor cooking and dining experience.


















:max_bytes(150000):strip_icc()/venting-sink-diagram-f8f9759a-1047c08369d24101b00c8340ba048950.jpg)





/how-to-install-a-sink-drain-2718789-hero-24e898006ed94c9593a2a268b57989a3.jpg)









/choose-dining-room-rug-1391112-hero-4206622634654a6287cc0aff928c1fa1.jpg)

