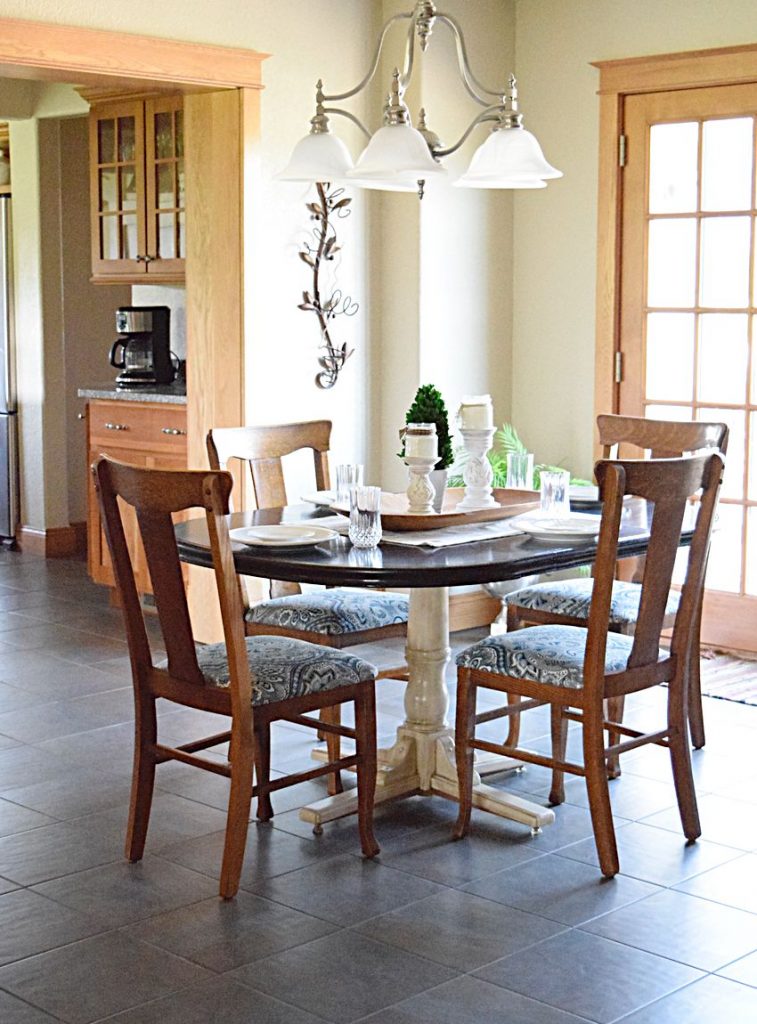
A dining room table is not just a piece of furniture, it's the heart of a home. It's where families gather to share meals and create memories. Over time, this essential piece of furniture may start to show signs of wear and tear. Scratches, watermarks, and fading can make your once beautiful dining room table look dull and uninviting. But do not worry, with a little bit of time and effort, you can bring back its original beauty by sanding and staining it. Here's everything you need to know about sanding and staining a dining room table. Sanding and Staining Dining Room Table:
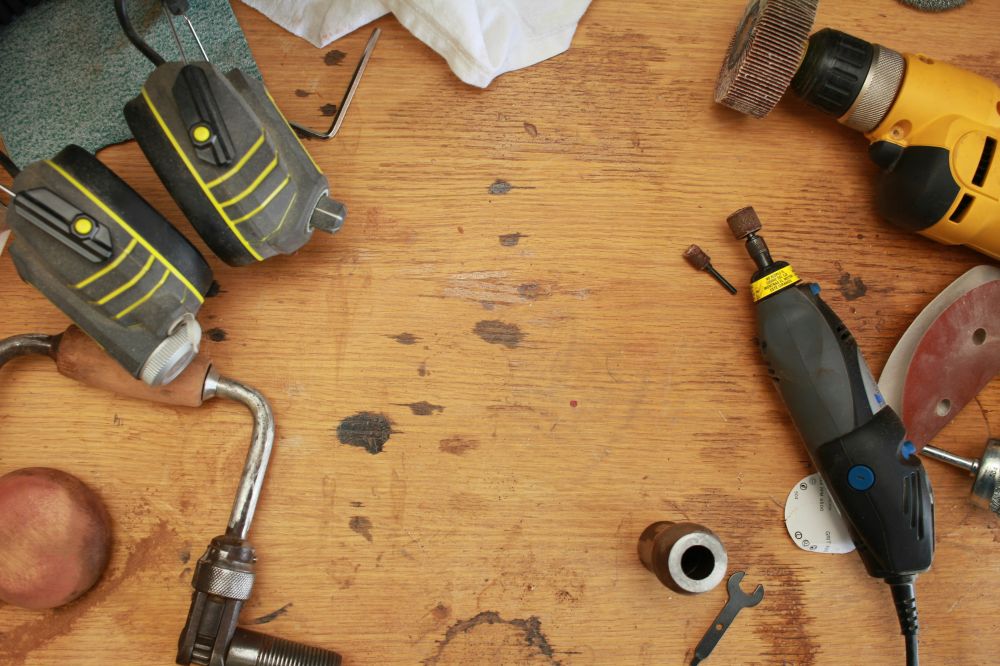
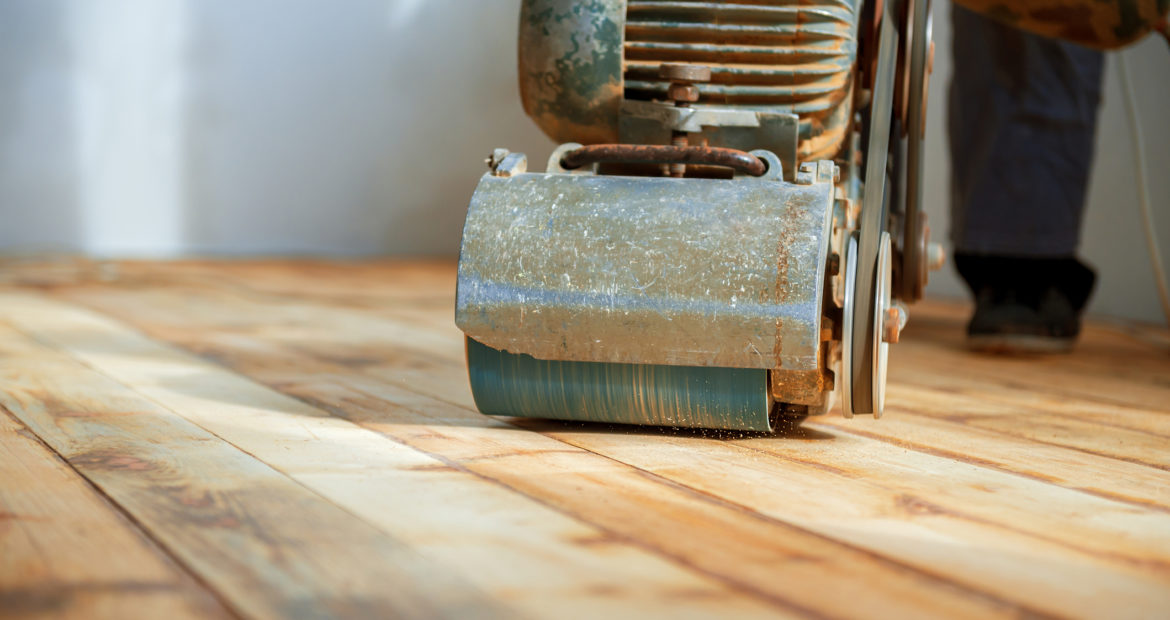
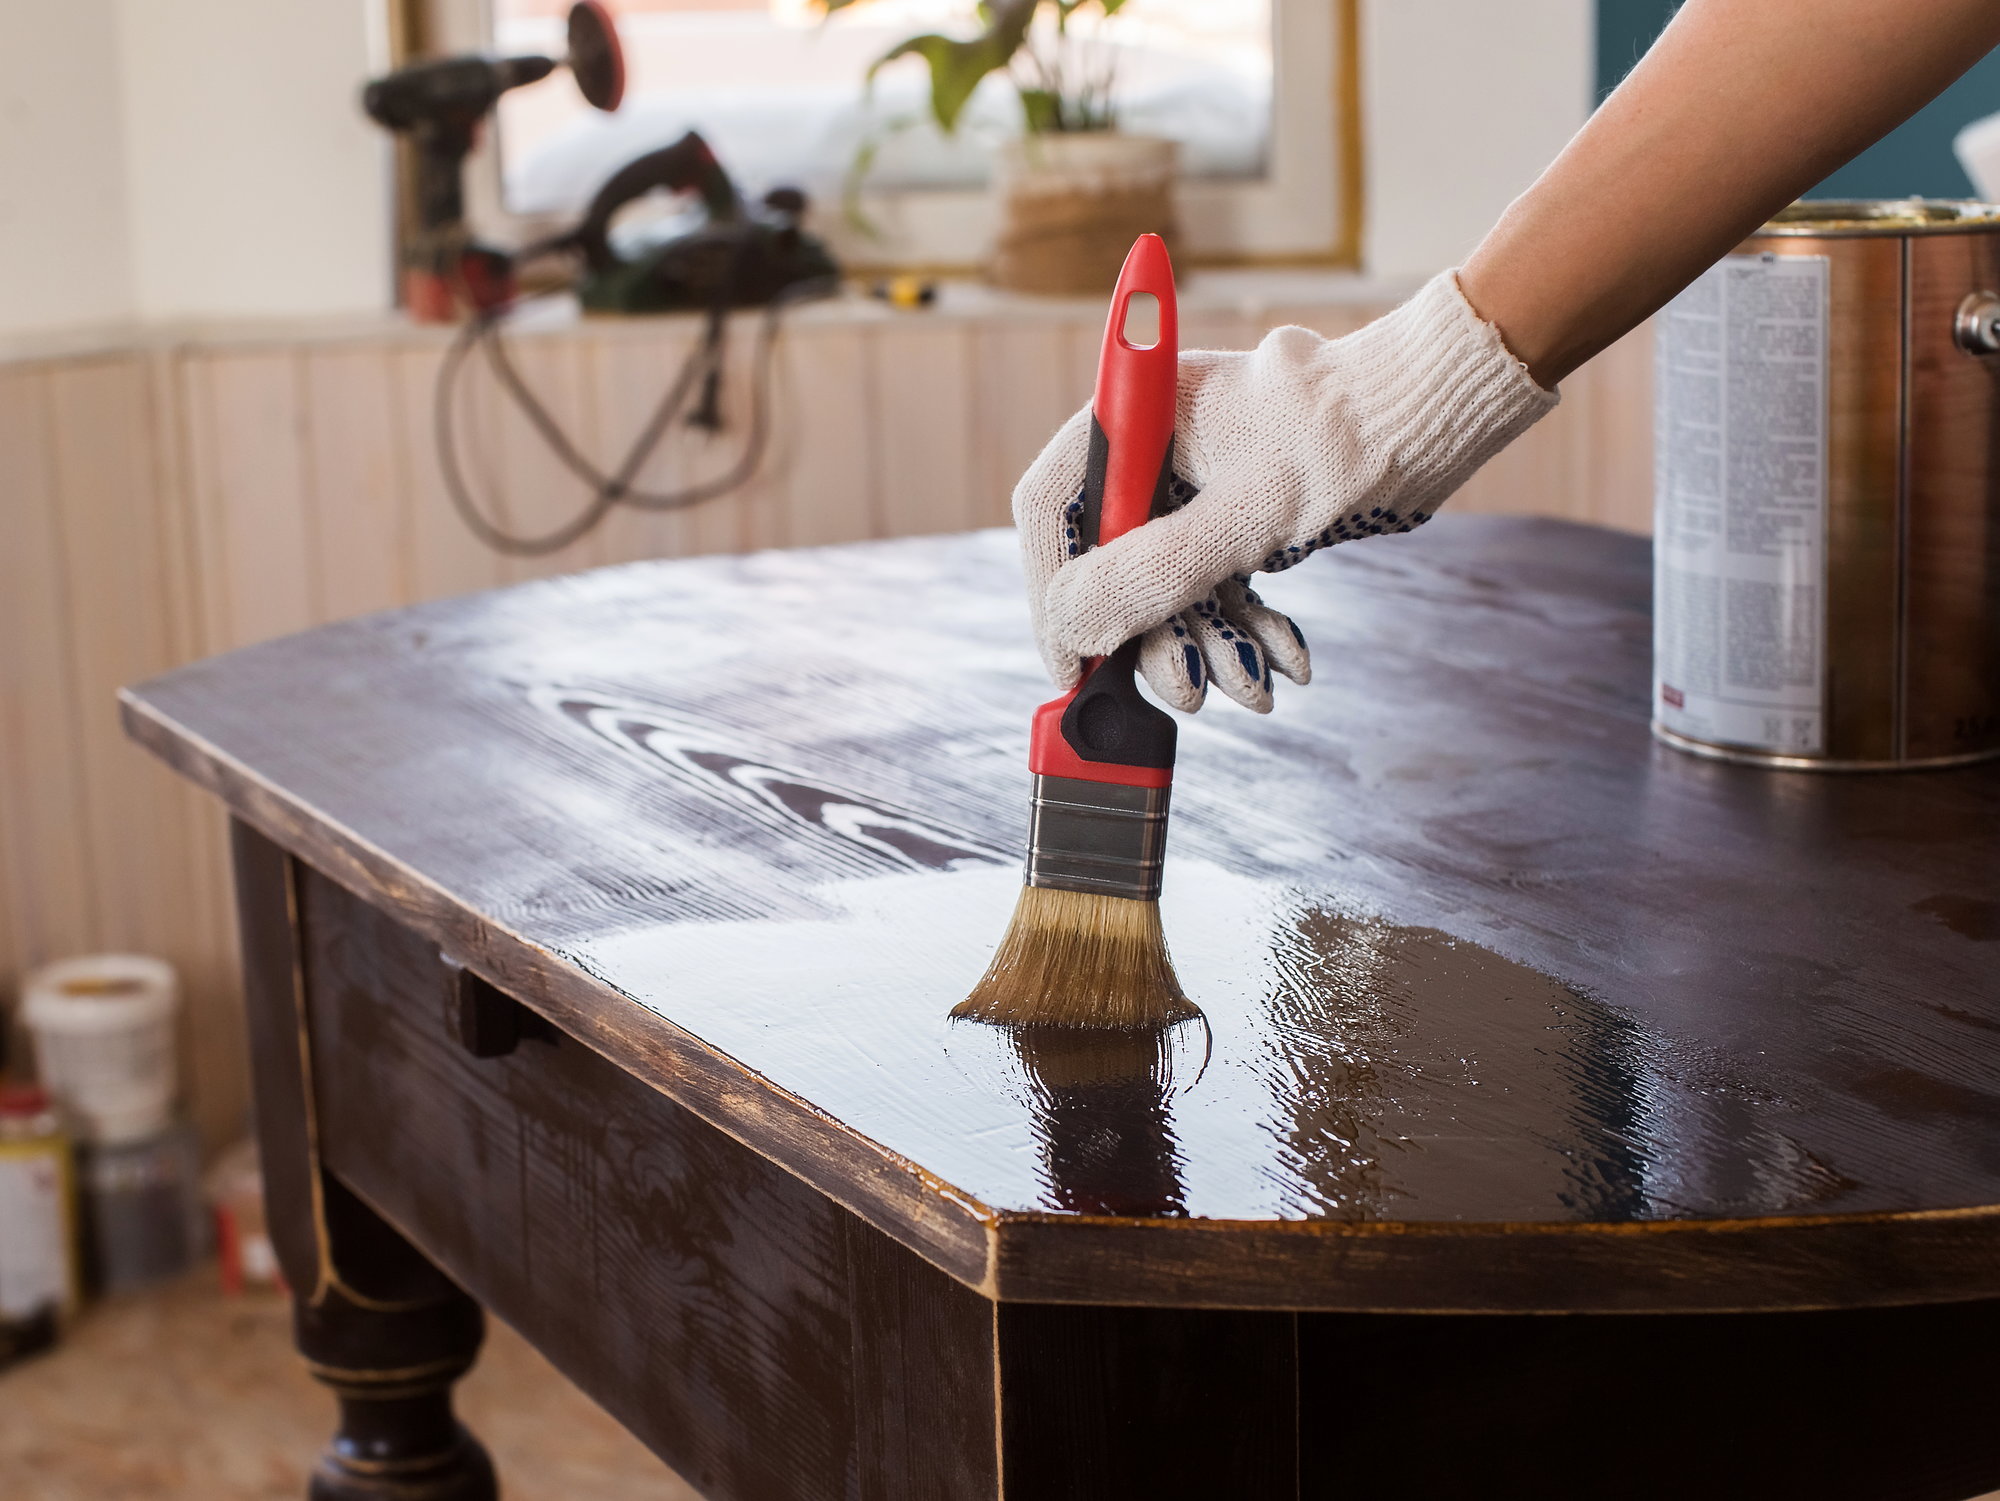
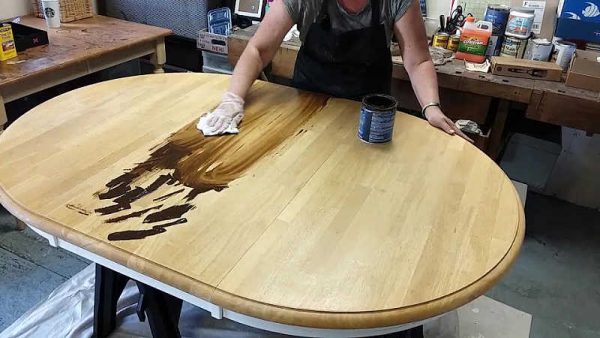
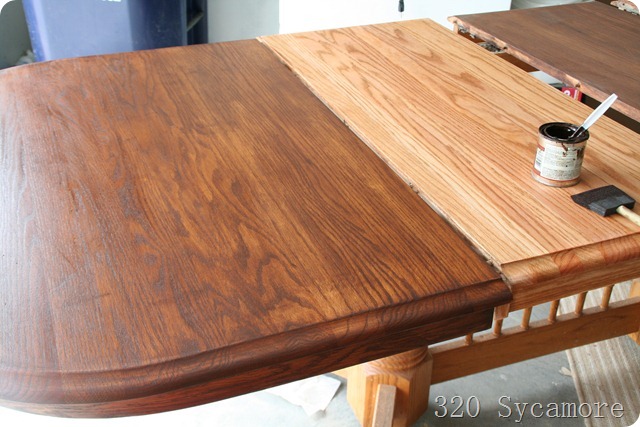
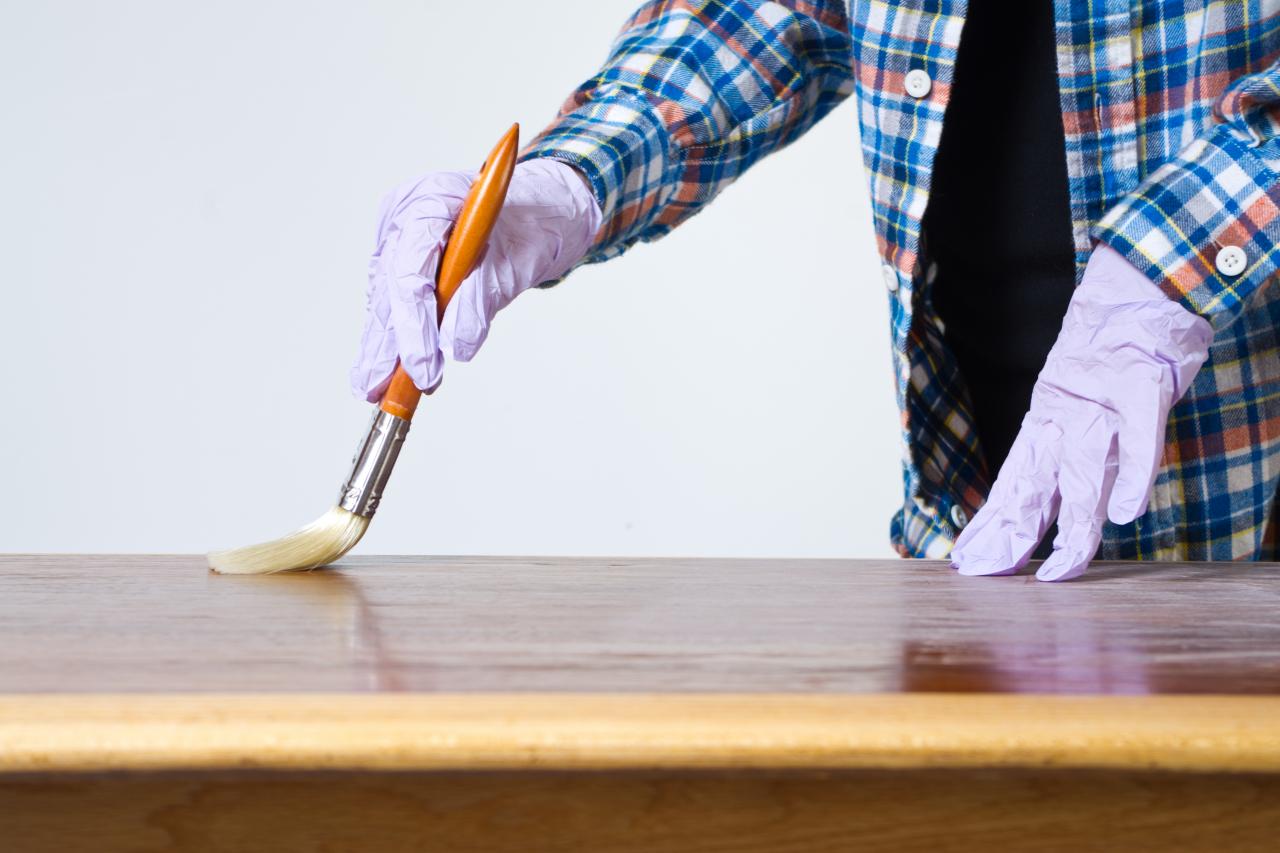
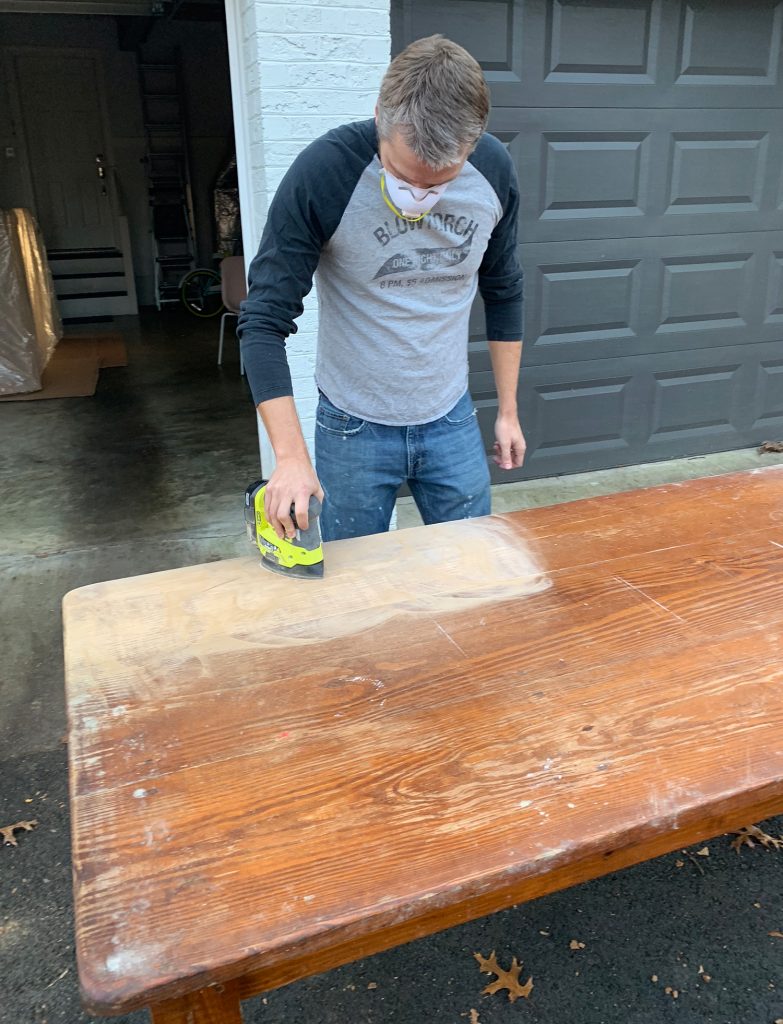
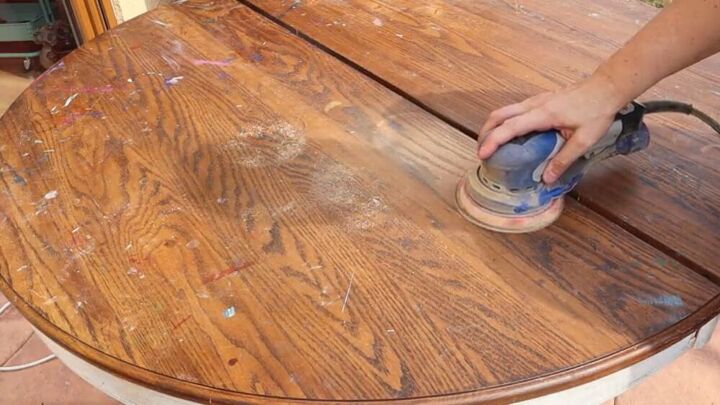
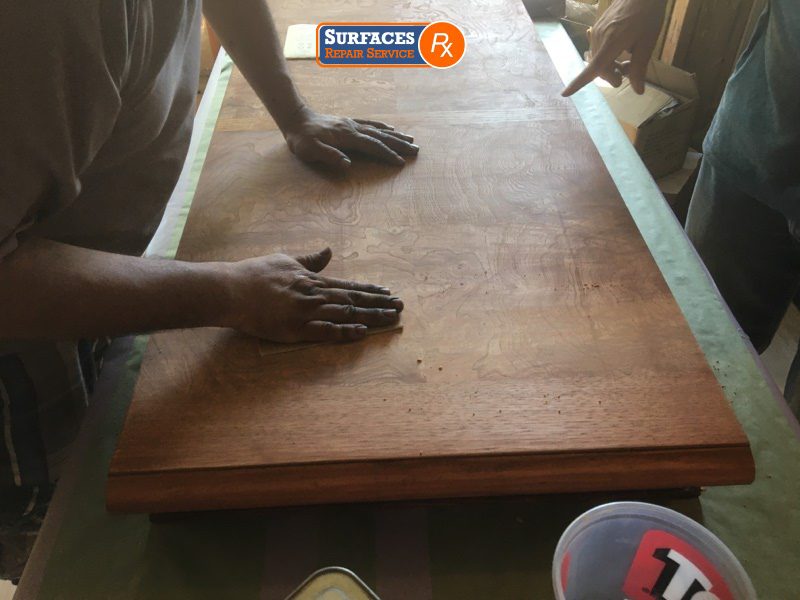
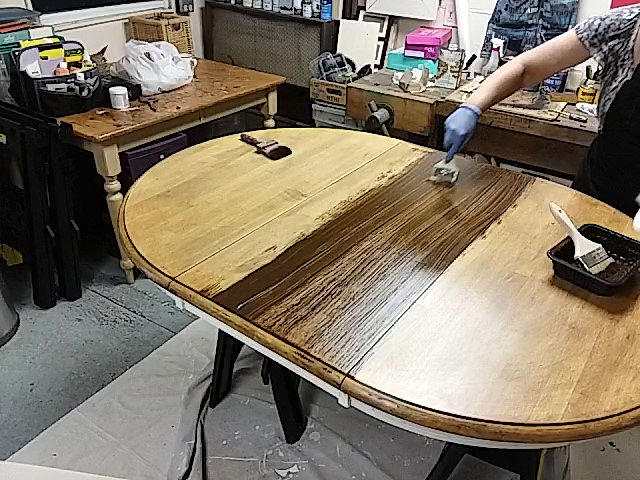
Sanding and staining a dining room table may seem like a daunting task, but it is actually a straightforward process that can be done in a few easy steps. The first step is to gather all the necessary tools and materials. These include sandpaper, a sander, wood stain, paintbrush, and a clean cloth. Once you have everything you need, follow these steps: Step 1: Begin by sanding the table. Use a coarse grit sandpaper to remove any existing finish, scratches, or imperfections. Sand in the direction of the wood grain and make sure to sand evenly to avoid any uneven spots. Step 2: After sanding, use a finer grit sandpaper to smooth out the wood and remove any remaining imperfections. This will give your table a smooth and even surface. Step 3: Once you have finished sanding, use a vacuum or a clean cloth to remove any dust from the table. Step 4: Now it's time to apply the wood stain. Choose a stain that complements the color and style of your dining room. Before applying the stain, make sure to stir it well to distribute the pigments evenly. Use a paintbrush to apply the stain in the direction of the wood grain. You can also use a clean cloth to wipe off any excess stain. Step 5: Let the first coat of stain dry completely before applying a second coat. This will give your table a deeper and richer color. Step 6: Once the stain has dried completely, you can apply a clear protective coat to seal the wood and give it a glossy finish. Follow the instructions on the protective coat product for the best results. How to Sand and Stain a Dining Room Table
Sanding and staining your dining room table is a great DIY project that can save you money and give you a sense of accomplishment. However, it's important to keep in mind that it can be a time-consuming process and requires some skill and patience. Here are some tips to help you achieve the best results: Tip 1: Prepare your workspace before starting the project. Make sure you have enough room to move around and protect your floors and surrounding furniture with drop cloths. Tip 2: Take your time when sanding. Rushing through this step can result in an uneven finish and ruin the appearance of your table. Tip 3: Use a sanding block to make the process easier and to avoid creating uneven spots. Tip 4: Test the stain on a small, inconspicuous area of the table first to ensure you are happy with the color before applying it to the entire table. Tip 5: Use a clean cloth to wipe off any excess stain to prevent drips and uneven spots. DIY Guide for Sanding and Staining a Dining Room Table
Choosing the right products for sanding and staining your dining room table can make a significant difference in the final result. Here are some of the best products recommended by professionals: Sandpaper: Look for sandpaper labeled as "fine" or "medium" grit for sanding a dining room table. You can also use a sander for a faster and more efficient sanding process. Wood Stain: There are many different types of wood stains available on the market, including oil-based, water-based, and gel stains. Consider the type of wood you are working with and the desired color and finish when choosing a stain. Protective Coat: For a glossy and durable finish, choose a clear protective coat specifically designed for wood furniture. Best Products for Sanding and Staining a Dining Room Table
Sanding and staining a dining room table can be a challenging task, especially for beginners. Here are some additional tips to help you achieve the best results: Tip 1: Always sand in the direction of the wood grain for a smoother finish. Tip 2: Use a tack cloth to remove any dust or debris before applying the stain. This will ensure a cleaner and more even finish. Tip 3: Wear protective gear, such as gloves and a mask, to protect yourself from dust and chemicals. Tip 4: Allow each coat of stain and protective coat to dry completely before applying the next one. This will prevent any streaks or bubbles from forming. Tips for Sanding and Staining a Dining Room Table
Here is a step-by-step tutorial to help guide you through the process of sanding and staining a dining room table: Step 1: Set up your workspace and gather all the necessary tools and materials. Step 2: Begin sanding the table with a coarse grit sandpaper, following the wood grain. Step 3: Use a finer grit sandpaper to smooth out the wood and remove any imperfections. Step 4: Vacuum or wipe off any dust from the table. Step 5: Apply the wood stain with a paintbrush in the direction of the wood grain. Step 6: Let the first coat of stain dry completely before applying a second coat. Step 7: Once the stain has dried, apply a clear protective coat according to the product instructions. Step 8: Allow the protective coat to dry completely before using your newly sanded and stained dining room table. Step-by-Step Tutorial for Sanding and Staining a Dining Room Table
Sanding and staining a dining room table requires precision and attention to detail. Here are some common mistakes to avoid to achieve the best results: Mistake 1: Using the wrong type of sandpaper can result in an uneven finish. Always use sandpaper specifically designed for wood furniture. Mistake 2: Rushing through the sanding process can result in an uneven finish and ruin the appearance of your table. Take your time and sand carefully. Mistake 3: Not preparing the workspace properly can lead to damage to your floors and surrounding furniture. Always use drop cloths and cover any nearby furniture. Mistake 4: Not waiting for each coat of stain and protective coat to dry completely can result in a streaky or bubbly finish. Be patient and allow each coat to dry before applying the next one. Common Mistakes to Avoid When Sanding and Staining a Dining Room Table
The time it takes to sand and stain a dining room table can vary depending on the size and condition of the table, as well as your level of experience. On average, the process can take anywhere from 4 to 8 hours, not including drying time. It's important to take your time and not rush through the process to achieve the best results. How Long Does it Take to Sand and Stain a Dining Room Table?
The cost of sanding and staining a dining room table can vary depending on the size and condition of the table, as well as the products and tools you use. On average, the cost can range from $100 to $500. This cost can be significantly lower if you choose to DIY instead of hiring a professional. Cost of Sanding and Staining a Dining Room Table
If you are not confident in your DIY skills or do not have the time to sand and stain your dining room table, you can always hire a professional. They have the expertise and experience to ensure your table is sanded and stained to perfection. The cost of hiring a professional can vary depending on the size and condition of the table, but it can be well worth it for a beautifully restored dining room table. Now that you know all about sanding and staining a dining room table, it's time to roll up your sleeves and give your table the love and attention it deserves. With the right tools, materials, and techniques, you can transform your dull and worn-out dining room table into a stunning centerpiece for your home. Professional Services for Sanding and Staining a Dining Room Table
Why Sanding and Staining Your Dining Room Table is the Perfect DIY Project for House Design Enthusiasts

Add a Personal Touch to Your Interior Design
 One of the most exciting aspects of being a homeowner is having the opportunity to put your personal stamp on your living space. While there are countless ways to add unique touches to your home,
sanding and staining your dining room table
is a particularly satisfying and budget-friendly DIY project for house design enthusiasts. By taking on this task, you not only get to showcase your creative skills, but you also get to create a one-of-a-kind piece of furniture that will become a focal point in your dining room.
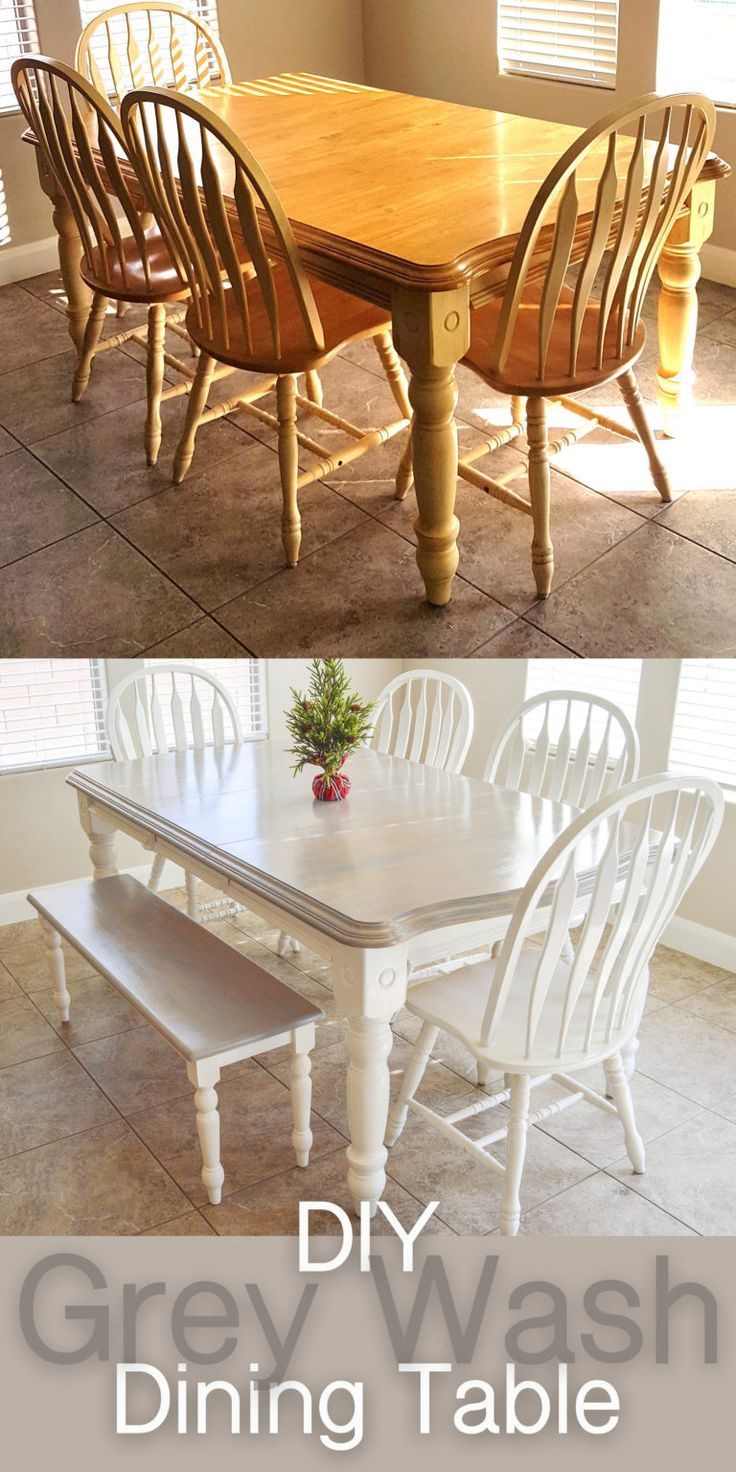
Transform Your Old or Dull Dining Table into a Designer Piece
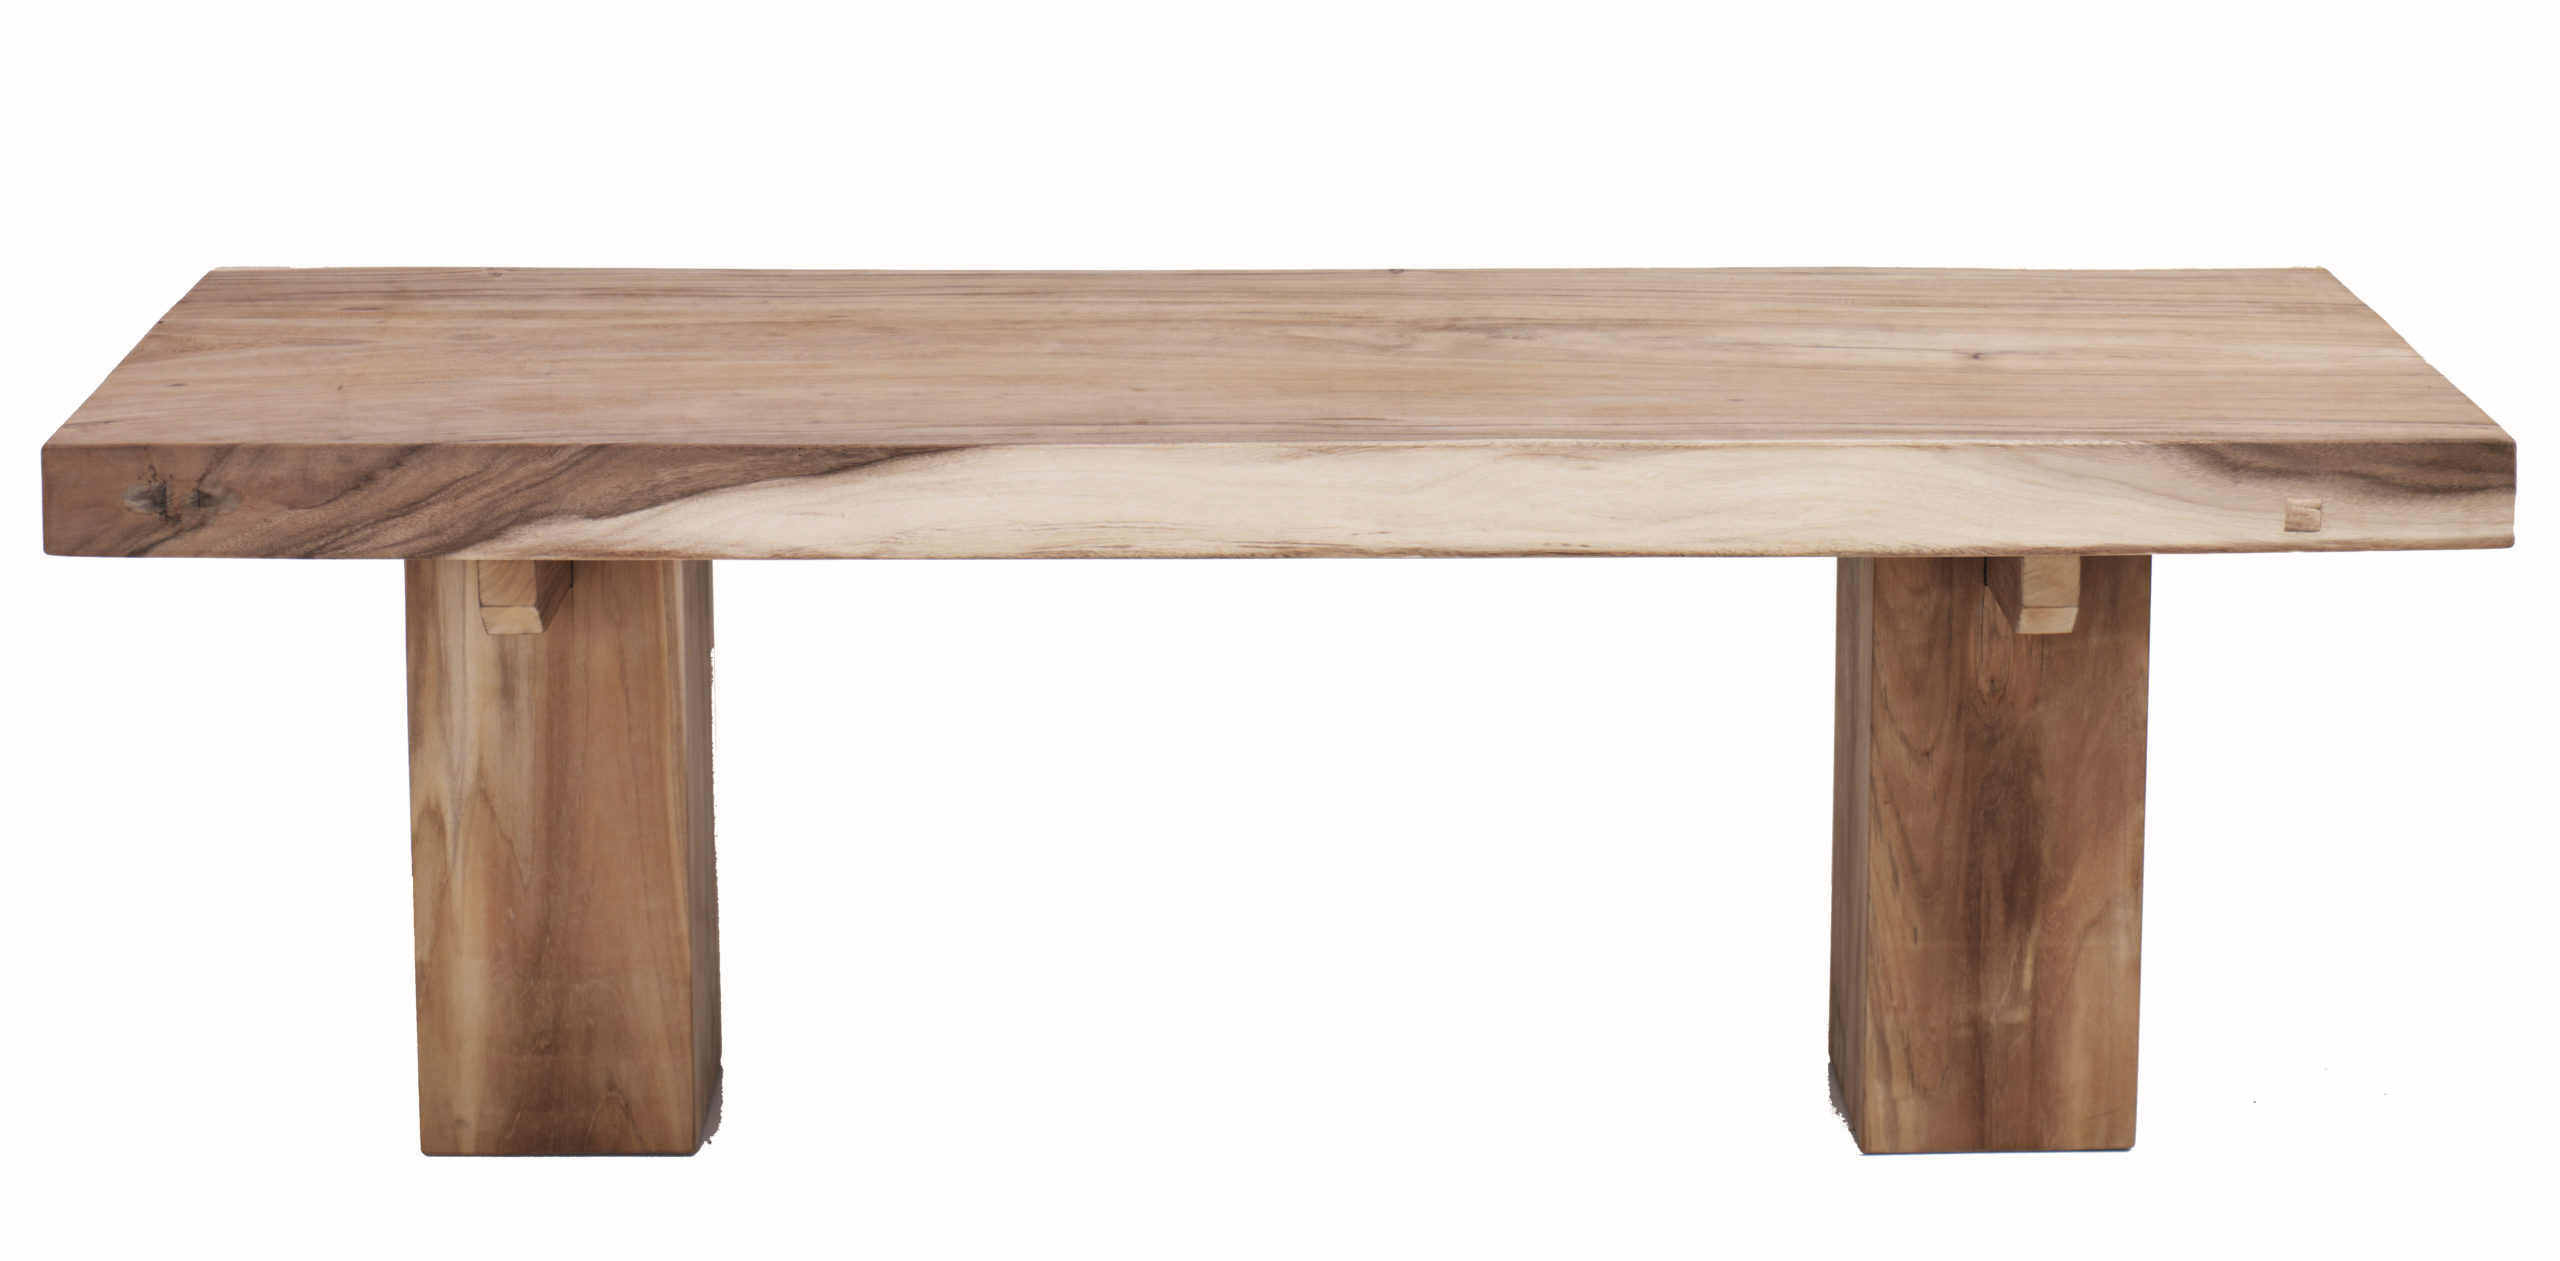 Over time, even the most well-crafted dining room tables can start to show signs of wear and tear. Scratches, watermarks, and fading can all take away from the beauty of your dining table and make it look old and tired.
Sanding and staining
is a simple and cost-effective way to give your table a new lease on life. With just a few tools and materials, you can transform your old or dull dining table into a designer piece that looks like it belongs in a high-end home decor magazine.
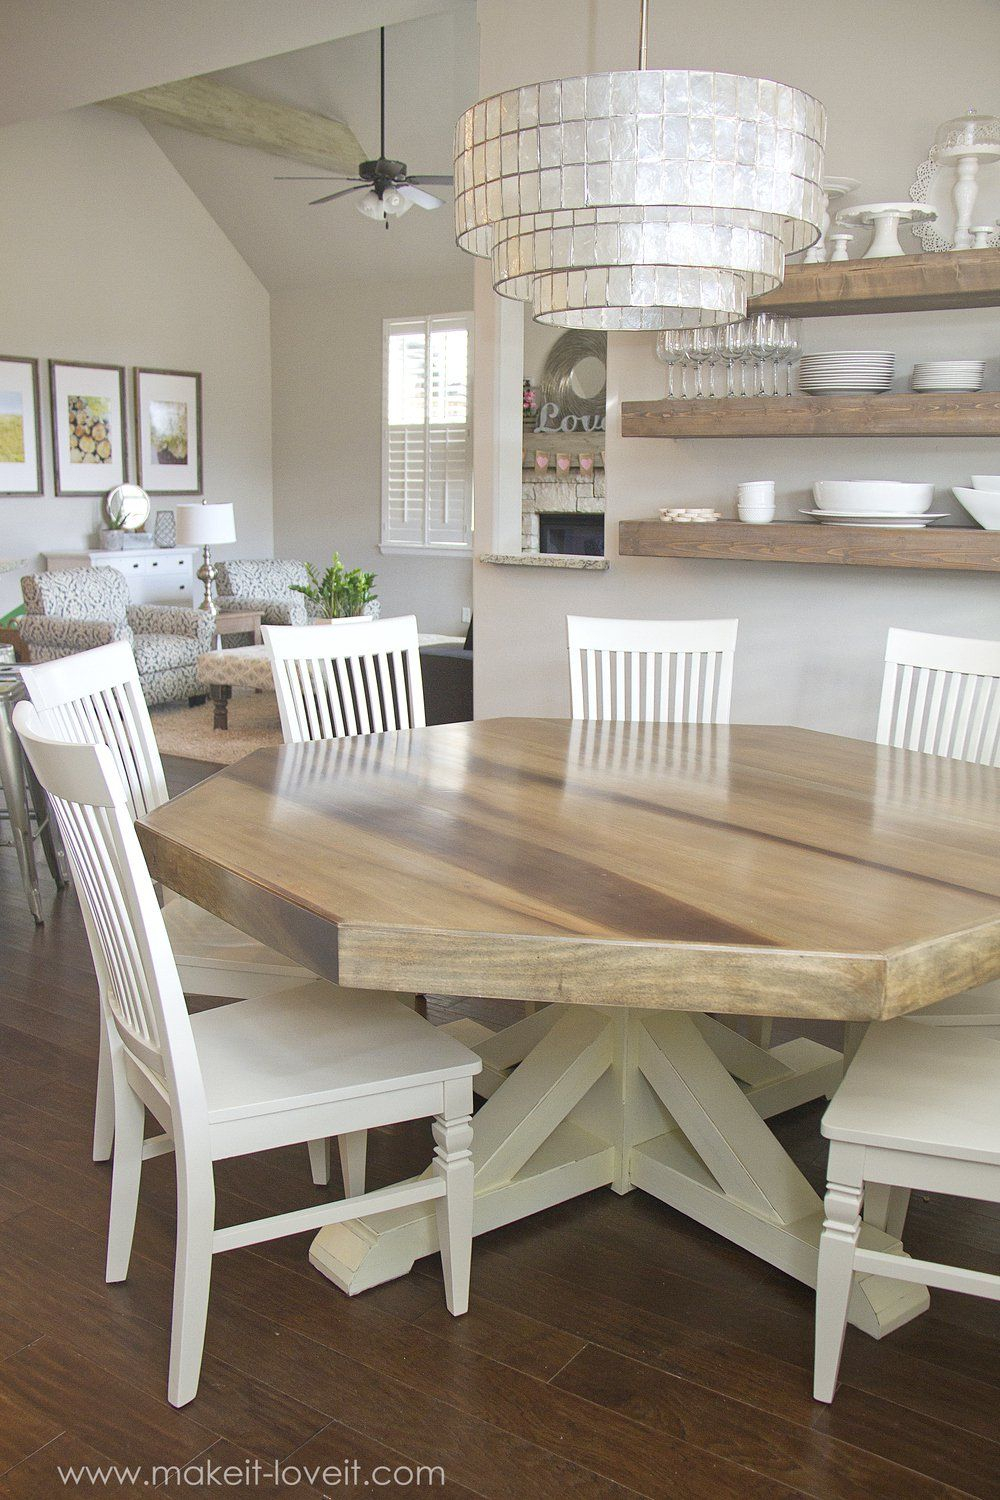
Customize Your Table to Match Your Home's Aesthetic
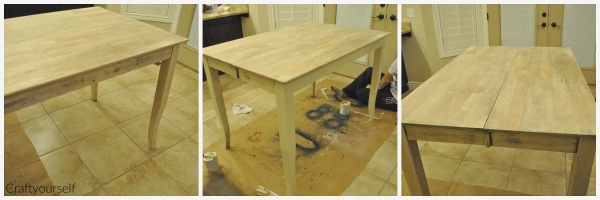 Another reason why sanding and staining your dining room table is a great DIY project for house design enthusiasts is the ability to customize it to match your home's aesthetic. Whether your home has a rustic, modern, or traditional style, there is a wide variety of
stains and finishes
to choose from to achieve the look you desire. You can also experiment with different sanding techniques to create unique patterns and textures on the surface of your table.
Save Money and Add Value to Your Home
 Finally, taking on the task of sanding and staining your dining room table can save you a significant amount of money. Purchasing a new dining table can be costly, but by giving your old one a makeover, you can achieve the same result at a fraction of the cost. Plus, by improving the appearance of your dining table, you are also adding value to your home. If you ever decide to sell your house, potential buyers will be impressed by your attention to detail and the custom piece of furniture in your dining room.
In conclusion,
sanding and staining your dining room table
is a fantastic DIY project for house design enthusiasts. Not only does it allow you to add a personal touch to your interior design, but it also transforms your old or dull dining table into a designer piece that matches your home's aesthetic. By taking on this project, you can save money, add value to your home, and showcase your creative skills. So why not grab your sandpaper and stain and get to work on creating a unique and beautiful dining table for your home?











/GettyImages-500817135-5a6519907bb283003730b5bb.jpg)
