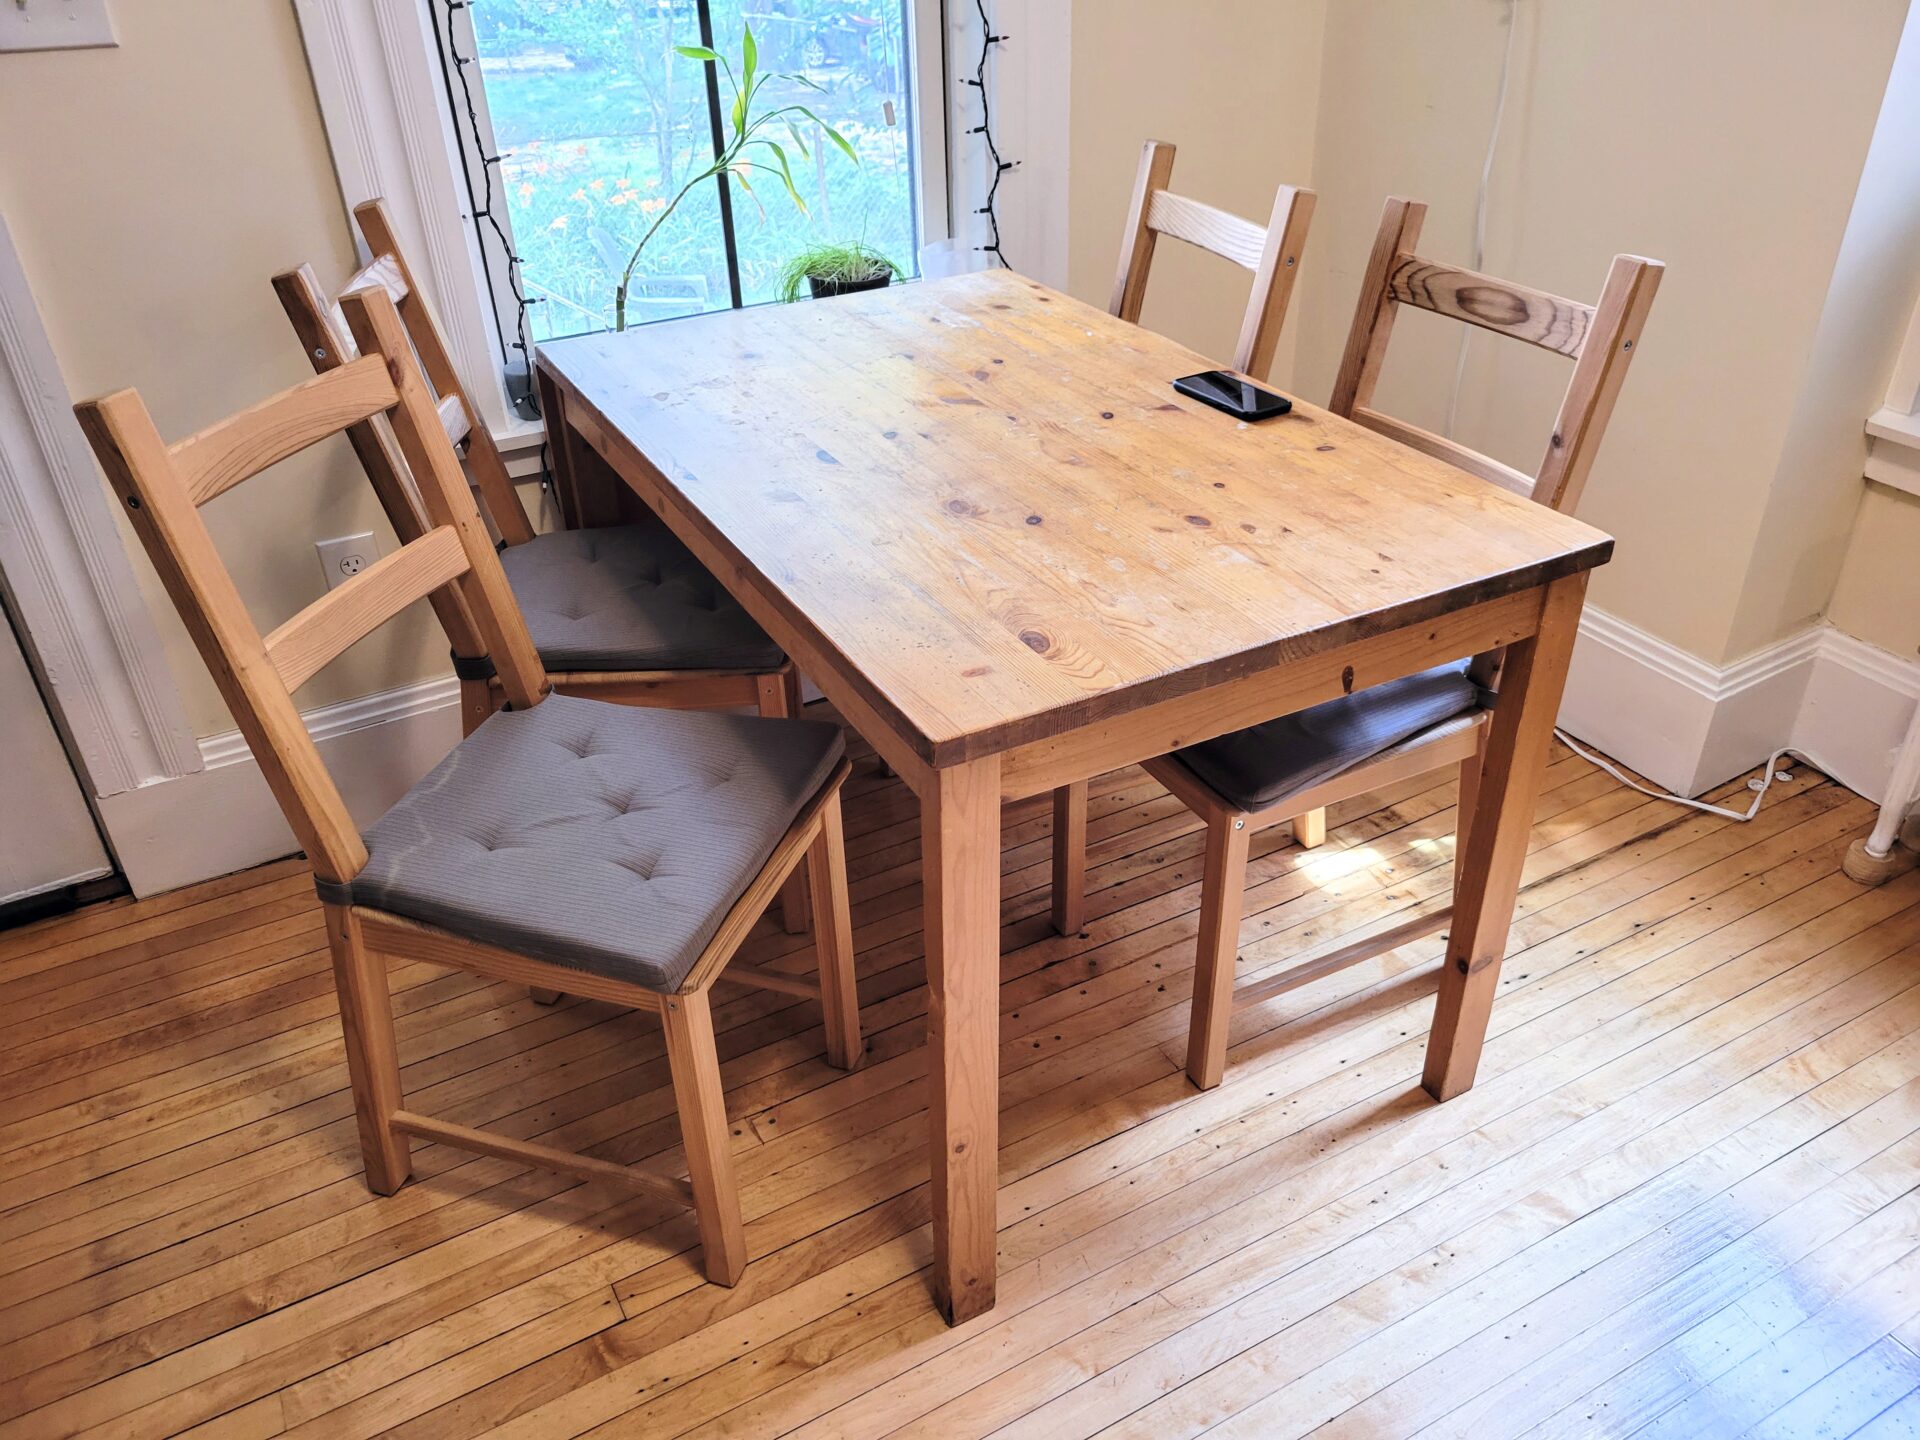
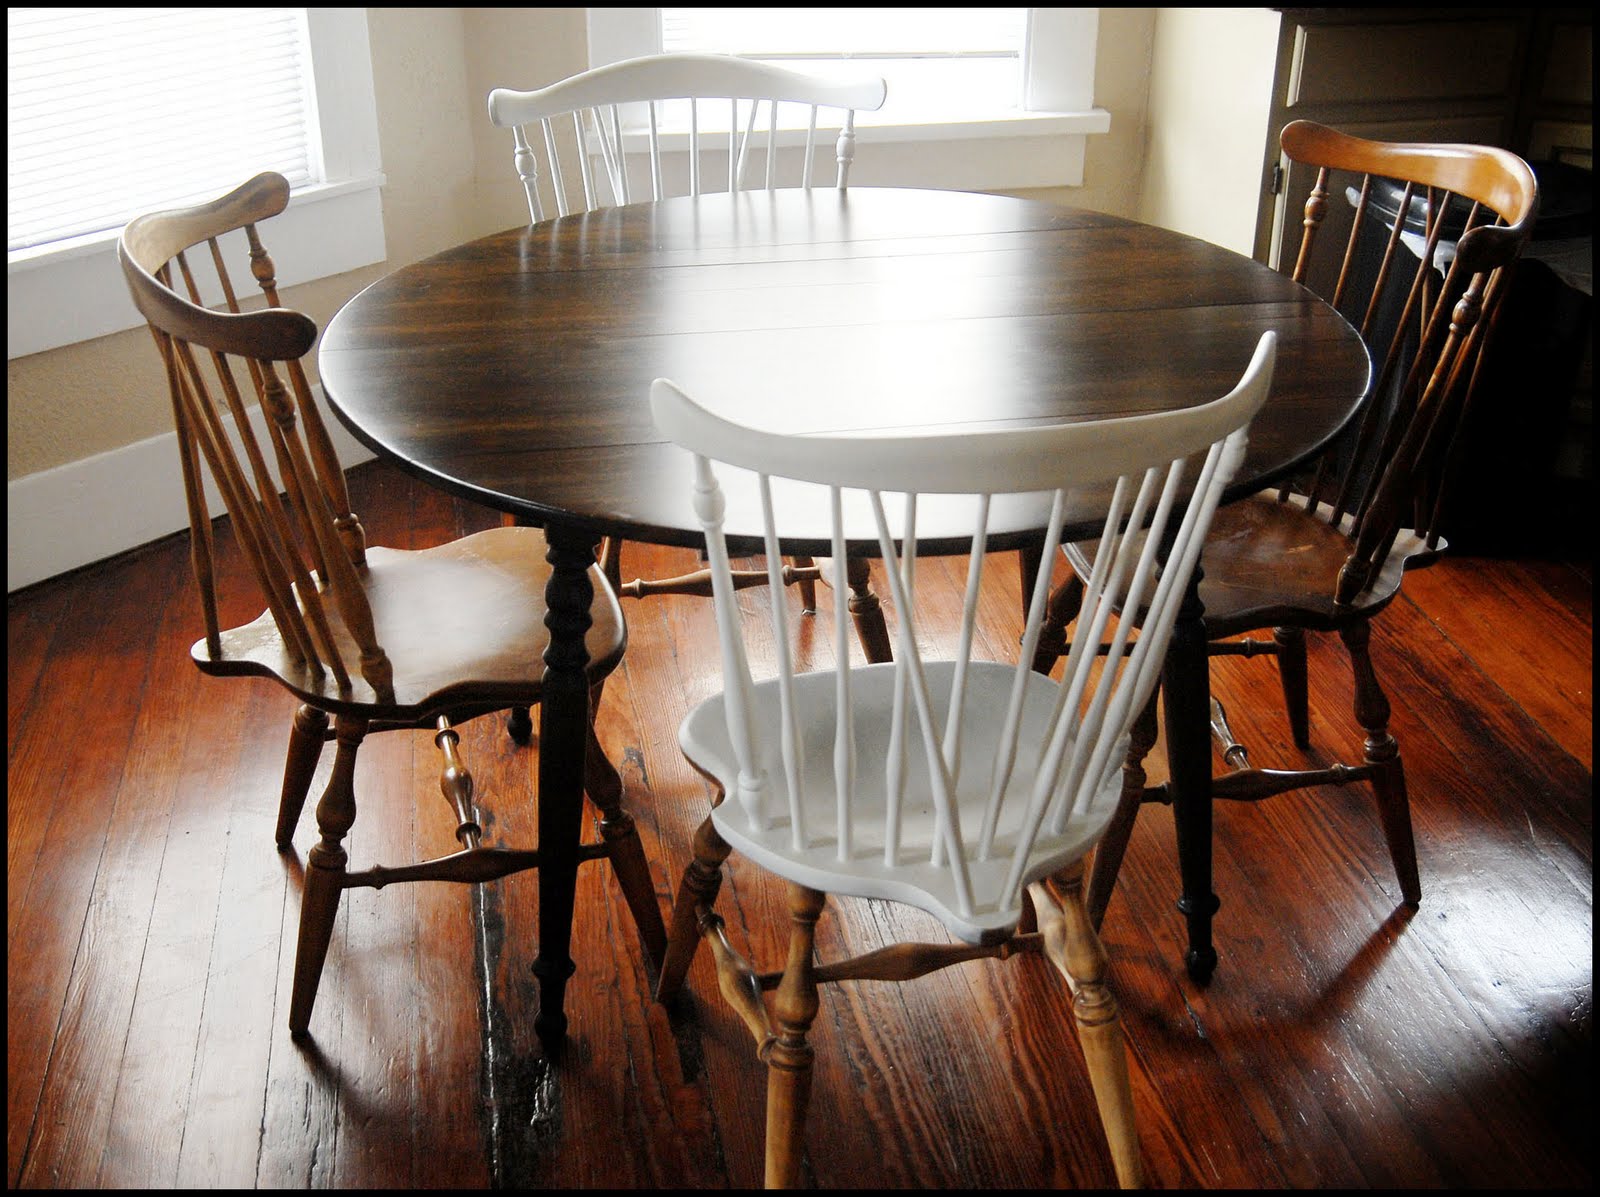
If your kitchen table has seen better days and is looking dull and worn, don't rush out to buy a new one just yet. With a little bit of elbow grease and some basic tools, you can easily sand and refinish it to give it a new lease on life. Not only will this save you money, but it will also give you a sense of accomplishment and satisfaction. Follow these simple steps to bring your kitchen table back to its former glory.1. How to Sand and Refinish a Kitchen Table


1. How to Sand and Refinish a Kitchen Table


Refinishing a kitchen table is a great DIY project for those looking to spruce up their home without spending a lot of money. It's also a great way to personalize your furniture and give it a unique touch. Before you start, make sure you have all the necessary tools and materials on hand. This includes sandpaper, wood stain, and a sealant. You may also need a paint stripper if your table has a thick layer of old paint or stain.2. DIY Kitchen Table Refinishing


2. DIY Kitchen Table Refinishing


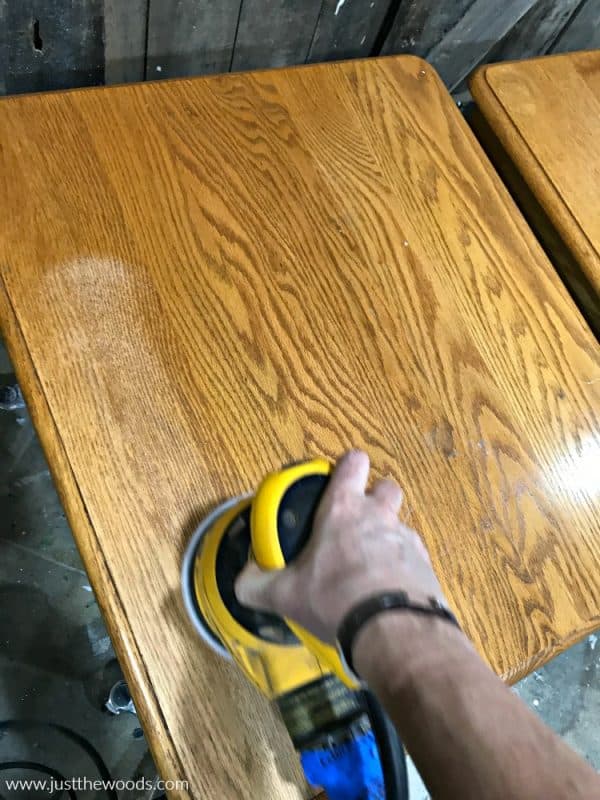
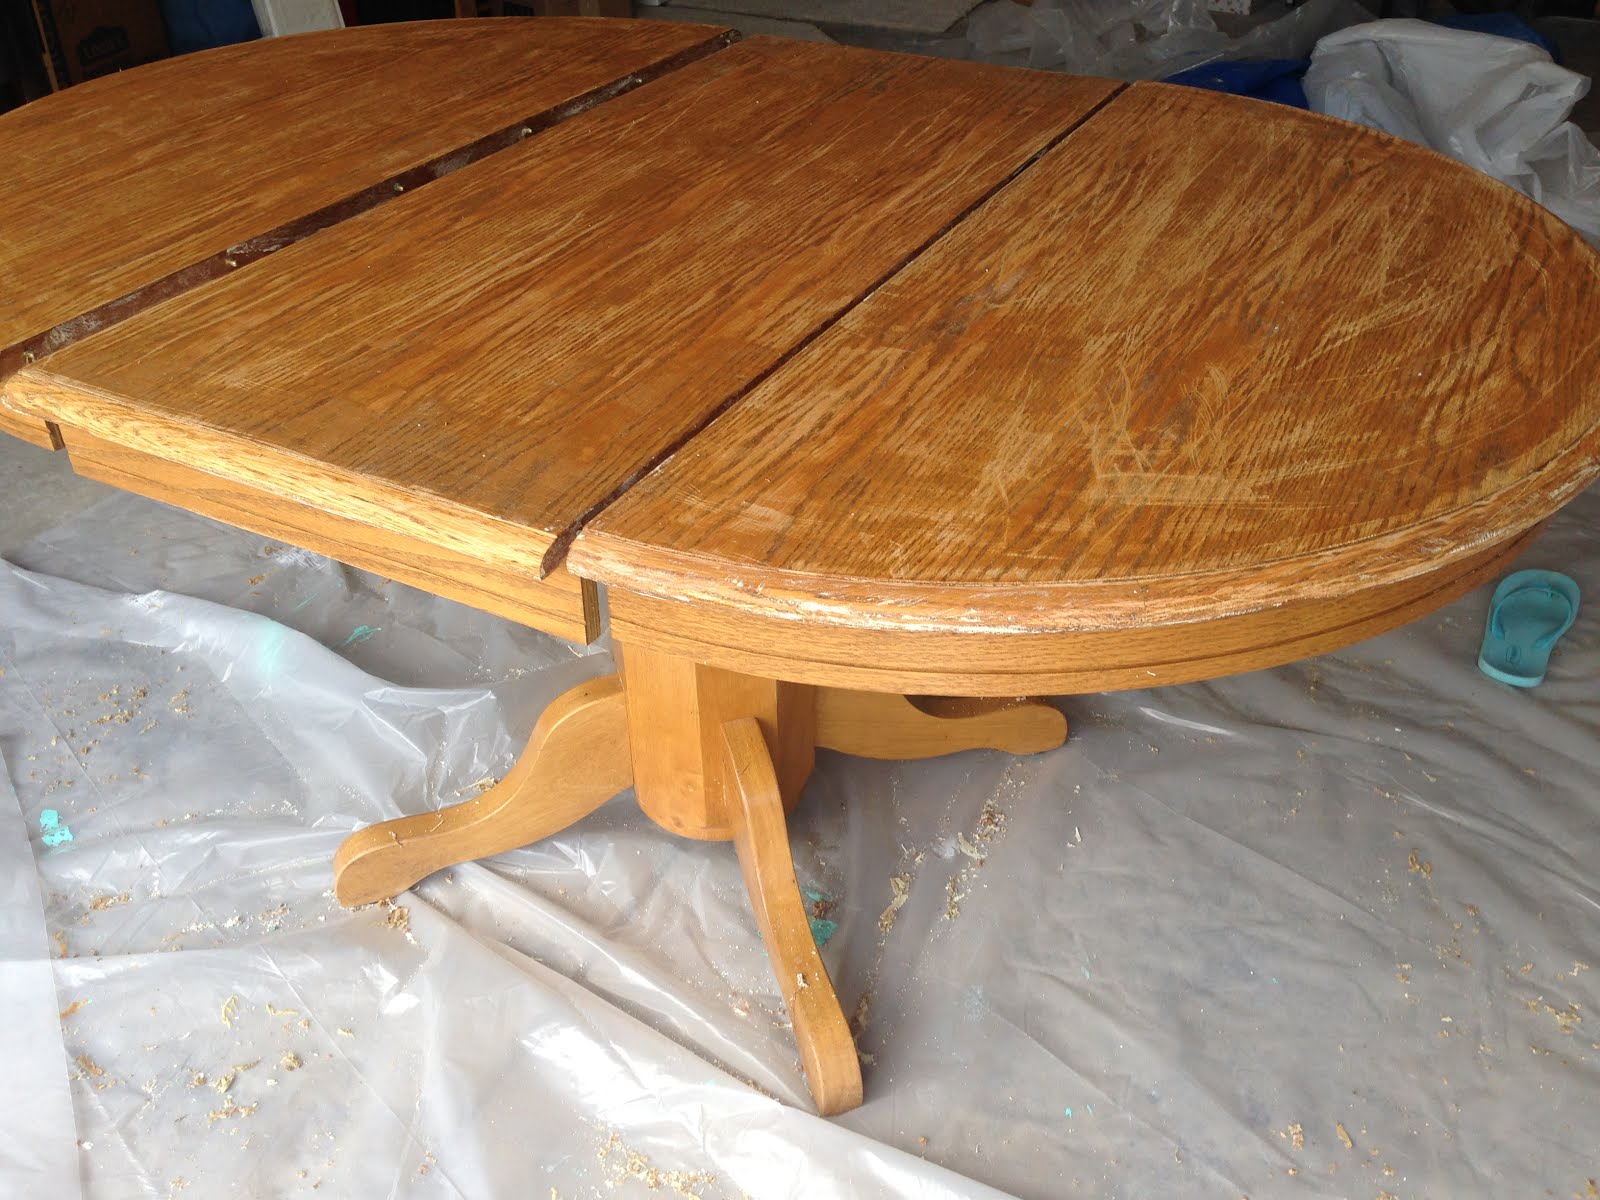
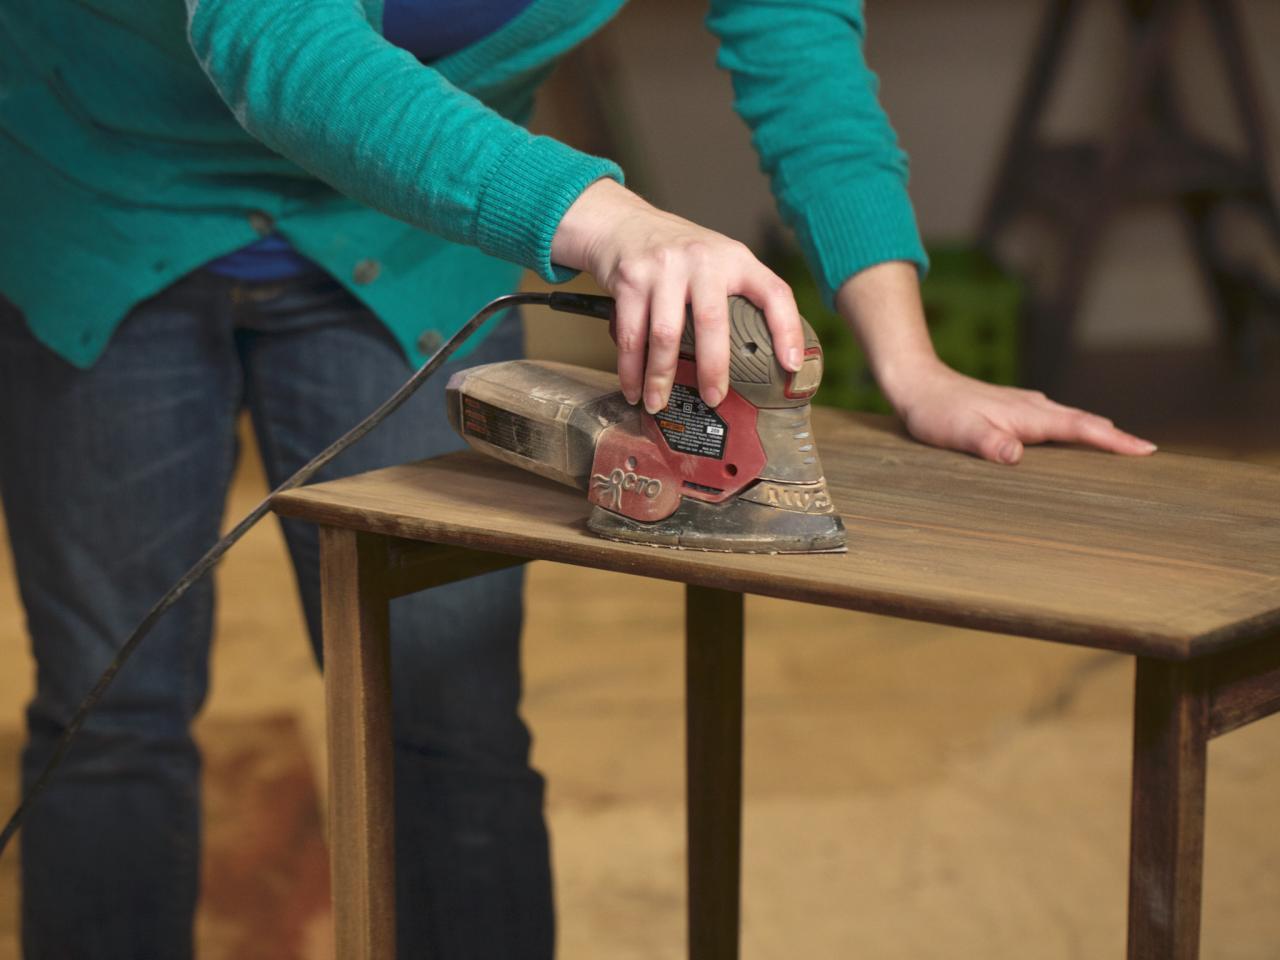
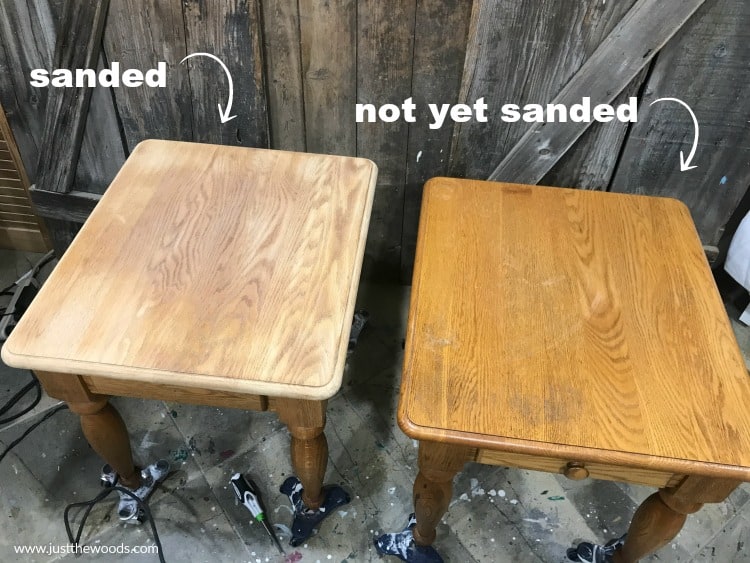
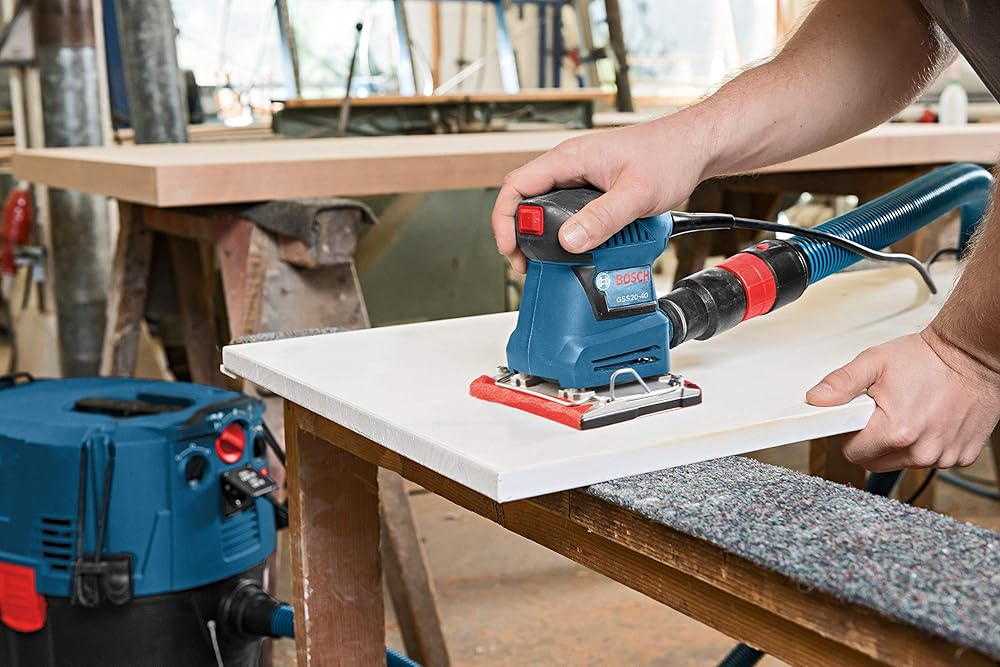
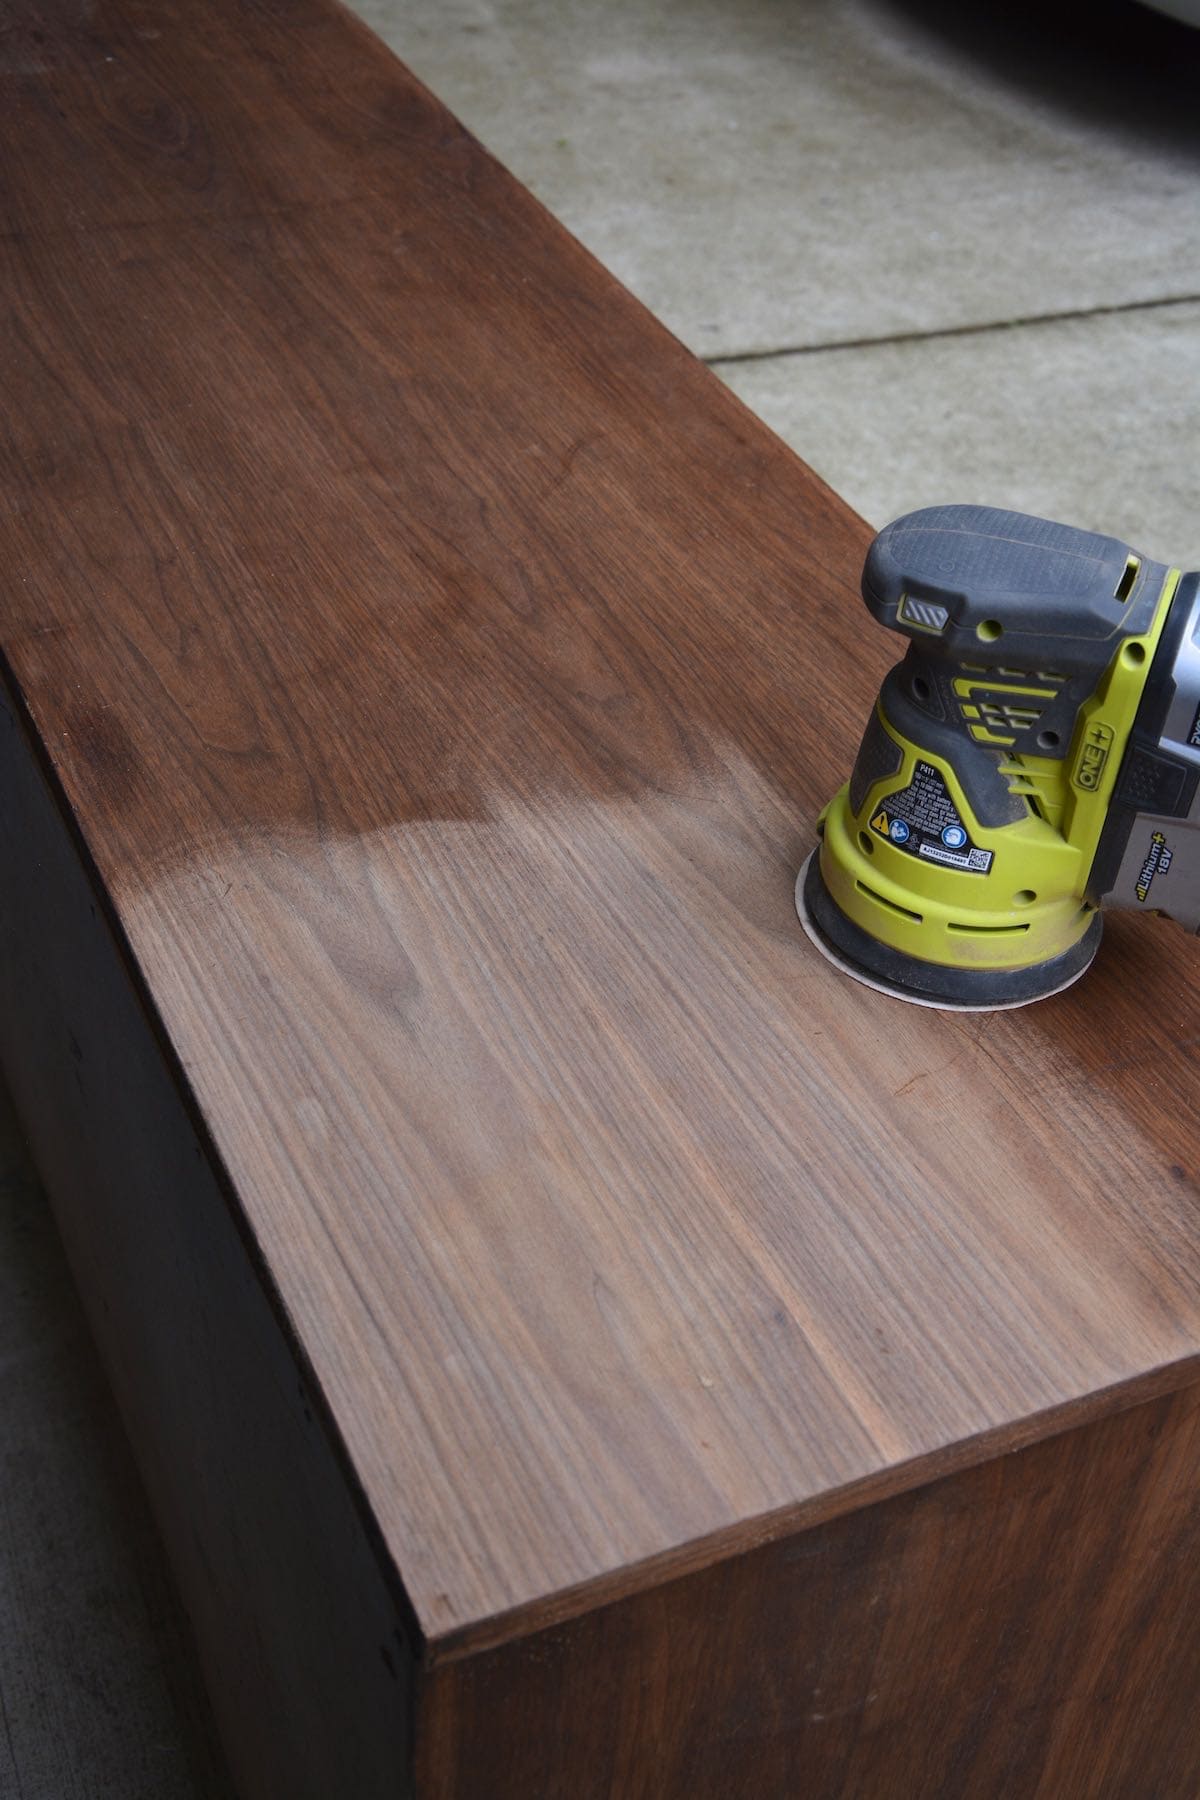
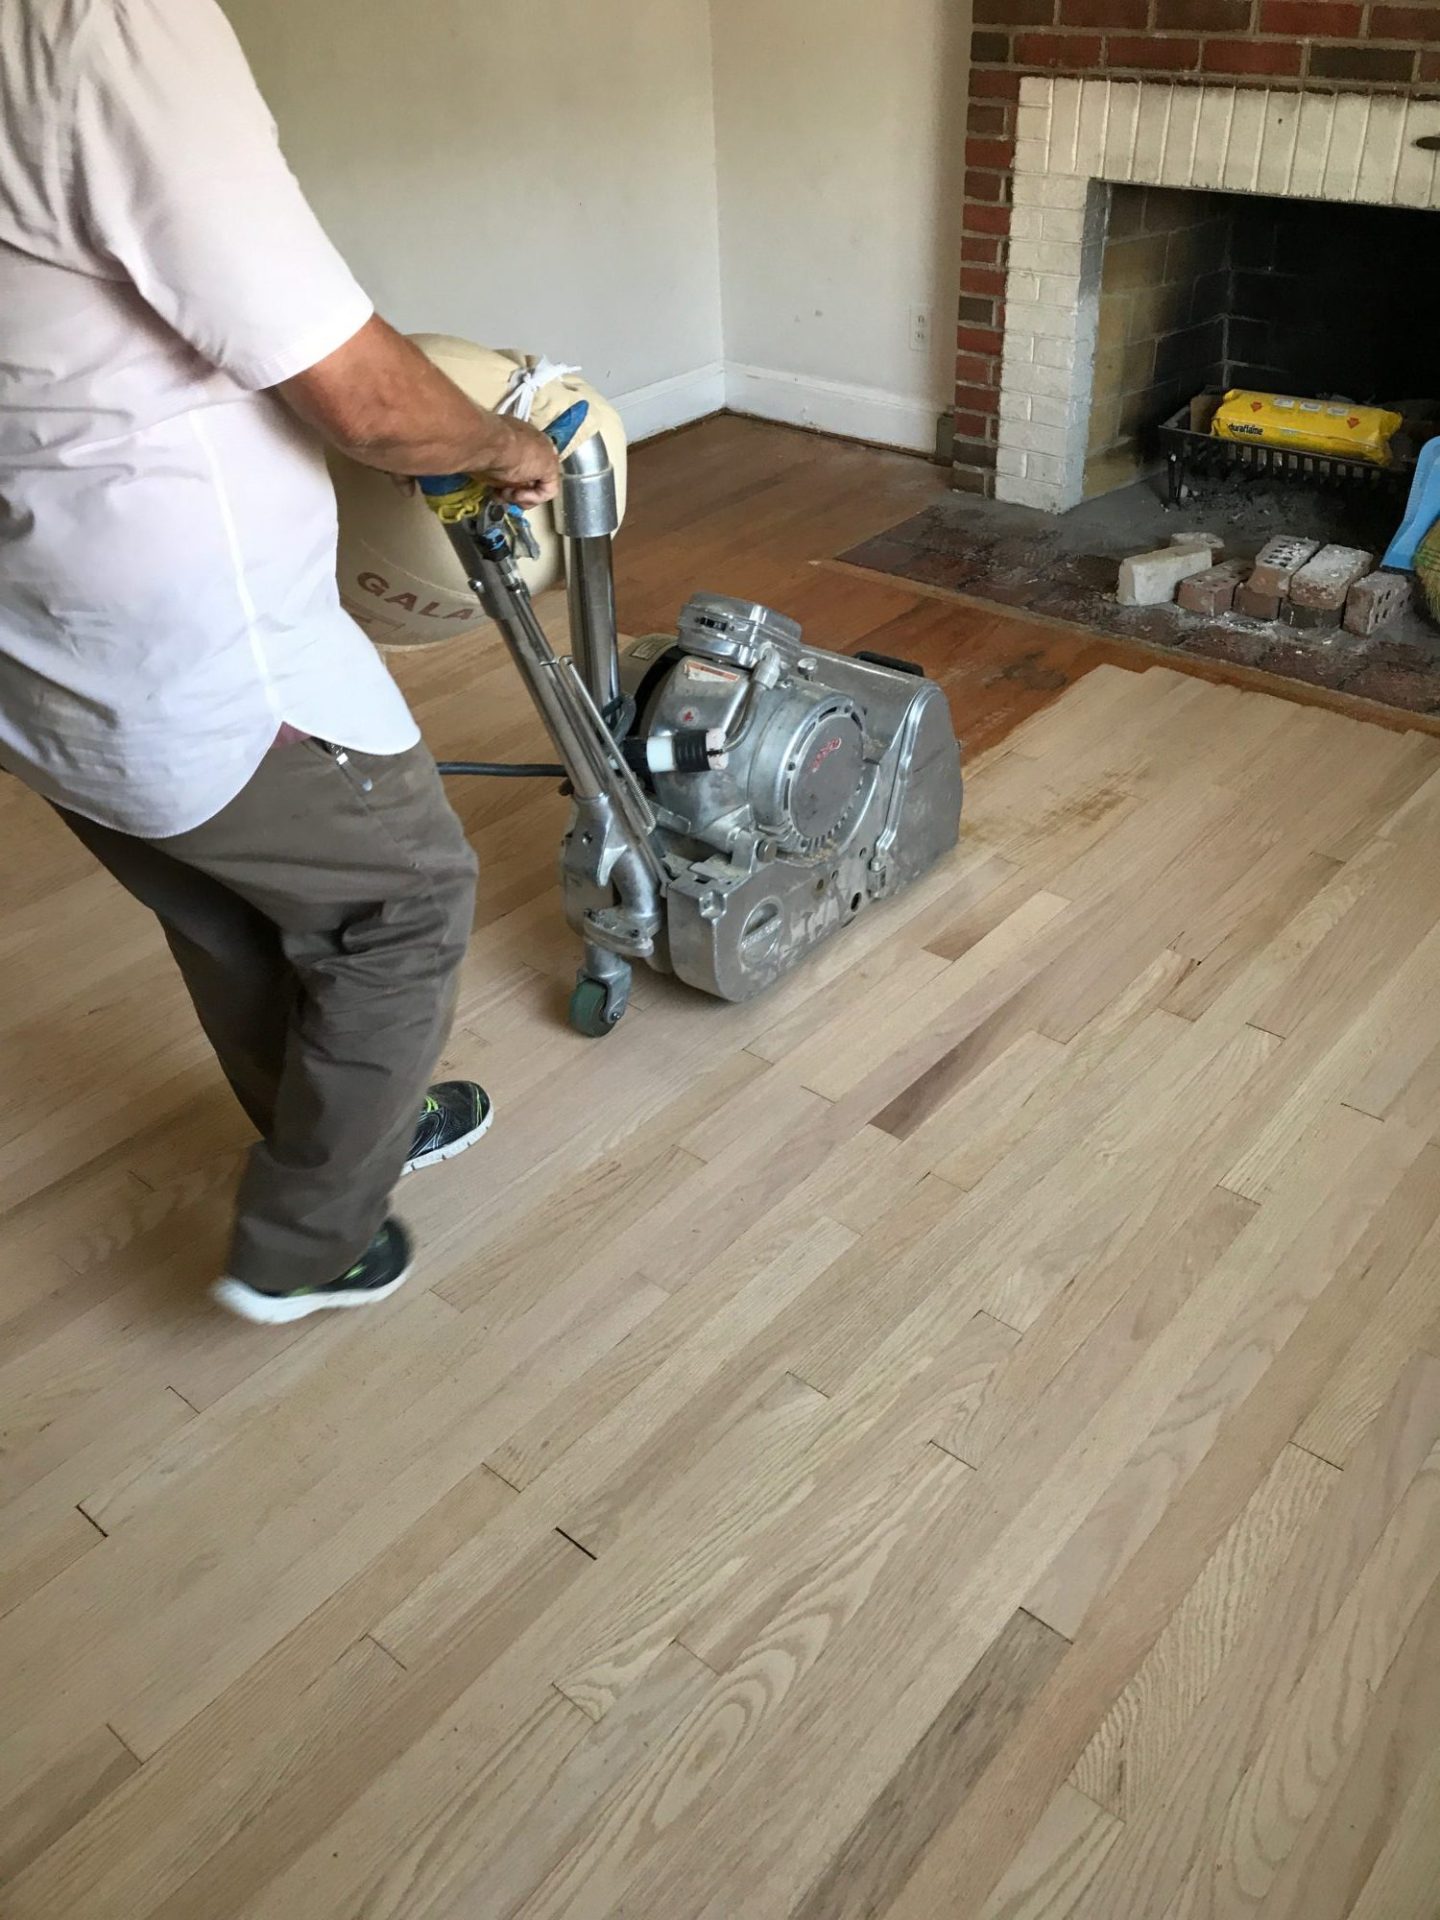
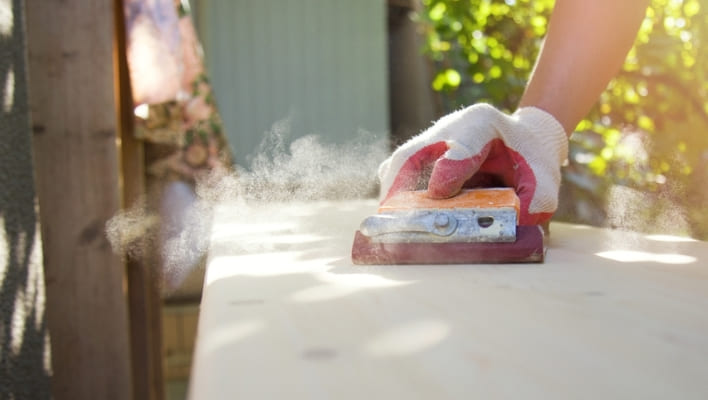
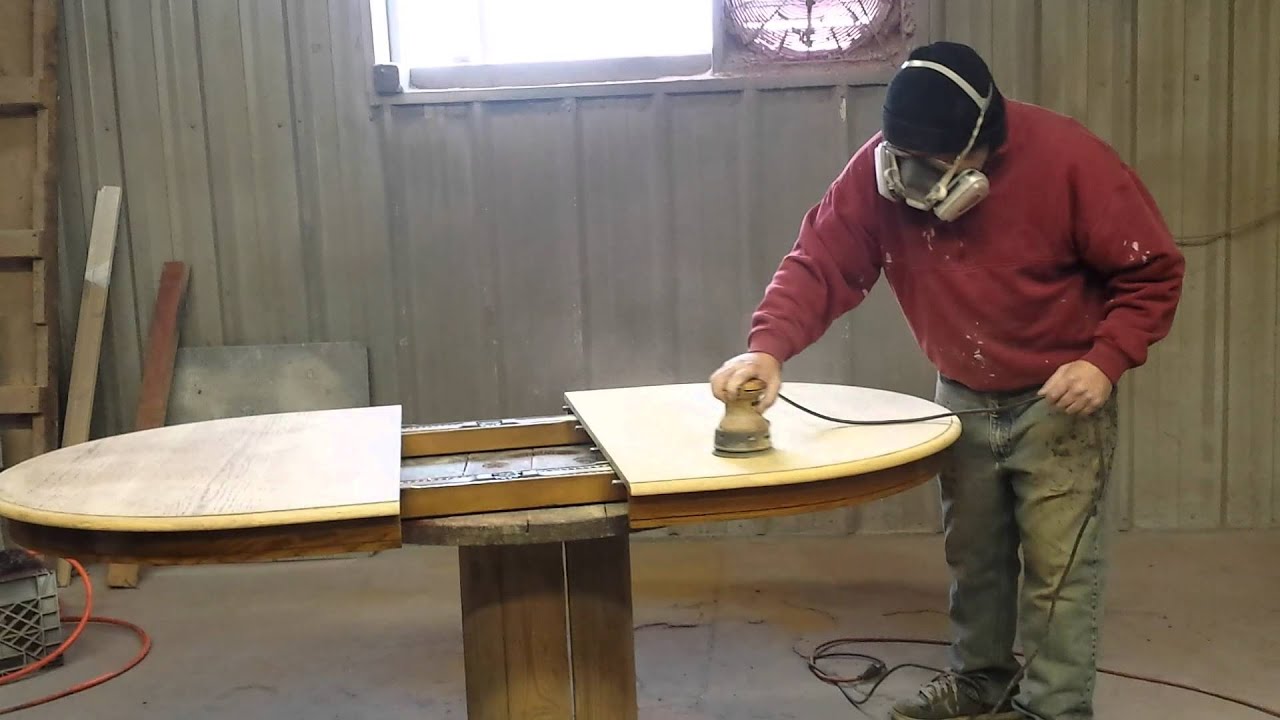
The first step in refinishing a kitchen table is to sand it down. This removes any old finish or paint and creates a smooth surface for the new stain to adhere to. When sanding, it's important to follow the grain of the wood and use the appropriate grit sandpaper. Start with a coarse grit and gradually work your way up to a finer grit for a smoother finish. Be sure to also sand any intricate details or hard-to-reach areas.3. Tips for Sanding and Refinishing a Wooden Table
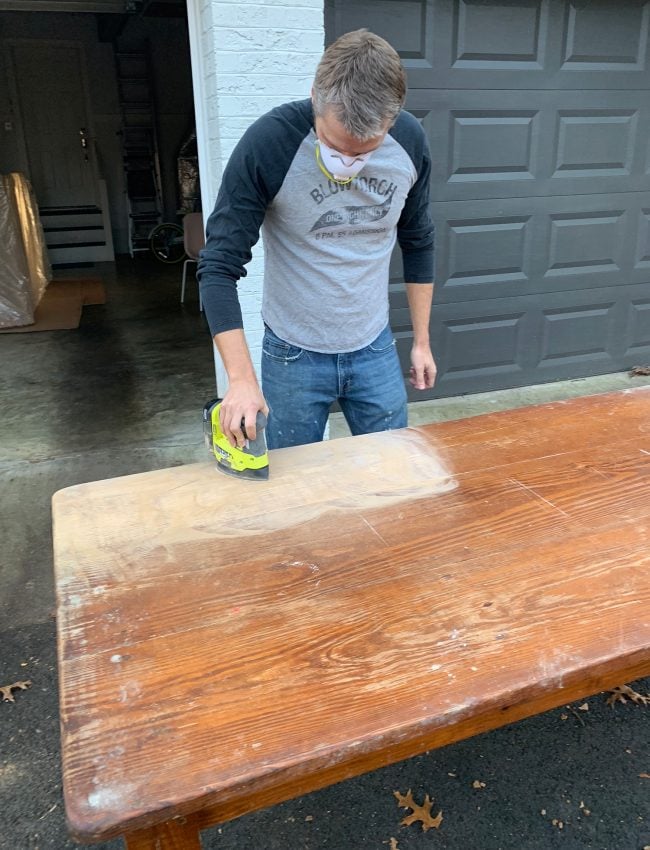


3. Tips for Sanding and Refinishing a Wooden Table


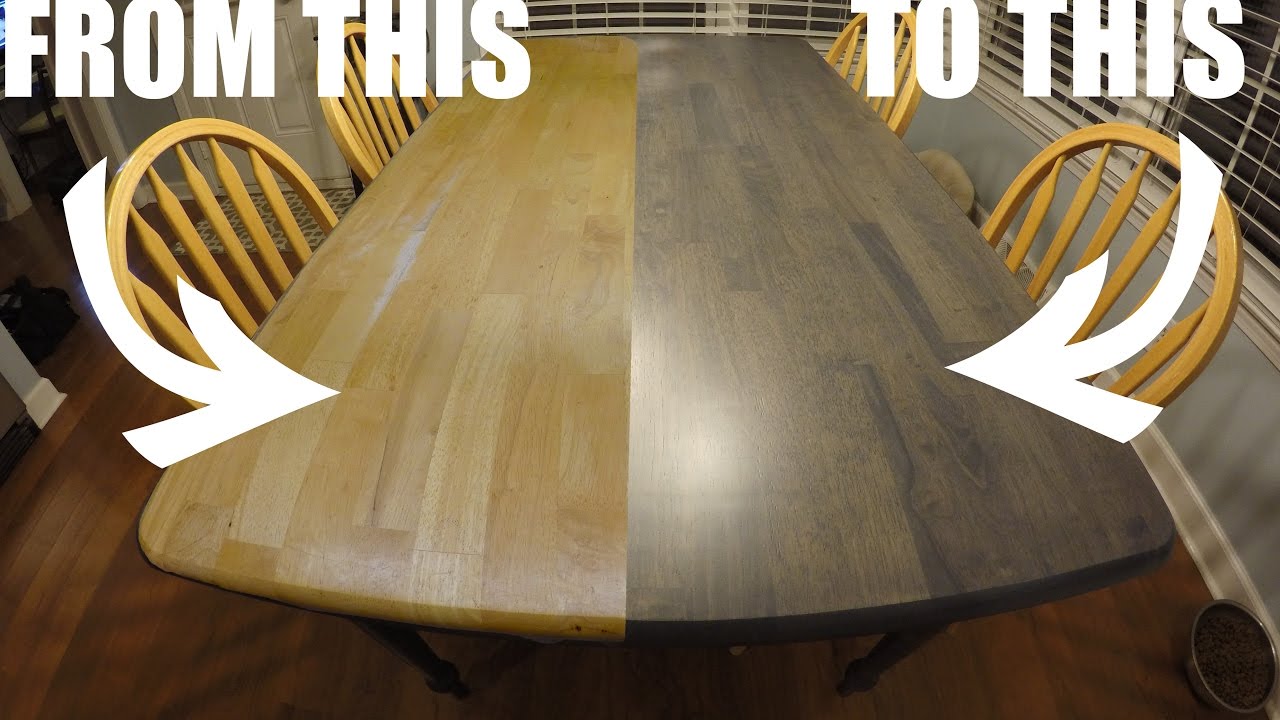
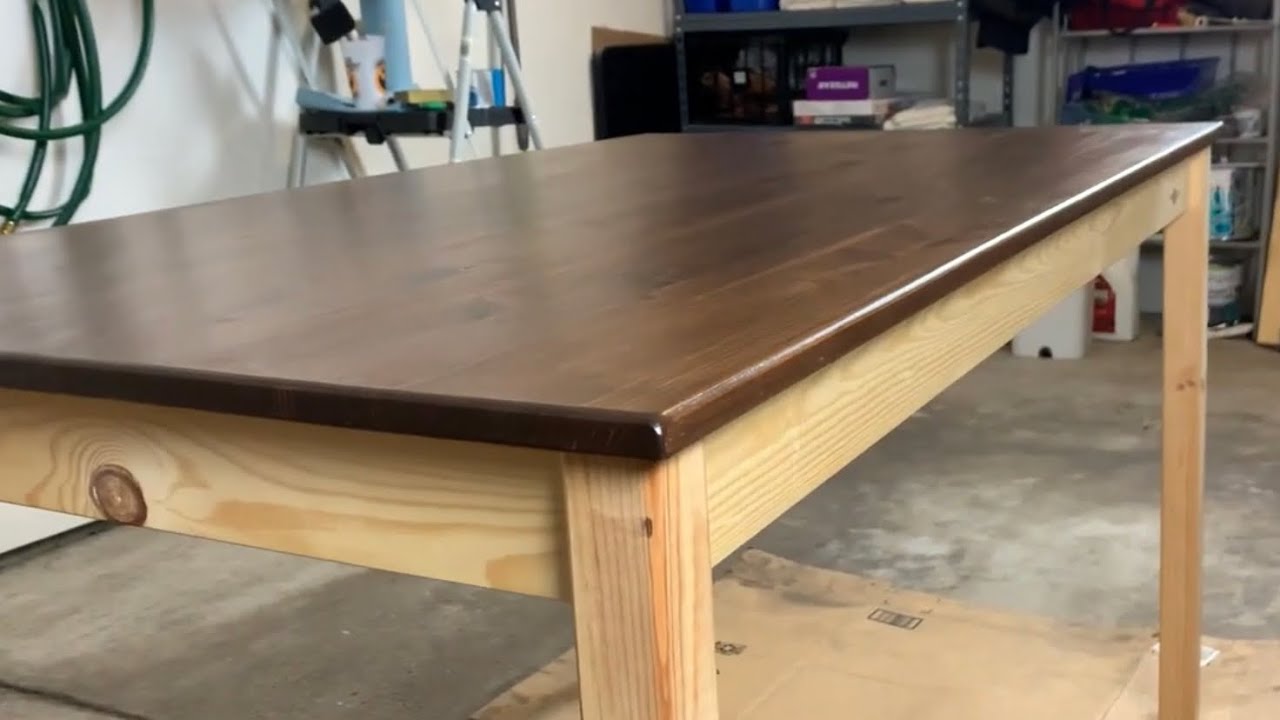
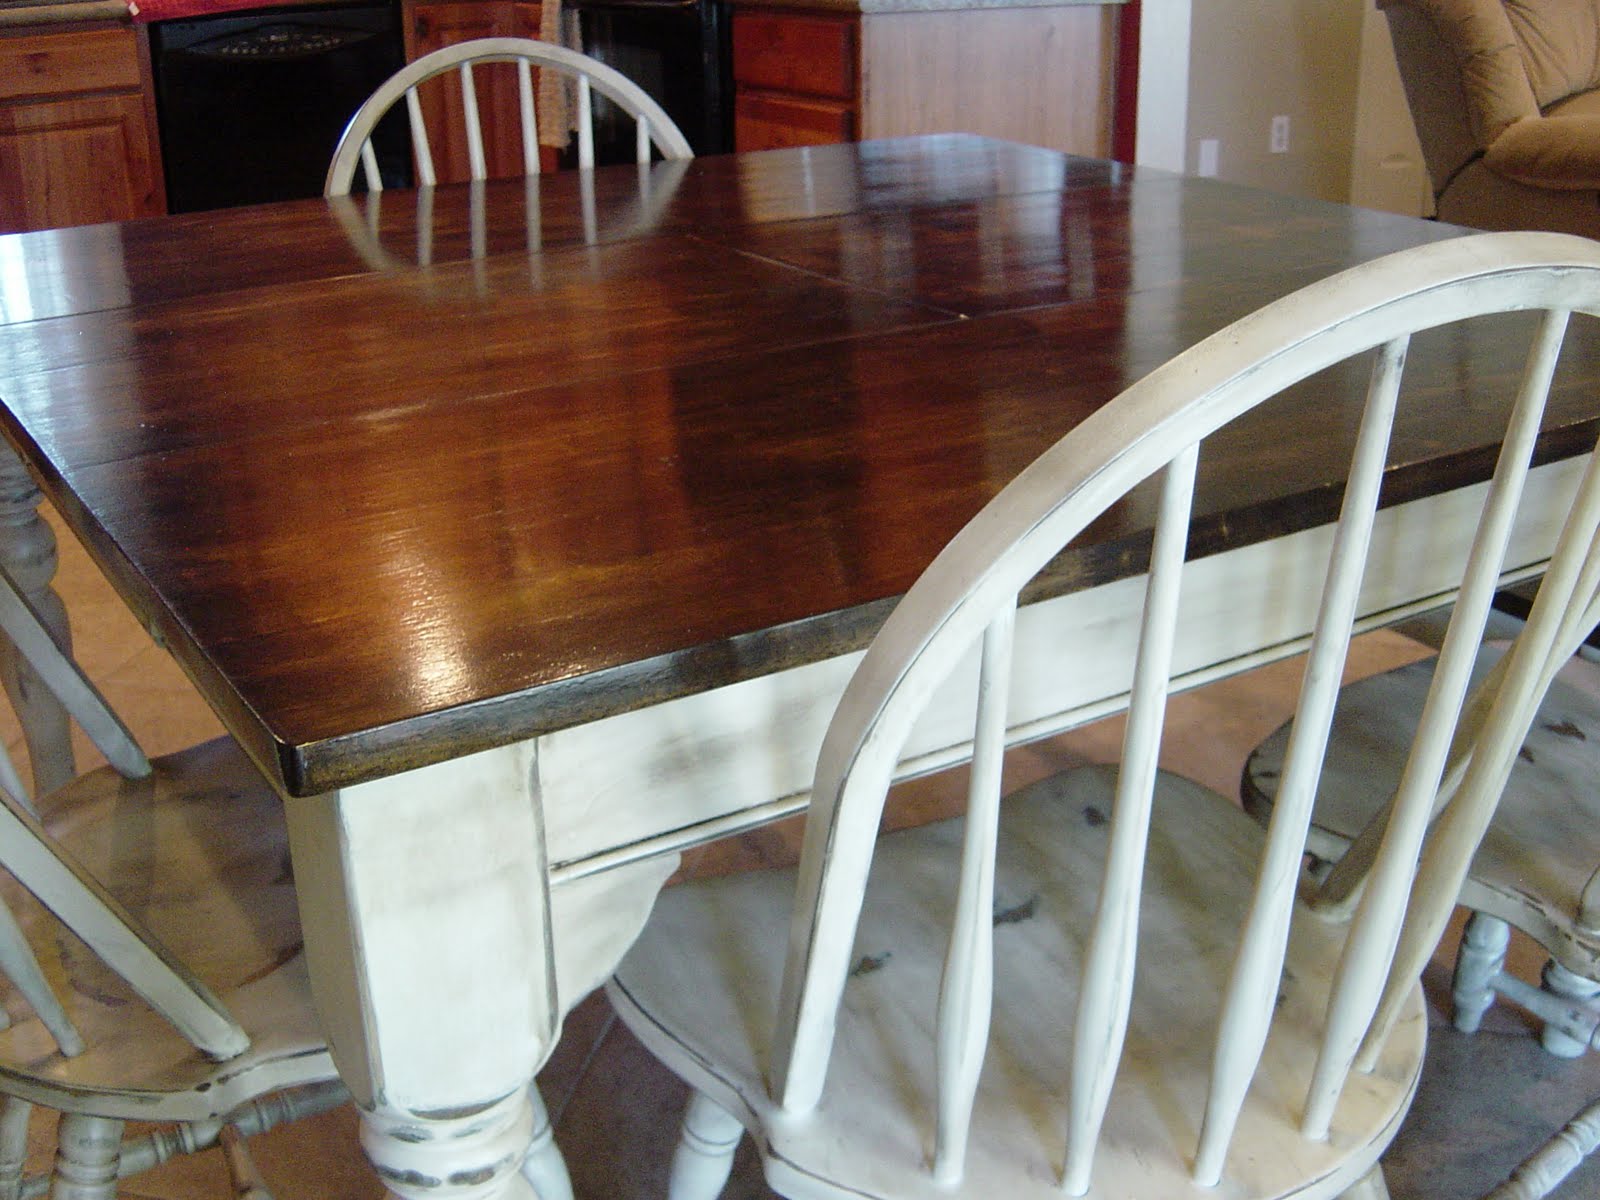
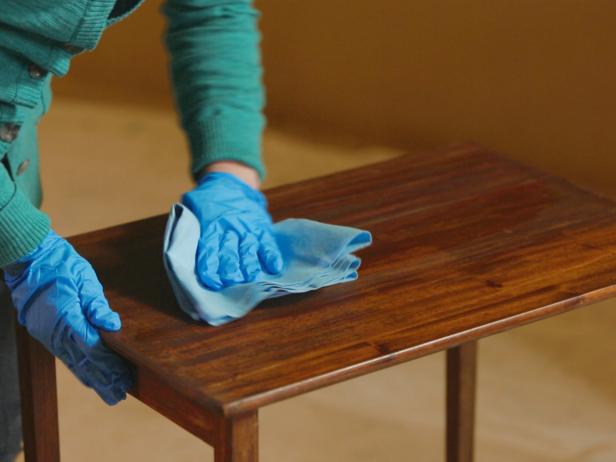
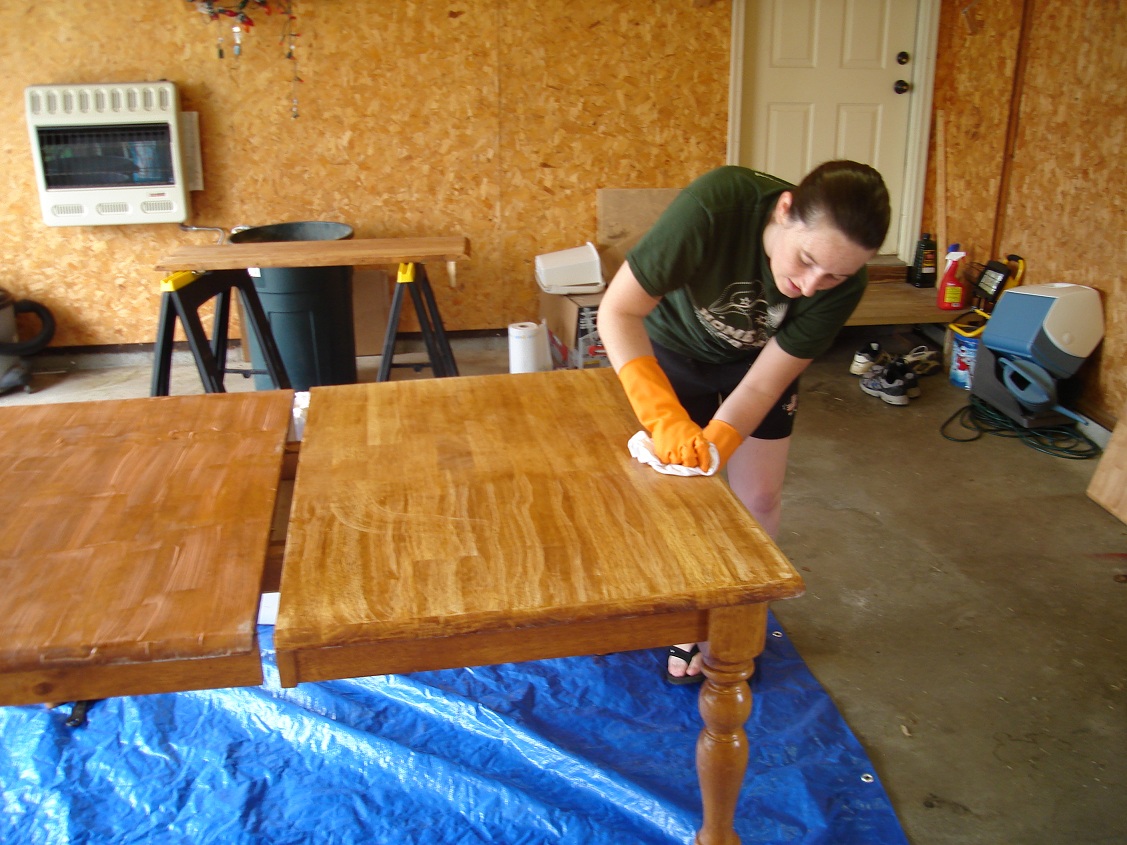
Now that your table is sanded, it's time to move on to staining and sealing. Before applying any stain, make sure the surface is clean and free of any dust or debris. Then, using a brush or rag, apply the stain in the direction of the grain. You can always add more coats for a darker color, so start with a thin layer and build up as desired. Once the stain is dry, apply a sealant to protect the wood and give it a glossy finish.4. Refinishing a Kitchen Table: Step-by-Step Guide


4. Refinishing a Kitchen Table: Step-by-Step Guide

Choosing the right sandpaper is crucial for a successful refinishing project. Generally, a medium to coarse grit sandpaper is best for initial sanding and removing old finishes. As you move on to finer grits, the sandpaper will create a smoother surface and prep the wood for staining. It's also important to use sandpaper that is designed for wood, as other types may not be as effective.5. The Best Sandpaper for Refinishing a Kitchen Table

5. The Best Sandpaper for Refinishing a Kitchen Table


Staining and sealing a kitchen table may seem daunting, but it's actually a fairly simple process. When choosing a stain, consider the type of wood your table is made of and the desired color. It's always a good idea to test the stain on a small, inconspicuous area before applying it to the entire table. Once the stain is applied, let it dry completely before adding a sealant. This will protect the wood and give it a shiny finish.6. How to Stain and Seal a Kitchen Table


6. How to Stain and Seal a Kitchen Table


While refinishing a kitchen table is a relatively straightforward process, there are a few common mistakes that can lead to less-than-desirable results. One of the biggest mistakes is not sanding enough or evenly, which can result in an uneven finish. Another mistake is not properly cleaning the surface before applying stain, which can cause the stain to not adhere properly. Avoid these mistakes by taking your time and following the steps carefully.7. Refinishing a Kitchen Table: Common Mistakes to Avoid


7. Refinishing a Kitchen Table: Common Mistakes to Avoid

When it comes to removing old finishes from a table, there are two main methods: sanding and stripping. Sanding involves using sandpaper to physically remove the finish, while stripping involves using a chemical solution to dissolve the finish. Both methods have their pros and cons, so it ultimately comes down to personal preference and the condition of your table. If your table has multiple layers of old paint or stain, stripping may be the better option.8. Sanding vs. Stripping: Which is Better for Refinishing a Table?

8. Sanding vs. Stripping: Which is Better for Refinishing a Table?


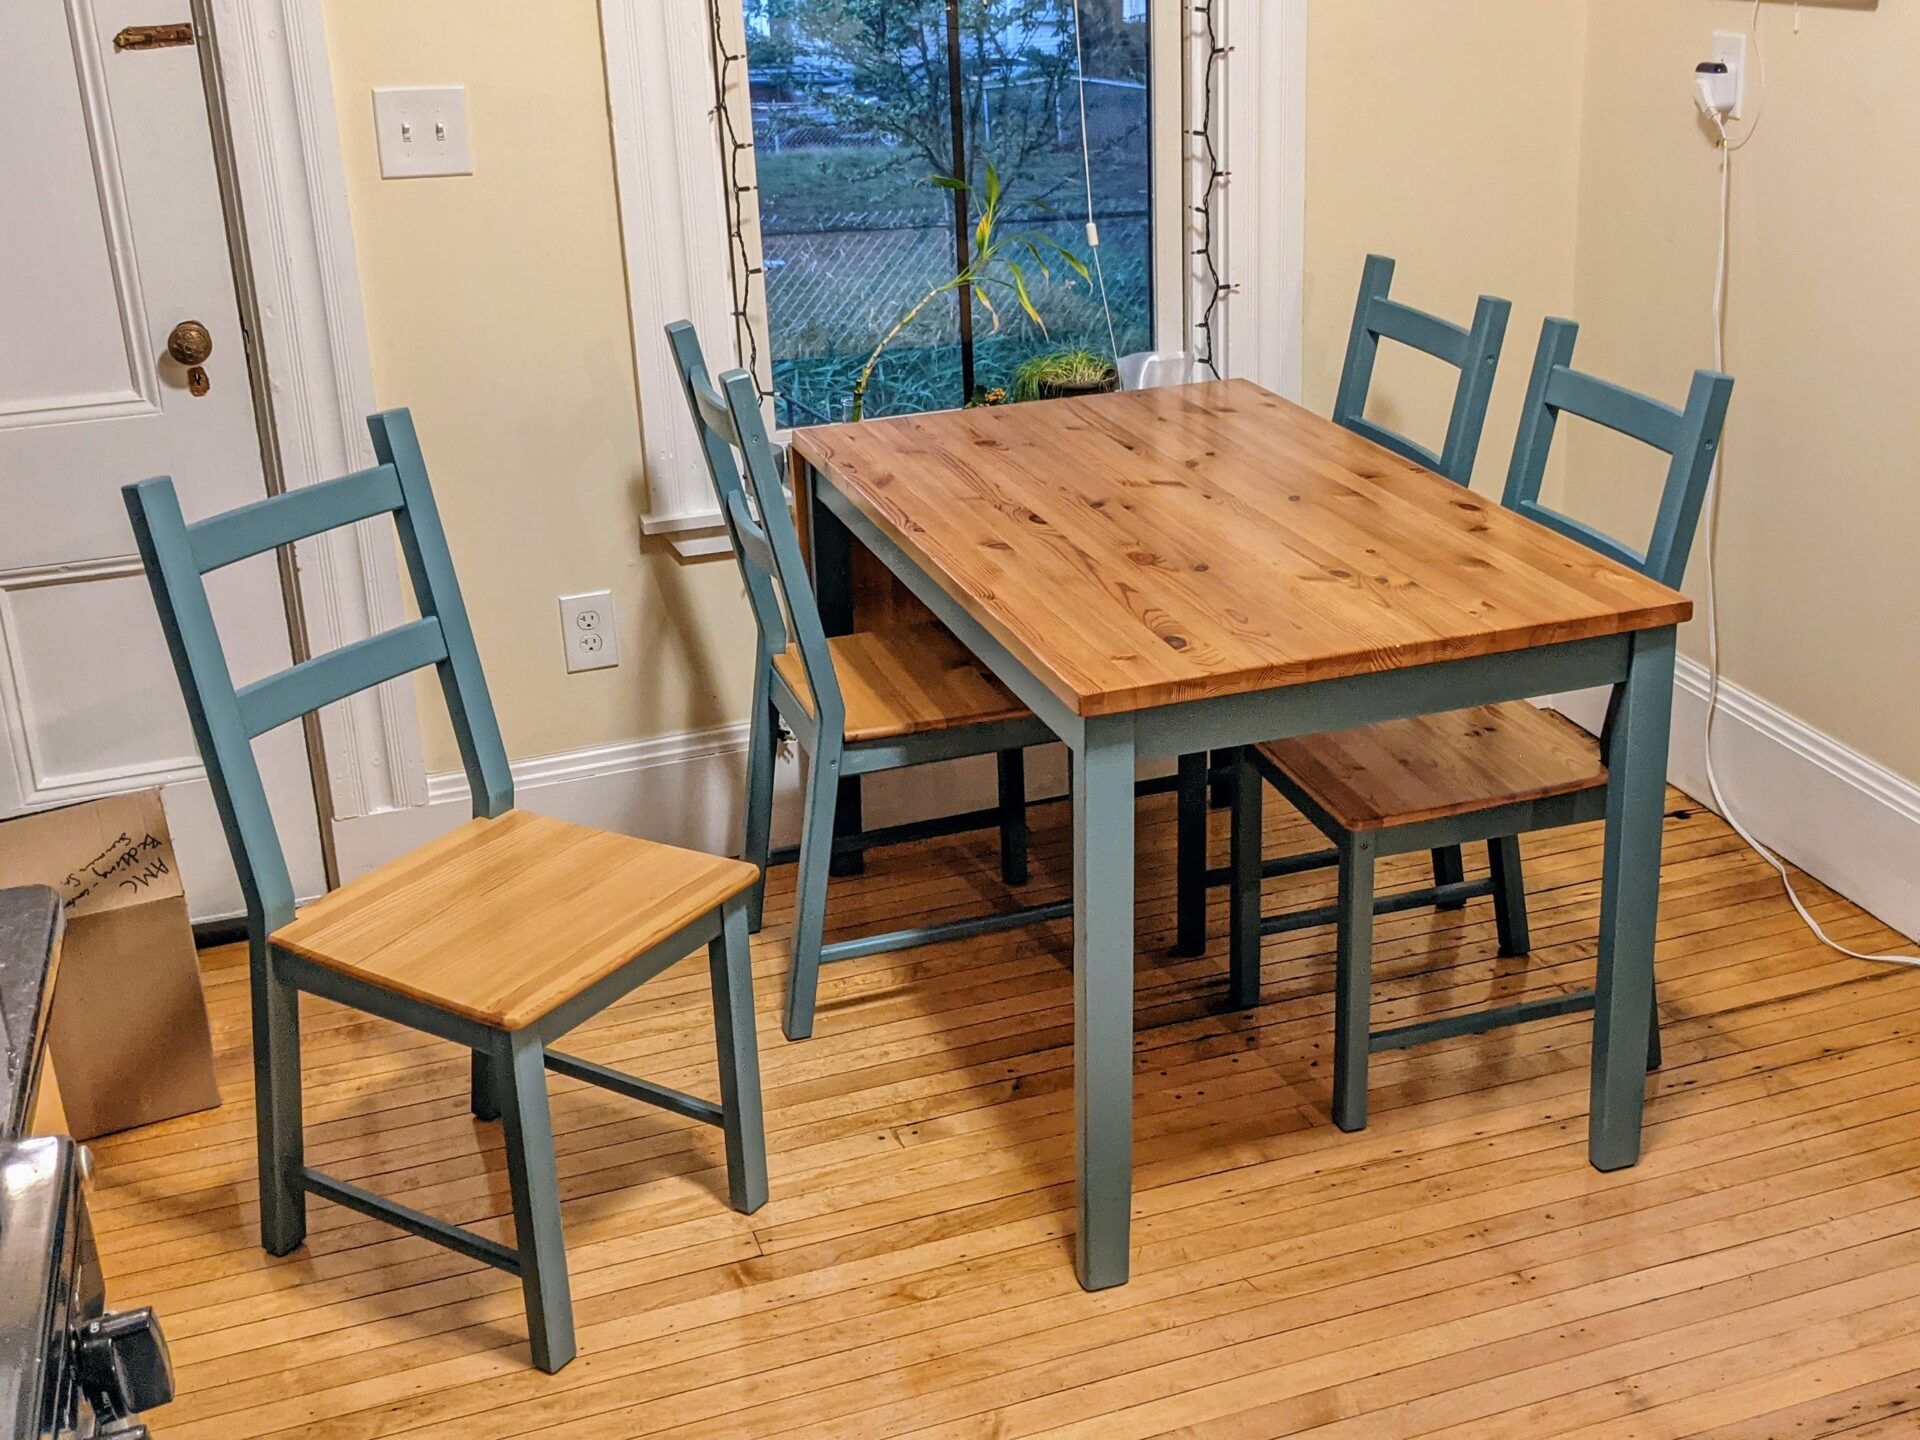
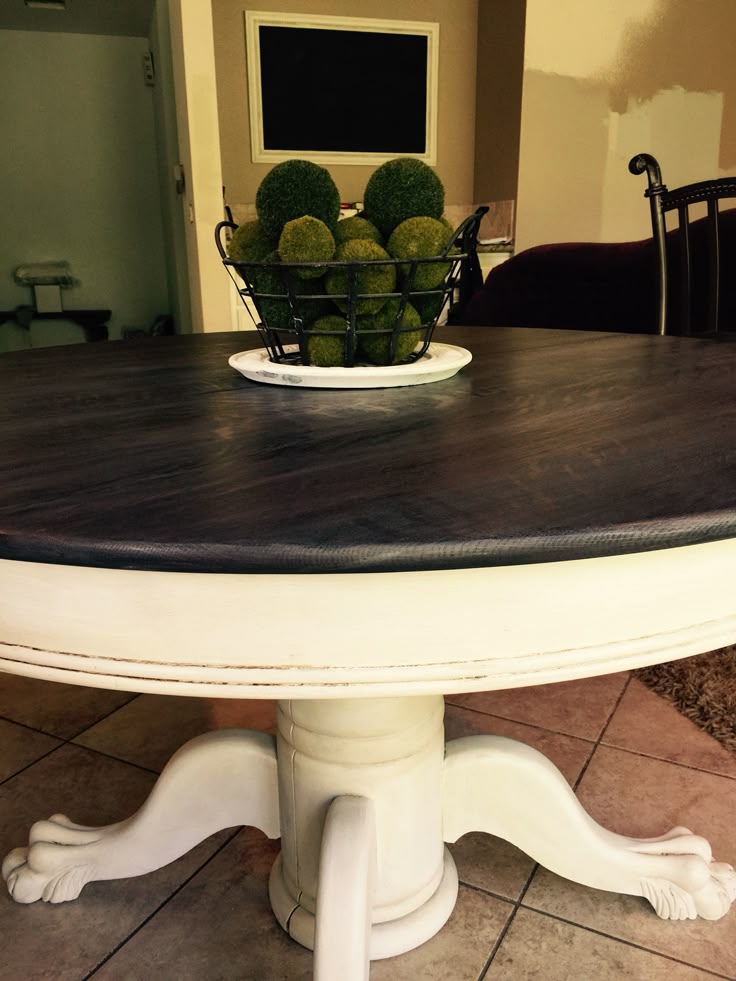
Choosing the right finish for your kitchen table is important for both the look and protection of the wood. There are a variety of finishes available, including polyurethane, varnish, and wax. Polyurethane is the most durable and offers the most protection, while wax gives a more natural, matte finish. Consider the amount of use your table will get and the desired look when choosing a finish.9. How to Choose the Right Finish for Your Refinished Kitchen Table


9. How to Choose the Right Finish for Your Refinished Kitchen Table


Before you embark on your kitchen table refinishing project, make sure you have all the necessary supplies. This includes sandpaper in various grits, wood stain, a sealant, and any other tools such as brushes or rags. You may also need a paint stripper if your table has multiple layers of old paint or stain. Having all the supplies on hand will make the process go smoother and ensure a successful outcome.10. Refinishing a Kitchen Table: Supplies You'll Need


10. Refinishing a Kitchen Table: Supplies You'll Need

Introduction
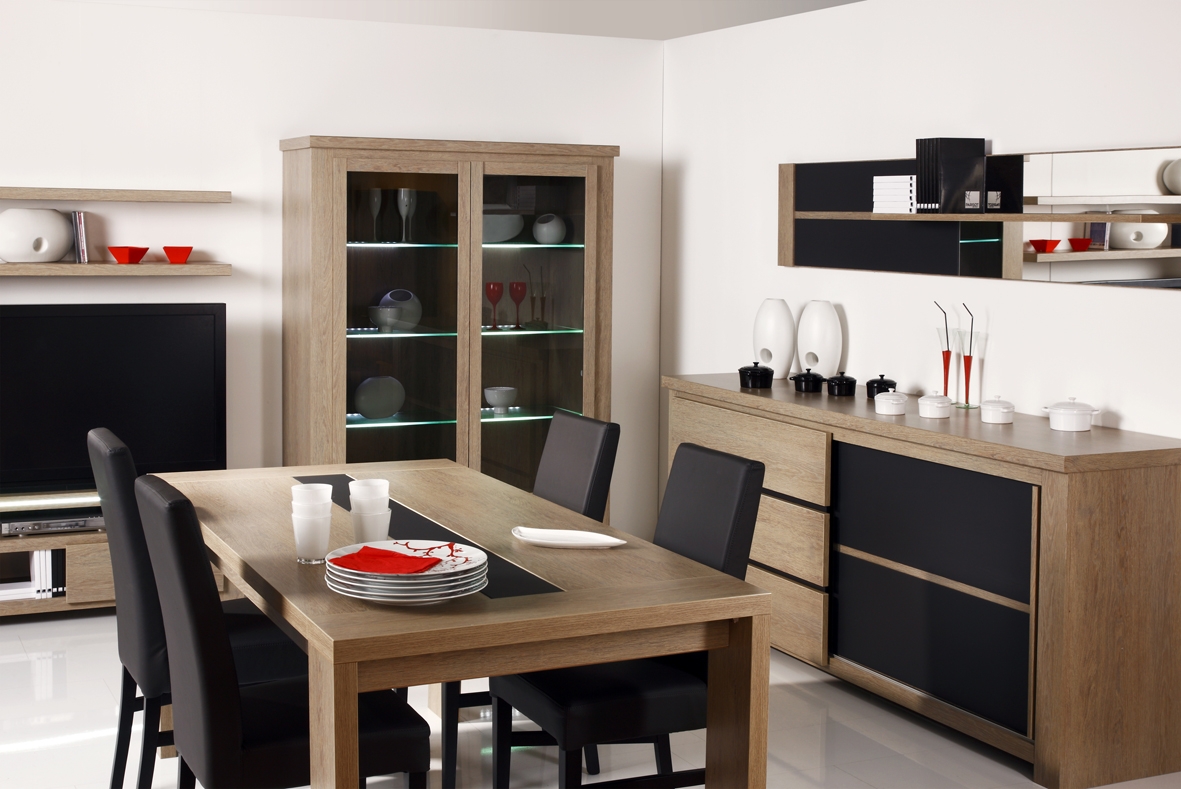
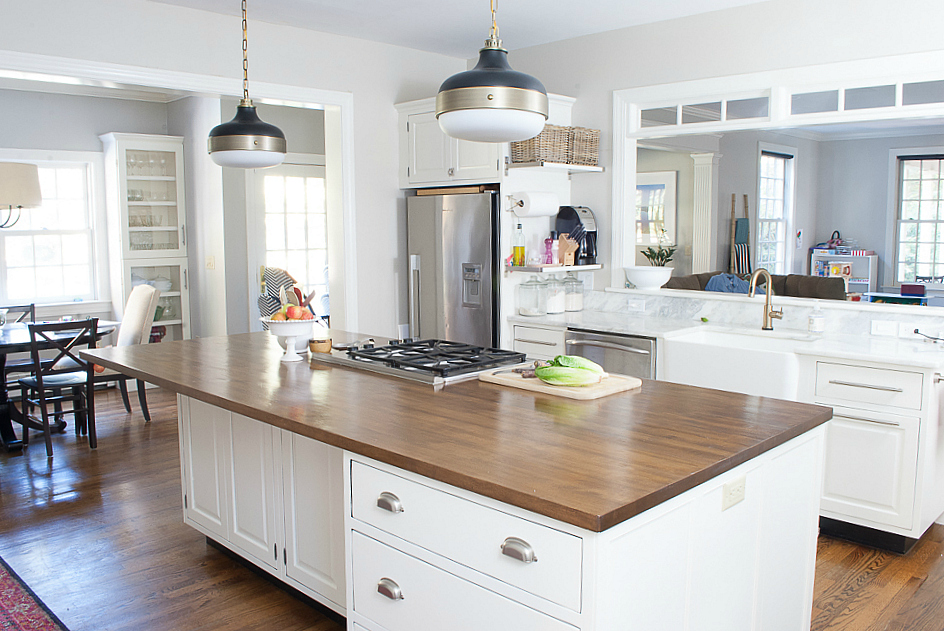
 When it comes to creating a beautiful and functional kitchen, the details matter. From the type of cabinets to the color of the walls, every element plays a role in the overall design. However, one piece of furniture that often gets overlooked is the kitchen table. This essential piece not only serves as a gathering place for meals, but it also sets the tone for the entire kitchen. If your kitchen table is looking worn and outdated,
sanding and refinishing
may be the key to giving it a new lease on life.
When it comes to creating a beautiful and functional kitchen, the details matter. From the type of cabinets to the color of the walls, every element plays a role in the overall design. However, one piece of furniture that often gets overlooked is the kitchen table. This essential piece not only serves as a gathering place for meals, but it also sets the tone for the entire kitchen. If your kitchen table is looking worn and outdated,
sanding and refinishing
may be the key to giving it a new lease on life.
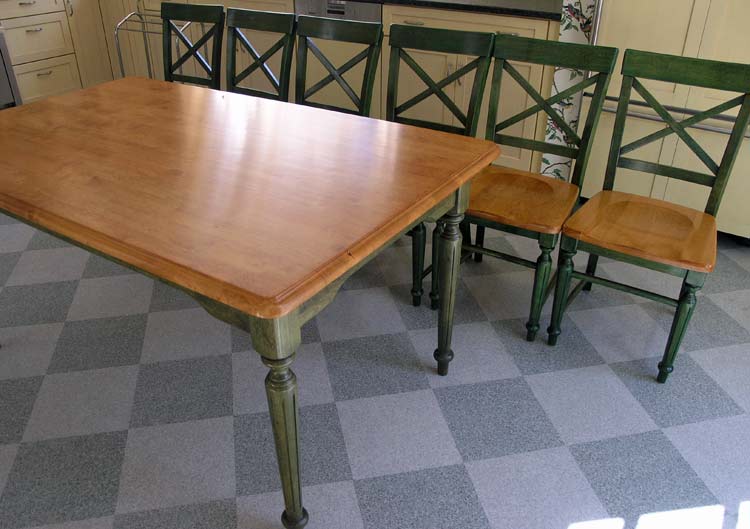
Why Sanding and Refinishing?
 Over time, kitchen tables can become scratched, stained, and faded, making them appear dull and unappealing. This is where
sanding and refinishing
comes in. By
sanding
down the old finish, you can remove any imperfections and reveal the natural beauty of the wood underneath. Then, by
refinishing
the surface with a fresh coat of stain or paint, you can transform your kitchen table into a stunning focal point that complements your overall kitchen design.
Over time, kitchen tables can become scratched, stained, and faded, making them appear dull and unappealing. This is where
sanding and refinishing
comes in. By
sanding
down the old finish, you can remove any imperfections and reveal the natural beauty of the wood underneath. Then, by
refinishing
the surface with a fresh coat of stain or paint, you can transform your kitchen table into a stunning focal point that complements your overall kitchen design.
The Benefits of Sanding and Refinishing
 Aside from the aesthetic benefits,
sanding and refinishing
has several practical advantages. First and foremost, it is a cost-effective way to update your kitchen table without having to purchase a brand new one. This is especially beneficial if you have a sentimental attachment to your current table or if it is a high-quality piece that would be expensive to replace. Additionally,
sanding and refinishing
allows you to customize the look of your kitchen table to suit your personal style. You can choose from a variety of stains, paints, and finishes to create a one-of-a-kind piece that reflects your unique taste.
Aside from the aesthetic benefits,
sanding and refinishing
has several practical advantages. First and foremost, it is a cost-effective way to update your kitchen table without having to purchase a brand new one. This is especially beneficial if you have a sentimental attachment to your current table or if it is a high-quality piece that would be expensive to replace. Additionally,
sanding and refinishing
allows you to customize the look of your kitchen table to suit your personal style. You can choose from a variety of stains, paints, and finishes to create a one-of-a-kind piece that reflects your unique taste.
How to Sand and Refinish Your Kitchen Table
 While
sanding and refinishing
may seem like a daunting task, it is actually a relatively simple process that can be done in a weekend. First, gather all the necessary materials, including sandpaper, paint or stain, and a topcoat. Next, remove the existing finish by sanding the surface in the direction of the wood grain. Once the old finish is removed, clean the surface thoroughly and apply your chosen stain or paint. Finally, add a topcoat to protect and seal the surface. For best results, follow the manufacturer's instructions and take your time to ensure a smooth and even finish.
While
sanding and refinishing
may seem like a daunting task, it is actually a relatively simple process that can be done in a weekend. First, gather all the necessary materials, including sandpaper, paint or stain, and a topcoat. Next, remove the existing finish by sanding the surface in the direction of the wood grain. Once the old finish is removed, clean the surface thoroughly and apply your chosen stain or paint. Finally, add a topcoat to protect and seal the surface. For best results, follow the manufacturer's instructions and take your time to ensure a smooth and even finish.
In Conclusion
 Your kitchen table is more than just a place to eat; it is a statement piece that can enhance the overall design of your kitchen. By
sanding and refinishing
your table, you can bring new life to an old piece and create a beautiful and functional focal point in your home. With the right tools and techniques, you can easily achieve professional results and enjoy a stunning kitchen table for years to come.
Your kitchen table is more than just a place to eat; it is a statement piece that can enhance the overall design of your kitchen. By
sanding and refinishing
your table, you can bring new life to an old piece and create a beautiful and functional focal point in your home. With the right tools and techniques, you can easily achieve professional results and enjoy a stunning kitchen table for years to come.