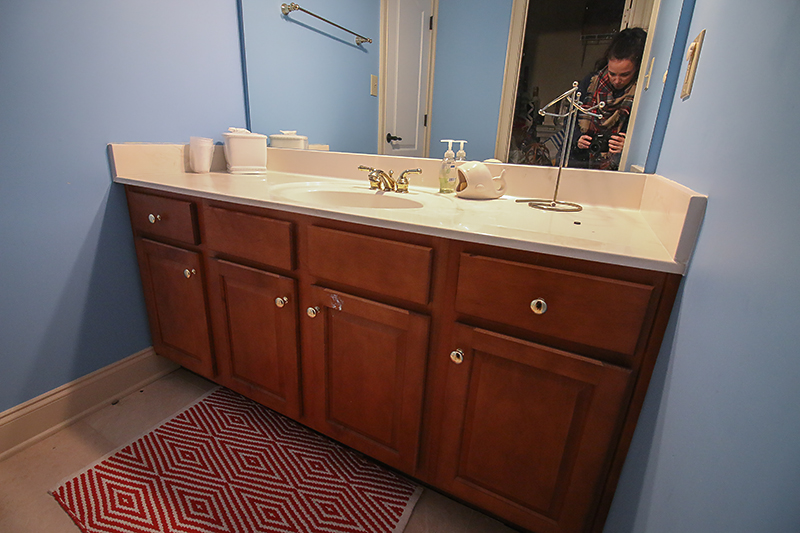
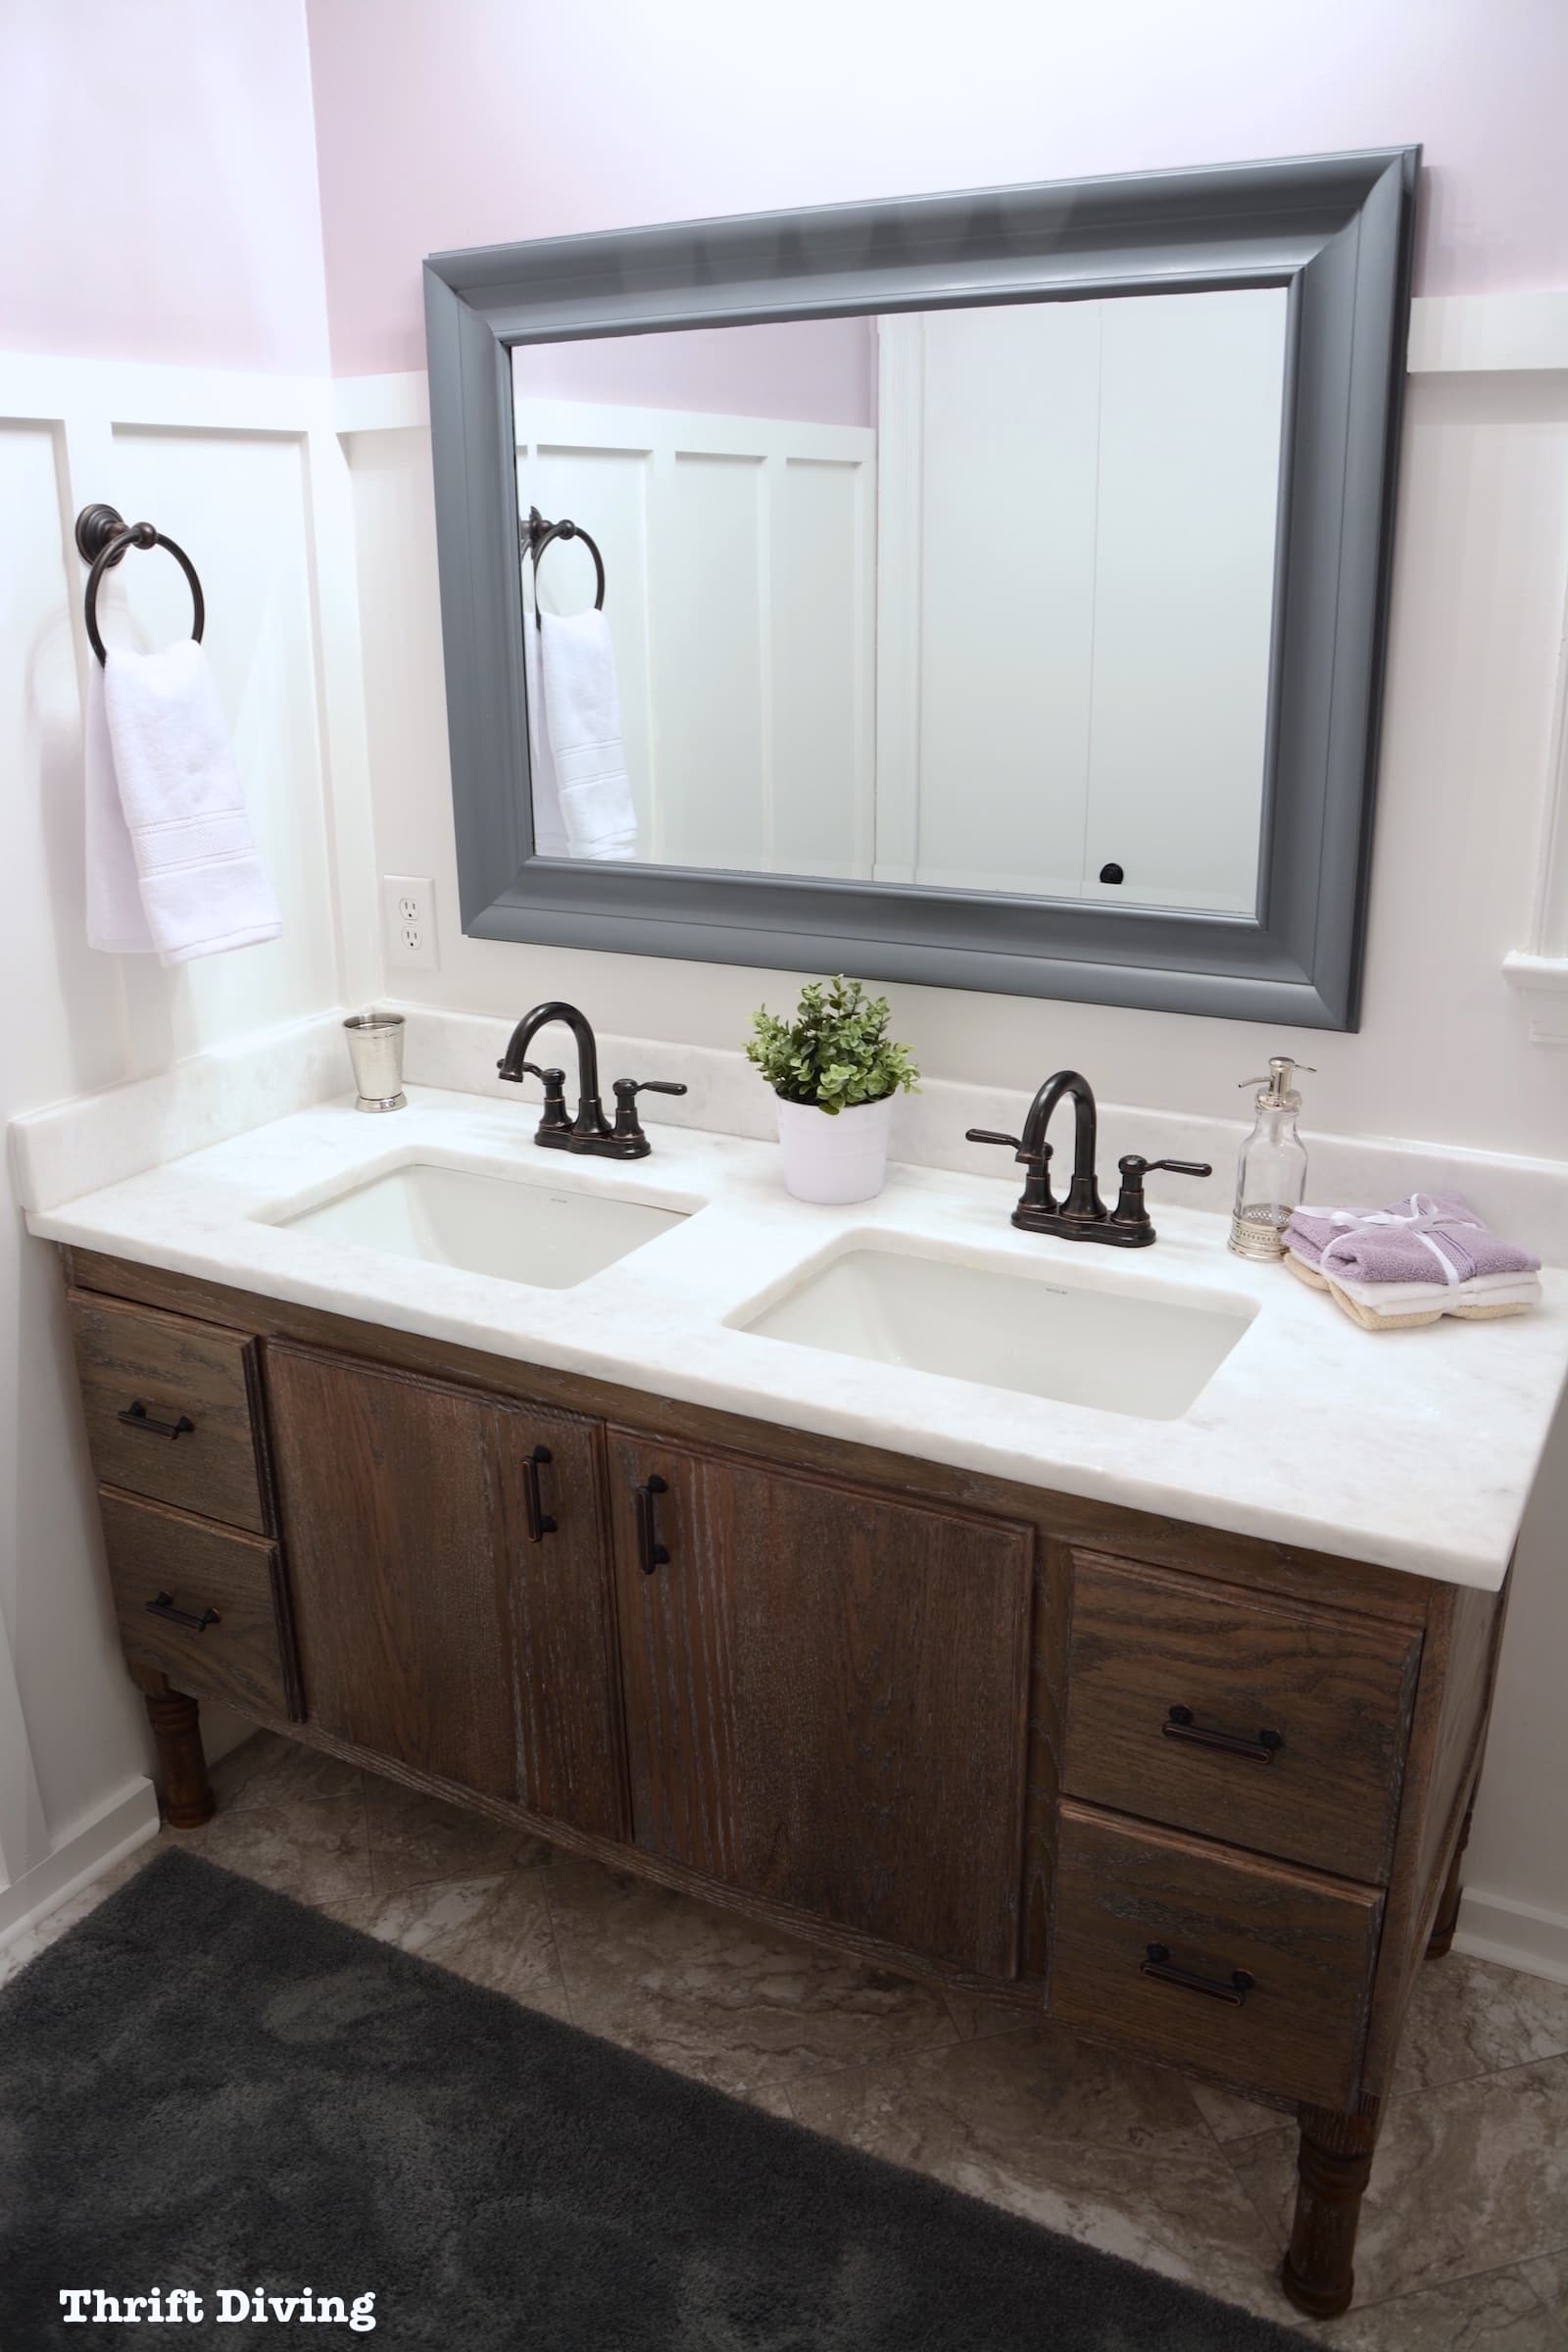
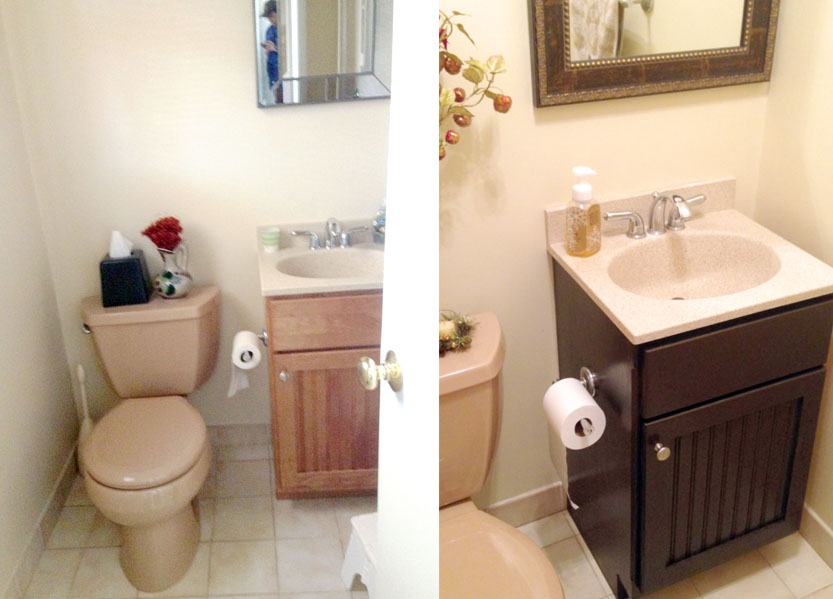
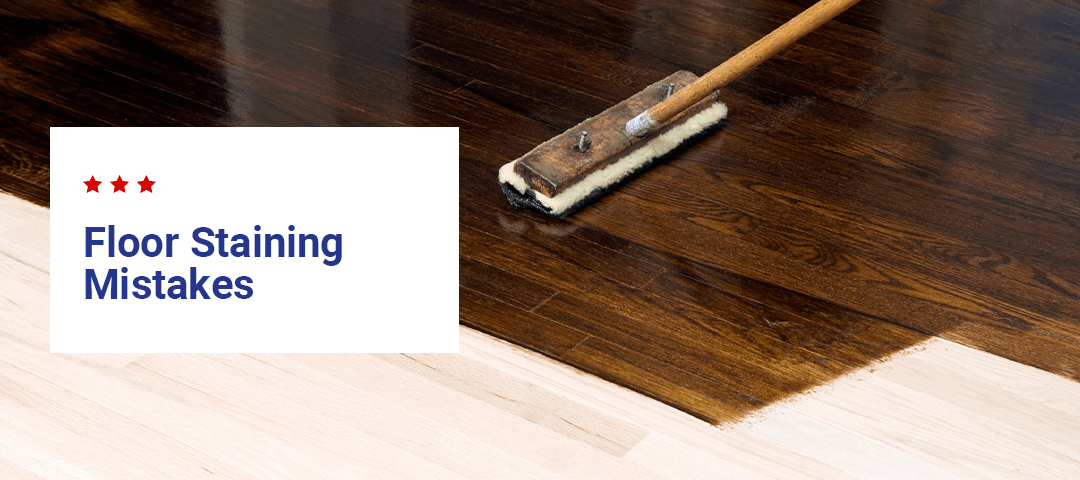
Sanding and Staining a Bathroom Vanity
Are you looking to give your bathroom a fresh new look without breaking the bank? Sanding and staining your bathroom vanity can be a cost-effective and easy way to give your bathroom a whole new feel. In this article, we will provide you with a step-by-step guide on how to sand and stain your bathroom vanity, as well as some helpful tips and tricks to ensure the best results.


Sanding and Staining a Bathroom Vanity


How to Sand and Stain a Bathroom Vanity
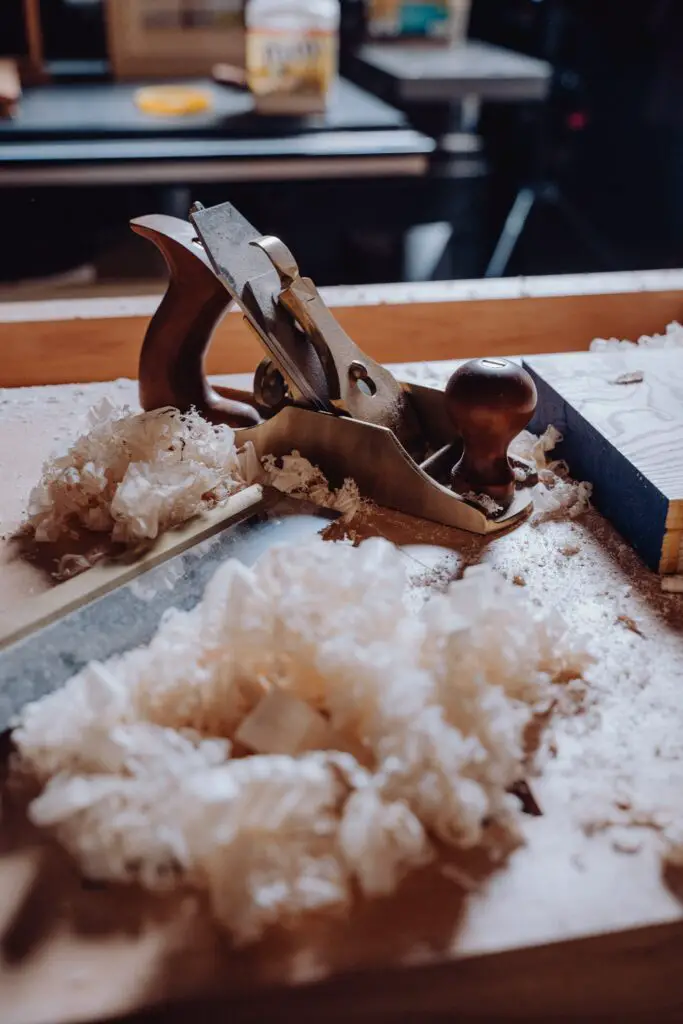
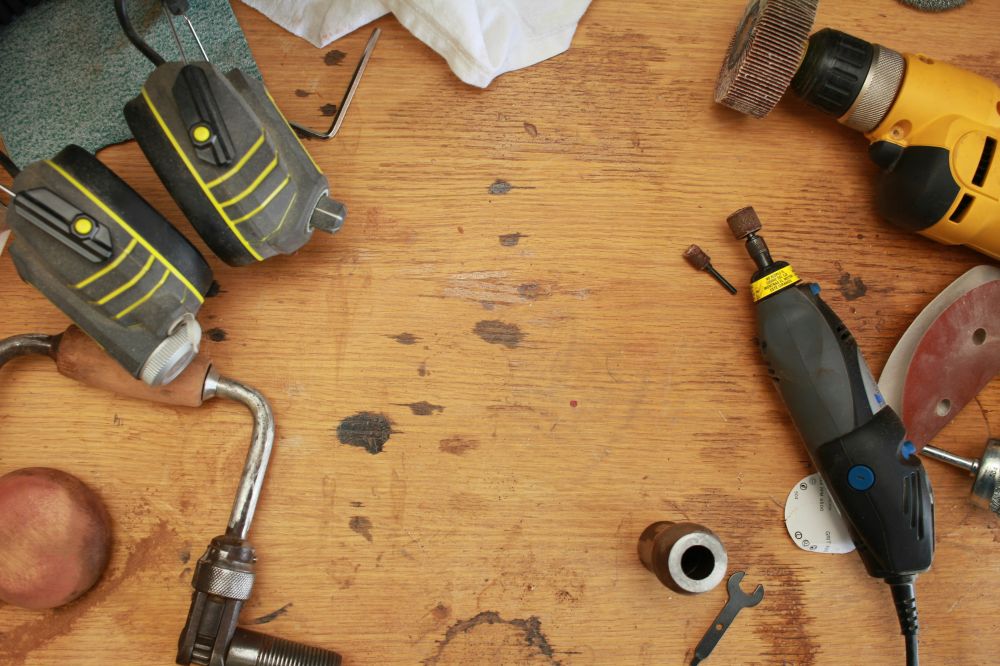
Before you begin, make sure to gather all the necessary materials. You will need sandpaper, wood stain, a paintbrush, a drop cloth, and a clean cloth. It is also recommended to wear protective gear such as gloves and a mask to avoid inhaling any dust particles.
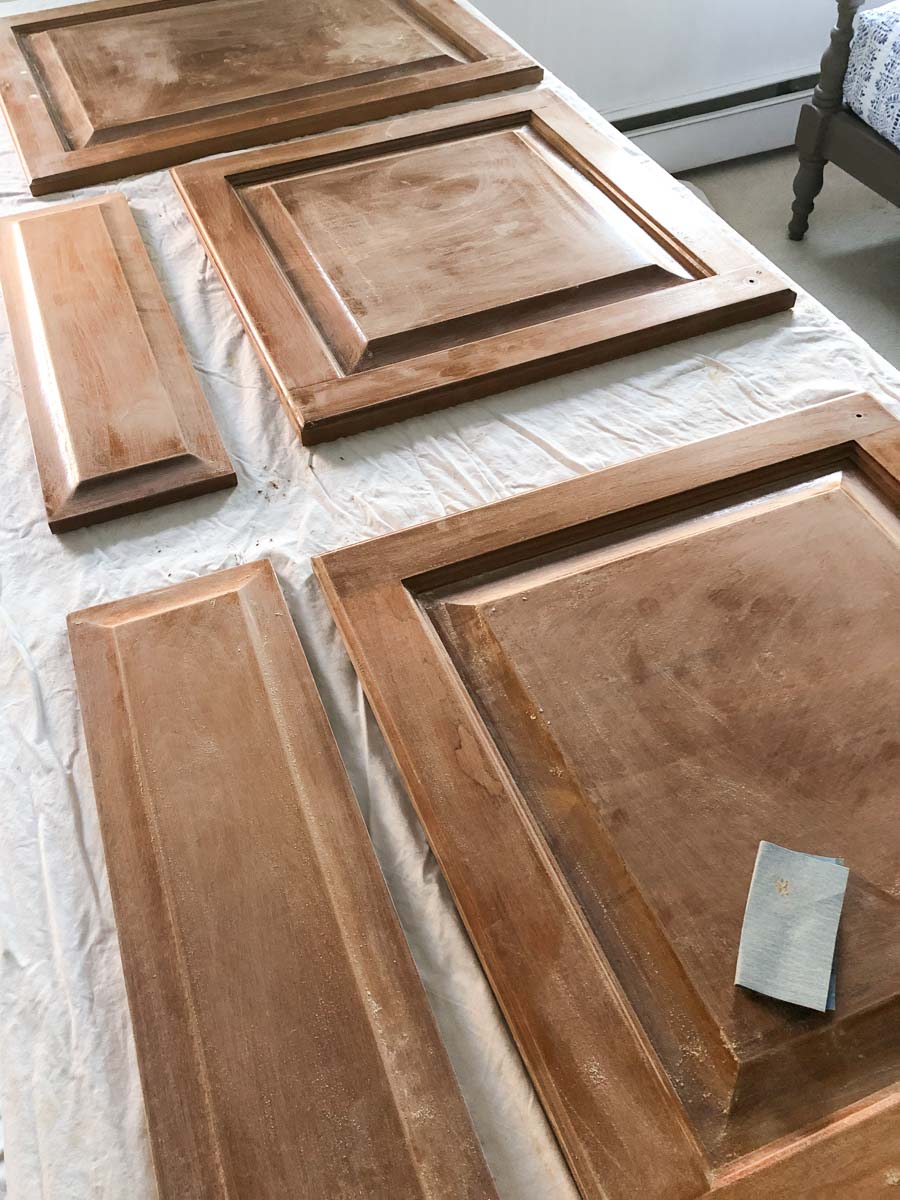
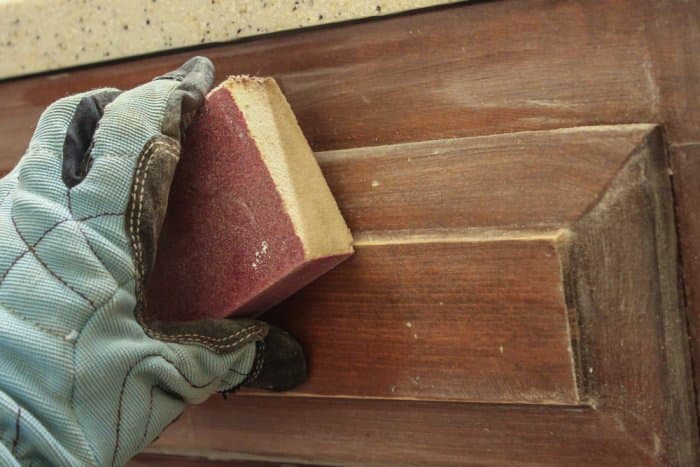
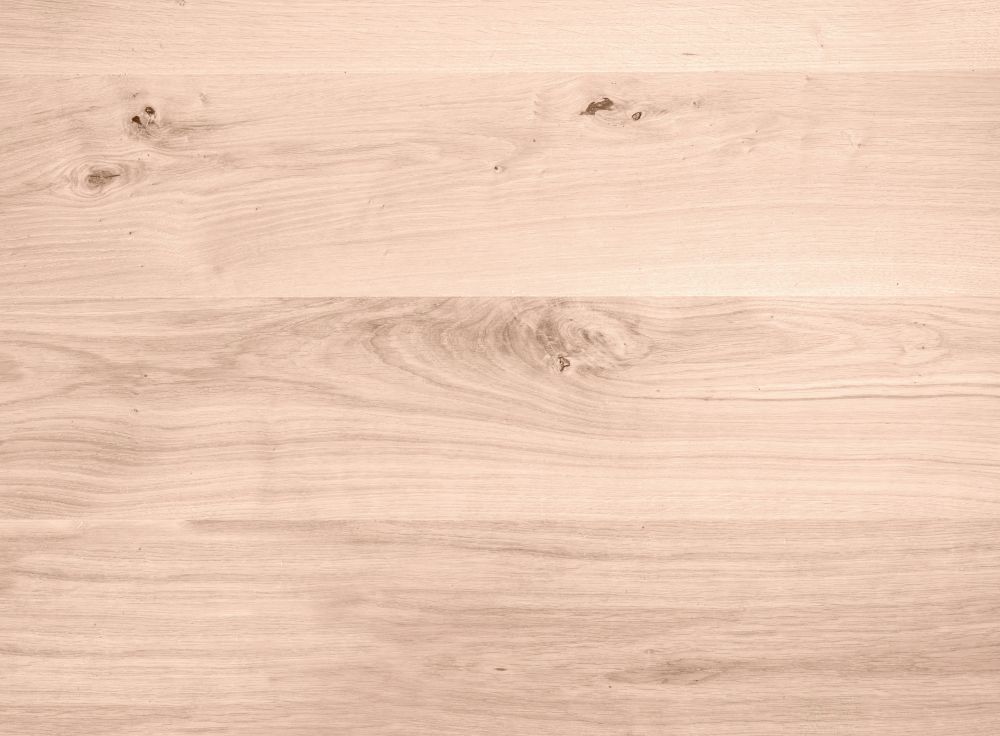
Start by removing all the hardware from your bathroom vanity, including handles and hinges. Lay down the drop cloth to protect your floors and surrounding area. Then, use the sandpaper to gently sand the entire surface of the vanity. This will remove any existing finish and create a smooth surface for the stain to adhere to.
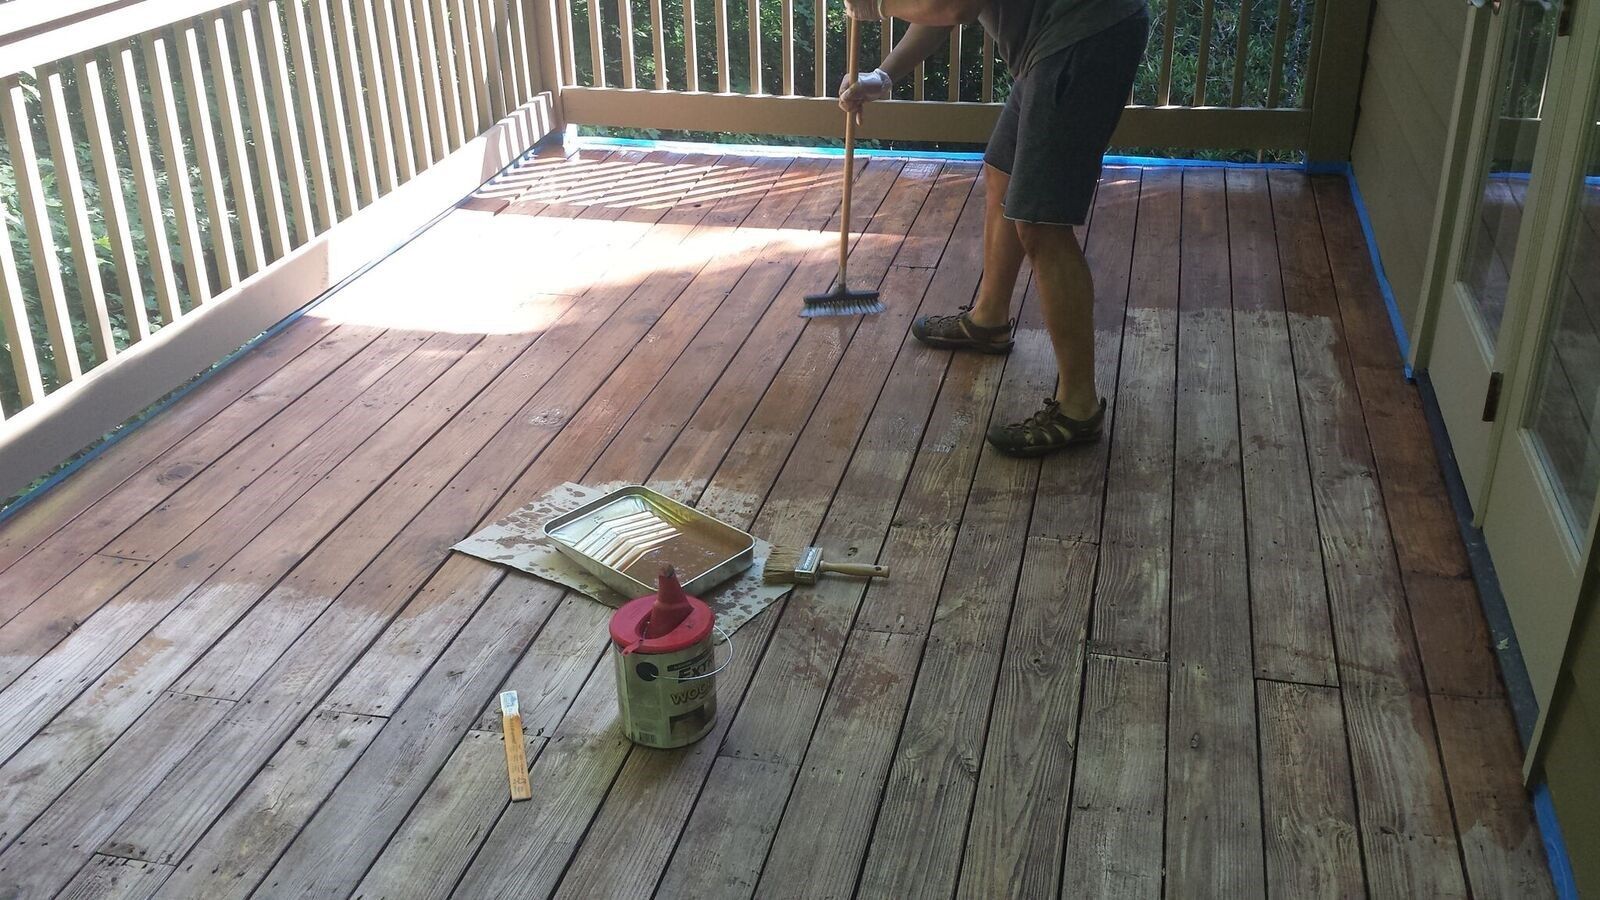
Once you have sanded the vanity, use a clean cloth to wipe away any dust or debris. Now, it's time to apply the wood stain. Use a paintbrush to evenly spread the stain over the surface of the vanity. For a darker color, apply a second coat after the first one has dried. Allow the stain to dry completely before moving on to the next step.
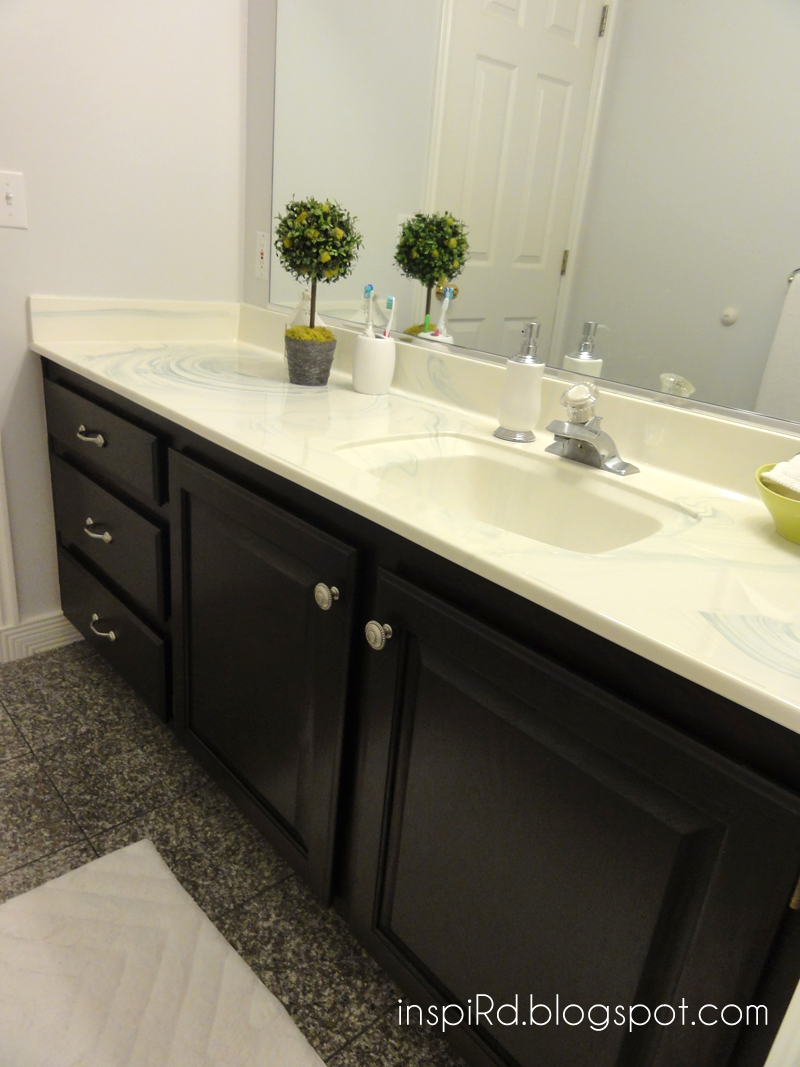
Finally, you can reattach the hardware and admire your newly sanded and stained bathroom vanity.


How to Sand and Stain a Bathroom Vanity


DIY Bathroom Vanity Sanding and Staining
If you're on a budget or enjoy DIY projects, sanding and staining your bathroom vanity is a task you can easily take on yourself. Not only will it save you money, but it can also be a fun and rewarding project. Just make sure to follow the proper steps and take your time for the best results.


DIY Bathroom Vanity Sanding and Staining


Step-by-Step Guide for Sanding and Staining a Bathroom Vanity
1. Gather all necessary materials: sandpaper, wood stain, a paintbrush, a drop cloth, and a clean cloth.
2. Remove all hardware from the vanity.
3. Lay down a drop cloth to protect your floors and surrounding area.
4. Gently sand the entire surface of the vanity.
5. Use a clean cloth to wipe away any dust or debris.
6. Apply the wood stain with a paintbrush, making sure to cover the entire surface evenly.
7. For a darker color, apply a second coat of stain after the first one has dried.
8. Allow the stain to dry completely before reattaching the hardware.
9. Admire your newly sanded and stained bathroom vanity.

Step-by-Step Guide for Sanding and Staining a Bathroom Vanity


Best Products for Sanding and Staining a Bathroom Vanity
When it comes to sanding and staining a bathroom vanity, it's important to use high-quality products for the best results. Some top-rated brands include Minwax, Varathane, and General Finishes. These brands offer a variety of wood stains in different shades to choose from.


Best Products for Sanding and Staining a Bathroom Vanity


Tips for Sanding and Staining a Bathroom Vanity
- Make sure to sand in the direction of the wood grain for a smoother finish.
- Use a clean cloth to wipe away any dust before applying the stain.
- Apply the stain in thin, even coats for the best color results.
- For a glossy finish, add a layer of polyurethane after the stain has dried.
Tips for Sanding and Staining a Bathroom Vanity


How Long Does it Take to Sand and Stain a Bathroom Vanity
The time it takes to sand and stain a bathroom vanity will vary depending on the size and condition of the vanity. On average, it can take anywhere from 2-4 hours to complete the process. However, it's important to take your time and not rush for the best results.


How Long Does it Take to Sand and Stain a Bathroom Vanity


Cost of Sanding and Staining a Bathroom Vanity
The cost of sanding and staining a bathroom vanity will depend on the materials you choose and whether you hire a professional or do it yourself. Generally, the cost can range from $50-$200, making it a much more budget-friendly option compared to replacing the entire vanity.


Cost of Sanding and Staining a Bathroom Vanity


Professional vs DIY Sanding and Staining for Bathroom Vanity
If you're not confident in your DIY skills or don't have the time to take on this project, hiring a professional may be the best option for you. However, if you enjoy DIY projects and want to save money, sanding and staining your bathroom vanity yourself can be a rewarding experience.


Professional vs DIY Sanding and Staining for Bathroom Vanity


Common Mistakes to Avoid When Sanding and Staining a Bathroom Vanity
- Not sanding enough or sanding too much.
- Not wiping away dust before applying the stain.
- Applying too much stain in one coat, resulting in an uneven finish.
- Rushing the process and not allowing the stain to dry completely.
With these helpful tips and a step-by-step guide, you can easily sand and stain your bathroom vanity for a fresh new look. Just remember to take your time, use high-quality products, and have fun with the process. Your bathroom will thank you for it.


Common Mistakes to Avoid When Sanding and Staining a Bathroom Vanity


Sand And Stain Your Bathroom Vanity For A Refreshing Update

Why Sanding And Staining Your Bathroom Vanity Is A Great Option
 As homeowners, we are always looking for ways to update and refresh our living spaces. One area that often gets overlooked is the bathroom vanity. While it may seem like a small element in the grand scheme of house design, the vanity is actually a focal point in any bathroom. It can significantly impact the overall look and feel of the space. That's why sanding and staining your bathroom vanity is a great option for a quick and affordable update.
Sanding
is the process of removing the top layer of wood to reveal a smooth surface underneath. This is important because over time, bathroom vanities can become scratched, damaged, or worn down from daily use. Sanding allows you to remove these imperfections and start with a clean slate. It also helps to open up the pores of the wood, which prepares it for staining.
Staining
is the process of adding color to the wood. It not only enhances the natural beauty of the wood but also protects it from damage. Staining your bathroom vanity can give it a whole new look, whether you want to go for a darker, more dramatic color or a lighter, more natural finish. It's an easy and cost-effective way to update your bathroom without having to completely replace your vanity.
As homeowners, we are always looking for ways to update and refresh our living spaces. One area that often gets overlooked is the bathroom vanity. While it may seem like a small element in the grand scheme of house design, the vanity is actually a focal point in any bathroom. It can significantly impact the overall look and feel of the space. That's why sanding and staining your bathroom vanity is a great option for a quick and affordable update.
Sanding
is the process of removing the top layer of wood to reveal a smooth surface underneath. This is important because over time, bathroom vanities can become scratched, damaged, or worn down from daily use. Sanding allows you to remove these imperfections and start with a clean slate. It also helps to open up the pores of the wood, which prepares it for staining.
Staining
is the process of adding color to the wood. It not only enhances the natural beauty of the wood but also protects it from damage. Staining your bathroom vanity can give it a whole new look, whether you want to go for a darker, more dramatic color or a lighter, more natural finish. It's an easy and cost-effective way to update your bathroom without having to completely replace your vanity.
The Benefits Of Sanding And Staining Your Bathroom Vanity
 There are several benefits to sanding and staining your bathroom vanity. First and foremost, it's a budget-friendly option for updating your bathroom. Instead of spending thousands of dollars on a new vanity, you can achieve a similar effect by sanding and staining your existing one.
Secondly, sanding and staining your bathroom vanity allows you to customize the look to fit your personal style. You can choose from a variety of stain colors to match the rest of your bathroom decor. This gives you the opportunity to create a cohesive and harmonious design in your space.
Moreover, sanding and staining your bathroom vanity is a relatively easy and quick process. With the right tools and materials, you can complete the project in a weekend. This means minimal disruption to your daily routine and no need to hire contractors.
Lastly, sanding and staining your bathroom vanity can increase the value of your home. If you ever decide to sell, a beautifully updated bathroom vanity can be a selling point for potential buyers. It shows that you have taken care of your home and adds a touch of elegance and sophistication to the space.
There are several benefits to sanding and staining your bathroom vanity. First and foremost, it's a budget-friendly option for updating your bathroom. Instead of spending thousands of dollars on a new vanity, you can achieve a similar effect by sanding and staining your existing one.
Secondly, sanding and staining your bathroom vanity allows you to customize the look to fit your personal style. You can choose from a variety of stain colors to match the rest of your bathroom decor. This gives you the opportunity to create a cohesive and harmonious design in your space.
Moreover, sanding and staining your bathroom vanity is a relatively easy and quick process. With the right tools and materials, you can complete the project in a weekend. This means minimal disruption to your daily routine and no need to hire contractors.
Lastly, sanding and staining your bathroom vanity can increase the value of your home. If you ever decide to sell, a beautifully updated bathroom vanity can be a selling point for potential buyers. It shows that you have taken care of your home and adds a touch of elegance and sophistication to the space.
Conclusion
 Sanding and staining your bathroom vanity is a simple and effective way to update your bathroom and give it a fresh new look. It's a budget-friendly option that allows you to customize the design and can increase the value of your home. So why wait? Grab your sandpaper and stain and get ready to transform your bathroom vanity into a stunning focal point.