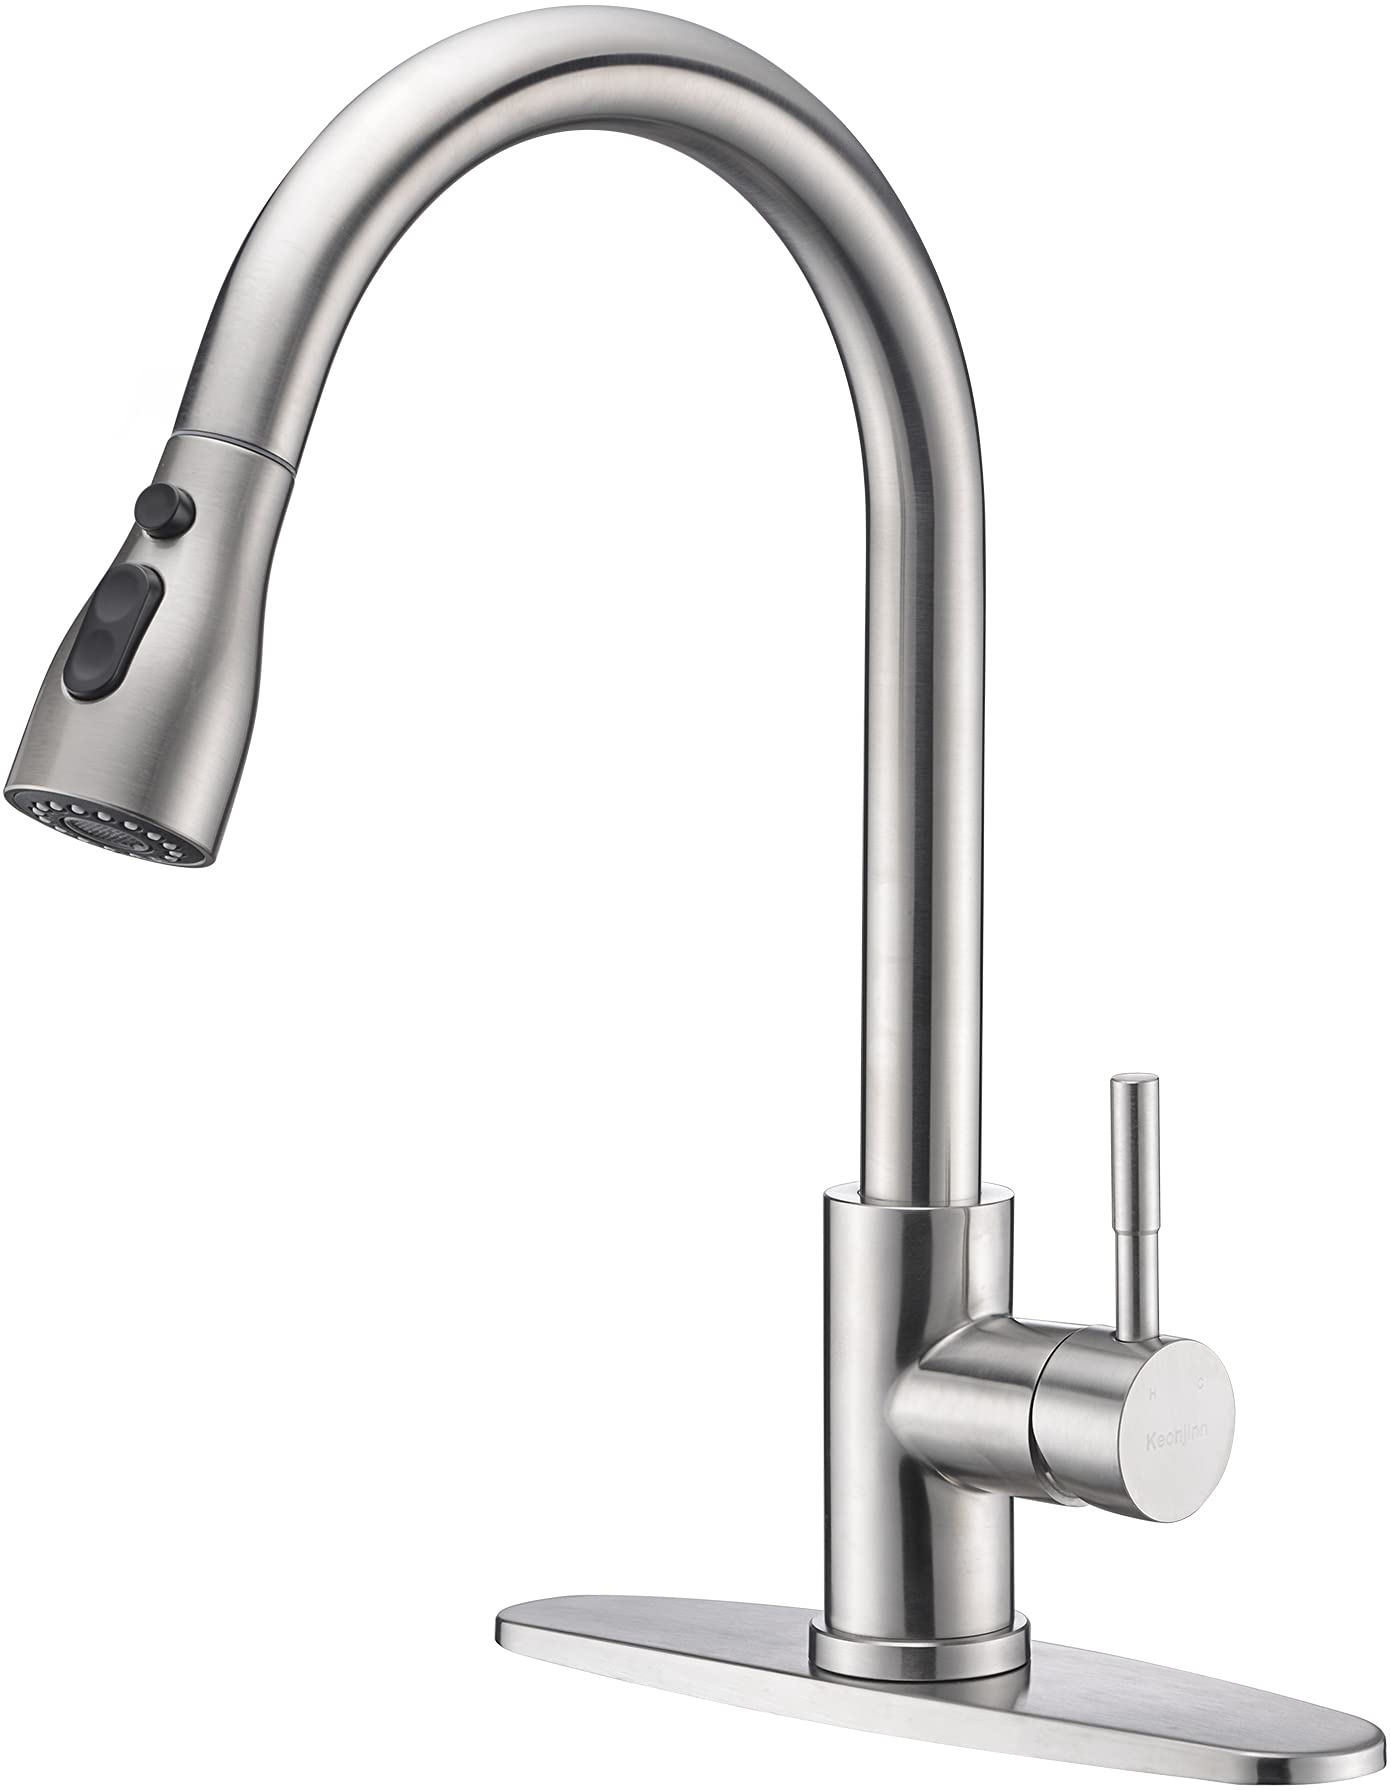
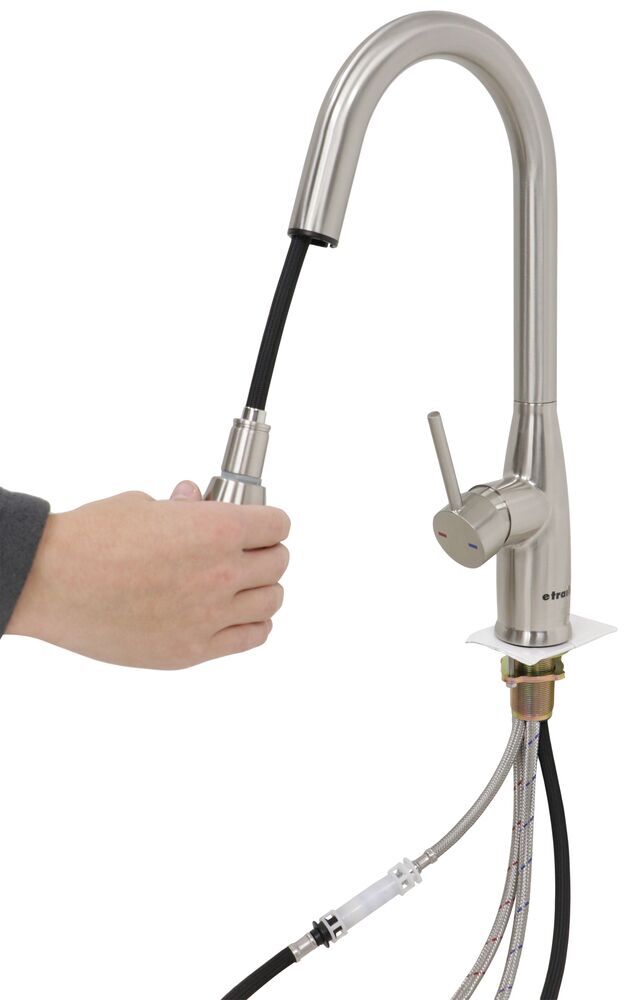
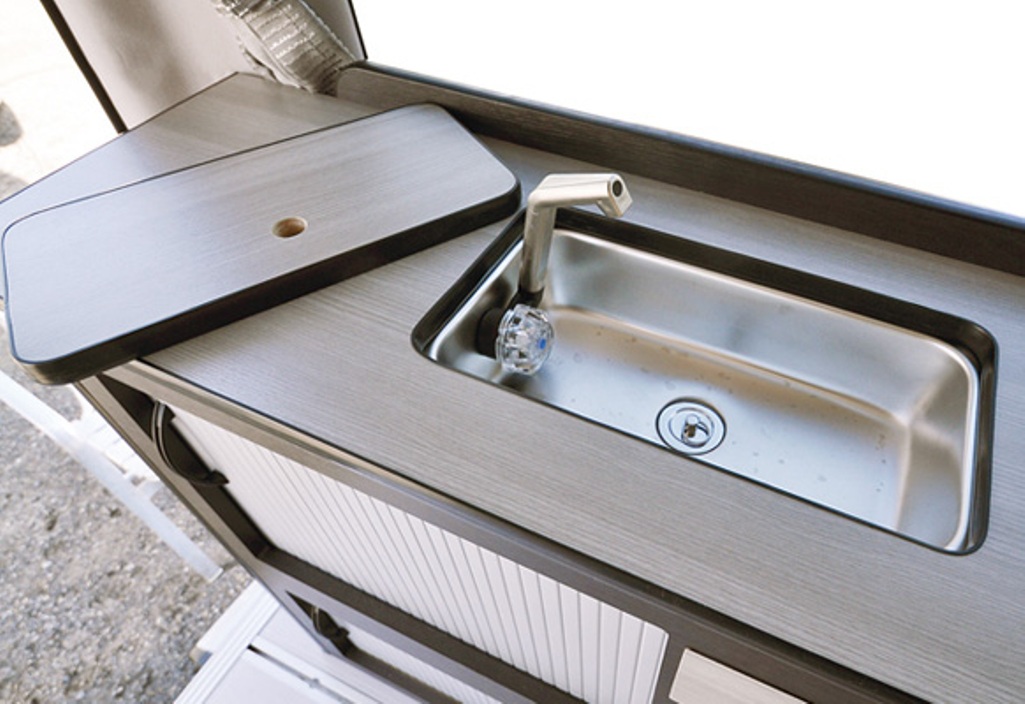
An RV kitchen sink faucet is an essential part of any RV kitchen, providing convenient access to water for cooking, cleaning, and washing dishes. However, if your faucet is old, damaged, or simply not to your liking, you may want to consider installing a new one. This article will provide a step-by-step guide for installing an RV kitchen sink faucet, as well as tips, common issues, and cost considerations.RV Kitchen Sink Faucet Installation
The process of installing an RV kitchen sink faucet may seem intimidating, but with the right tools and knowledge, it can be a relatively simple task. Here is a step-by-step guide to help you through the process:How to Install an RV Kitchen Sink Faucet
Before you begin, make sure you have all the necessary tools and materials. This may include a new faucet, adjustable wrench, plumber's tape, pipe cutter, and silicone sealant. It's important to have everything on hand to avoid any delays.Step 1: Gather Tools and Materials
Before you remove the old faucet, you'll need to turn off the water supply. This can usually be done by turning off the main water valve or locating the shut-off valves under the sink.Step 2: Turn Off the Water Supply
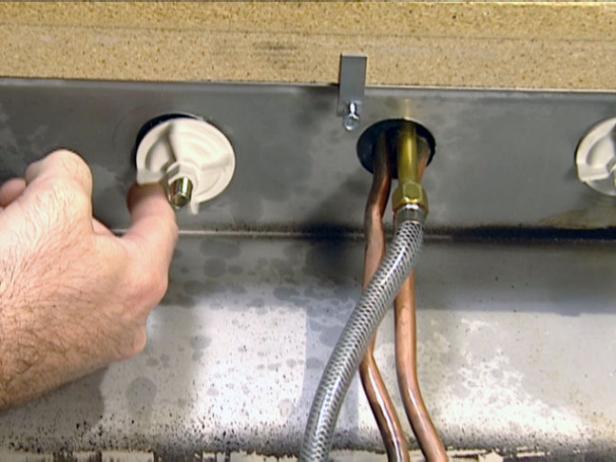
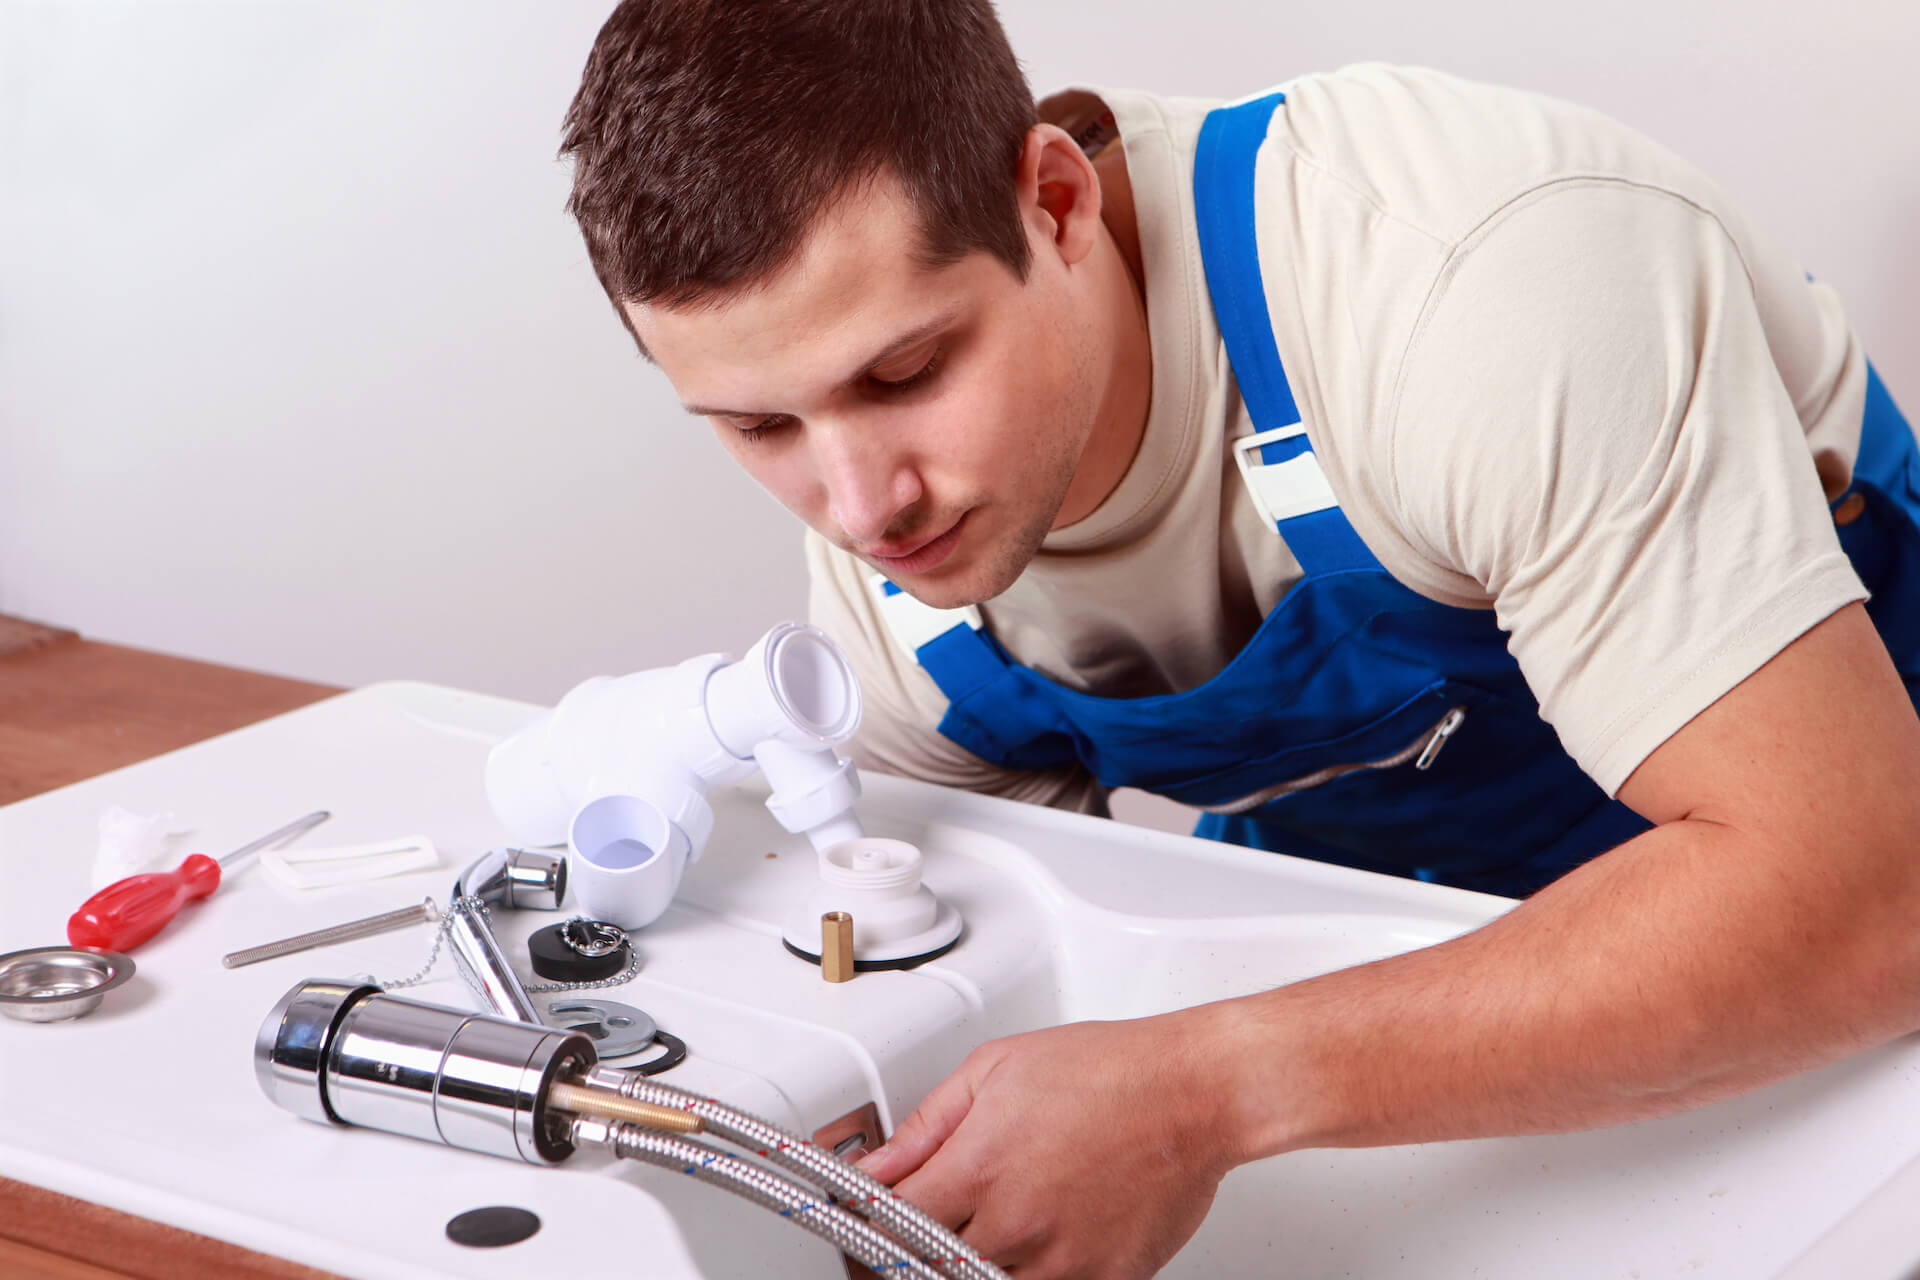
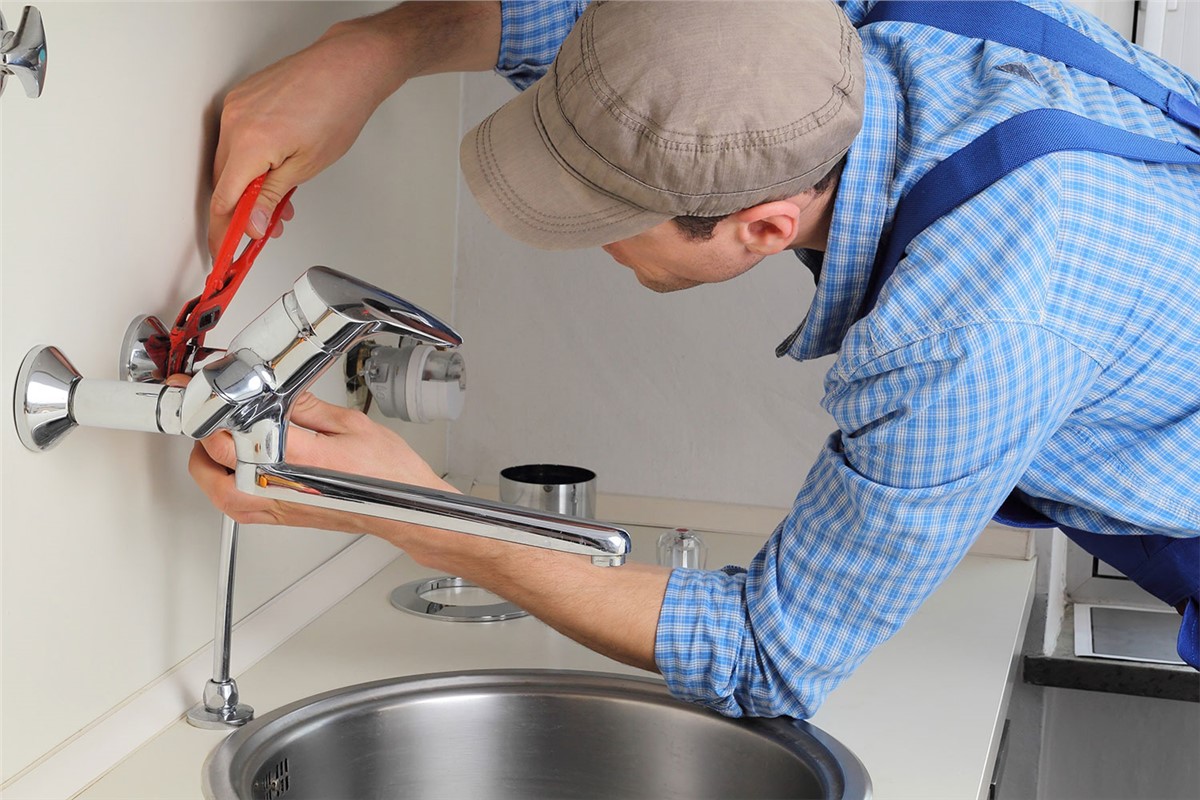
Using an adjustable wrench, loosen the nuts that hold the old faucet in place. Remove the old faucet and any remaining hardware. Be sure to clean the area thoroughly before moving on to the next step.Step 3: Remove the Old Faucet
Before installing the new faucet, you may need to assemble it according to the manufacturer's instructions. This may include attaching the handles, spout, and other components.Step 4: Prepare the New Faucet
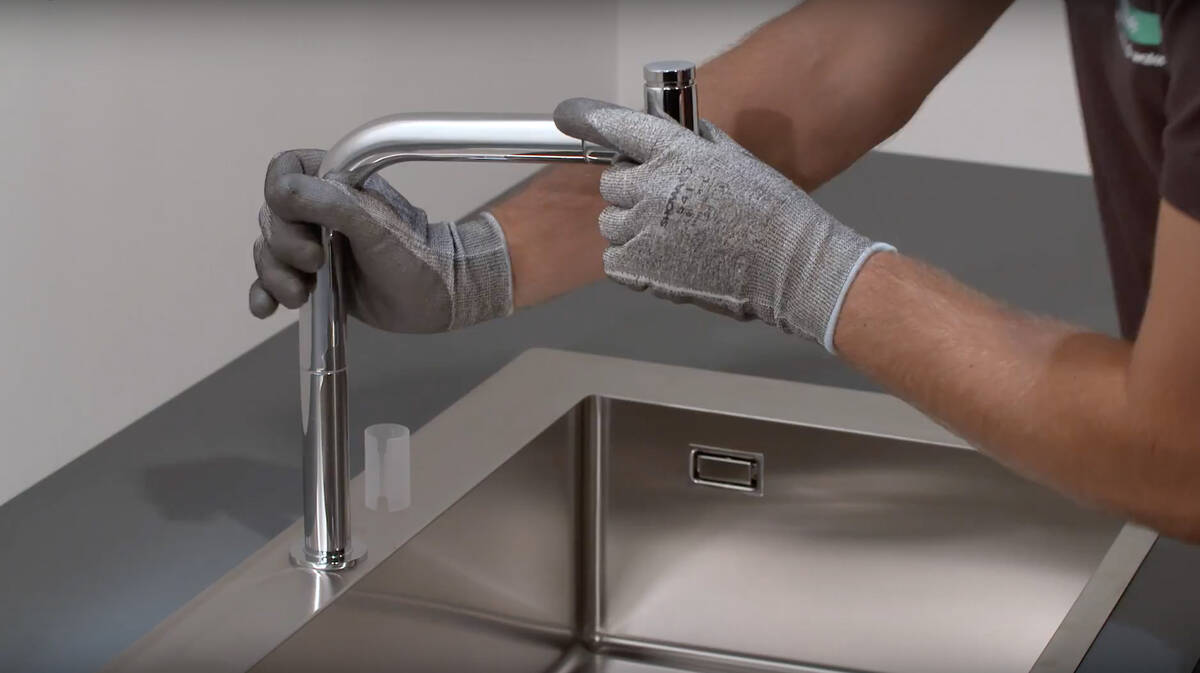
Place the new faucet through the mounting holes on the sink. Use plumber's tape to ensure a tight seal. Then, secure the faucet in place by tightening the mounting nuts from underneath the sink. Make sure the faucet is level before moving on to the next step.Step 5: Install the New Faucet
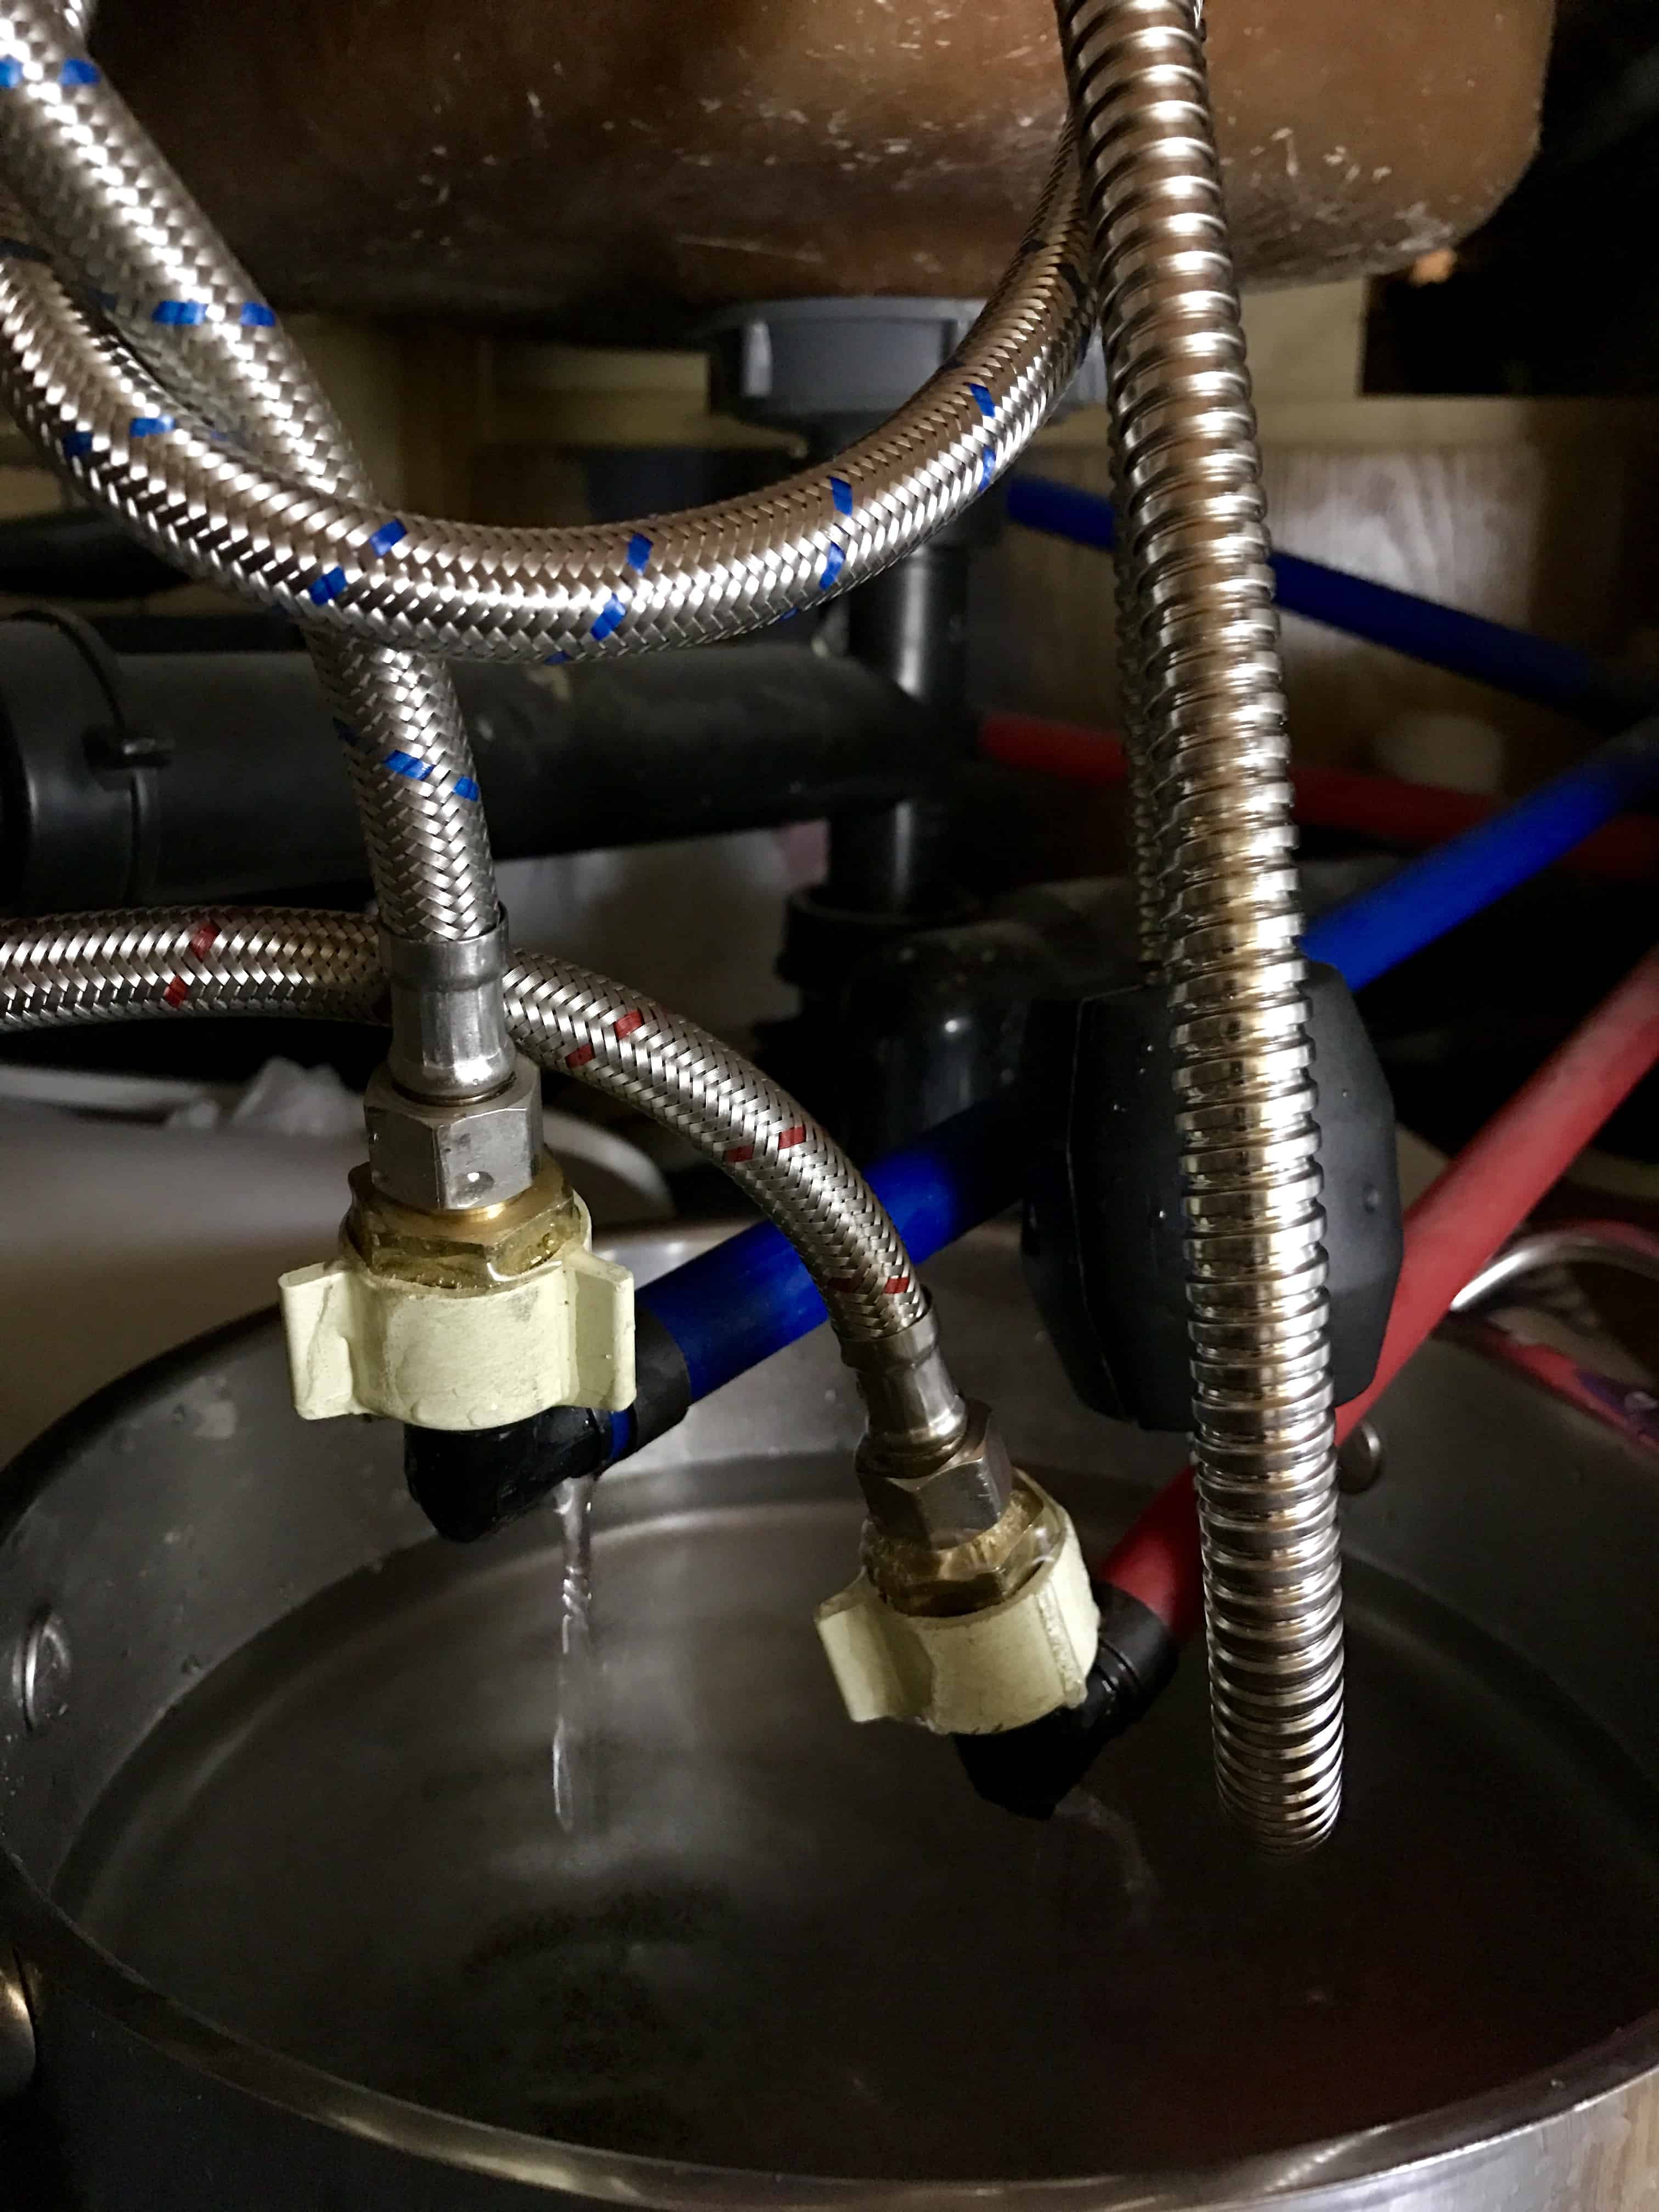
Using a pipe cutter, cut the water supply lines to the appropriate length. Then, attach the supply lines to the faucet using a wrench. Be sure to use plumber's tape to ensure a tight seal.Step 6: Connect the Water Supply
To prevent any leaks, apply a small amount of silicone sealant around the base of the faucet. This will ensure a watertight seal and prevent any water from seeping under the faucet.Step 7: Apply Silicone Sealant
Turn the water supply back on and test the new faucet. Check for any leaks or issues and make any necessary adjustments.Step 8: Test the Faucet
Why Choosing the Right RV Kitchen Sink Faucet is Essential for Your House Design
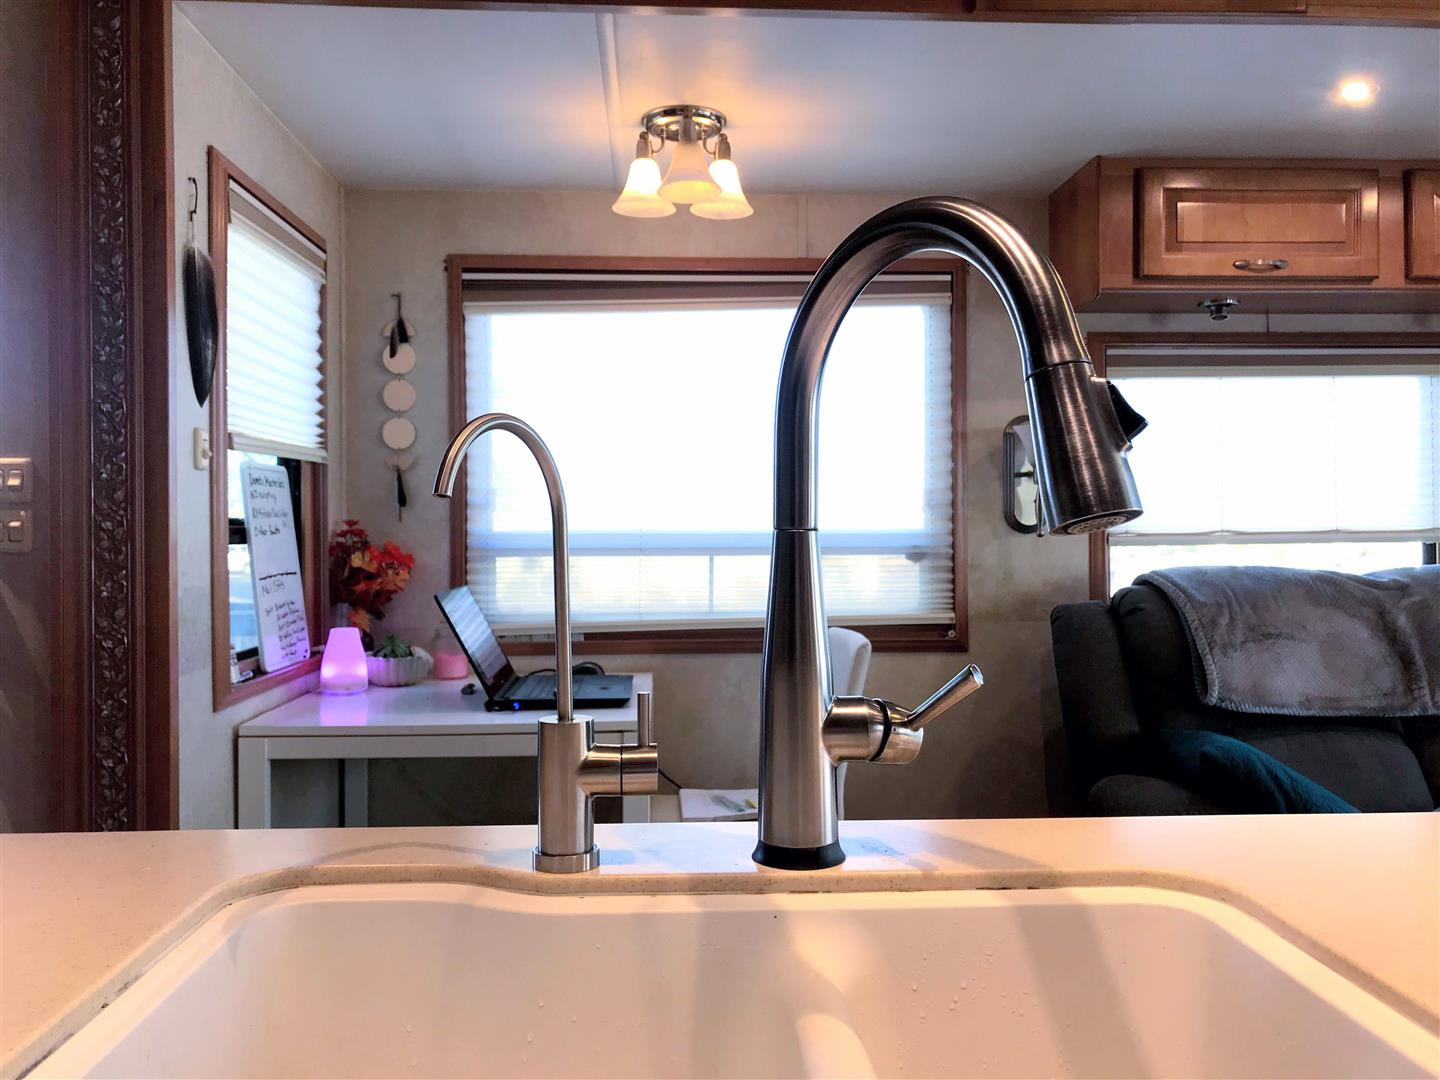
Factors to Consider
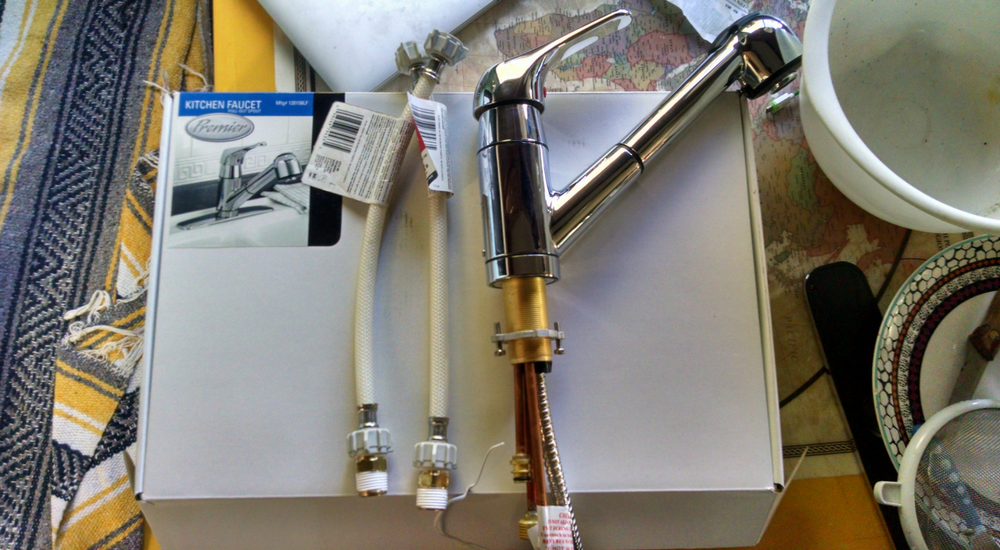 When it comes to designing your dream house, every detail matters. From the color of the walls to the type of flooring, each element plays a crucial role in creating a cohesive and visually appealing space. One aspect that is often overlooked but can make a significant impact is the kitchen sink faucet.
Choosing the right RV kitchen sink faucet
can elevate the overall design of your kitchen and make your daily tasks much more convenient.
Style and Functionality
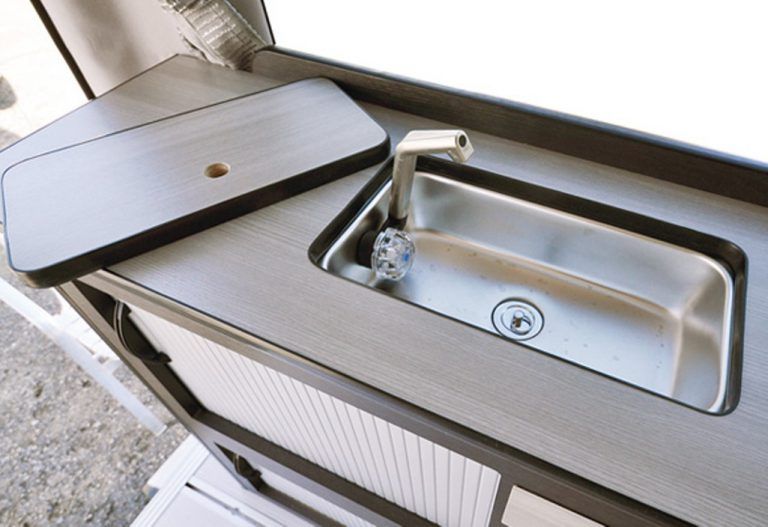 The first thing to consider when selecting an RV kitchen sink faucet is its style.
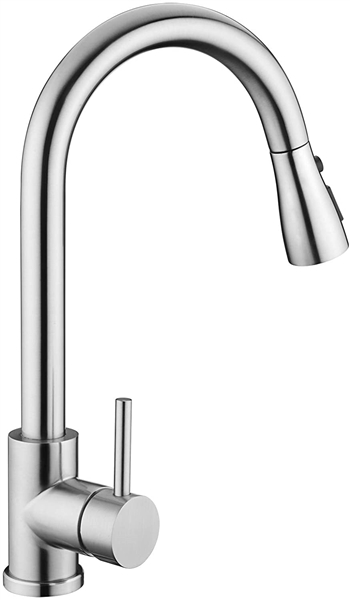
Modern, sleek faucets
can give your kitchen a contemporary look, while
vintage-inspired faucets
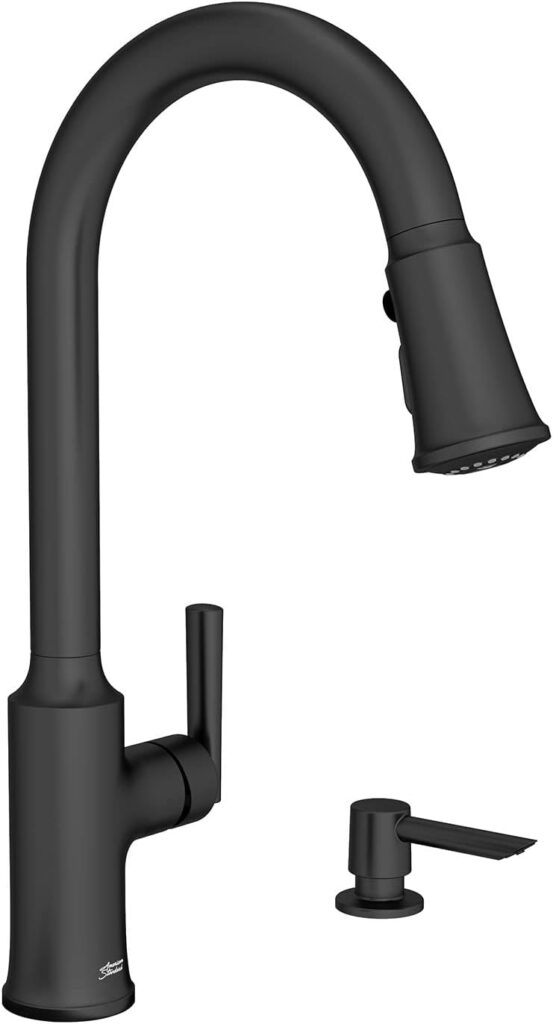
can add a charming touch to a traditional kitchen. Additionally, you should also think about the functionality of the faucet. Do you want a single handle or dual handle? Do you need a sprayer or pull-down feature? These are all important factors to consider when choosing a faucet that will not only look great but also make your life easier.
Compatibility with Your Sink
 Another essential factor to keep in mind is the compatibility of the faucet with your sink.
Make sure to measure the distance between the faucet holes on your sink
and choose a faucet that will fit properly. It's also crucial to consider the size of your sink and the height of the faucet. An oversized faucet in a small sink can look out of place and vice versa. By considering these details, you can ensure that your faucet will not only function well but also look aesthetically pleasing in your kitchen.
Quality and Durability
 Investing in a high-quality RV kitchen sink faucet is crucial for its longevity and functionality. Cheaper faucets may seem like a bargain at first, but they often have a shorter lifespan and may require frequent repairs or replacements. On the other hand,
opting for a reputable brand and quality materials
can save you money in the long run and ensure that your faucet will stand the test of time.
Conclusion
 In conclusion, the
right RV kitchen sink faucet
can make a significant impact on your house design and daily tasks in the kitchen. By considering the style, functionality, compatibility, and quality of the faucet, you can choose one that not only looks great but also meets your needs and lasts for years to come. So don't overlook this seemingly small detail and make sure to invest in a faucet that will elevate your kitchen design.


