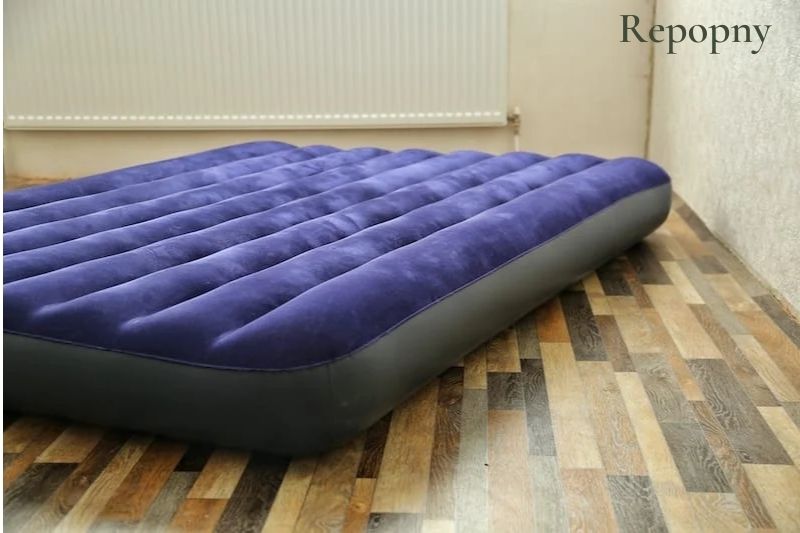
If your rubber air mattress has a leak or tear, don't worry - it can be easily repaired at home. All you need is a rubber air mattress patch kit, some basic tools, and a little bit of time. Here's a step-by-step guide on how to repair your rubber air mattress and get it back to its fully functional state.1. How to Repair a Rubber Air Mattress


1. How to Repair a Rubber Air Mattress


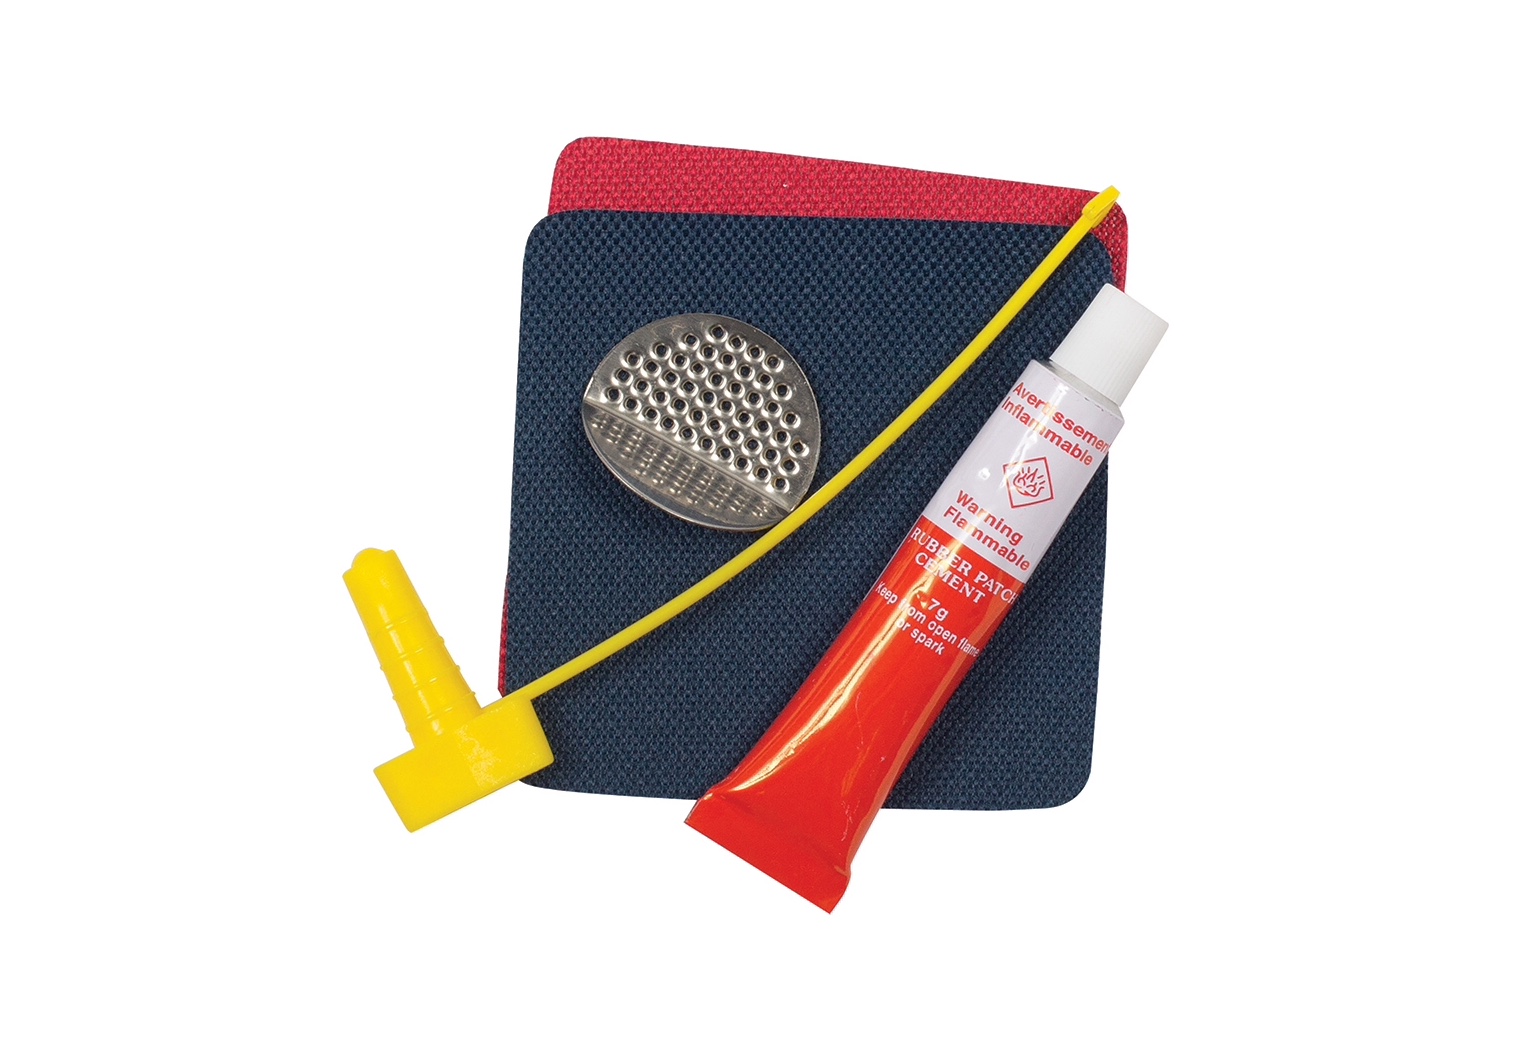
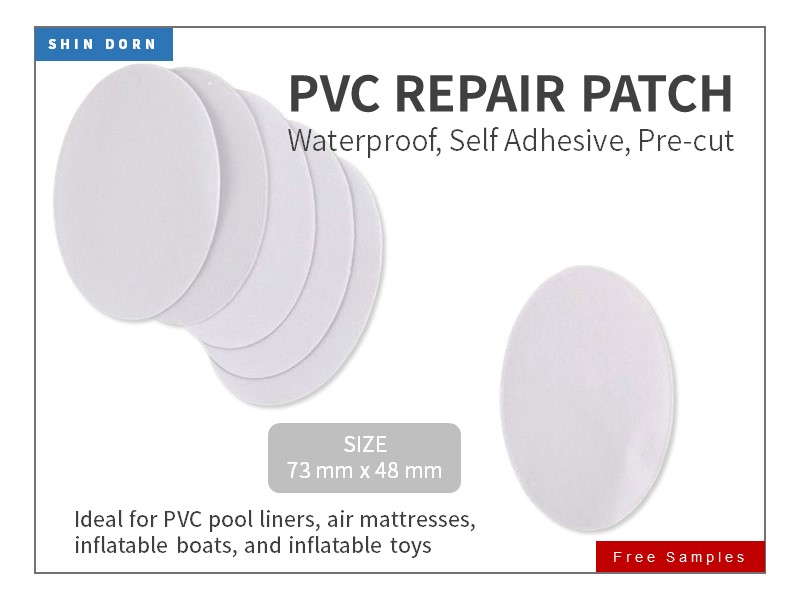
A patch kit specifically designed for rubber air mattresses is a crucial tool for repairing any damages. These kits usually include patches, adhesive, and a sealant to fix leaks and tears. You can find them at most hardware or camping supply stores, or you can purchase them online. Make sure to get a patch kit that is compatible with your specific type of rubber air mattress.2. Rubber Air Mattress Patch Kit

2. Rubber Air Mattress Patch Kit


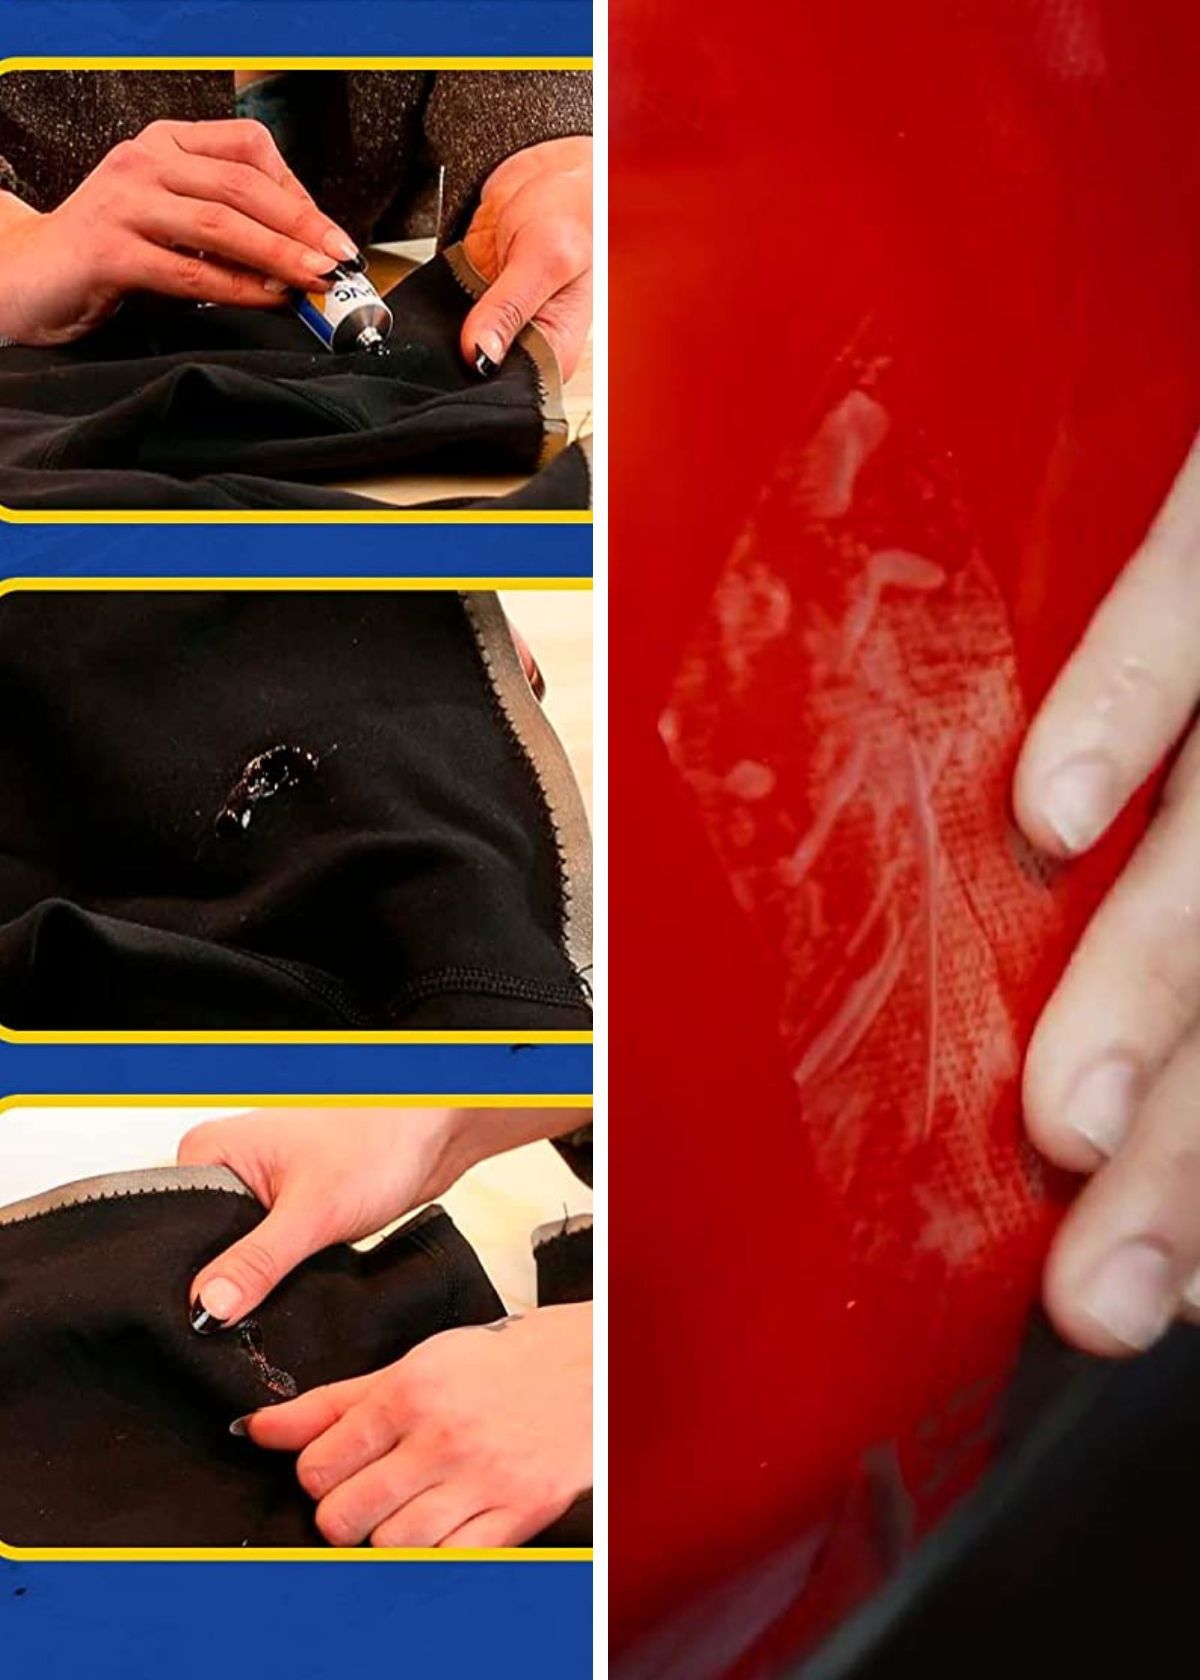
If you don't have a patch kit, you can still repair your rubber air mattress using items you may already have at home. You can use duct tape, rubber cement, or even a bicycle tire patch kit. Keep in mind that these temporary fixes may not last as long as using a patch kit, but they can still provide a quick solution in a pinch.3. DIY Rubber Air Mattress Repair


3. DIY Rubber Air Mattress Repair


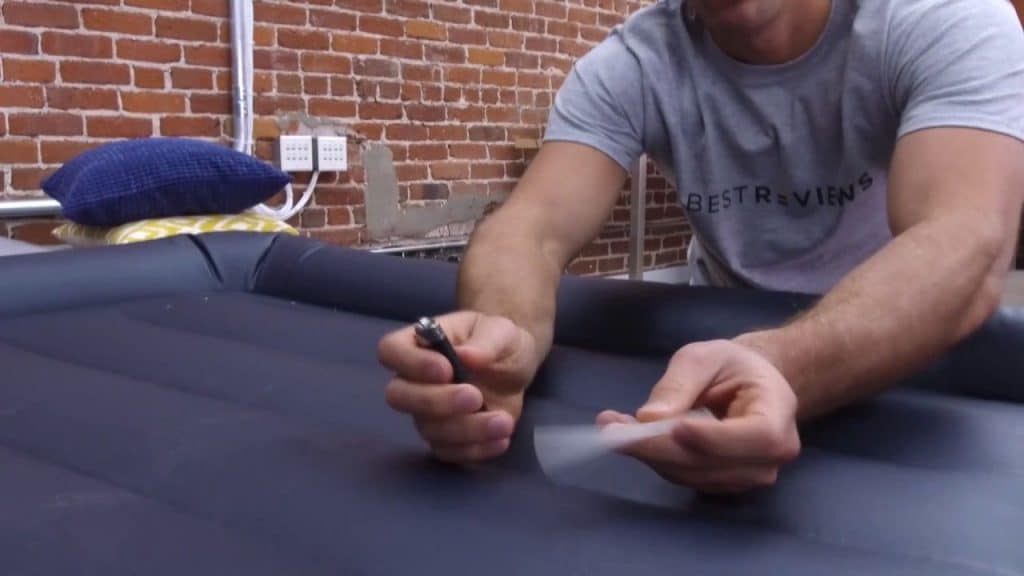
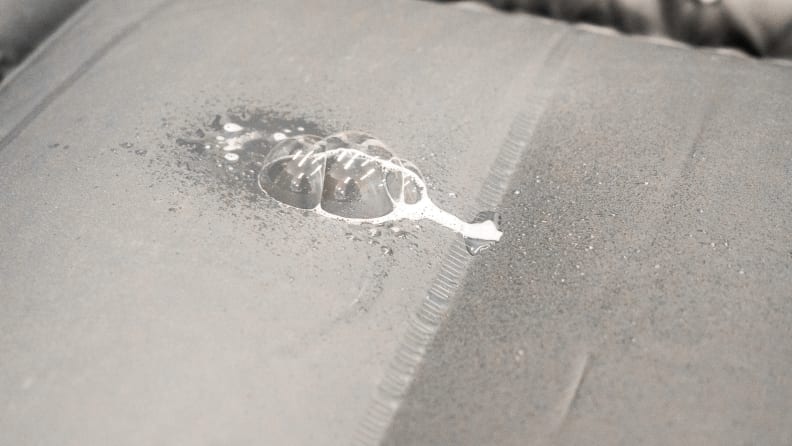
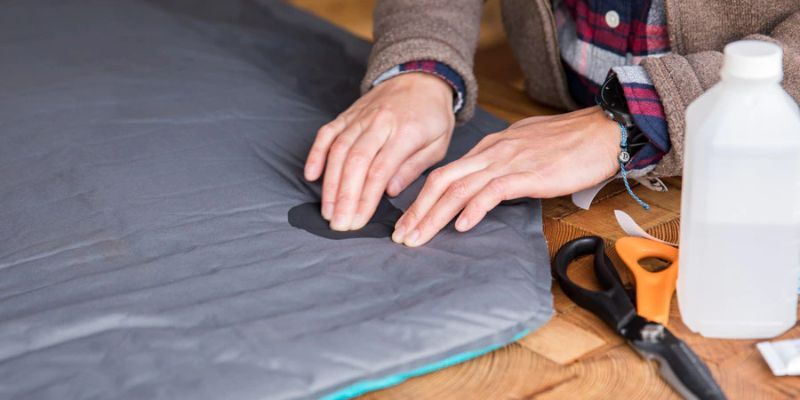
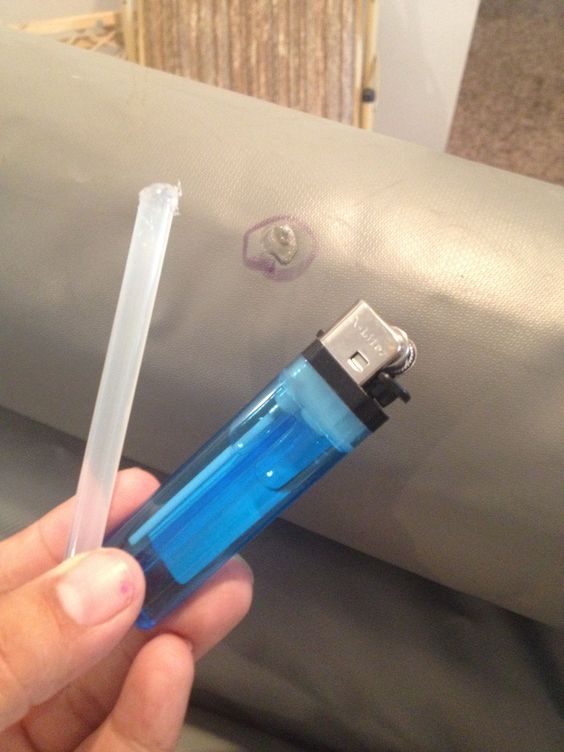
If your rubber air mattress has a leak, you'll need to locate the source before you can fix it. Inflate the mattress and listen for any hissing sounds. Once you've found the leak, mark it with a small piece of tape or a marker. Deflate the mattress and clean the area around the leak with rubbing alcohol. Apply the patch or adhesive from your patch kit and let it dry completely before re-inflating the mattress.4. Rubber Air Mattress Leak Repair

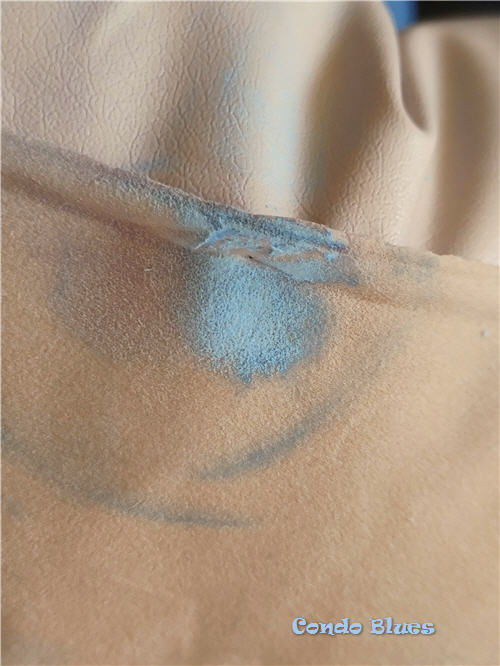

4. Rubber Air Mattress Leak Repair


For tears in your rubber air mattress, you'll need to use a patch from your kit. Cut the patch into a shape that is slightly larger than the tear. Apply the adhesive to both the patch and the area around the tear. Press the patch onto the tear and hold it firmly in place for a few minutes. Let it dry completely before using the mattress again.5. Rubber Air Mattress Tear Repair


5. Rubber Air Mattress Tear Repair

If your rubber air mattress has a hole, you can follow the same process as repairing a tear. Cut the patch into a circular shape to cover the hole, and use a generous amount of adhesive to ensure a strong bond. If the hole is too large for a patch, you may need to use a combination of patches to cover it completely.6. Rubber Air Mattress Hole Repair


6. Rubber Air Mattress Hole Repair


In some cases, the seam of a rubber air mattress may come apart due to wear and tear. To repair a seam, you'll need to use a seam sealer from your patch kit. Apply the sealer along the seam and let it dry for at least 24 hours before using the mattress again.7. Rubber Air Mattress Seam Repair

7. Rubber Air Mattress Seam Repair


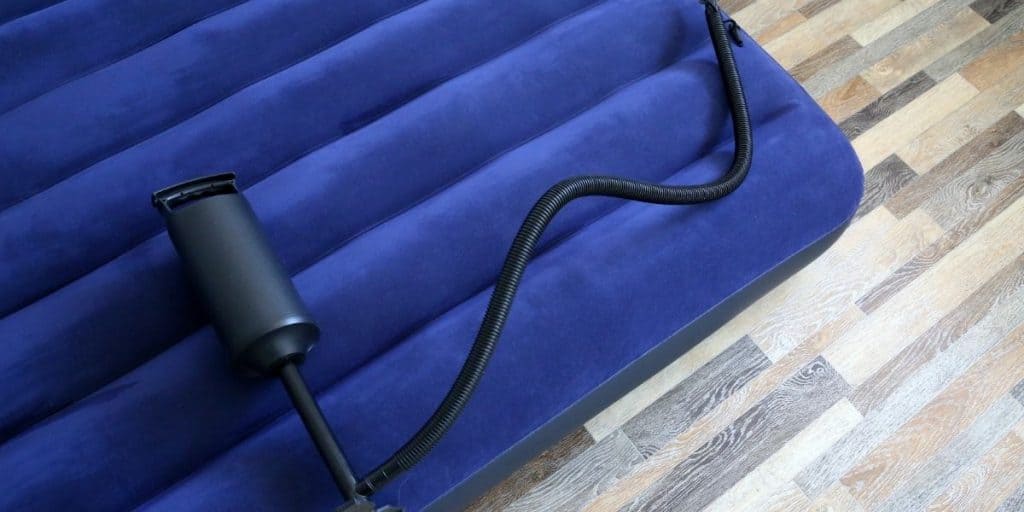


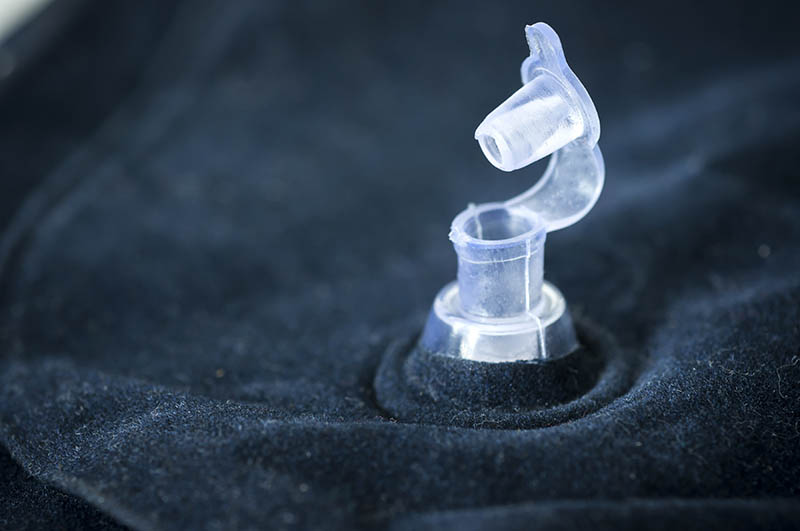
If the valve of your rubber air mattress is leaking, you can use a valve repair kit to fix it. These kits typically include a new valve and adhesive. Remove the old valve and clean the area thoroughly before applying the new valve with the adhesive. Let it dry completely before using the mattress.8. Rubber Air Mattress Valve Repair


8. Rubber Air Mattress Valve Repair


When using a patch kit, make sure to follow the instructions carefully for the best results. It's also important to clean the area thoroughly before applying any patches or adhesive. If you're using a DIY method, test your repair before relying on it for a full night's sleep.9. Rubber Air Mattress Patching Tips


9. Rubber Air Mattress Patching Tips
:max_bytes(150000):strip_icc()/81QHm8NXr2L._AC_SL1500_1-17bafdc326cf4922b0d8acca4d9b5639.jpg)


The best adhesive for rubber air mattress repair is one that is specifically designed for patching and repairing rubber materials. Make sure to read the labels and choose an adhesive that is compatible with your rubber air mattress. You may also want to consider the drying time and strength of the adhesive to ensure a long-lasting repair.10. Best Adhesive for Rubber Air Mattress Repair

10. Best Adhesive for Rubber Air Mattress Repair


The Importance of Maintaining a Functional Rubber Air Mattress for Your House Design
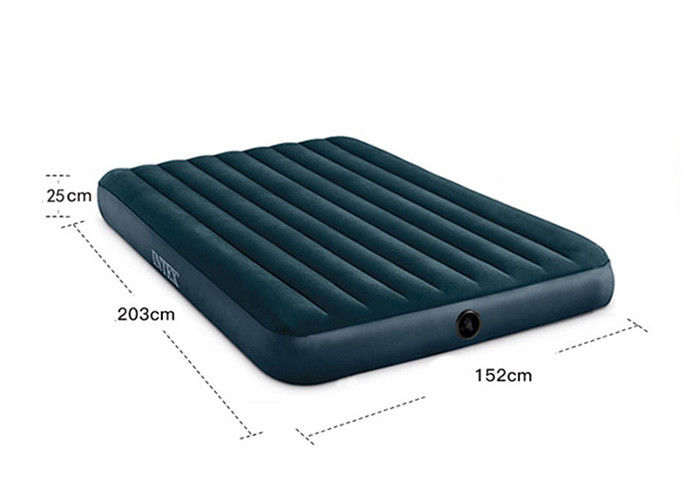
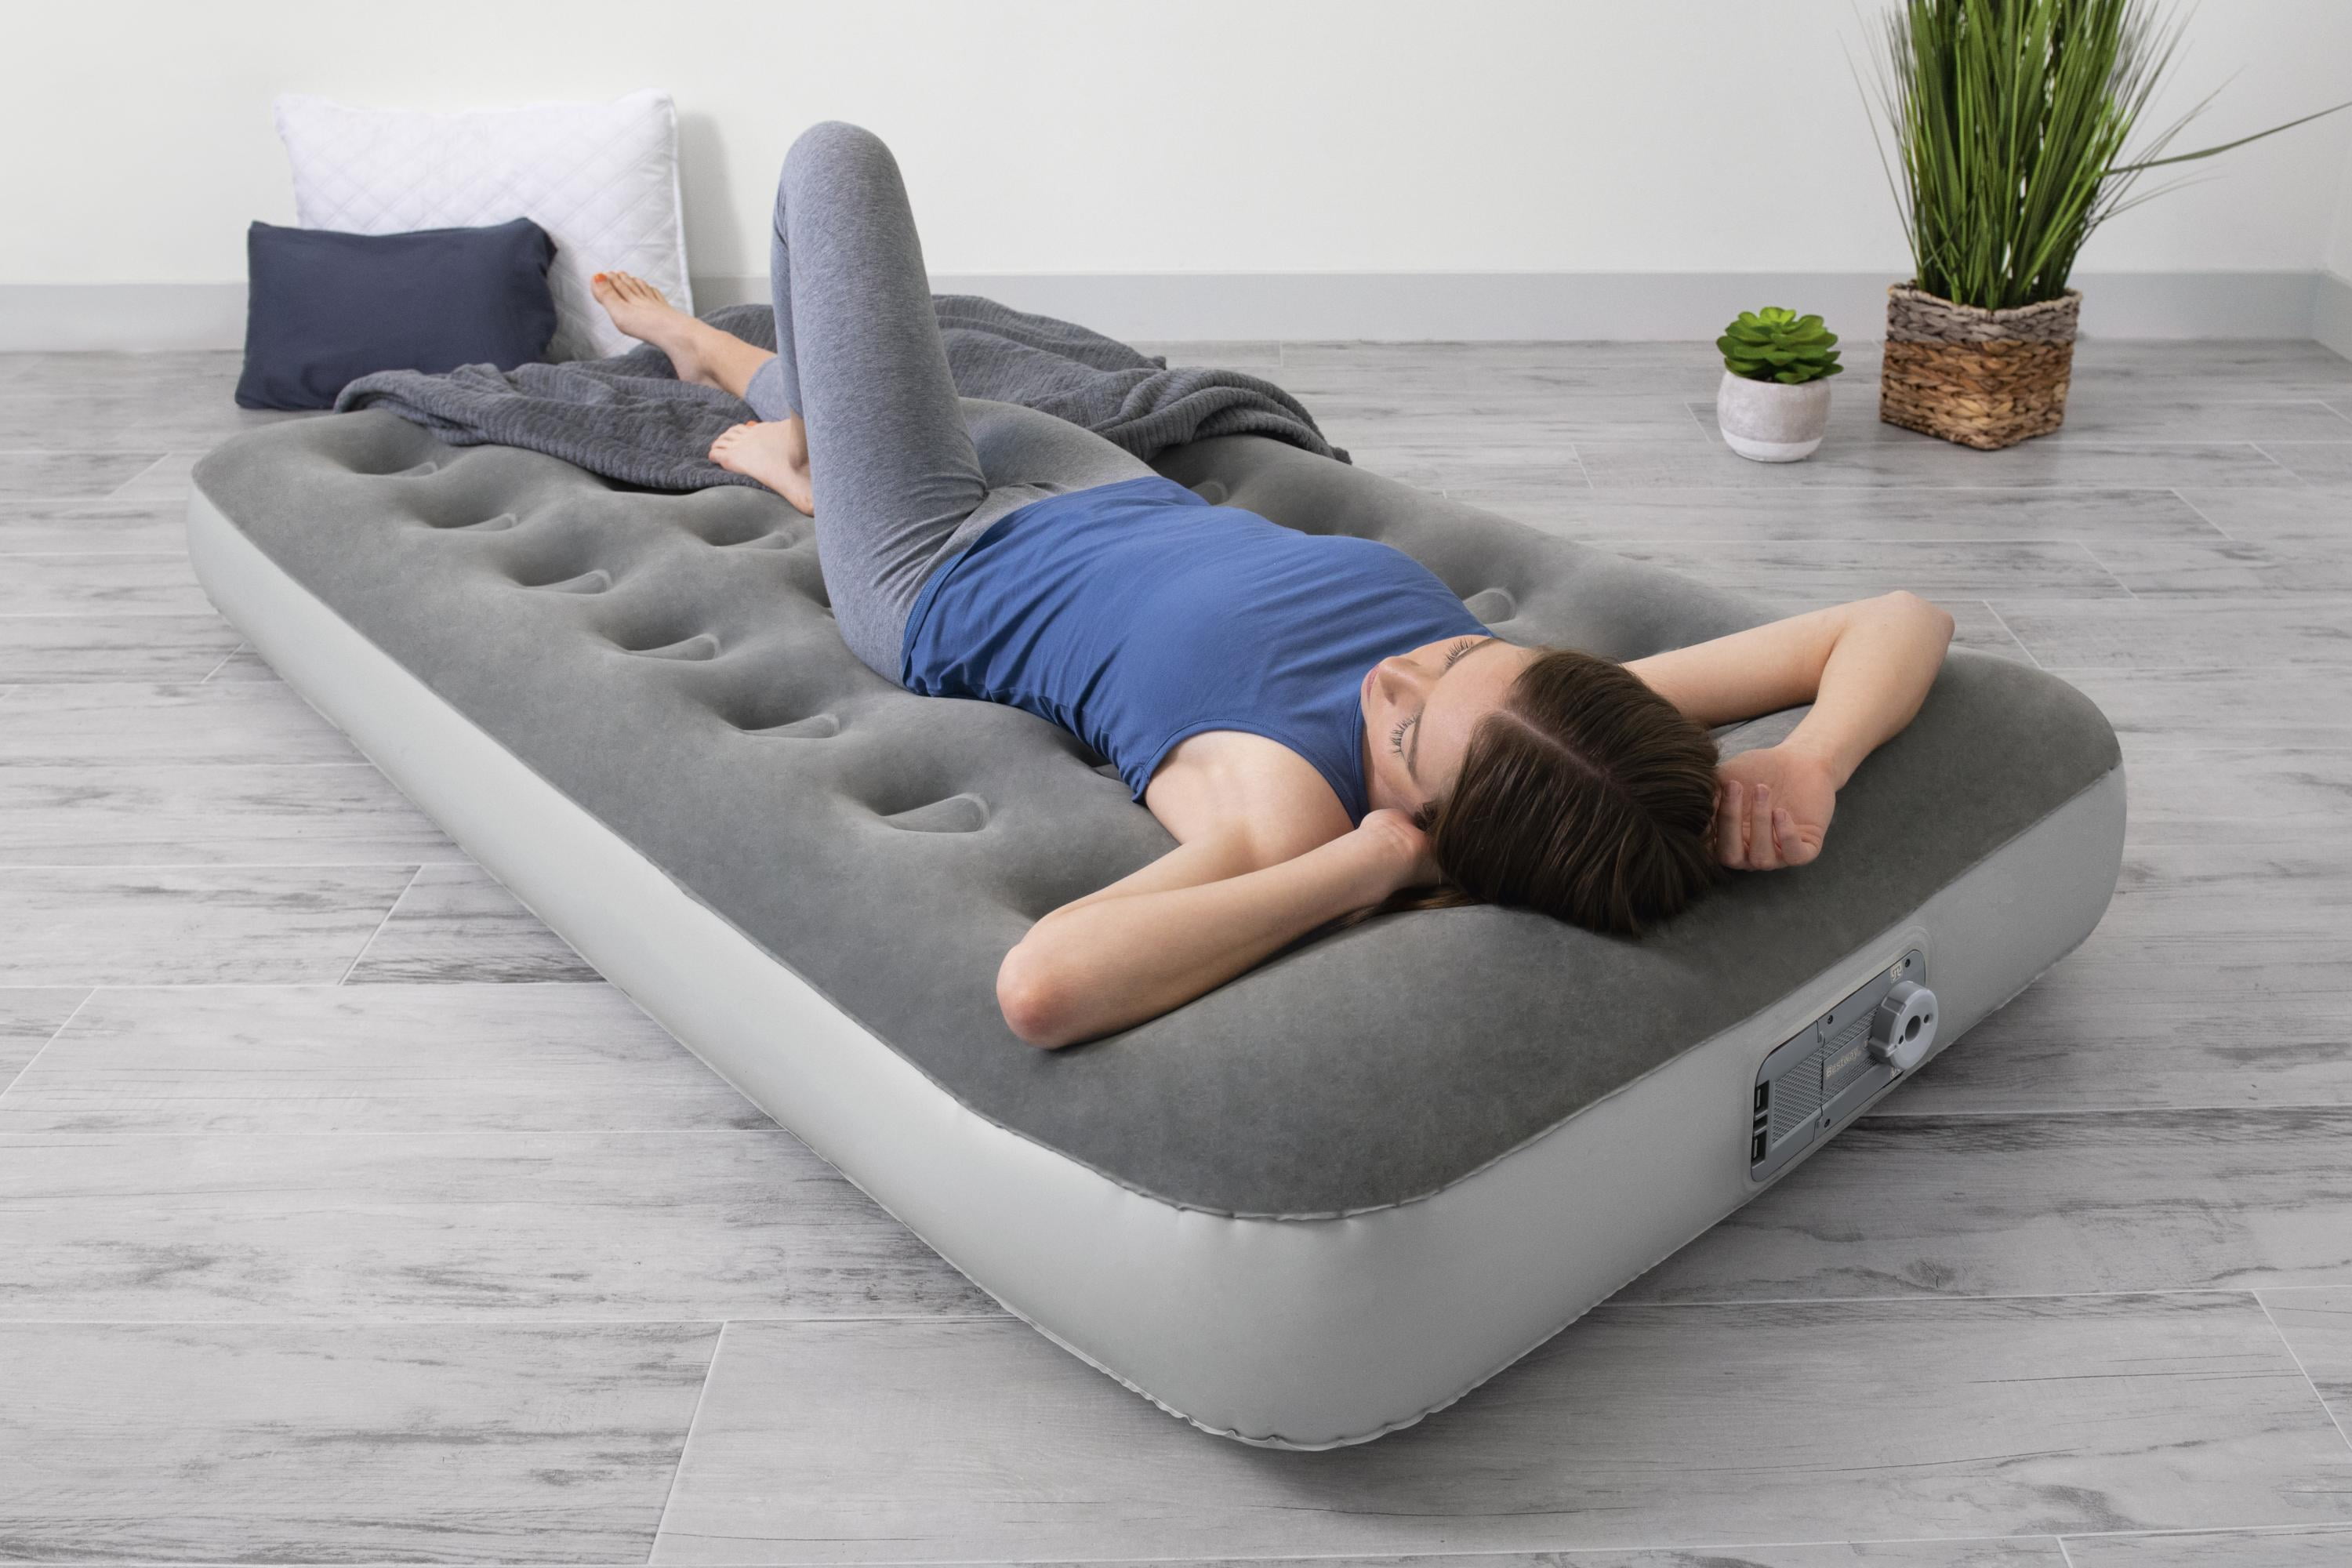
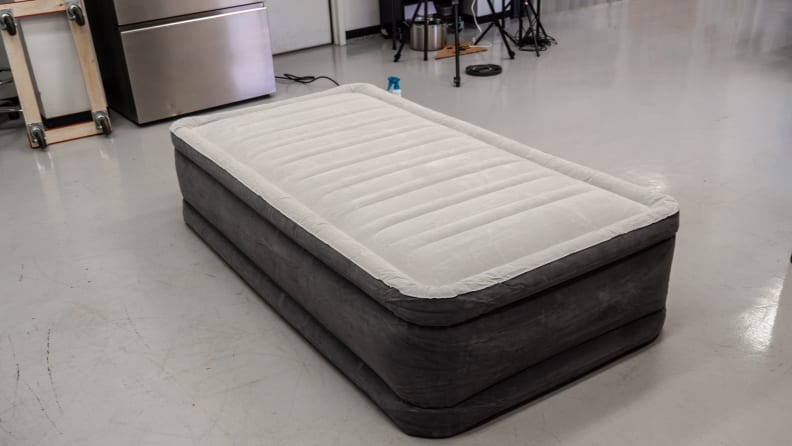
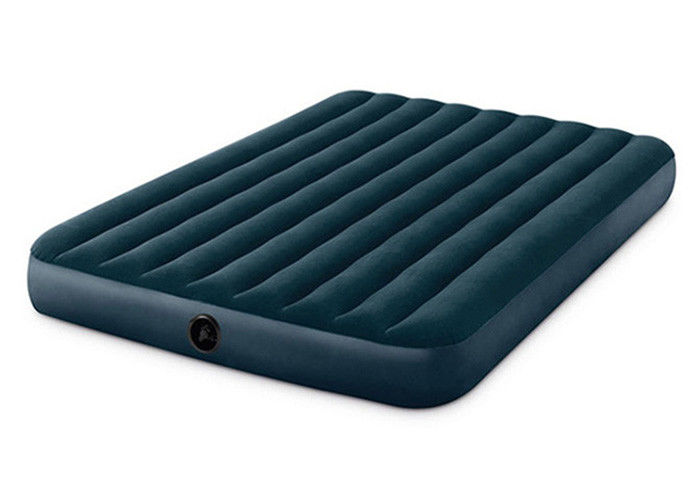
The Versatility of Rubber Air Mattresses
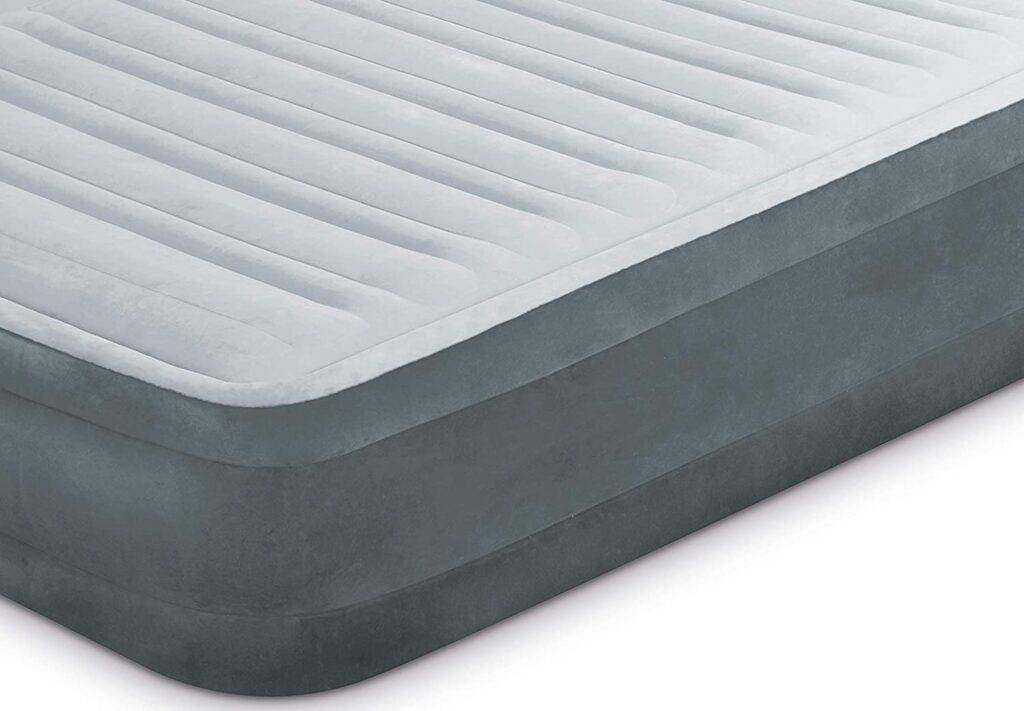
 When it comes to house design, many people overlook the importance of having a functional rubber air mattress. While it may not seem like a crucial element in creating a beautiful home, a rubber air mattress actually has many benefits to offer. Not only are they versatile and convenient, but they also provide a comfortable and cost-effective solution for accommodating guests or creating additional sleeping space in your home.
The Common Issue of Damaged Rubber Air Mattresses
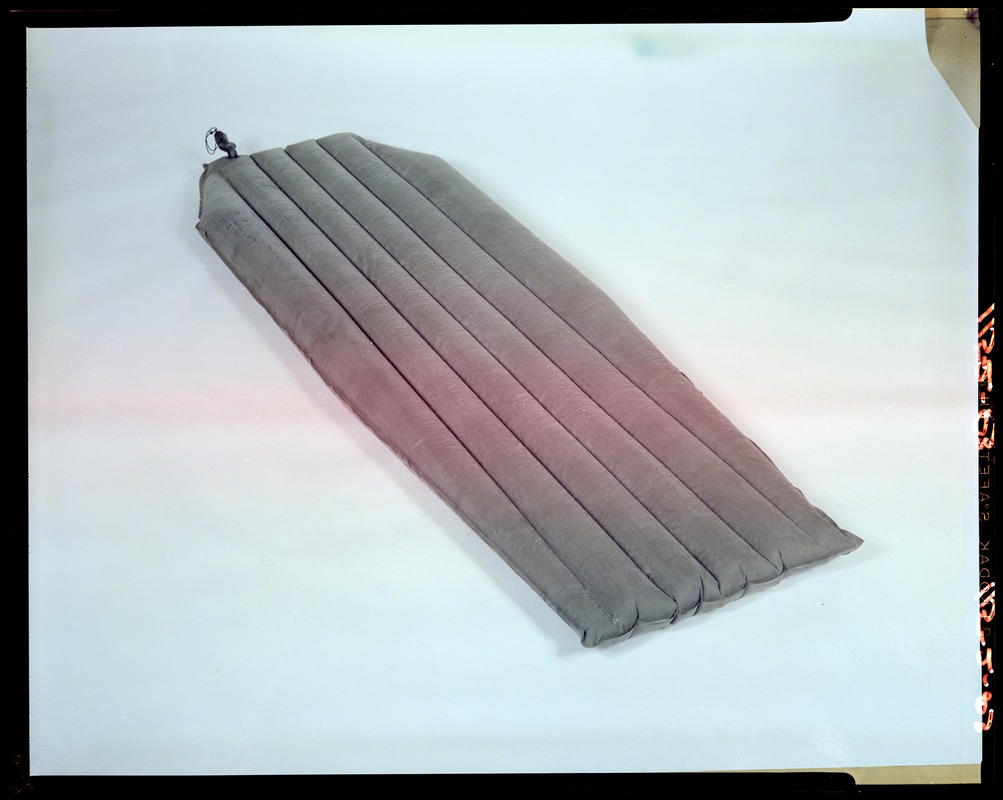
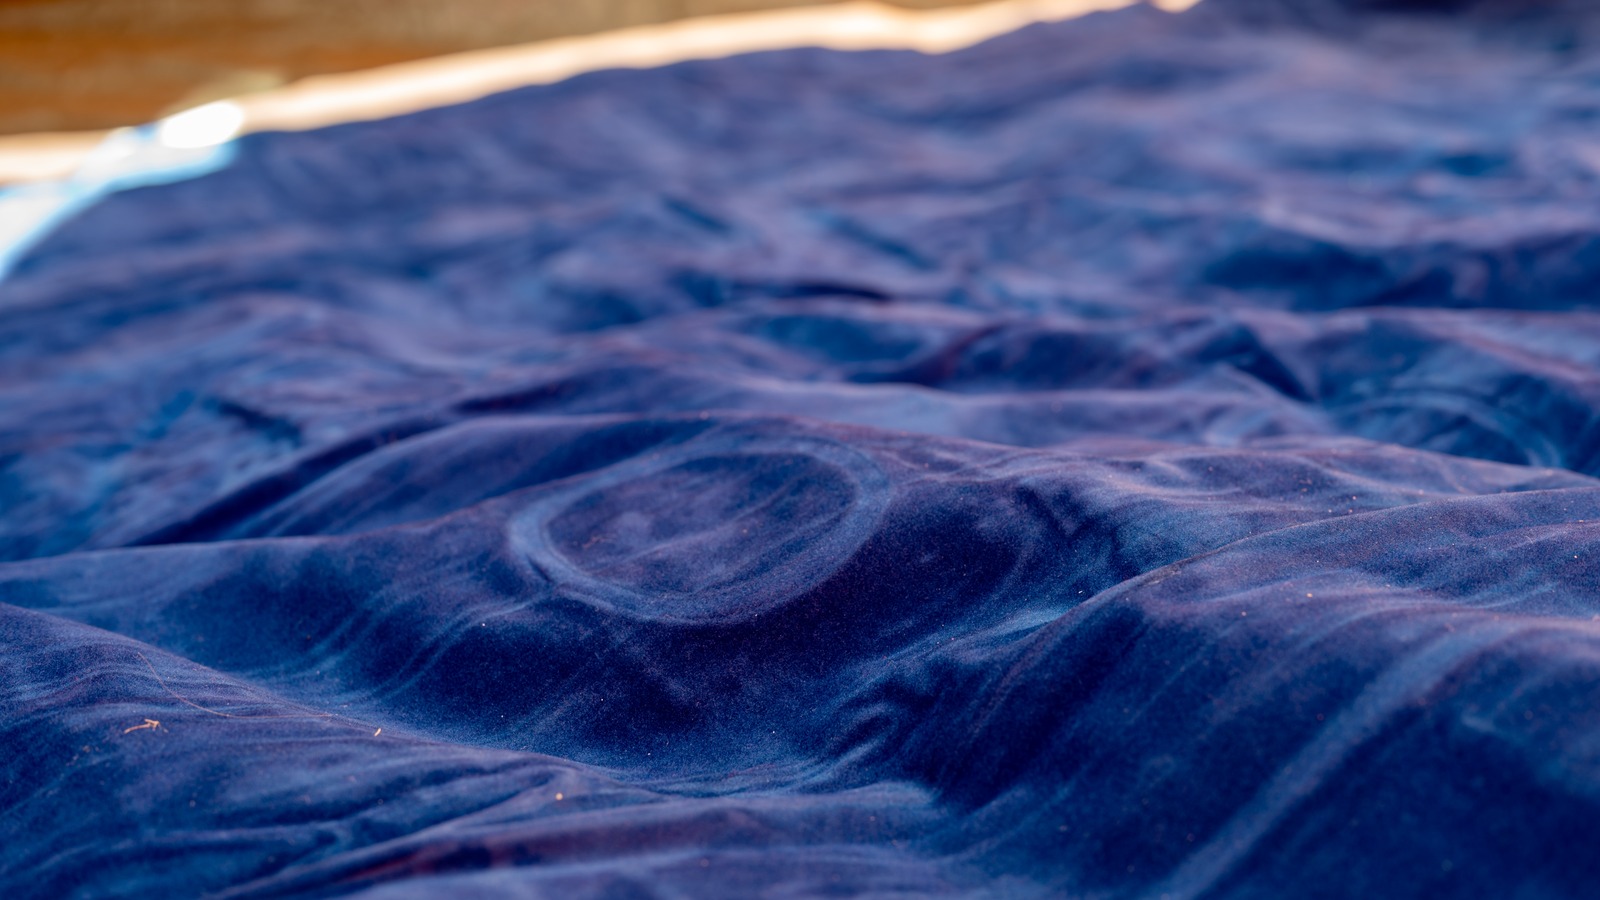
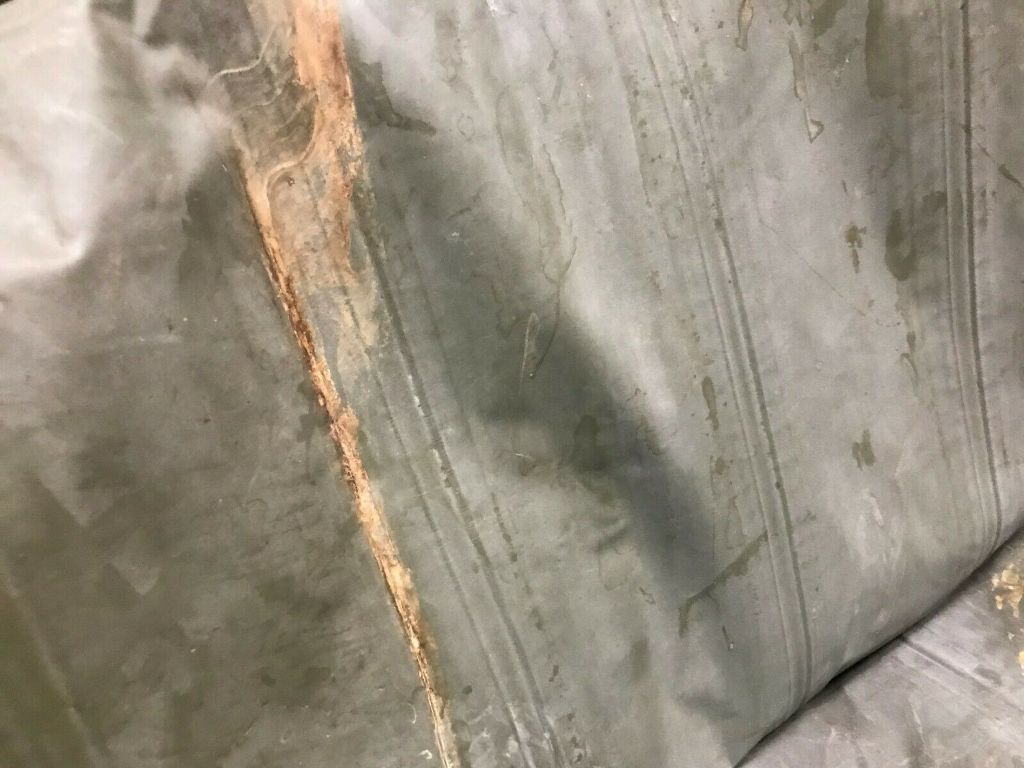
 However, with constant use, your rubber air mattress may start to show signs of wear and tear. Whether it's due to punctures, leaks, or other damages, a damaged air mattress can quickly become a frustrating and inconvenient problem. Many people tend to throw away their damaged air mattresses and purchase a new one, but this can be wasteful and costly in the long run.
The Solution: Repairing Your Rubber Air Mattress
 The good news is, repairing a rubber air mattress is easier than you may think.
Rubber air mattress repair
can be done quickly and easily with the right tools and techniques, saving you time and money. Plus, by repairing instead of replacing, you can also reduce your environmental impact and contribute to a more sustainable lifestyle.
The good news is, repairing a rubber air mattress is easier than you may think.
Rubber air mattress repair
can be done quickly and easily with the right tools and techniques, saving you time and money. Plus, by repairing instead of replacing, you can also reduce your environmental impact and contribute to a more sustainable lifestyle.
How to Repair Your Rubber Air Mattress
 First, you'll need to locate the source of the damage. This can be done by inflating the mattress and listening for any hissing sounds or feeling for any air leaks. Once you have identified the damaged area, you can use a
patch kit
specifically designed for rubber air mattresses to seal the hole or tear. These kits usually come with adhesive and patches that can easily be applied to the damaged area.
First, you'll need to locate the source of the damage. This can be done by inflating the mattress and listening for any hissing sounds or feeling for any air leaks. Once you have identified the damaged area, you can use a
patch kit
specifically designed for rubber air mattresses to seal the hole or tear. These kits usually come with adhesive and patches that can easily be applied to the damaged area.
Additional Tips for Maintaining Your Rubber Air Mattress
 To prevent future damages to your rubber air mattress, it's important to properly maintain it. This includes
regularly cleaning and drying
the mattress, avoiding placing it on rough surfaces, and being cautious of sharp objects around the mattress. By taking these precautions, you can prolong the lifespan of your rubber air mattress and ensure it remains functional for all your house design needs.
In conclusion, a rubber air mattress may seem like a small and insignificant item in your house design, but it actually plays a crucial role in providing comfort and convenience for you and your guests. By understanding the versatility and benefits of a rubber air mattress, as well as knowing how to repair and maintain it, you can ensure that your house design is complete with a functional and reliable sleeping solution.
To prevent future damages to your rubber air mattress, it's important to properly maintain it. This includes
regularly cleaning and drying
the mattress, avoiding placing it on rough surfaces, and being cautious of sharp objects around the mattress. By taking these precautions, you can prolong the lifespan of your rubber air mattress and ensure it remains functional for all your house design needs.
In conclusion, a rubber air mattress may seem like a small and insignificant item in your house design, but it actually plays a crucial role in providing comfort and convenience for you and your guests. By understanding the versatility and benefits of a rubber air mattress, as well as knowing how to repair and maintain it, you can ensure that your house design is complete with a functional and reliable sleeping solution.