Installing a rolled edge kitchen sink may seem like a daunting task, but with the right tools and instructions, it can be a simple and rewarding DIY project. In this guide, we will take you through the step-by-step process of installing a rolled edge kitchen sink, from preparing the area to connecting the plumbing. So, put on your handyman hat, grab your tools, and let's get started!How to Install a Rolled Edge Kitchen Sink


How to Install a Rolled Edge Kitchen Sink


:no_upscale()/cdn.vox-cdn.com/uploads/chorus_asset/file/19495086/drain_0.jpg)

:max_bytes(150000):strip_icc()/how-to-install-a-sink-drain-2718789-hero-24e898006ed94c9593a2a268b57989a3.jpg)

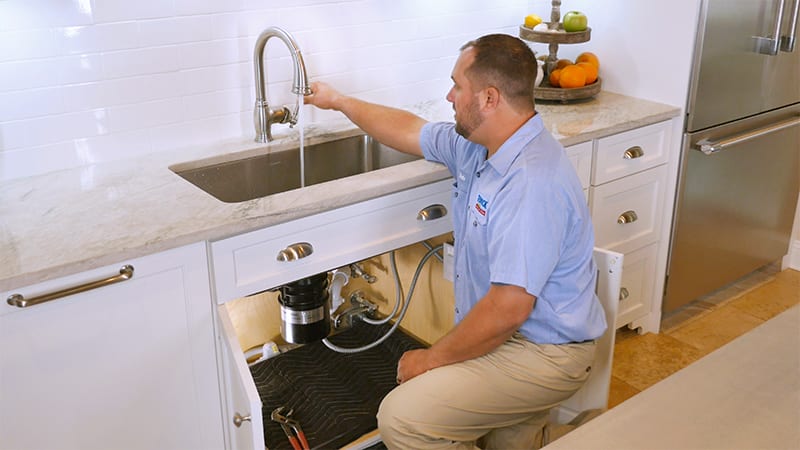
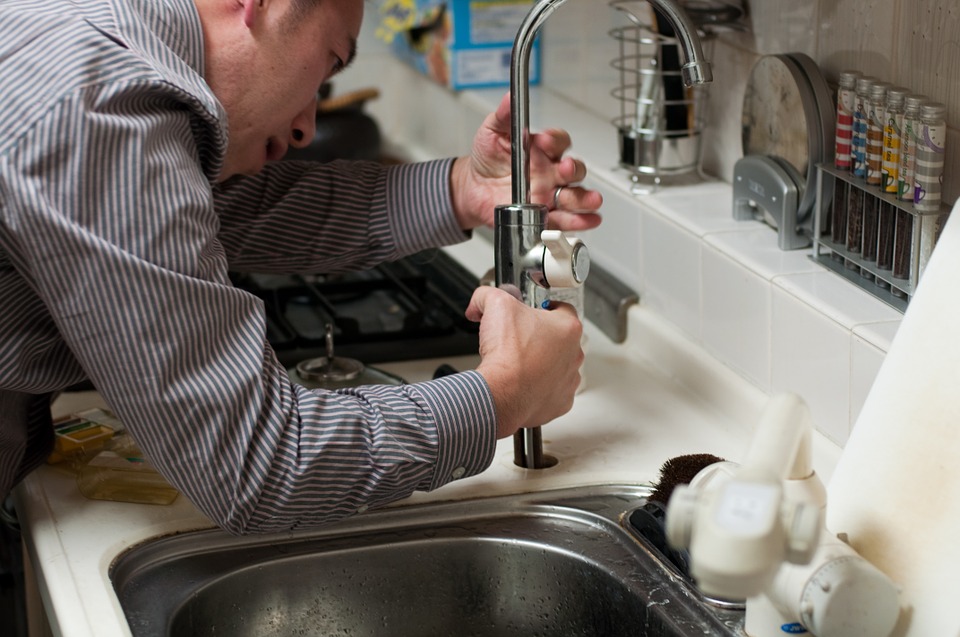
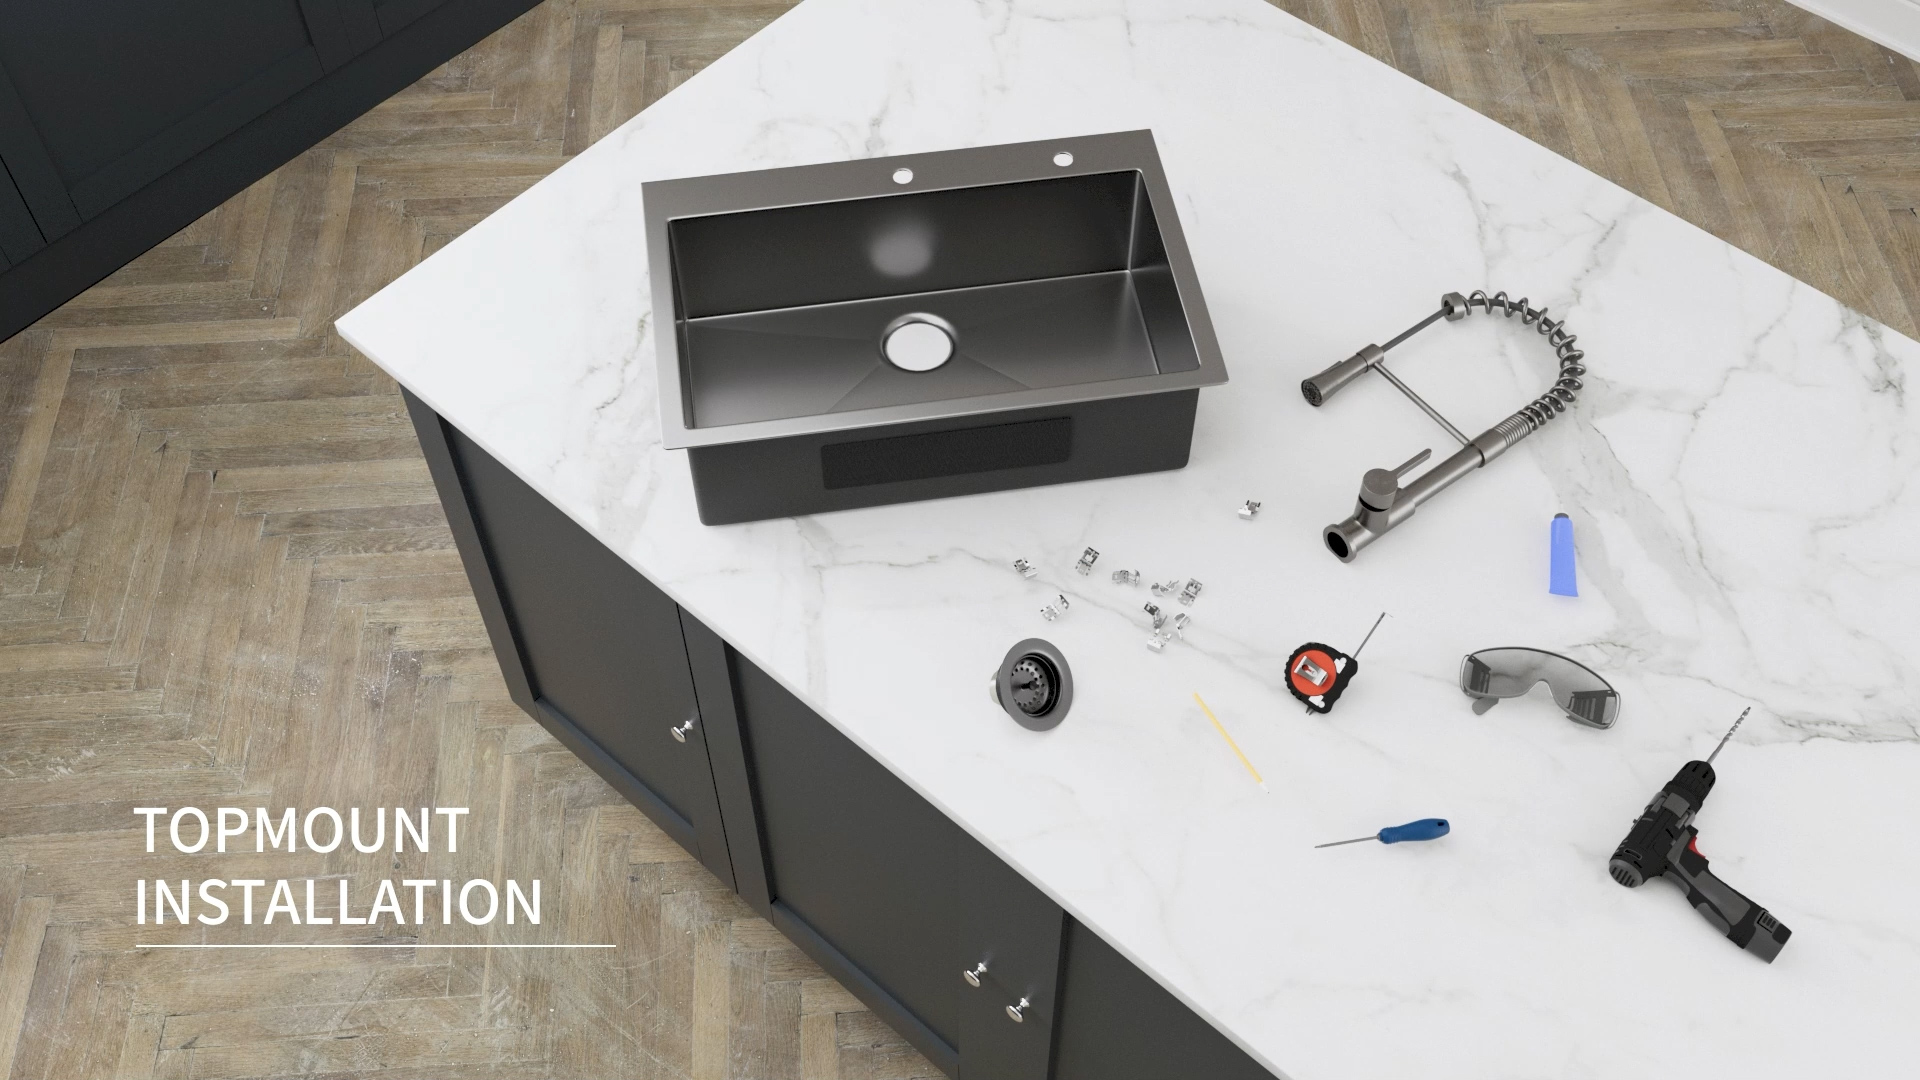
Before you begin the installation process, make sure you have all the necessary tools and materials. You will need a utility knife, adjustable wrench, pliers, screwdriver, plumber's putty, silicone sealant, and a bucket. It is also important to read the manufacturer's instructions carefully before starting. Step 1: Prepare the Area Start by turning off the water supply to the sink and disconnecting the water lines. Next, remove the old sink and clean the area thoroughly. If the new sink is larger than the previous one, you may need to make adjustments to the countertop or cabinets to ensure a proper fit. Step 2: Install the Faucet If you are using a new faucet, now is the time to install it. Follow the manufacturer's instructions to attach the faucet to the sink, making sure all connections are tight and secure. Step 3: Apply Plumber's Putty Roll a small amount of plumber's putty into a rope and place it around the edge of the sink opening. This will help create a watertight seal between the sink and the countertop. Step 4: Set the Sink in Place Carefully lower the sink into the opening, making sure it is centered and level. Apply pressure around the edges to ensure the sink is firmly pressed into the putty. Step 5: Secure the Sink Once the sink is in place, use clips or brackets (provided by the manufacturer) to secure it to the countertop. Tighten the clips or brackets with a screwdriver to secure the sink firmly in place. Step 6: Connect the Water Lines Reconnect the water lines to the sink and turn on the water supply. Check for any leaks and tighten connections if necessary. Step 7: Apply Silicone Sealant Using a silicone sealant, apply a thin bead around the edge of the sink where it meets the countertop. This will help create an additional watertight seal and prevent any water from seeping underneath the sink. Step 8: Clean and Finish Wipe away any excess putty or sealant and clean the sink and countertop thoroughly. You can now install the drain and strainer, as well as any other accessories, such as a soap dispenser or garbage disposal.Step-by-Step Guide for Installing a Rolled Edge Kitchen Sink


How to Install a Kitchen Sink


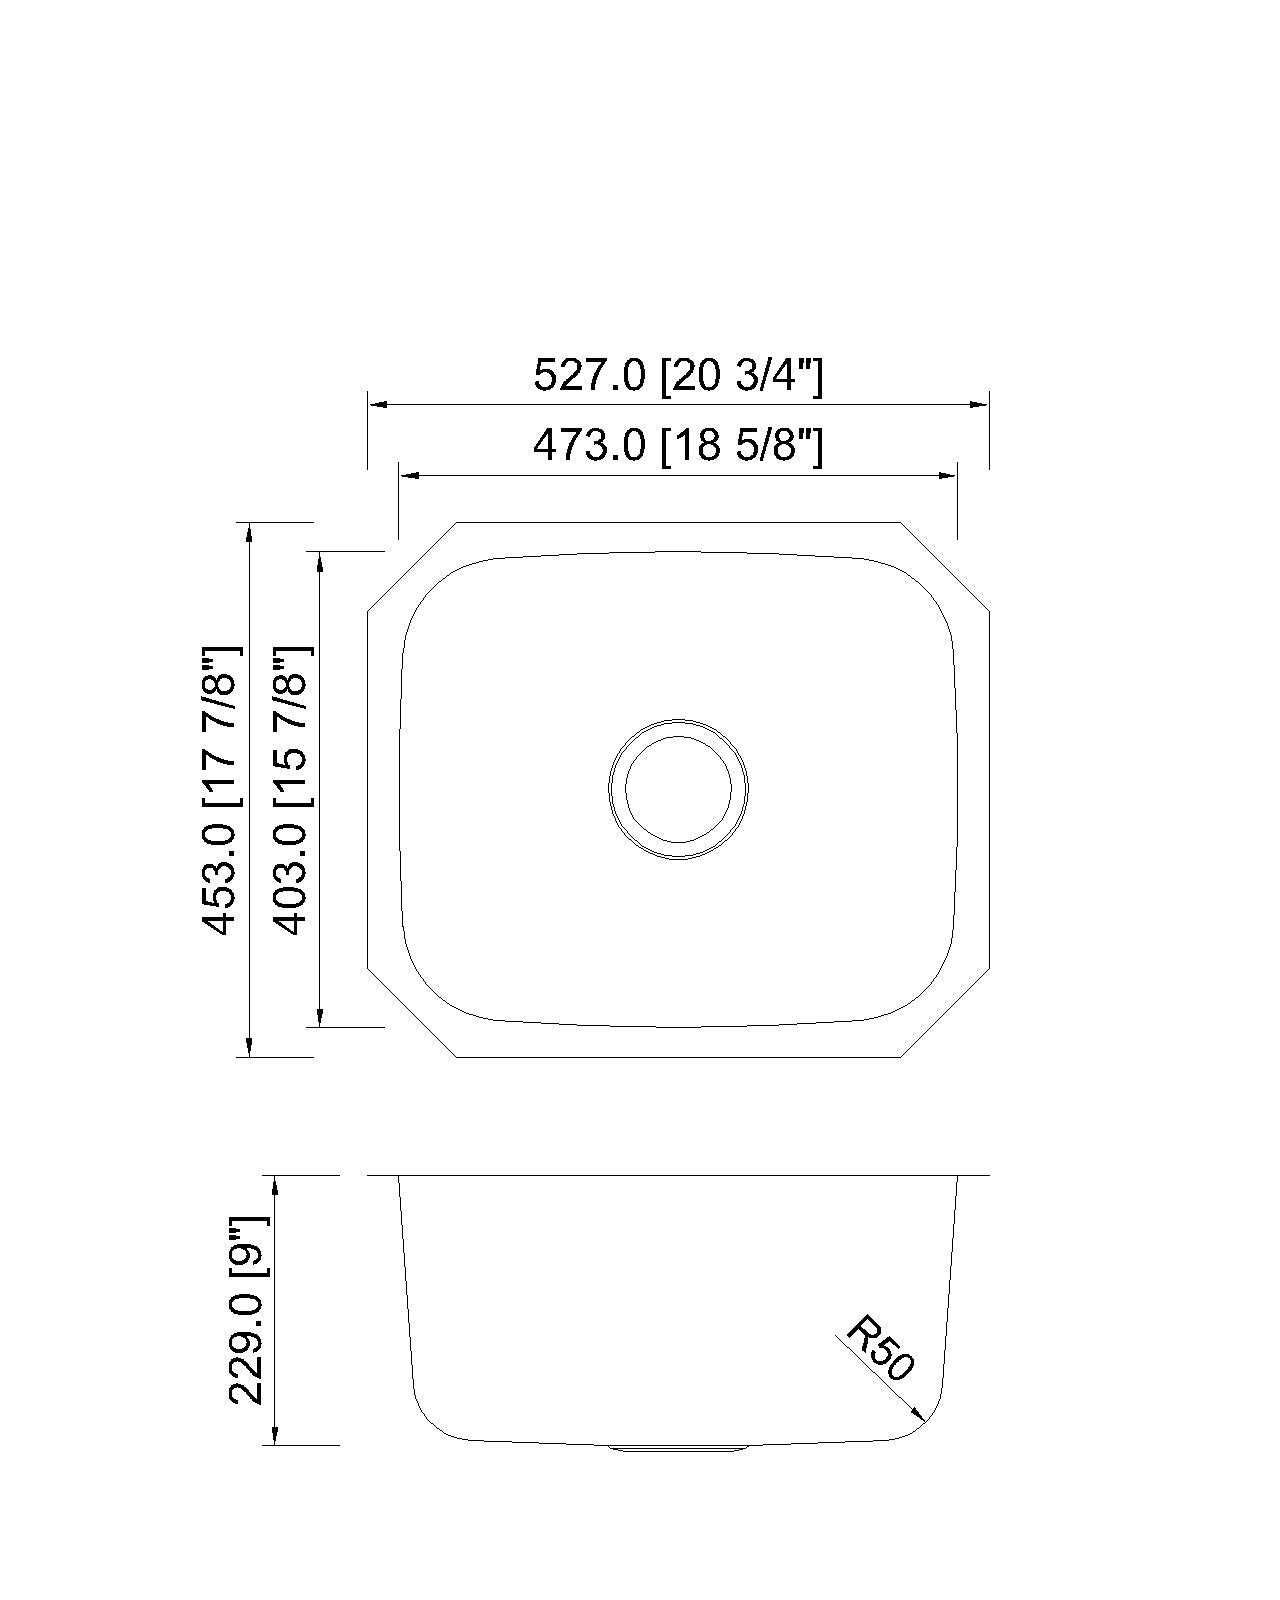
Tip #1: Before purchasing a new sink, make sure to measure the opening in your countertop to ensure a proper fit. Tip #2: To prevent any damage to your new sink, place a towel or cloth in the bottom of the sink during the installation process. Tip #3: Use a silicone caulk remover to clean up any excess sealant and achieve a professional-looking finish.Tips for Installing a Rolled Edge Kitchen Sink


Step-by-Step Guide for Installing a Rolled Edge Kitchen Sink


.jpg)
Mistake #1: Not properly measuring the sink opening before purchasing a new sink can result in a poor fit and the need for additional adjustments. Mistake #2: Forgetting to turn off the water supply before disconnecting the water lines can lead to a messy and potentially damaging situation. Mistake #3: Applying too much sealant can cause it to ooze out and create a messy finish. Always use a thin, even bead of sealant.Common Mistakes to Avoid When Installing a Rolled Edge Kitchen Sink


DIY Kitchen Sink Installation Instructions


Tools: Utility knife, adjustable wrench, pliers, screwdriver Materials: Plumber's putty, silicone sealant, bucketTools and Materials Needed for Installing a Rolled Edge Kitchen Sink


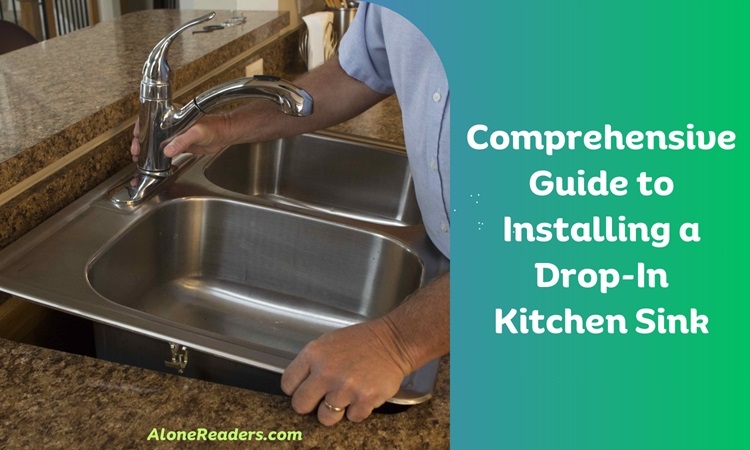
Installing a Rolled Edge Kitchen Sink: A Comprehensive Guide


If you prefer visual instructions, check out this helpful video tutorial that takes you through the entire process of installing a rolled edge kitchen sink.Video Tutorial: How to Install a Rolled Edge Kitchen Sink
Tips for Installing a Rolled Edge Kitchen Sink


While hiring a professional to install your kitchen sink may save you time and ensure a perfect fit, installing a rolled edge kitchen sink can be a rewarding and budget-friendly DIY project. With the right tools, materials, and instructions, you can have a beautiful new sink in your kitchen in no time!Professional vs. DIY: Which is the Best Option for Installing a Rolled Edge Kitchen Sink?


Common Mistakes to Avoid When Installing a Rolled Edge Kitchen Sink


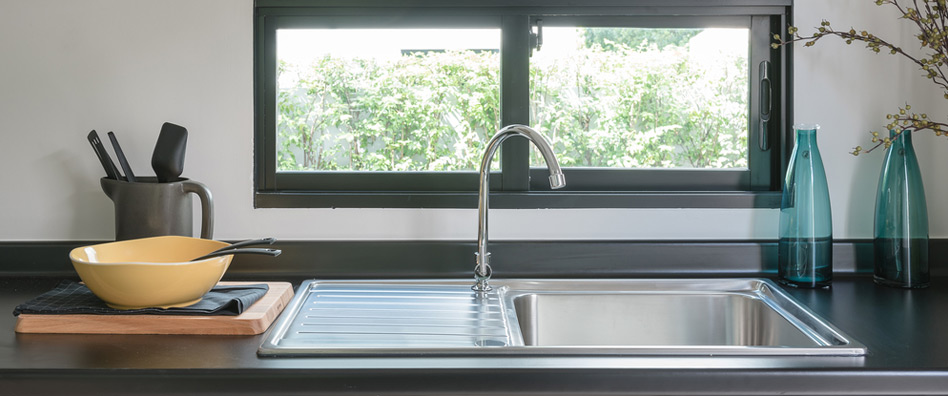
Introduction to Rolled Edge Kitchen Sink Installation
 When it comes to designing your dream kitchen, every detail matters. From the color of the walls to the type of appliances, everything plays a crucial role in creating the perfect space for your cooking and dining needs. One essential element of any kitchen design is the sink. And if you're looking for a stylish and functional option, a rolled edge kitchen sink may be just what you need. In this article, we will guide you through the installation process, so you can have your new sink up and running in no time.
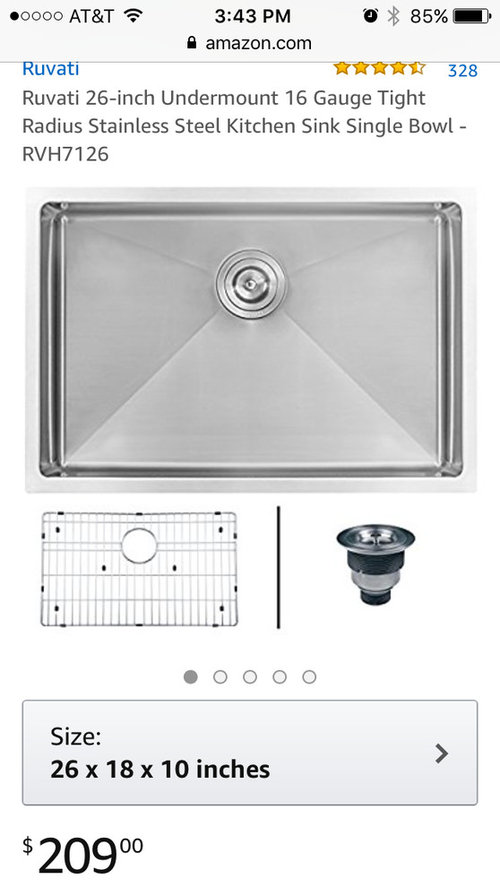
Choosing the Right Rolled Edge Kitchen Sink
 Before diving into the installation process, it's essential to choose the right rolled edge kitchen sink for your design.
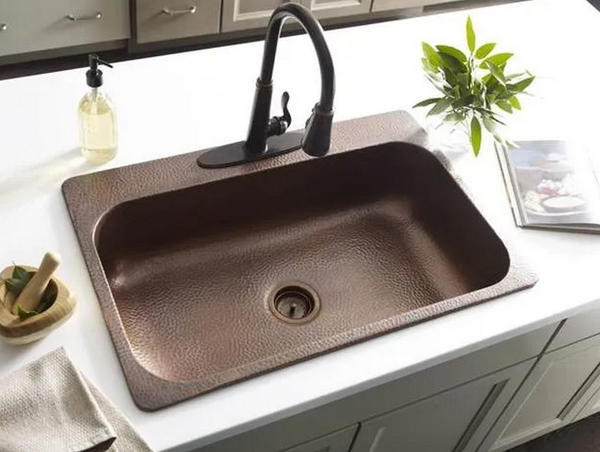
Rolled edge sinks
are known for their elegant and seamless look, with the edge of the sink rolled over the countertop for a smooth transition. These sinks come in a variety of materials, including stainless steel, porcelain, and granite. Consider the style and color scheme of your kitchen when selecting your sink, as you want it to complement the overall design.
Before diving into the installation process, it's essential to choose the right rolled edge kitchen sink for your design.
Rolled edge sinks
are known for their elegant and seamless look, with the edge of the sink rolled over the countertop for a smooth transition. These sinks come in a variety of materials, including stainless steel, porcelain, and granite. Consider the style and color scheme of your kitchen when selecting your sink, as you want it to complement the overall design.
Gathering the Necessary Tools and Materials
 Once you've chosen your rolled edge kitchen sink, it's time to gather all the necessary tools and materials for the installation. You will need a
drill, plumber's putty, silicone caulk, and a wrench, among other tools
. It's also essential to have someone to assist you during the installation process, as some steps may require an extra set of hands.
Once you've chosen your rolled edge kitchen sink, it's time to gather all the necessary tools and materials for the installation. You will need a
drill, plumber's putty, silicone caulk, and a wrench, among other tools
. It's also essential to have someone to assist you during the installation process, as some steps may require an extra set of hands.
Preparing the Countertop
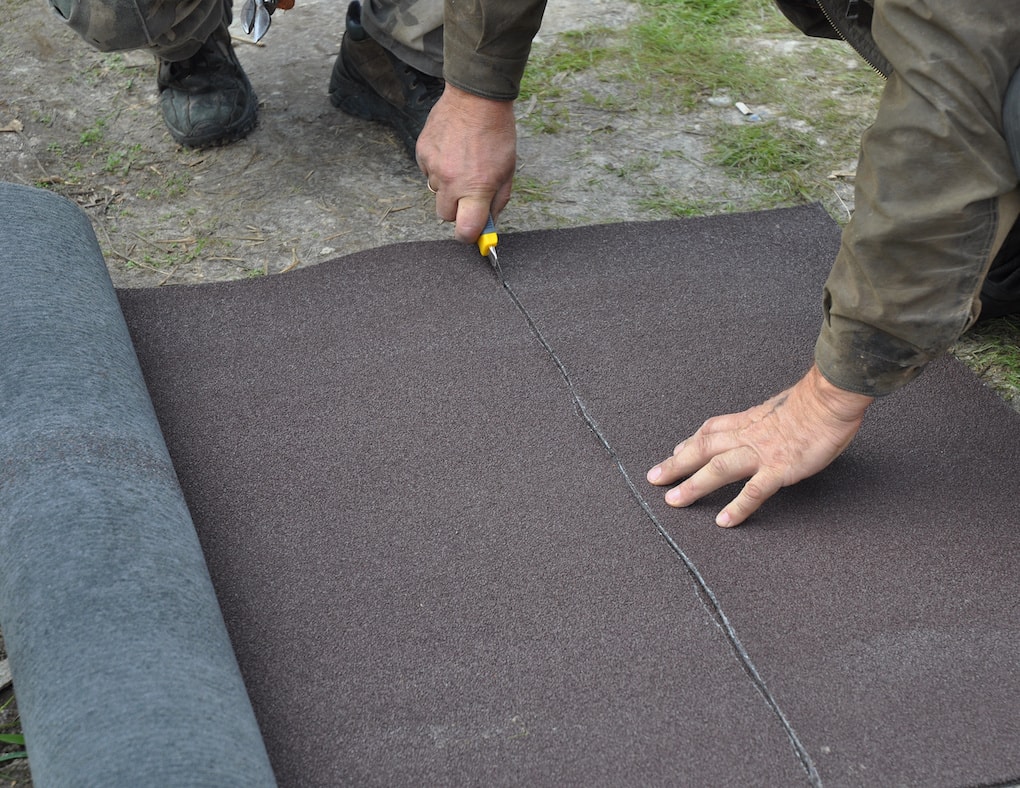
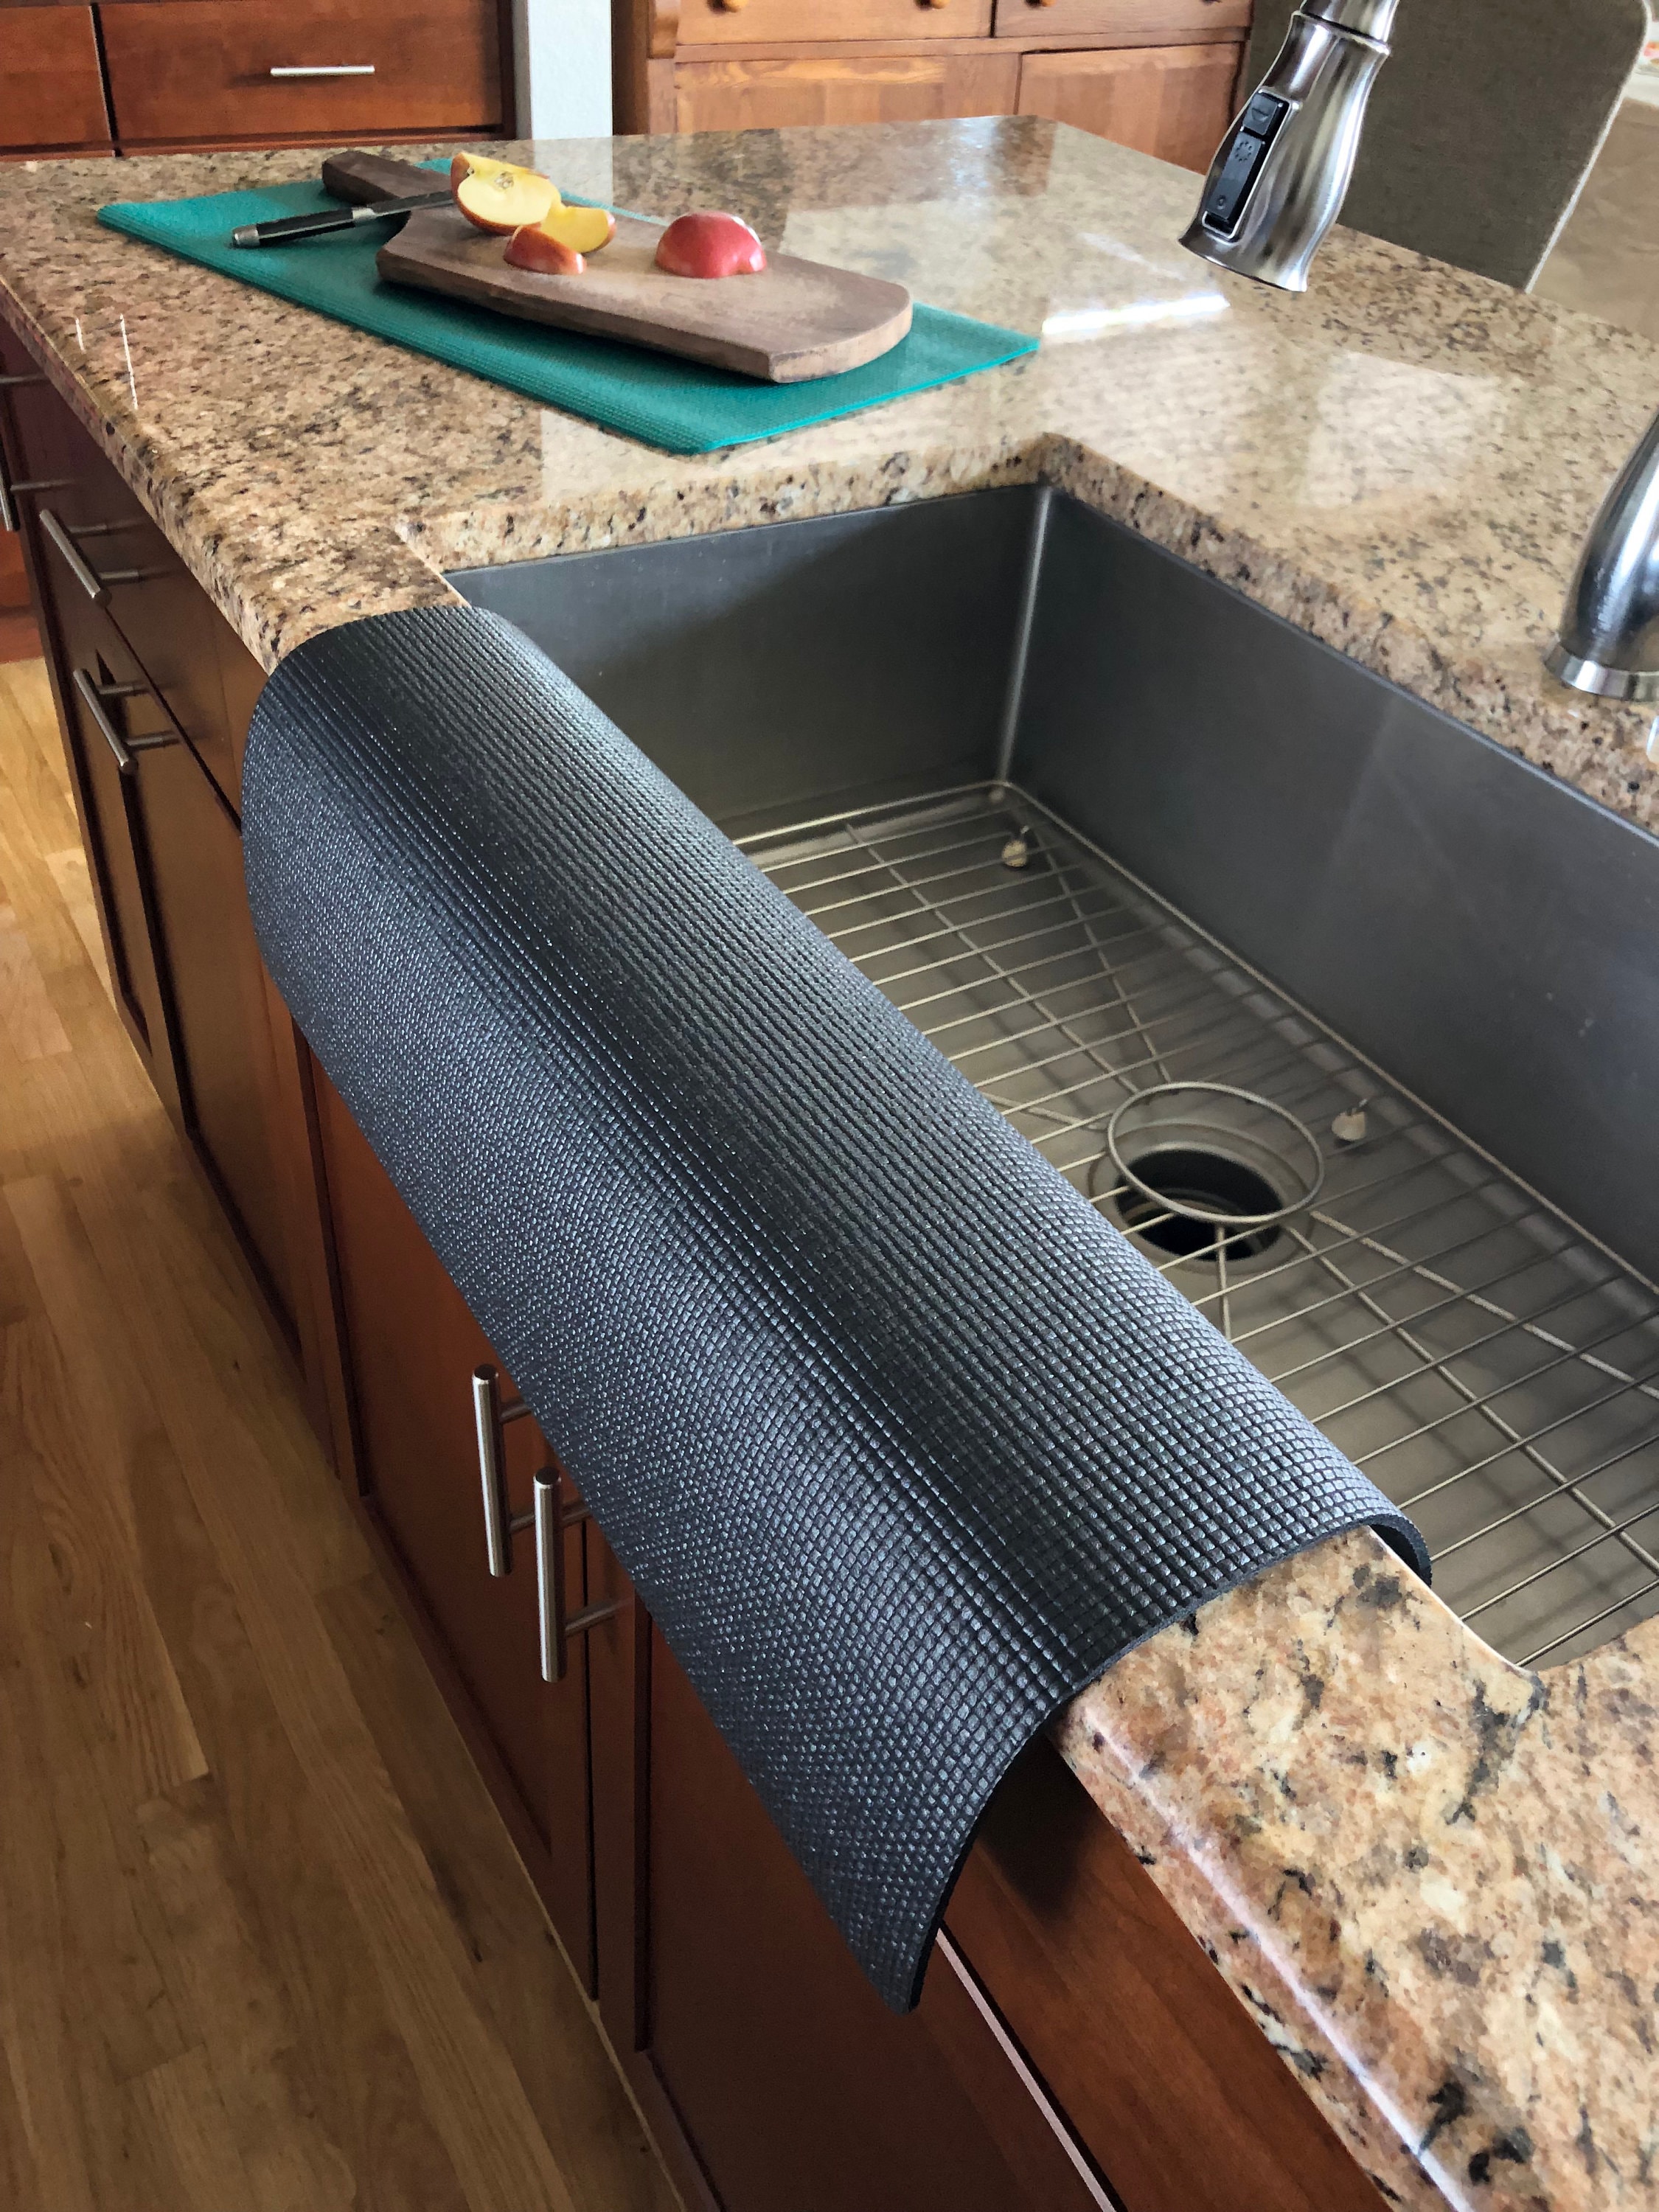
 The first step in installing a rolled edge kitchen sink is to prepare the countertop. If you're replacing an old sink, you will need to remove it and clean the area thoroughly. If you're installing a new sink, make sure the countertop is the correct size and shape to accommodate the sink. You may need to use a jigsaw to cut the hole for the sink.
Attaching the Sink
 Once the countertop is ready, it's time to attach the sink. Apply plumber's putty around the edge of the sink and carefully place it into the hole. Make sure the sink is level, and then secure it in place with mounting clips. Once the sink is securely in place, attach the water supply lines and drain pipes.
Sealing and Finishing Touches
 Finally, it's time to seal the sink to the countertop. Apply a bead of silicone caulk around the edge of the sink and smooth it out with your finger. This will provide a watertight seal and prevent any water from leaking into the countertop. Once the caulk is dry, reconnect the water supply and turn on the water to test for any leaks. If everything looks good, you're all set!
In Conclusion
 Installing a rolled edge kitchen sink may seem like a daunting task, but with the right tools and materials, it's a manageable project that can elevate the look of your kitchen. Remember to choose the right sink for your design, gather all the necessary tools, and follow the installation instructions carefully. With a little effort, you can have a stunning rolled edge kitchen sink that will be the centerpiece of your kitchen for years to come.
:max_bytes(150000):strip_icc()/SleeponLatex-b287d38f89374e4685ab0522b2fe1929.jpeg)


/cdn.vox-cdn.com/uploads/chorus_image/image/53118423/MattressFirm_JG.0.jpg)
