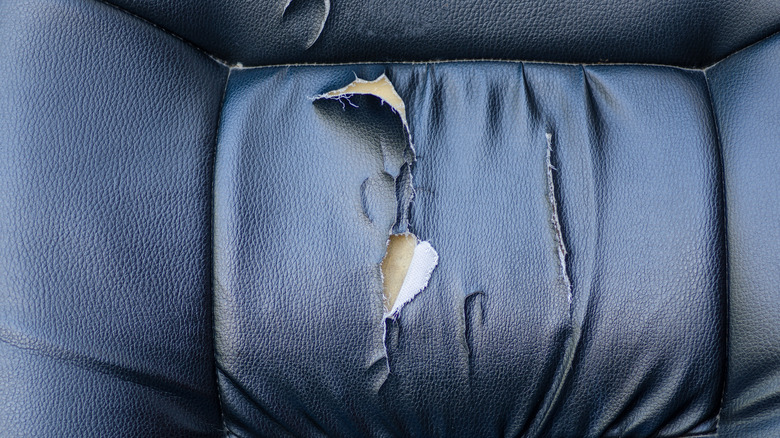
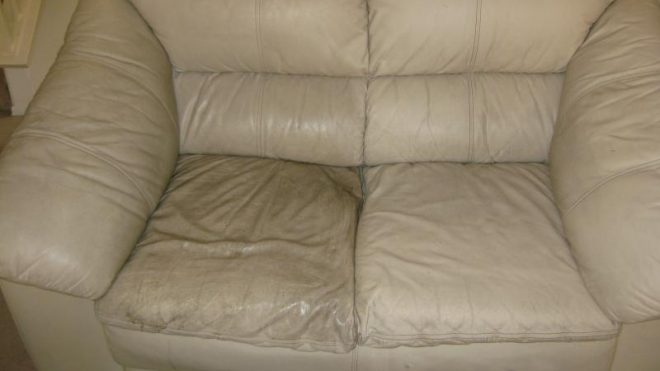
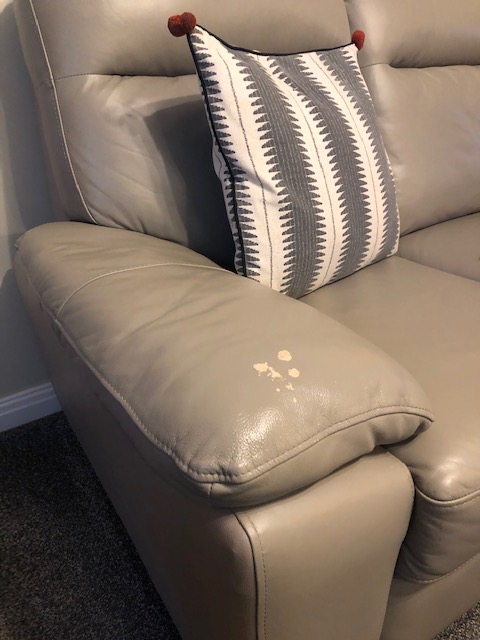
A leather sofa is a beautiful and luxurious piece of furniture that can add a touch of elegance to any room. However, accidents happen and tears or rips in the leather can occur. This can be a frustrating and unsightly problem, but fear not, as there are ways to repair a rip in your leather sofa. In this article, we will guide you through the steps of fixing a rip in your leather sofa so you can restore its beauty and functionality. Leather Sofa Repair: How to Fix a Rip
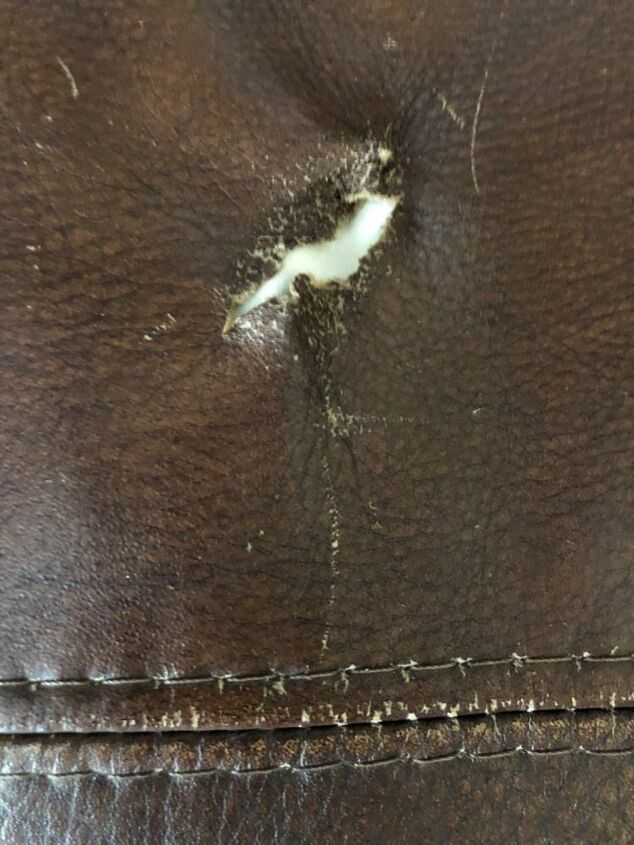
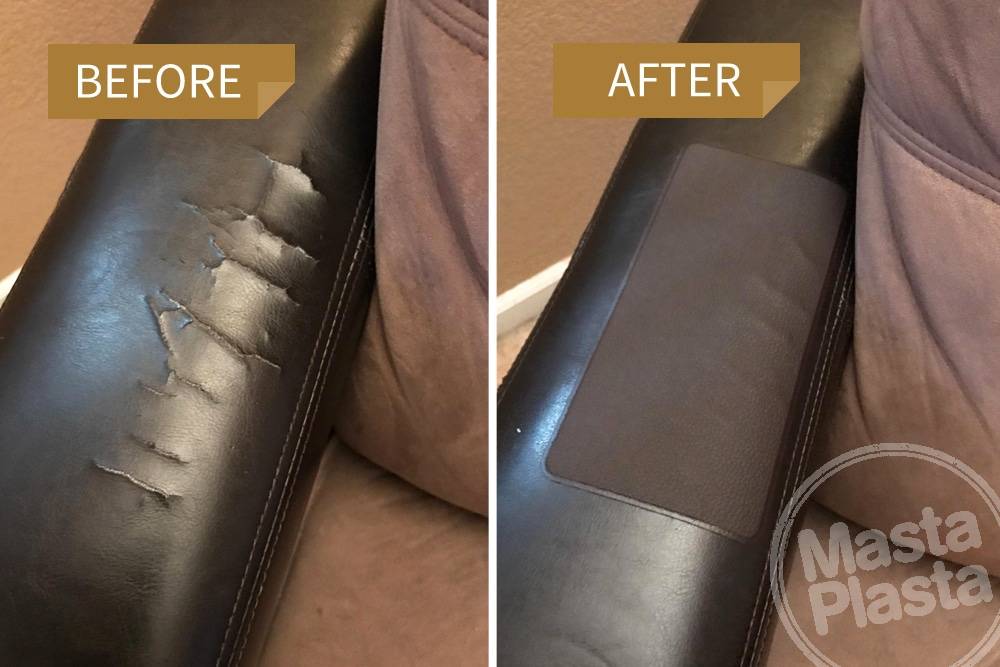
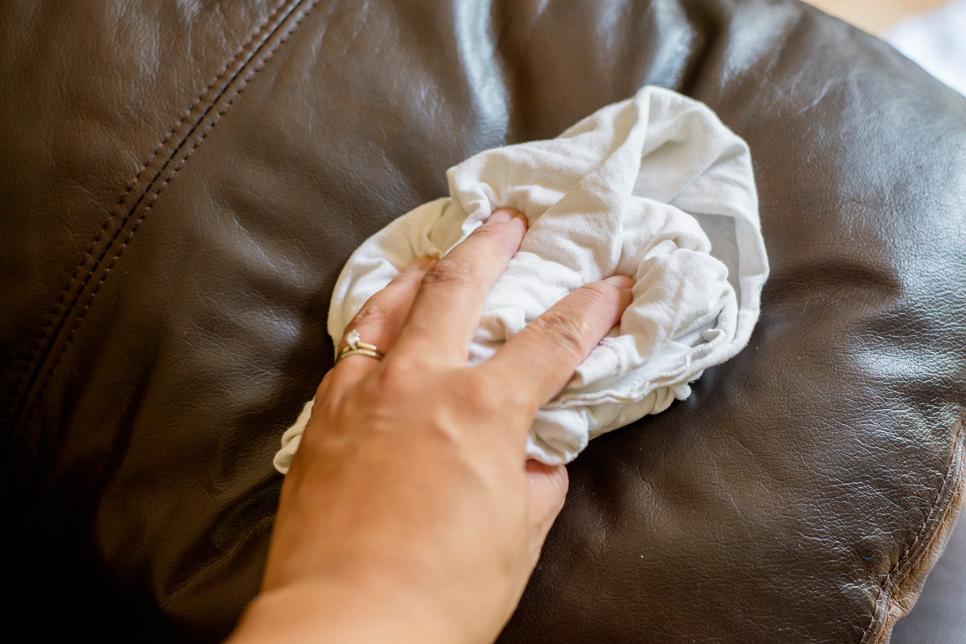
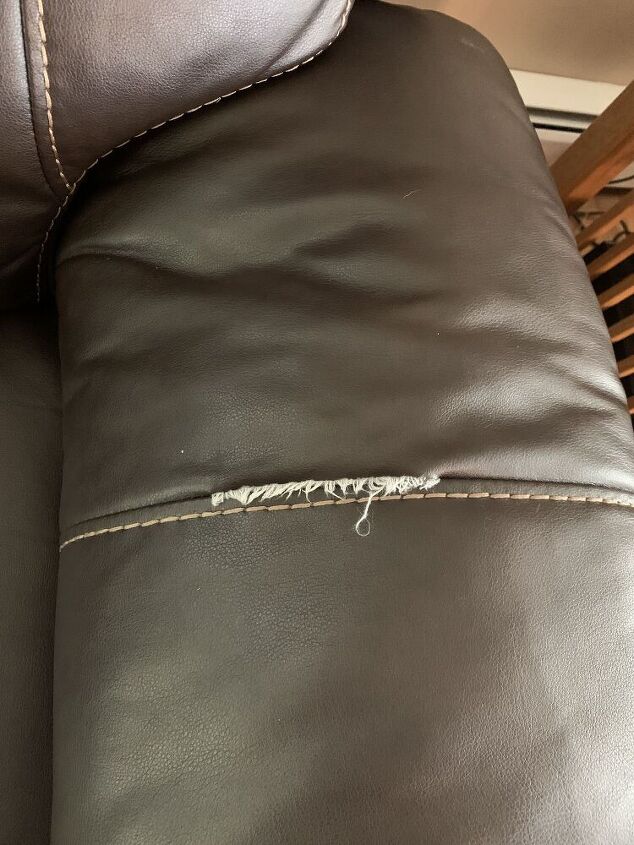
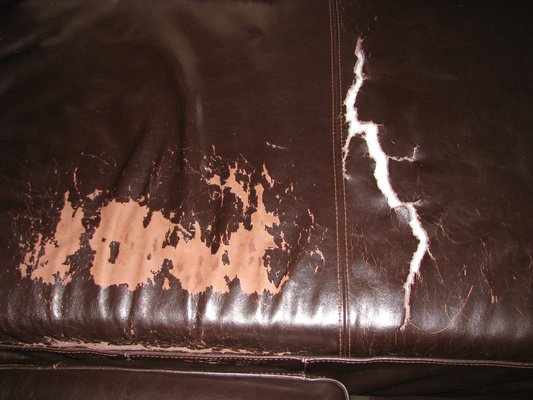
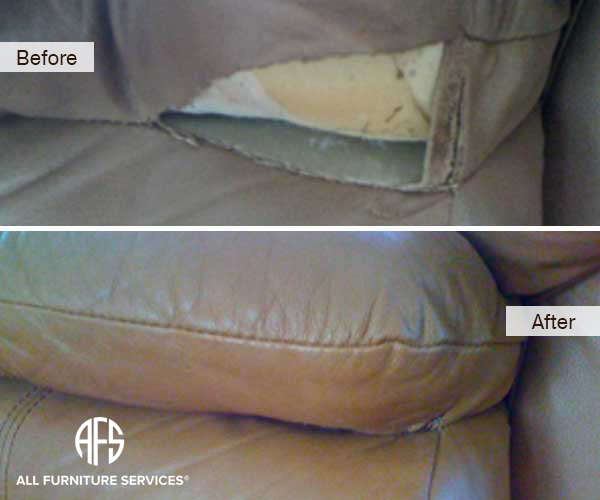
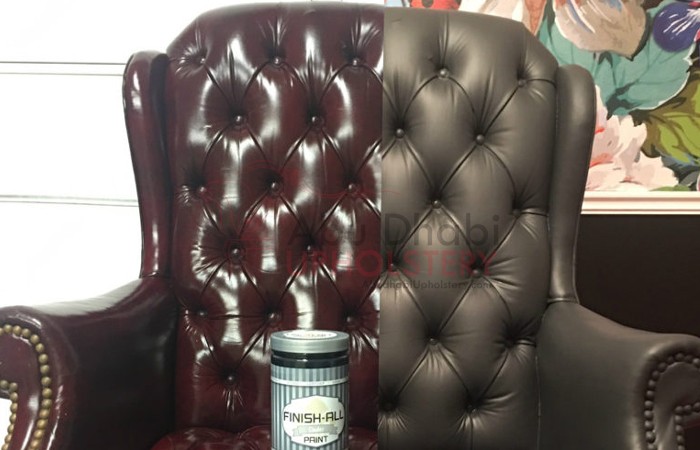
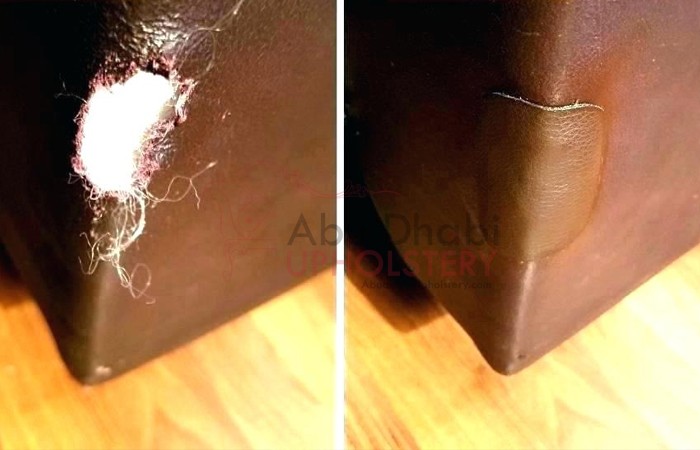
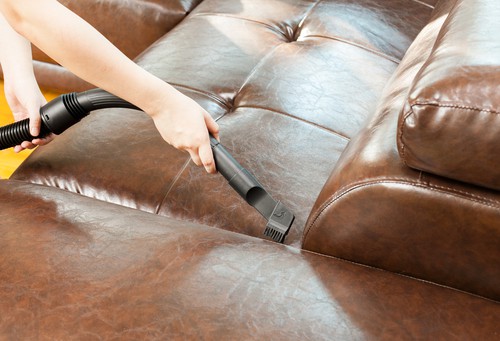
Before attempting to fix a rip in your leather sofa, it is important to assess the size and severity of the rip. If it is a small tear, you may be able to fix it yourself with some simple tools and materials. However, for larger or more complex rips, it may be best to seek professional help. Here are the steps to repair a rip in a leather sofa: Step 1: Clean the area Before starting any repair work, it is important to clean the area around the rip. Use a mild soap and water to gently clean the leather and remove any dirt or debris. Let it dry completely before moving on to the next step. Step 2: Trim any loose threads If the rip has caused any loose threads or flaps of leather, use a sharp pair of scissors to carefully trim them off. This will create a clean edge for your repair. Step 3: Apply leather adhesive Using a leather adhesive, carefully apply a thin layer along the edges of the rip. This will help to hold the torn edges together and prevent further damage. Make sure to follow the instructions on the adhesive and let it dry completely before moving on to the next step. Step 4: Patch the rip If the rip is small, you can use a leather patch to cover and reinforce the damaged area. Cut the patch to fit over the rip, and then apply a layer of leather adhesive to the back of the patch. Carefully place the patch over the rip and smooth out any wrinkles or air bubbles. Let it dry completely. Step 5: Fill in the rip For larger rips, you may need to fill in the damaged area with a leather filler. Choose a filler that matches the color of your leather sofa and follow the instructions for application. Once the filler has dried, sand it down until it is smooth and level with the surrounding leather. Step 6: Color and condition After your repair has dried, you may notice that the color of the repaired area is slightly different from the rest of the sofa. Use a leather dye or marker to color in the repaired area and blend it in with the rest of the sofa. Then, use a leather conditioner to keep the leather soft and supple. How to Repair a Rip in a Leather Sofa
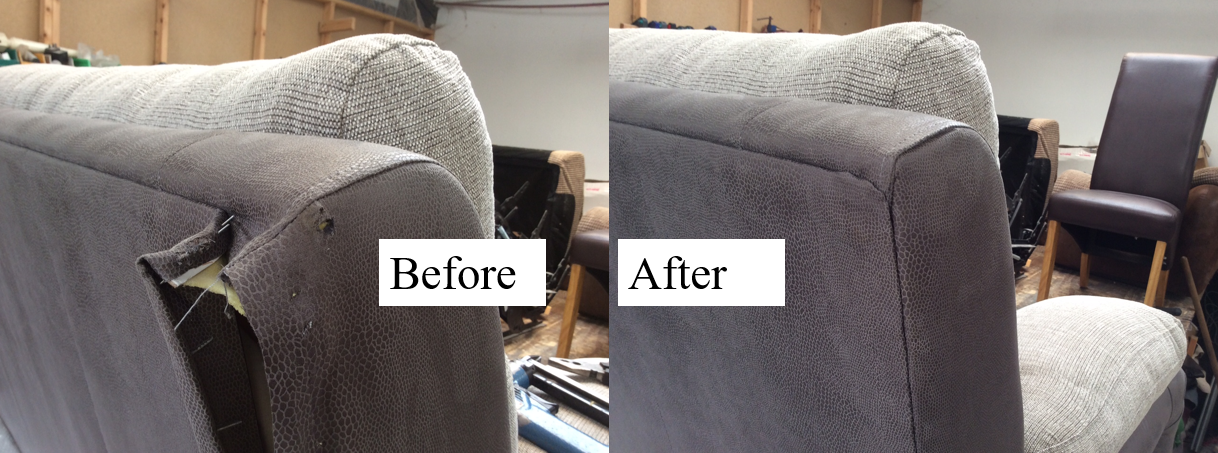
While fixing a rip in a leather sofa may seem like a daunting task, it is possible to do it yourself with the right tools and materials. However, it is important to note that DIY repairs may not always yield professional-looking results. If you are not confident in your abilities or the rip is particularly large or complex, it may be best to seek professional help. DIY Leather Sofa Rip Repair
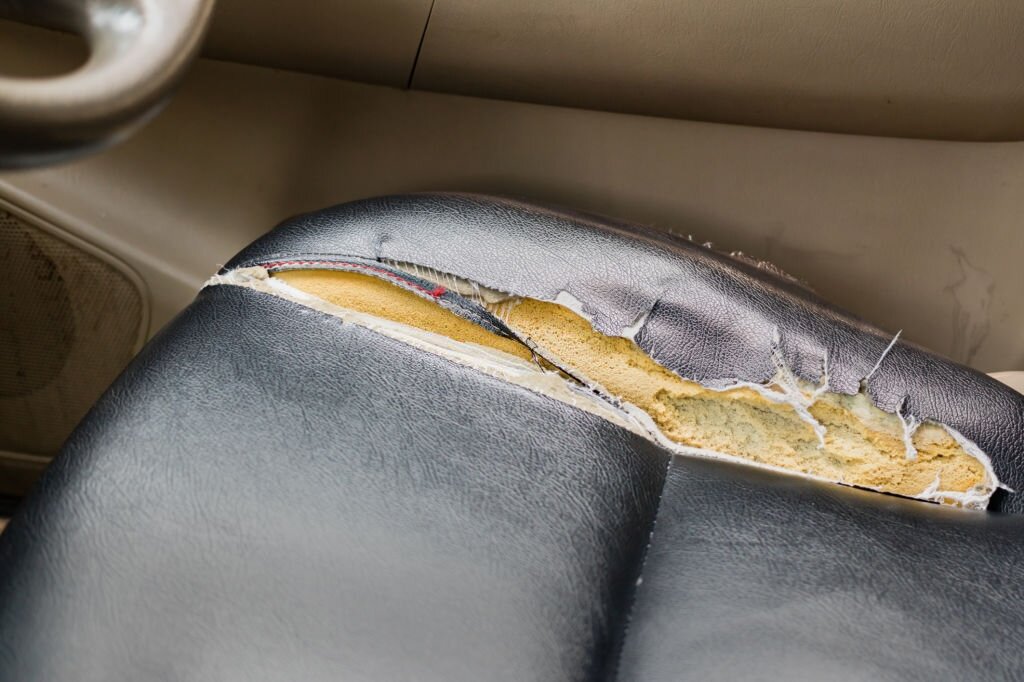
Tears in leather sofas can be caused by a variety of factors, such as pets, sharp objects, or general wear and tear. When it comes to repairing a tear, the steps are similar to fixing a rip. However, tears may require a bit more work and may not be completely invisible after repair. It is important to carefully follow the instructions and use the right materials to achieve the best results. Leather Sofa Tear Repair Guide
Repairing a rip in your leather sofa can seem like a daunting task, but it can be done with a few simple steps. Remember to clean the area, apply adhesive, patch or fill in the rip, and color and condition the repaired area. With the right tools and materials, your leather sofa can be restored to its former glory. Easy Steps to Fix a Rip in Your Leather Sofa
While repairing a rip in a leather sofa may seem straightforward, there are some tips and tricks that can help you achieve better results. For example, using a leather patch instead of filler may provide a more seamless repair. Additionally, make sure to choose a leather adhesive that is specifically designed for repairing tears and rips. Leather Sofa Rip Repair: Tips and Tricks
When it comes to repairing a rip in your leather sofa, using the right products is key. Look for leather adhesives, patches, and fillers that are specifically designed for repairing tears and rips. Additionally, investing in a good leather dye and conditioner can help to maintain the appearance and longevity of your repaired sofa. Best Products for Repairing a Rip in a Leather Sofa
While DIY repairs can be effective, it is always best to seek professional help for larger or more complex rips in your leather sofa. Professional leather repair services have the expertise and specialized tools to ensure a seamless and long-lasting repair. They can also provide maintenance tips to help prevent future rips and tears. Professional Leather Sofa Rip Repair Services
Tears and rips in leather sofas can be caused by a variety of factors, such as sharp objects, pets, or general wear and tear. It is important to be mindful of these potential causes and take preventive measures, such as keeping sharp objects away from the sofa and regularly cleaning and conditioning the leather. Common Causes of Rips in Leather Sofas
While accidents can still happen, there are steps you can take to prevent rips and tears in your leather sofa. Regularly clean and condition the leather to keep it soft and supple, and avoid placing sharp objects on or near the sofa. You can also invest in a pet cover or train your pets to stay off the sofa to prevent any damage. Preventing Rips in Your Leather Sofa: Maintenance Tips
The Importance of Choosing Quality Leather for Your Sofa
Why Rip in Leather Sofa Matters
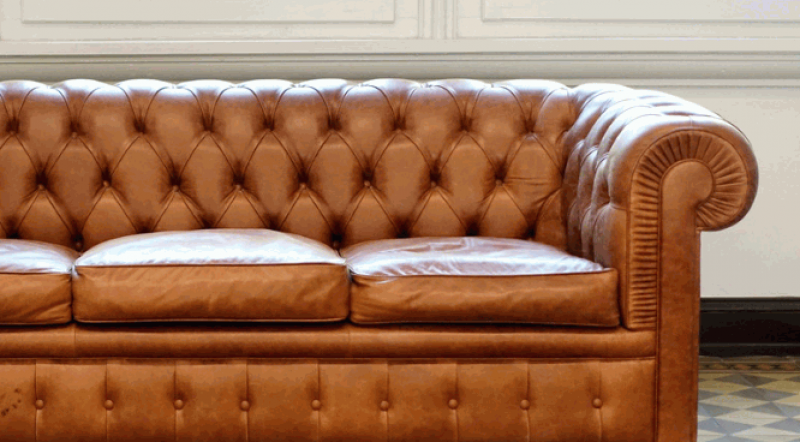
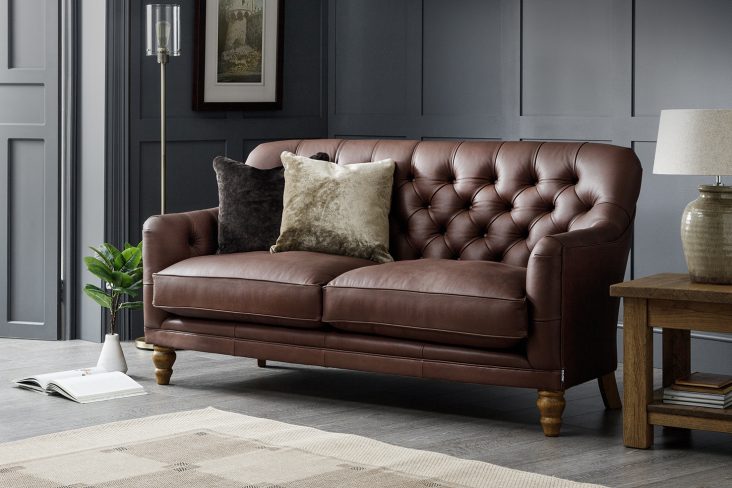
 When it comes to designing the perfect living room, the sofa is often the focal point. A leather sofa is a popular choice for its durability, comfort, and timeless style. However, one issue that can arise with leather sofas is the dreaded rip. This not only affects the appearance of your sofa, but it can also compromise its structural integrity. So why does a rip in your leather sofa matter and how can you prevent it?
The Impact of a Rip in Your Leather Sofa
 A rip in your leather sofa can significantly affect the overall look and feel of your living room. It can be an eyesore that takes away from the beauty of your space. Not to mention, it can be a source of embarrassment when hosting guests. But more importantly, a rip in your leather sofa can lead to further damage if not addressed promptly. It can quickly spread and compromise the strength and support of your sofa, making it uncomfortable to sit on and eventually rendering it unusable.
Choosing Quality Leather for Your Sofa
 One of the best ways to prevent a rip in your leather sofa is to choose high-quality leather when making your purchase. Top-grain leather is the most durable and resistant to tears, making it a great choice for furniture. It is also important to check the stitching and construction of the sofa to ensure it is securely put together. Investing in a well-made leather sofa may cost more upfront, but it can save you money in the long run by avoiding costly repairs or replacements.
Regular Maintenance is Key
Aside from choosing quality leather, regular maintenance is crucial in preventing a rip in your leather sofa. Leather needs to be moisturized to prevent it from drying out and cracking. Using a leather conditioner every 6-12 months can help keep the material supple and less prone to tears. You should also avoid placing your leather sofa in direct sunlight or near heat sources, as this can cause it to dry out and become brittle.
Addressing a Rip
If a rip does occur, do not panic. There are ways to repair it without having to replace the entire sofa. There are leather repair kits available that can help you fix minor tears. However, for more significant damage, it is best to seek professional help. They have the expertise and tools to repair your sofa and make it look as good as new.
In conclusion, a rip in your leather sofa may seem like a small issue, but it can have a significant impact on your living space and wallet. By choosing quality leather, regularly maintaining your sofa, and addressing any rips promptly, you can ensure your leather sofa remains a beautiful and functional piece of furniture in your home.

