How to Properly Pump Under the Kitchen Sink
Pumping under the kitchen sink may seem like a simple task, but if not done correctly, it can lead to major plumbing issues. Whether you're replacing an old pump or installing a new one, it's important to follow the right steps to ensure proper drainage and avoid any potential problems. In this article, we will discuss the top 10 best practices for pumping under the kitchen sink to help you maintain a healthy plumbing system.


How to Properly Pump Under the Kitchen Sink


The Right Way to Pump Under the Kitchen Sink
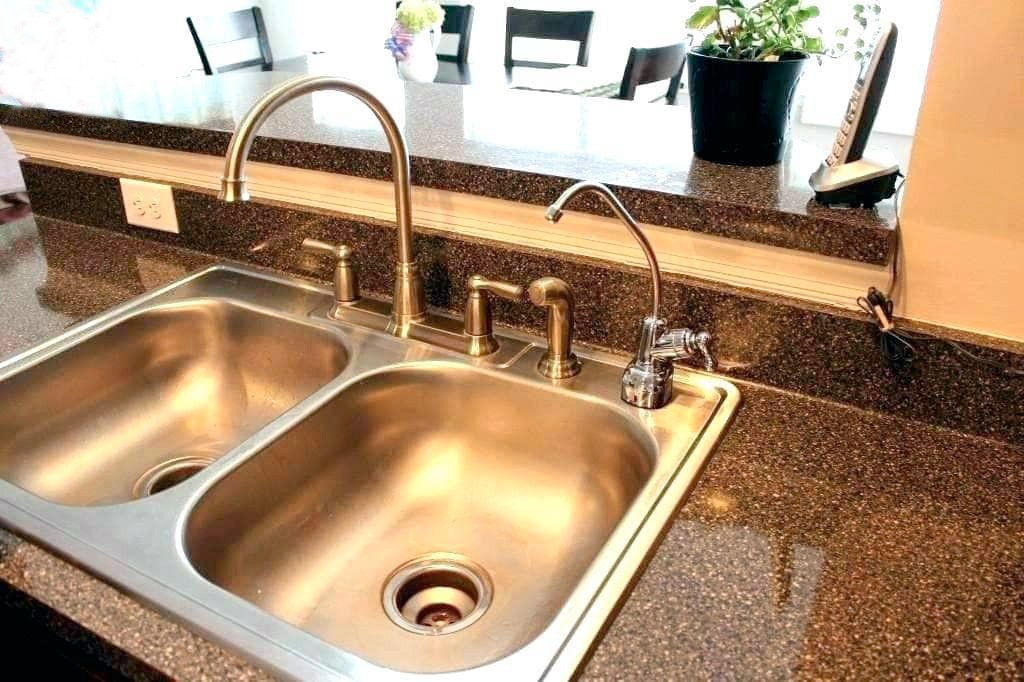
Before we dive into the steps, let's first understand why pumping under the kitchen sink is necessary. The kitchen sink is one of the most used areas in a household, and therefore, the drainage system tends to get clogged with food scraps, oil, and other debris. This can lead to slow draining, foul smells, and even backflow of water. Pumping under the kitchen sink helps to properly remove any buildup and prevent further blockages.


The Right Way to Pump Under the Kitchen Sink


Step-by-Step Guide for Pumping Under the Kitchen Sink
Now, let's take a look at the step-by-step guide for pumping under the kitchen sink.
Step 1: Turn off the water supply to the sink. This is usually done by turning off the valves under the sink or shutting off the main water supply to your house.
Step 2: Clear out the area under the sink. Remove any items stored there and place a bucket or pan underneath the pipes to catch any water or debris.
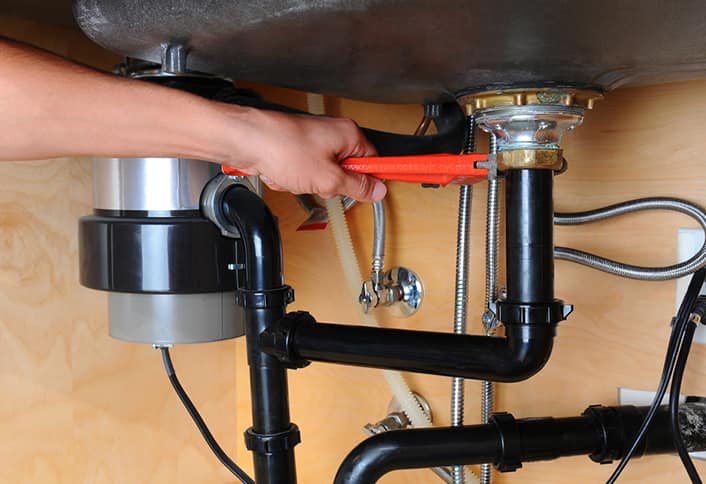
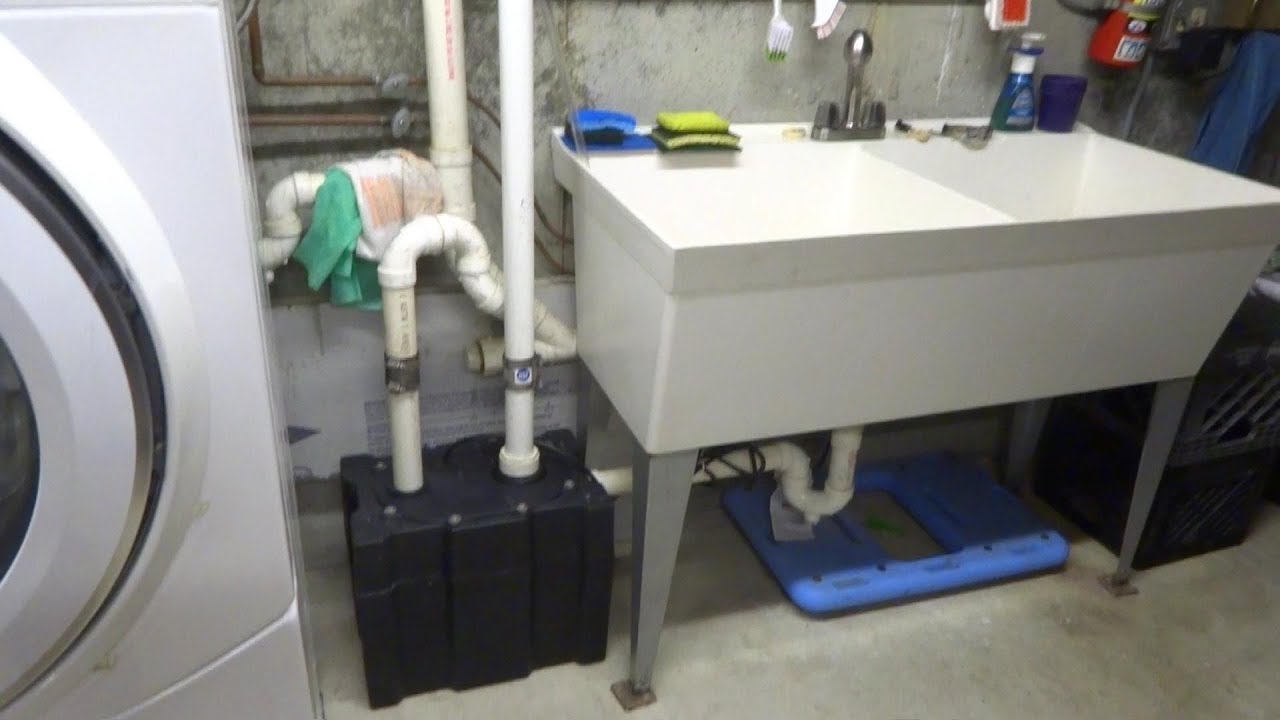
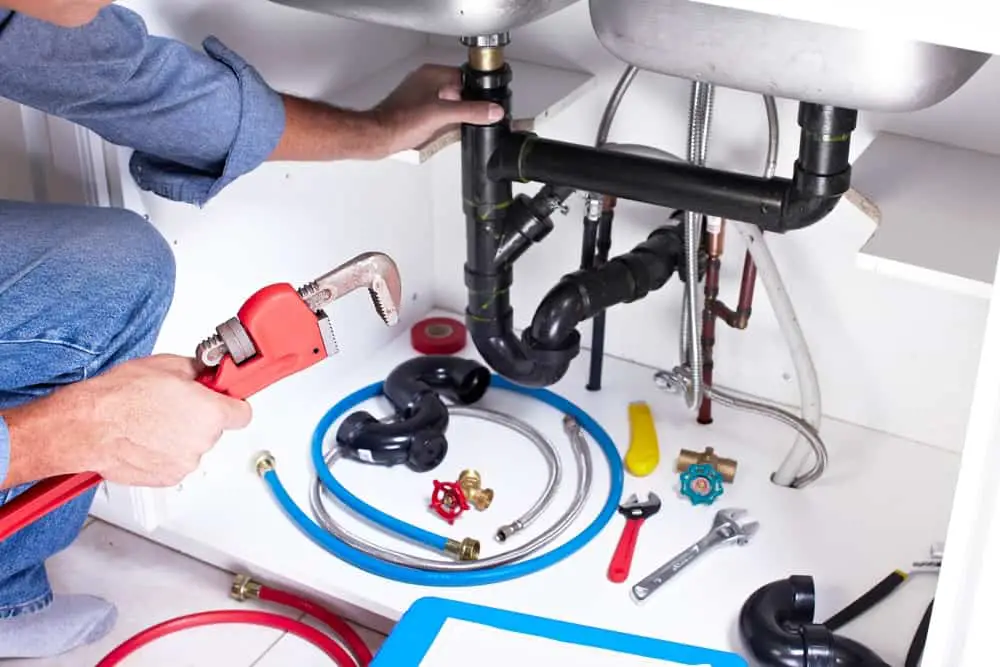
Step 3: Disconnect the pipes. Start by unscrewing the slip nuts on the trap and then remove the trap. If there is a garbage disposal unit, detach it from the drain and set it aside.
Step 4: Remove the old pump. If you're replacing an old pump, carefully unscrew it from the sink and remove it. If you're installing a new pump, follow the manufacturer's instructions for installation.
Step 5: Clean the area. Before installing the new pump, make sure to clean the area under the sink thoroughly. Use a brush or cloth to remove any buildup or debris.
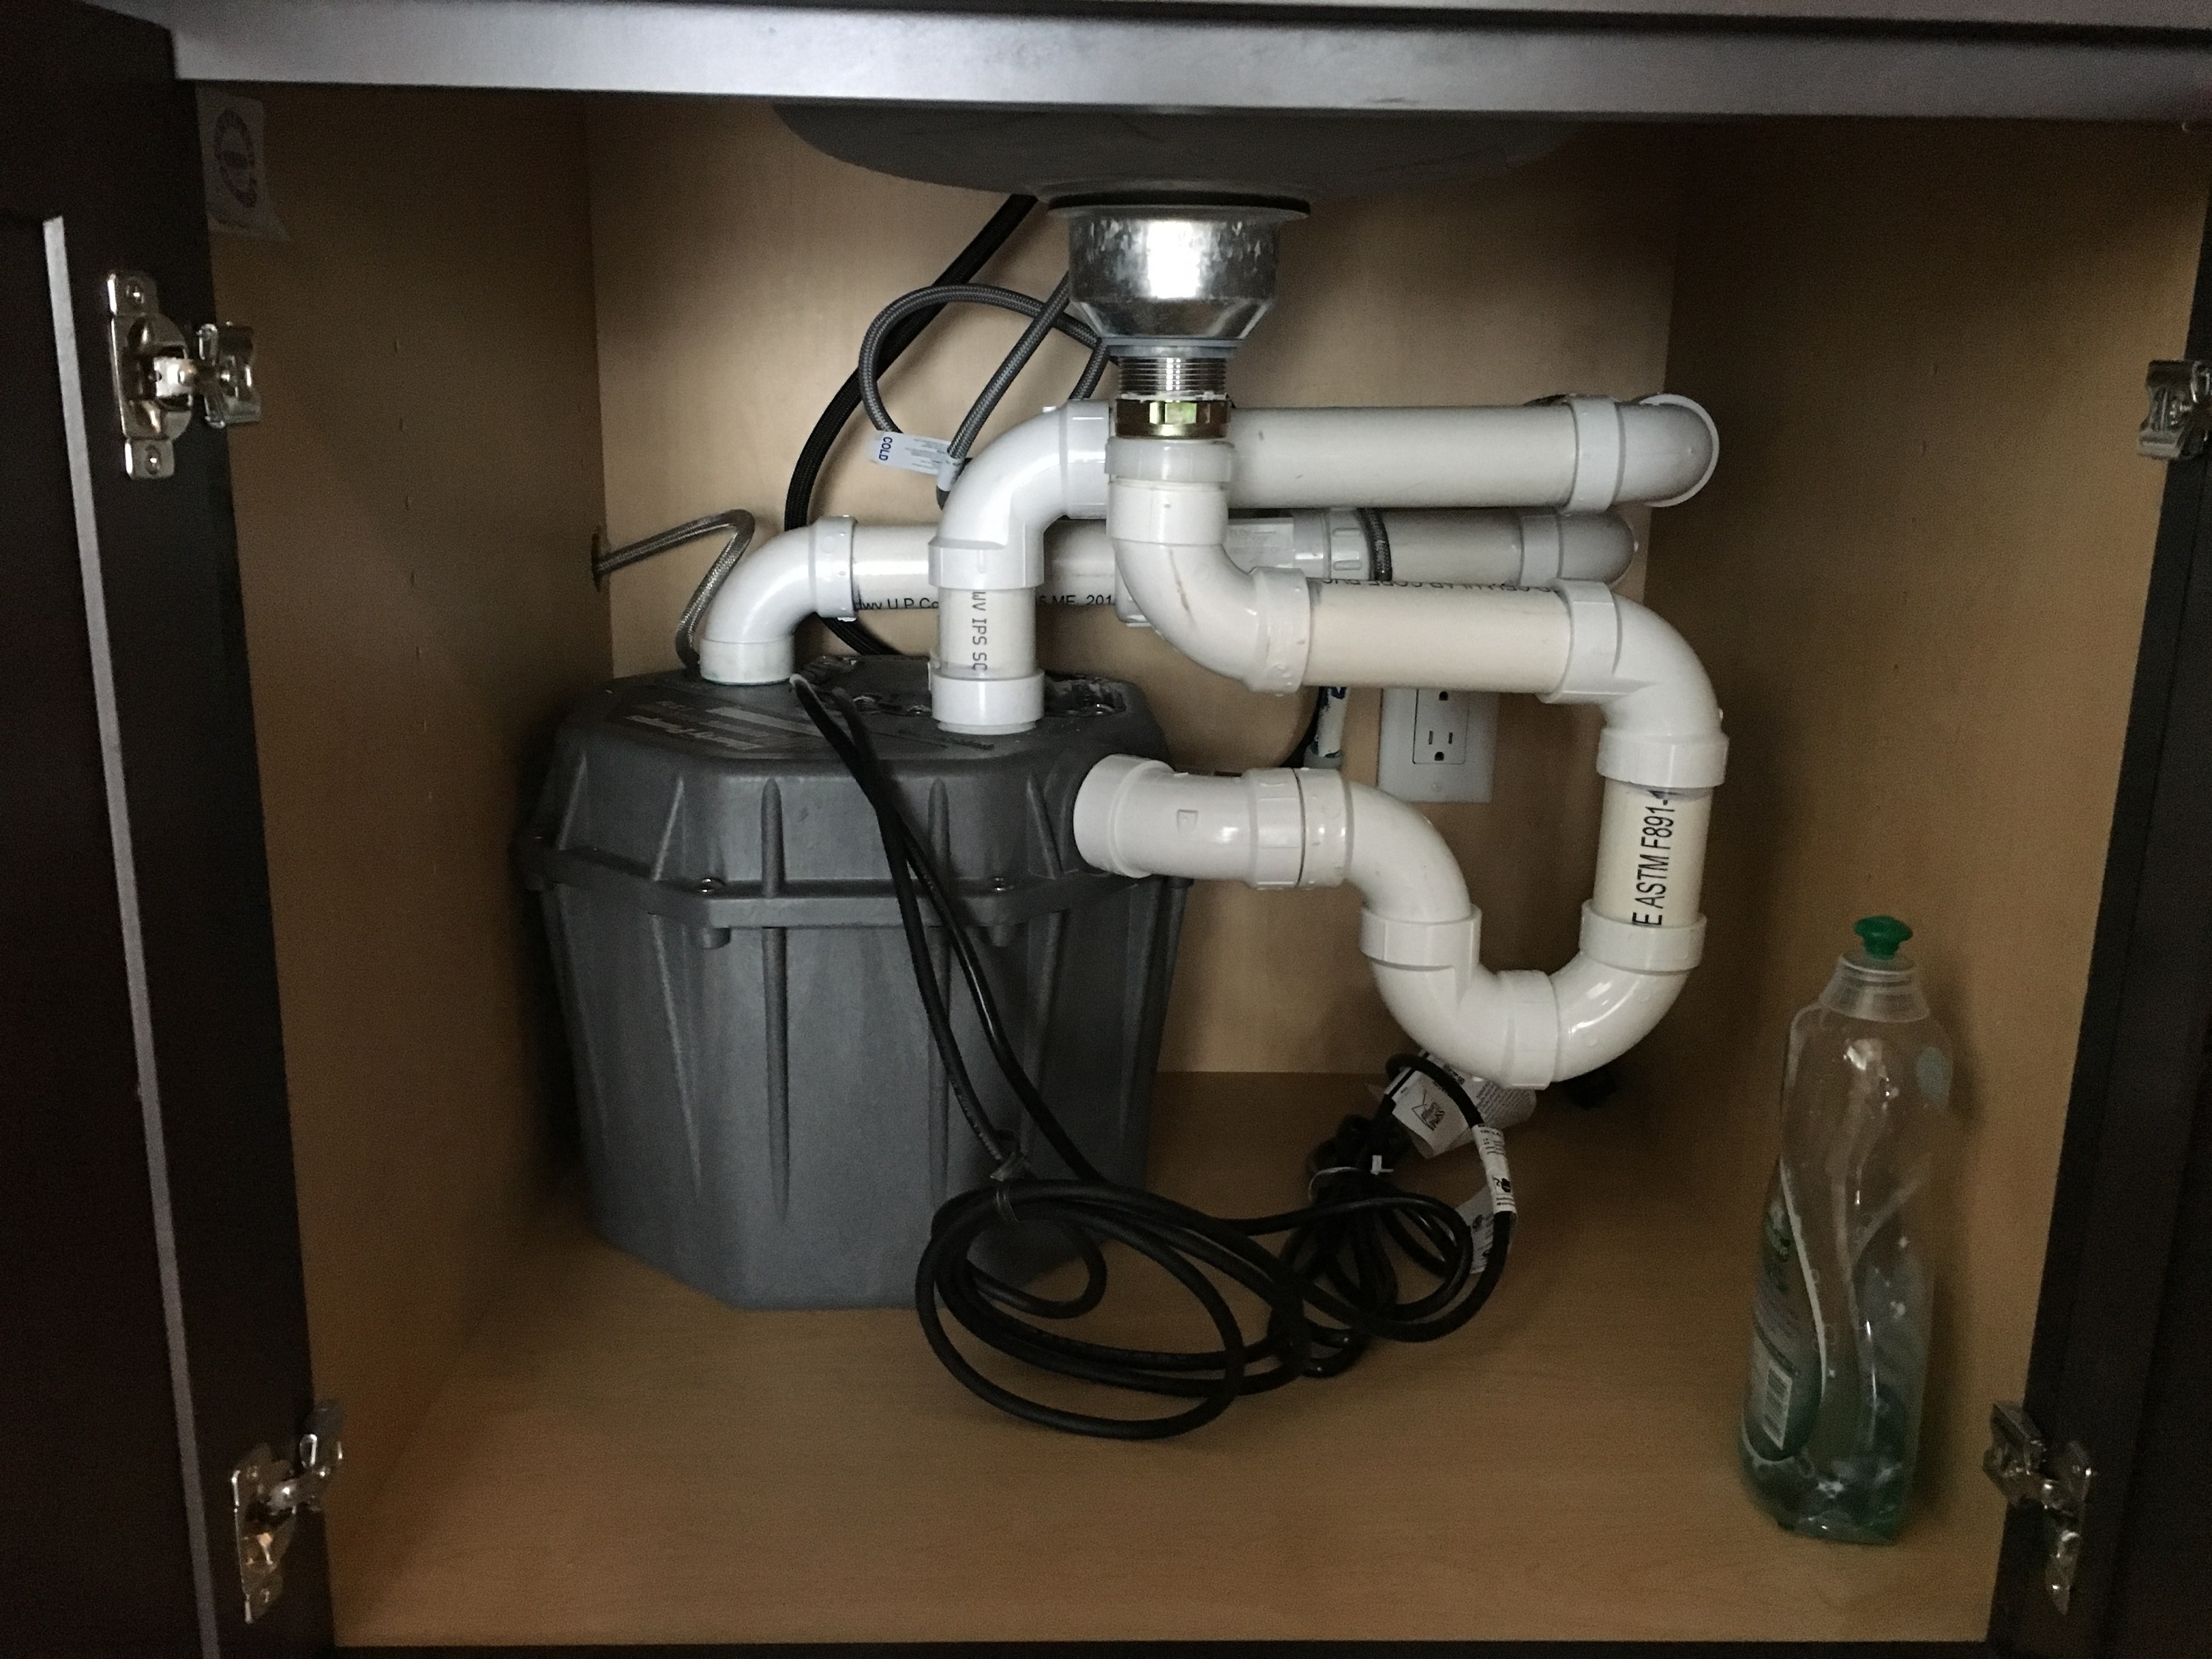
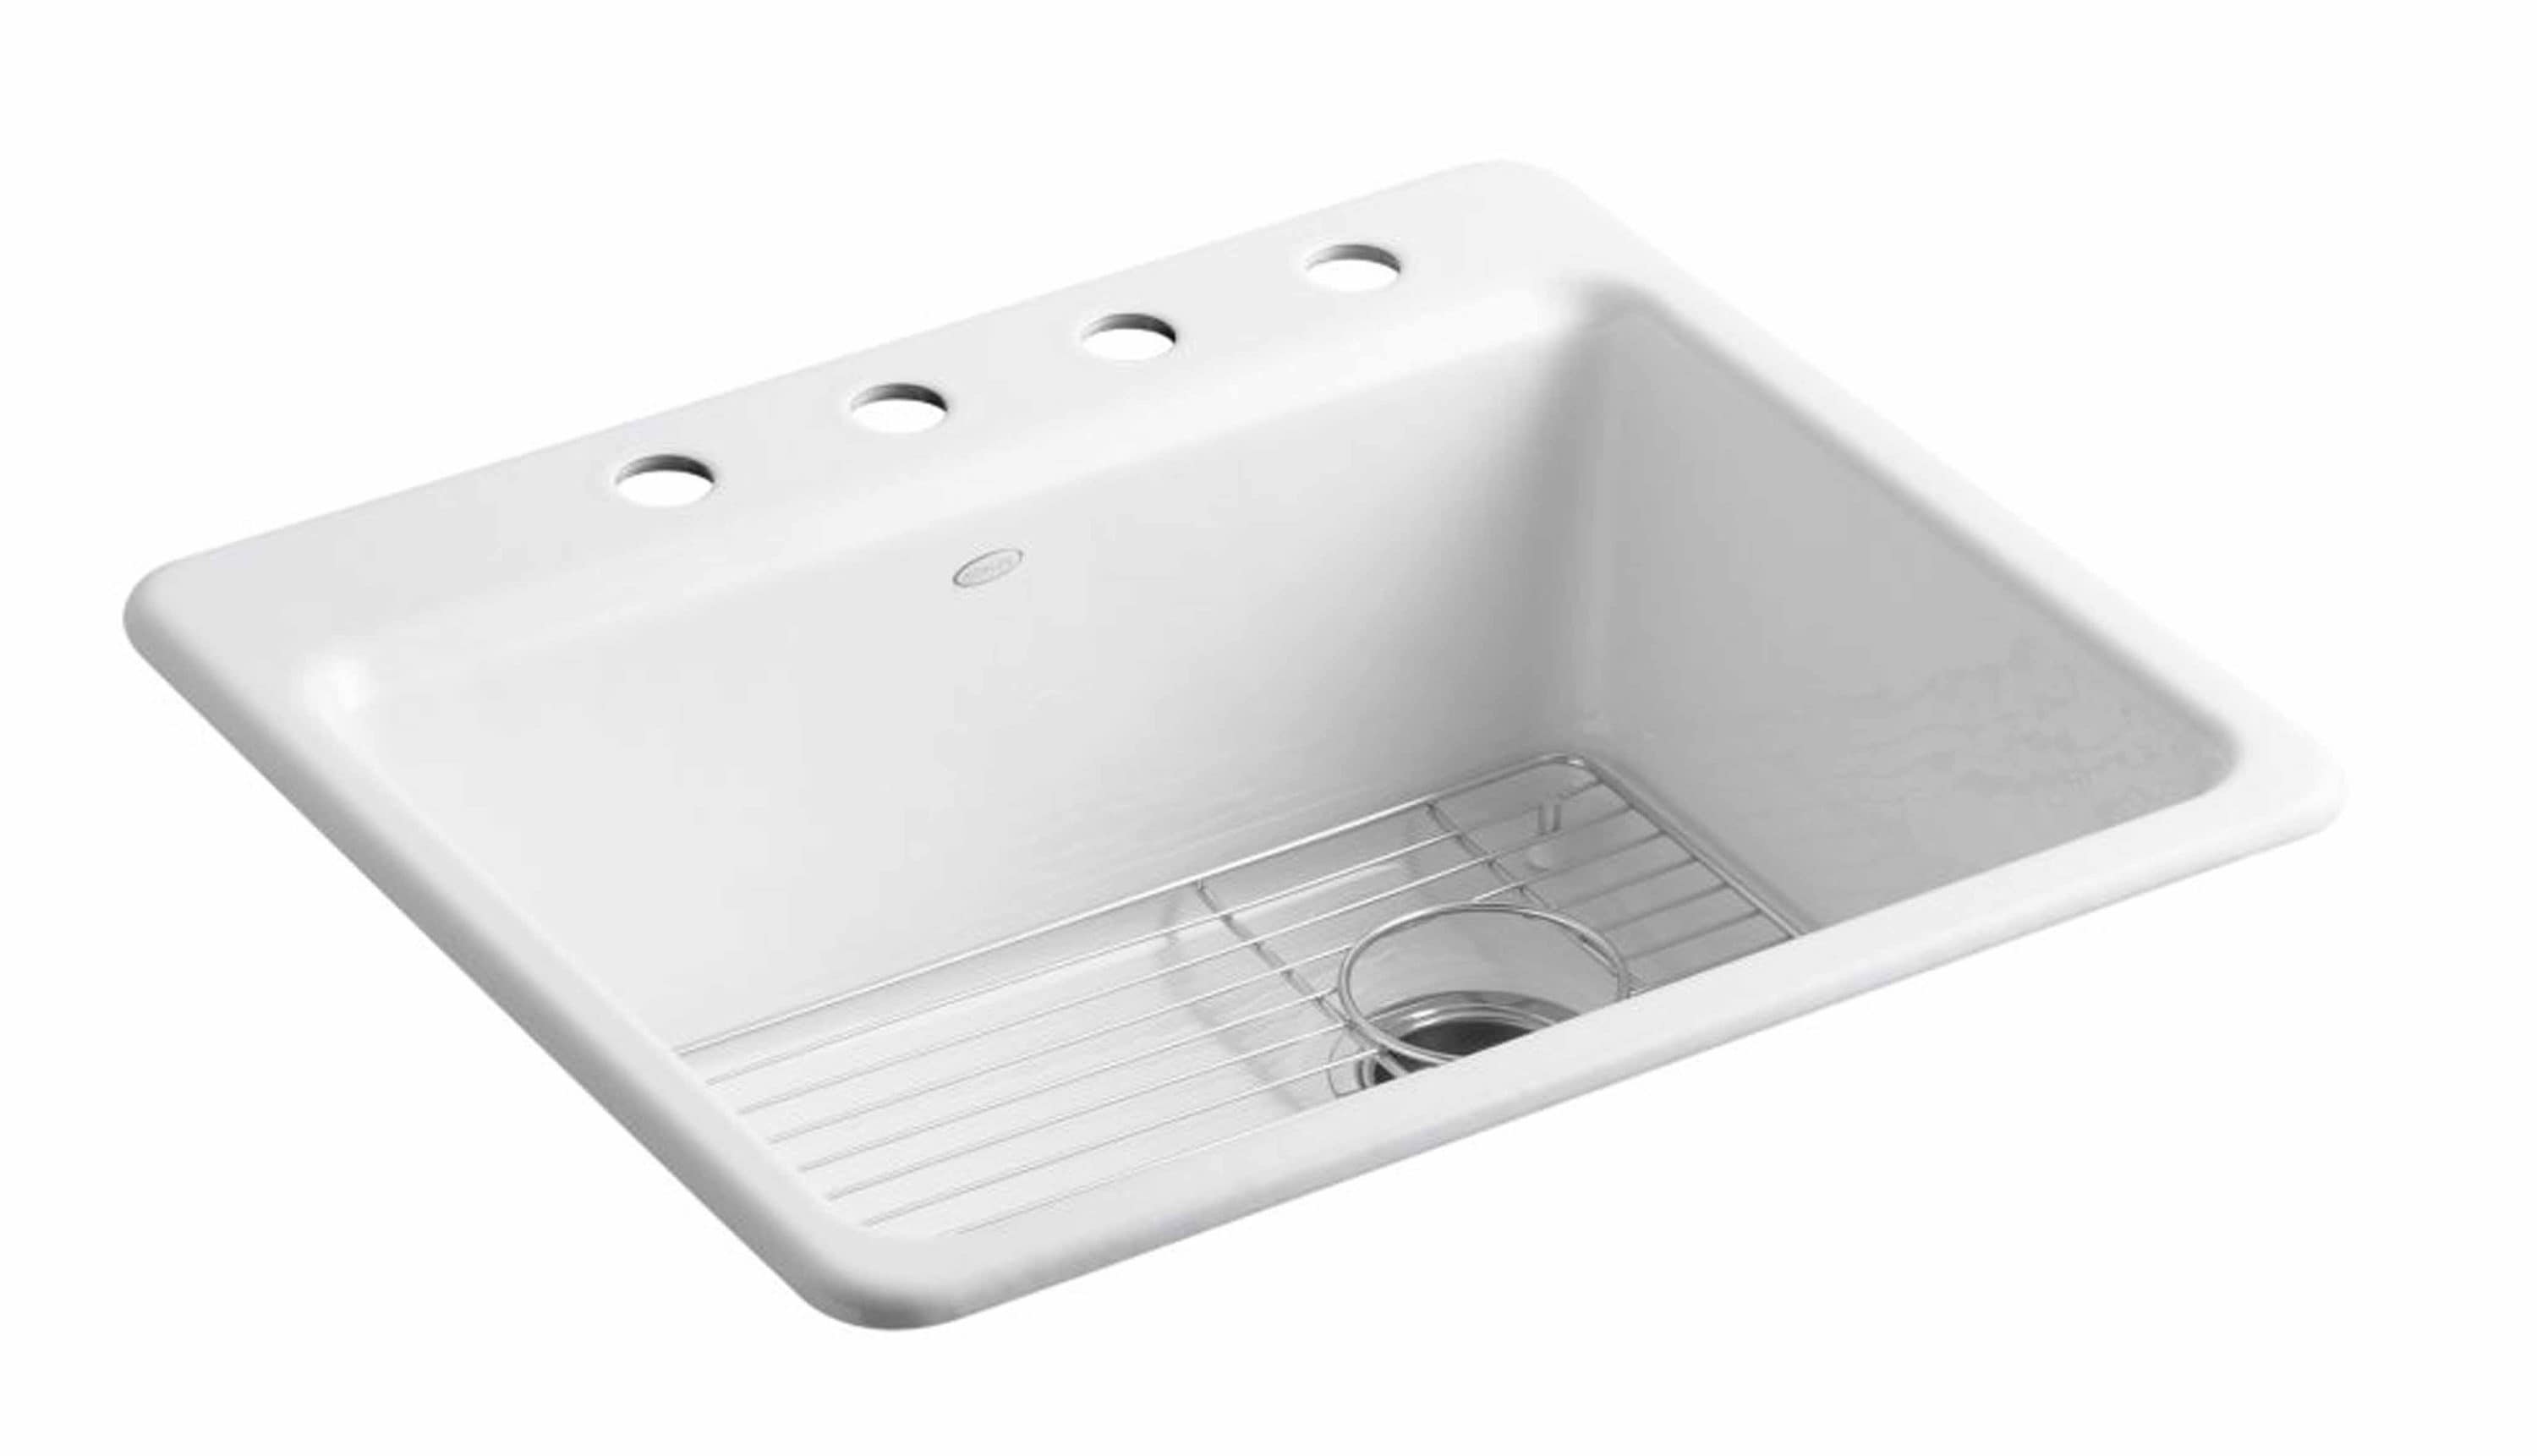
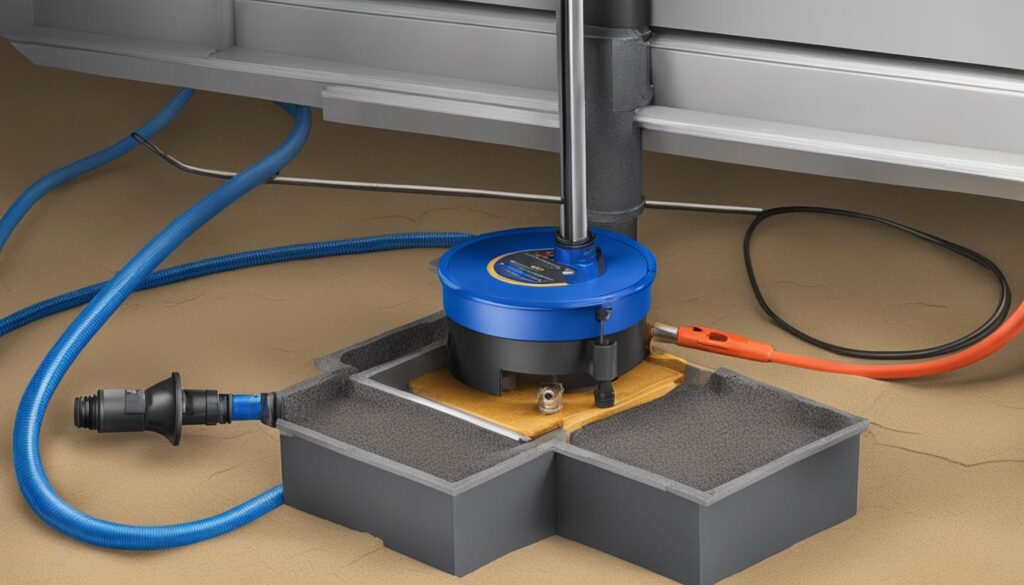
Step 6: Install the new pump. Place the new pump in the designated area and secure it with screws or brackets. Make sure it is properly aligned with the sink drain.
Step 7: Reconnect the pipes. Reattach the trap and garbage disposal unit (if applicable) to the new pump. Make sure all connections are tight and secure.
Step 8: Test the pump. Turn on the water supply and run water through the sink to test the pump. Check for any leaks or issues with drainage.
Step 9: Clean up. Once everything is working properly, clean up the area and return any items to their place under the sink.
Step 10: Regular maintenance. To prevent future clogs, make sure to regularly clean your sink and avoid disposing of any large food scraps or oils down the drain.

Step-by-Step Guide for Pumping Under the Kitchen Sink


Best Practices for Pumping Under the Kitchen Sink
Now that you know the steps to properly pump under the kitchen sink, let's go over some best practices to keep in mind.
Tip 1: Wear protective gear. Before starting any plumbing work, make sure to wear gloves and safety glasses to protect yourself.
Tip 2: Use the right tools and materials. Make sure to have a bucket, pliers, wrench, and sealant on hand before starting the pumping process.
Tip 3: Follow the manufacturer's instructions. Whether you're replacing an old pump or installing a new one, always refer to the manufacturer's instructions for proper installation.
Tip 4: Check for leaks. After completing the installation, make sure to check for any leaks before turning on the water supply.
Tip 5: Call a professional if needed. If you're unsure about the process or encounter any issues, it's best to call a professional plumber for assistance.


Best Practices for Pumping Under the Kitchen Sink


Essential Tips for Pumping Under the Kitchen Sink
Here are some essential tips to keep in mind when pumping under the kitchen sink.
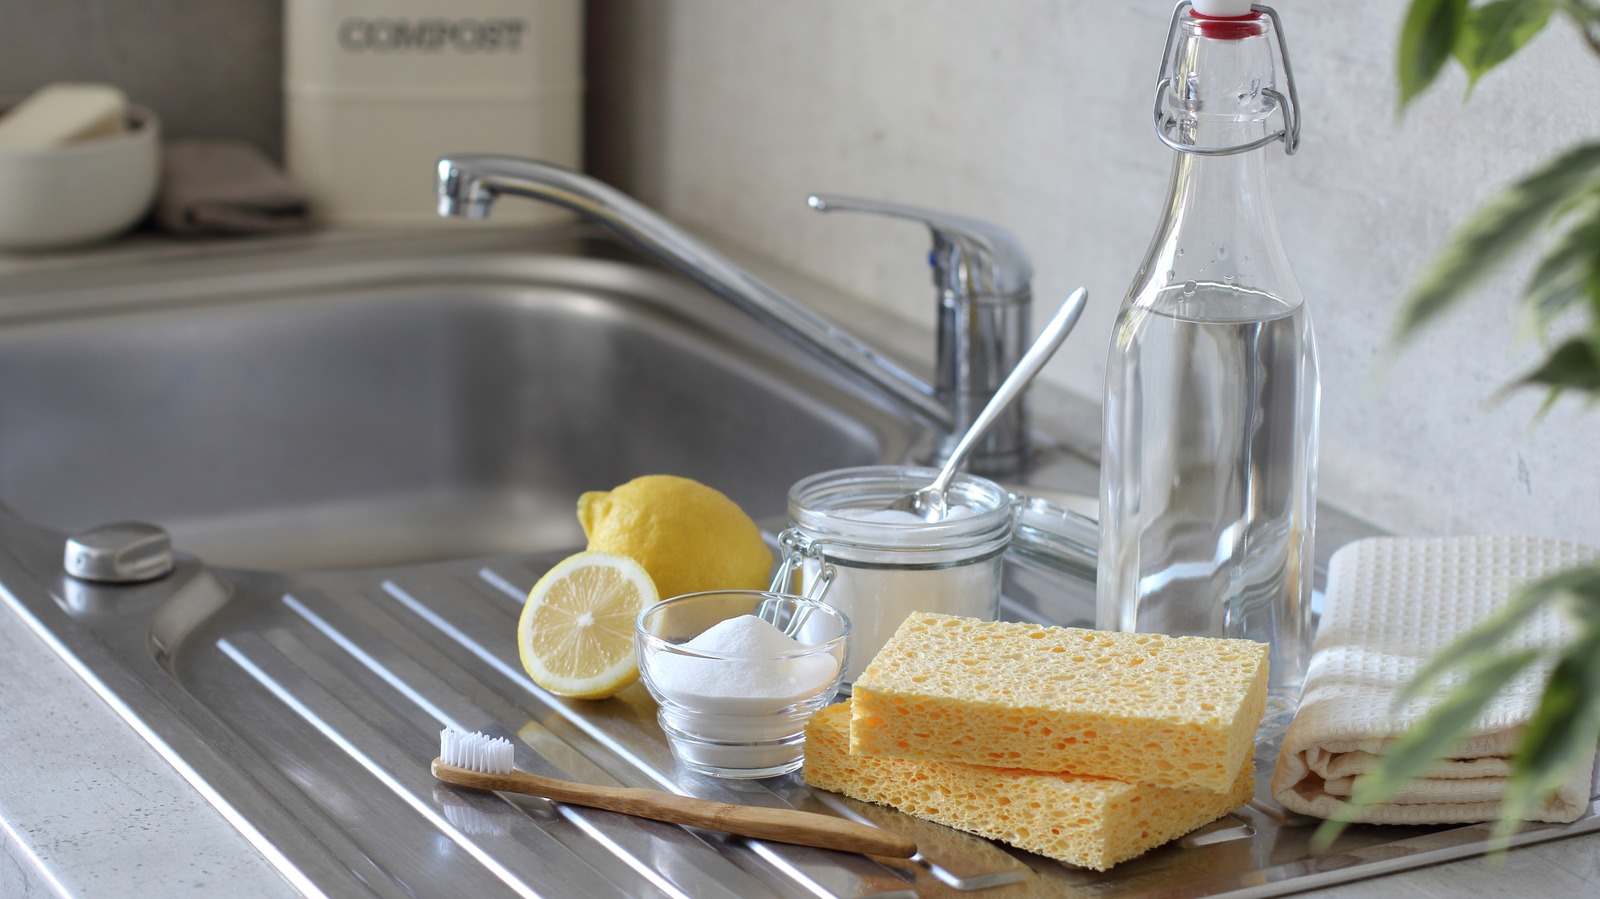
Tip 1: Use a plunger. If you encounter a clogged sink, try using a plunger to clear the blockage before resorting to pumping.
Tip 2: Avoid using chemical drain cleaners. These can cause damage to your pipes and are harmful to the environment.
Tip 3: Use a drain strainer. Place a drain strainer over your sink to catch any large food scraps and prevent them from entering the drain.
Tip 4: Regularly clean your sink. Make sure to regularly clean your sink to prevent buildup and maintain proper drainage.
Tip 5: Know your plumbing system. Familiarize yourself with your plumbing system to better understand how it works and how to troubleshoot any issues.


Essential Tips for Pumping Under the Kitchen Sink

Avoiding Common Mistakes When Pumping Under the Kitchen Sink
Here are some common mistakes to avoid when pumping under the kitchen sink.
Mistake 1: Not turning off the water supply. It's important to turn off the water supply before starting any plumbing work to avoid any potential flooding.
Mistake 2: Forgetting to clear the area. Make sure to clear the area under the sink before starting the pumping process to prevent any damage to your belongings.
Mistake 3: Not properly aligning the pump. If the pump is not properly aligned with the sink drain, it can lead to further clogs and issues with drainage.
Mistake 4: Using excessive force. Avoid using excessive force when disconnecting or reconnecting pipes as this can cause damage to the pipes or fittings.
Mistake 5: Skipping regular maintenance. Regularly cleaning your sink and maintaining your plumbing system can help prevent major issues and save you from costly repairs.


Avoiding Common Mistakes When Pumping Under the Kitchen Sink


Tools and Materials Needed for Pumping Under the Kitchen Sink
Here are the tools and materials you will need for pumping under the kitchen sink.
Tools: Bucket or pan, pliers, wrench, brush/cloth, screwdriver, safety glasses, and gloves.
Materials: New pump, sealant, and any necessary replacement parts.


Tools and Materials Needed for Pumping Under the Kitchen Sink


How to Troubleshoot Pumping Issues Under the Kitchen Sink
If you encounter any issues with pumping under the kitchen sink, here are some troubleshooting tips to help you out.
Issue 1: Slow draining. This can be caused by a clogged sink or a faulty pump. Try using a plunger or cleaning the sink before troubleshooting the pump.
Issue 2: Leaking pipes. Check all connections and make sure they are tightly secured. If the issue persists, it may be due to a damaged seal or gasket.
Issue 3: Strange noises. If your pump is making unusual noises, it could be a sign of a damaged impeller or motor. In this case, it's best to call a professional for assistance.
Issue 4: Foul smells. Foul smells can be caused by a clogged sink or a buildup of debris in the pump. Regular cleaning and maintenance can help prevent this issue.
Issue 5: No water flow. If no water is flowing through your sink, it could be due to a blockage in the pipes or a faulty pump. Try troubleshooting the pump first before calling a professional.


How to Troubleshoot Pumping Issues Under the Kitchen Sink


Ensuring Proper Drainage When Pumping Under the Kitchen Sink
Proper drainage is essential for a healthy plumbing system. Here are some tips to ensure proper drainage when pumping under the kitchen sink.
Tip 1: Regularly clean your sink. Make sure to clean your sink and remove any buildup to prevent slow draining and potential clogs.
Tip 2: Use a drain strainer. Place a drain strainer over your sink to catch any large food scraps and prevent them from entering the drain.
Tip 3: Avoid disposing of oils and grease down the drain. These can solidify and cause major clogs in your pipes.
Tip 4: Run hot water after each use. Running hot water after using the sink can help prevent any oils or debris from solidifying in the pipes.
Tip 5: Regular maintenance. Regularly cleaning and maintaining your plumbing system can help prevent any major issues and ensure proper drainage.


Ensuring Proper Drainage When Pumping Under the Kitchen Sink
:max_bytes(150000):strip_icc()/how-to-install-a-sink-drain-2718789-hero-24e898006ed94c9593a2a268b57989a3.jpg)


Why Pumping Under the Kitchen Sink is Important for Maintaining a Healthy Plumbing System
Pumping under the kitchen sink is an important task that should not be overlooked. It helps to remove any buildup and prevent clogs and other plumbing issues. By following the right steps and best practices, you can ensure a healthy plumbing system and avoid any costly repairs in the future.
As you can see, pumping under the kitchen sink is not as simple as it may seem. It requires proper tools, materials, and techniques to avoid any potential problems. By following this step-by-step guide and keeping these essential tips in mind, you can successfully pump under your kitchen sink and maintain a healthy plumbing system for years to come.


Why Pumping Under the Kitchen Sink is Important for Maintaining a Healthy Plumbing System


The Importance of Properly Pumping Under the Kitchen Sink for a Well-Organized House Design

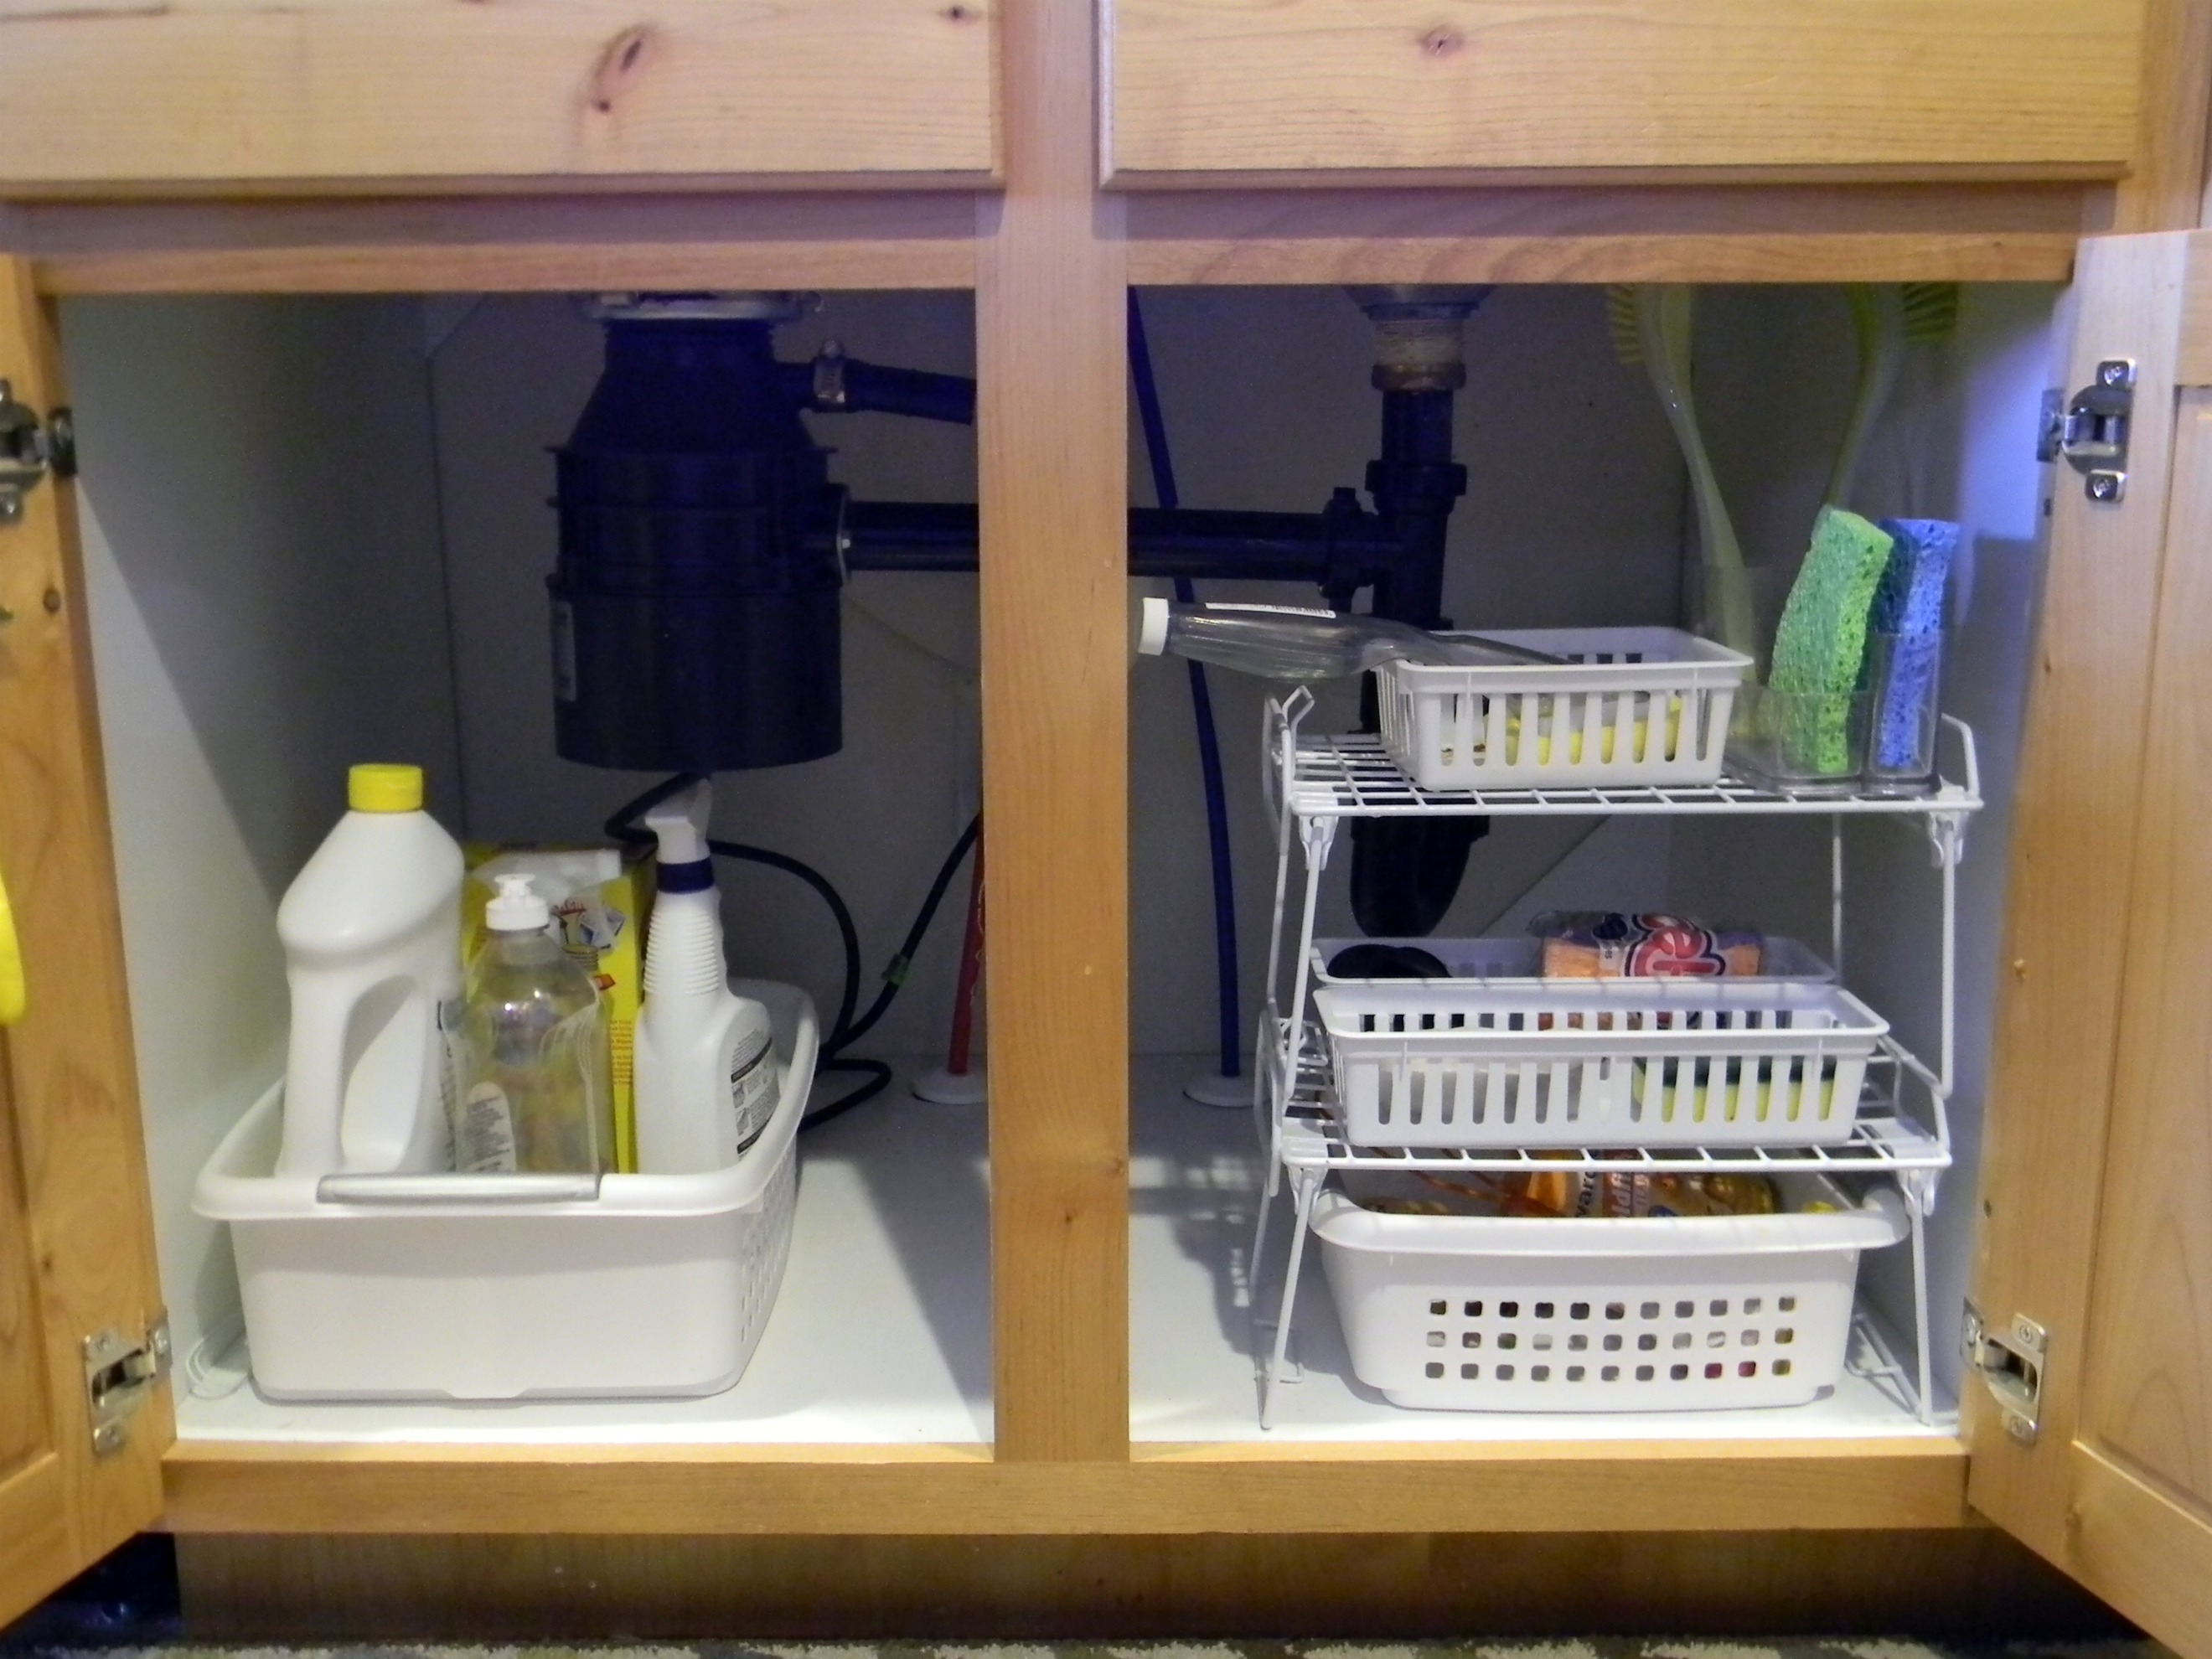
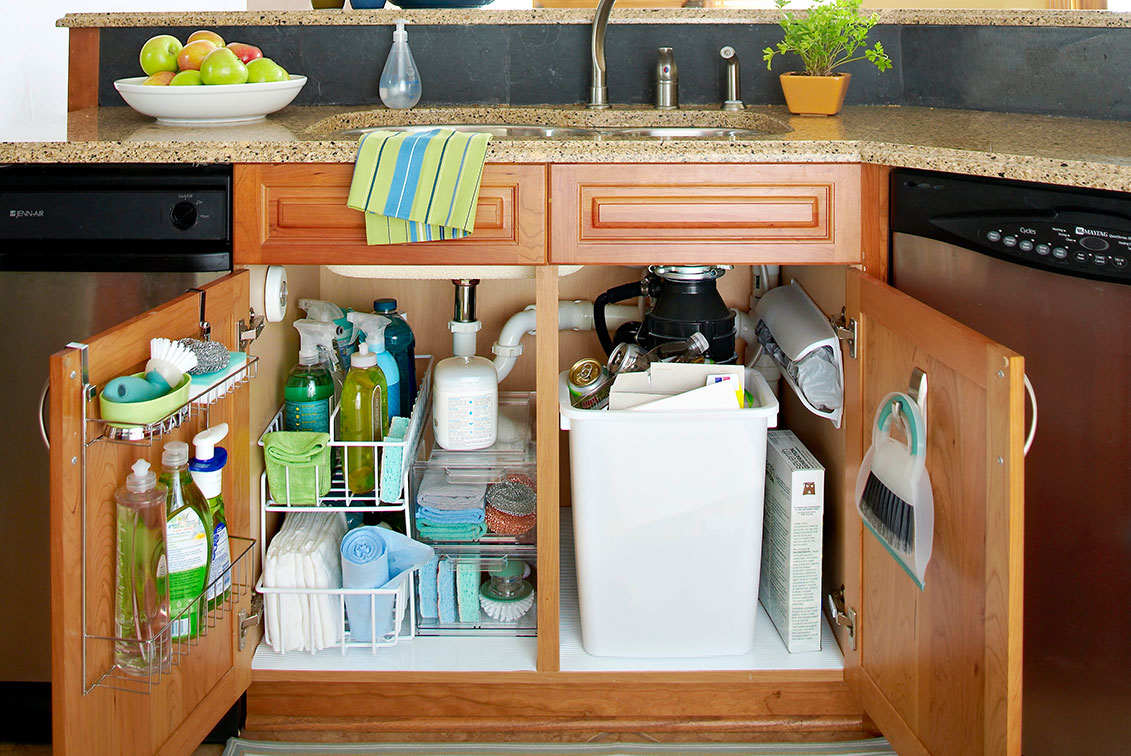
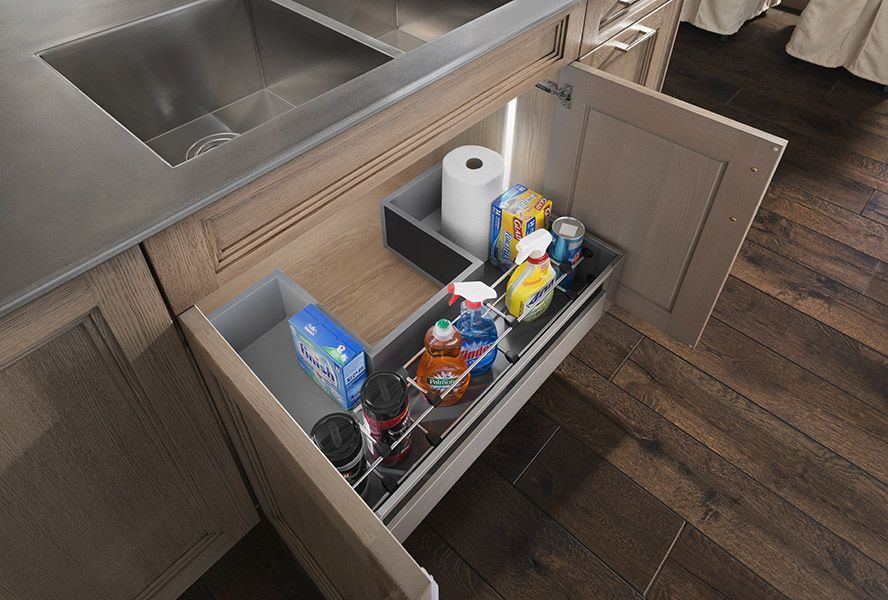
Efficient Use of Space
/how-to-install-a-sink-drain-2718789-hero-24e898006ed94c9593a2a268b57989a3.jpg) When it comes to house design, utilizing every inch of space is crucial. This is especially true for smaller kitchens, where every cabinet and countertop is essential. By
pumping under the kitchen sink
, you can free up valuable space in the cabinet below, allowing for more storage or even the addition of a pull-out trash bin. This not only makes the kitchen more functional but also gives it a clean and organized look.
When it comes to house design, utilizing every inch of space is crucial. This is especially true for smaller kitchens, where every cabinet and countertop is essential. By
pumping under the kitchen sink
, you can free up valuable space in the cabinet below, allowing for more storage or even the addition of a pull-out trash bin. This not only makes the kitchen more functional but also gives it a clean and organized look.
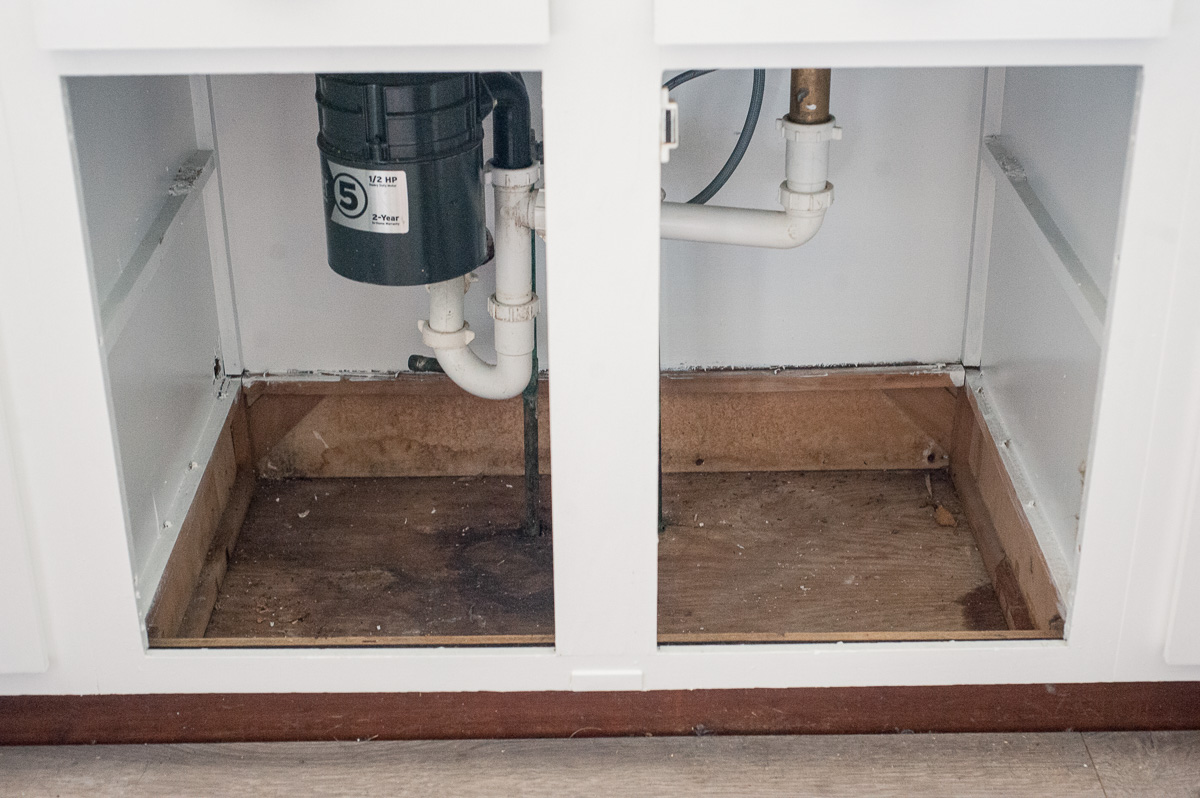
Preventing Water Damage
 Another important reason for
properly pumping under the kitchen sink
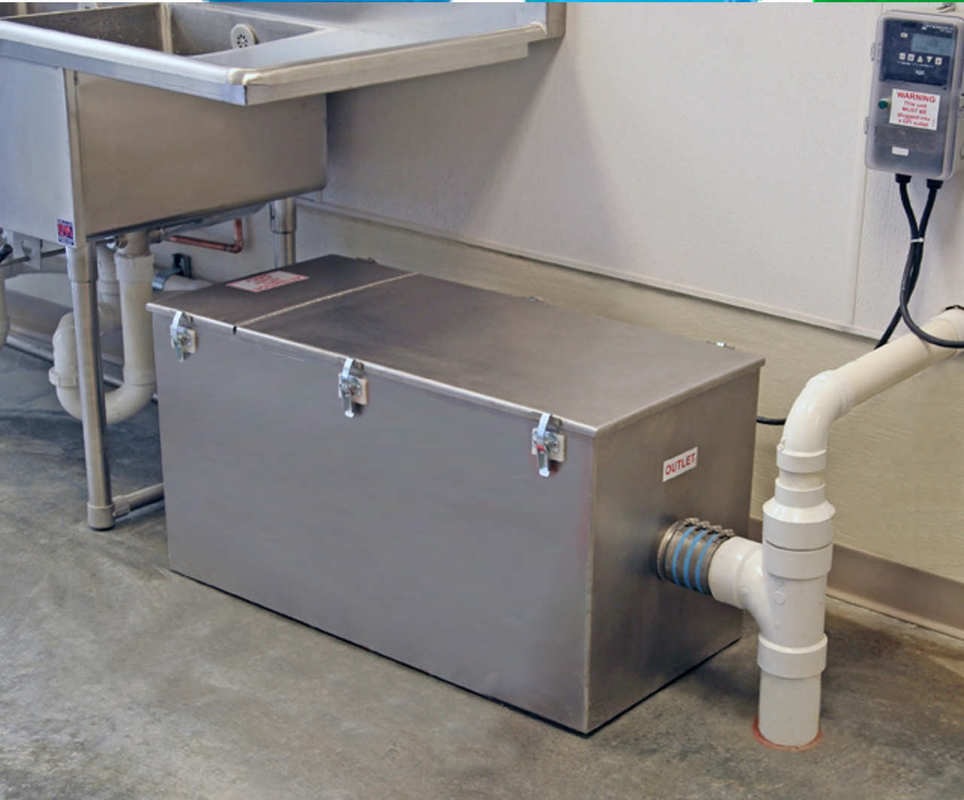
is to prevent water damage. Most kitchen sinks are equipped with a garbage disposal, which can cause clogs and backups if not regularly maintained. By having a pump installed, any excess water and food scraps can be easily drained, preventing any potential leaks or water damage. This also reduces the risk of mold and mildew growth, keeping your kitchen safe and healthy.
Another important reason for
properly pumping under the kitchen sink
is to prevent water damage. Most kitchen sinks are equipped with a garbage disposal, which can cause clogs and backups if not regularly maintained. By having a pump installed, any excess water and food scraps can be easily drained, preventing any potential leaks or water damage. This also reduces the risk of mold and mildew growth, keeping your kitchen safe and healthy.
Avoiding Foul Odors
 Nobody wants a smelly kitchen, and a common culprit is a clogged or inefficiently pumped sink. Food scraps and debris can build up in the pipes, causing unpleasant odors to waft through the kitchen. By
pumping under the kitchen sink
, you can ensure that any excess water and food particles are properly drained, preventing foul smells and keeping your kitchen fresh and inviting.
Nobody wants a smelly kitchen, and a common culprit is a clogged or inefficiently pumped sink. Food scraps and debris can build up in the pipes, causing unpleasant odors to waft through the kitchen. By
pumping under the kitchen sink
, you can ensure that any excess water and food particles are properly drained, preventing foul smells and keeping your kitchen fresh and inviting.
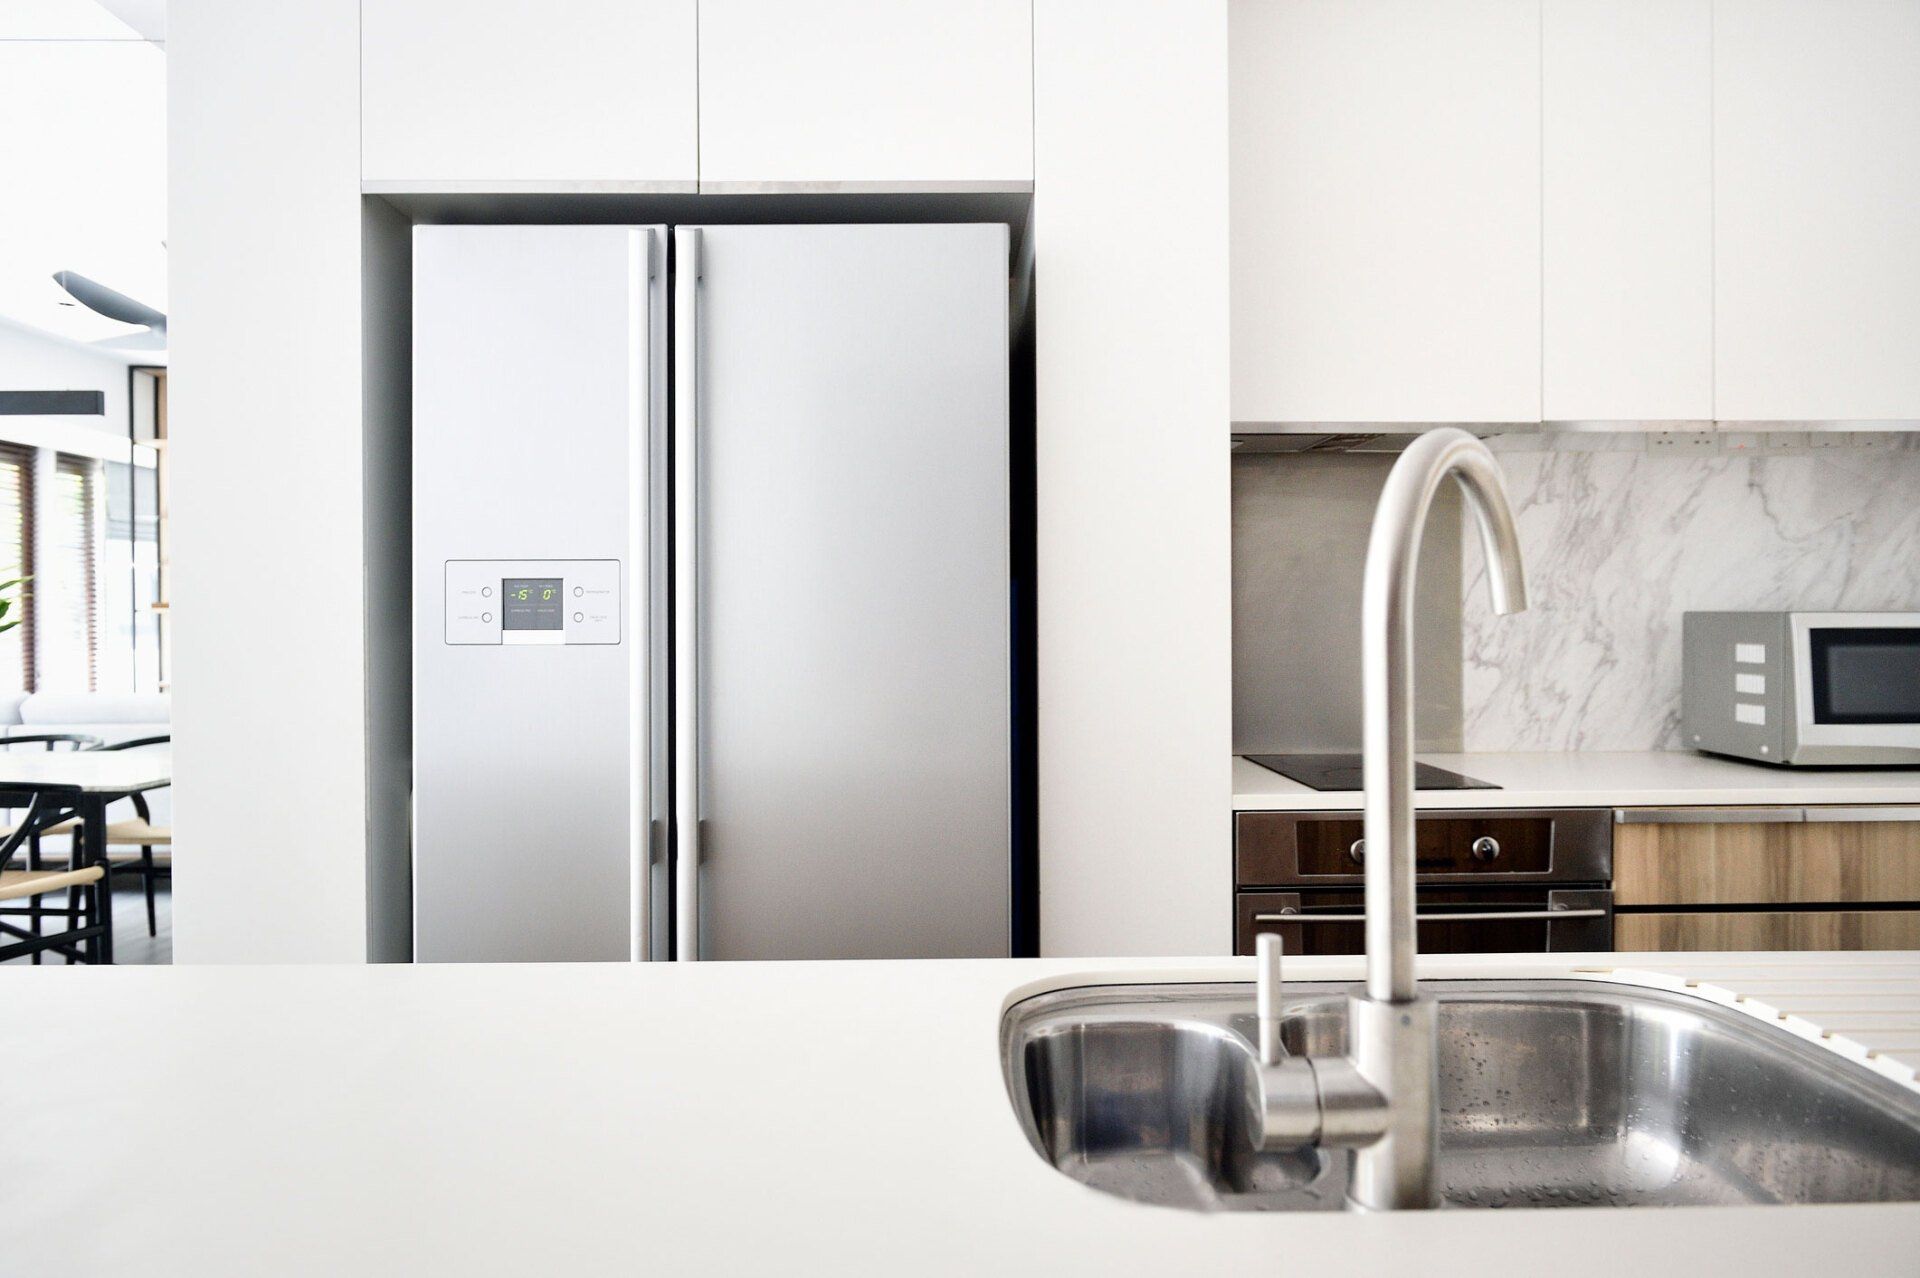
Enhancing the Aesthetic
 Properly pumping under the kitchen sink not only improves functionality and prevents damage and odors, but it also enhances the overall aesthetic of the kitchen. With a clean and organized space under the sink, the kitchen looks more streamlined and visually appealing. This is especially important for open-concept kitchens, where the sink and cabinet are often in plain sight. By investing in
proper pumping
, you can elevate the design of your kitchen.
In conclusion,
pumping under the kitchen sink
is an essential aspect of a well-organized house design. It not only maximizes space and prevents damage, but it also improves the overall look and feel of the kitchen. By considering this often overlooked detail, you can create a functional and stylish kitchen that meets all your needs.
Properly pumping under the kitchen sink not only improves functionality and prevents damage and odors, but it also enhances the overall aesthetic of the kitchen. With a clean and organized space under the sink, the kitchen looks more streamlined and visually appealing. This is especially important for open-concept kitchens, where the sink and cabinet are often in plain sight. By investing in
proper pumping
, you can elevate the design of your kitchen.
In conclusion,
pumping under the kitchen sink
is an essential aspect of a well-organized house design. It not only maximizes space and prevents damage, but it also improves the overall look and feel of the kitchen. By considering this often overlooked detail, you can create a functional and stylish kitchen that meets all your needs.