Replacing a kitchen sink sprayer may seem like a daunting task, but it is actually a simple process that can be easily done in a matter of minutes. Whether your current sprayer is malfunctioning or you simply want to upgrade to a more functional and stylish one, this guide will provide you with all the necessary steps to successfully replace your kitchen sink sprayer. So, let's get started!How to Replace a Kitchen Sink Sprayer


How to Replace a Kitchen Sink Sprayer


/25089301983_c5145fe85d_o-58418ef15f9b5851e5f392b5.jpg)


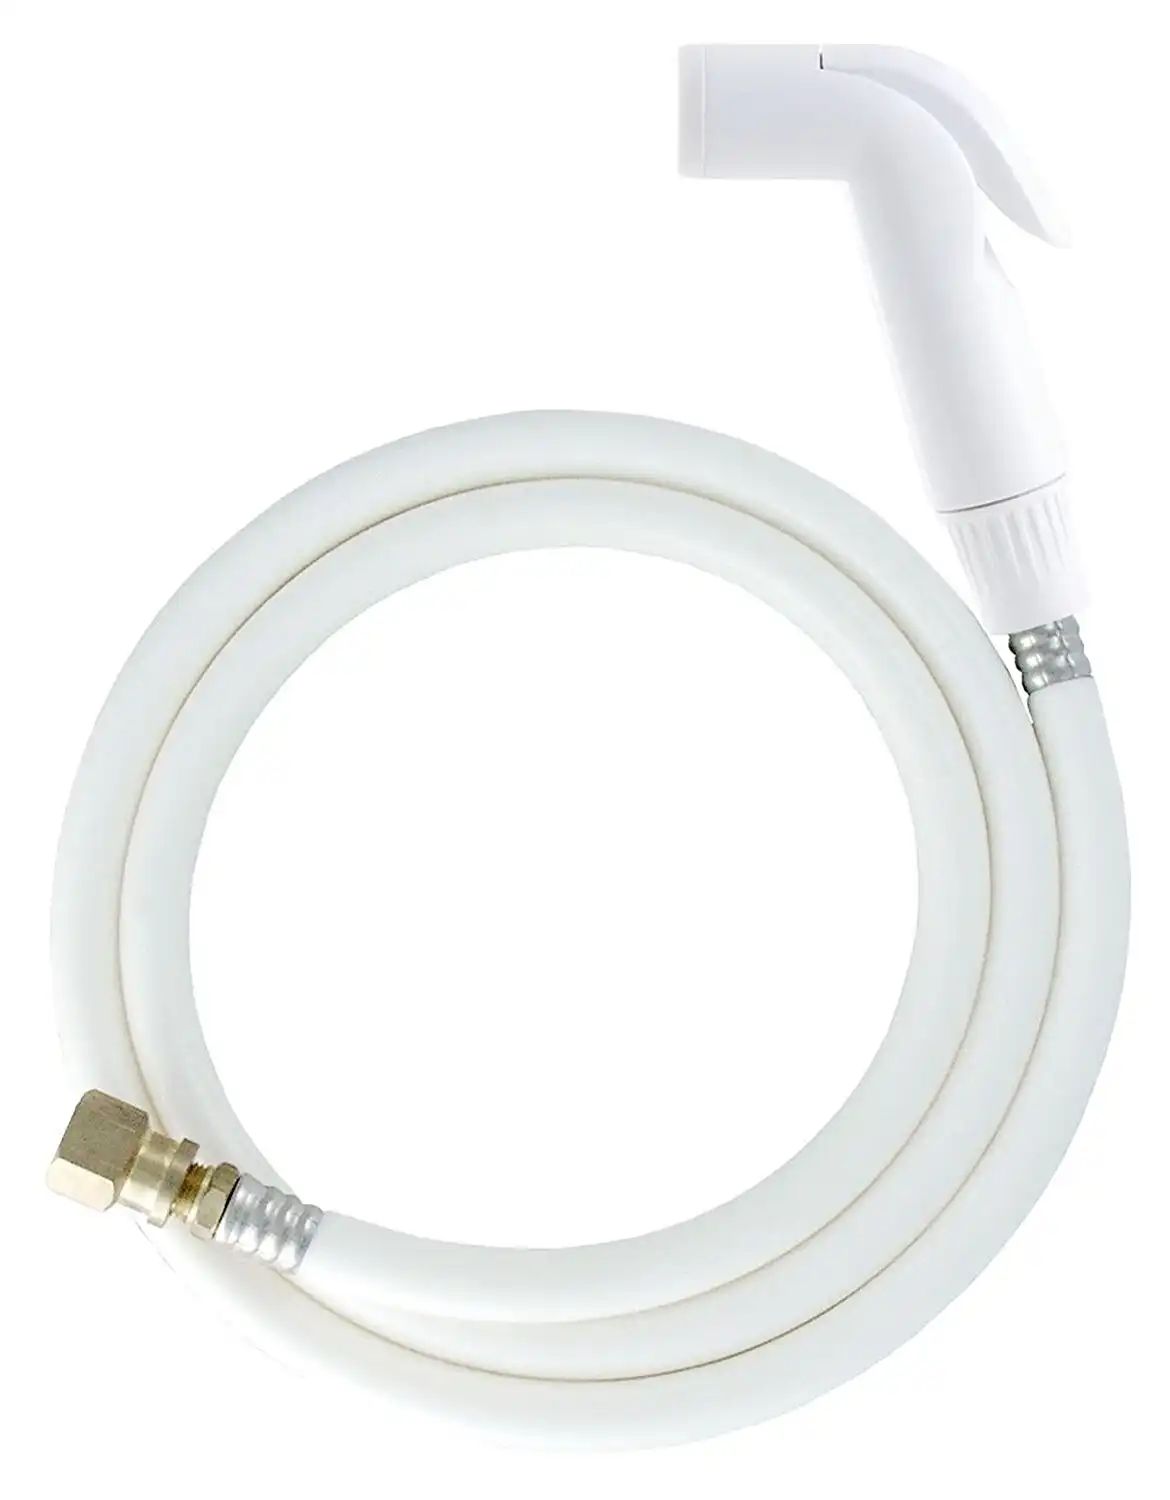
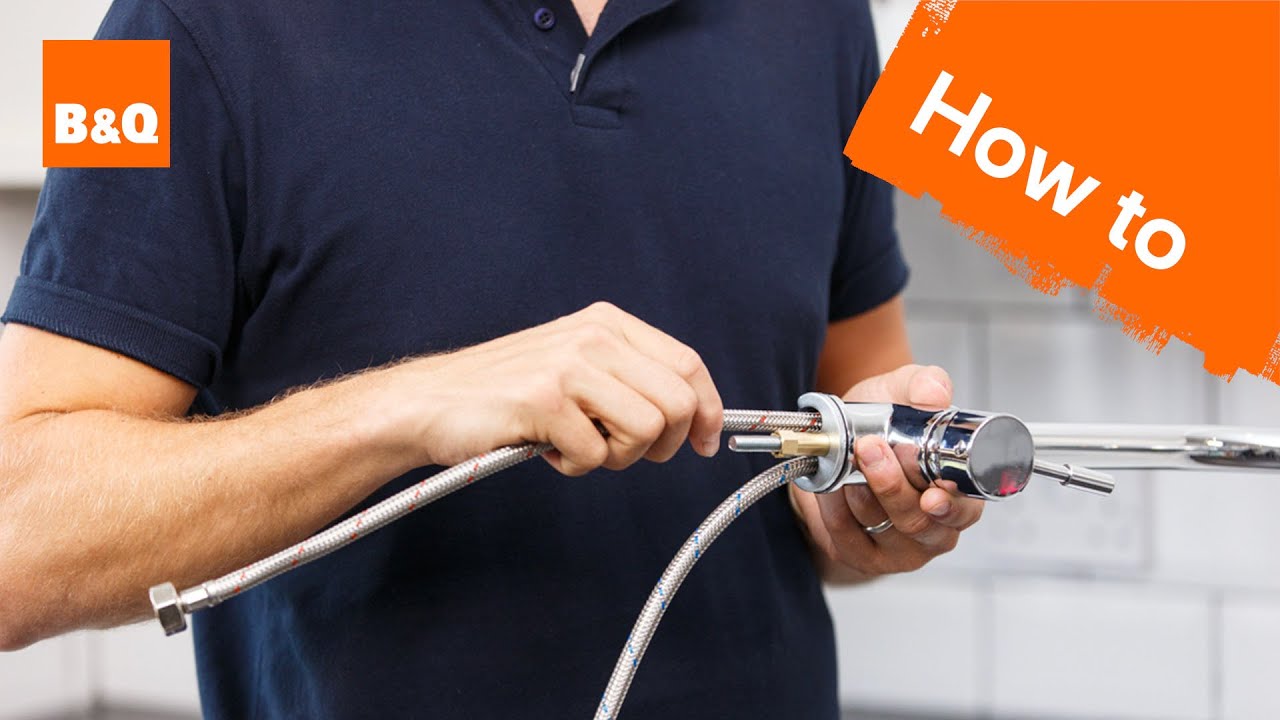
One of the most common reasons for needing to replace a kitchen sink sprayer is a faulty hose. If your sprayer is leaking or not working properly, it could be due to a damaged hose. To replace the sprayer hose, start by turning off the water supply to the sink. Then, unscrew the sprayer head from the hose and remove the old hose from the base of the sprayer. Next, attach the new hose to the sprayer and secure it with a wrench. Finally, attach the sprayer head to the new hose and turn the water supply back on. Your new sprayer should now be working properly.How to Replace a Kitchen Sink Sprayer Hose


How to Replace a Kitchen Sink Sprayer Hose

:max_bytes(150000):strip_icc()/installing-a-kitchen-sink-sprayer-2718817-03-514088ddb922466eb3d4cd73f3aa85f4.jpg)


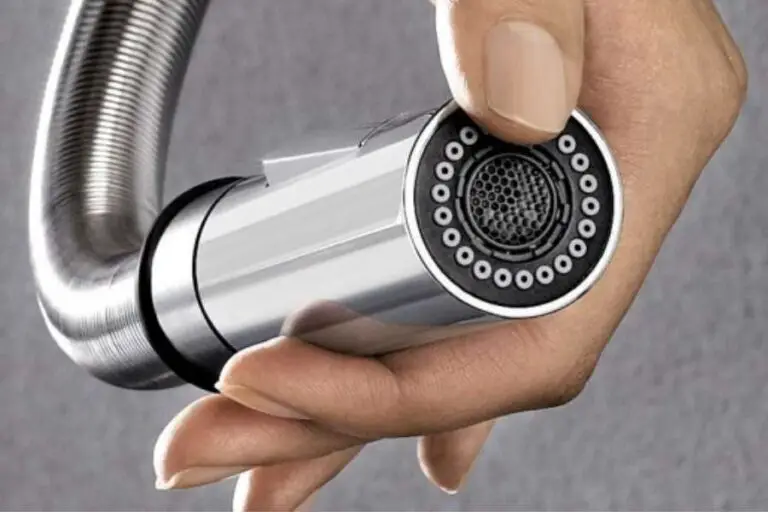
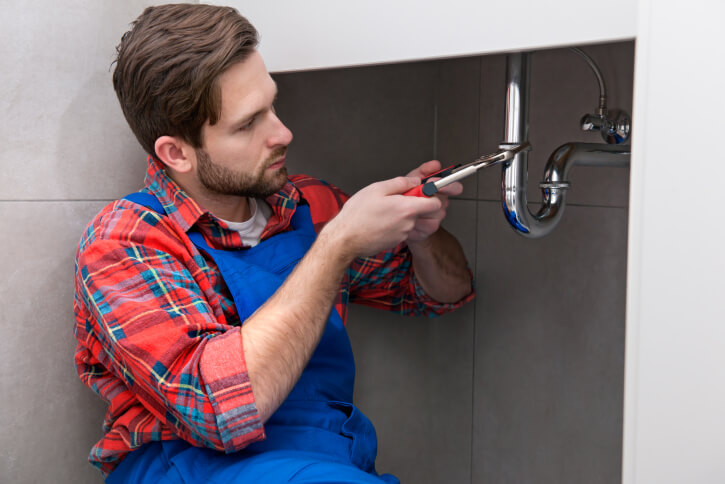
If your sprayer nozzle is clogged or damaged, it may need to be replaced. This can be done by unscrewing the old nozzle from the sprayer head and replacing it with a new one. Make sure to choose a nozzle that is compatible with your sprayer model to ensure proper functioning.Replacing a Kitchen Sink Sprayer Nozzle


Replacing a Kitchen Sink Sprayer Nozzle


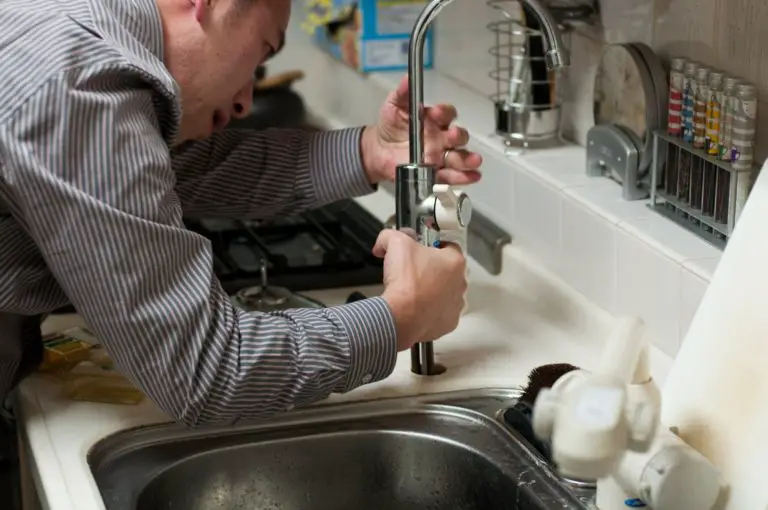
Replacing the entire sprayer head is also an option if you want to upgrade to a more modern or efficient model. This can be done by unscrewing the old sprayer head from the hose and attaching the new one. Make sure to choose a sprayer head that fits your sink and works with your existing plumbing.Replacing a Kitchen Sink Sprayer Head


Replacing a Kitchen Sink Sprayer Head


Replacing a kitchen sink sprayer can be done as a DIY project if you have the necessary tools and some basic plumbing knowledge. It is a relatively simple process that can save you time and money compared to hiring a professional. Just make sure to follow the steps carefully and turn off the water supply before starting the replacement process.DIY Kitchen Sink Sprayer Replacement


DIY Kitchen Sink Sprayer Replacement


Here is a step-by-step guide to replacing a kitchen sink sprayer:Step-by-Step Guide to Replacing a Kitchen Sink Sprayer


Step-by-Step Guide to Replacing a Kitchen Sink Sprayer


Here are the tools you will need to replace a kitchen sink sprayer:Tools Needed for Replacing a Kitchen Sink Sprayer


Tools Needed for Replacing a Kitchen Sink Sprayer


Here are some helpful tips for a successful kitchen sink sprayer replacement:Tips for Replacing a Kitchen Sink Sprayer


Tips for Replacing a Kitchen Sink Sprayer


While replacing a kitchen sink sprayer is a relatively simple task, there are some common problems that may arise during the process. These include:Common Problems When Replacing a Kitchen Sink Sprayer


Common Problems When Replacing a Kitchen Sink Sprayer

Deciding whether to hire a professional or do it yourself when it comes to replacing a kitchen sink sprayer ultimately depends on your skill level and comfort with plumbing tasks. While hiring a professional may ensure a smoother and quicker process, doing it yourself can save you money. Just make sure to carefully follow the steps and seek professional help if needed.Professional vs. DIY Kitchen Sink Sprayer Replacement


Professional vs. DIY Kitchen Sink Sprayer Replacement


Why Replacing Your Kitchen Sink Sprayer is a Must for Your Home Design

The Importance of a Functional Kitchen Sink Sprayer
 When it comes to the design and functionality of your kitchen, the sink is one of the most important elements. From washing dishes to rinsing produce, the sink is a crucial part of your daily routine. And when it comes to the sink, the sprayer is an essential component that helps make tasks easier and more efficient. That's why when your sprayer starts malfunctioning, it's important to replace it as soon as possible.
Signs that Your Sprayer Needs Replacing
 There are a few telltale signs that your kitchen sink sprayer needs to be replaced. The most obvious one is when it stops working altogether. If you're noticing a weak or inconsistent water flow from your sprayer, it's also a sign that it's time for a replacement. Another indication is if your sprayer is leaking, which not only wastes water but can also cause damage to your sink and surrounding areas over time.
The Benefits of Replacing Your Kitchen Sink Sprayer
 Replacing your kitchen sink sprayer can bring a host of benefits to your home design. First and foremost, it will improve the functionality of your sink, making daily tasks easier and more efficient. Secondly, a new sprayer can enhance the overall appearance of your sink, adding a sleek and modern touch. Additionally, a new sprayer can help conserve water and save money on your water bill, as old and faulty sprayers can waste a significant amount of water.
How to Replace Your Kitchen Sink Sprayer
 Replacing your kitchen sink sprayer may sound like a daunting task, but it's actually a simple and straightforward process. First, turn off the water supply to your sink. Then, disconnect the old sprayer by unscrewing it from the hose and removing any mounting hardware. Next, attach the new sprayer to the hose and secure it with mounting hardware. Finally, turn the water supply back on and test the new sprayer to ensure it's working properly.
In conclusion, replacing your kitchen sink sprayer is not only important for the functionality and appearance of your sink, but also for water conservation and cost-saving. By following these simple steps, you can easily upgrade your kitchen design and make daily tasks in the kitchen more efficient.
Replacing your kitchen sink sprayer may sound like a daunting task, but it's actually a simple and straightforward process. First, turn off the water supply to your sink. Then, disconnect the old sprayer by unscrewing it from the hose and removing any mounting hardware. Next, attach the new sprayer to the hose and secure it with mounting hardware. Finally, turn the water supply back on and test the new sprayer to ensure it's working properly.
In conclusion, replacing your kitchen sink sprayer is not only important for the functionality and appearance of your sink, but also for water conservation and cost-saving. By following these simple steps, you can easily upgrade your kitchen design and make daily tasks in the kitchen more efficient.