Replacing caulk on an undermount kitchen sink may seem like a daunting task, but with the right tools and techniques, it can be a simple and cost-effective DIY project. In this guide, we will walk you through the steps of replacing caulk on an undermount kitchen sink and provide you with tips for preventing future leaks.How to Replace Caulk on an Undermount Kitchen Sink


How to Replace Caulk on an Undermount Kitchen Sink


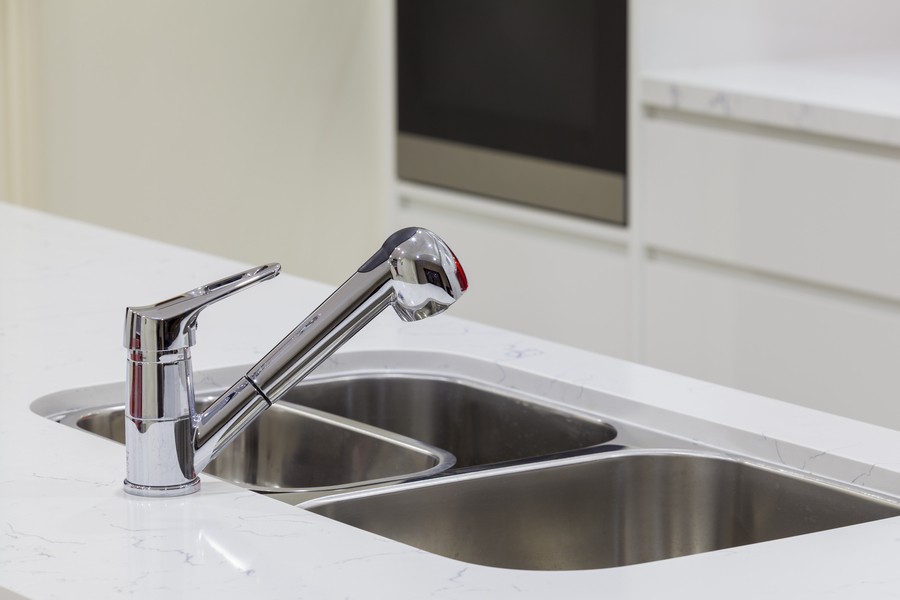
A leaking undermount kitchen sink can be a major inconvenience, causing damage to your cabinets and potentially leading to mold growth. The most common cause of a leaking undermount kitchen sink is old or damaged caulk. If you notice water pooling around your sink or dripping into your cabinets, it's time to replace the caulk.How to Fix a Leaking Undermount Kitchen Sink


How to Fix a Leaking Undermount Kitchen Sink


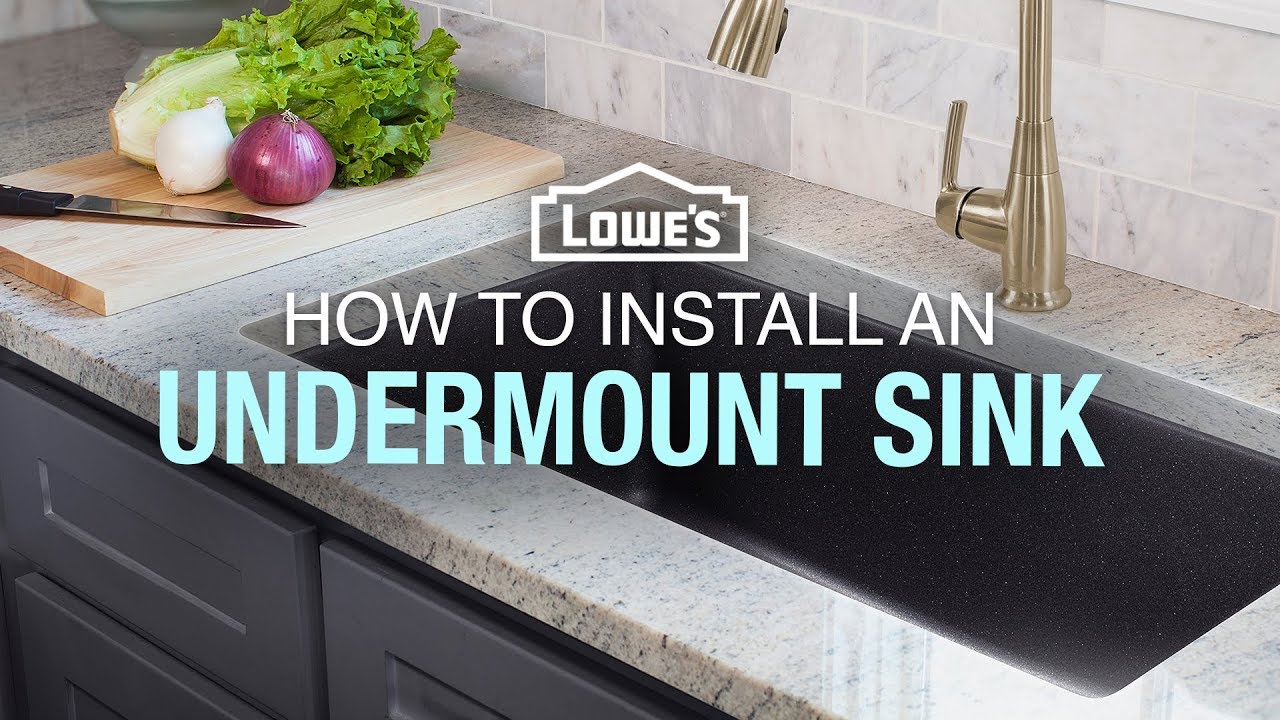
Replacing caulk on an undermount kitchen sink is a relatively easy and inexpensive DIY project. All you need is a few basic tools and materials, including a caulk gun, caulk remover, new caulk, and a putty knife. With these tools, you can easily remove the old caulk and apply a new, watertight seal.DIY Undermount Kitchen Sink Caulk Replacement


DIY Undermount Kitchen Sink Caulk Replacement


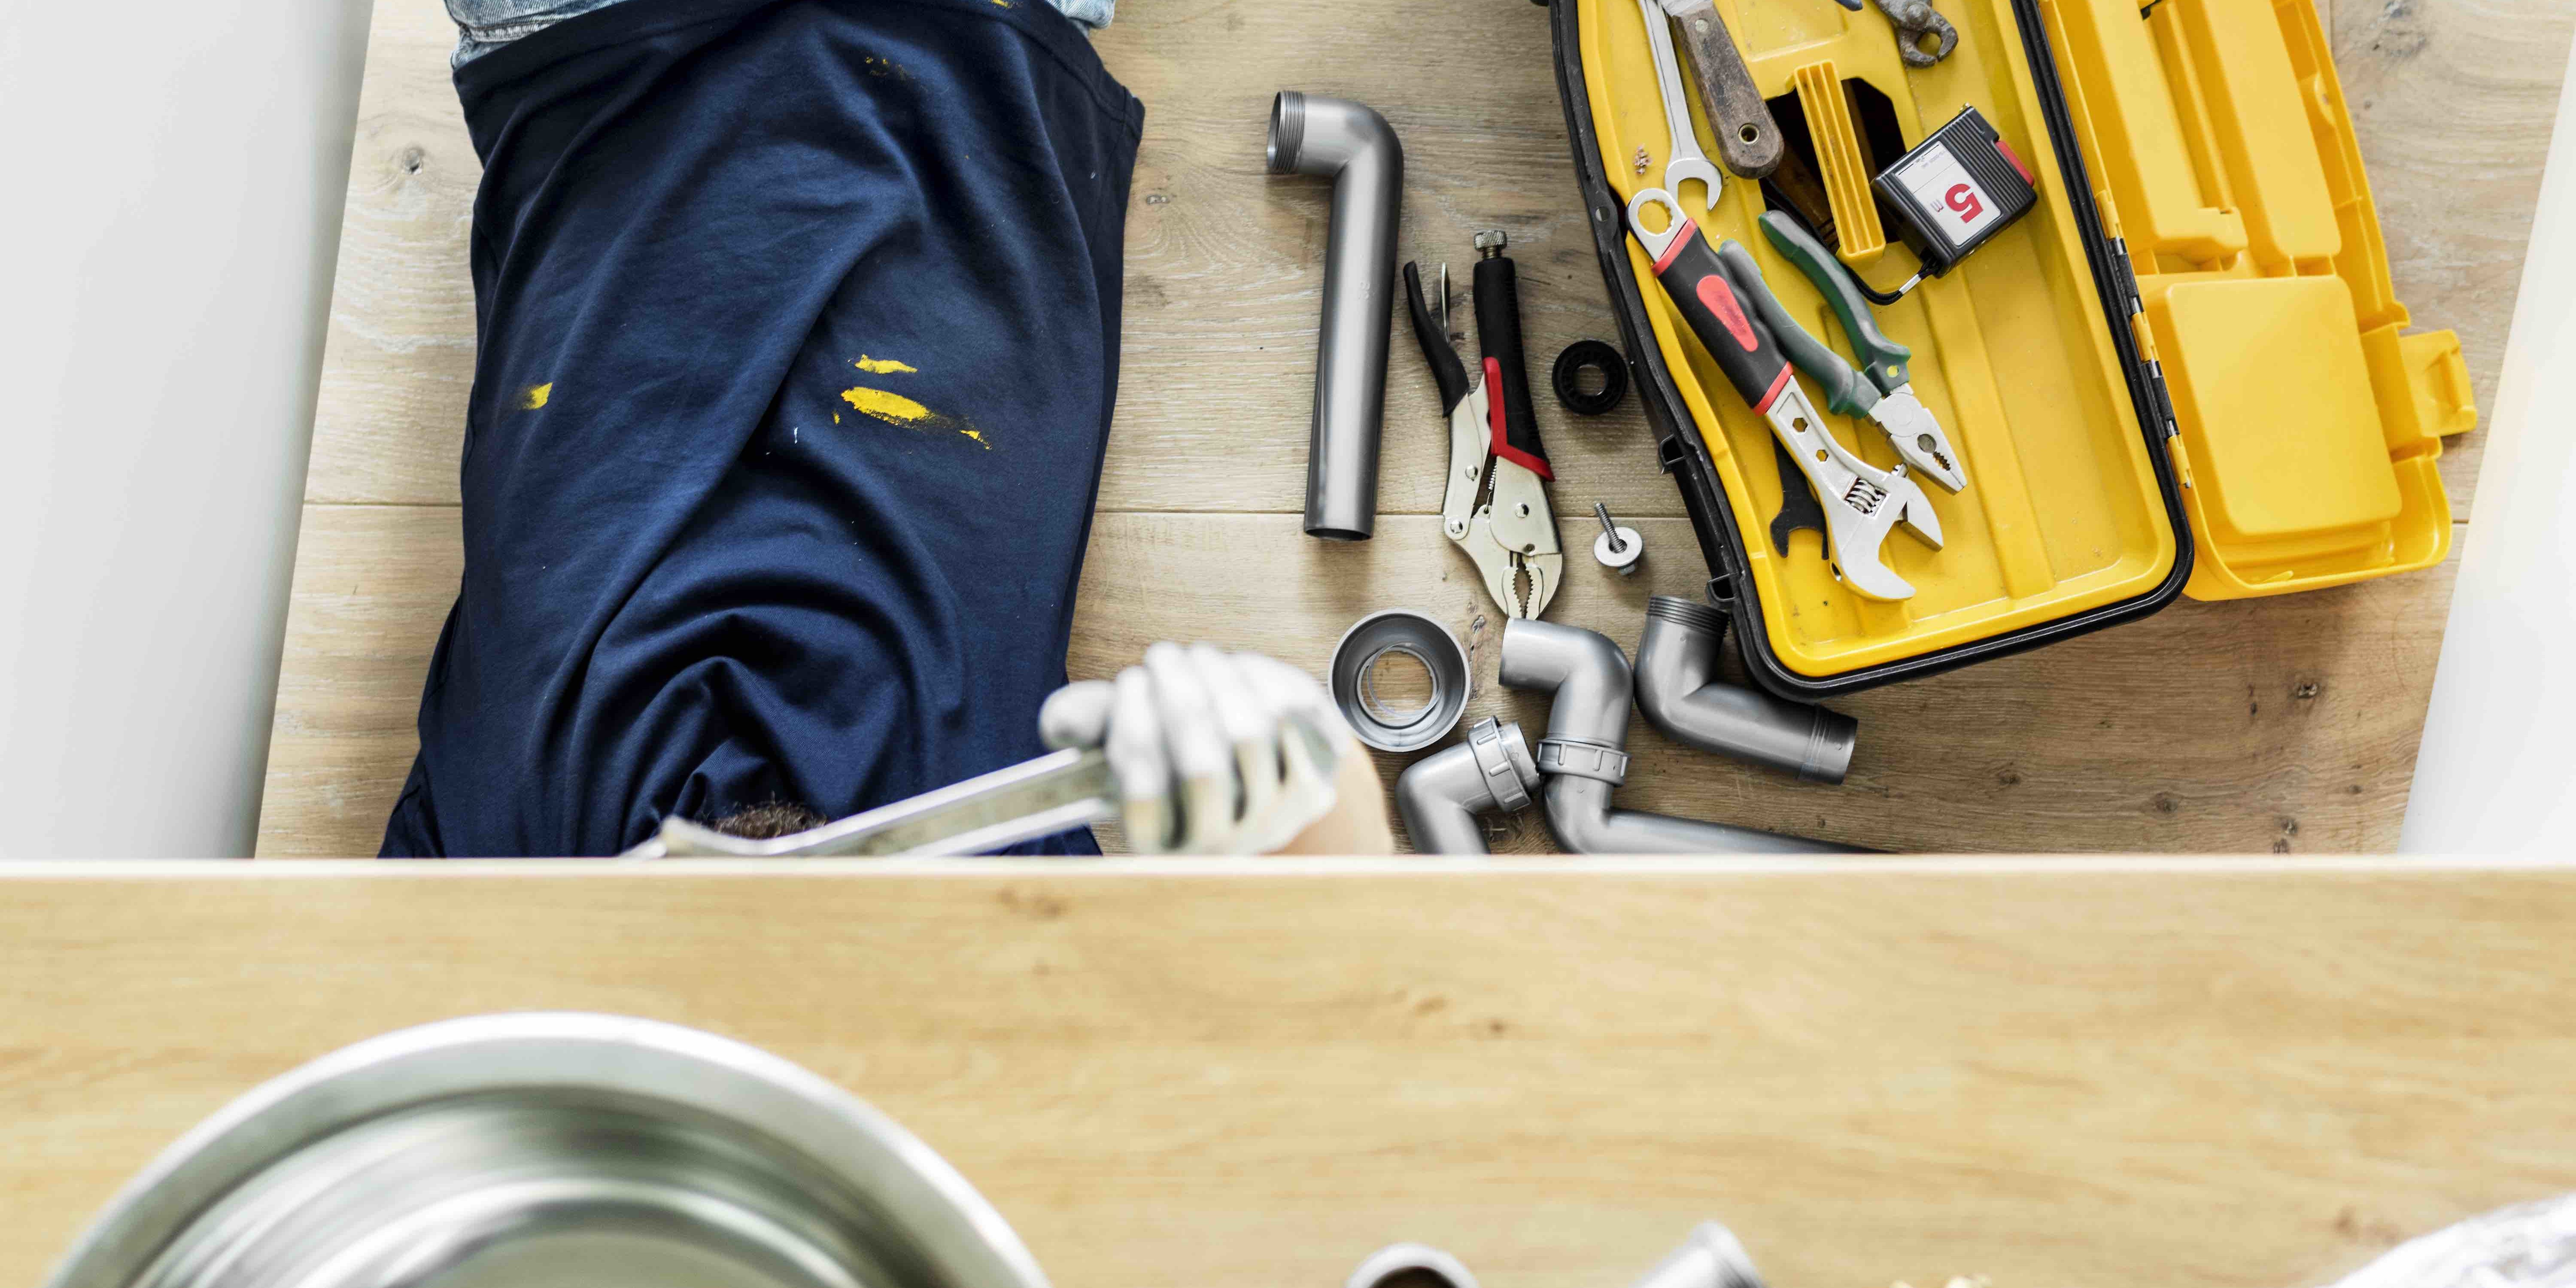
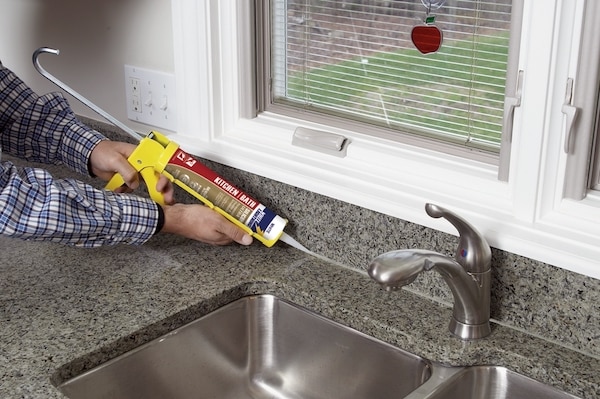
Step 1: Remove the old caulk. Use a caulk remover or a razor blade to carefully scrape away the old caulk. Be sure to remove all traces of the old caulk to ensure a clean surface for the new caulk to adhere to. Step 2: Clean the surface. Use a mild cleaner and a sponge to thoroughly clean the area where the caulk will be applied. This will remove any remaining residue and ensure a strong bond for the new caulk. Step 3: Apply the new caulk. Load your caulk gun with the new caulk and apply a thin, even bead along the joint where the sink meets the countertop. Use a wet finger or a caulk smoothing tool to smooth out the caulk and create a clean, straight line. Step 4: Let it dry. Allow the caulk to dry for at least 24 hours before using your sink. This will ensure that the caulk has fully cured and is waterproof.Step-by-Step Guide for Replacing Caulk on an Undermount Kitchen Sink


Step-by-Step Guide for Replacing Caulk on an Undermount Kitchen Sink


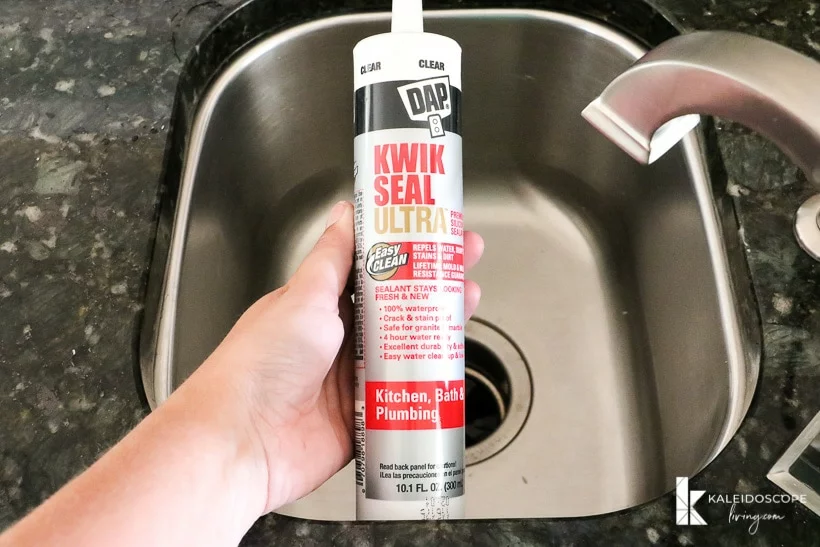


When it comes to choosing the best caulk for undermount kitchen sink repair, there are a few options to consider. Silicone caulk is a popular choice for its durability and flexibility, making it ideal for use in a kitchen where there is constant water exposure. Acrylic caulk is another good option, as it is easy to work with and can be painted over to match your sink and countertop.Best Caulk for Undermount Kitchen Sink Repair


Best Caulk for Undermount Kitchen Sink Repair


.jpg)


Aside from old or damaged caulk, there are a few other common causes of leaking undermount kitchen sinks. Poor installation, shifting of the sink or countertop, and loose plumbing connections can all lead to leaks. It's important to address any of these issues promptly to prevent further damage.Common Causes of Leaking Undermount Kitchen Sinks

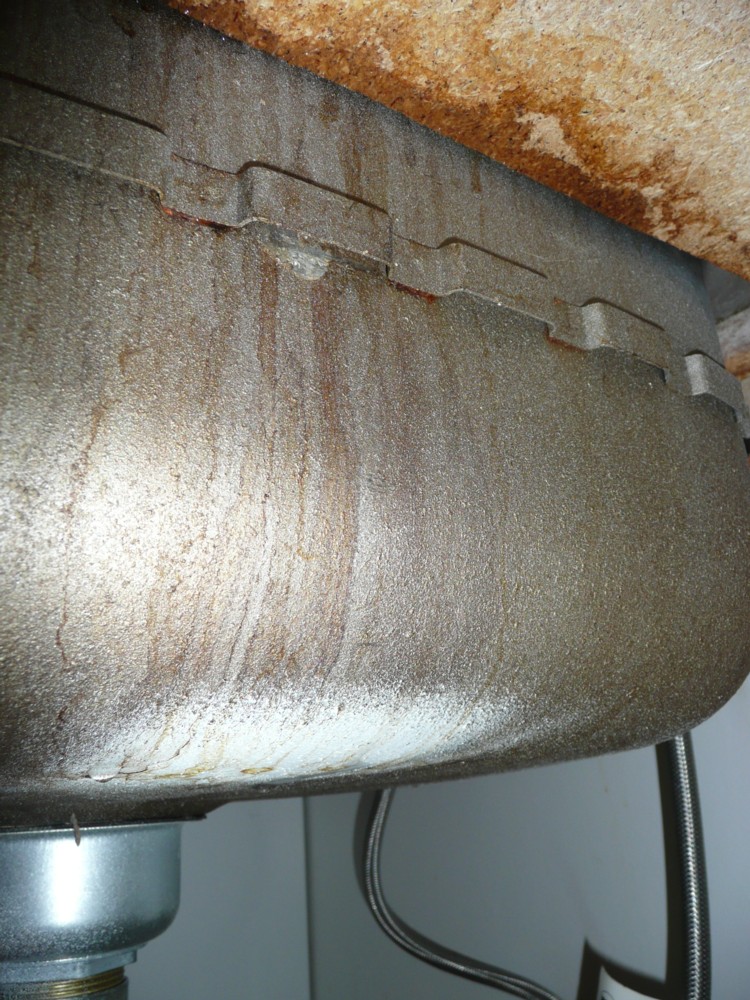
Common Causes of Leaking Undermount Kitchen Sinks


To prevent caulk from leaking on your undermount kitchen sink in the future, follow these tips: 1. Use the right caulk: As mentioned earlier, silicone or acrylic caulk are the best options for undermount kitchen sinks. 2. Clean and dry the surface: Before applying caulk, make sure the surface is clean and dry to ensure a strong bond. 3. Use a caulk smoothing tool: A caulk smoothing tool can help create a clean, straight line of caulk for a professional-looking finish. 4. Check for leaks regularly: Keep an eye out for any signs of leaks and address them promptly to prevent further damage.Tips for Preventing Caulk from Leaking on Undermount Kitchen Sinks


Tips for Preventing Caulk from Leaking on Undermount Kitchen Sinks


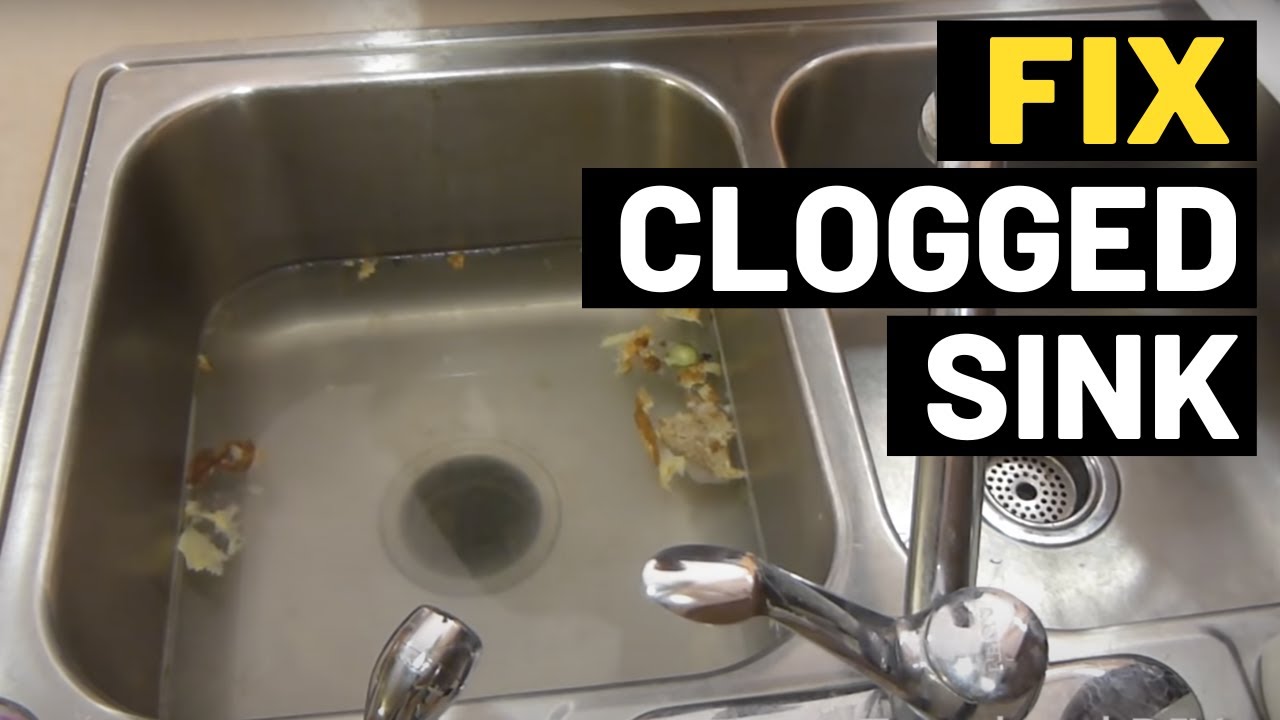
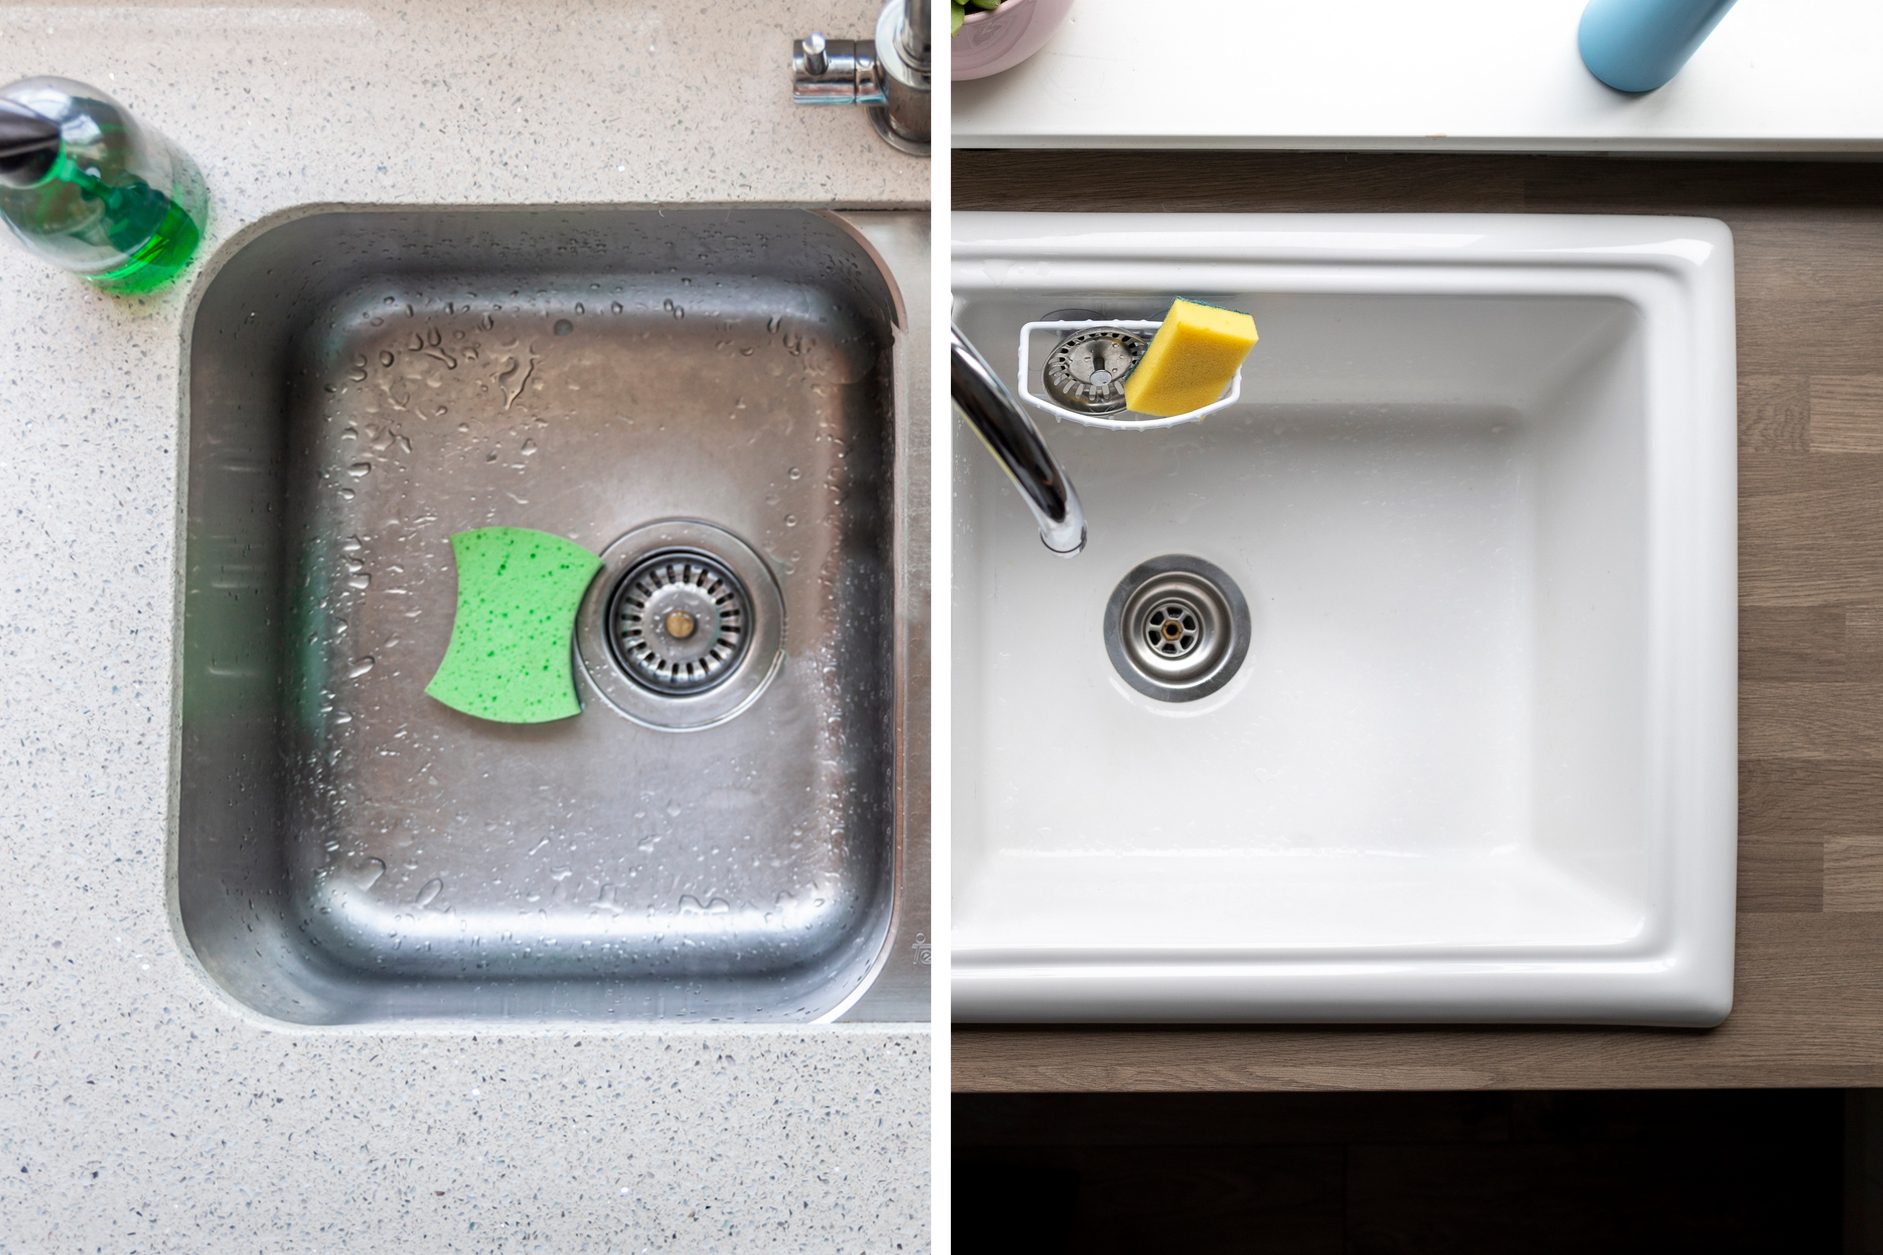
If you're looking to replace the caulk on your undermount kitchen sink, you'll first need to remove the old caulk. Here's how: 1. Use a caulk remover: A caulk remover is a chemical solution that will soften the old caulk, making it easier to remove with a putty knife or razor blade. 2. Scrape away the old caulk: Carefully scrape away the old caulk with a putty knife or razor blade. Be sure to remove all traces of the old caulk to ensure a clean surface for the new caulk to adhere to. 3. Clean the surface: Use a mild cleaner and a sponge to thoroughly clean the area where the caulk will be applied.How to Remove Old Caulk from an Undermount Kitchen Sink


How to Remove Old Caulk from an Undermount Kitchen Sink
:max_bytes(150000):strip_icc()/how-to-remove-old-caulk-1824827-01-3d0370c59e124dbbaa6560c68bab111c.jpg)


When it comes to sealing the caulk on an undermount kitchen sink, there are a few techniques you can use for a professional-looking finish. One option is to use a wet finger to smooth out the caulk and create a clean, straight line. Another option is to use a caulk smoothing tool, which is specifically designed for this purpose.Sealing Techniques for Undermount Kitchen Sink Caulk Replacement


Sealing Techniques for Undermount Kitchen Sink Caulk Replacement


Hiring a professional to replace caulk on an undermount kitchen sink can be costly, but it may be the best option if you lack the necessary tools or experience. However, with the right tools and techniques, replacing caulk on an undermount kitchen sink can be a simple and cost-effective DIY project. With the step-by-step guide and tips outlined above, you should now feel confident in your ability to replace caulk on an undermount kitchen sink. Remember to use the right caulk, clean the surface thoroughly, and check for leaks regularly to keep your kitchen sink in top condition. Happy caulking!Professional vs. DIY Undermount Kitchen Sink Caulk Replacement

Professional vs. DIY Undermount Kitchen Sink Caulk Replacement


Why Replacing Leaking Caulk on an Undermount Kitchen Sink is Important for Your House Design

Understanding the Purpose of Caulk in House Design
 Caulk is a flexible, waterproof material that is commonly used in house design for sealing gaps and joints. It is typically made from silicone, latex, or acrylic and comes in a variety of colors to match different surfaces. The purpose of caulk is to prevent water and air from seeping into cracks and crevices, which can cause damage to the structure of your house. It also helps to improve the overall appearance of your house by creating a clean and seamless finish.
Replacing Leaking Caulk on an Undermount Kitchen Sink
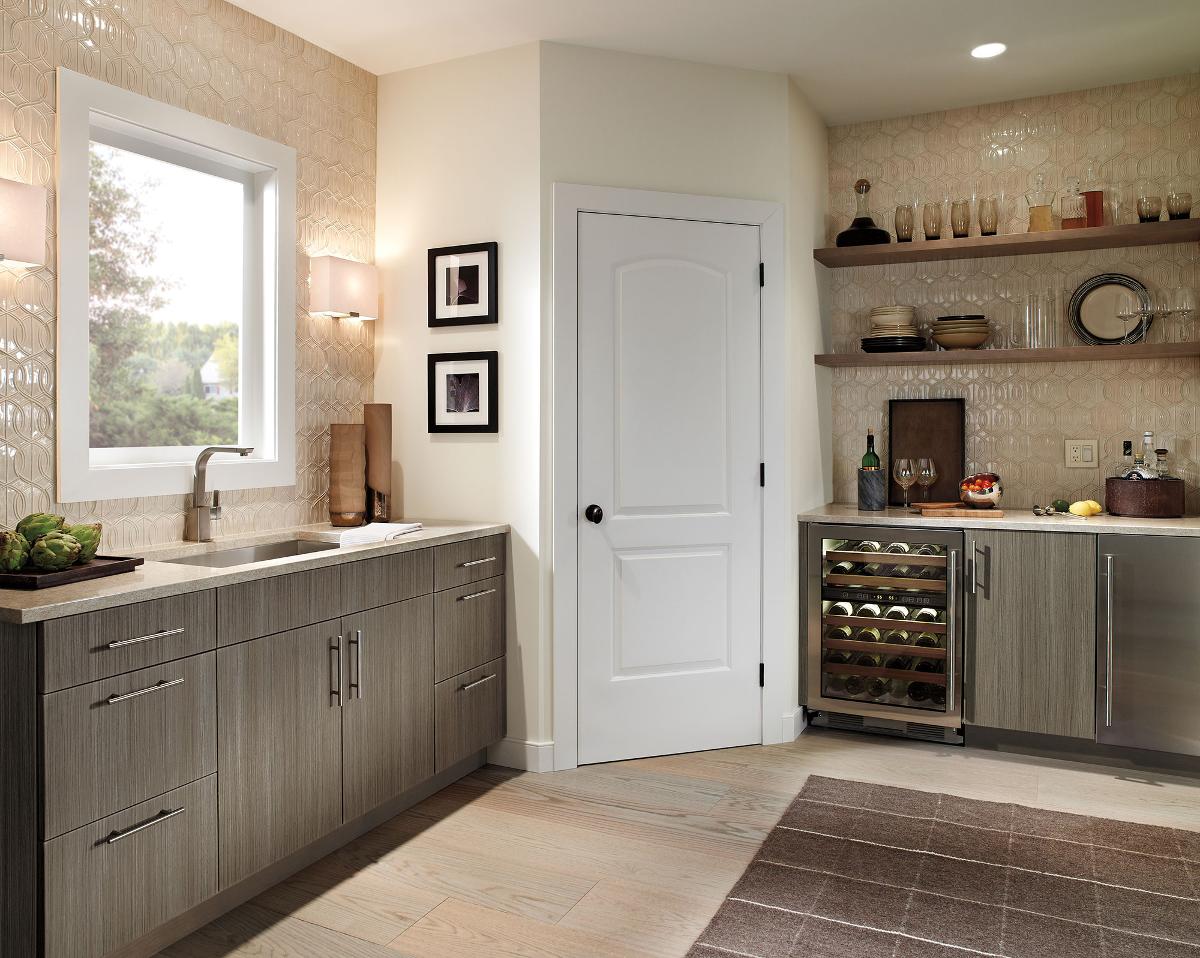
One area of the house where caulk is especially important is the kitchen, particularly around the undermount sink. This type of sink is installed underneath the countertop, creating a sleek and seamless look. However, the area where the sink meets the countertop is vulnerable to water damage and can easily become a breeding ground for mold and mildew if the caulk is not properly maintained.
Signs that Your Caulk Needs to be Replaced
If you notice water seeping into the area around your undermount kitchen sink, or if the caulk appears cracked or discolored, it is time to replace it. Ignoring these signs can lead to more serious issues such as water damage, which can be costly to repair. Additionally, old and damaged caulk can be a breeding ground for bacteria and mold, which can affect the air quality in your kitchen and pose a health hazard to you and your family.
Caulk is a flexible, waterproof material that is commonly used in house design for sealing gaps and joints. It is typically made from silicone, latex, or acrylic and comes in a variety of colors to match different surfaces. The purpose of caulk is to prevent water and air from seeping into cracks and crevices, which can cause damage to the structure of your house. It also helps to improve the overall appearance of your house by creating a clean and seamless finish.
Replacing Leaking Caulk on an Undermount Kitchen Sink
One area of the house where caulk is especially important is the kitchen, particularly around the undermount sink. This type of sink is installed underneath the countertop, creating a sleek and seamless look. However, the area where the sink meets the countertop is vulnerable to water damage and can easily become a breeding ground for mold and mildew if the caulk is not properly maintained.
Signs that Your Caulk Needs to be Replaced
If you notice water seeping into the area around your undermount kitchen sink, or if the caulk appears cracked or discolored, it is time to replace it. Ignoring these signs can lead to more serious issues such as water damage, which can be costly to repair. Additionally, old and damaged caulk can be a breeding ground for bacteria and mold, which can affect the air quality in your kitchen and pose a health hazard to you and your family.
The Importance of Professional Replacement
 While it may seem like a simple task, replacing caulk on an undermount kitchen sink requires precision and expertise to ensure a proper seal. Hiring a professional house design expert to handle this task can save you time, money, and potential headaches in the long run. A professional will have the necessary tools and experience to remove the old caulk and apply a fresh, clean seal that will not only improve the appearance of your kitchen but also protect it from potential water damage.
Final Thoughts
In conclusion, replacing leaking caulk on an undermount kitchen sink is an important aspect of house design that should not be overlooked. Not only does it improve the appearance of your kitchen, but it also protects your house from potential water damage and promotes a healthy living environment. By understanding the purpose of caulk and recognizing when it needs to be replaced, you can ensure the longevity and functionality of your house. So, don't wait until it's too late – make sure to regularly check and replace the caulk in your undermount kitchen sink to maintain the overall integrity of your house design.
While it may seem like a simple task, replacing caulk on an undermount kitchen sink requires precision and expertise to ensure a proper seal. Hiring a professional house design expert to handle this task can save you time, money, and potential headaches in the long run. A professional will have the necessary tools and experience to remove the old caulk and apply a fresh, clean seal that will not only improve the appearance of your kitchen but also protect it from potential water damage.
Final Thoughts
In conclusion, replacing leaking caulk on an undermount kitchen sink is an important aspect of house design that should not be overlooked. Not only does it improve the appearance of your kitchen, but it also protects your house from potential water damage and promotes a healthy living environment. By understanding the purpose of caulk and recognizing when it needs to be replaced, you can ensure the longevity and functionality of your house. So, don't wait until it's too late – make sure to regularly check and replace the caulk in your undermount kitchen sink to maintain the overall integrity of your house design.