Replacing Your Kitchen Sink: A Step-by-Step Guide
Replacing your kitchen sink can be a daunting task, but with the right tools and knowledge, it can be a DIY project that you can tackle. Whether you're looking to upgrade your sink for aesthetic reasons or because your old one is damaged, it's important to know the steps involved in the process. In this article, we'll go over the top 10 things you need to know when replacing your kitchen sink.
1. Gather Your Tools
The first step in any DIY project is to gather all the necessary tools. For replacing a kitchen sink, you will need a basin wrench, adjustable wrench, pliers, putty knife, silicone caulk, and a hacksaw. Make sure to also have a bucket and rags on hand for any water spills.
2. Turn Off the Water Supply
Before starting any work, make sure to turn off the water supply to your sink. This can usually be done by shutting off the valves under the sink or turning off the main water supply to your house.
3. Disconnect the Pipes
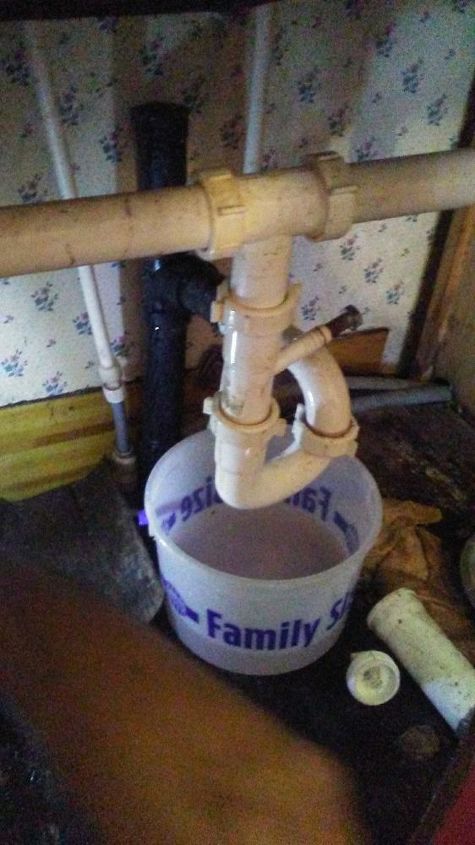
Using your pliers, disconnect the water supply lines from the faucet. Then, using your basin wrench, loosen and remove the nuts connecting the drain pipes to the sink. Place a bucket under the pipes to catch any water that may spill out.
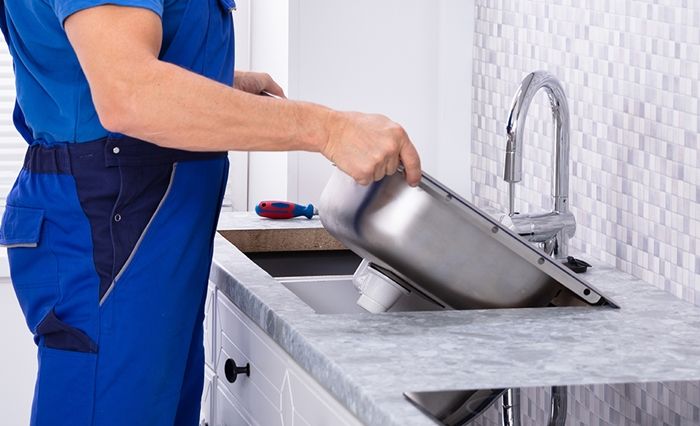
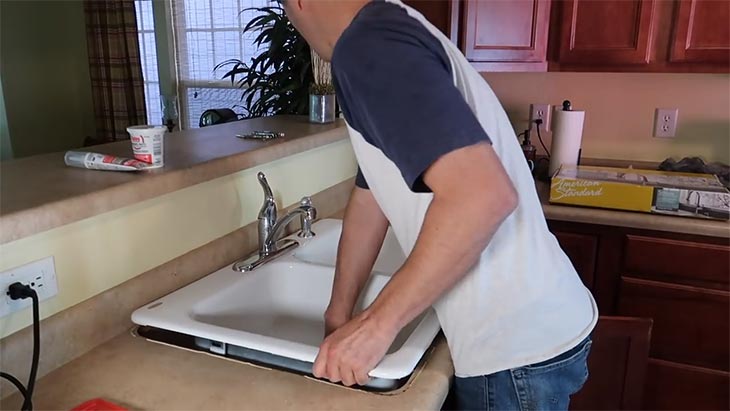
4. Remove the Old Sink
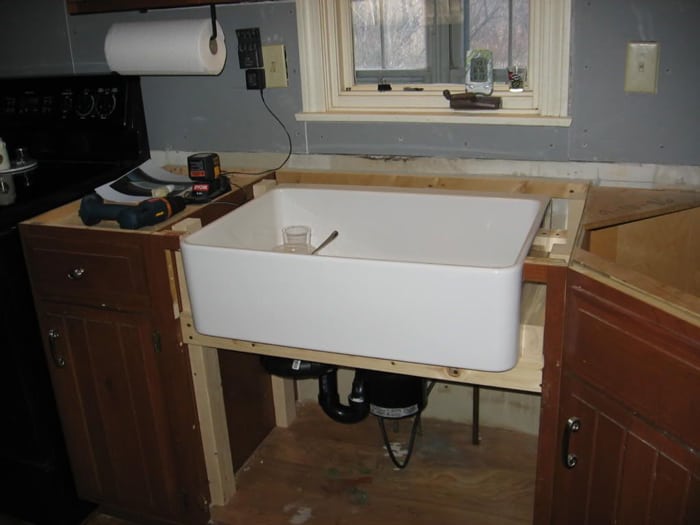
Once the pipes are disconnected, use a putty knife to loosen the caulk around the edges of the sink. Then, with the help of a friend, carefully lift the sink out of the counter and set it aside.
5. Measure and Cut the Opening
Measure the opening in your counter and use a hacksaw to cut it to fit your new sink. Double check the measurements before cutting to ensure a perfect fit.
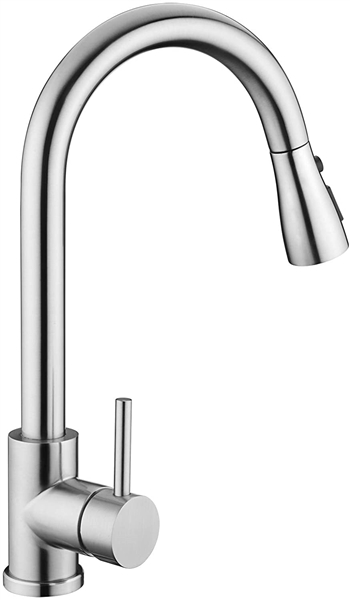
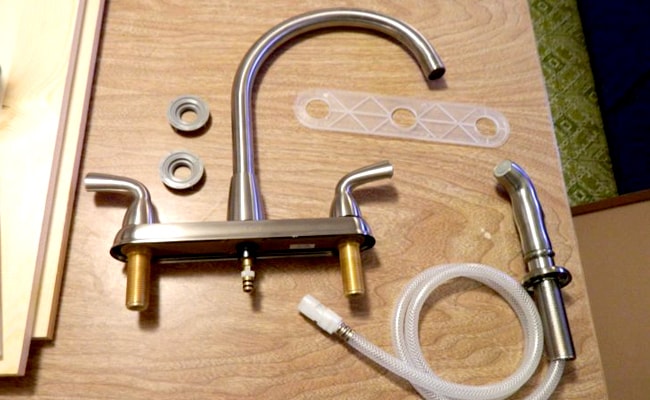
6. Install the Faucet
Before installing the sink, it's important to install the faucet first. Follow the manufacturer's instructions to install the new faucet, making sure to use plumbers tape to secure the connections.
7. Apply Silicone Caulk
Using silicone caulk, apply a thick bead around the edges of the opening in your counter. This will create a watertight seal and prevent any leaks.
8. Install the New Sink
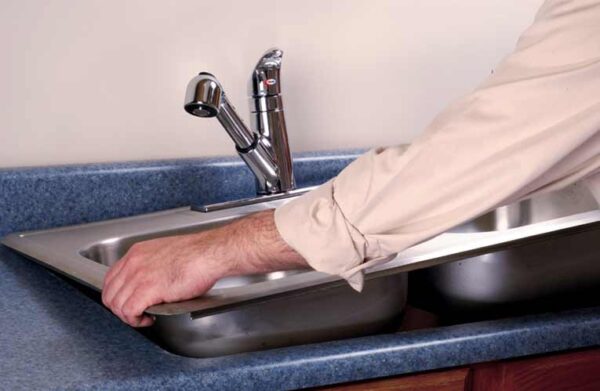
With the help of a friend, carefully lift the new sink into place and press it firmly onto the silicone caulk. Wipe away any excess caulk that may have squeezed out from the edges.
9. Reconnect the Pipes
Using your basin wrench, reconnect the drain pipes and water supply lines to the new sink. Double check that all connections are tight and secure.
10. Turn the Water Supply Back On
Once all the connections are made, turn the water supply back on and check for any leaks. If there are any, tighten the connections until they are secure.
And there you have it! You have successfully replaced your kitchen sink. Remember to clean up any mess and enjoy your new and improved kitchen sink.
Conclusion
Replacing a kitchen sink may seem like a daunting task, but with the right tools and knowledge, it can be a DIY project that you can tackle. By following these 10 steps, you can have a new and improved sink in no time. Remember to always turn off the water supply before starting any work and to double check all connections for leaks. Happy renovating!
Why Replacing Your Kitchen Sink's Old Fasteners is Important for Your House Design

The Role of Kitchen Sink Fasteners
 When it comes to house design, the kitchen is considered one of the most important areas. It is not only a place where you cook and prepare meals, but it also serves as a gathering spot for family and friends. Therefore, it is crucial to have a functional and aesthetically pleasing kitchen. One essential component of a kitchen is the sink, and its fasteners play a significant role in keeping it secure and stable.
Fasteners
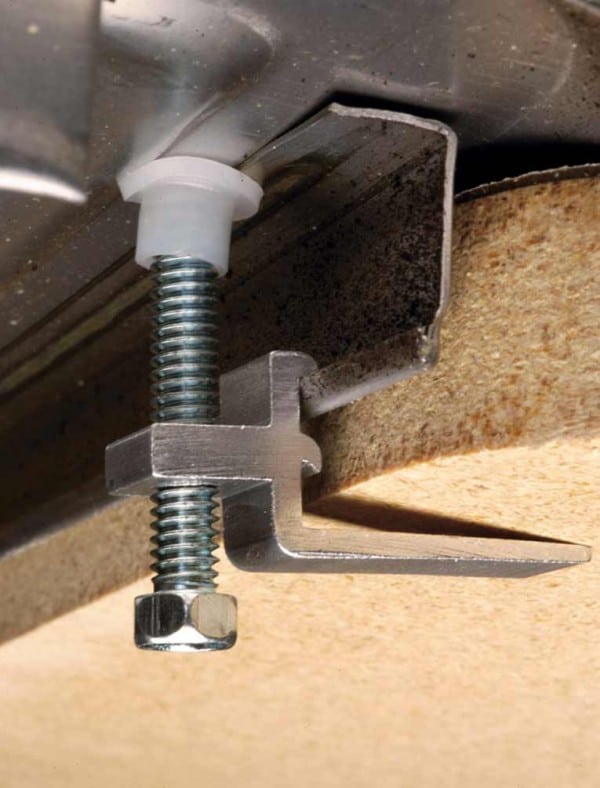
are the small pieces of hardware that hold the sink in place, ensuring that it does not move or shift. Over time, these fasteners can become worn out and need to be replaced. In this article, we will discuss why it is essential to replace your kitchen sink's old fasteners.
Prevents Leaks and Water Damage
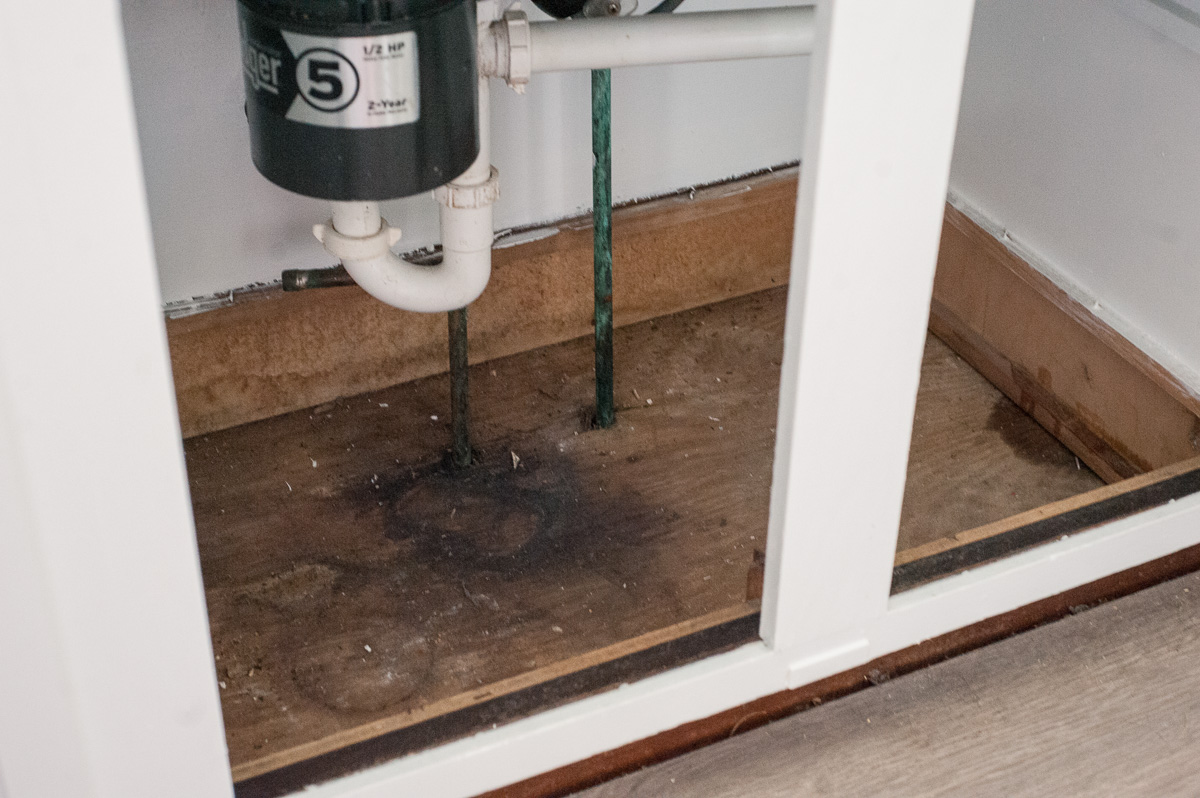
 The primary purpose of fasteners is to keep the sink in place and prevent it from moving. When these fasteners become old and worn out, they can loosen, causing the sink to shift or even detach from the countertop. This movement can lead to leaks and water damage, which can be costly to repair. Not only can it damage your kitchen cabinets and flooring, but it can also create a breeding ground for mold and mildew. By
replacing
the old fasteners, you can ensure that your sink remains secure and avoid any potential water damage.
Improves Aesthetics and Functionality
 Old and rusted fasteners not only pose a risk for leaks and water damage, but they can also detract from the overall appearance of your kitchen. As the fasteners become worn out, they can cause the sink to become lopsided or uneven, affecting the functionality of your sink. This can make it difficult to wash dishes, and the constant movement can also damage your sink and countertop. By replacing the fasteners, you can improve the aesthetics and functionality of your kitchen sink, making it more enjoyable to use.
Ensures Safety and Longevity
 Aside from preventing leaks and improving the appearance of your kitchen, replacing old fasteners also ensures the safety and longevity of your sink. As the fasteners become loose, the sink can become unstable, posing a safety hazard. This is especially dangerous if you have young children who may accidentally pull on the sink. Additionally, replacing the fasteners can extend the life of your sink, as it helps maintain its structural integrity.
In Conclusion
 In conclusion,
replacing
your kitchen sink's old fasteners is crucial for not only the aesthetics and functionality of your kitchen but also for the safety and longevity of your sink. By regularly checking and replacing these small but essential pieces of hardware, you can ensure that your kitchen remains in top condition and avoid any potential water damage or accidents.













/iStock-459232917-min.jpg)



:max_bytes(150000):strip_icc()/how-to-install-a-sink-drain-2718789-04-5715d67f5b7d41429d42bf705bb70e2c.jpg)
/water-pipe-under-kitchen-sink-980755656-3ec7719515ab4e269908381b760f7366.jpg)

/installing-a-kitchen-sink-sprayer-2718817-hero-2b7047468d594da6be2494ba0eebb480.jpg)
