Are you tired of dealing with a leaky faucet every time you wash dishes or brush your teeth? If so, it may be time to replace your old Delta kitchen sink faucet stem. This may seem like a daunting task, but with the right tools and a little bit of know-how, you can easily replace your faucet stem and enjoy a leak-free sink once again.How to Replace a Delta Kitchen Sink Faucet Stem
Before we dive into the step-by-step guide for replacing a Delta kitchen sink faucet stem, it's important to understand why you may need to do this in the first place. Over time, the internal parts of your faucet can wear out and cause leaks. One of the most common causes of a leaky faucet is a faulty faucet stem, which is responsible for controlling the flow of water. If your faucet is leaking even when it's turned off, it's likely that the faucet stem needs to be replaced.Replacing a Delta Kitchen Sink Faucet Stem
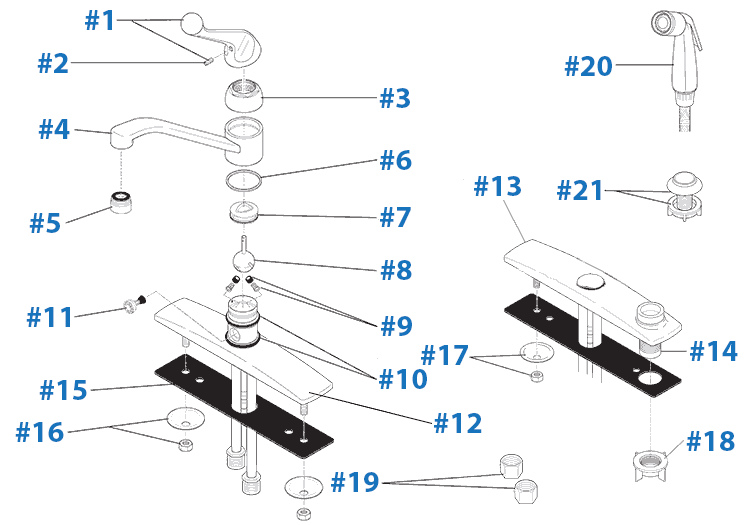
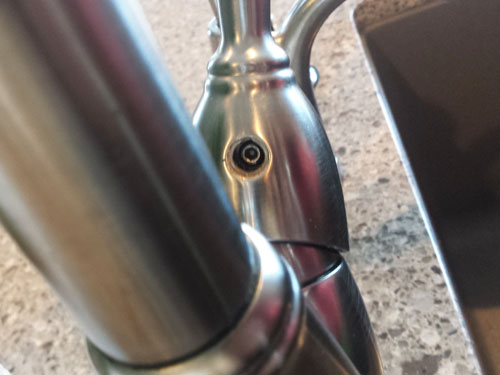
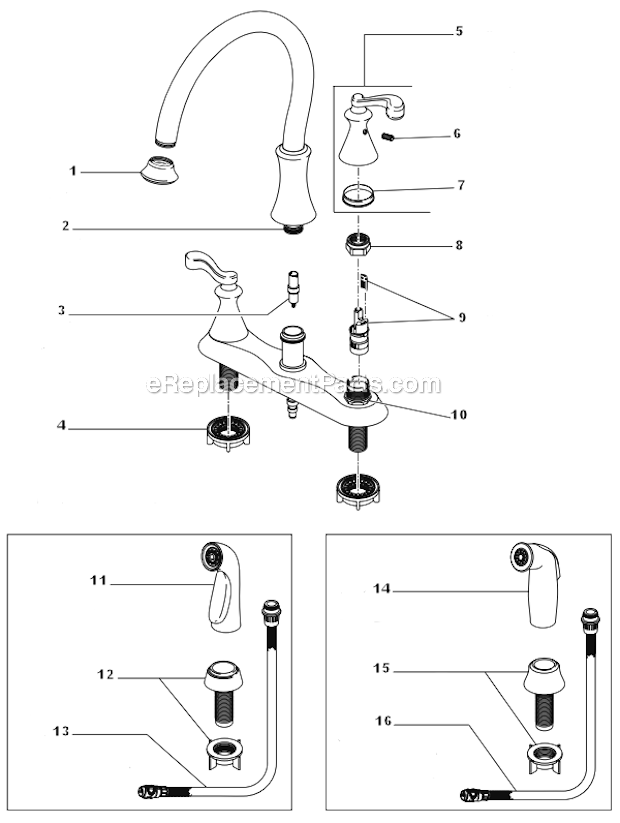
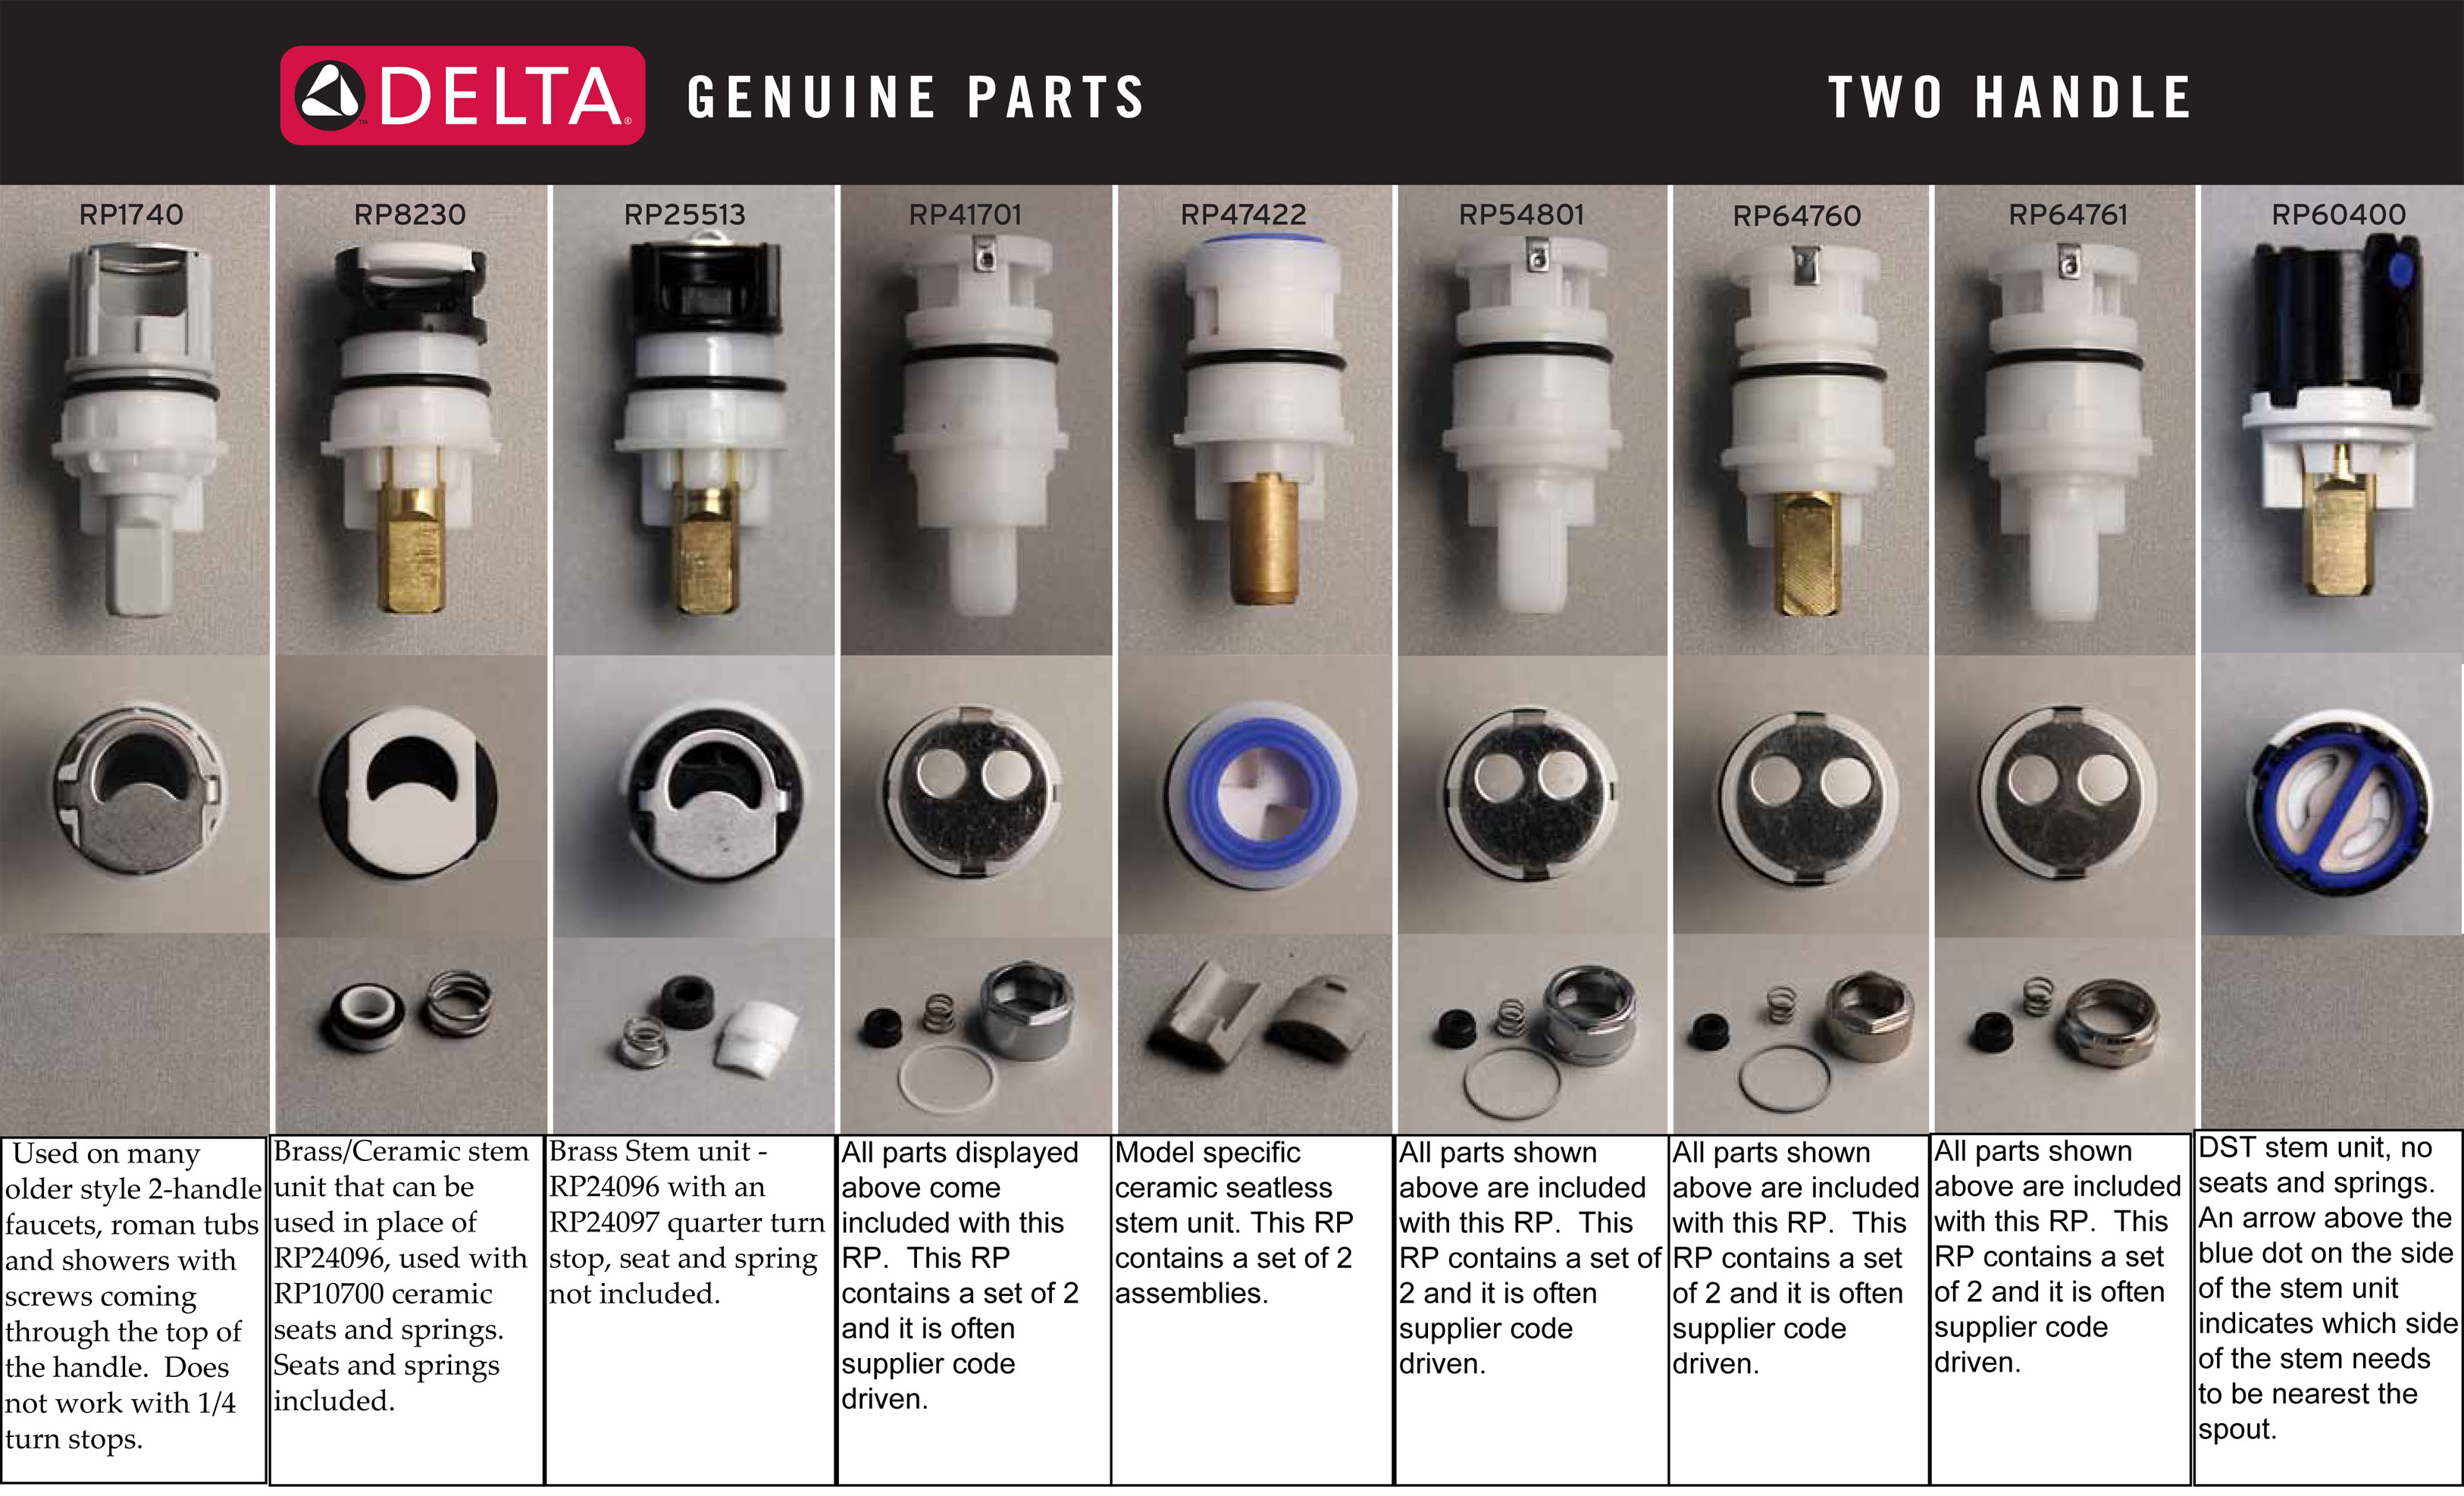
Replacing a Delta kitchen sink faucet stem is a relatively simple process that can be completed in just a few steps. Here's a detailed guide to help you through the process: Step 1: Gather Your Tools and Materials Before you begin, make sure you have all the necessary tools and materials on hand. You will need an adjustable wrench, a screwdriver, pliers, a new Delta faucet stem, and plumber's tape. It's also a good idea to have a towel or rag nearby to clean up any spills. Step 2: Turn Off the Water Supply Before you start working on your faucet, you'll need to turn off the water supply. Look for the shut-off valves located under your sink and turn them off by turning the handles clockwise. If you don't have shut-off valves, you'll need to turn off the main water supply to your house. Step 3: Remove the Handle and Cap Using your screwdriver, remove the screw that holds the handle in place. Once the screw is removed, you can lift off the handle and the cap that sits beneath it. If the cap is stuck, you can use pliers to gently loosen it. Step 4: Remove the Nut and Washer Next, use your adjustable wrench to loosen and remove the nut and washer that hold the faucet stem in place. Set these aside and carefully remove the old faucet stem. Step 5: Install the New Faucet Stem Using plumber's tape, wrap the threads of the new faucet stem to ensure a tight seal. Then, carefully insert the stem into the opening in the faucet body. Make sure it sits flush and secure it in place with the nut and washer. Step 6: Reattach the Cap and Handle Place the cap back on the faucet and secure it with the screw. Then, carefully place the handle back on top and secure it with the screw as well. Make sure the handle is in the off position before turning the water supply back on. Step 7: Turn the Water Supply Back On Once everything is securely in place, you can turn the water supply back on. Check for any leaks and make sure the handle turns smoothly to control the flow of water.Step-by-Step Guide for Replacing a Delta Kitchen Sink Faucet Stem
Replacing a Delta kitchen sink faucet stem is a DIY task that can save you time and money. By following the steps outlined above, you can easily replace your old faucet stem and enjoy a leak-free sink without having to call a professional plumber.DIY: Replacing a Delta Kitchen Sink Faucet Stem
If you're new to DIY home repairs, replacing a Delta kitchen sink faucet stem may seem like a daunting task. However, with the right tools and a little bit of guidance, it's a simple project that can be completed in just a few steps. By following our beginner's guide, you can successfully replace your faucet stem and save yourself the hassle and expense of hiring a professional.Replacing a Delta Kitchen Sink Faucet Stem: A Beginner's Guide
As mentioned earlier, you'll need a few tools and materials to complete this project. Here's a quick list of what you'll need: - Adjustable wrench - Screwdriver - Pliers - New Delta faucet stem - Plumber's tapeTools and Materials Needed for Replacing a Delta Kitchen Sink Faucet Stem
While replacing a Delta kitchen sink faucet stem is a relatively straightforward process, there are a few common problems that may arise. Here are some solutions to help you overcome these issues: Problem: The faucet stem is stuck and won't come out. Solution: Use a lubricant, such as WD-40, to loosen the stem and make it easier to remove. Problem: The new faucet stem is leaking. Solution: Make sure you wrap the threads of the new stem with enough plumber's tape to create a tight seal. If the leak persists, you may need to replace the stem again. Problem: The handle won't turn or is stiff. Solution: Make sure the handle is properly aligned and secured. If it's still difficult to turn, you may need to adjust the position of the stem or replace it with a new one.Common Problems and Solutions for Replacing a Delta Kitchen Sink Faucet Stem
Here are a few additional tips and tricks to help you successfully replace your Delta kitchen sink faucet stem: - Before starting, take a picture of the faucet and its parts to use as a reference in case you forget how everything goes back together. - Use pliers to loosen any stuck parts, but be careful not to damage them. - If you're unsure about anything, consult the instructions that came with your new faucet stem or watch a tutorial video for visual guidance.Tips and Tricks for Replacing a Delta Kitchen Sink Faucet Stem
If you're more of a visual learner, there are plenty of tutorial videos available online that can guide you through the process of replacing a Delta kitchen sink faucet stem. These videos can provide helpful tips and show you exactly how each step should be done.Video Tutorial: How to Replace a Delta Kitchen Sink Faucet Stem
While some home repairs are best left to the professionals, replacing a Delta kitchen sink faucet stem is a task that can easily be done by a DIY enthusiast. By doing it yourself, you can save money on labor costs and have the satisfaction of fixing the issue on your own. Now that you know how to replace a Delta kitchen sink faucet stem, you can confidently tackle this project and enjoy a leak-free sink in no time. Remember to take your time and follow the steps carefully to ensure a successful replacement. Happy fixing!Professional vs. DIY: Replacing a Delta Kitchen Sink Faucet Stem
How to Replace a Delta Kitchen Sink Faucet Stem

Step 3: Remove the Old Stem and Install the New One
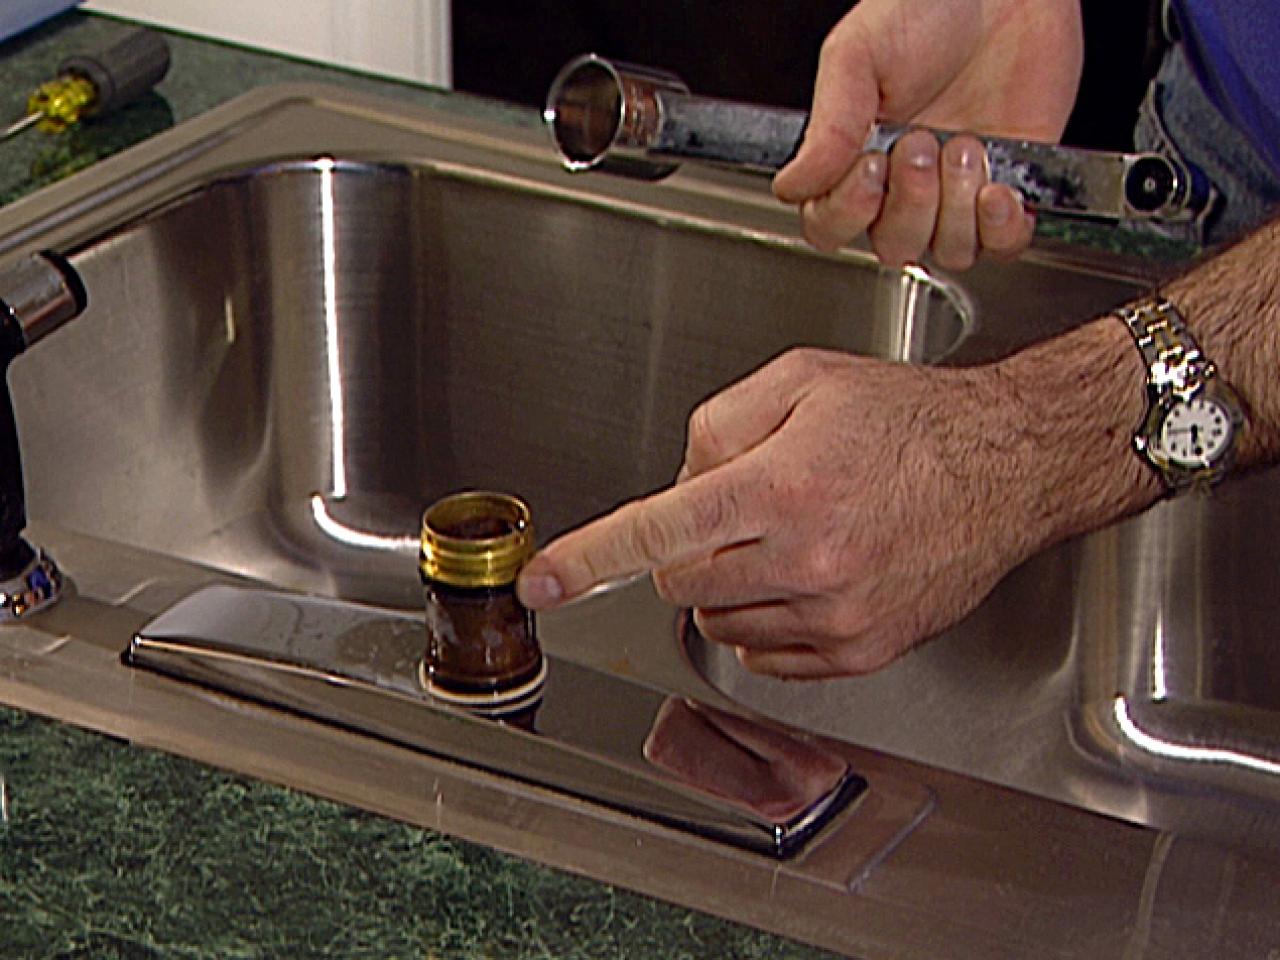
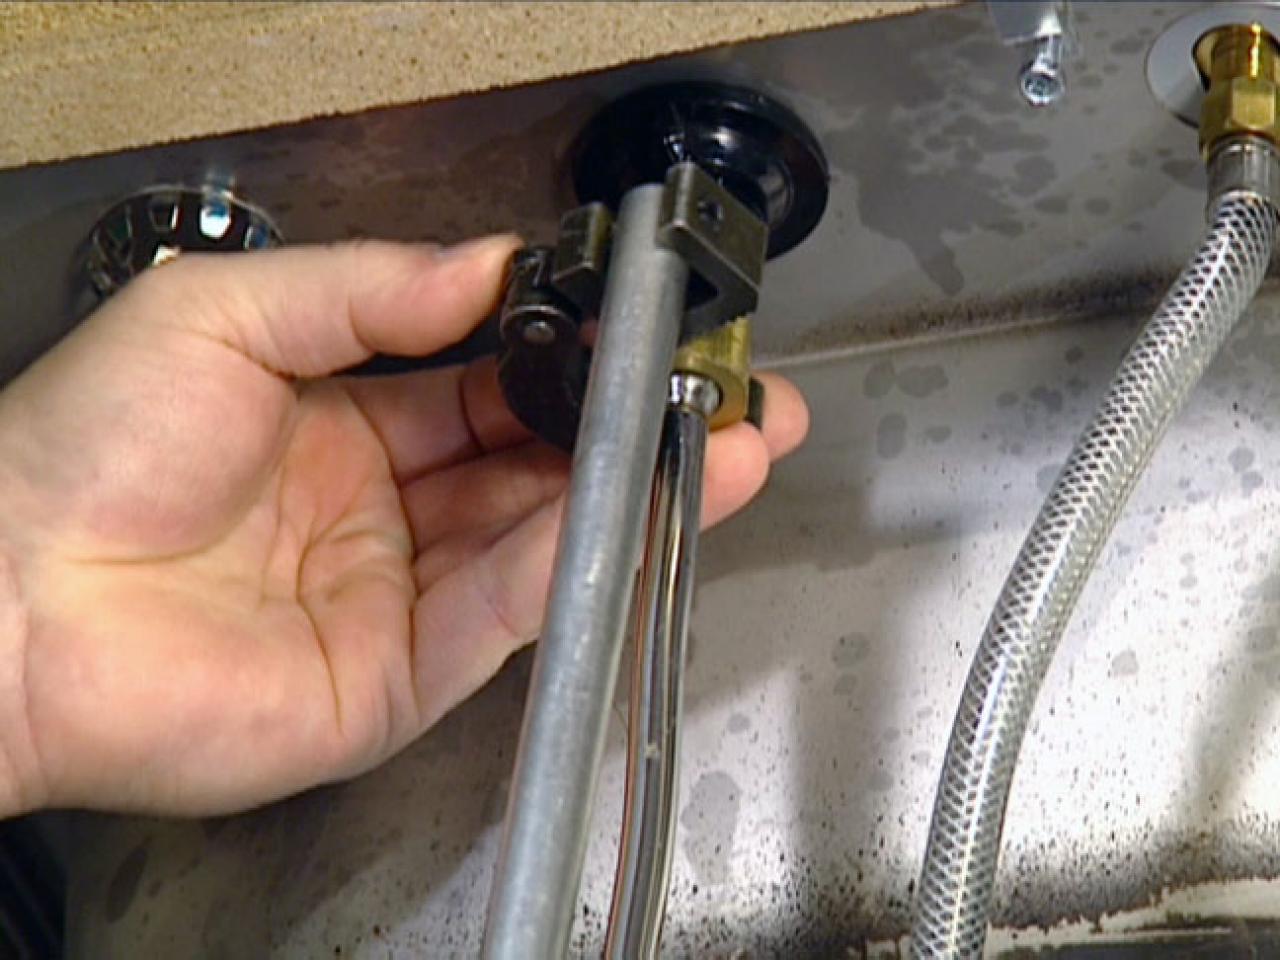
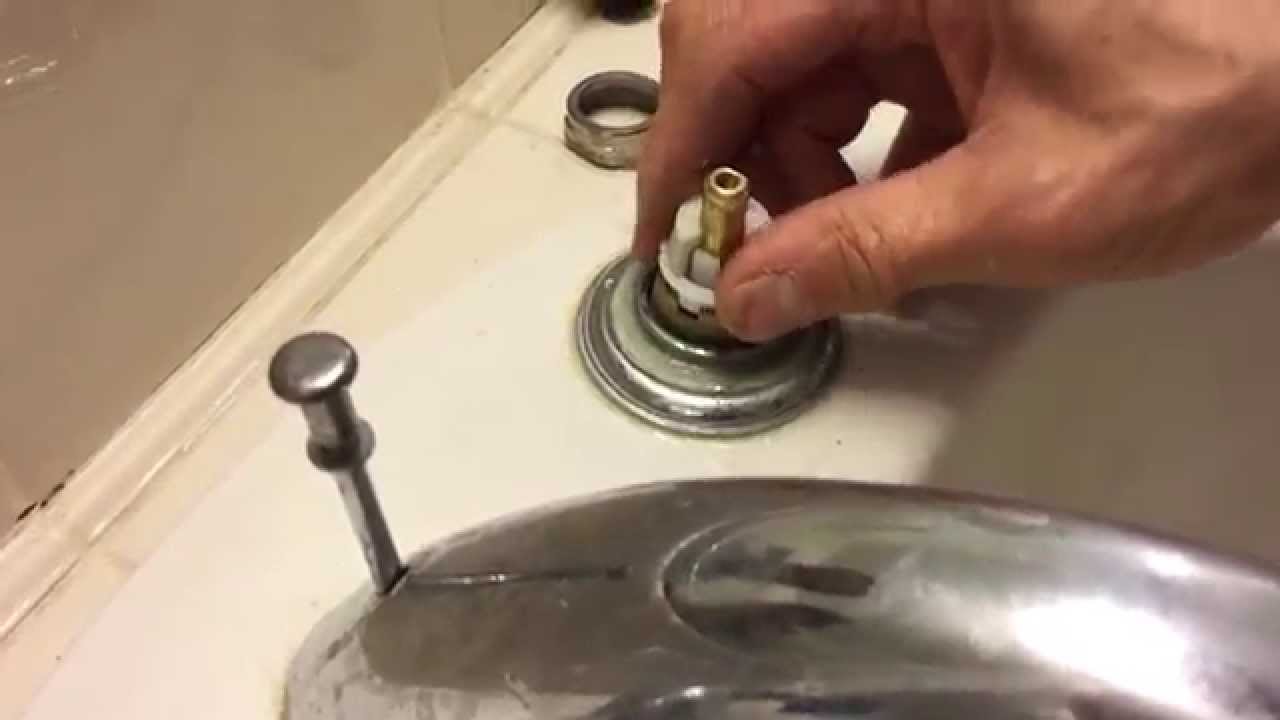
 After turning off the water supply, you can now remove the old stem of your Delta kitchen sink faucet. Use a wrench to loosen the retaining nut that holds the stem in place. Once the nut is loosened, you can easily pull out the old stem from the faucet body.
Pro tip: It is important to carefully inspect the old stem for any signs of wear and tear, such as cracks or corrosion. If you notice any damage, it is best to replace the entire stem rather than just the O-rings or washers. This will ensure a longer-lasting and leak-free faucet.
Next, take your new Delta kitchen sink faucet stem and insert it into the faucet body. Make sure it is properly aligned and then tighten the retaining nut with your wrench.
Pro tip: Before fully tightening the nut, turn on the water supply and test the faucet to check for any leaks. If there are no leaks, you can proceed to tighten the nut completely.
Step 4: Reattach the Handle and Finish the Installation
 After installing the new stem, you can now reattach the handle. Simply slide it back onto the stem and tighten the set screw with an Allen wrench.
Pro tip: If you have a single-handle faucet, make sure to align the handle so that it is in the off position when the stem is fully closed. This will ensure proper function and avoid any future leaks.
Finally, turn the water supply back on and test your new Delta kitchen sink faucet. You should now have a fully functioning and leak-free faucet that will enhance the look and functionality of your kitchen. With these simple steps, you can easily replace your Delta kitchen sink faucet stem and save yourself the hassle and cost of hiring a plumber.




:max_bytes(150000):strip_icc()/delta-faucet-repair-2718845-01-103f404143d7416d9f0ef50f1f187d8c.jpg)


/faucet-with-water-dripping-creating-waste-516717656-d76c41a8d3284901880606e6c1c62e25.jpg)


