Replacing Chair Webbing: A Step-by-Step Guide to Restoring Your Antique Dining Room Chairs
If you own antique dining room chairs, chances are you have encountered the issue of worn or broken webbing. This is a common problem with older furniture, but fear not – with the right tools and a little bit of know-how, you can easily replace the webbing and restore your chairs to their former glory. In this article, we will walk you through the process of replacing chair webbing, specifically for antique dining room chairs.


Replacing Chair Webbing


The Importance of Chair Webbing
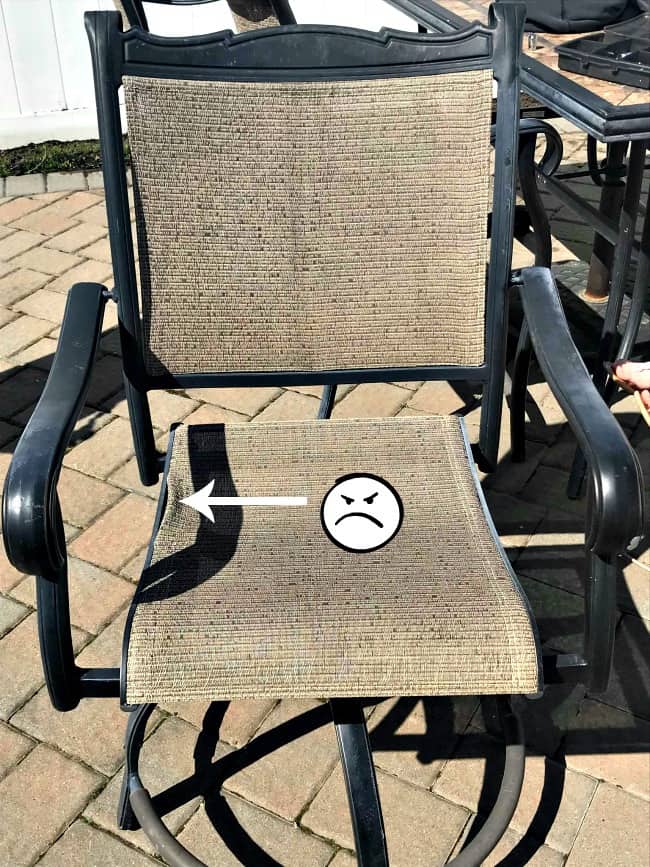
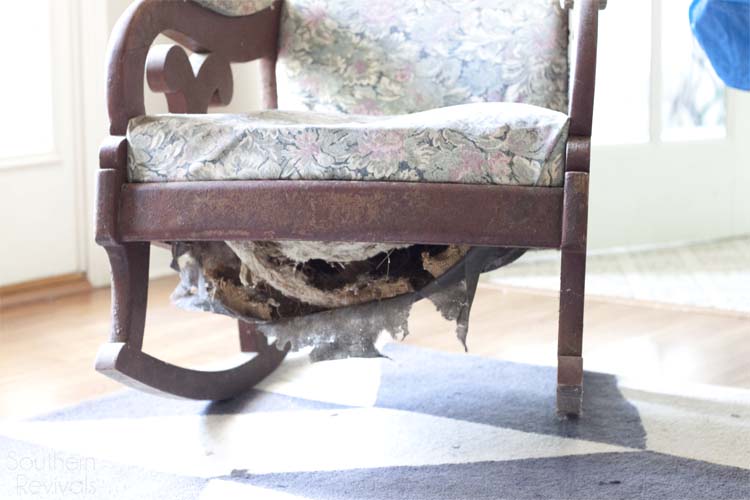
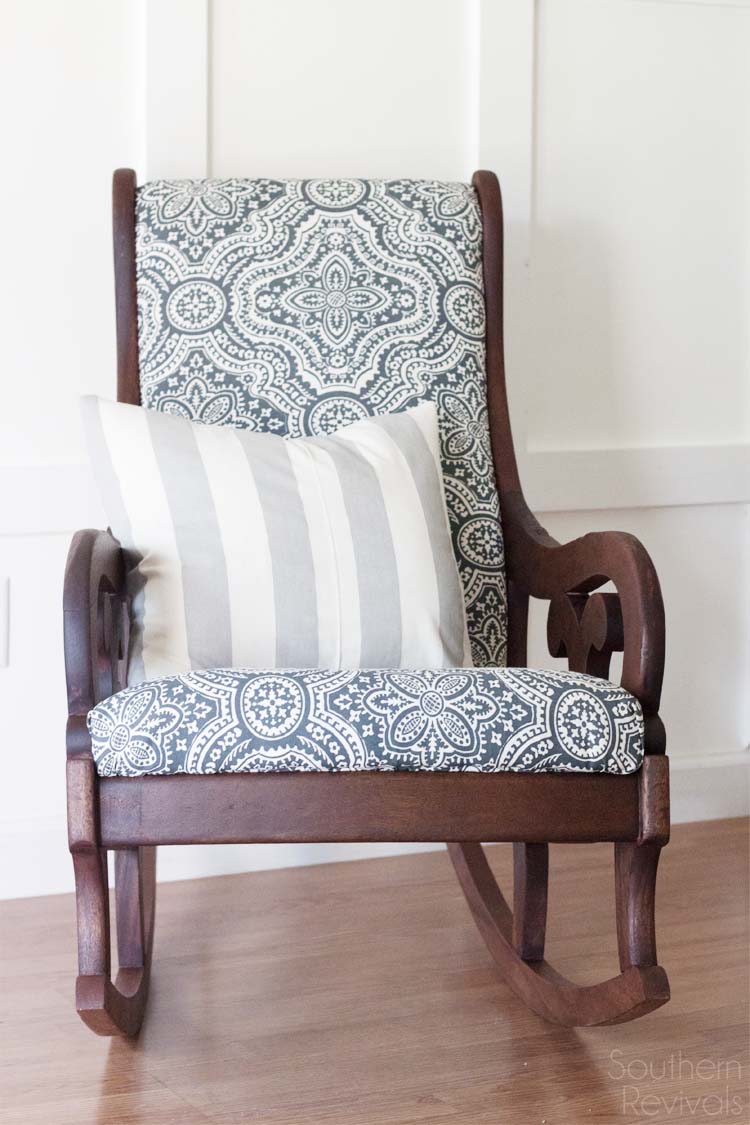
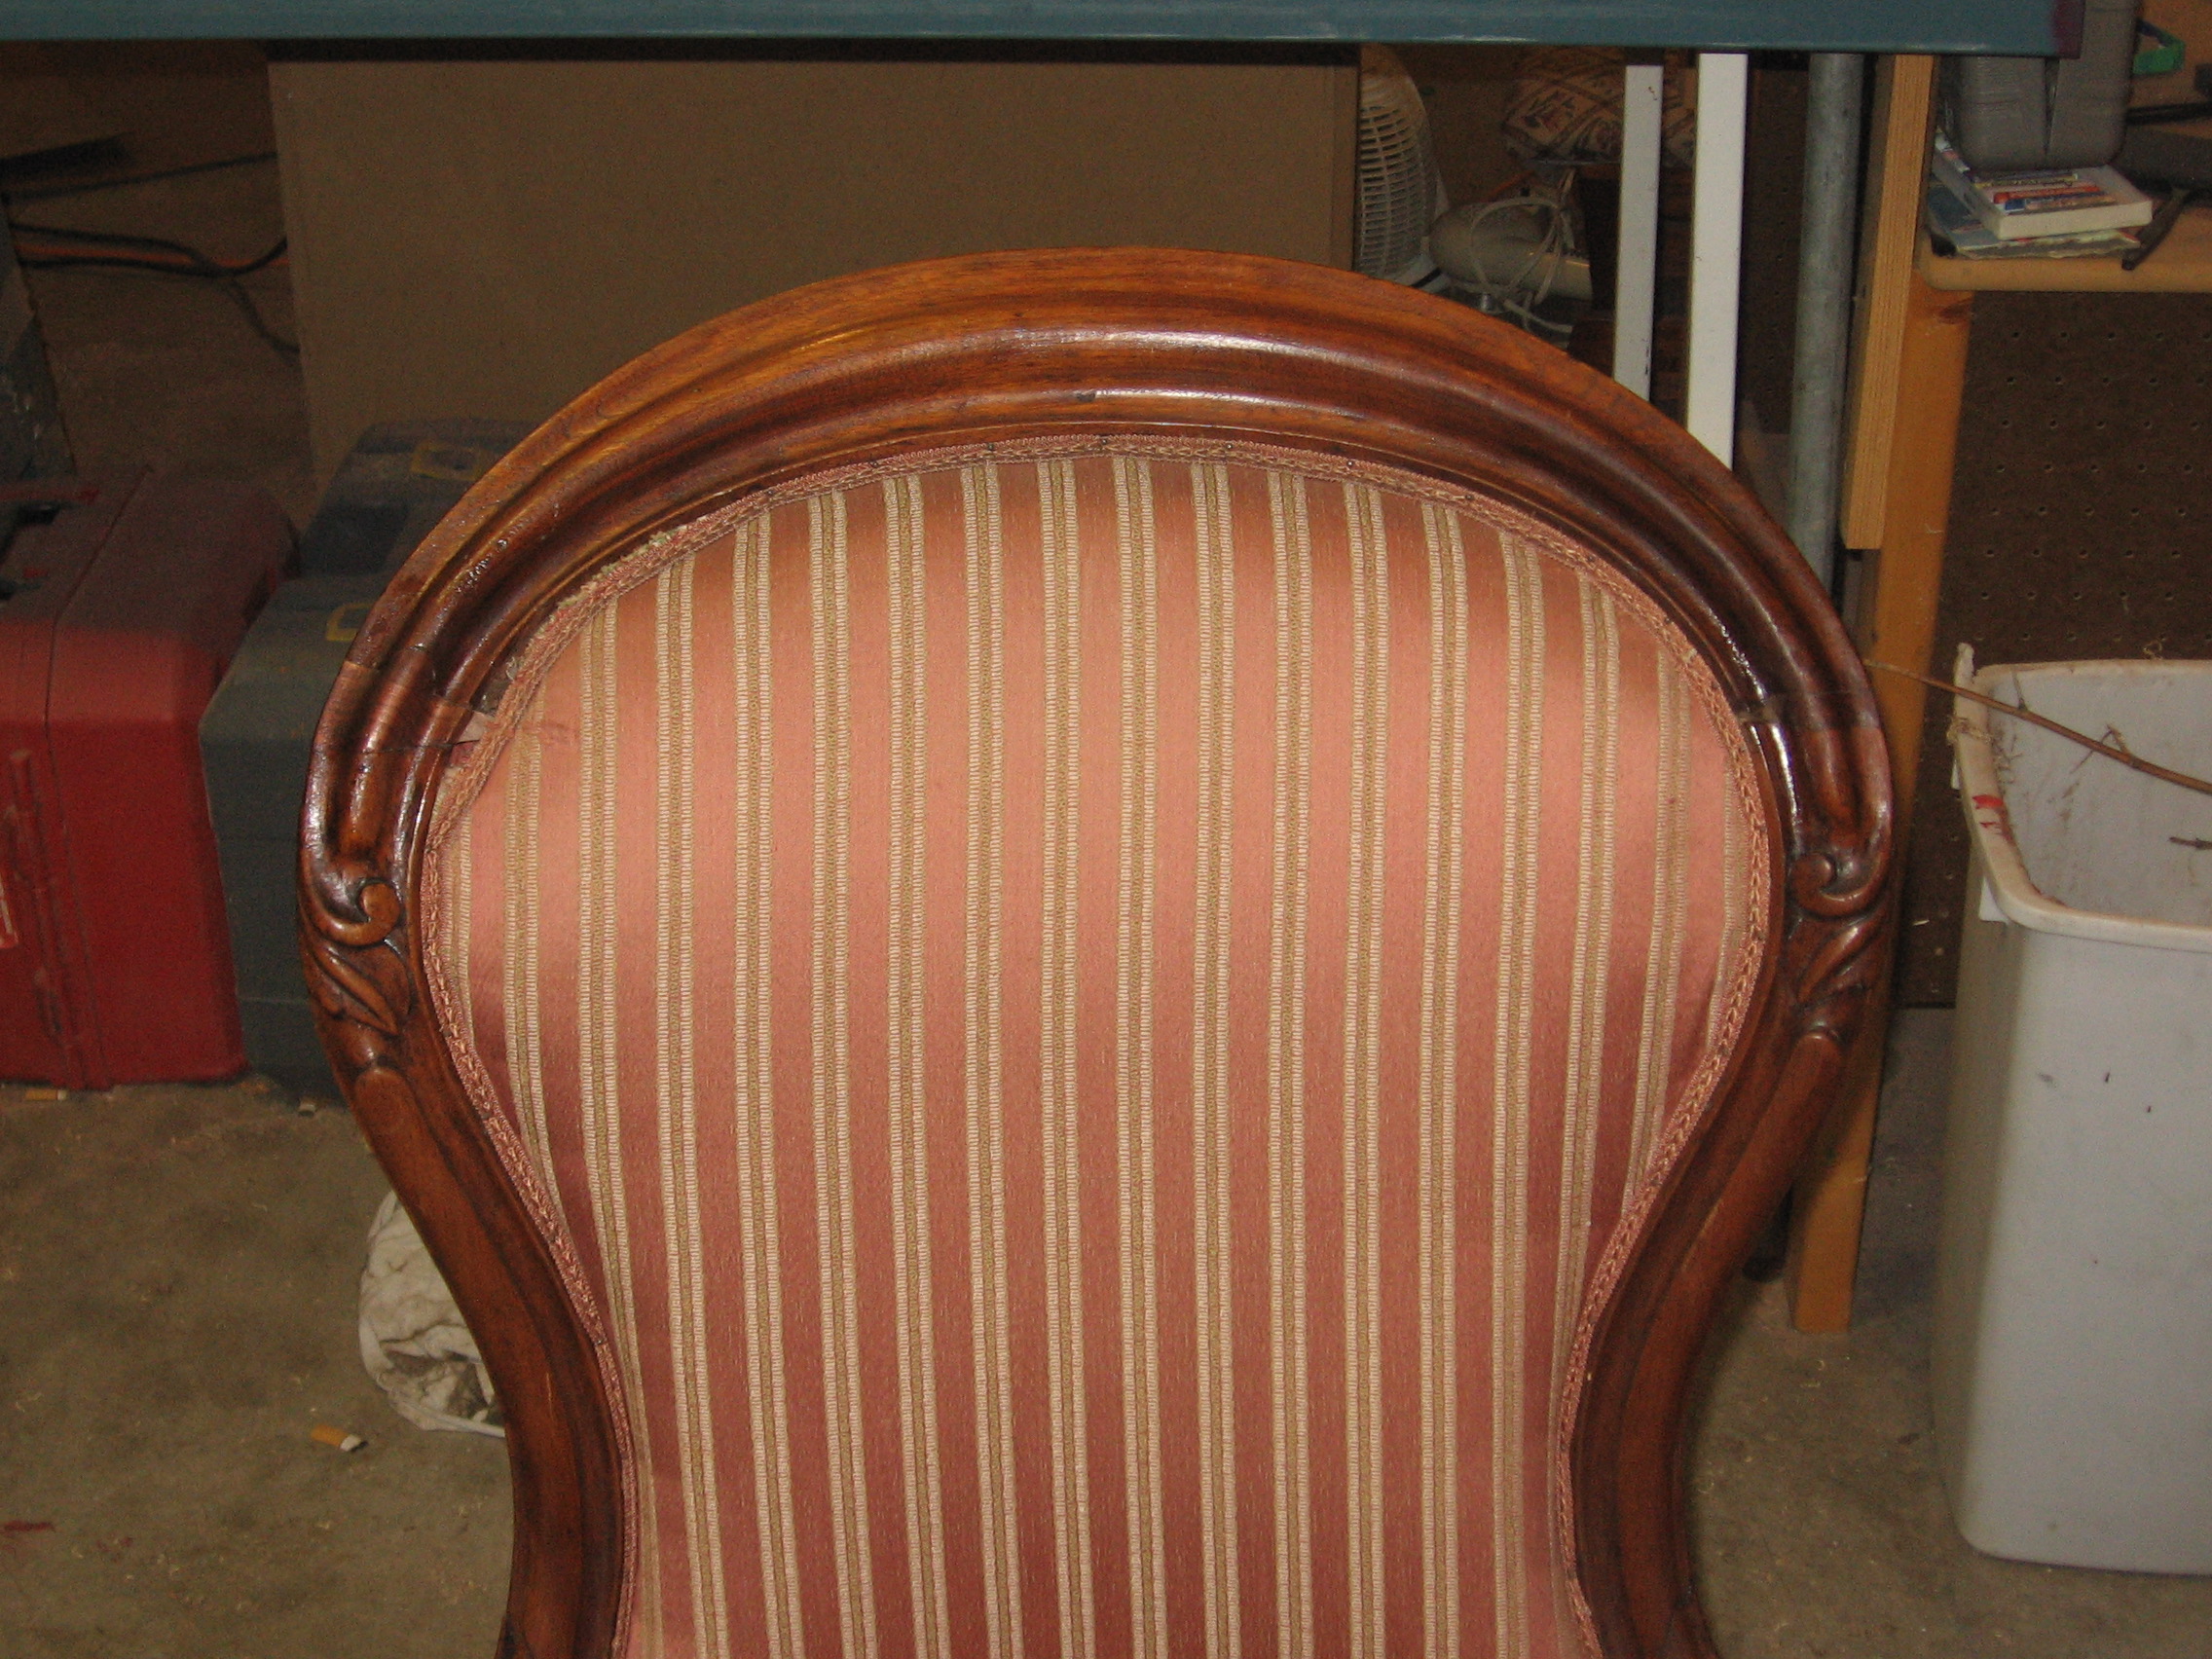
Before we dive into the process of replacing chair webbing, let's first understand the importance of this component. Chair webbing is the foundation of the seat, providing support for the cushion and ultimately, for the person sitting on it. It also helps to distribute weight evenly, ensuring that the chair is comfortable and sturdy. Over time, the webbing on antique chairs can become stretched, torn, or completely broken, causing the chair to lose its structural integrity. This is why it is crucial to replace worn webbing to ensure the longevity and functionality of your antique dining room chairs.
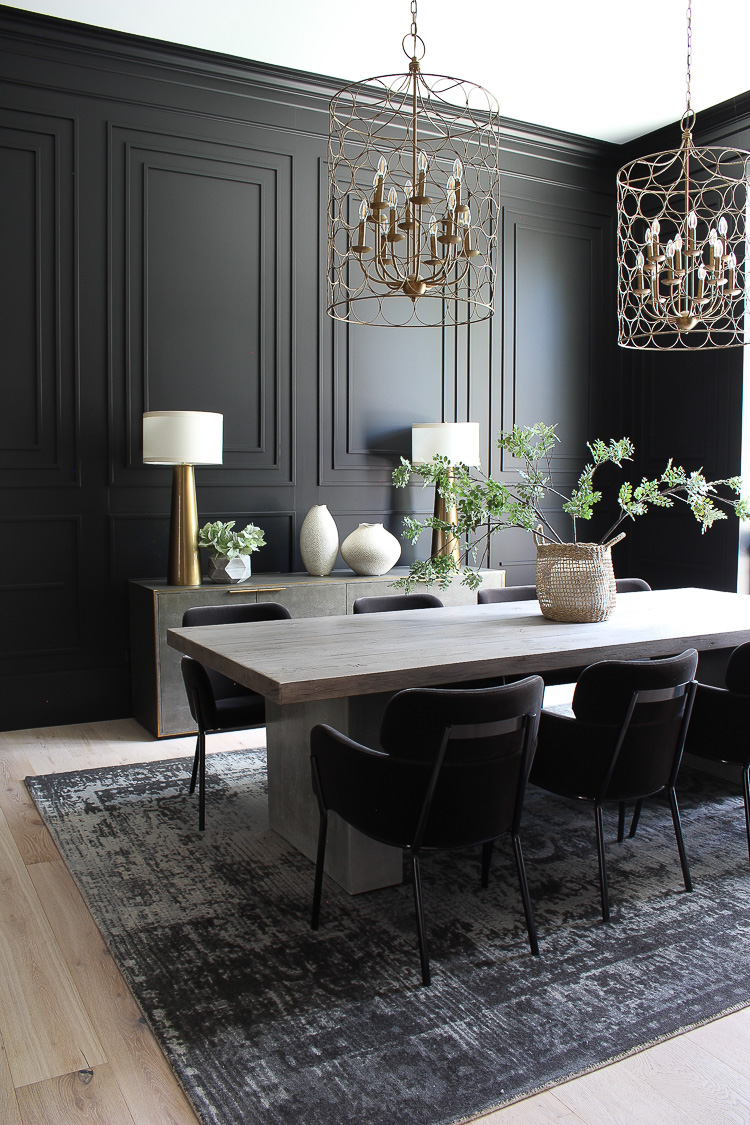
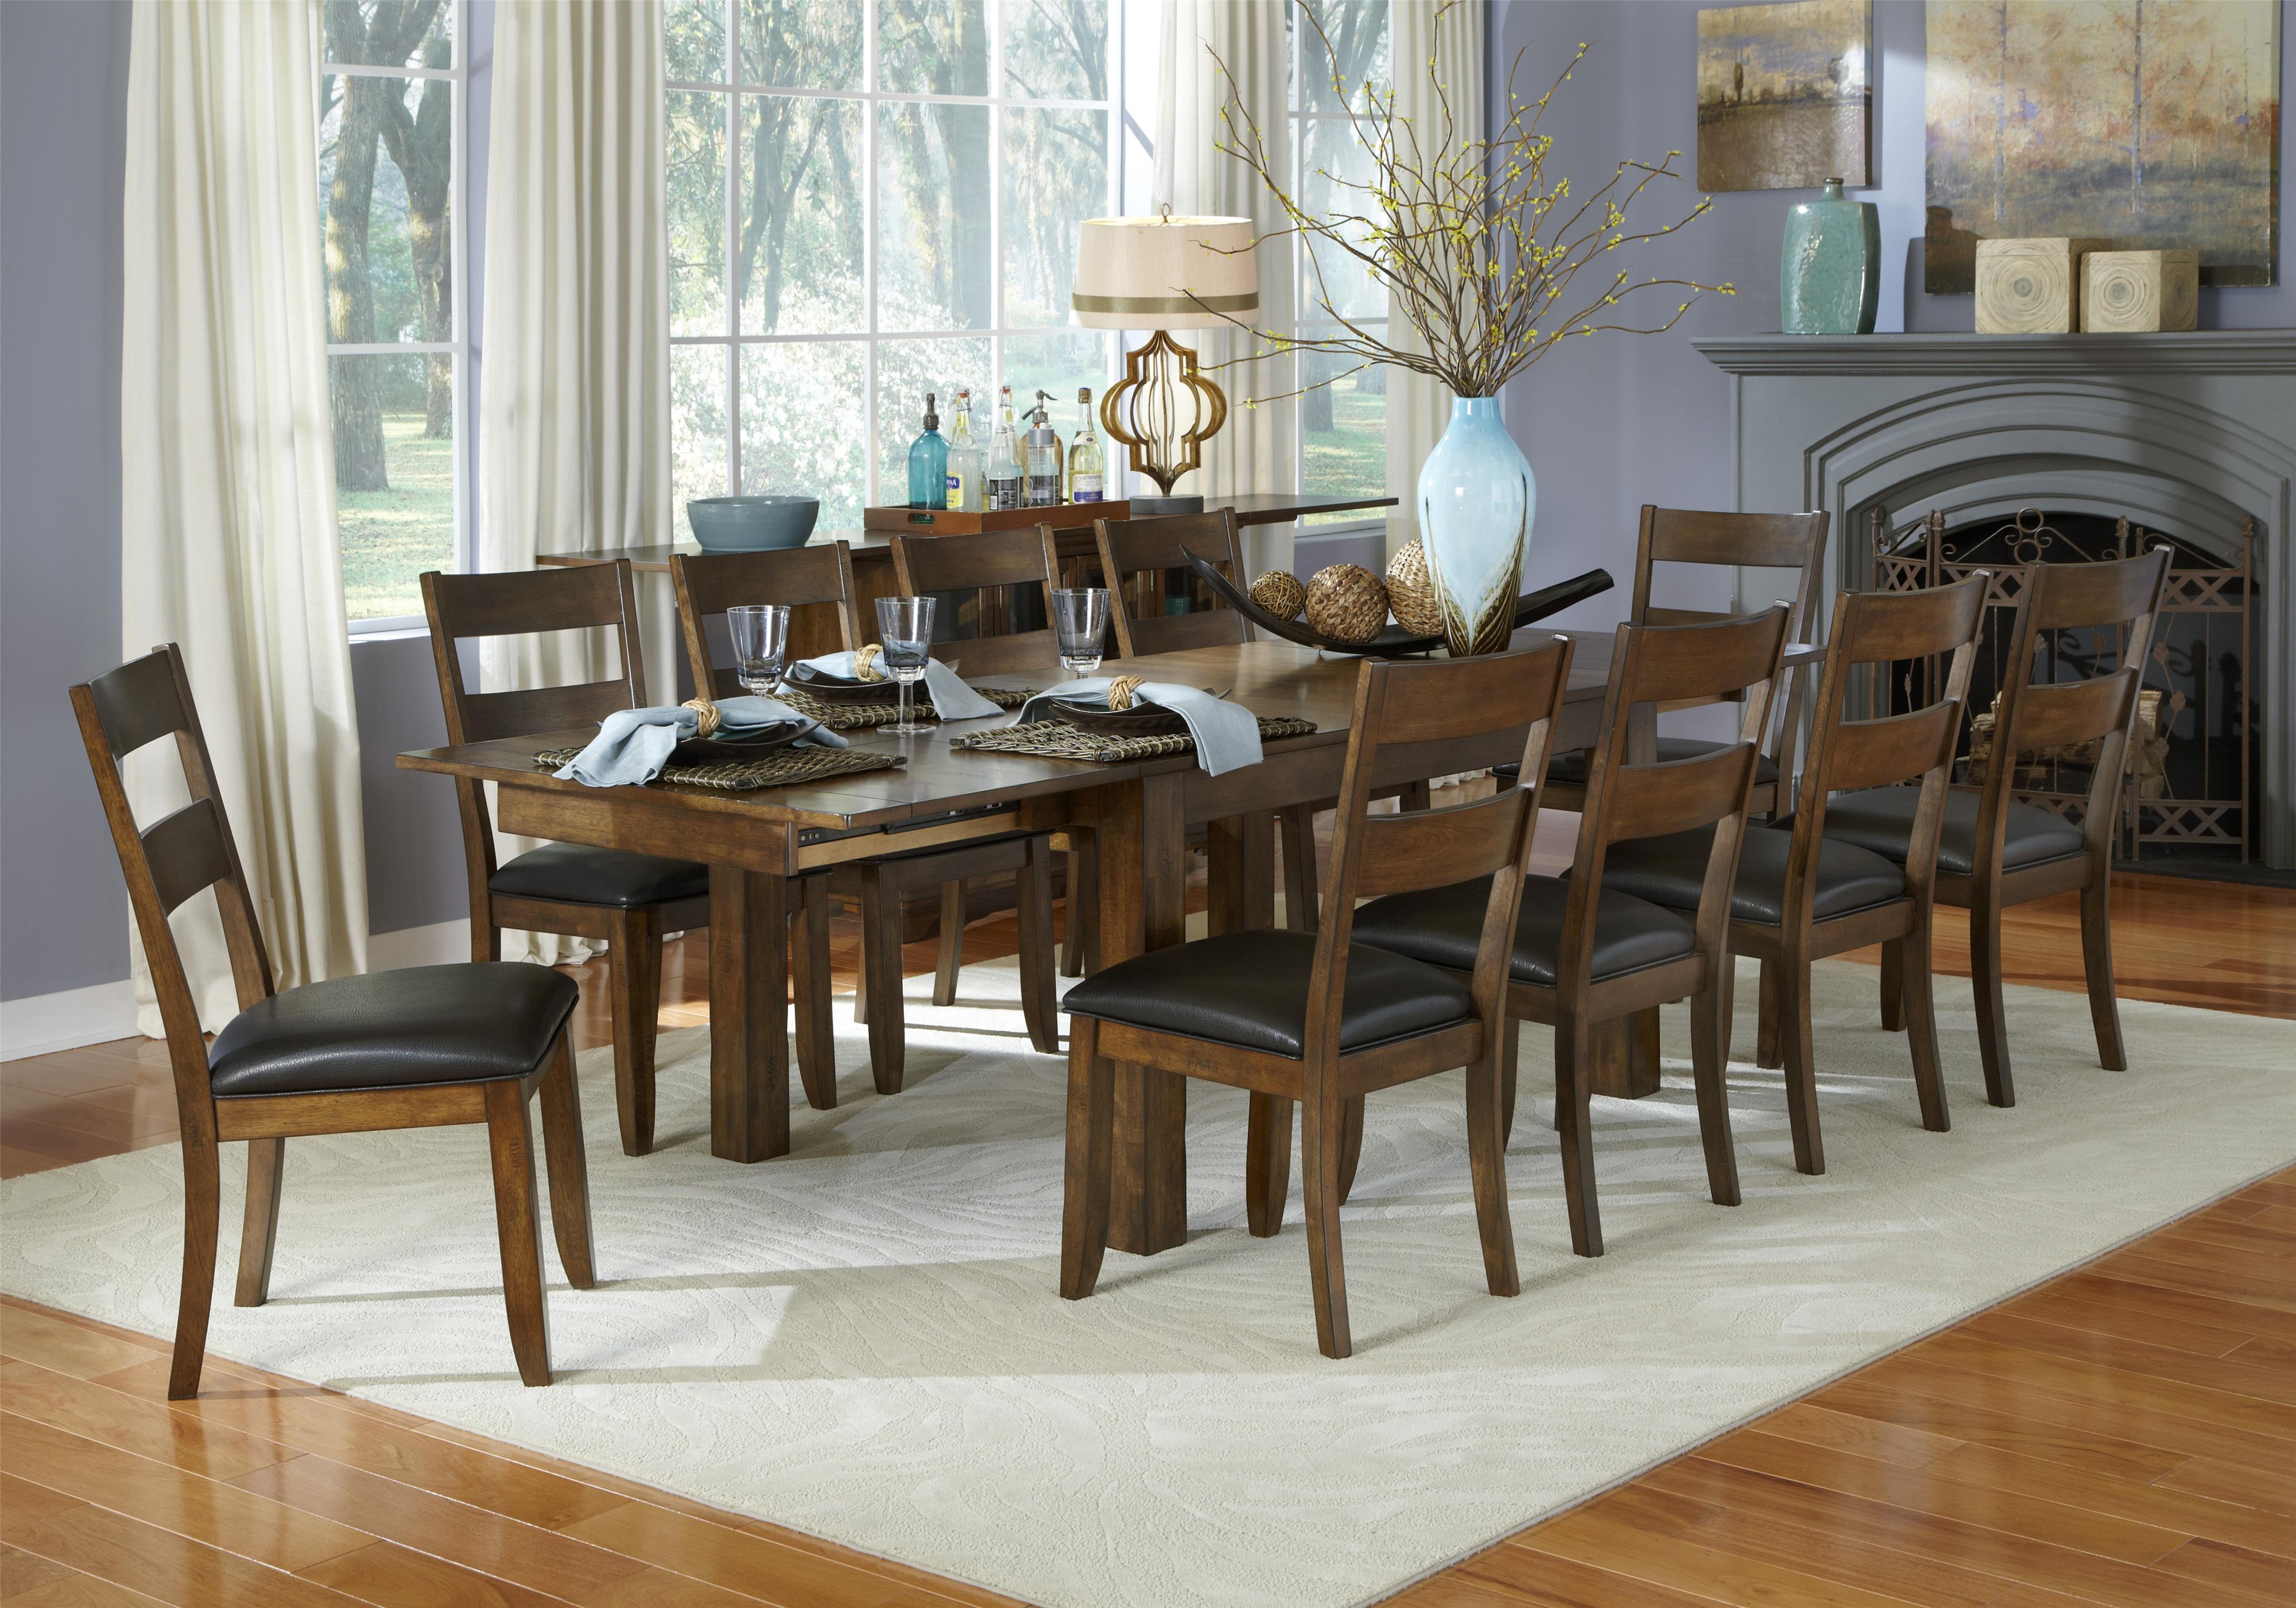
Dining Room


The Tools You Will Need
Before you begin the process of replacing chair webbing, make sure you have the necessary tools on hand. You will need:


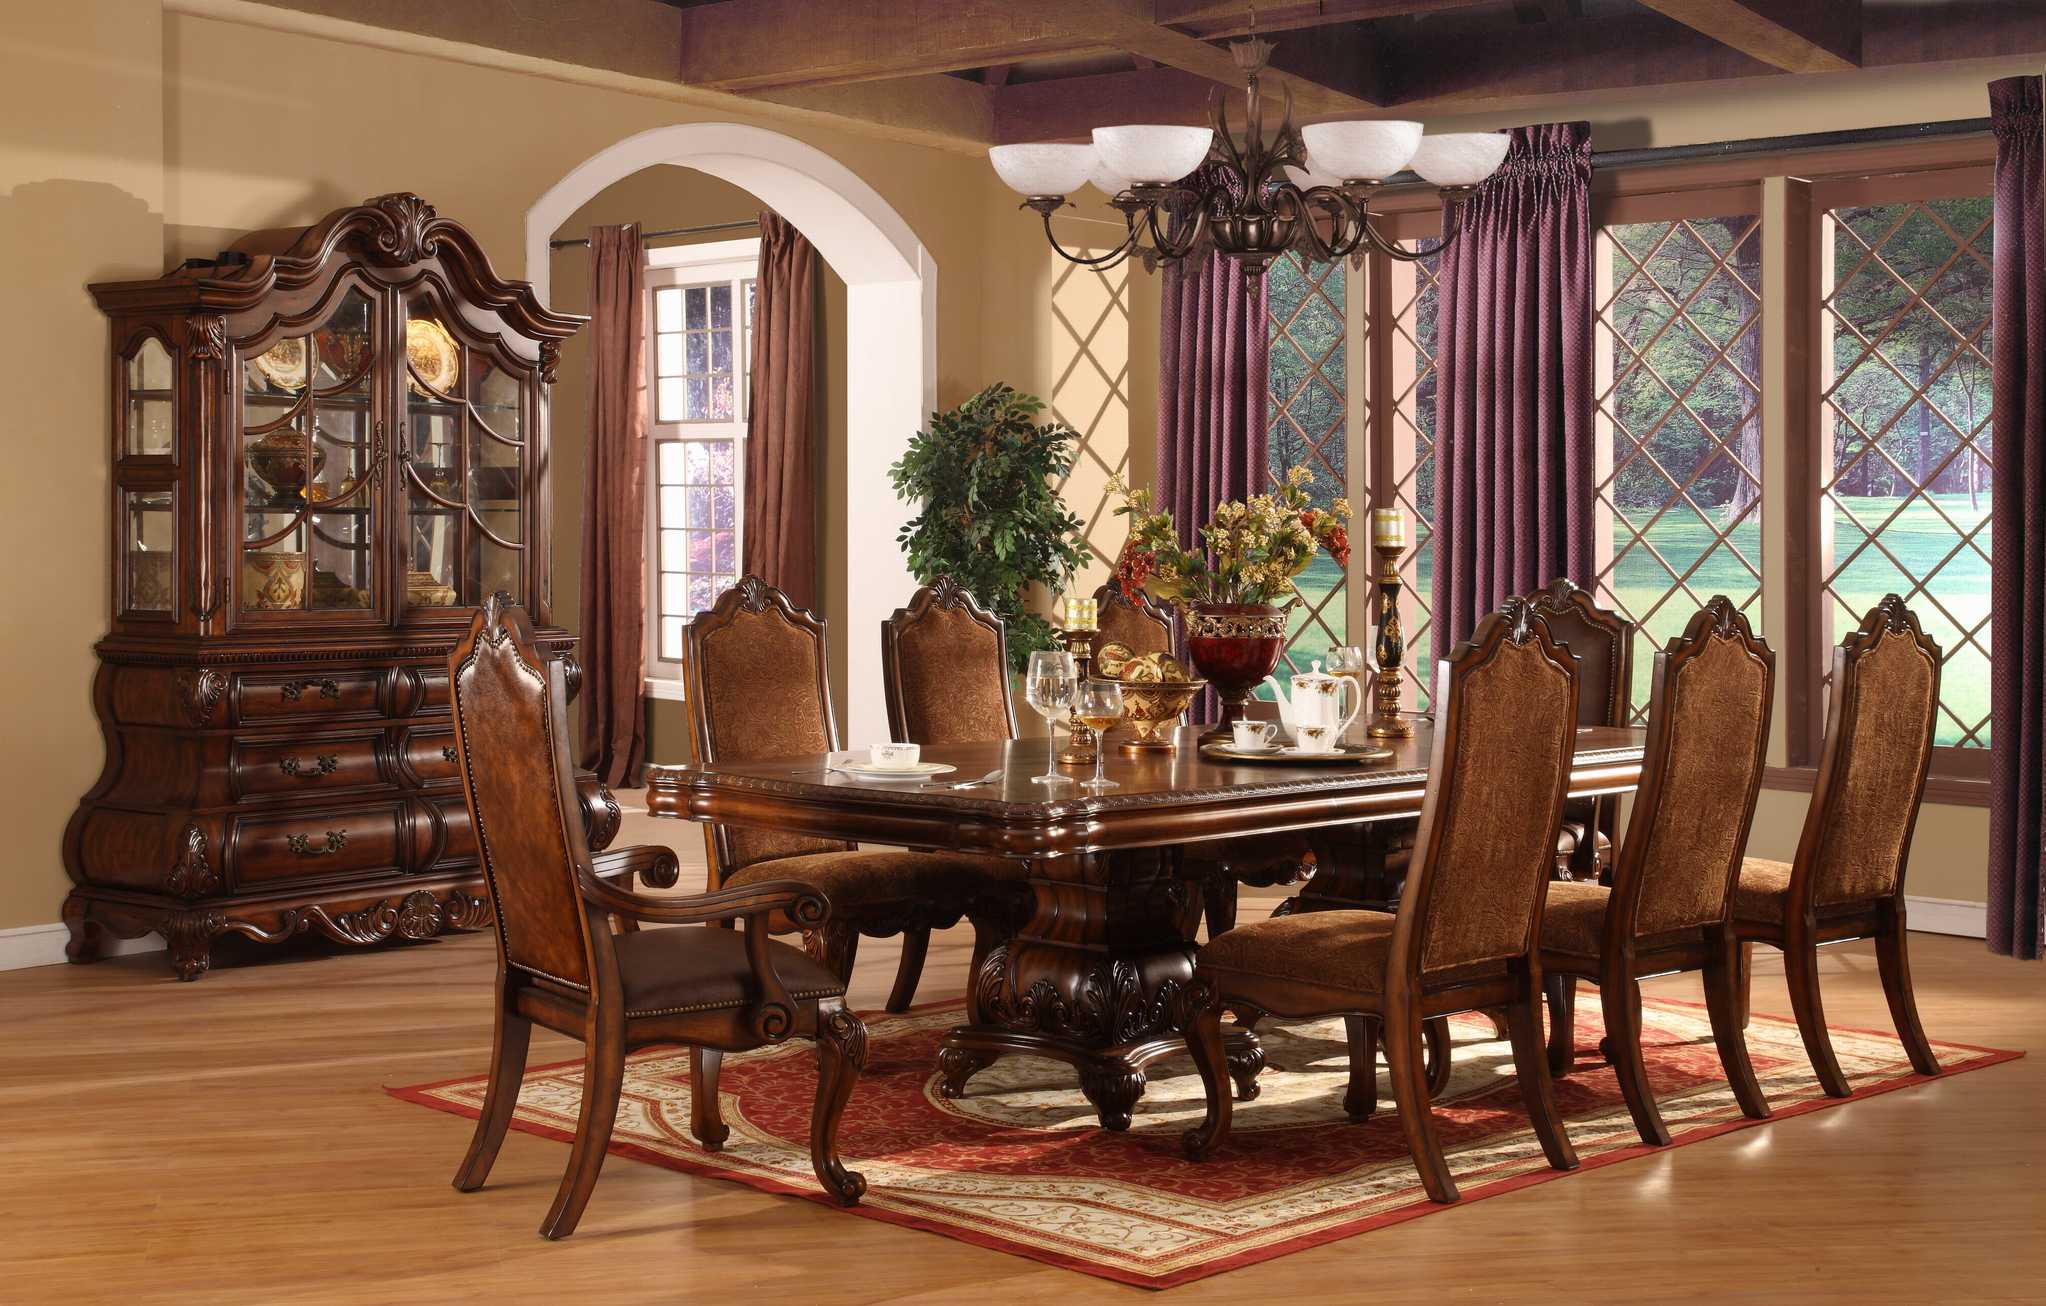
Antique
/Antique-dresser-GettyImages-533471018-58c9b5f05f9b581d72f638b9.jpg)

/AndreasvonEinsiedel-antiquedresser-5bbd12e5c9e77c002695211c.jpg)

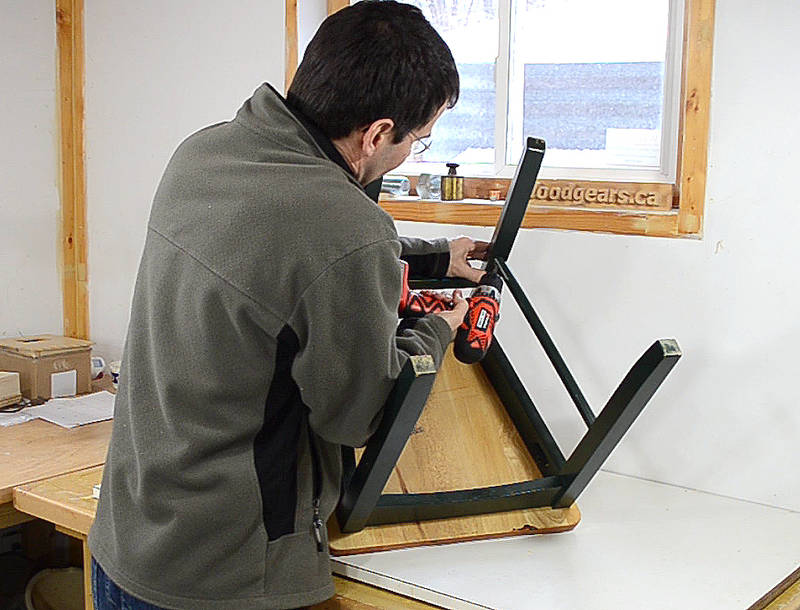
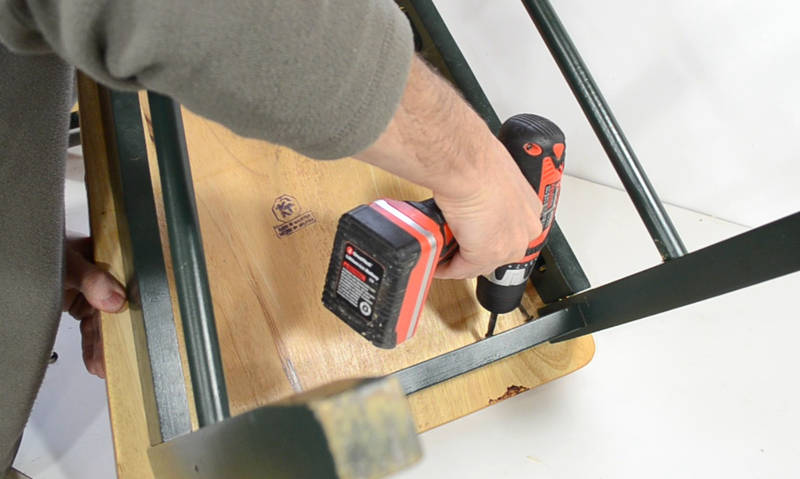
Step 1: Remove the Old Webbing
The first step in replacing chair webbing is to remove the old, damaged webbing. Turn the chair over and use a screwdriver to remove the screws that hold the seat in place. Once the seat is detached, remove any remaining staples or tacks that are holding the old webbing in place. Use the hammer and awl to pry out any stubborn staples that may be stuck.

Chair Repair

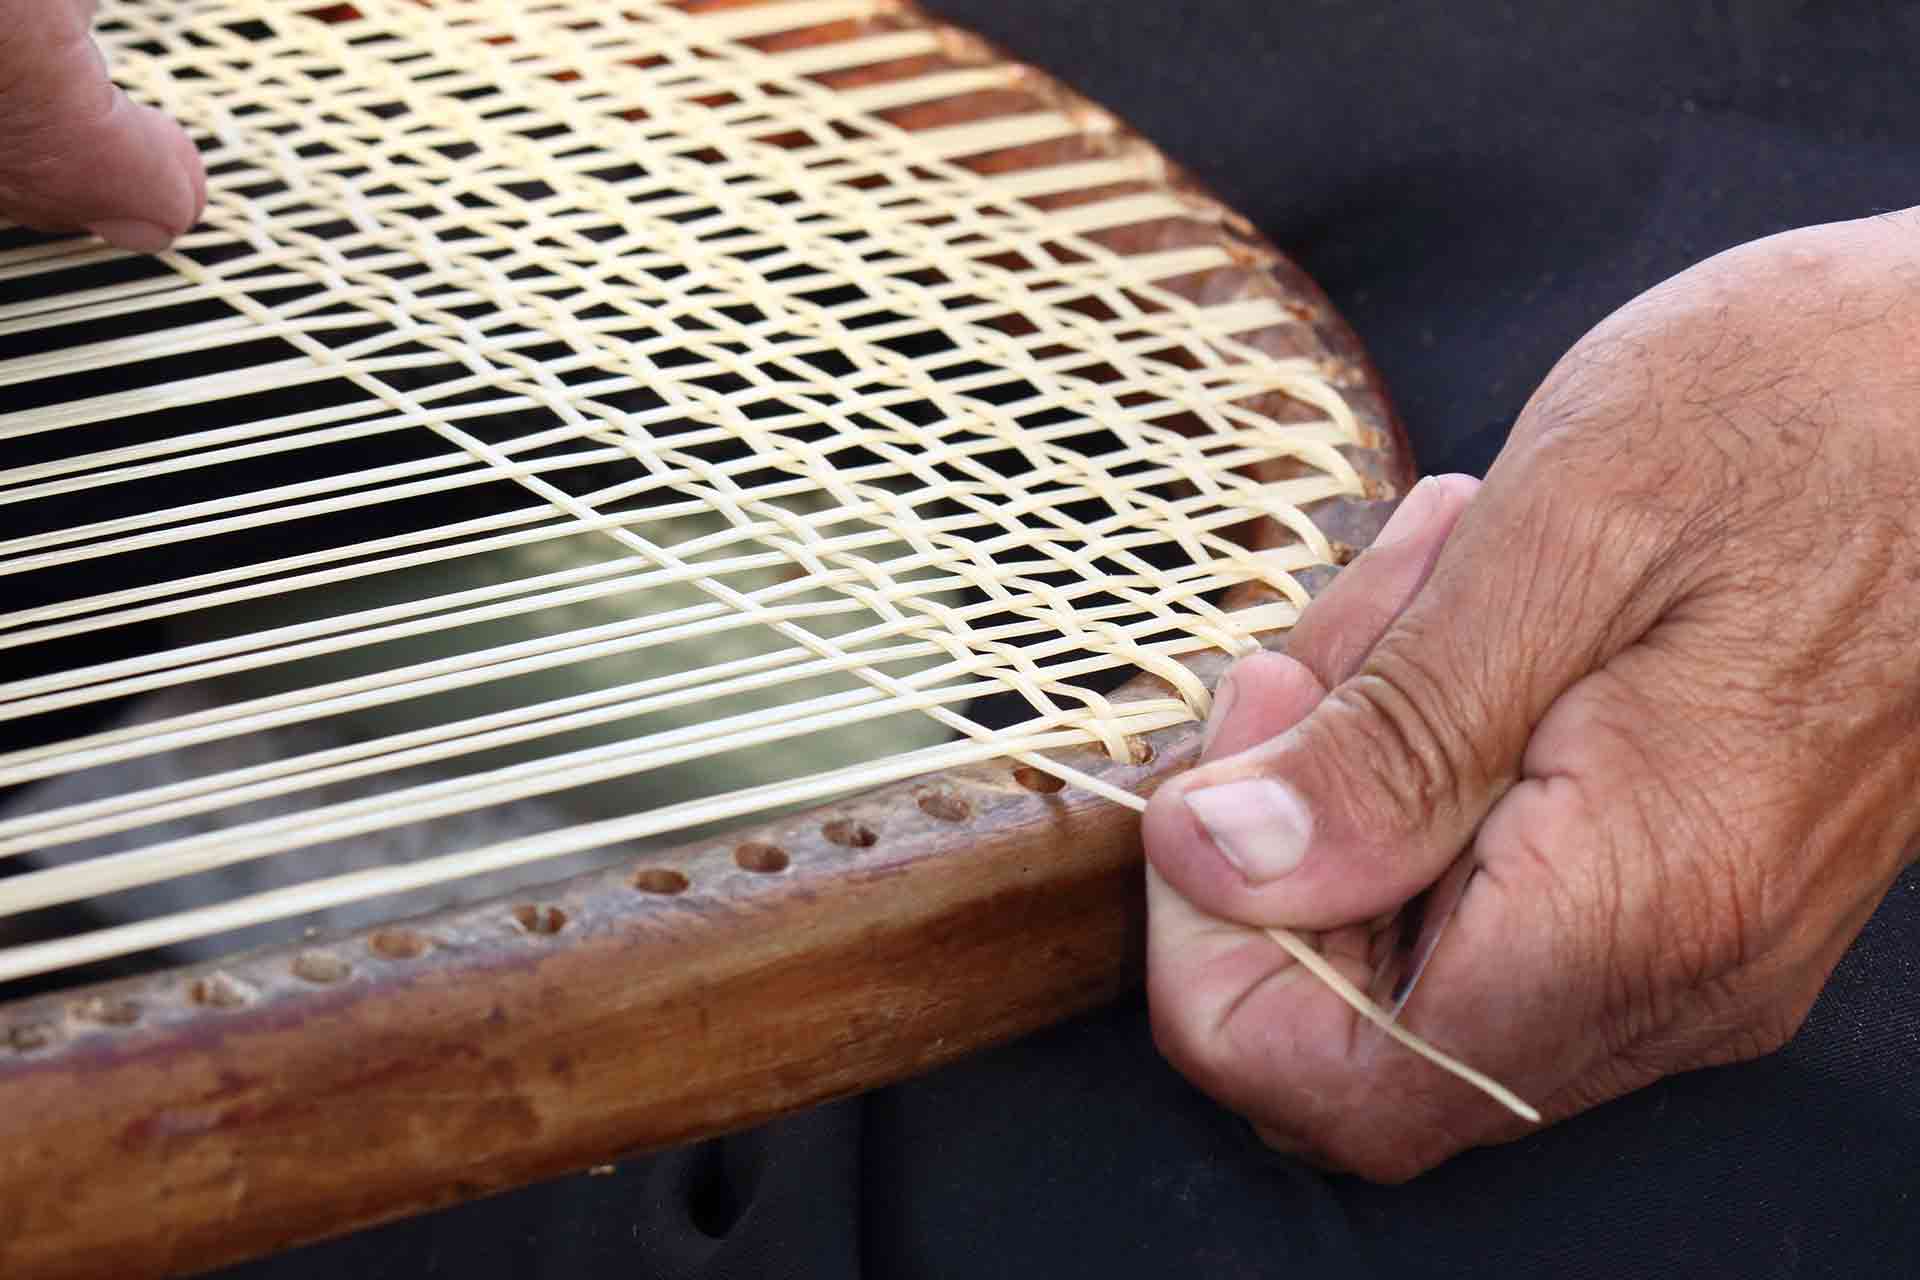

Step 2: Measure and Cut the New Webbing
Now that you have removed the old webbing, it's time to measure and cut the new webbing. It is important to use the same type and width of webbing as the original for the best results. Measure the length and width of the seat from end to end and add a few extra inches to ensure you have enough webbing. Cut the webbing to size using scissors, making sure the ends are straight and clean.


Chair Restoration


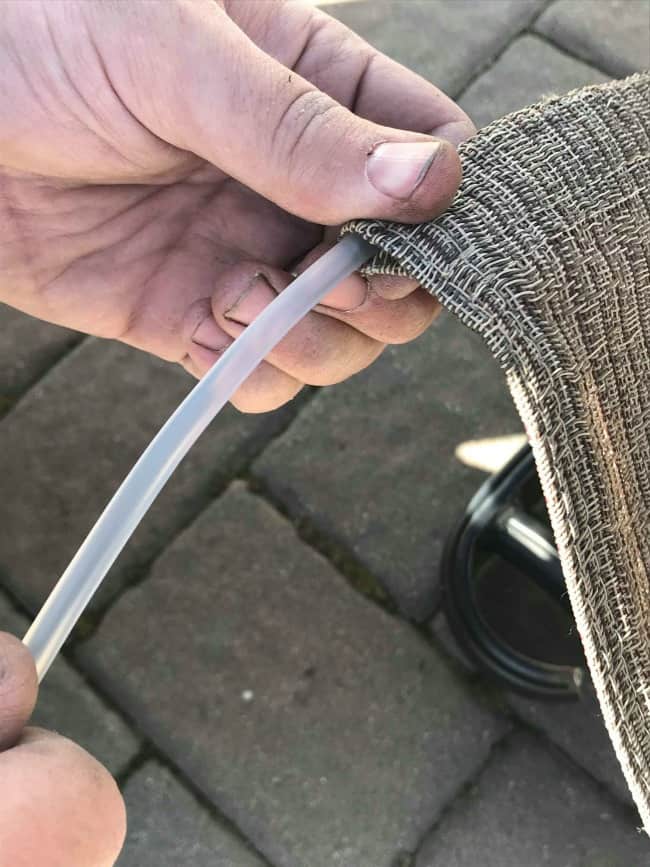
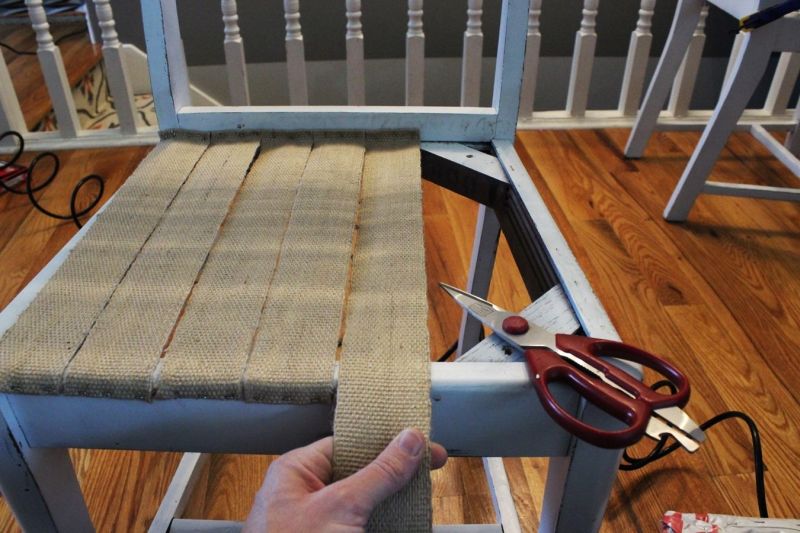
Step 3: Attach the New Webbing
Place the new webbing on the seat, making sure it is taut and evenly spaced. Use the staple gun to secure one end of the webbing to the seat, then pull the webbing tightly and staple the other end to the seat. Continue this process until all the webbing is attached to the seat, making sure it is secure and taut.


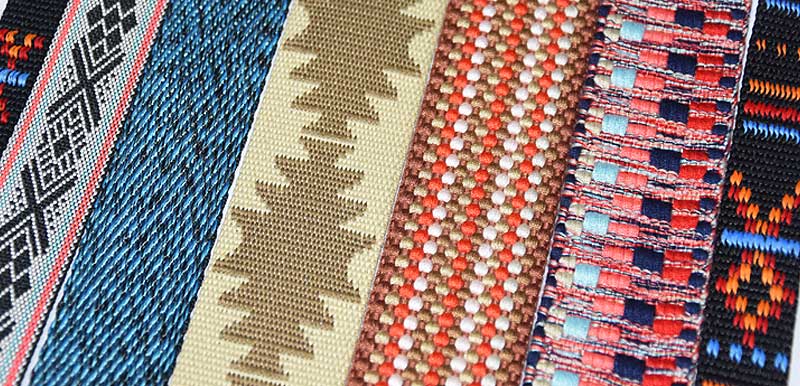
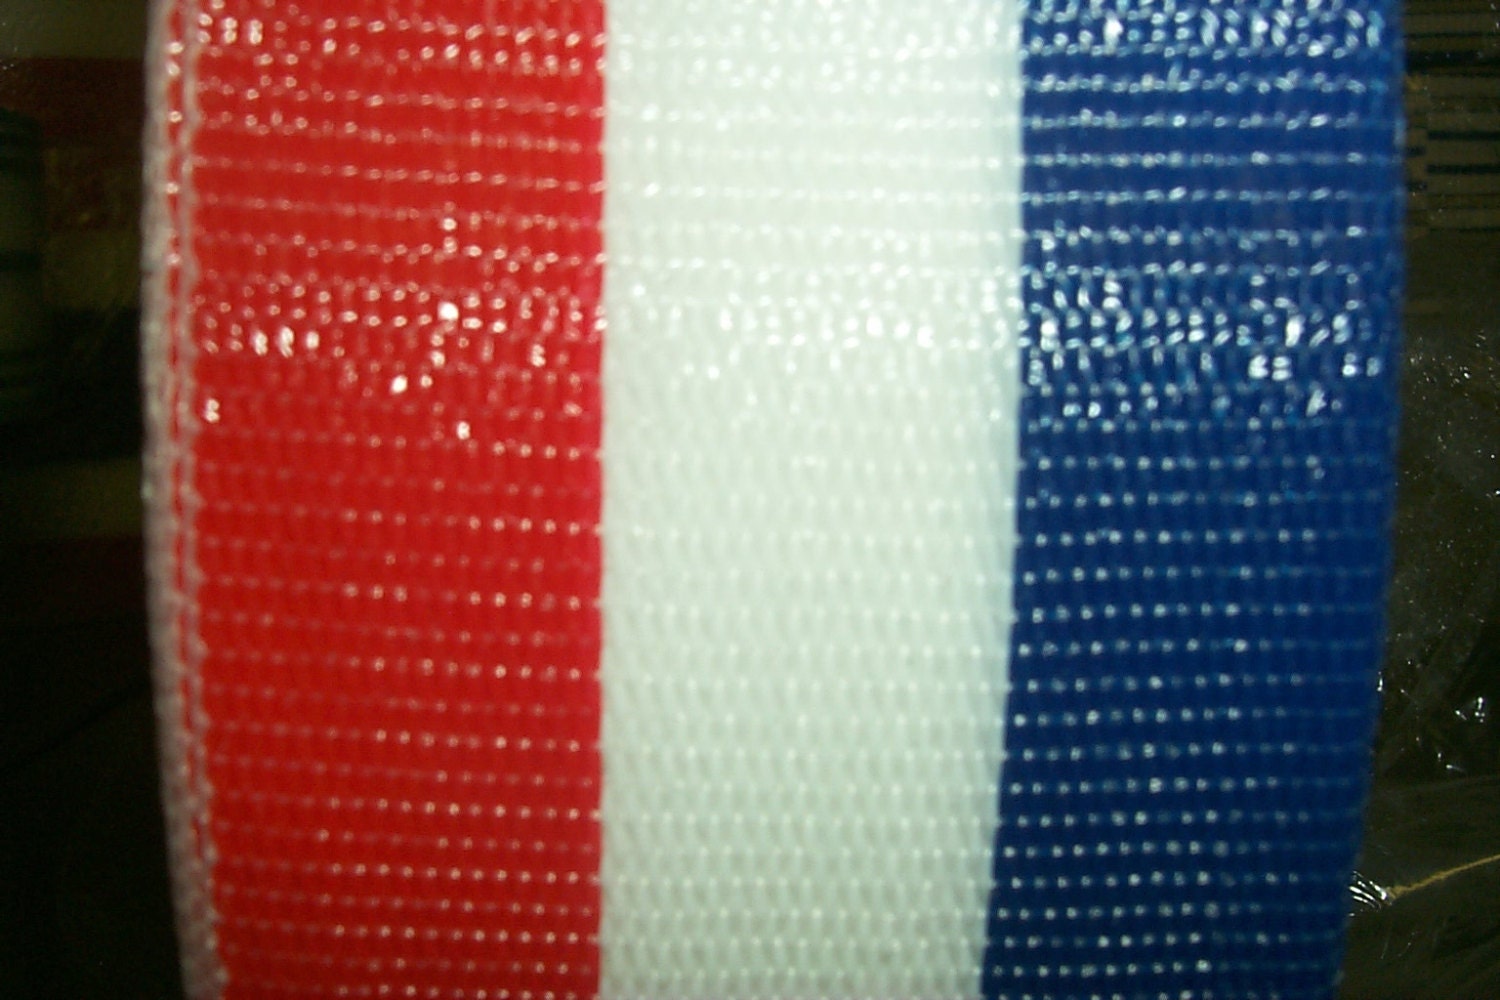
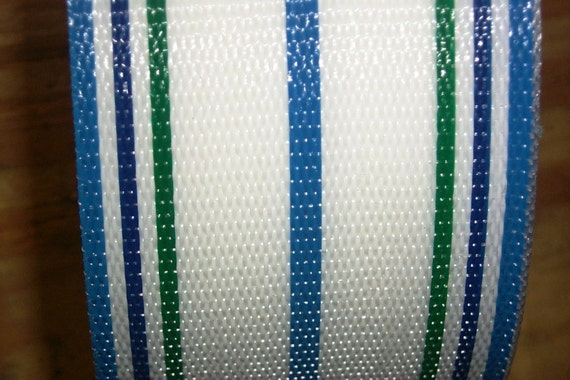
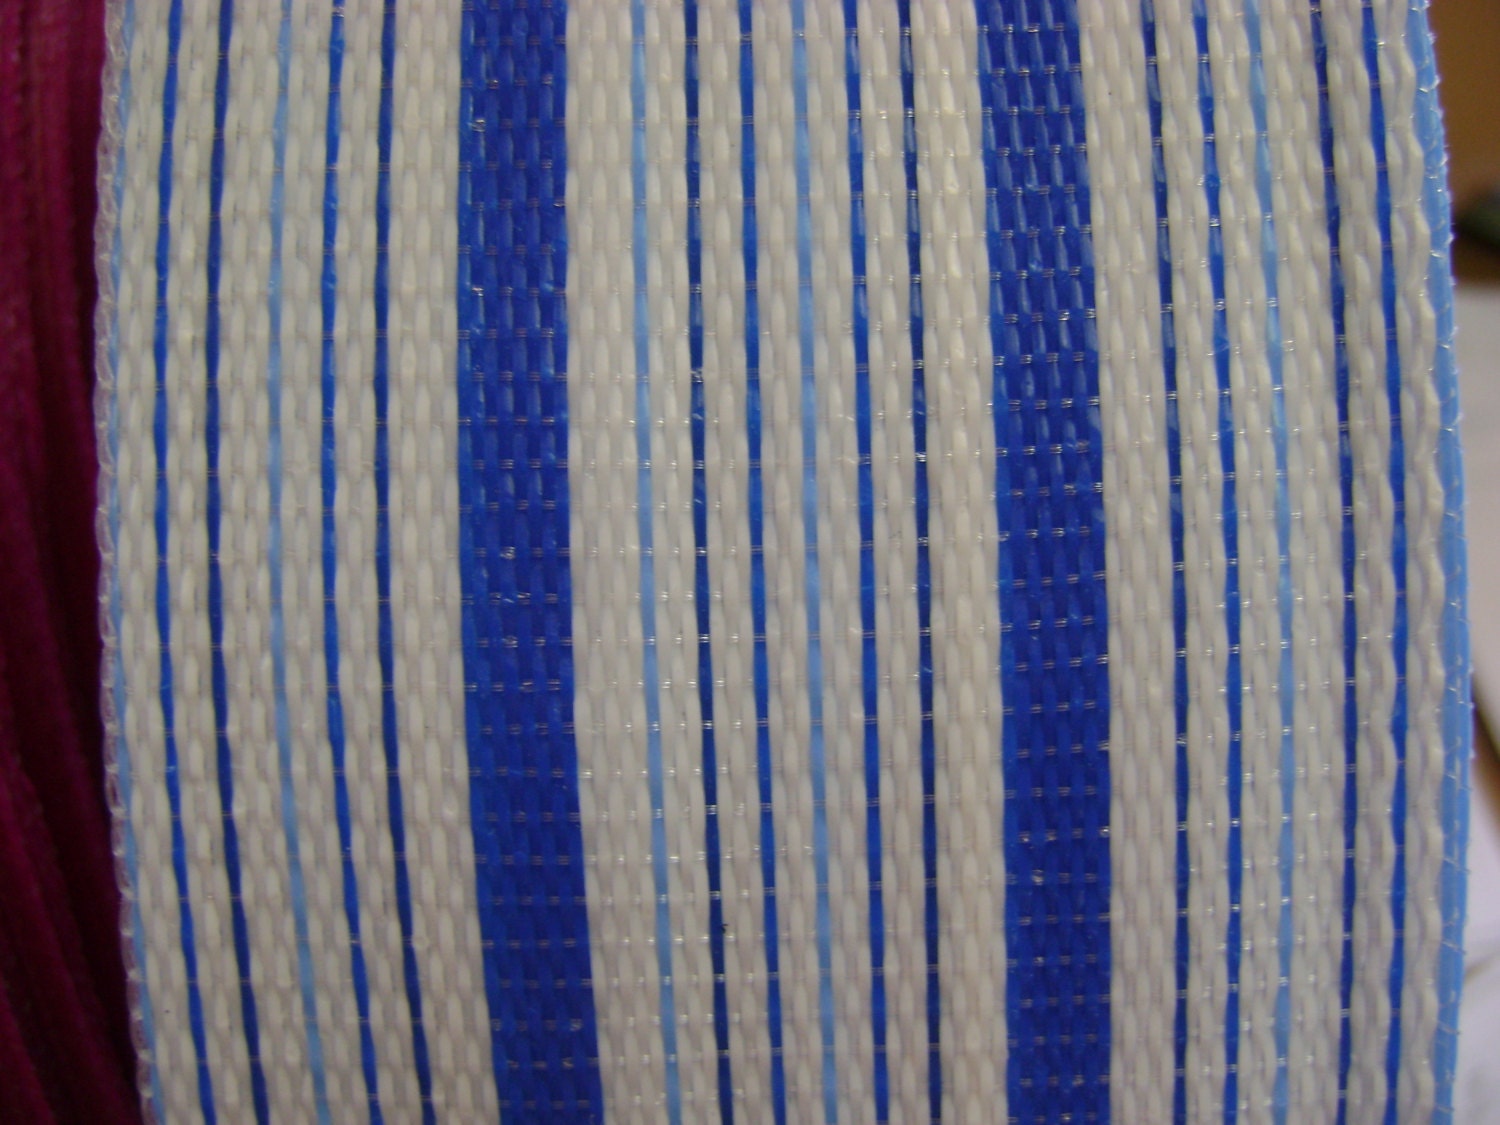
Chair Webbing Replacement


Step 4: Secure the Webbing Ends
Once the webbing is attached to the seat, fold the ends over and staple them to the underside of the seat for a clean and neat finish. Trim any excess webbing with scissors.


Antique Chair Repair


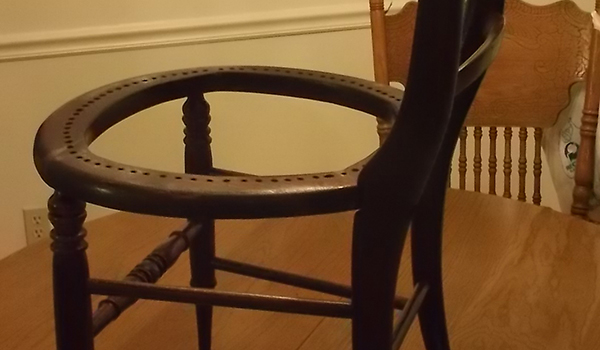
Step 5: Reattach the Seat
With the webbing in place, it's time to reattach the seat to the chair frame. Line up the seat with the frame and screw it back in place using the screwdriver.


Dining Room Chair Webbing


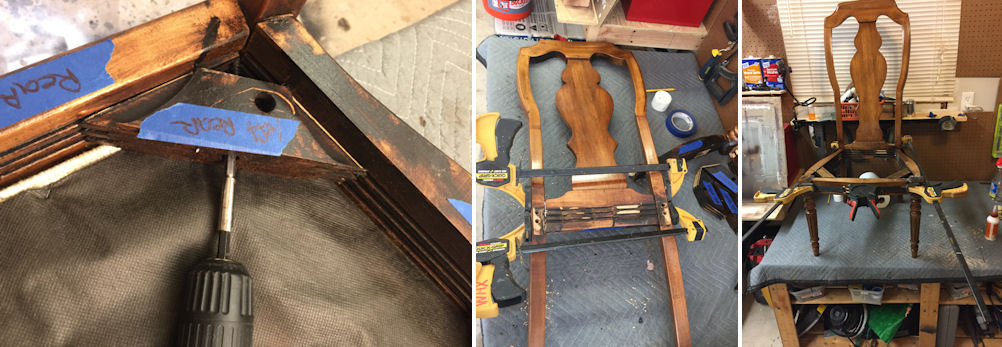
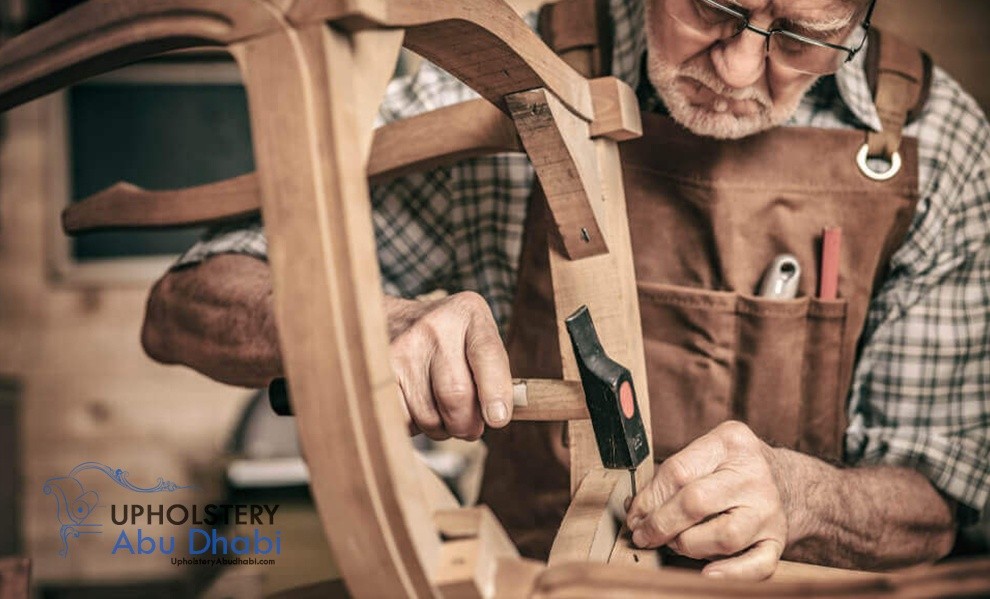
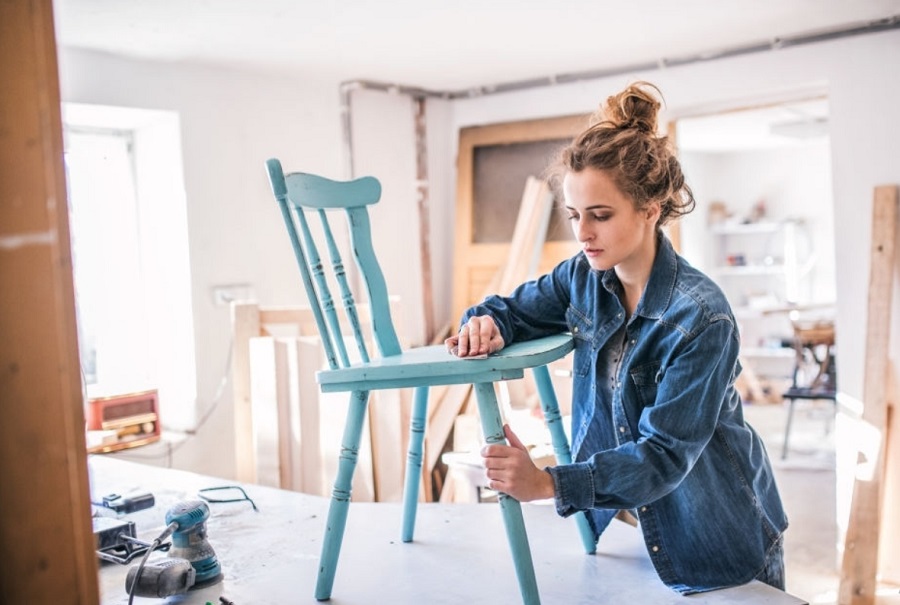
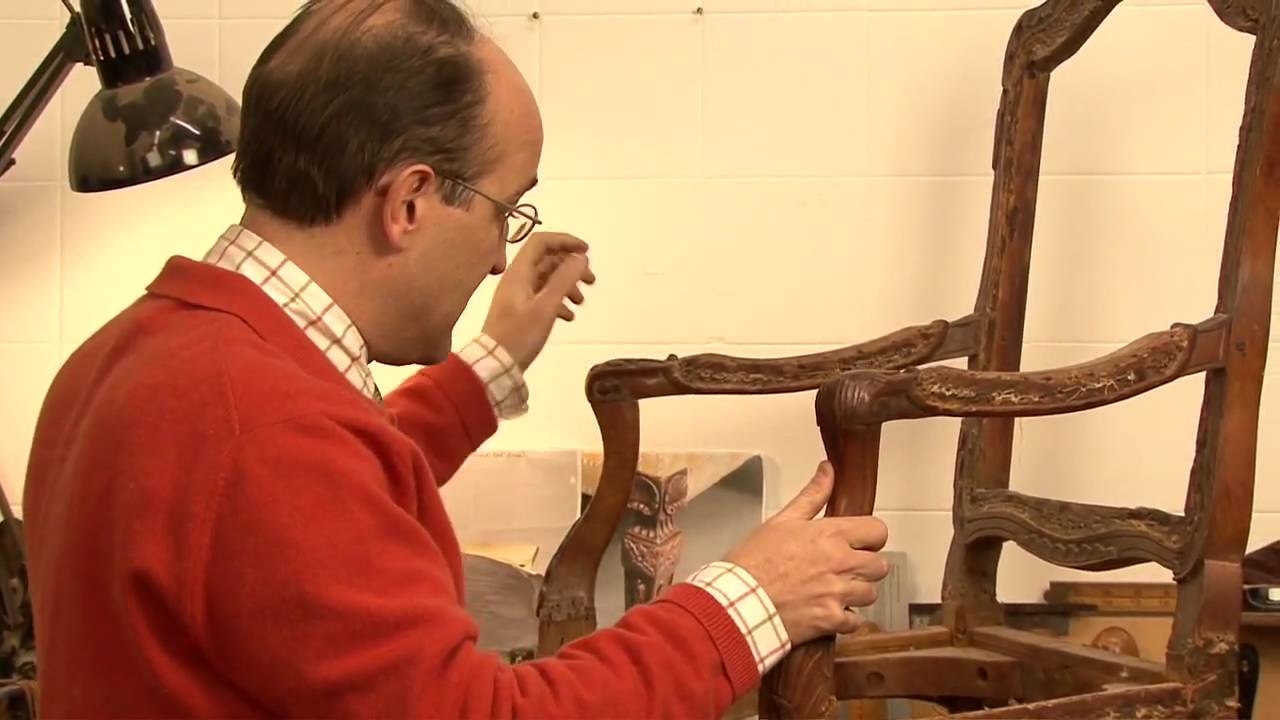
Tips for Antique Chair Repair
When restoring antique chairs, it's essential to handle the furniture with care and use the right techniques to avoid damaging the piece. Here are some tips to keep in mind:

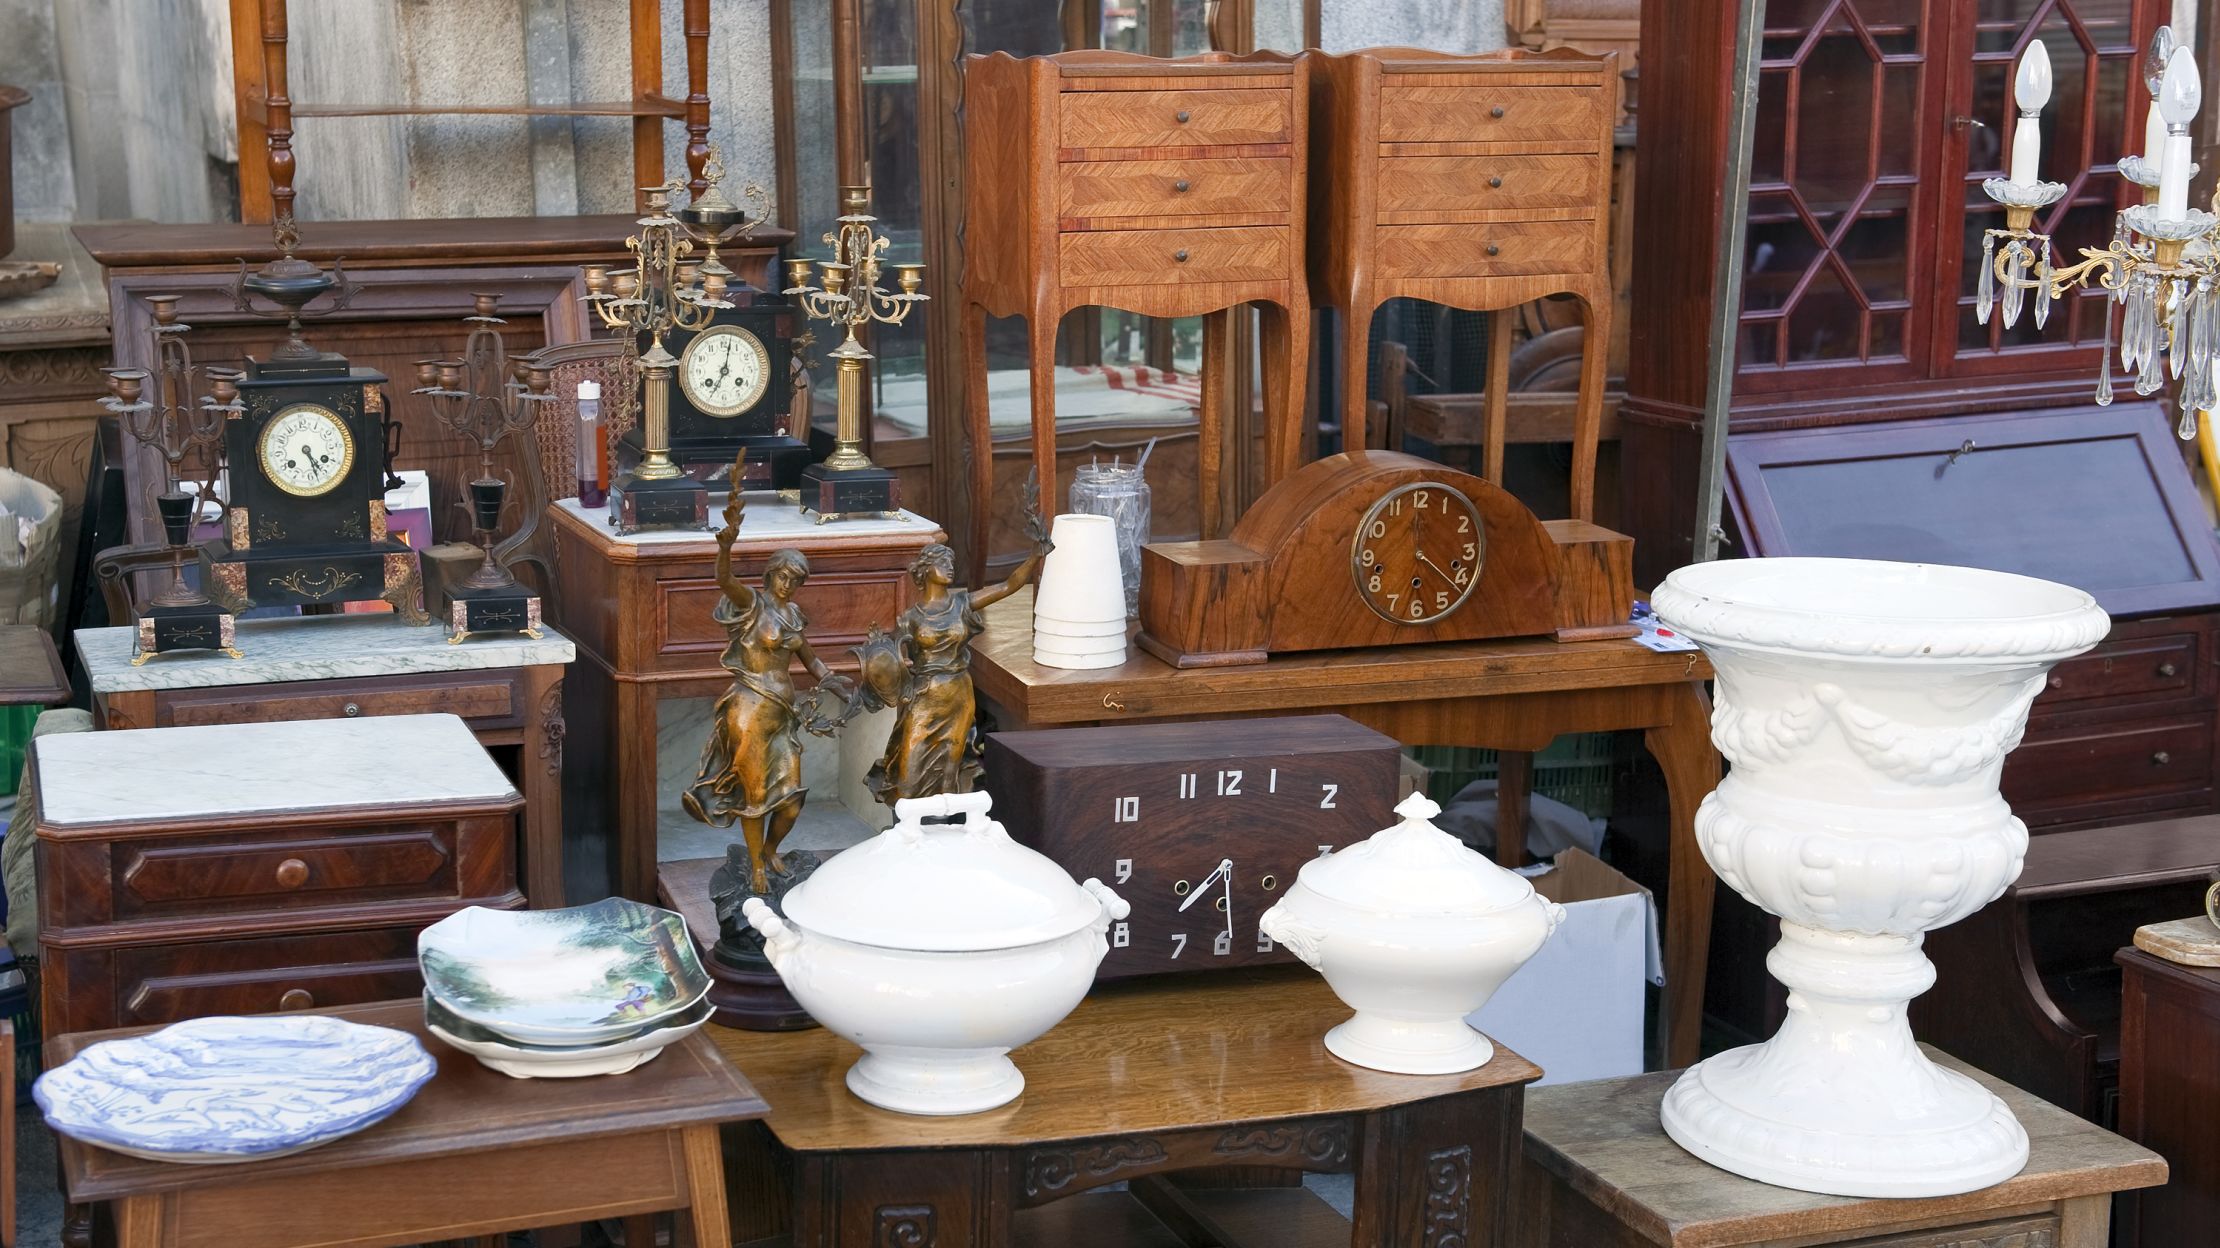
Antique Chair Restoration


In Conclusion
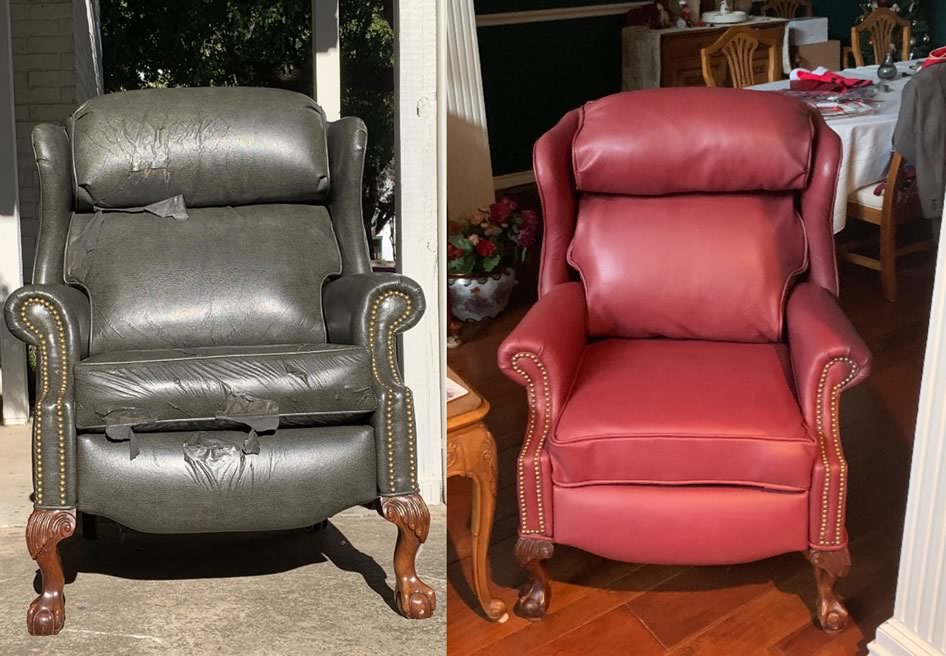
Replacing chair webbing is a simple and cost-effective way to restore your antique dining room chairs. With the right tools and techniques, you can easily tackle this project and enjoy the satisfaction of bringing new life to your treasured furniture. Remember to always handle your antique chairs with care and use quality materials for the best results. Happy restoring!


Chair Webbing Repair Kit


Why Replacing Chair Webbing is Essential for Antique Dining Room Chairs
The Importance of Maintaining Antique Furniture
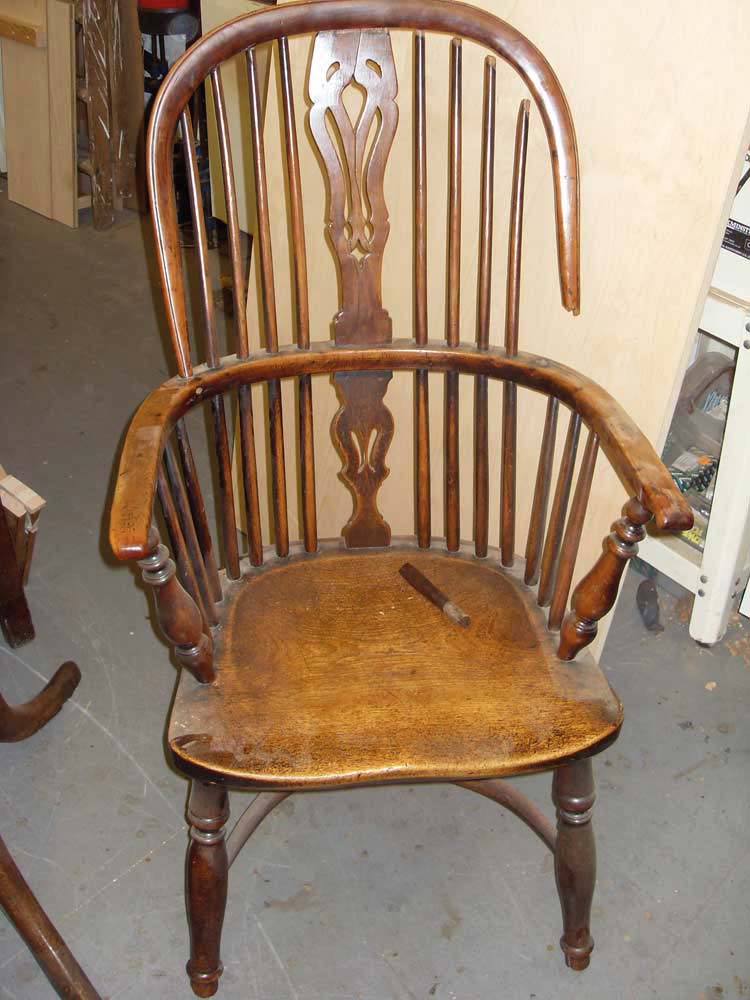
 Antique furniture is more than just a piece of decor, it is a piece of history and craftsmanship. Many homeowners take pride in owning and displaying antique furniture, especially in their dining rooms. However, with time and use, these pieces can start to show signs of wear and tear. One of the most common issues with antique dining room chairs is the deterioration of the chair webbing. This not only affects the appearance of the chairs but also their functionality. That is why it is essential to replace the chair webbing in antique dining room chairs.
Antique dining room chairs are often made with high-quality materials and intricate designs that are not commonly found in modern furniture
. As such, they require special care and maintenance to preserve their original beauty. When the chair webbing starts to wear out, it can affect the overall structural integrity of the chair. This can lead to discomfort for anyone sitting on the chair and even pose a safety risk if the webbing were to break completely.
Antique furniture is more than just a piece of decor, it is a piece of history and craftsmanship. Many homeowners take pride in owning and displaying antique furniture, especially in their dining rooms. However, with time and use, these pieces can start to show signs of wear and tear. One of the most common issues with antique dining room chairs is the deterioration of the chair webbing. This not only affects the appearance of the chairs but also their functionality. That is why it is essential to replace the chair webbing in antique dining room chairs.
Antique dining room chairs are often made with high-quality materials and intricate designs that are not commonly found in modern furniture
. As such, they require special care and maintenance to preserve their original beauty. When the chair webbing starts to wear out, it can affect the overall structural integrity of the chair. This can lead to discomfort for anyone sitting on the chair and even pose a safety risk if the webbing were to break completely.
The Benefits of Replacing Chair Webbing
 Replacing the chair webbing in antique dining room chairs can bring new life to these cherished pieces
. It not only improves their appearance but also ensures that they can continue to be used for many more years to come. When the webbing is in good condition, it provides proper support and stability for the person sitting on the chair. This is especially important for antique chairs as they may not have the same modern features such as cushioning or adjustable height.
Moreover,
regularly replacing the chair webbing can also prevent further damage to the chair
. When the webbing starts to deteriorate, it can put more strain on the frame of the chair, causing it to weaken and potentially break. This can be a costly and irreversible damage to an antique piece. By replacing the webbing, you are not only preserving the chair's original design and structure, but also preventing any future damage.
Replacing the chair webbing in antique dining room chairs can bring new life to these cherished pieces
. It not only improves their appearance but also ensures that they can continue to be used for many more years to come. When the webbing is in good condition, it provides proper support and stability for the person sitting on the chair. This is especially important for antique chairs as they may not have the same modern features such as cushioning or adjustable height.
Moreover,
regularly replacing the chair webbing can also prevent further damage to the chair
. When the webbing starts to deteriorate, it can put more strain on the frame of the chair, causing it to weaken and potentially break. This can be a costly and irreversible damage to an antique piece. By replacing the webbing, you are not only preserving the chair's original design and structure, but also preventing any future damage.
Choosing the Right Webbing for Your Antique Dining Room Chairs
 When it comes to replacing the chair webbing, it is important to choose the right type of webbing that is suitable for your antique dining room chairs. There are different types of webbing available, such as jute, rubber, and synthetic webbing. Each type has its own benefits and it is important to choose one that is compatible with the design and structure of your antique dining room chairs.
In conclusion,
replacing the chair webbing is an essential part of maintaining and preserving your antique dining room chairs
. It not only improves their appearance but also ensures their functionality and longevity. By choosing the right type of webbing and regularly replacing it, you can continue to enjoy these beautiful pieces of history in your home for many years to come.
When it comes to replacing the chair webbing, it is important to choose the right type of webbing that is suitable for your antique dining room chairs. There are different types of webbing available, such as jute, rubber, and synthetic webbing. Each type has its own benefits and it is important to choose one that is compatible with the design and structure of your antique dining room chairs.
In conclusion,
replacing the chair webbing is an essential part of maintaining and preserving your antique dining room chairs
. It not only improves their appearance but also ensures their functionality and longevity. By choosing the right type of webbing and regularly replacing it, you can continue to enjoy these beautiful pieces of history in your home for many years to come.